Ole Tink - RCO 2 Door Build


 07-30-2015, 08:47 AM
#34
Former Vendor
Thread Starter

Join Date: Nov 2010
Location: Austin, TX
Posts: 563
Likes: 0
Received 0 Likes
on
0 Posts
Time for some catch up! Sorry ya'll! 
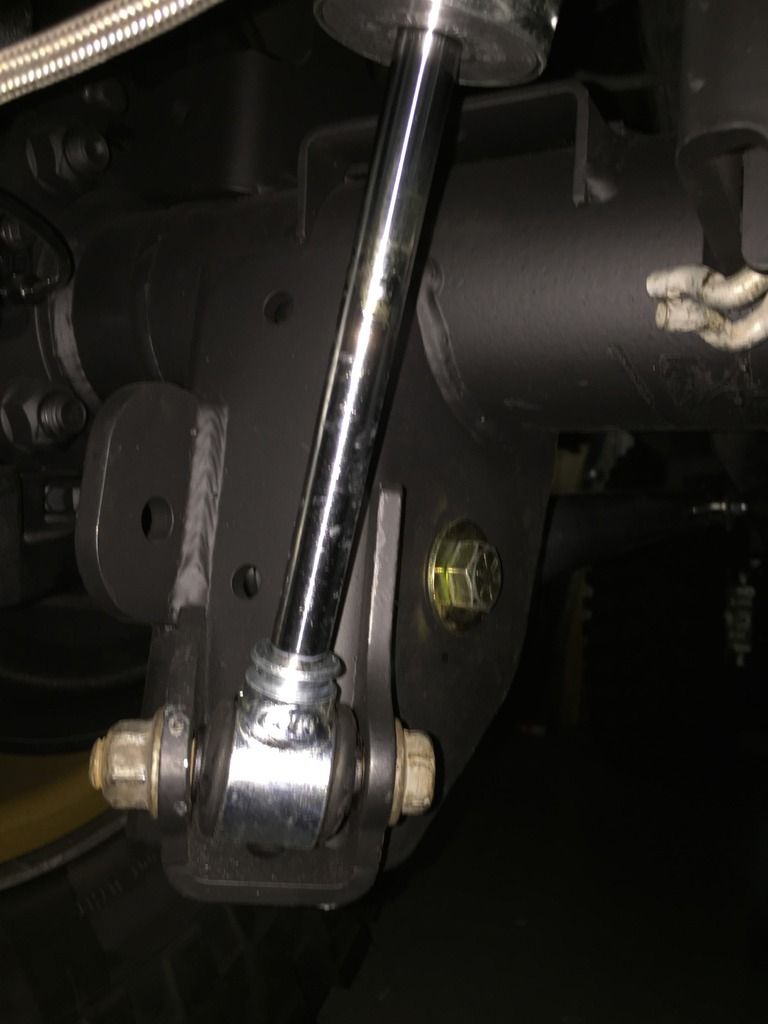
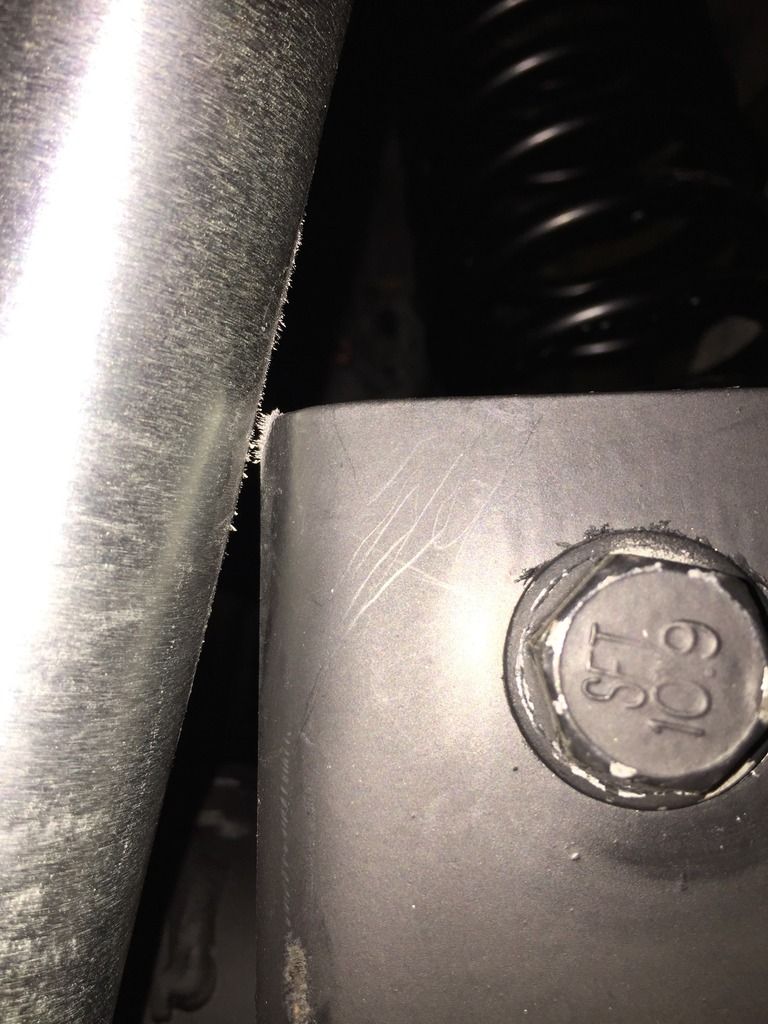
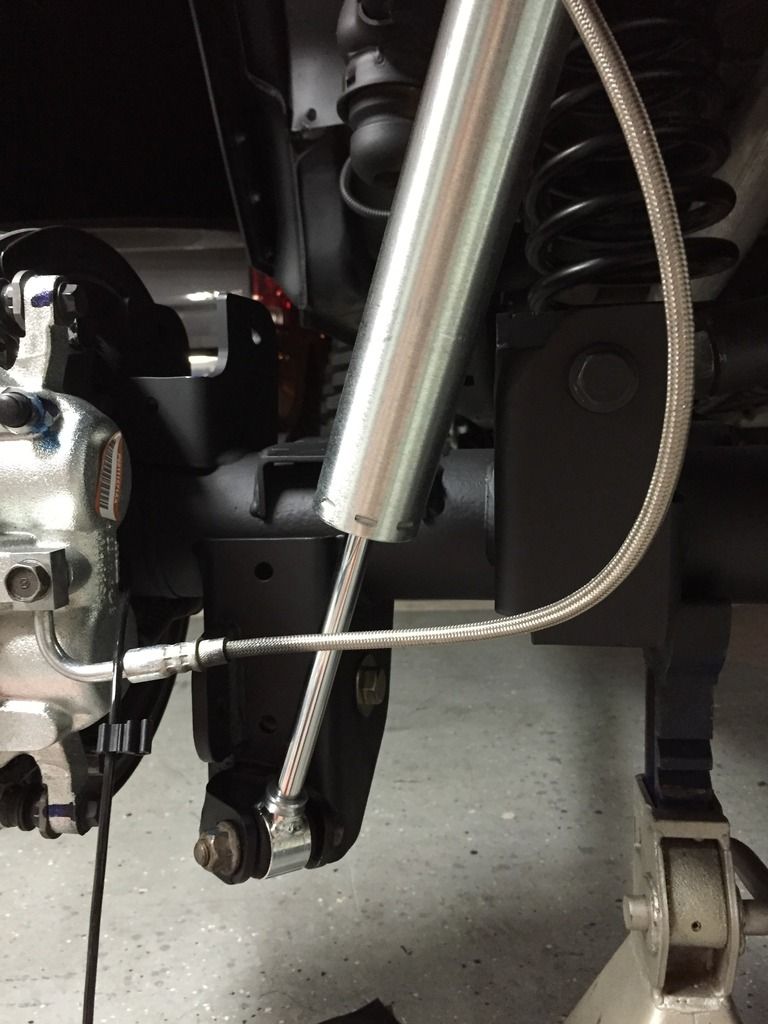
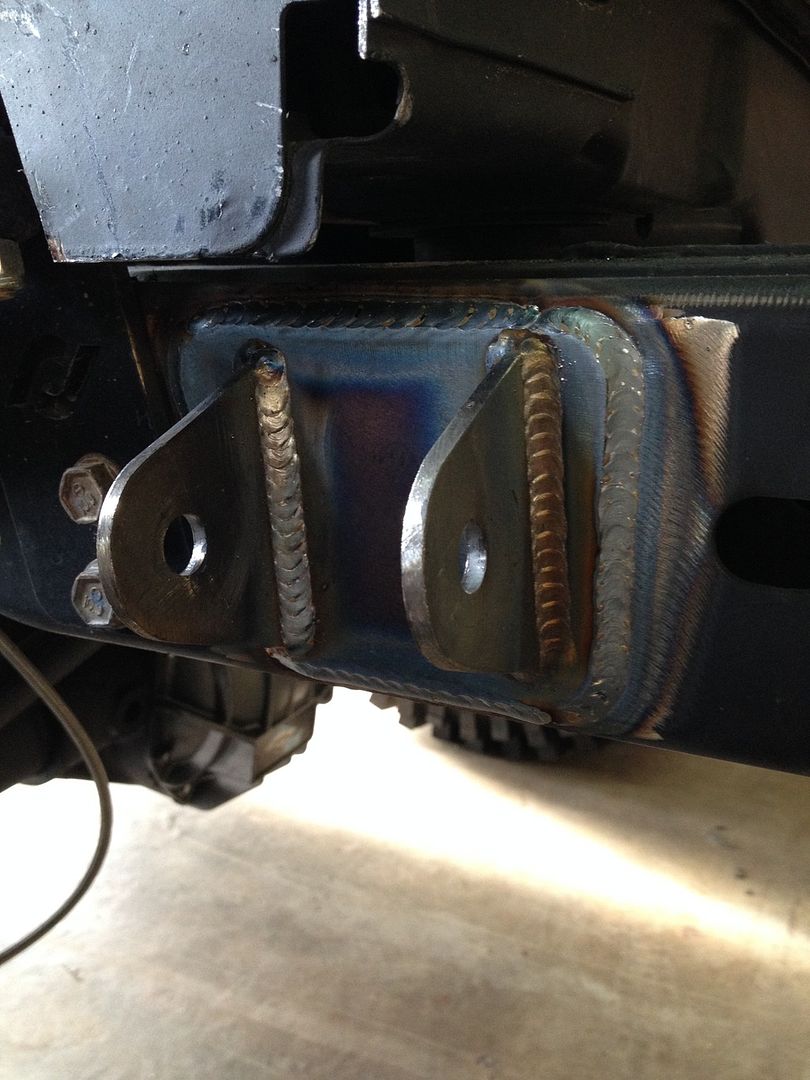
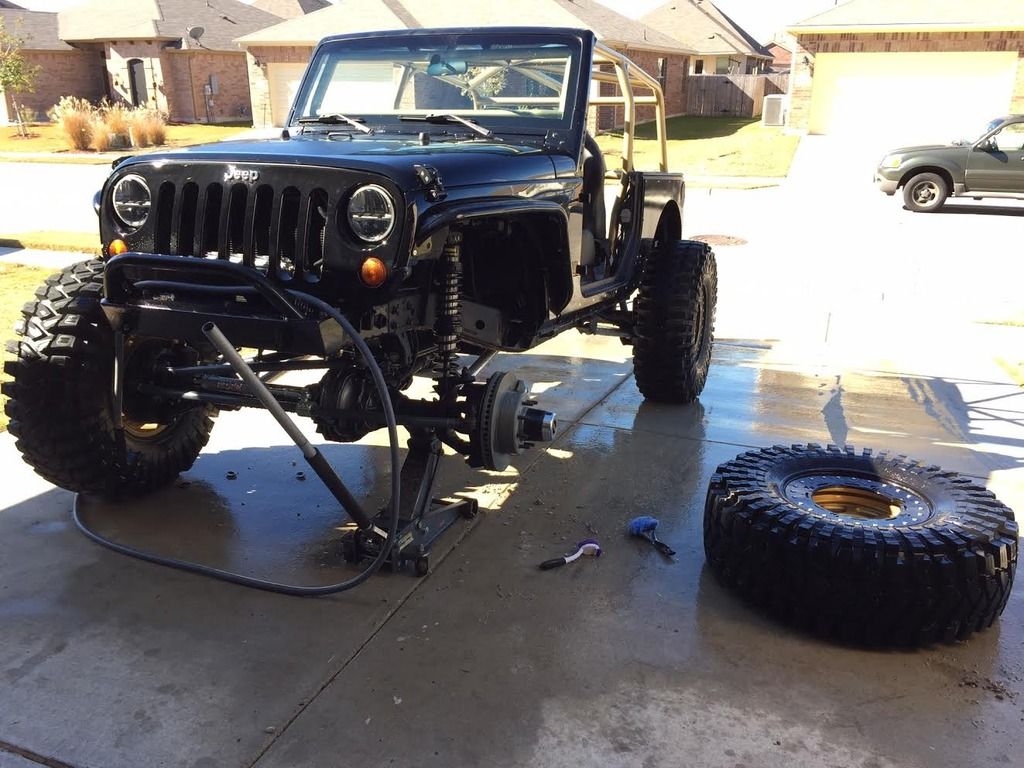
I was having some trouble with the track bar bracket and the driver's side rear shock making love, so I made some adjustments to make them play nice for a while.
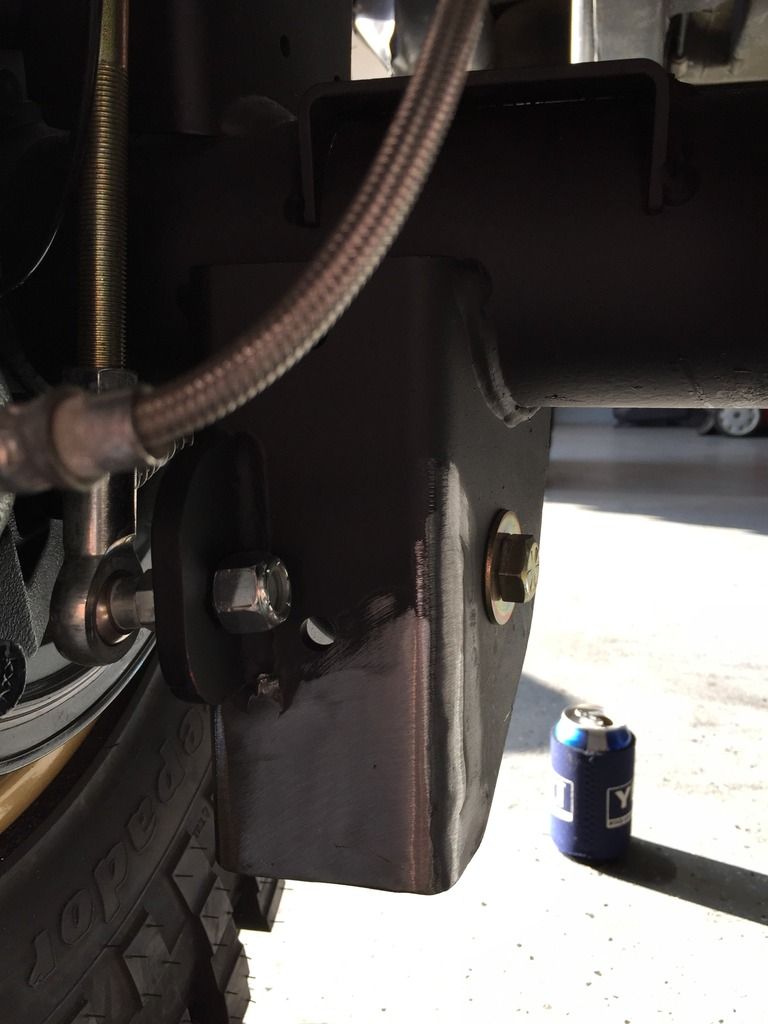
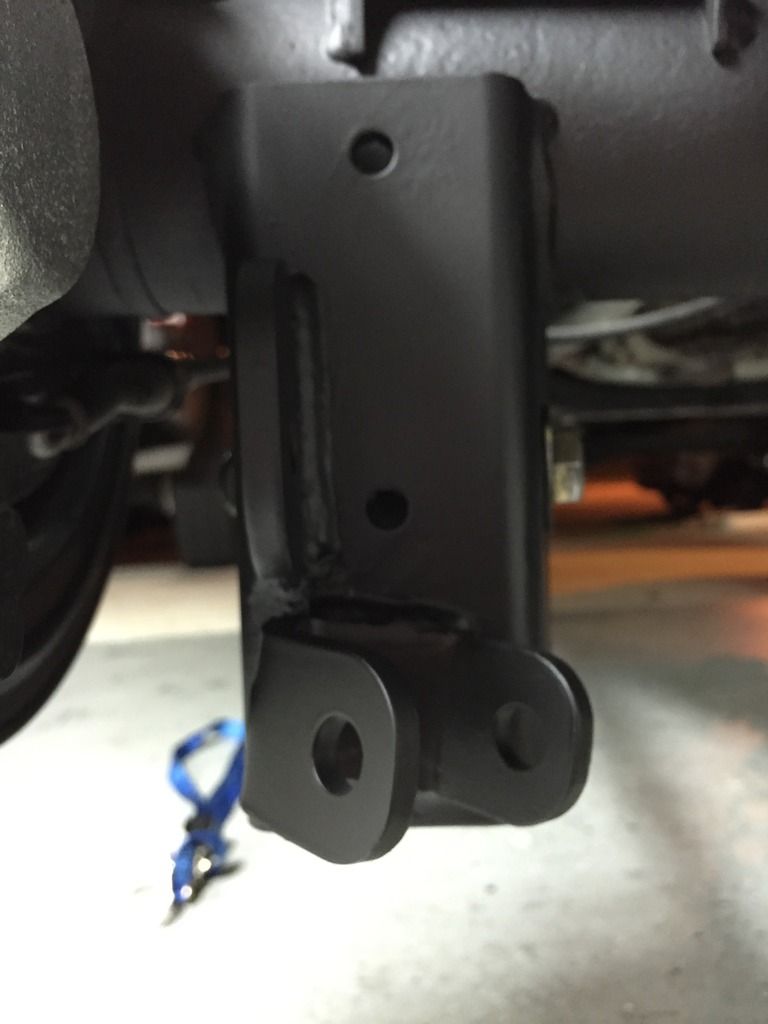
I cut the shock mount off and welded in some RK relocation brackets at 10" and basically right in line with the sway bar mount. It worked out great! I also cut the top corner out of the TB bracket and tapered it a bit. Its ugly and I don't like it, but it'll work for right now.
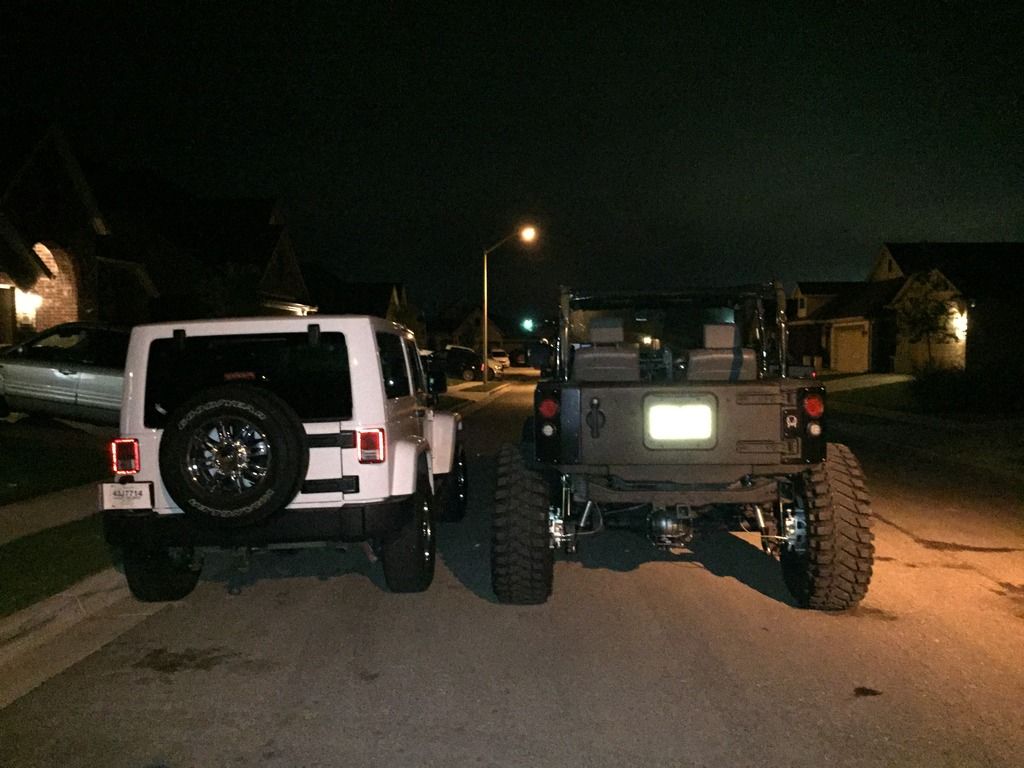
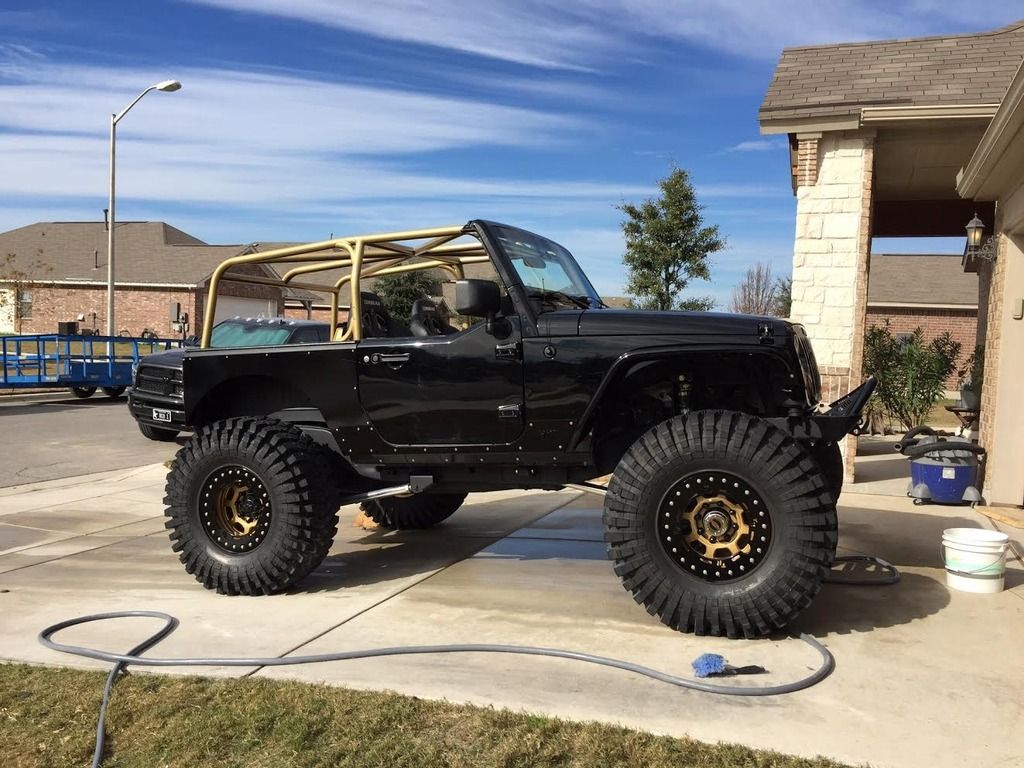
Here's a pic next to my buddy's baller new 13 Rubicon that we are going to start building shortly.
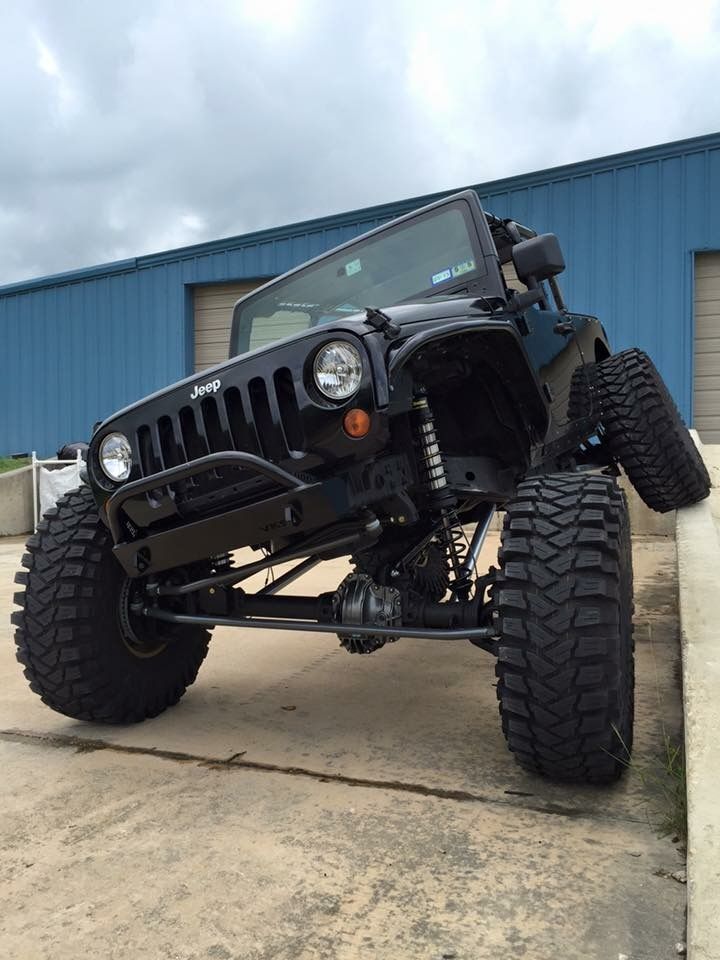
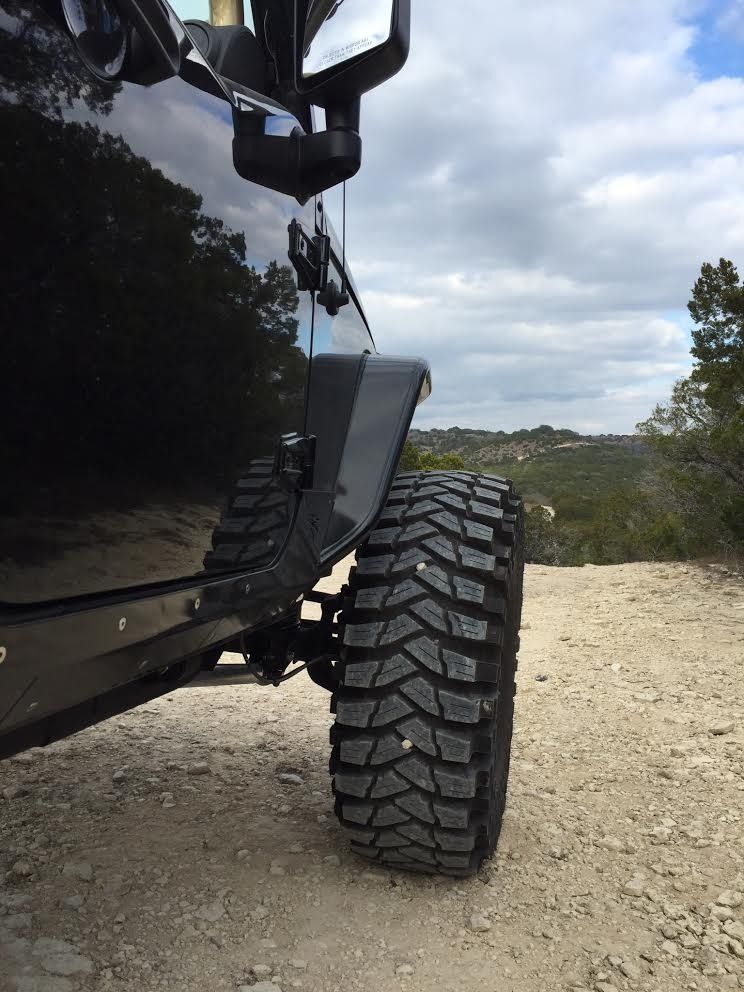
Once I got that lined out I took it out for some clearance testing. Everything looks really good but I have some fine adjustments to do. I need to move the front brake lines around or replace them. Moving them will require grinding on the caliper, which at the point I'm ok with. They are tight in these pics and I wasn't at full droop yet.
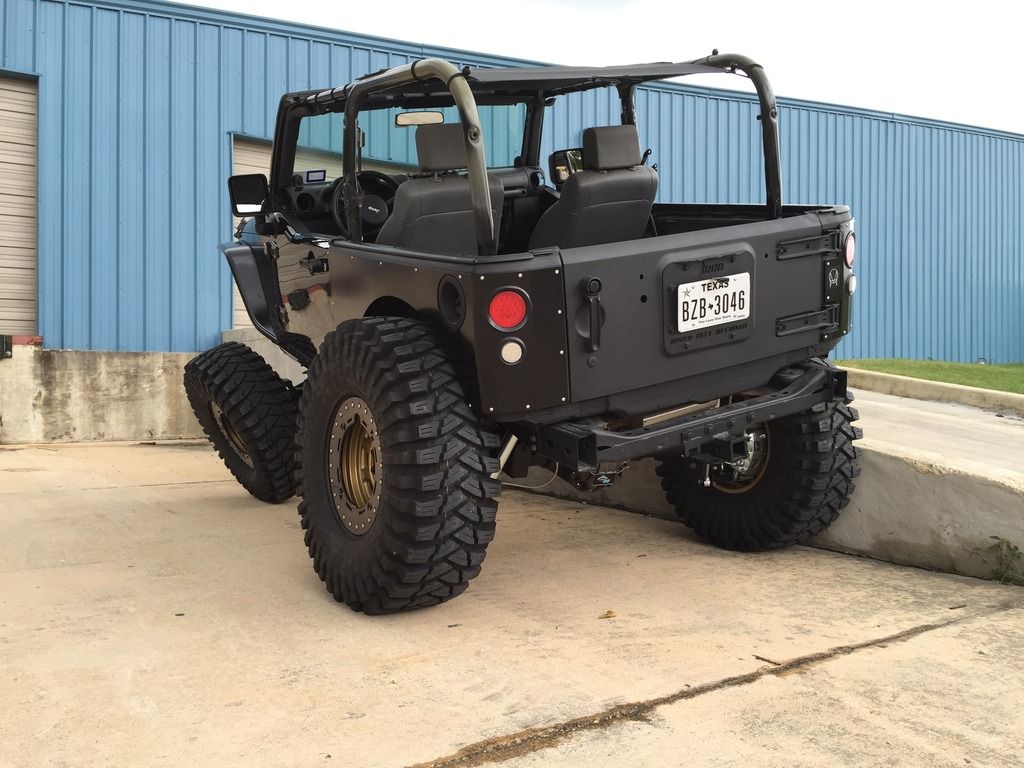
The rear corners need to be opened up a little on the back side, which I had planned.
The rear track bar BARELY kissed the diff cover, but I have joints on both ends of it instead of the bushing at the frame and I was able to roll it back slightly and clear that up.
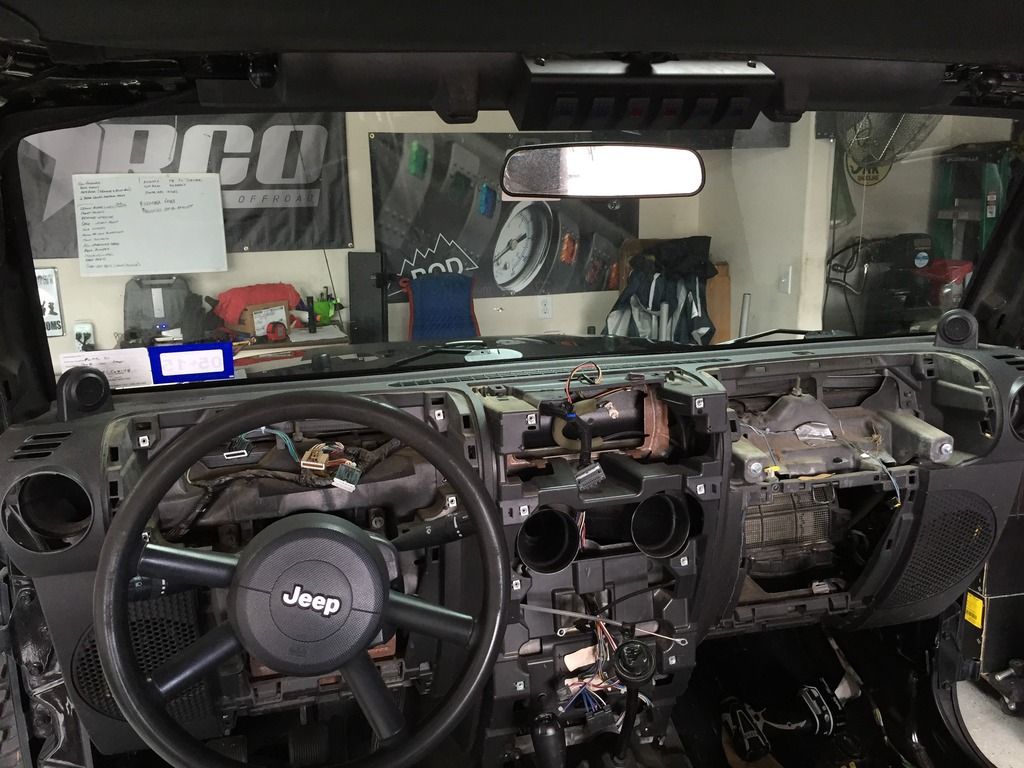
The dash is completely torn down now and ready for the cage install this week. I'm going to discuss options on a custom aluminum dash and compare that to the cost of replacing the factory panels that were chewed up by the previous owner. I did find a Heineken cap and a Swisher Sweet in the dash though. LOL
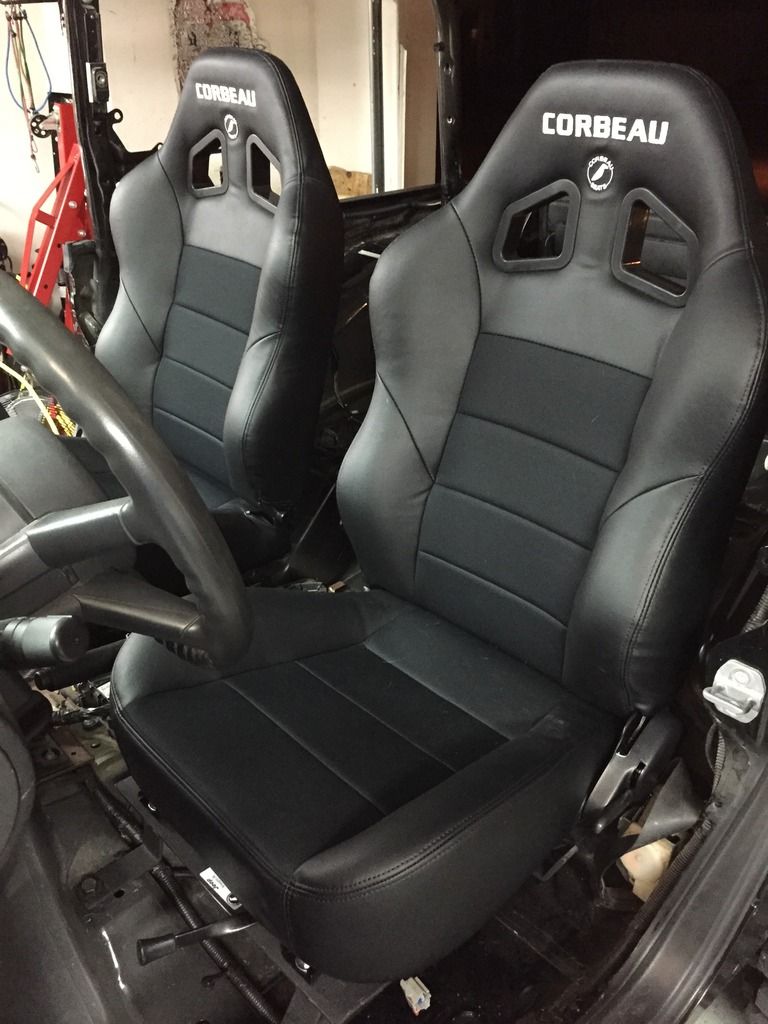
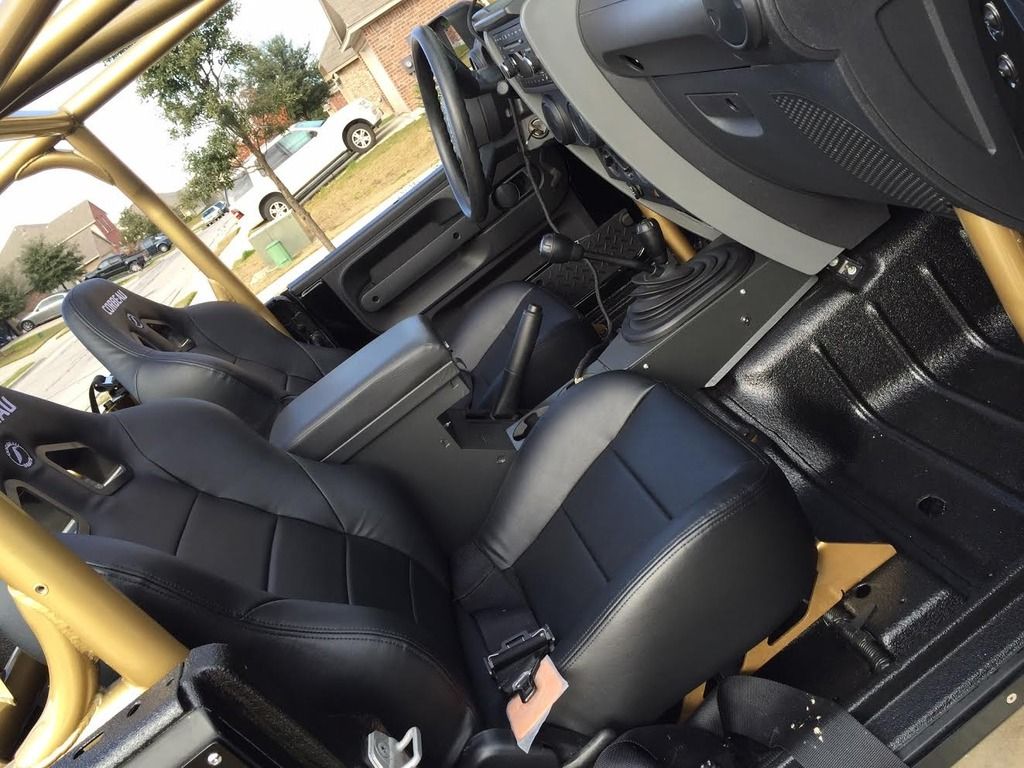
Last but not least, I installed the Corbeau seats and a new set of TruckLite headlights. Extremely impressed with both! The seats are much more comfortable than the Mastercraft seats I had before, but I don't think their size measurements are acccurate. I'm a 34 waist and they fit me perfectly. Any bigger and I think it would be very uncomfortable.
I still have to install the Warn Zeon, wire the lockers, figure out a rear bumper, and a few other things.
I was having some trouble with the track bar bracket and the driver's side rear shock making love, so I made some adjustments to make them play nice for a while.
I cut the shock mount off and welded in some RK relocation brackets at 10" and basically right in line with the sway bar mount. It worked out great! I also cut the top corner out of the TB bracket and tapered it a bit. Its ugly and I don't like it, but it'll work for right now.


Here's a pic next to my buddy's baller new 13 Rubicon that we are going to start building shortly.

Once I got that lined out I took it out for some clearance testing. Everything looks really good but I have some fine adjustments to do. I need to move the front brake lines around or replace them. Moving them will require grinding on the caliper, which at the point I'm ok with. They are tight in these pics and I wasn't at full droop yet.
The rear corners need to be opened up a little on the back side, which I had planned.
The rear track bar BARELY kissed the diff cover, but I have joints on both ends of it instead of the bushing at the frame and I was able to roll it back slightly and clear that up.


The dash is completely torn down now and ready for the cage install this week. I'm going to discuss options on a custom aluminum dash and compare that to the cost of replacing the factory panels that were chewed up by the previous owner. I did find a Heineken cap and a Swisher Sweet in the dash though. LOL

Last but not least, I installed the Corbeau seats and a new set of TruckLite headlights. Extremely impressed with both! The seats are much more comfortable than the Mastercraft seats I had before, but I don't think their size measurements are acccurate. I'm a 34 waist and they fit me perfectly. Any bigger and I think it would be very uncomfortable.

I still have to install the Warn Zeon, wire the lockers, figure out a rear bumper, and a few other things.
Last edited by RiverCityOffroad; 10-05-2017 at 10:01 AM.
07-30-2015, 08:48 AM
#35
Former Vendor
Thread Starter
Join Date: Nov 2010
Location: Austin, TX
Posts: 563
Likes: 0
Received 0 Likes
on
0 Posts
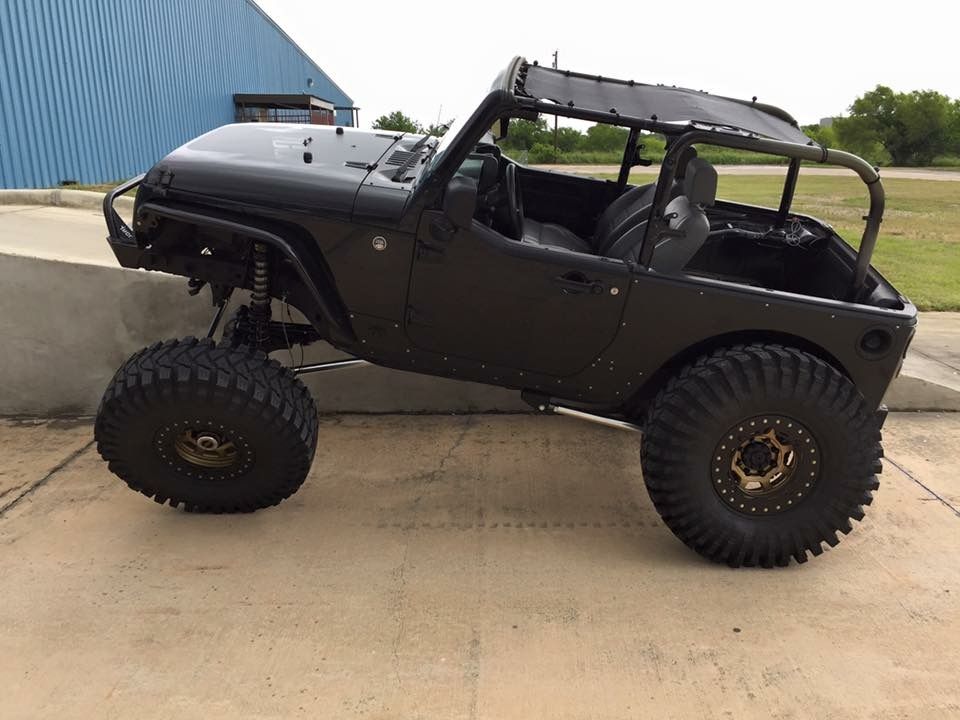
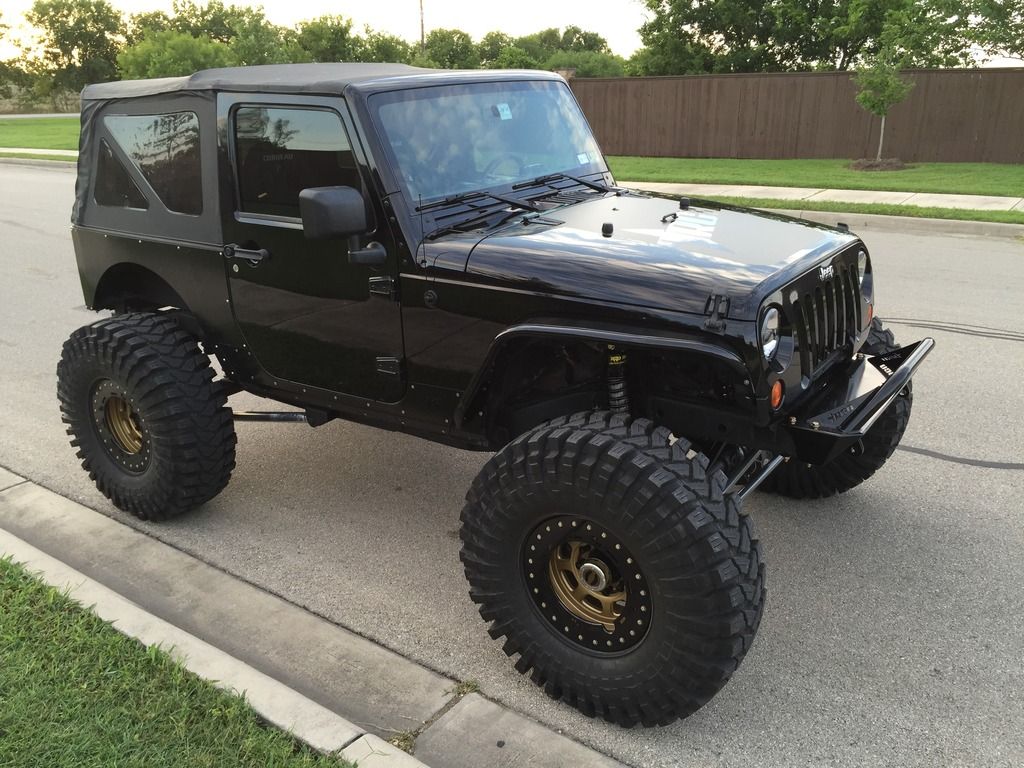
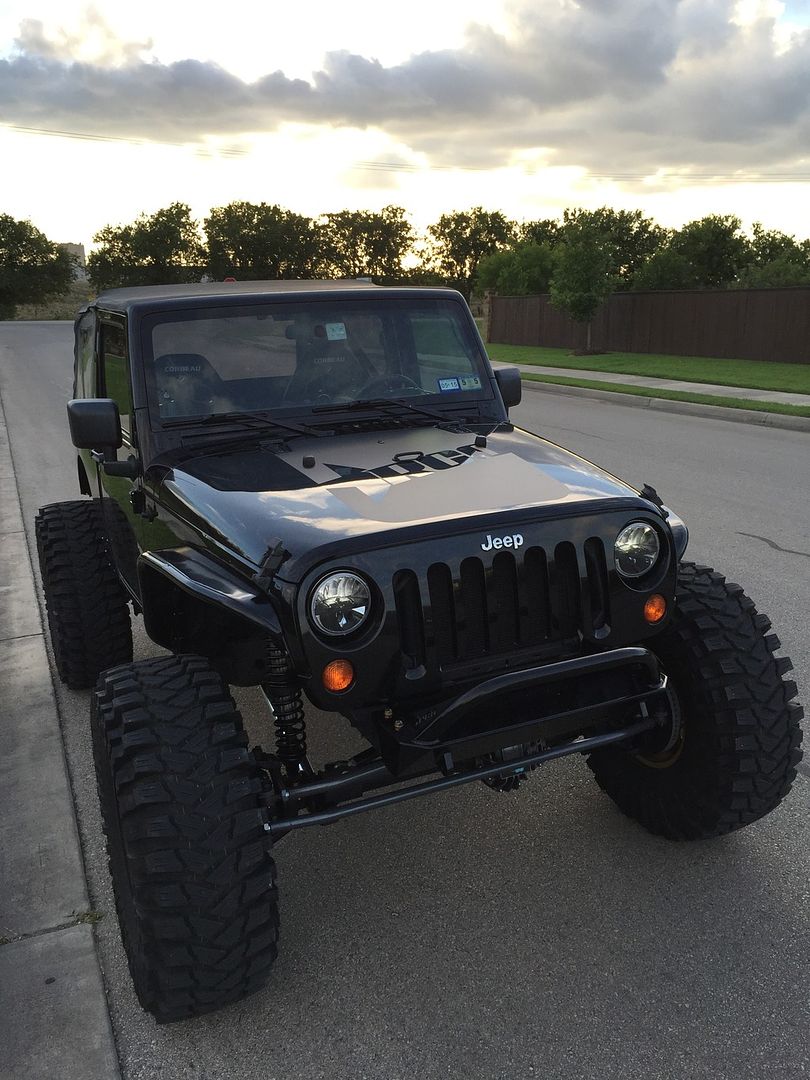
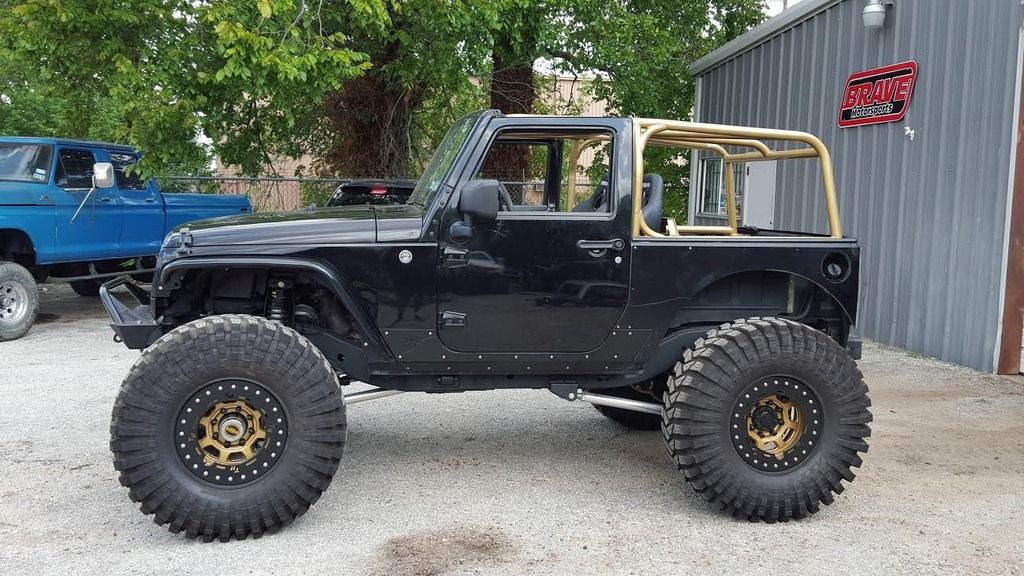
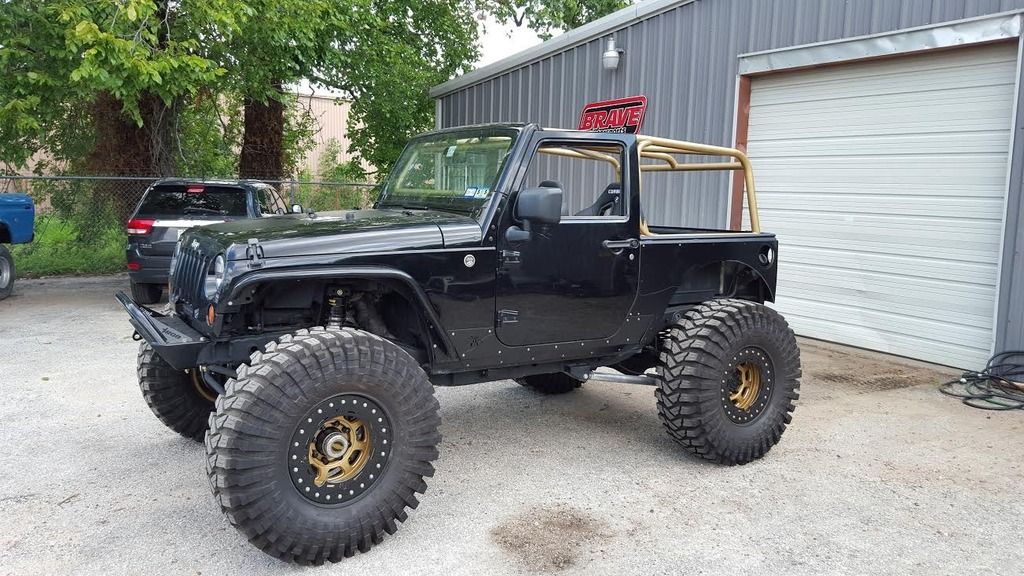
Here are a few more pics with the Truck Lites in. It looks totally different with the top and full doors on it.


Last edited by RiverCityOffroad; 10-05-2017 at 10:02 AM.
07-30-2015, 08:49 AM
#36
Former Vendor
Thread Starter
Join Date: Nov 2010
Location: Austin, TX
Posts: 563
Likes: 0
Received 0 Likes
on
0 Posts
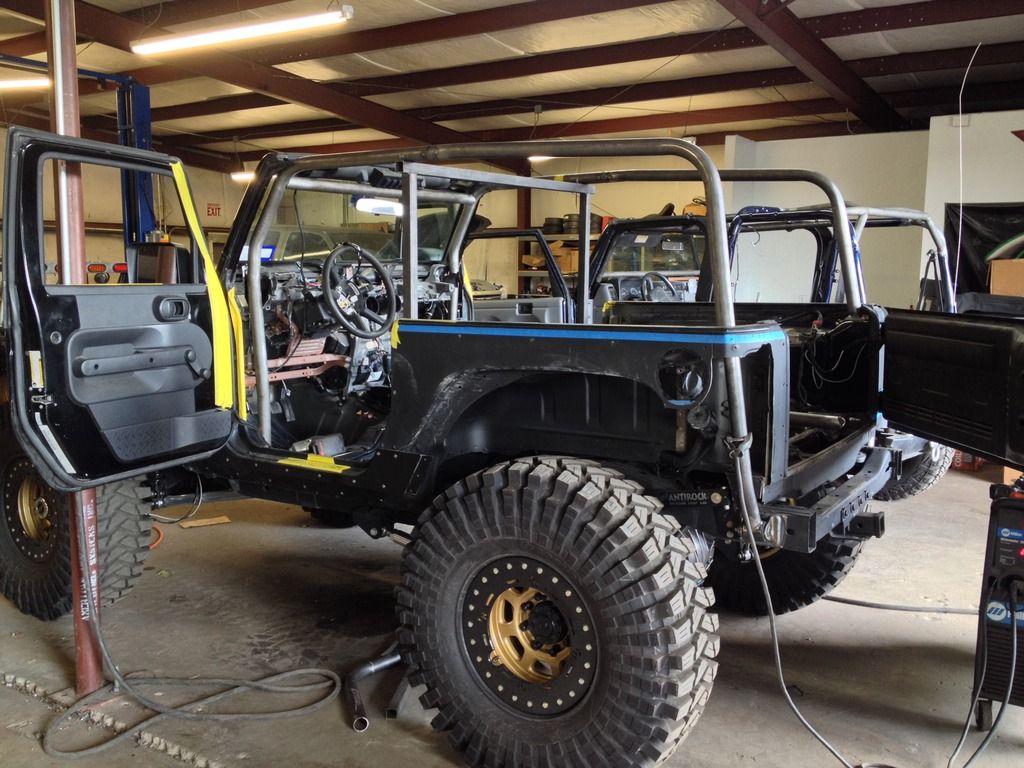
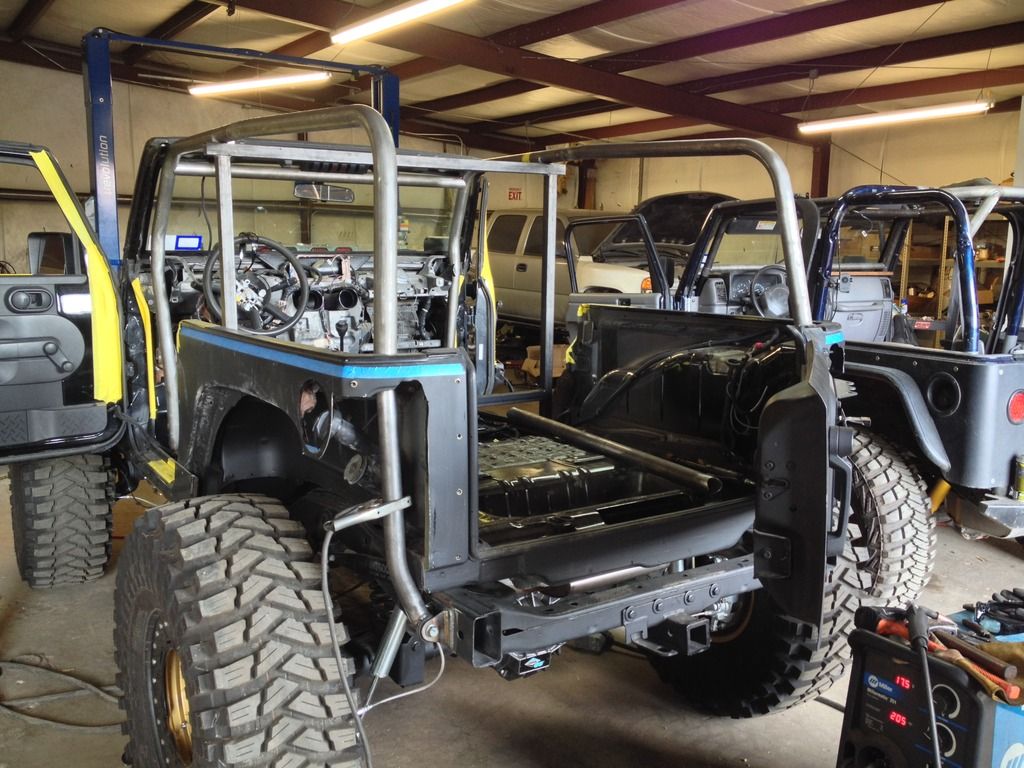
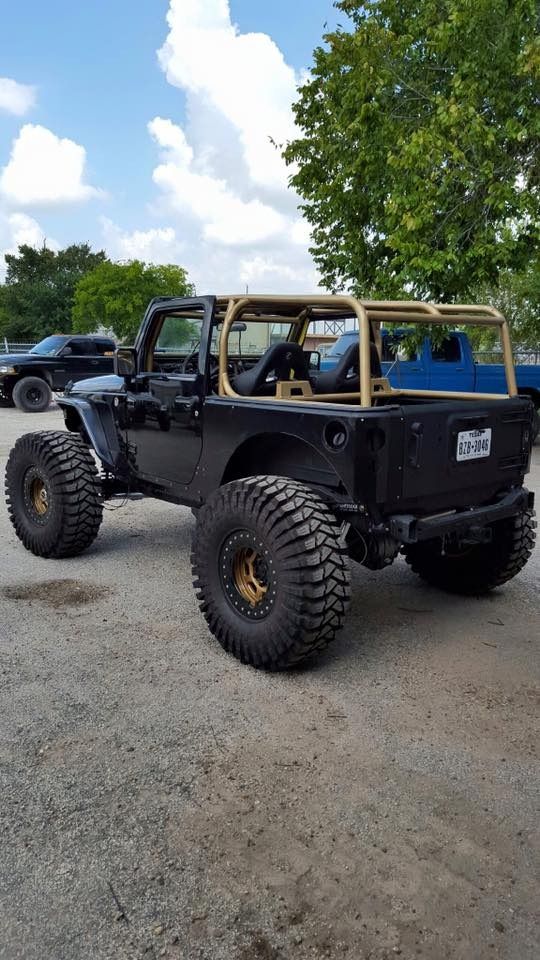
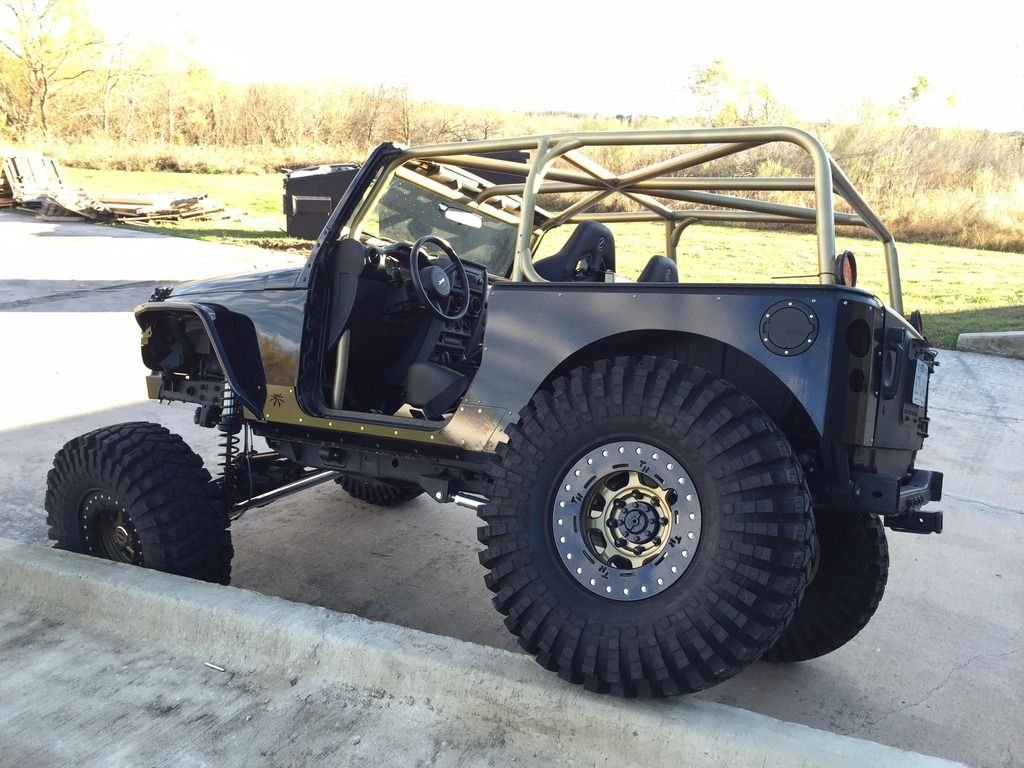
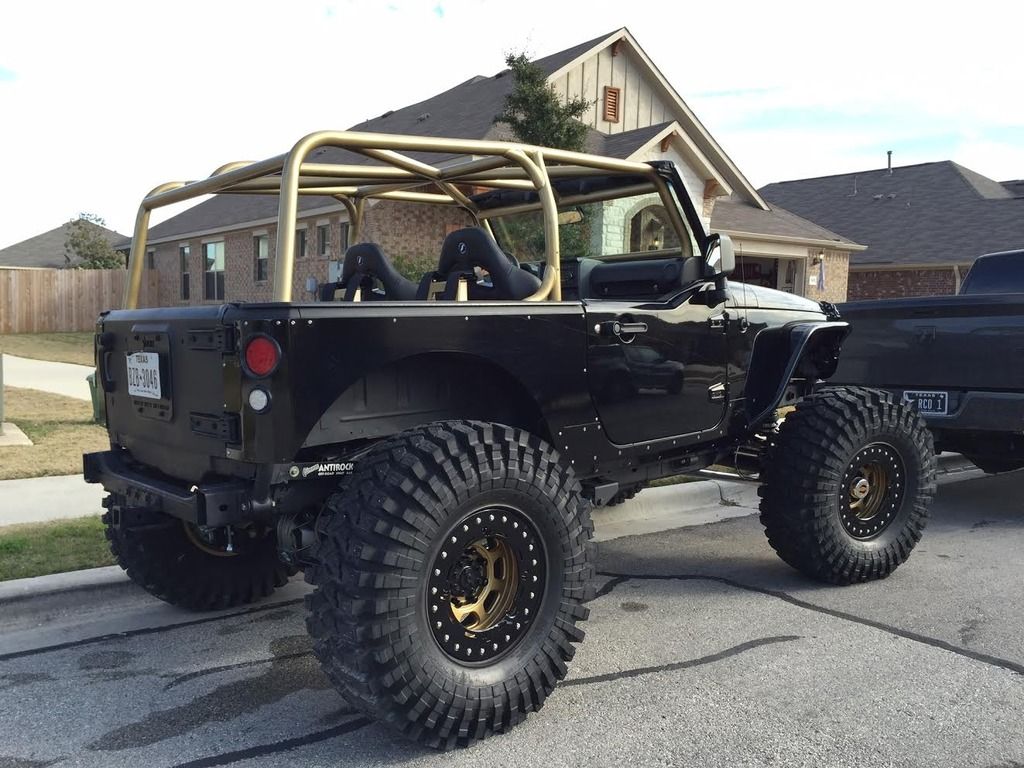
I dropped the Jeep off with Brave Motorsports for a cage build. Here are some of the progress pics.
The cage is 2" and ties into the frame at all three points and will allow the use of the factory soft top. The top won't fold back, but I did not want that option. It will either be on for transport or off. One BIG requirement for me was that it tied into the frame and went all the way to the back of the tub, which they nailed.
The body used to be there around the back corner, but I ran down on a Wednesday morning and cut the rest of it away so they could access the frame where I wanted it. I'll clean it up the rest of the way when I get it back, so don't judge. LOL It was a 1.5 hour comp cut.
As things progress I will update the thread.


Last edited by RiverCityOffroad; 10-05-2017 at 10:02 AM.
 02-08-2016, 07:27 AM
#38
Former Vendor
Thread Starter
Join Date: Nov 2010
Location: Austin, TX
Posts: 563
Likes: 0
Received 0 Likes
on
0 Posts
I'm going to flood update this thread. I can't believe I haven't kept up with it! My apologies for anyone that was following.
Starting in September:
I'm super happy with how the cage came out. The Line-X guys did a great job as well.
We cut the corners out a little further before I threw it on the trailer yesterday as well. Have a little more clean up work to do there.

Got the new dash installed and trimmed for the cage shortly after:

12/7 -
Another update...hot off the press. Forgive me if I've covered any of this previously.
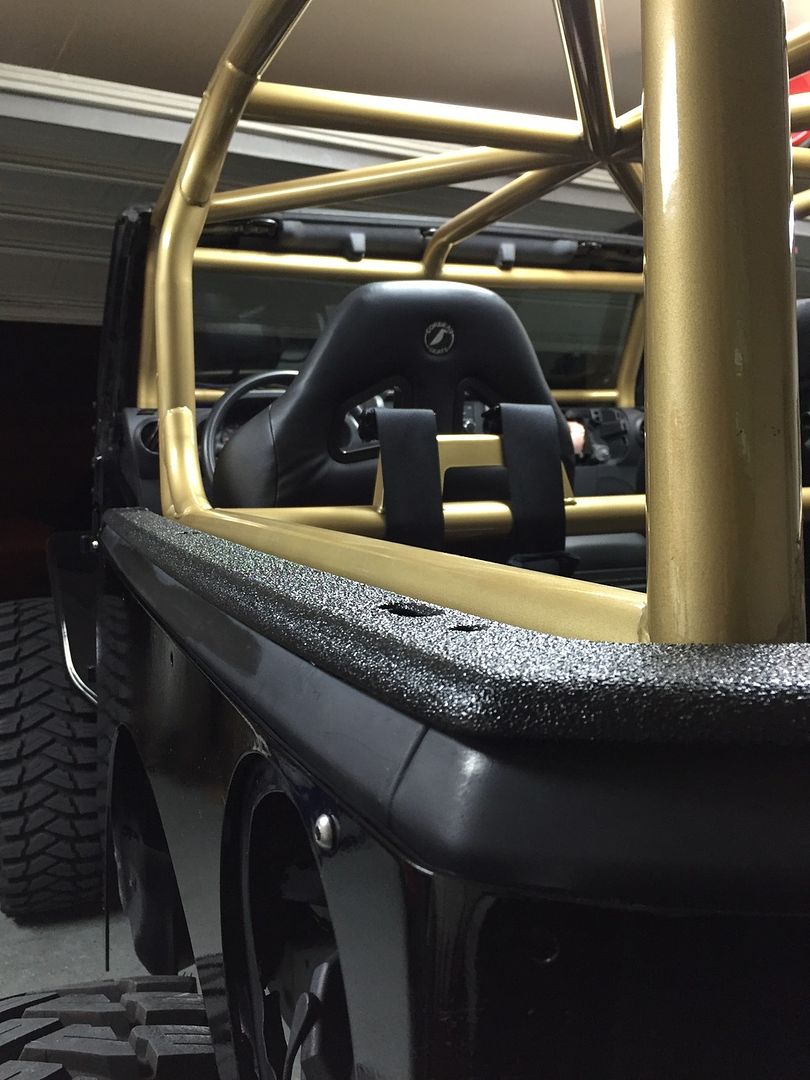
The cage was a little lower than we had planned, so I needed to drop the seats down some. I had Corbeau's brackets, which do the job, but leave much to be desired aesthetically. In my searching I came across Genright's seat brackets and decided to give them a shot. They recommend a PRP slider to go with them, and PRP states that they'll work with most aftermarket seat. Wasn't the case. LOL
The sliders are BAD ASS and I highly recommend them over the other options I have had my hands on including Mastercraft adapters, Corbeau brackets and sliders, ect. However...they didn't get the seat down as far as I needed them.
I ended up spending a couple of days mocking up the seats on the GR brackets and mounting them directly onto them. They are as far back and as far in as they could go with the Tuffy console and it worked out perfectly. I have about a fist and a finger of head room, which I'm comfortable with.
I had opened up the rear corner armor a little more to help with the extra stretch and larger tires, so I needed to re-powder coat them. Decided to go ahead and re-do everything in a high gloss black in an attempt to match the body. It turned out great on the body armor and flares, but the corners came out with a lot of orange peel. I think I'll likely have them painted at some point.
Here are some pics!
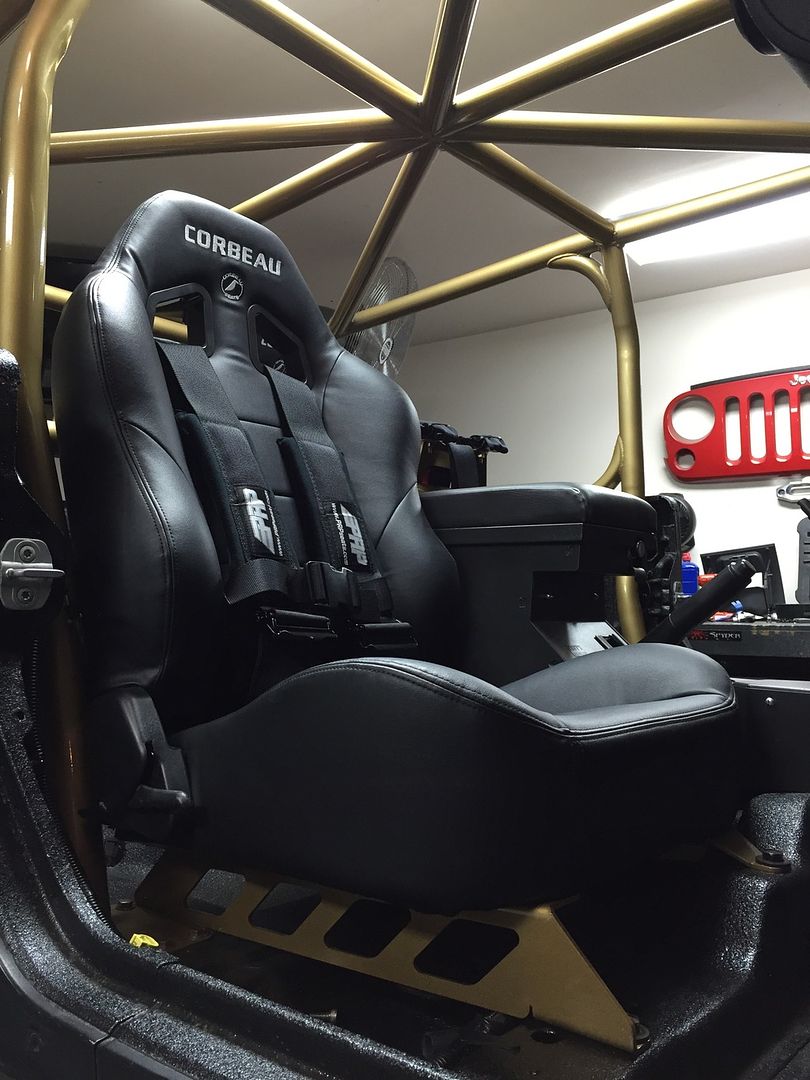
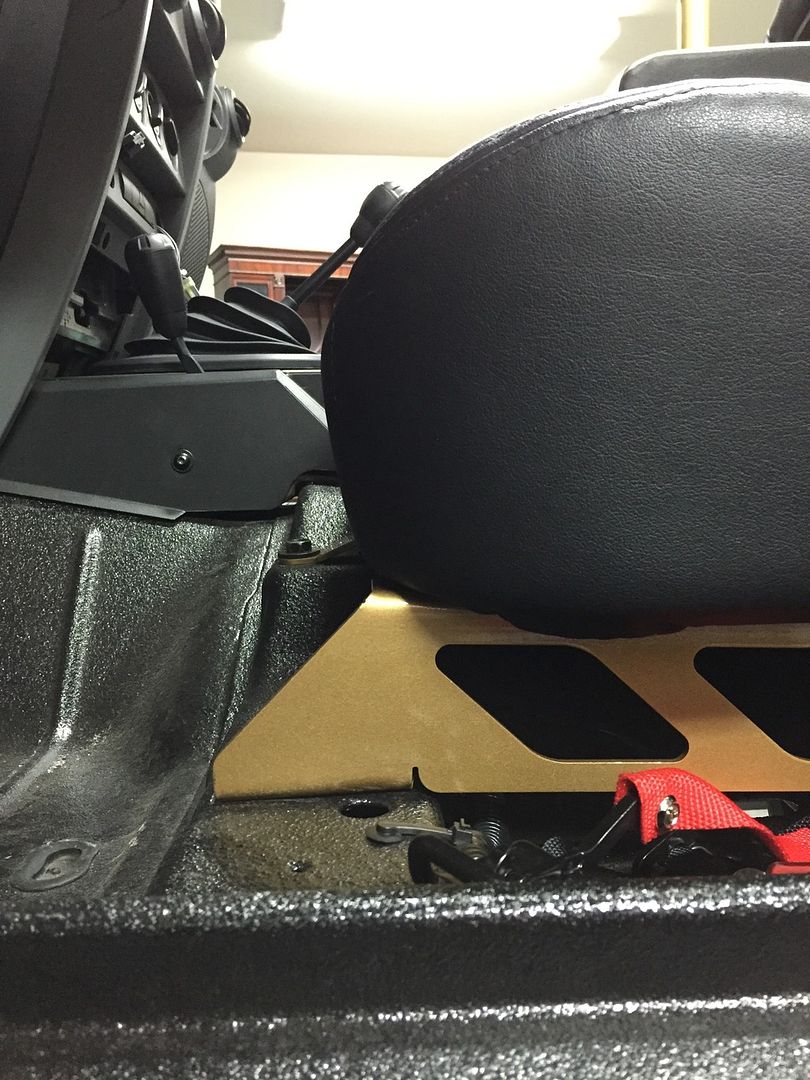
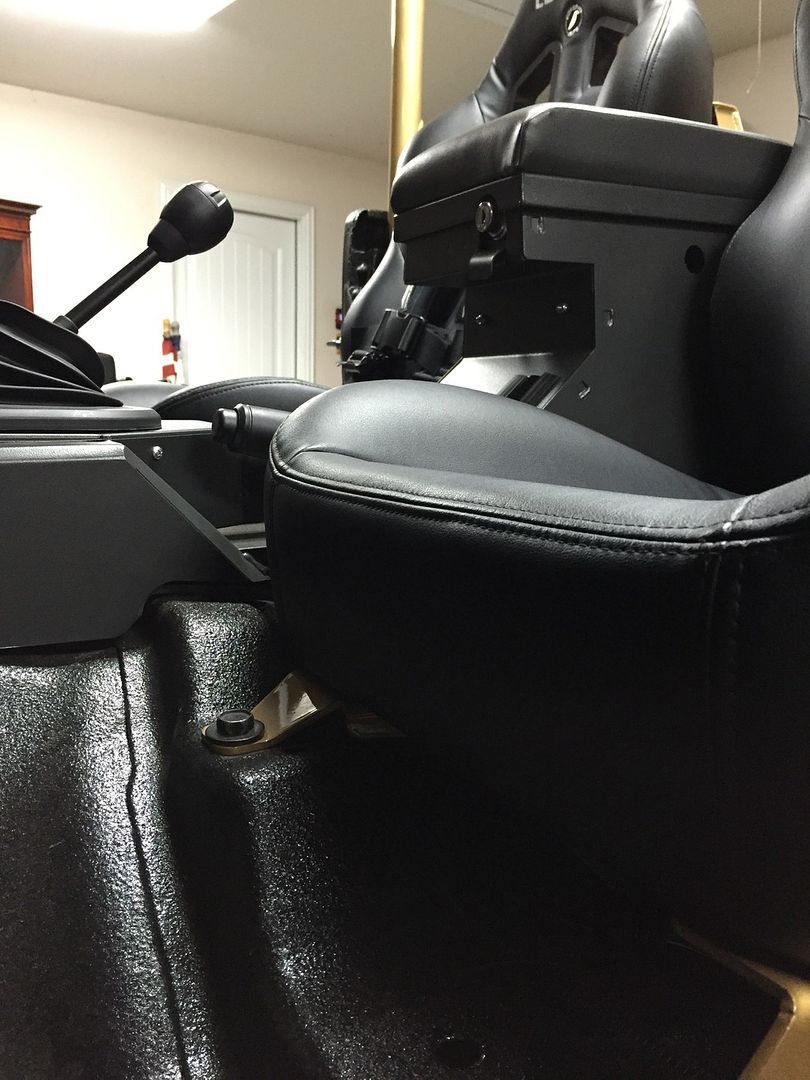
This pic is with the camera directly at my eyeball level. Its low...


Marcus
Starting in September:
I'm super happy with how the cage came out. The Line-X guys did a great job as well.
We cut the corners out a little further before I threw it on the trailer yesterday as well. Have a little more clean up work to do there.


Got the new dash installed and trimmed for the cage shortly after:


12/7 -
Another update...hot off the press. Forgive me if I've covered any of this previously.
The cage was a little lower than we had planned, so I needed to drop the seats down some. I had Corbeau's brackets, which do the job, but leave much to be desired aesthetically. In my searching I came across Genright's seat brackets and decided to give them a shot. They recommend a PRP slider to go with them, and PRP states that they'll work with most aftermarket seat. Wasn't the case. LOL
The sliders are BAD ASS and I highly recommend them over the other options I have had my hands on including Mastercraft adapters, Corbeau brackets and sliders, ect. However...they didn't get the seat down as far as I needed them.
I ended up spending a couple of days mocking up the seats on the GR brackets and mounting them directly onto them. They are as far back and as far in as they could go with the Tuffy console and it worked out perfectly. I have about a fist and a finger of head room, which I'm comfortable with.
I had opened up the rear corner armor a little more to help with the extra stretch and larger tires, so I needed to re-powder coat them. Decided to go ahead and re-do everything in a high gloss black in an attempt to match the body. It turned out great on the body armor and flares, but the corners came out with a lot of orange peel. I think I'll likely have them painted at some point.
Here are some pics!


This pic is with the camera directly at my eyeball level. Its low...


Marcus
Last edited by RiverCityOffroad; 10-05-2017 at 10:03 AM.
02-08-2016, 07:30 AM
#39
Former Vendor
Thread Starter
Join Date: Nov 2010
Location: Austin, TX
Posts: 563
Likes: 0
Received 0 Likes
on
0 Posts
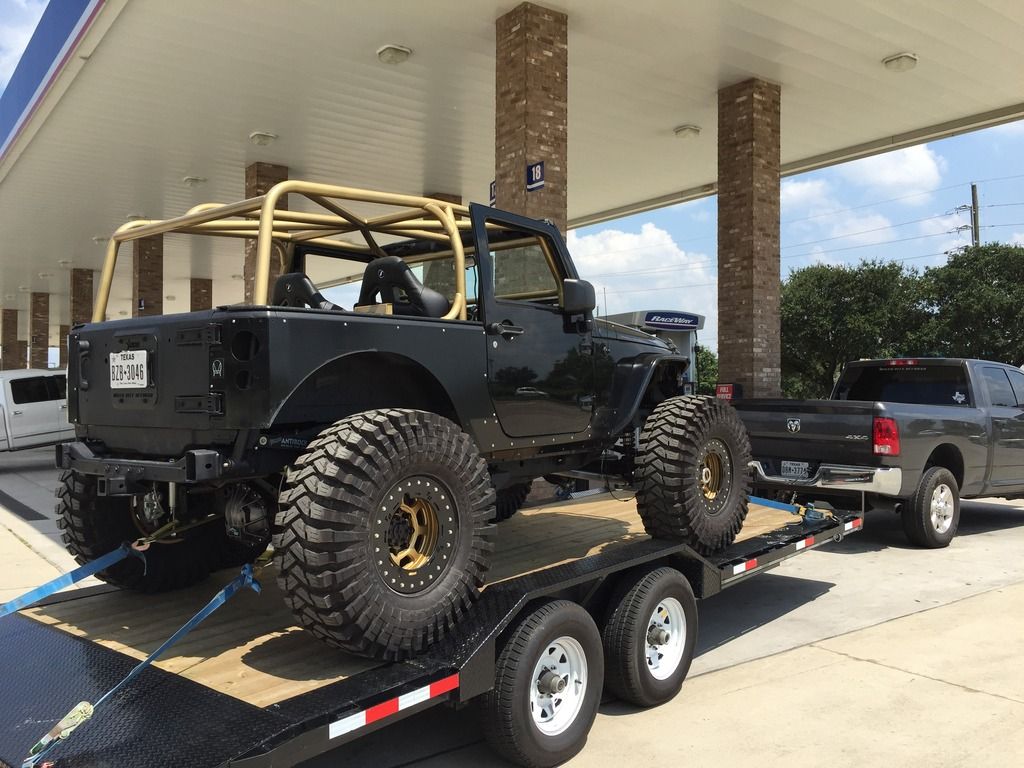
12/17 -
I finally got it back out and drove to the gas station. Couldn't resist hitting up the mall. LOL
The list is getting shorter. Should have it on the trail mid January for a shake down! :bounce: (I know, I know....I'm slow.)
12/30 -
I'm finally on the home stretch with this thing! Everyone keeps asking why it isn't done yet or why it hasn't hit the trail and honestly it seems like every time I touch the thing something else falls apart or requires a work around.
I've been chasing a power draw, and instead of doing the logical thing and trying to actually figure out what was drawing power, I just started throwing money at it and replacing parts. A new TIPM, wiring harness, plug and play LED wiring from Poison Spyder, and a new battery later...I still have a draw. :thankyou: Whatever it is, it is killing a gel cell battery in a matter of hours. I'll figure that out this weekend.
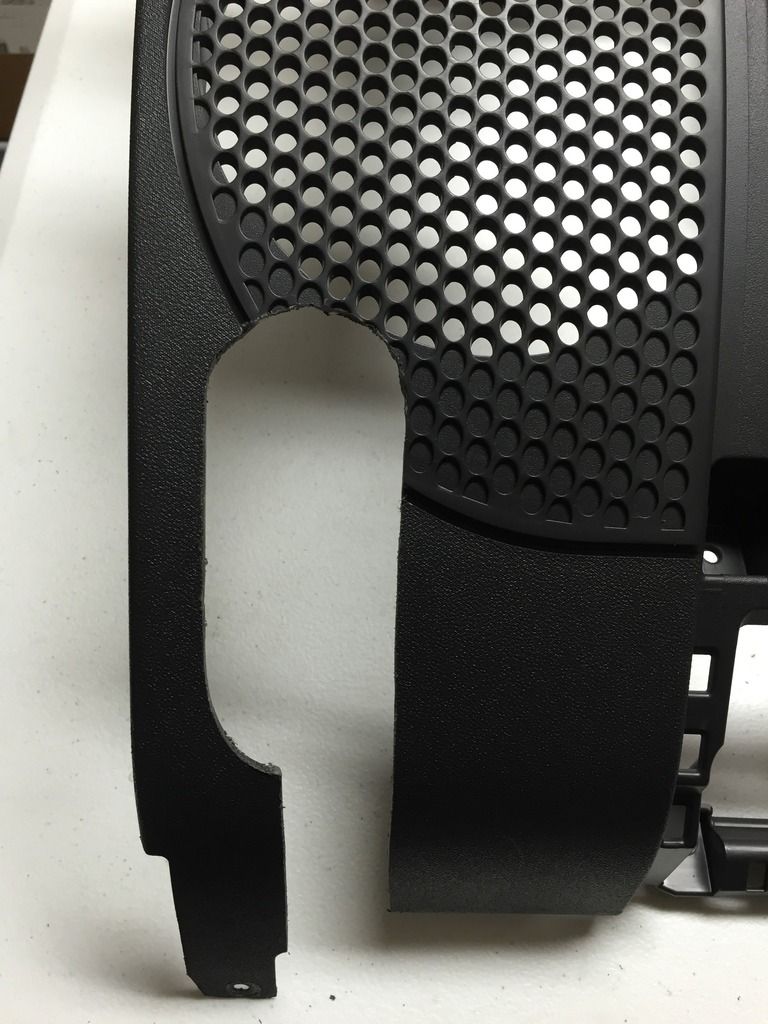
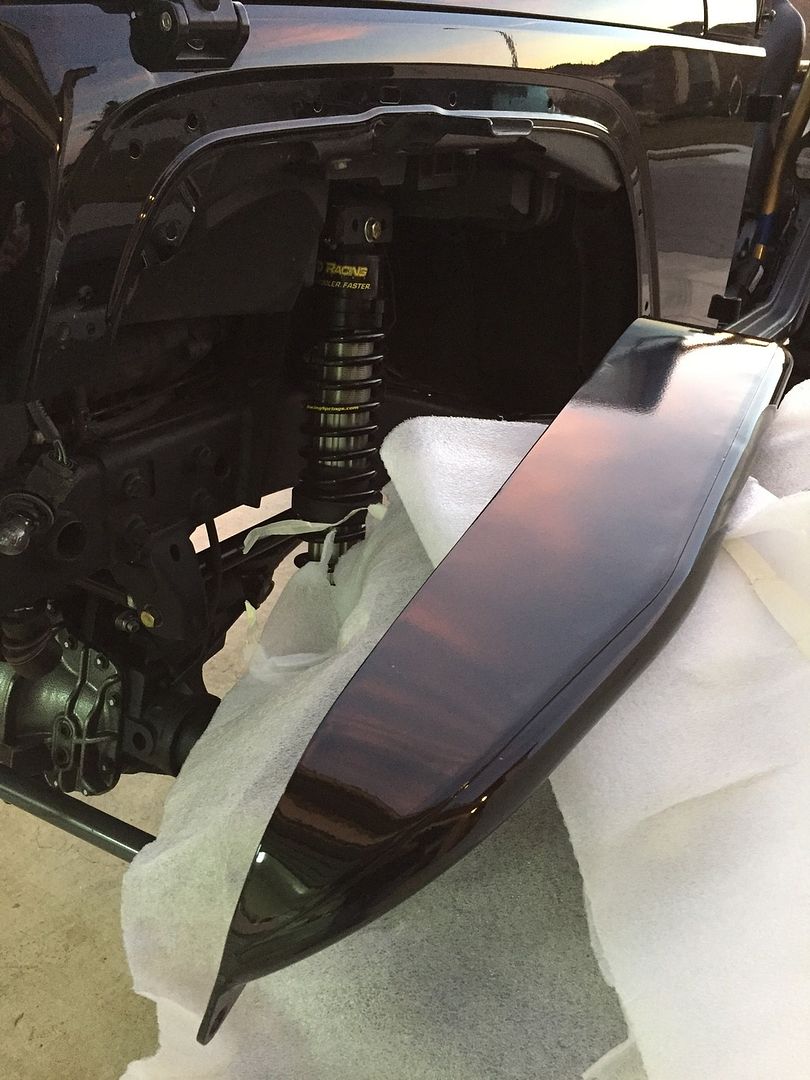
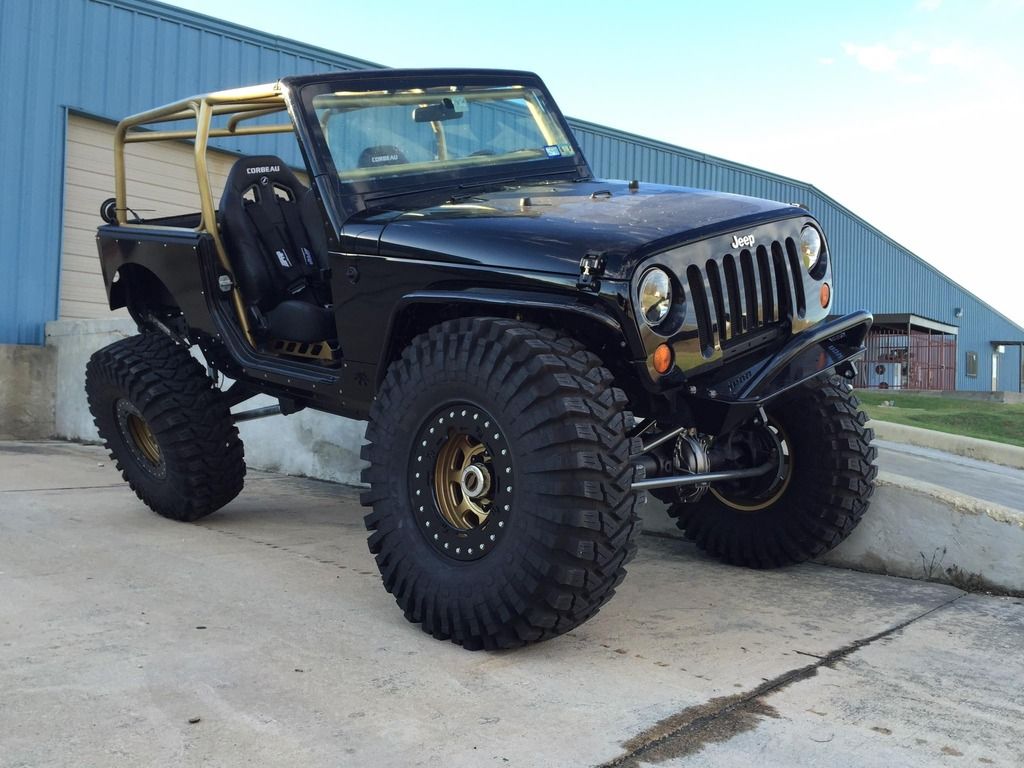
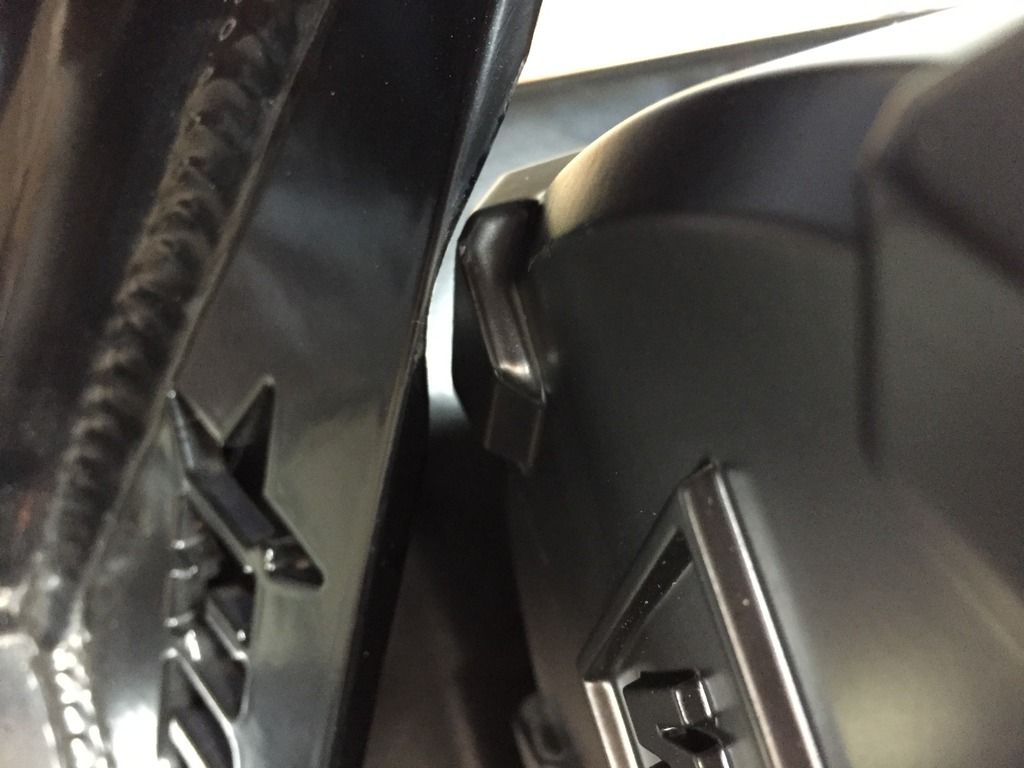
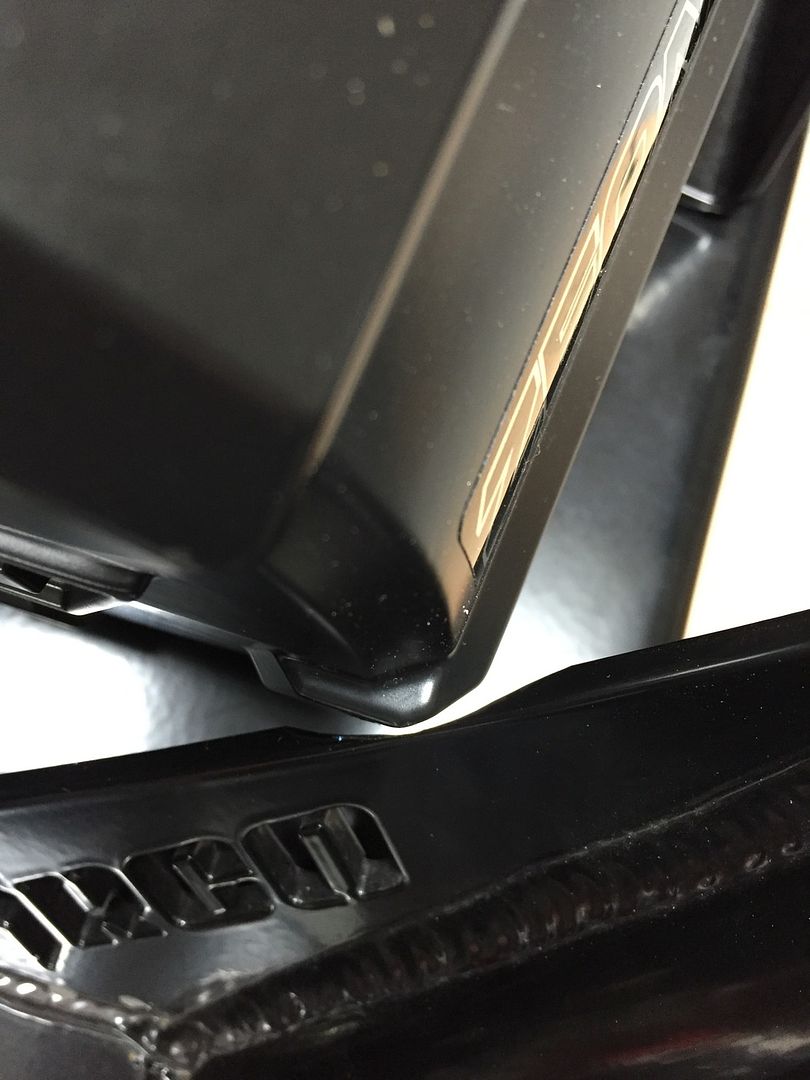
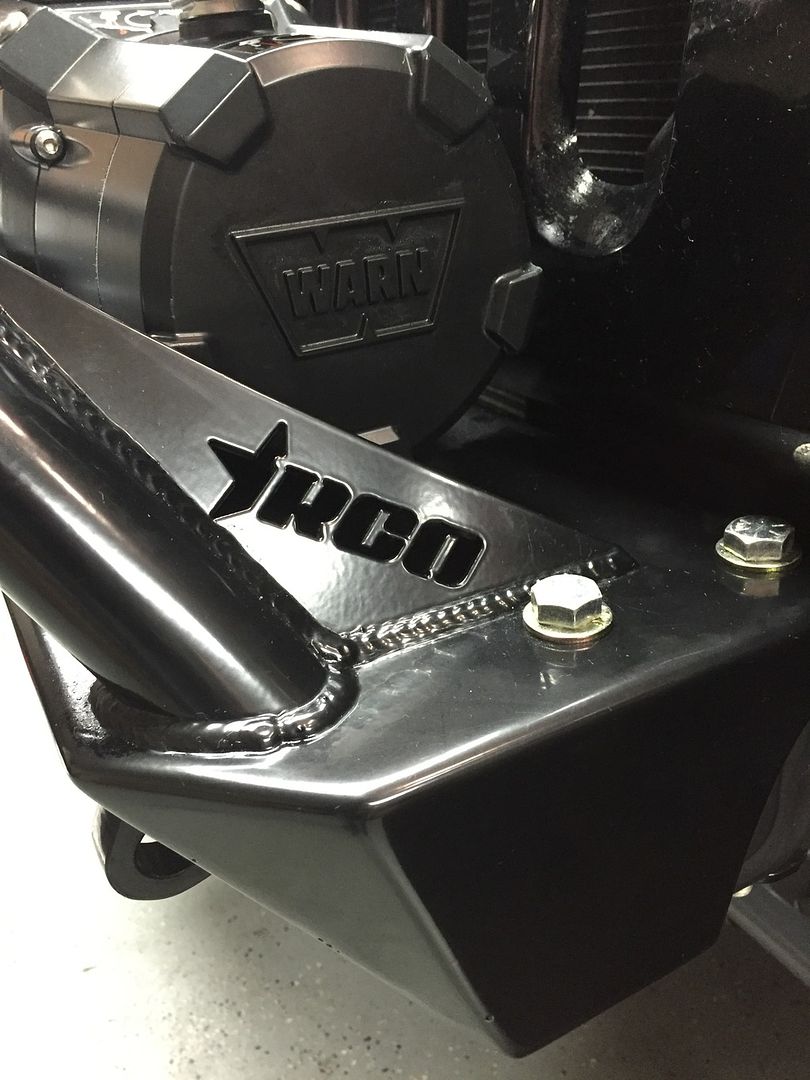
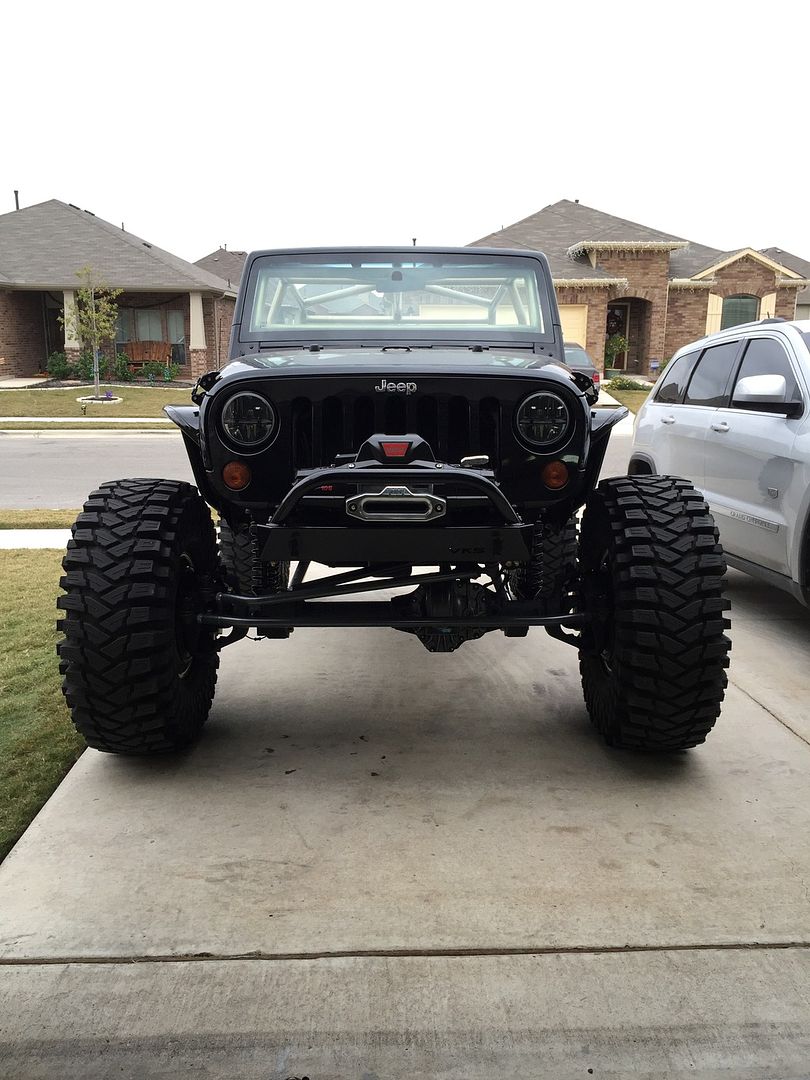
In the meantime I've installed the winch that has been sitting here for about a year, and of course that proved to be interesting just like everything else I've done to this stupid thing. The Zeons are huge, there is no denying that. I set it on the bumper before having it powder coated, but failed to check the holes in relation to the mounting points in the winch. LOL
I ended up having to clearance the bumper slightly and it turned out really clean. You wouldn't know it was done unless I showed you, so here you go.
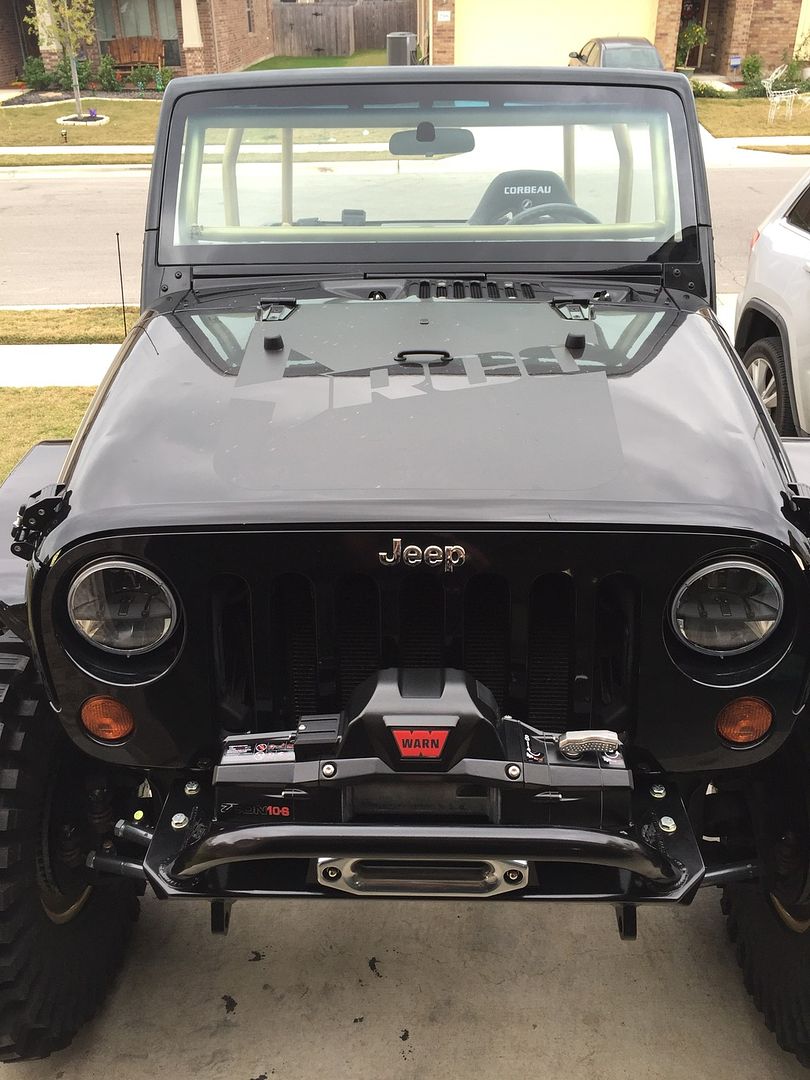
I didn't put the rope in because I put the cart before the horse and remembered that I need to put the cooler for my hydro assist behind the grill. It doesn't like to come off with the winch on there...so... Sigh.
Hydro from PSC Motorsports will be here tomorrow. These axles take the standard JK steering, so a standard JK kit will work. You just don't need the brackets and so on since they already have space for tabe. I was going to send the box off and have it rebuilt, but since everything else is new...new steering box too! I'l chronicle that next and get some better pics of the interior all put back together with the belts in soon.
Overall the Jeep has turned out SO much better than I ever imagined and the lessons I've learned while building it are priceless. It has definitely been a love hate relationship and I can't wait to go get some dirt on it again!
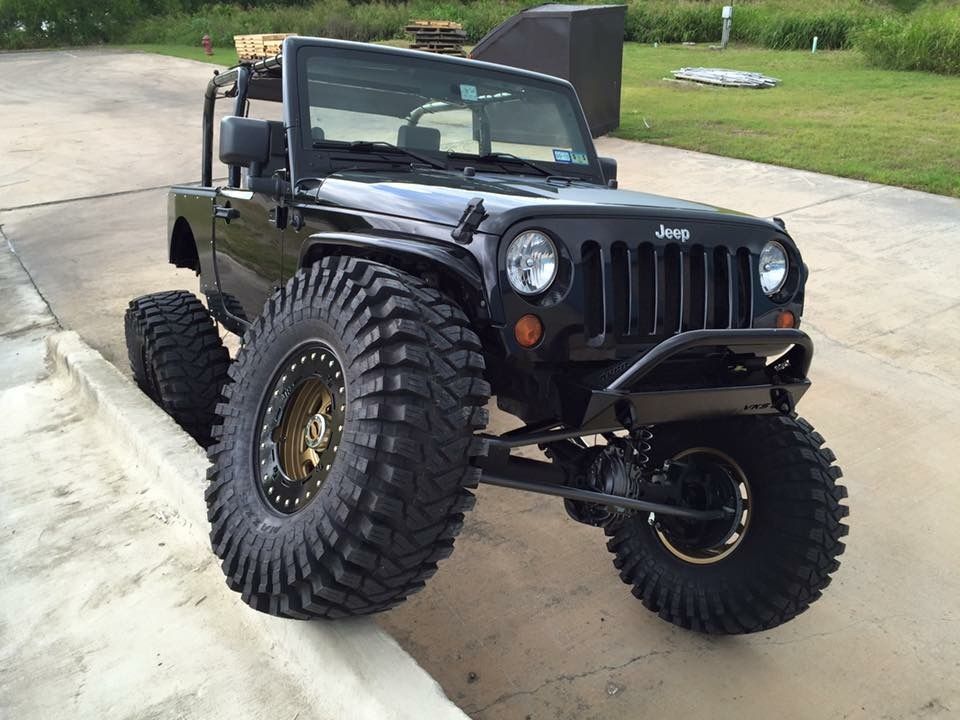
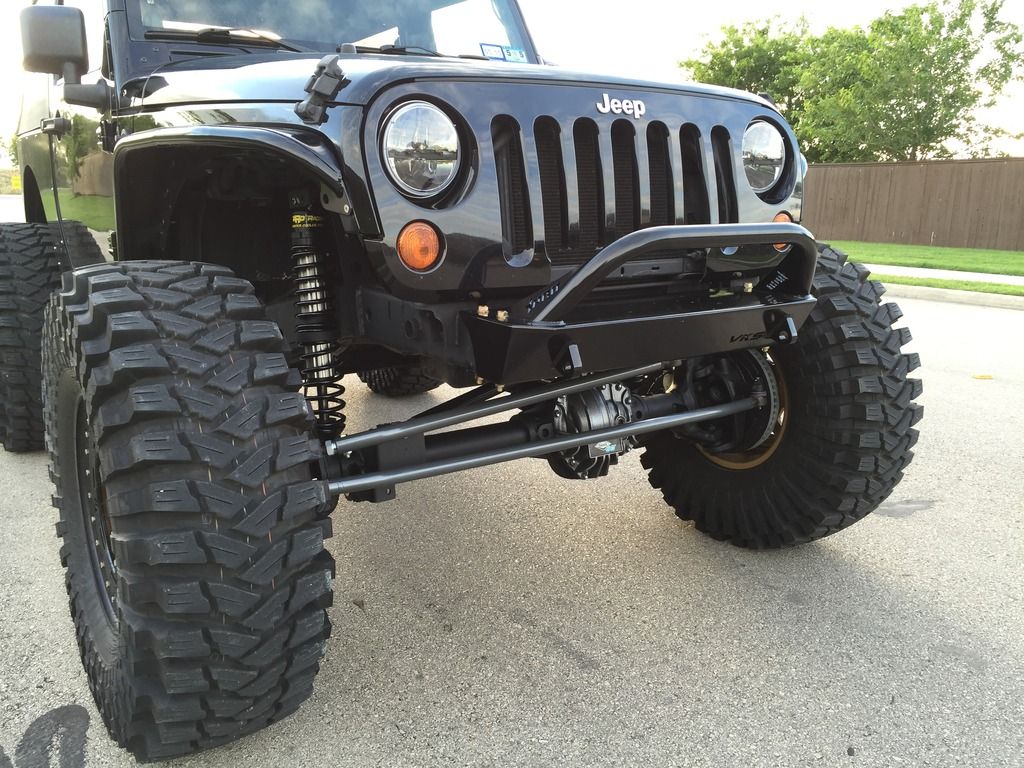
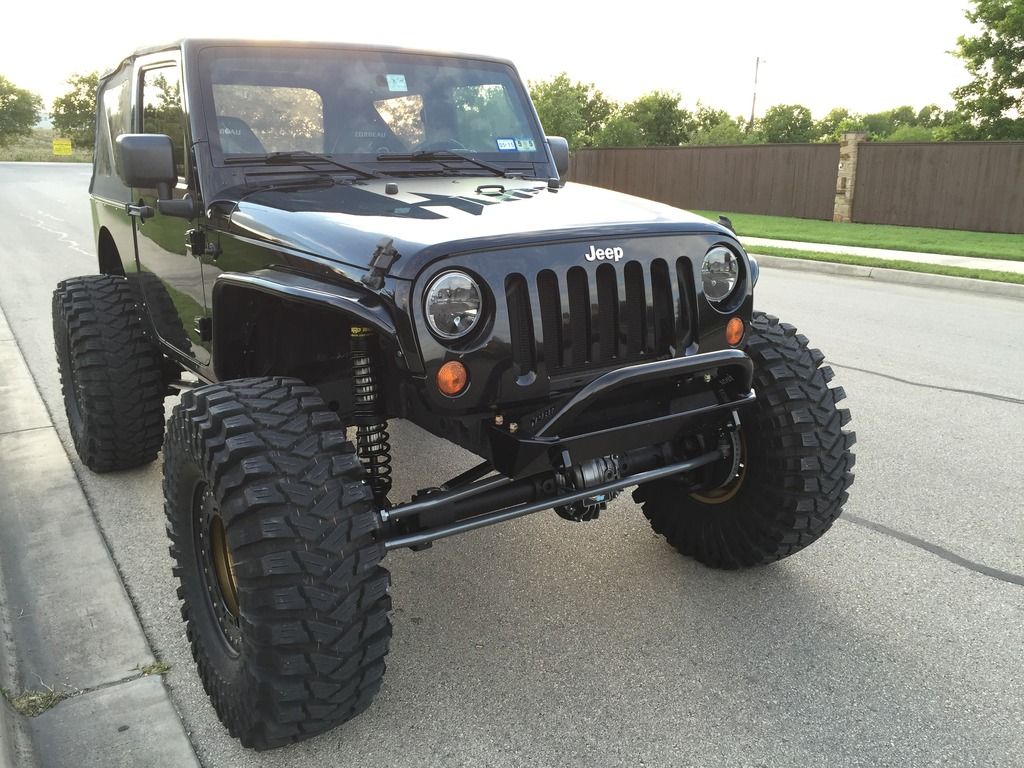
Ballerific...I love this VKS Fab bumper.

New windshield too! The old one was all chipped and beaten up.
I finally got it back out and drove to the gas station. Couldn't resist hitting up the mall. LOL


The list is getting shorter. Should have it on the trail mid January for a shake down! :bounce: (I know, I know....I'm slow.)
12/30 -
I'm finally on the home stretch with this thing! Everyone keeps asking why it isn't done yet or why it hasn't hit the trail and honestly it seems like every time I touch the thing something else falls apart or requires a work around.
I've been chasing a power draw, and instead of doing the logical thing and trying to actually figure out what was drawing power, I just started throwing money at it and replacing parts. A new TIPM, wiring harness, plug and play LED wiring from Poison Spyder, and a new battery later...I still have a draw. :thankyou: Whatever it is, it is killing a gel cell battery in a matter of hours. I'll figure that out this weekend.
In the meantime I've installed the winch that has been sitting here for about a year, and of course that proved to be interesting just like everything else I've done to this stupid thing. The Zeons are huge, there is no denying that. I set it on the bumper before having it powder coated, but failed to check the holes in relation to the mounting points in the winch. LOL
I ended up having to clearance the bumper slightly and it turned out really clean. You wouldn't know it was done unless I showed you, so here you go.
I didn't put the rope in because I put the cart before the horse and remembered that I need to put the cooler for my hydro assist behind the grill. It doesn't like to come off with the winch on there...so... Sigh.
Hydro from PSC Motorsports will be here tomorrow. These axles take the standard JK steering, so a standard JK kit will work. You just don't need the brackets and so on since they already have space for tabe. I was going to send the box off and have it rebuilt, but since everything else is new...new steering box too! I'l chronicle that next and get some better pics of the interior all put back together with the belts in soon.
Overall the Jeep has turned out SO much better than I ever imagined and the lessons I've learned while building it are priceless. It has definitely been a love hate relationship and I can't wait to go get some dirt on it again!


Ballerific...I love this VKS Fab bumper.


New windshield too! The old one was all chipped and beaten up.


Last edited by RiverCityOffroad; 10-05-2017 at 10:04 AM.
02-08-2016, 07:31 AM
#40
Former Vendor
Thread Starter
Join Date: Nov 2010
Location: Austin, TX
Posts: 563
Likes: 0
Received 0 Likes
on
0 Posts
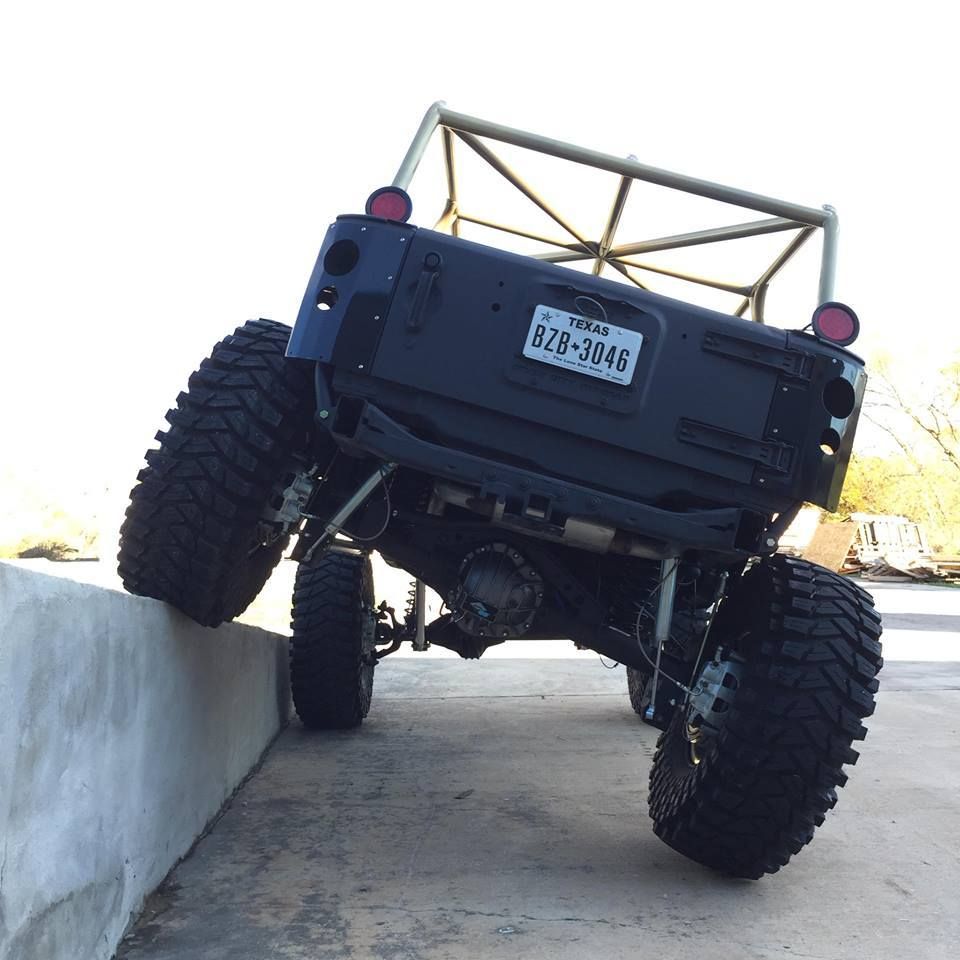
1/17 -
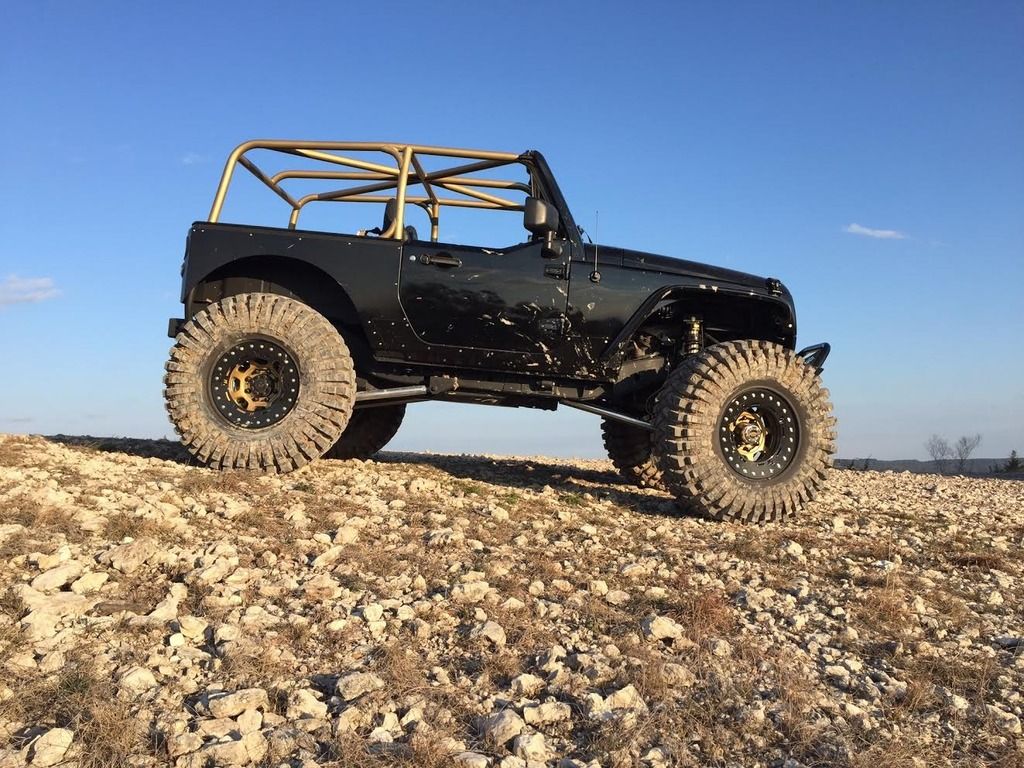
It finally happened! Ha ha!
It performed great and is extremely stable. I am very pleased with the results! NO RAGRETS. Sorry I don't have more wheeling pics...I am not one to jump out on the trail and take pics. Especially with those harnesses... hahaha!

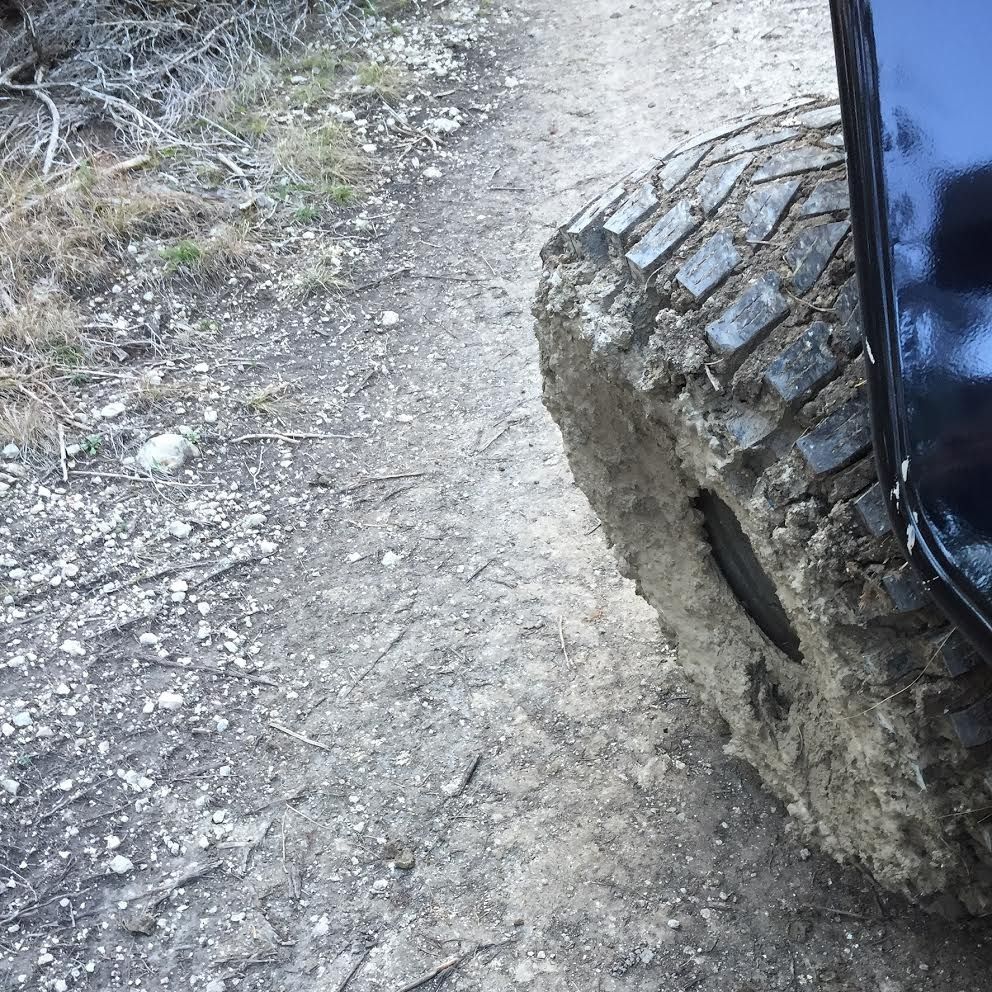
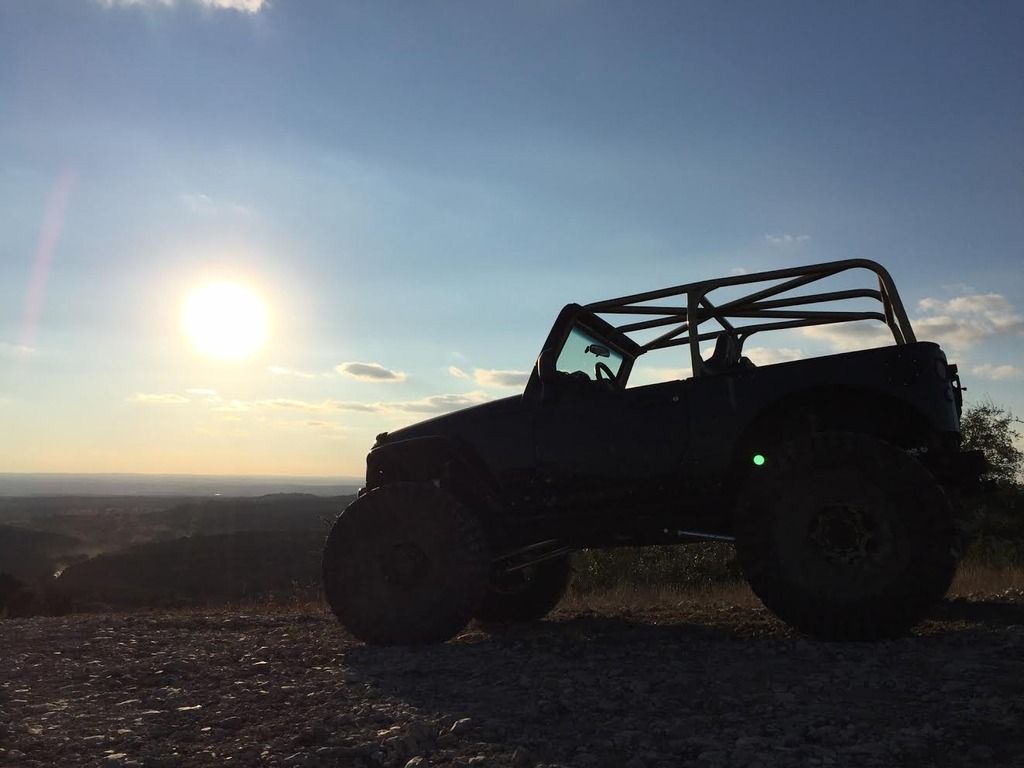
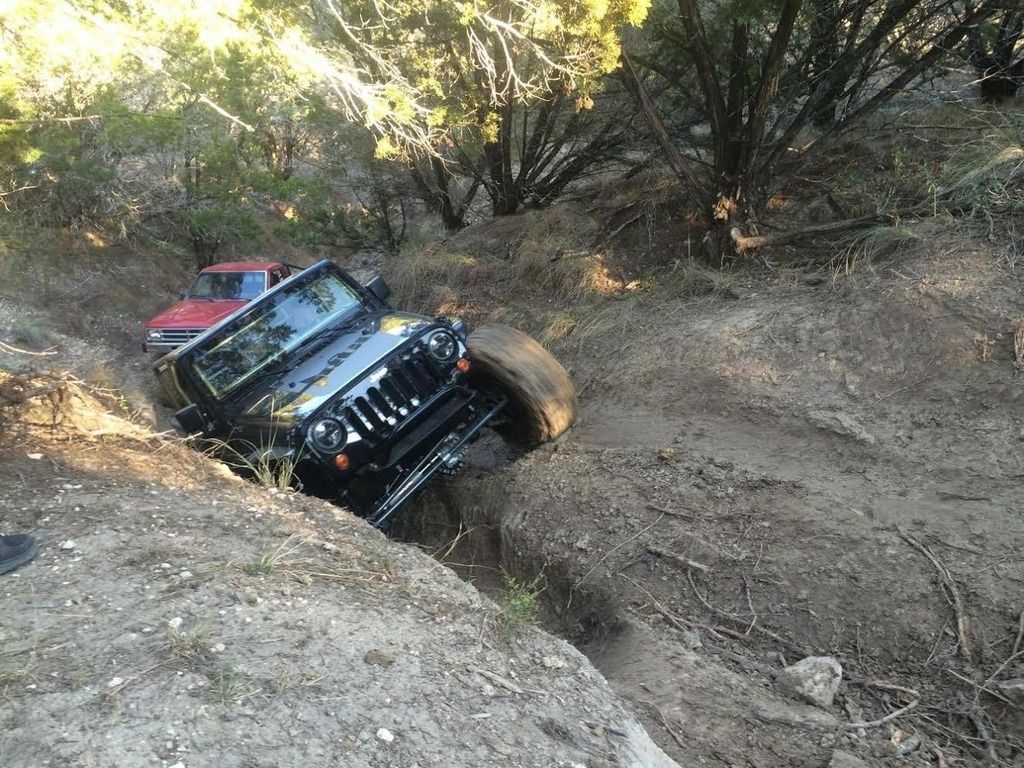

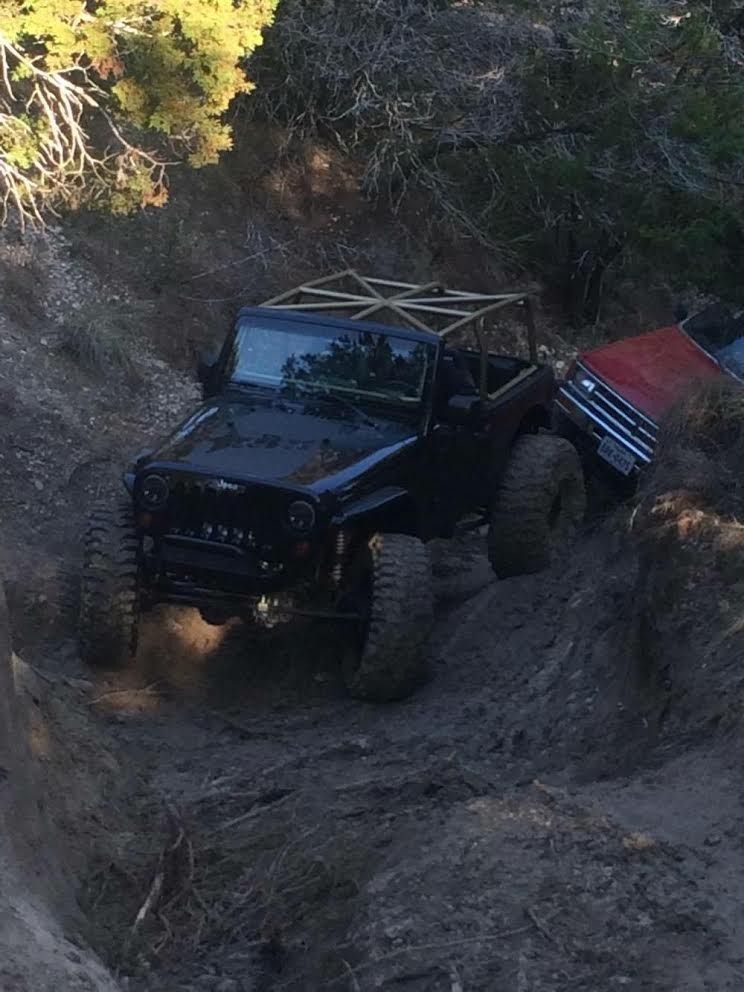
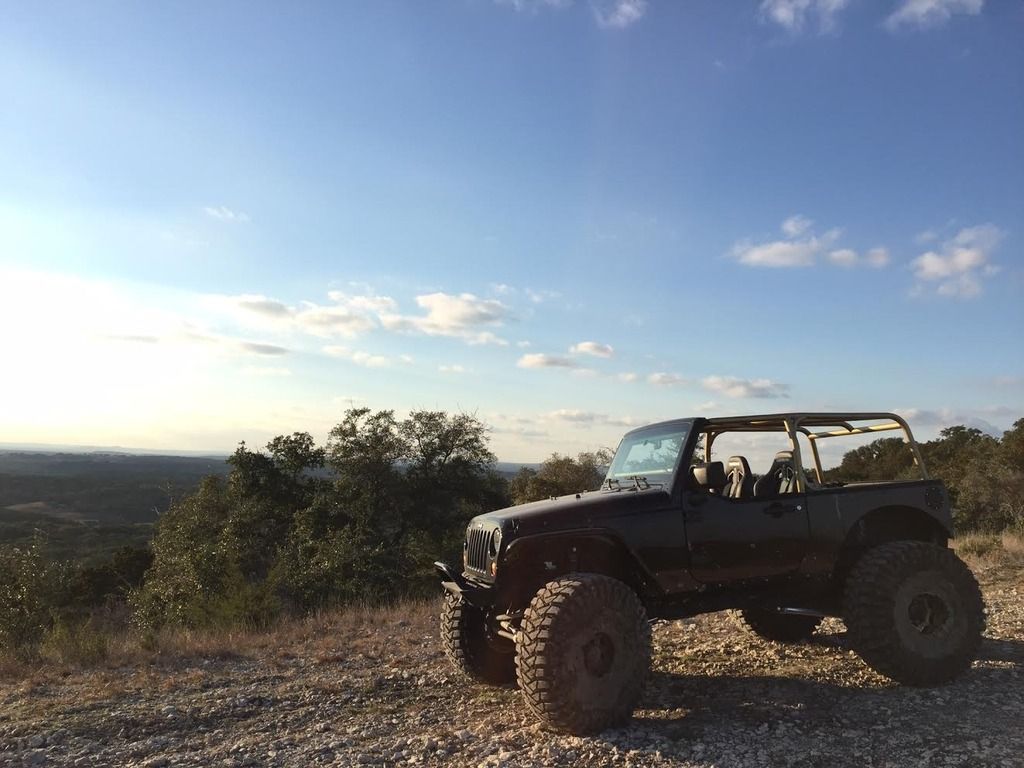
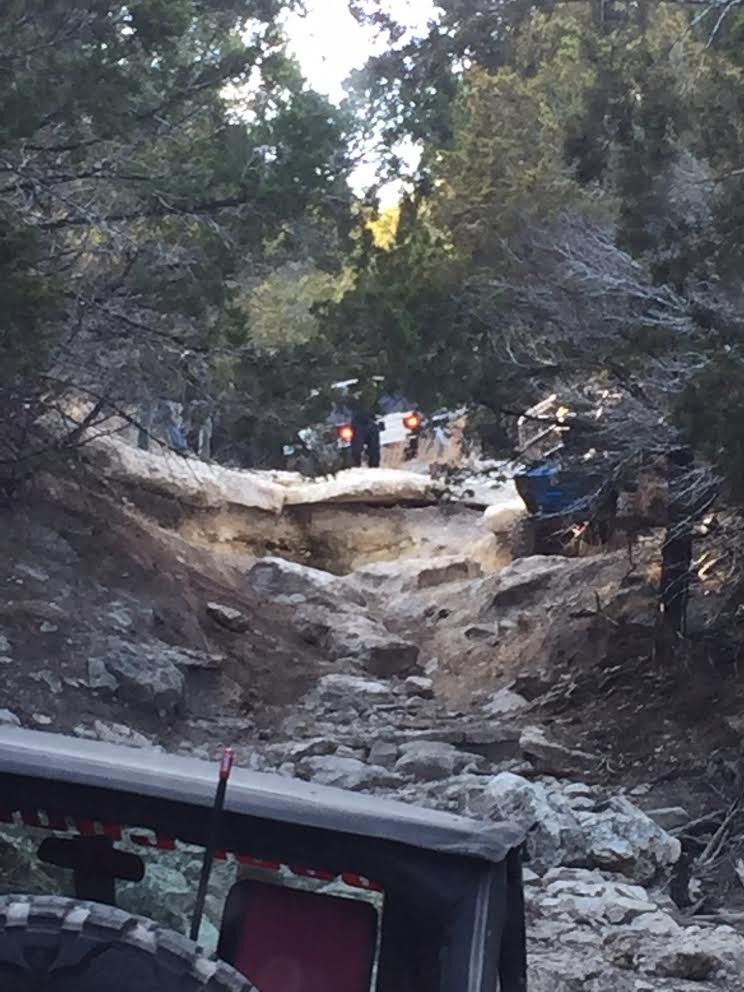
Spent the day today cleaning it all up and I'll inspect it this week to make sure all is well.
It finally happened! Ha ha!
It performed great and is extremely stable. I am very pleased with the results! NO RAGRETS. Sorry I don't have more wheeling pics...I am not one to jump out on the trail and take pics. Especially with those harnesses... hahaha!


Spent the day today cleaning it all up and I'll inspect it this week to make sure all is well.


Last edited by RiverCityOffroad; 10-05-2017 at 10:04 AM.