Plus 1 Horsepower: project bull frog
 12-10-2014, 08:45 PM
#1
JK Enthusiast
Thread Starter
Join Date: Apr 2012
Location: United States
Posts: 392
Likes: 0
Received 0 Likes
on
0 Posts
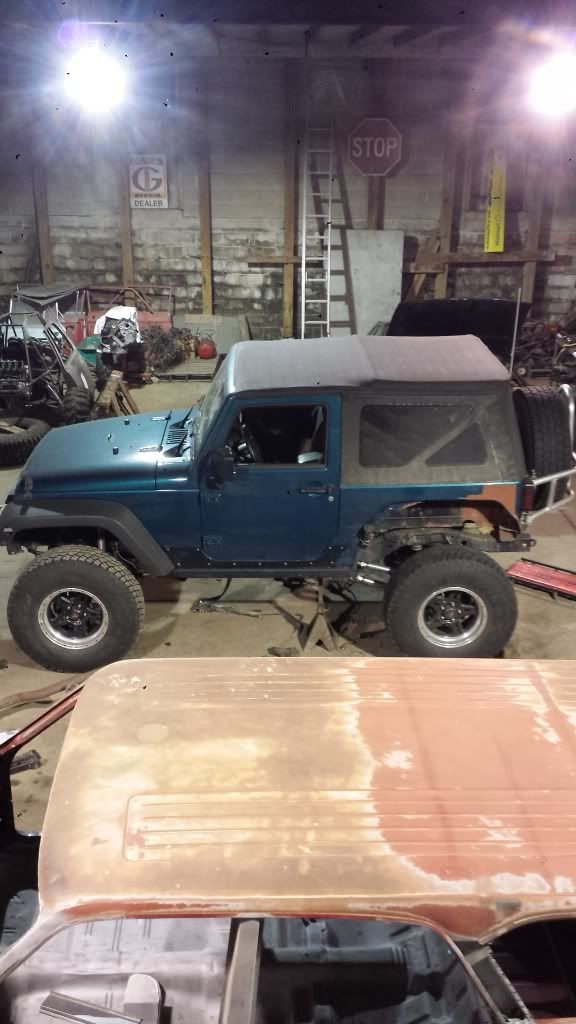
Plus one horsepower back story;
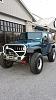
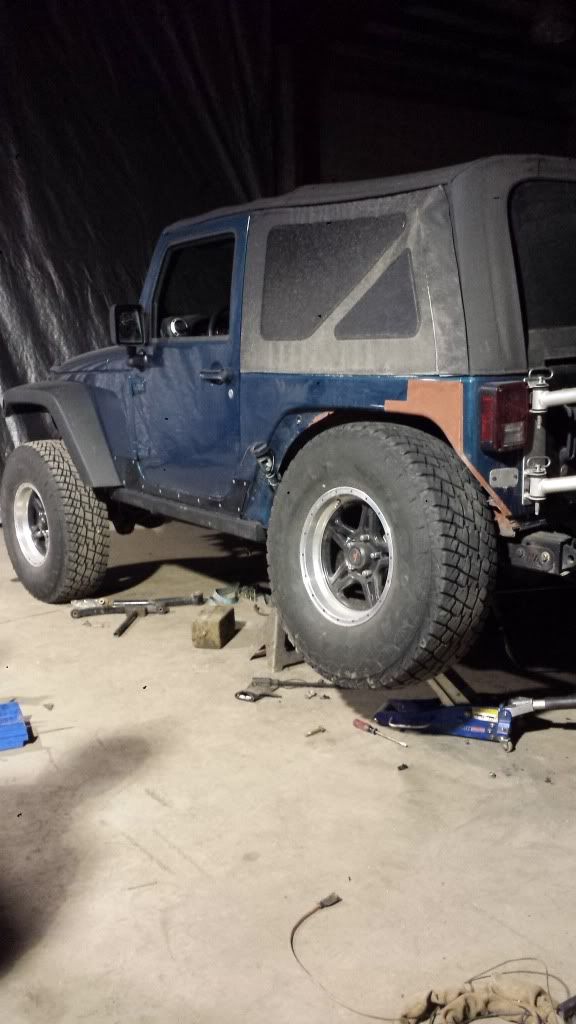
so she started as a black 2012 jk rubicon, the beginning was a 2.5" lift, 37s, truss some minor stuff. on the way to school i ran into an amish horse that had gotten free, driver door went into a telephone pole, flipped into a field. was lucky enough to walk away with nothing but scratches. every body panel was replaced aside from the grill and tail gate, the jeep was painted a GM color "chlorphyll"
Project bull frog; bull frog was a name given to the jeep during the stretch period (keep reading for more info on this). a friend simply stated, "it looks like an angry bull frog". as much as i hated it, it stuck. i guess its better than green frog.
current mod list: the stuff worth explanation
8" rear stretch -simple, works for now
double shear high steer - with lengthened track bar
custom side panels (rear corner)
custom front bumper
custom rear bumper- youll see it in pics, no info as i plan to change it.
grooved falken wild peaks
mod list: the stuff you can find anywhere on most jeeps
artec front truss, c gussets, lca skids
synergy track bar bracket and sector shaft brace
front currie anti rock
diy front lower arms - metal cloak bushings and ruff stuff heims/tubing adapters. 2" .250 wall tubing
trimmed front fenders
genright tire carrier- no longer on the eep
tail gate license plate mount
poison spyder aluminum rocker armor
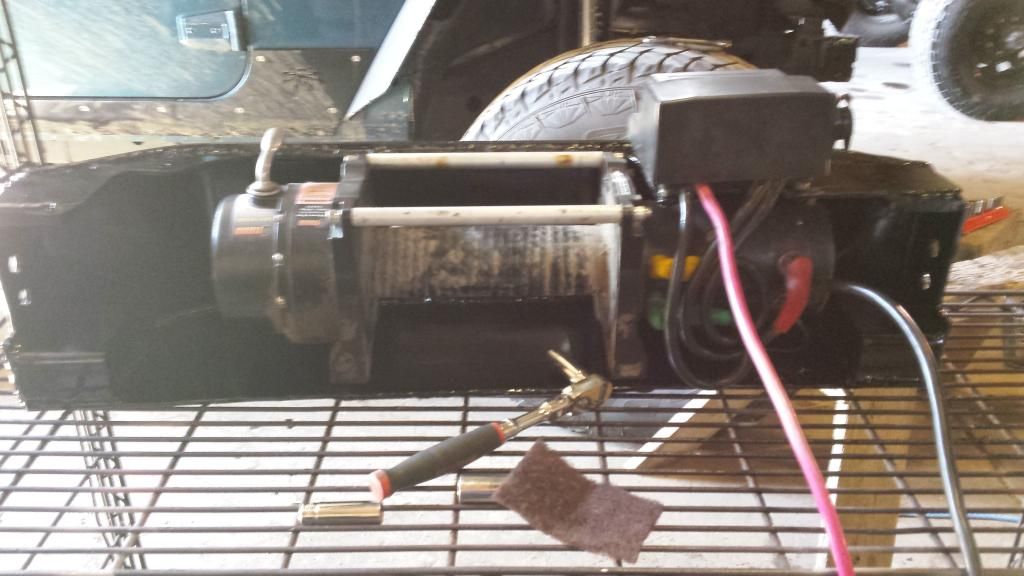
quadratec winch
ruff stuff rear diff cover
arb front diff cover
tom woods 1350 rear drive shaft
there's probably stuff i'm forgetting, ill add that in when i remember
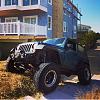
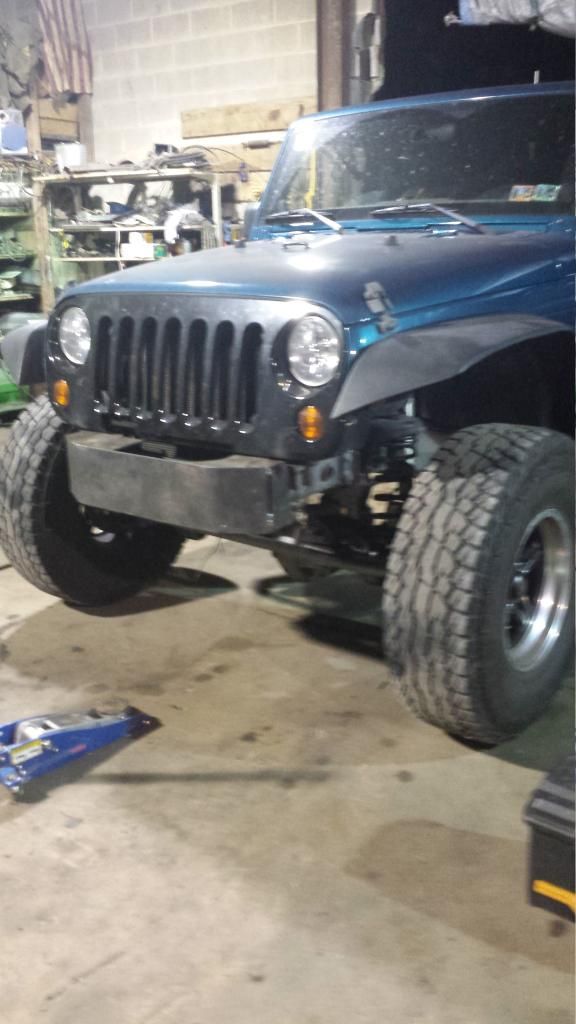
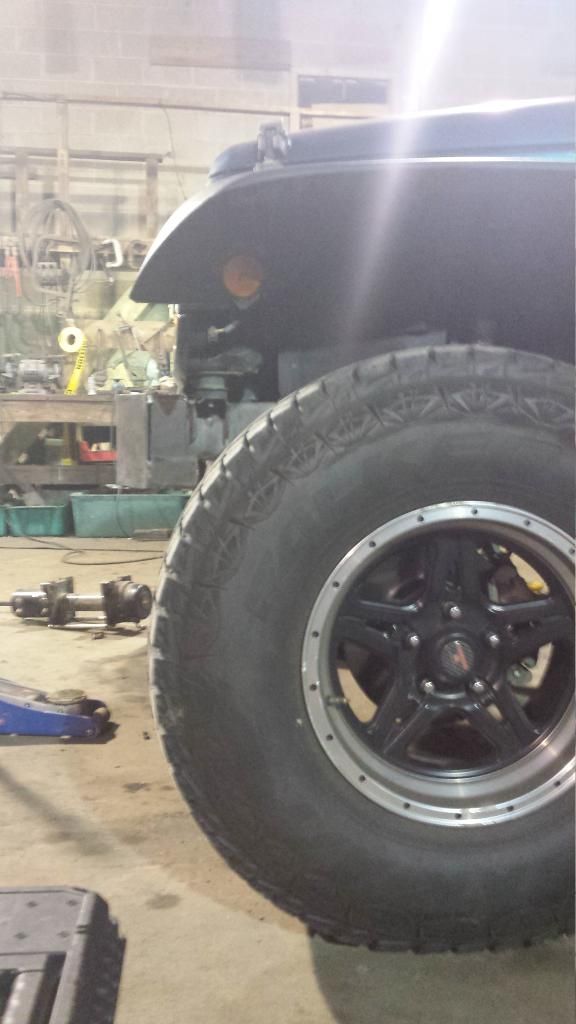
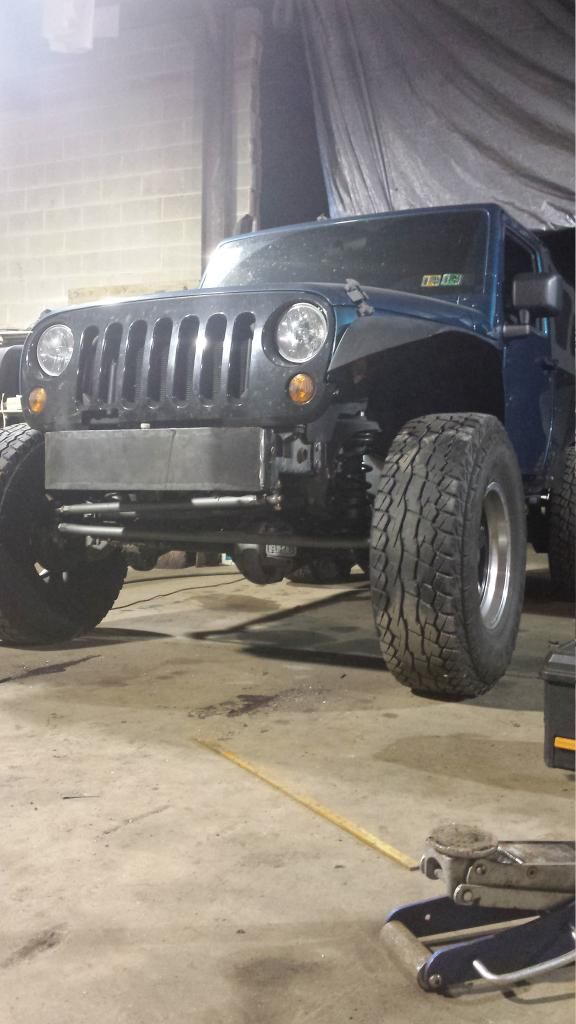
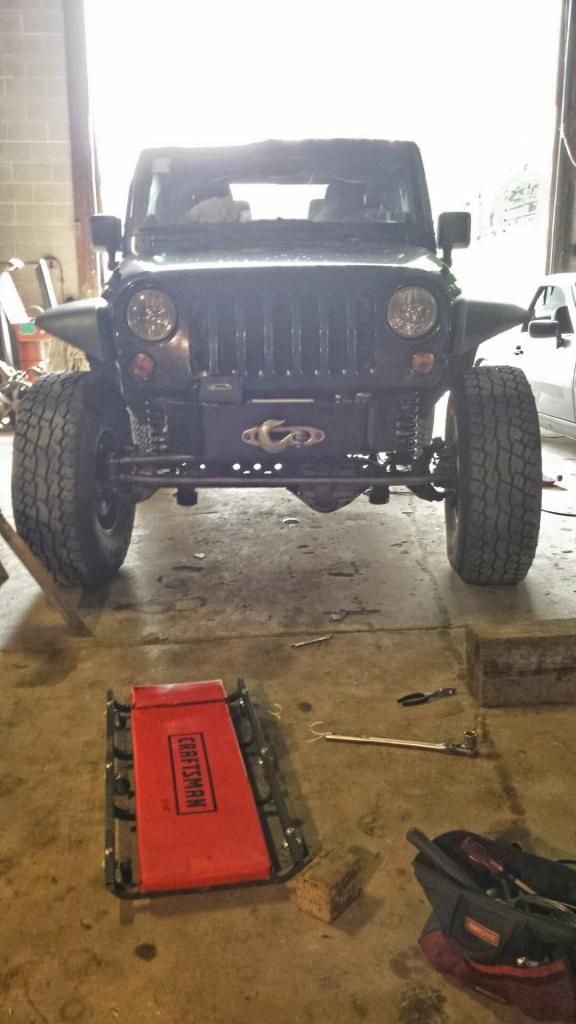
current pic of me eep
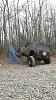
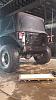
pics of jeep pre stretch. picking her up from the body shop and flexing in long island
so she started as a black 2012 jk rubicon, the beginning was a 2.5" lift, 37s, truss some minor stuff. on the way to school i ran into an amish horse that had gotten free, driver door went into a telephone pole, flipped into a field. was lucky enough to walk away with nothing but scratches. every body panel was replaced aside from the grill and tail gate, the jeep was painted a GM color "chlorphyll"
Project bull frog; bull frog was a name given to the jeep during the stretch period (keep reading for more info on this). a friend simply stated, "it looks like an angry bull frog". as much as i hated it, it stuck. i guess its better than green frog.
current mod list: the stuff worth explanation
8" rear stretch -simple, works for now
double shear high steer - with lengthened track bar
custom side panels (rear corner)
custom front bumper
custom rear bumper- youll see it in pics, no info as i plan to change it.
grooved falken wild peaks
mod list: the stuff you can find anywhere on most jeeps
artec front truss, c gussets, lca skids
synergy track bar bracket and sector shaft brace
front currie anti rock
diy front lower arms - metal cloak bushings and ruff stuff heims/tubing adapters. 2" .250 wall tubing
trimmed front fenders
genright tire carrier- no longer on the eep
tail gate license plate mount
poison spyder aluminum rocker armor
quadratec winch
ruff stuff rear diff cover
arb front diff cover
tom woods 1350 rear drive shaft
there's probably stuff i'm forgetting, ill add that in when i remember
current pic of me eep
pics of jeep pre stretch. picking her up from the body shop and flexing in long island
Last edited by awinski; 12-10-2014 at 09:48 PM.
 12-10-2014, 08:46 PM
#2
JK Enthusiast
Thread Starter
Join Date: Apr 2012
Location: United States
Posts: 392
Likes: 0
Received 0 Likes
on
0 Posts
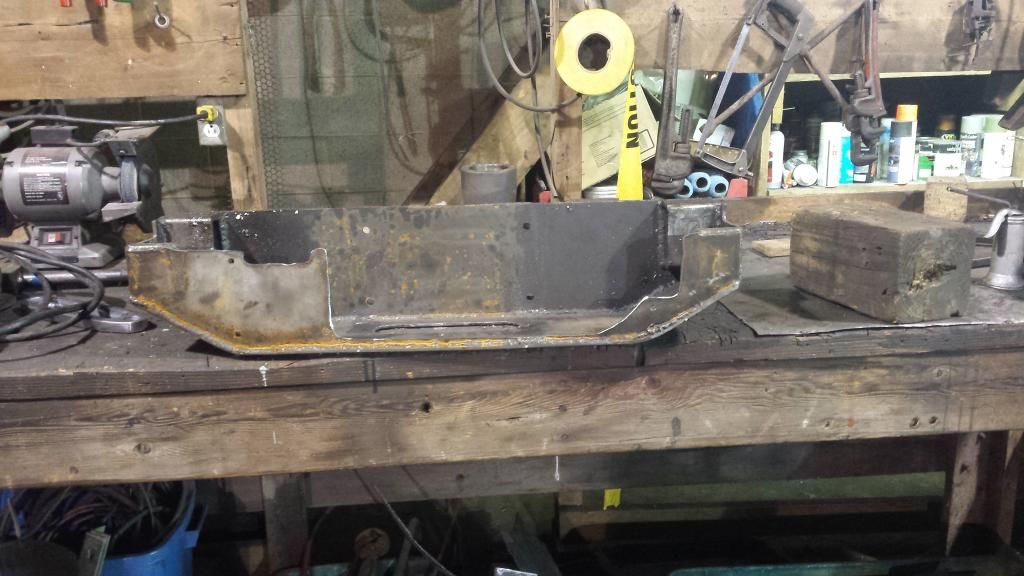
stretch body work:
this is rather straight forward, i don't like the traditional comp cut where theres an arch to the front of the wheel well, but none in the rear. so *what we did was cut out the wheel well with a semi comp cut.
*go back in and weld the cut out lip of the wheel well back on, but further back
*cut out all of the support inside the wheel well. this is by far the worst considering how much is in the way and when using a plasma cutter, how much inside likes to smoke and catch fire. tehe
*make template for rear corners
*cut out rubber liner for rear corners
*cut out rear corners from sheet of 5052 aluminum
*drill and mock up rear corners, drill nutcert holes.
NUTCERT TIP!!!!!! when using 1/4"-20 nutcerts, drill your hole to 3/8" (a step bit helps), then apply a small amount of jb weld to the "ribbed" section of the nutcert. using a small hammer, tap it into place. this makes it 10x easier and ensures a spin free nutcert.
*paint and attach rear corners
for the pics, hopefully in order....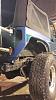
Last edited by awinski; 12-10-2014 at 09:24 PM.
12-10-2014, 08:47 PM
#4
JK Enthusiast
Thread Starter
Join Date: Apr 2012
Location: United States
Posts: 392
Likes: 0
Received 0 Likes
on
0 Posts
i can already tell this 5 picture limit sucks, so the rest will be links to photo bucket.
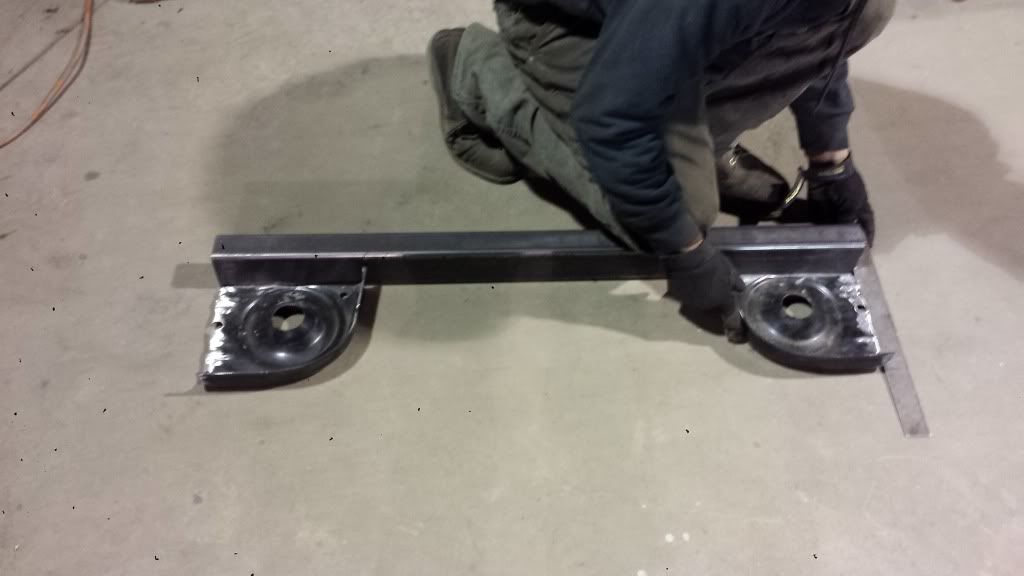
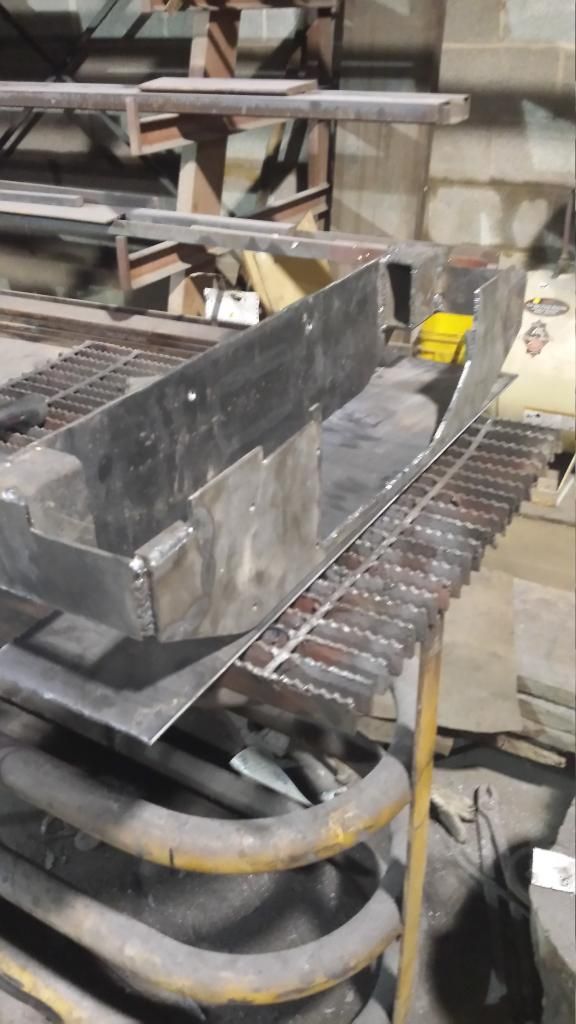
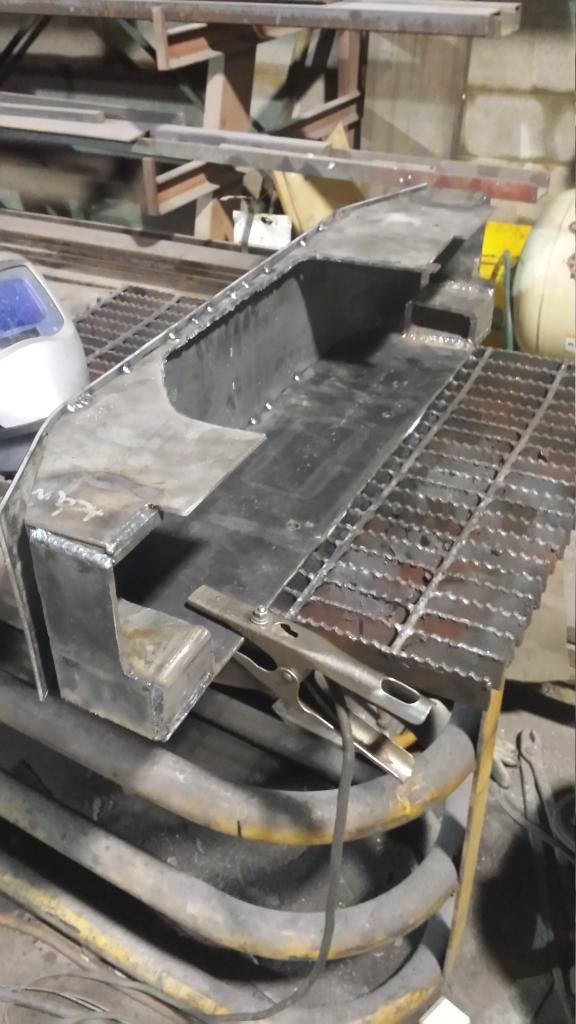
the actual stretch work.
started out by getting the jeep up on jack stands and getting everything disconnected from the axle and frame aside from the brake lines. moved the axle out of the way
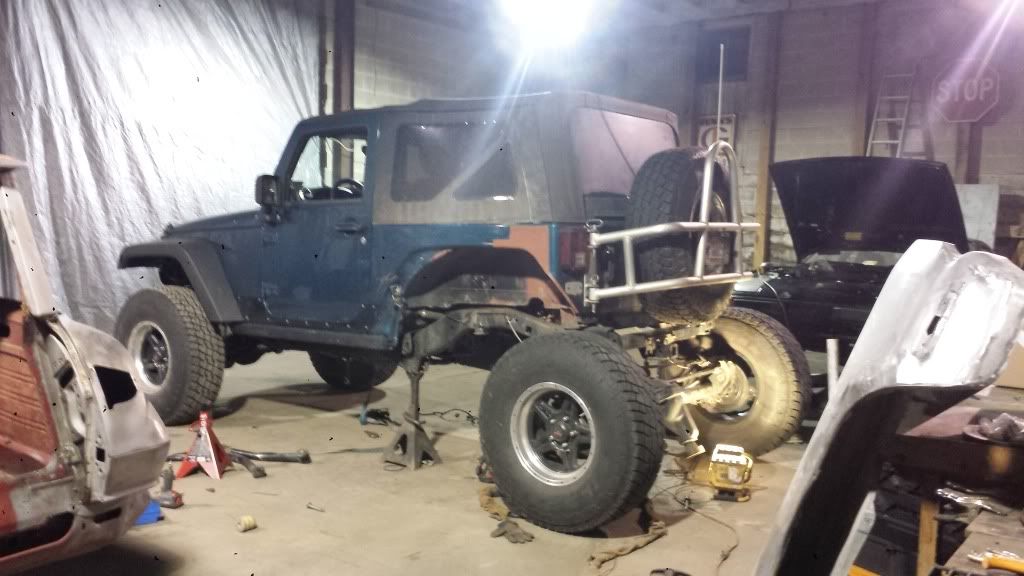
then we moved on to cutting out the coil buckets, shock mounts, and old cross member with the plasma. later went back and used a cut off wheel to get all of the welds and remaining scraps
put the links in, got the pinion angle, made our new cross member made out of 2x3 3/16" steel with the coil buckets and moved it into position. tacked it in place and checked everything out. at ride height.
(pic not at ride height)
took the axle back out to weld the cross member in place and the control arms got a nice fat bead then painted.
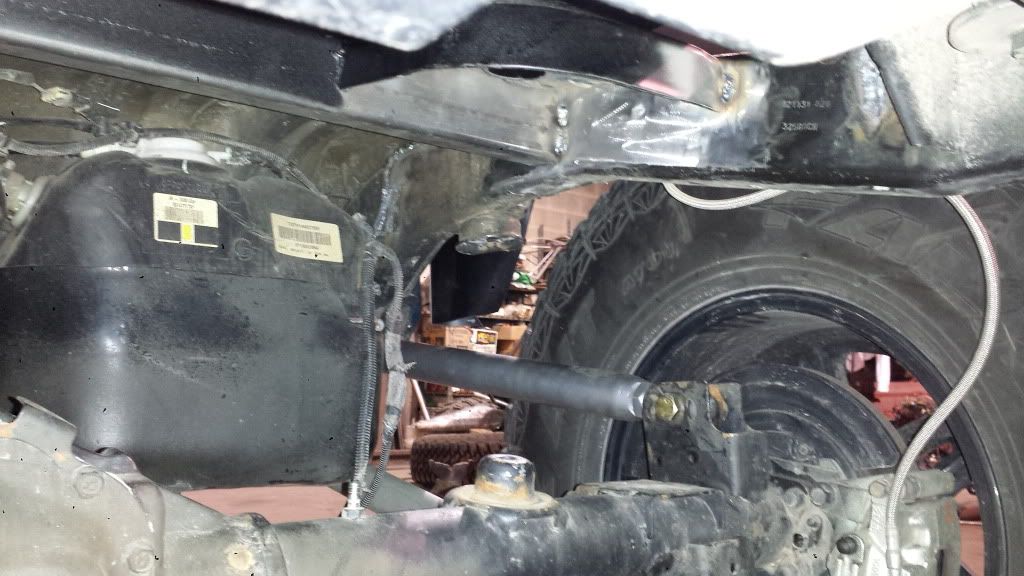
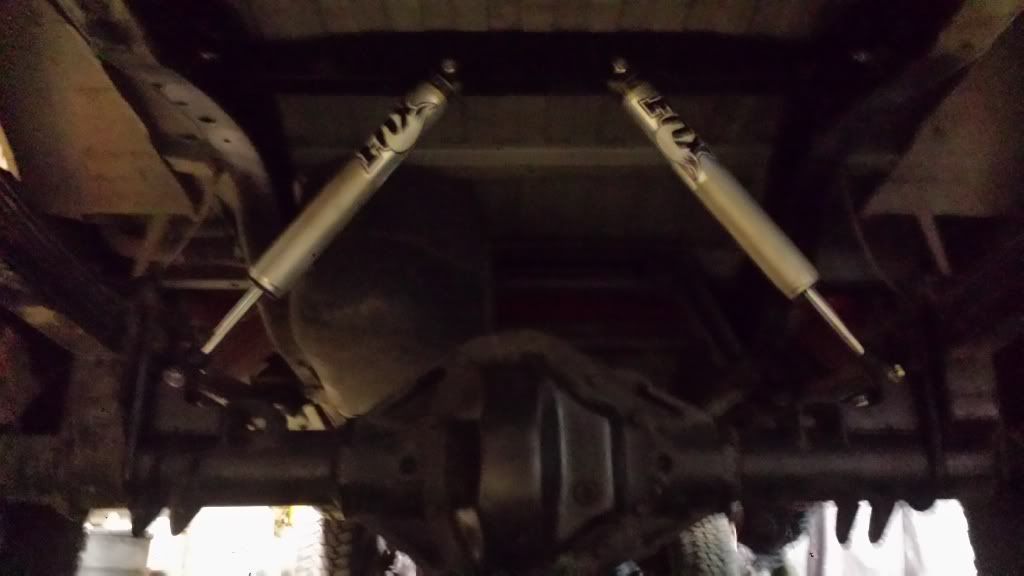
put everything back in and got the shock mounts in, for now i am running the stock rubicon shocks because the compressed length of the fox's was just too much to find a nice place to fit them. this is also why the bump stop is set about 2" lower than it can be. later on ill either make the move to metal cloaks 6 packs. or king coil overs. if i use the metal cloaks ill simply use the same brackets, and take out the spacer i made, gaining another 2" of up travel. deciding between 12 or 14" travel. ill probably go with 12 since i honestly probably don't need 14" to run blacks at rausch and sometimes other places.
Full bump will be 1" lower than this
What it is for the next two weeks :/
buddy got fox's for his cummins
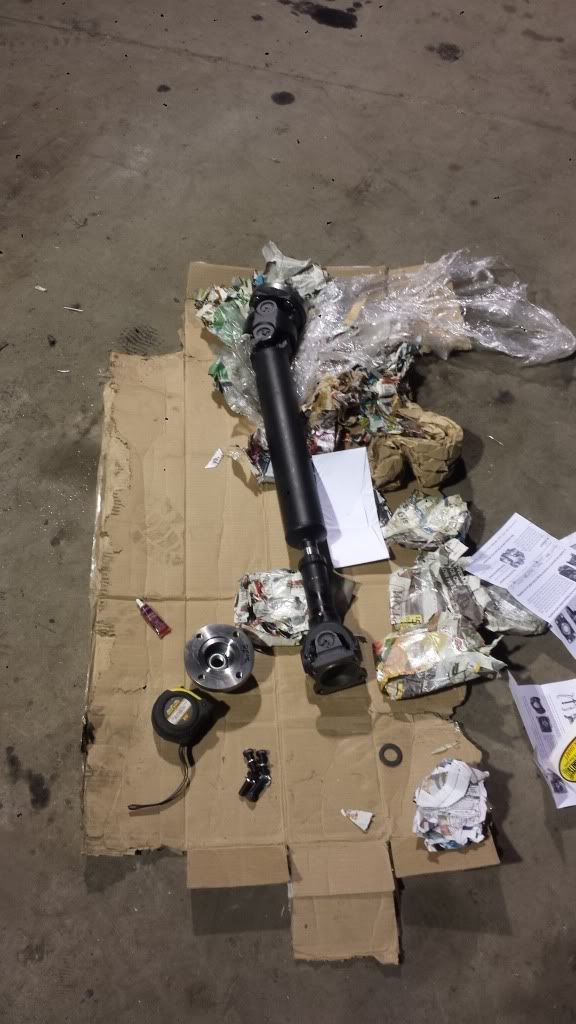
Had all of this done in one weekend, the reason I took so long was waiting for this. I guess no one can lengthen the stocker due to the not having adapters for the cv joints. Tom woods is a work of art
the actual stretch work.
started out by getting the jeep up on jack stands and getting everything disconnected from the axle and frame aside from the brake lines. moved the axle out of the way
then we moved on to cutting out the coil buckets, shock mounts, and old cross member with the plasma. later went back and used a cut off wheel to get all of the welds and remaining scraps
put the links in, got the pinion angle, made our new cross member made out of 2x3 3/16" steel with the coil buckets and moved it into position. tacked it in place and checked everything out. at ride height.
(pic not at ride height)
took the axle back out to weld the cross member in place and the control arms got a nice fat bead then painted.
put everything back in and got the shock mounts in, for now i am running the stock rubicon shocks because the compressed length of the fox's was just too much to find a nice place to fit them. this is also why the bump stop is set about 2" lower than it can be. later on ill either make the move to metal cloaks 6 packs. or king coil overs. if i use the metal cloaks ill simply use the same brackets, and take out the spacer i made, gaining another 2" of up travel. deciding between 12 or 14" travel. ill probably go with 12 since i honestly probably don't need 14" to run blacks at rausch and sometimes other places.
Full bump will be 1" lower than this
What it is for the next two weeks :/
buddy got fox's for his cummins
Had all of this done in one weekend, the reason I took so long was waiting for this. I guess no one can lengthen the stocker due to the not having adapters for the cv joints. Tom woods is a work of art
Last edited by awinski; 12-10-2014 at 09:30 PM.
12-10-2014, 08:47 PM
#5
JK Enthusiast
Thread Starter
Join Date: Apr 2012
Location: United States
Posts: 392
Likes: 0
Received 0 Likes
on
0 Posts
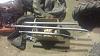
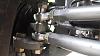
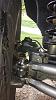
high steer.
the technical: track bar bracket is run off the artec c gusset and axle tube. Track bar comes out to 39" and some change.
OTK drag link comes out to just under 40" we are well within an inch! )
)
Axle side drag link mounts at 23.5" (center of the heim)
Axle side track bar mount is 23.625", not only does this allow the bolt to align between the c and the spring, but also put the track bar at the same angle.

the technical: track bar bracket is run off the artec c gusset and axle tube. Track bar comes out to 39" and some change.
OTK drag link comes out to just under 40" we are well within an inch!
)Axle side drag link mounts at 23.5" (center of the heim)
Axle side track bar mount is 23.625", not only does this allow the bolt to align between the c and the spring, but also put the track bar at the same angle.
Last edited by awinski; 12-10-2014 at 09:37 PM.
12-10-2014, 08:48 PM
#6
JK Enthusiast
Thread Starter
Join Date: Apr 2012
Location: United States
Posts: 392
Likes: 0
Received 0 Likes
on
0 Posts
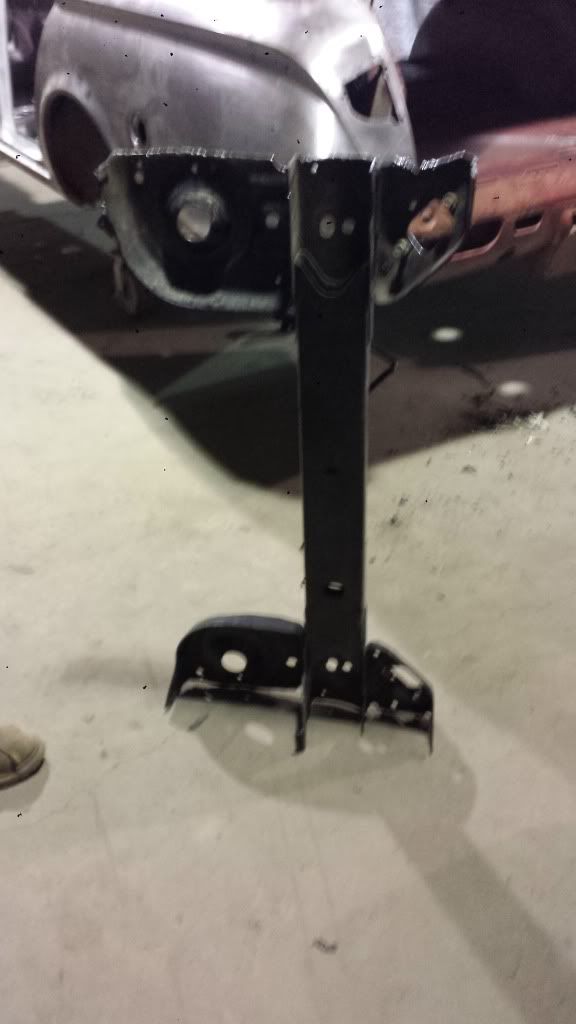
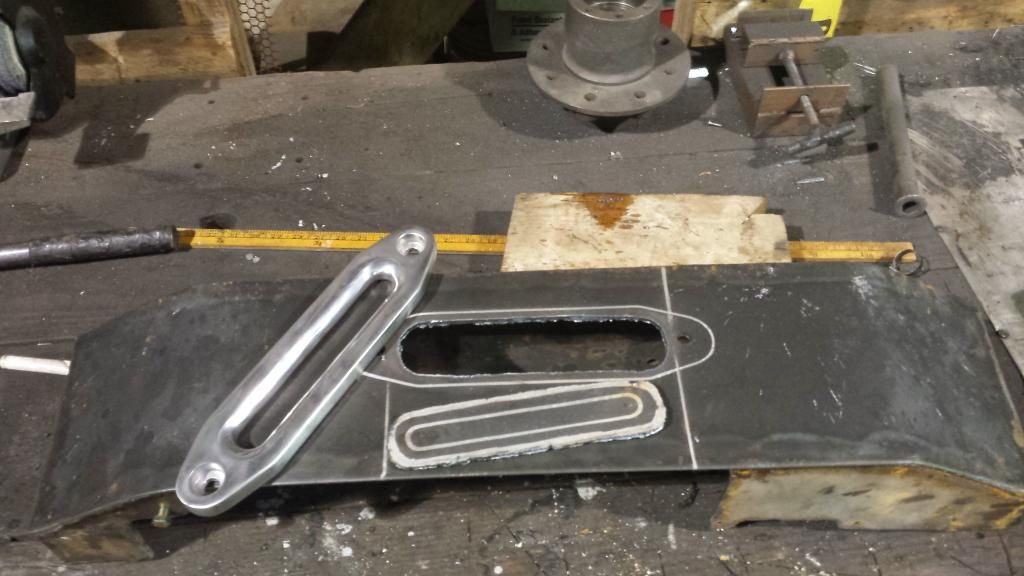
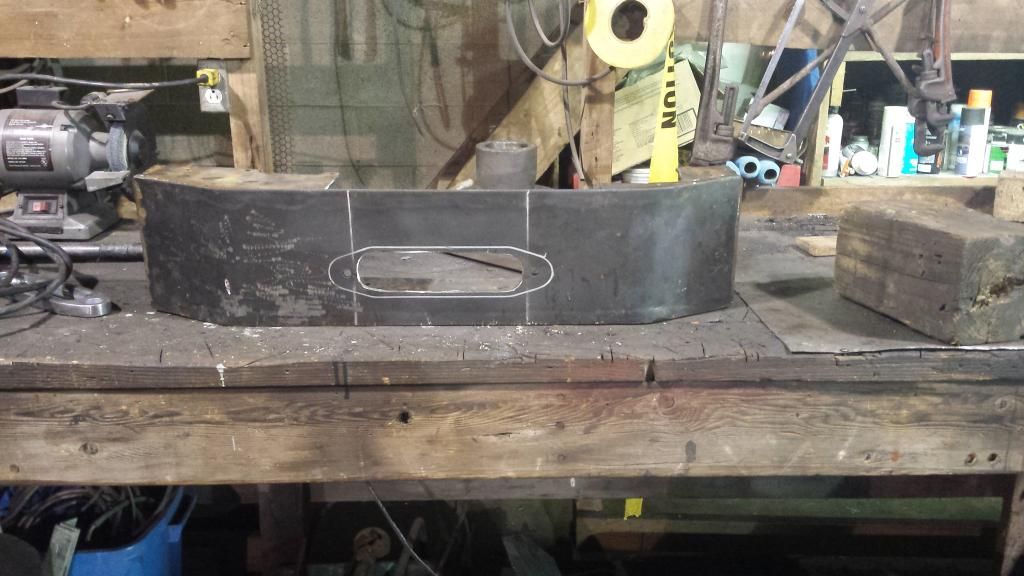
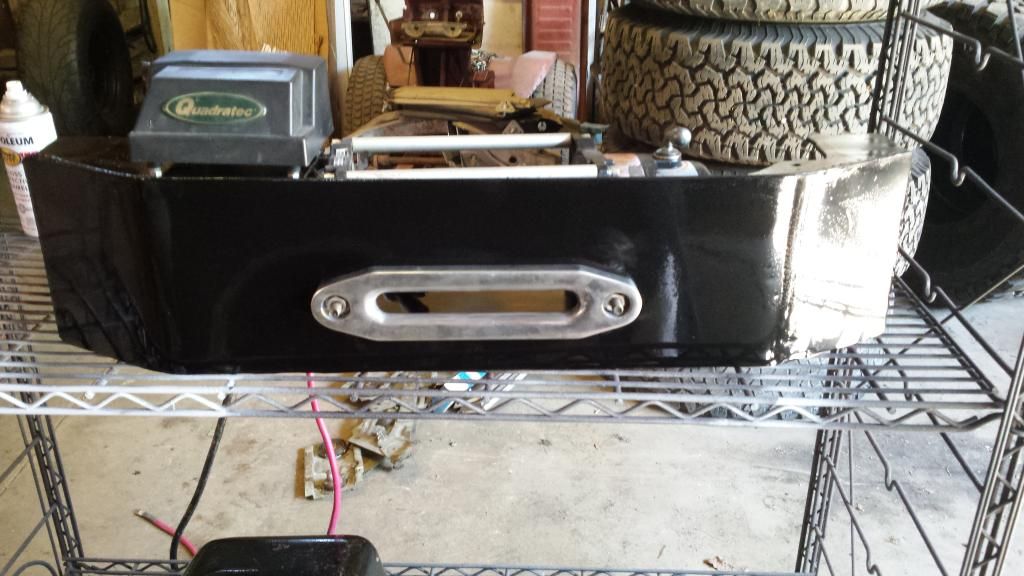
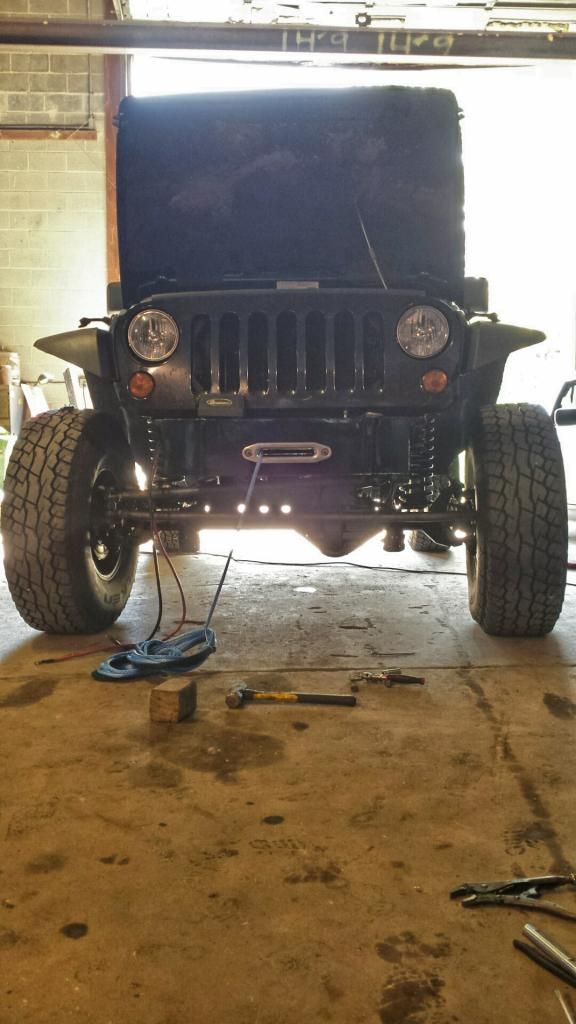
front bumper:
so, i was able to knock 3" off the front of the frame rail. even though it hangs low, it's much farther back and still not as low as the genright bumper, and gives a much better approach angle. So here we are at the beginning, I know the winch plate was cut out weird, I was using the plasma when I cut it out of the original winch plate, and I got distracted. Haha
In order, winch plate, top plate, and winch plate support
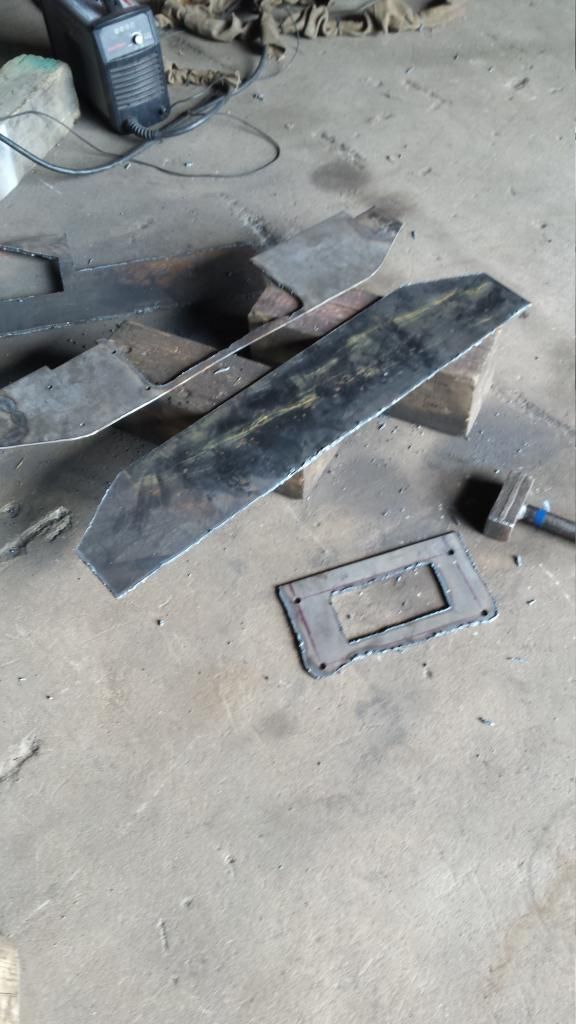
Welded the support on

I then welded some 2x3 1/4" wall tube to the bottom so the winch could sit between the frame rails, made some sides and tacked it together. At this point I used a jack to hold the bottom on while I tacked the top on.
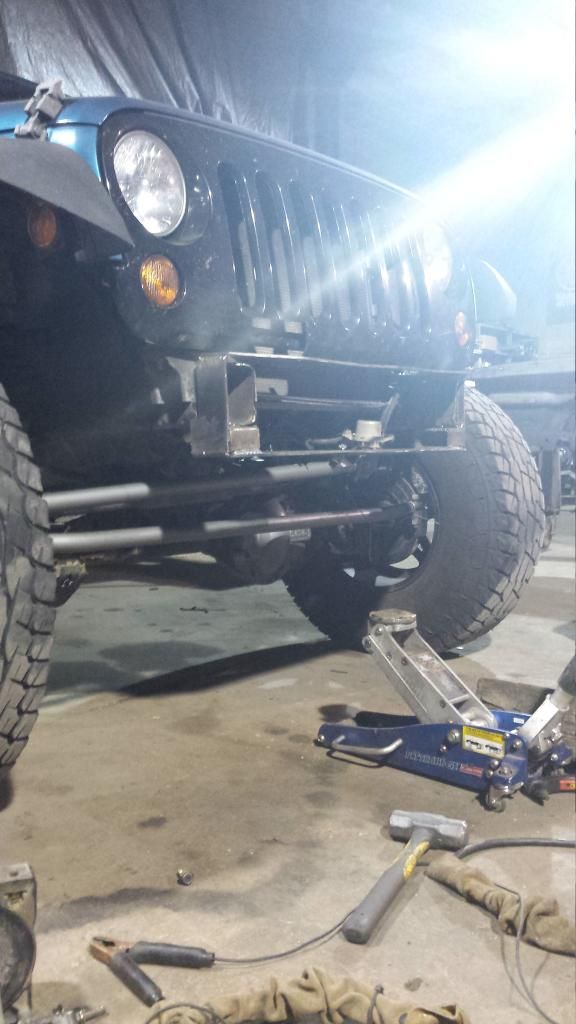
Fully welded the bottom and top

For the front I just tacked up the front then used a bfh to bend it to the contour. I tacked more as I continued to go so it would hold in place
Test fit before fully welding
here's getting the winch set up

so, i was able to knock 3" off the front of the frame rail. even though it hangs low, it's much farther back and still not as low as the genright bumper, and gives a much better approach angle. So here we are at the beginning, I know the winch plate was cut out weird, I was using the plasma when I cut it out of the original winch plate, and I got distracted. Haha
In order, winch plate, top plate, and winch plate support

Welded the support on

I then welded some 2x3 1/4" wall tube to the bottom so the winch could sit between the frame rails, made some sides and tacked it together. At this point I used a jack to hold the bottom on while I tacked the top on.

Fully welded the bottom and top

For the front I just tacked up the front then used a bfh to bend it to the contour. I tacked more as I continued to go so it would hold in place


Test fit before fully welding


here's getting the winch set up


Last edited by awinski; 12-10-2014 at 09:42 PM.
12-10-2014, 09:44 PM
#7
JK Enthusiast
Thread Starter
Join Date: Apr 2012
Location: United States
Posts: 392
Likes: 0
Received 0 Likes
on
0 Posts
rear bumper
grooved the falkens with the ideal groover, can be had on amazon for $100 if i remember correctly. comes with 3 different sized blades that cut from about 3/8" wide down to 1/8"
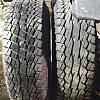
grooved the falkens with the ideal groover, can be had on amazon for $100 if i remember correctly. comes with 3 different sized blades that cut from about 3/8" wide down to 1/8"
Last edited by awinski; 12-10-2014 at 09:46 PM.
Trending Topics
12-11-2014, 08:35 PM
#9
JK Enthusiast
Thread Starter
Join Date: Apr 2012
Location: United States
Posts: 392
Likes: 0
Received 0 Likes
on
0 Posts
its honestly very simple and works very well, i just need a thicker tie rod now, i bent mine on the trail the other weekend. also the passenger side doesn't need a bend, which makes it nice. i think i have an idea up my sleeves to hopefully make it work.
12-16-2014, 09:42 PM
#10
JK Enthusiast
Thread Starter
Join Date: Apr 2012
Location: United States
Posts: 392
Likes: 0
Received 0 Likes
on
0 Posts
cage is done, update with pics on that tomorrow. came home tonight to a traction control light. hoping its just a wheel speed sensor, preferably the one i crappily spliced in last winter.