Plus 1 Horsepower: project bull frog


 12-29-2014, 09:47 PM
#12
JK Enthusiast
Thread Starter
Join Date: Apr 2012
Location: United States
Posts: 392
Likes: 0
Received 0 Likes
on
0 Posts
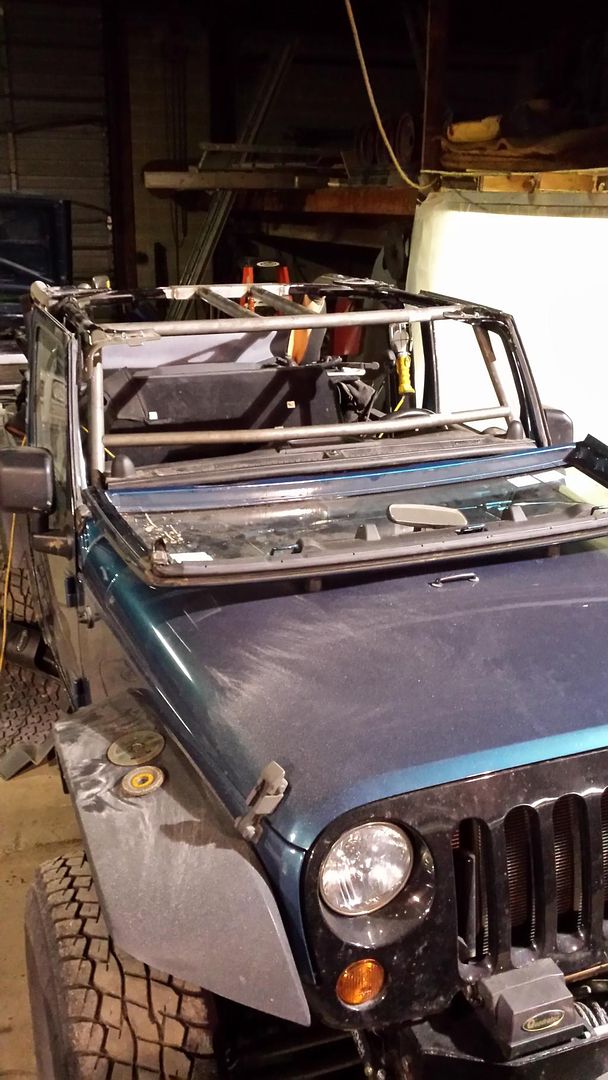
So last weekend I got the synergy cage in. Not many pictures as the install was straight forward. Couple of notes if anyone from synergy were to see this
1) the templates for the dash cutting were not included, and there is not a pdf for them on your website. Being it was the weekend I wasn't going to wait till Monday to email them and hope for a reply. So I eye balled it, luckily it was rather easy.
2) I found that in the inner dash cutting I had to cut much more than the instructions stated, I know there are always discrepencies, but it was quite a large amount. This is no biggie on synergy part.
3) the packaging of the instructions was horrible, there were entire pages that were mutilated beyond recognition. Also the black and white pictures were kind of hard to reference. The detailed words did make it better. Imo just print them out yourself if you don't mind spending the ink.
As for the actual install, very straight forward. If you can weld in awkward positions, you can do it. Just try to do as much of the welding as possible outside of the jeep. Also as Mike told me on ig, make sure you cover your wind sheild!


 01-08-2015, 10:58 PM
#14
JK Enthusiast
Thread Starter
Join Date: Apr 2012
Location: United States
Posts: 392
Likes: 0
Received 0 Likes
on
0 Posts
01-09-2015, 06:49 AM
#15
I should've been more specific. I was more or less curious if the tubes themselves fit right together or if it took some ratchet straps and swear words to get them to fit properly. I've heard some horror stories with other kits (mostly river raider) and I just wanted to see if there were any headaches other than what you've already mentioned
01-09-2015, 07:52 PM
#16
JK Enthusiast
Thread Starter
Join Date: Apr 2012
Location: United States
Posts: 392
Likes: 0
Received 0 Likes
on
0 Posts
no it went together by hand, sure some pieces have to be wedged into place, i did use a small hammer just to get the a pillar cross bar into place, but other than that i would say the kit was very easy to get into place.
02-11-2015, 01:08 PM
#17
JK Enthusiast
Thread Starter
Join Date: Apr 2012
Location: United States
Posts: 392
Likes: 0
Received 0 Likes
on
0 Posts
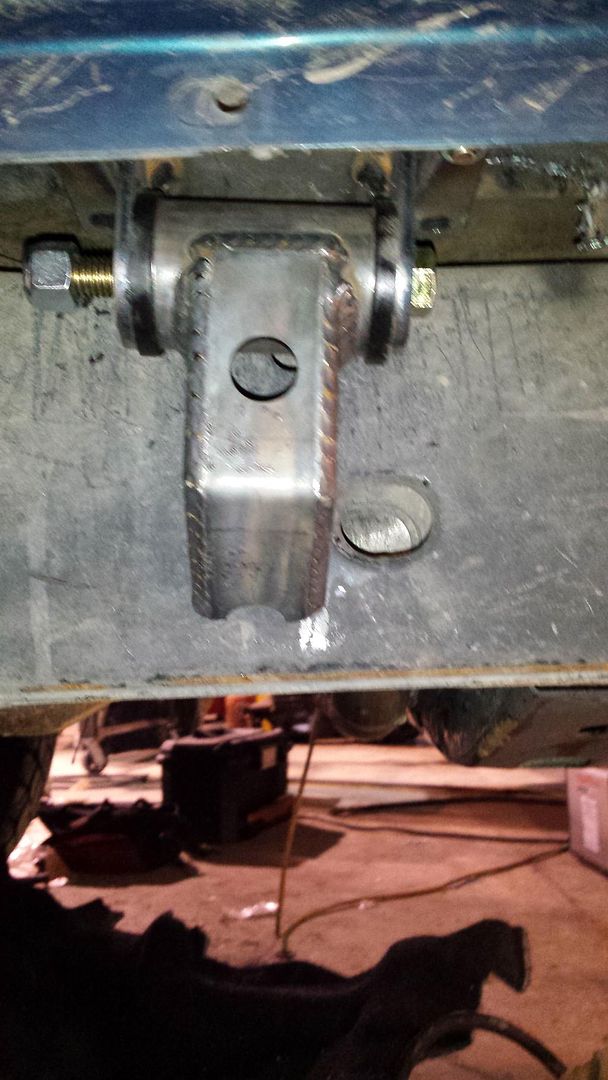
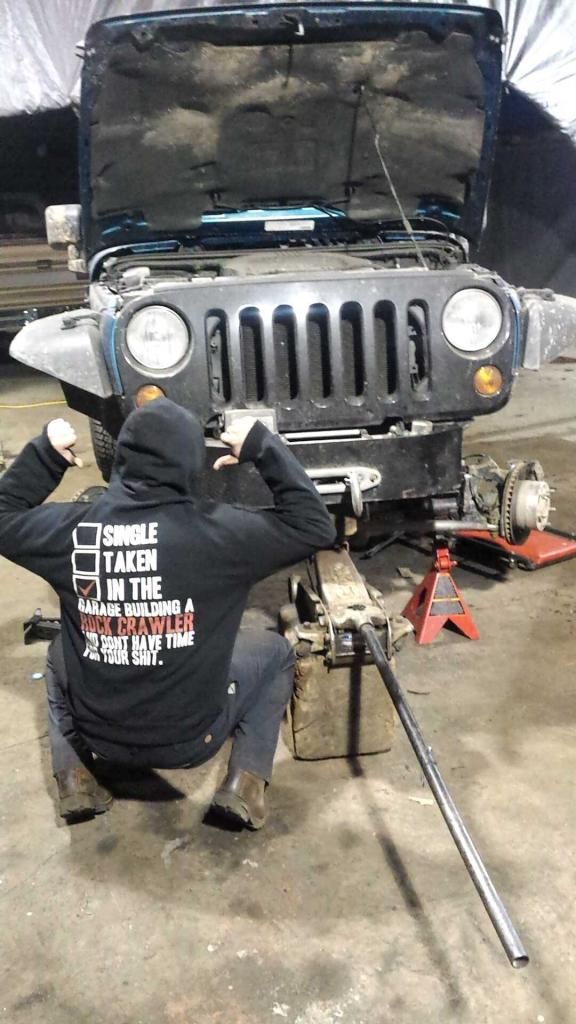
Alright so I finally got around to the front 3 link. So here is my semi write up.
It's actually more of a radius arm 3 link,. I can always change it to a full 3 link but after a week of on road I love it. If it handles this great off road I probably won't be changing it.
Some specs
Driver Lower 34", 1.5" .250 wall inside 2" .250 wall
Passenger lower 34", 2" .250 wall
Driver upper 18", 2" .250 wall
All mounts a 1/4" steel connected to both sides of the frame rail, out side wall of the mount is .5" thick
And to the pics. Didn't get as much as I wanted but oh well.
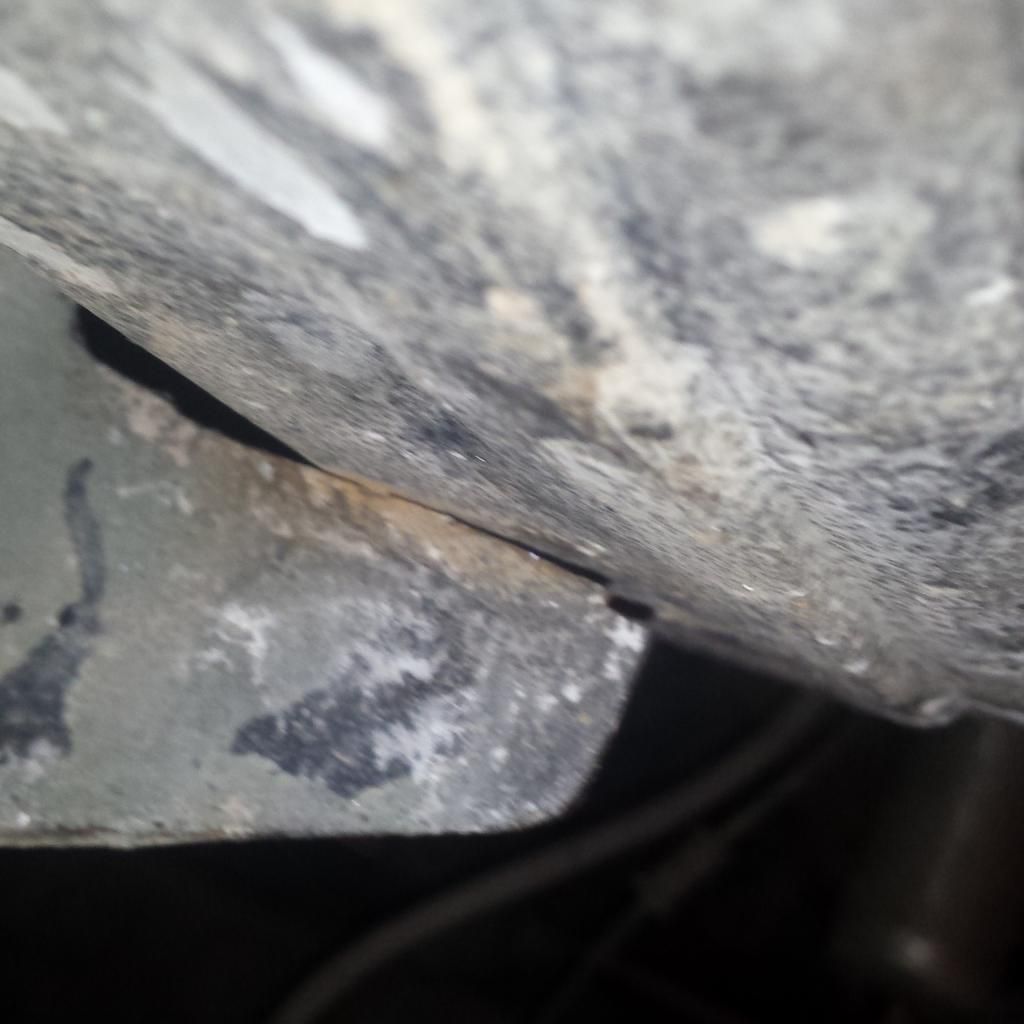
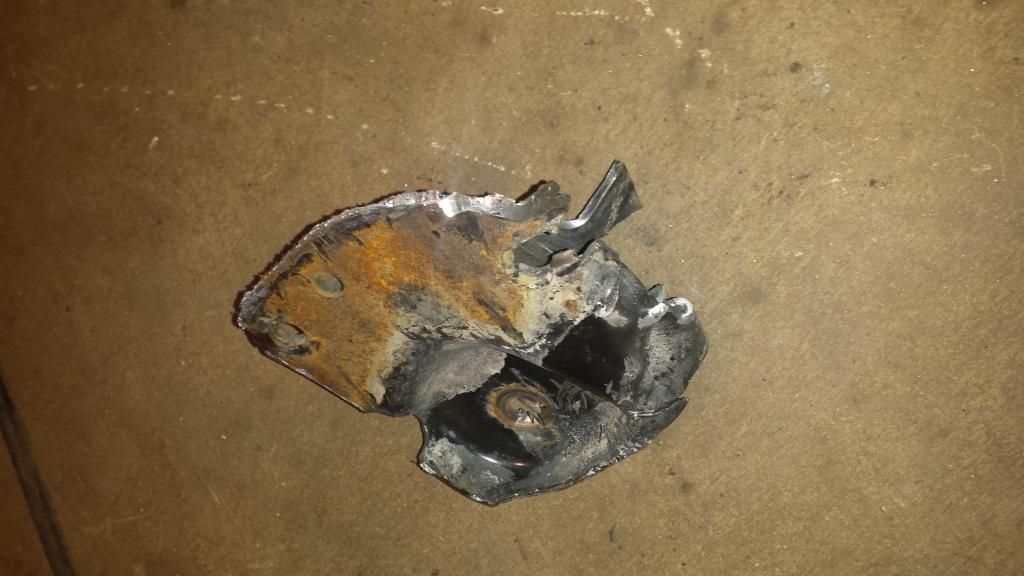
Stock cracked weld
Passenger side mount was a pain to get off, actually had to rip about 6" of it with a pry bar because I couldn't fit anything in there to cut it
Mock up
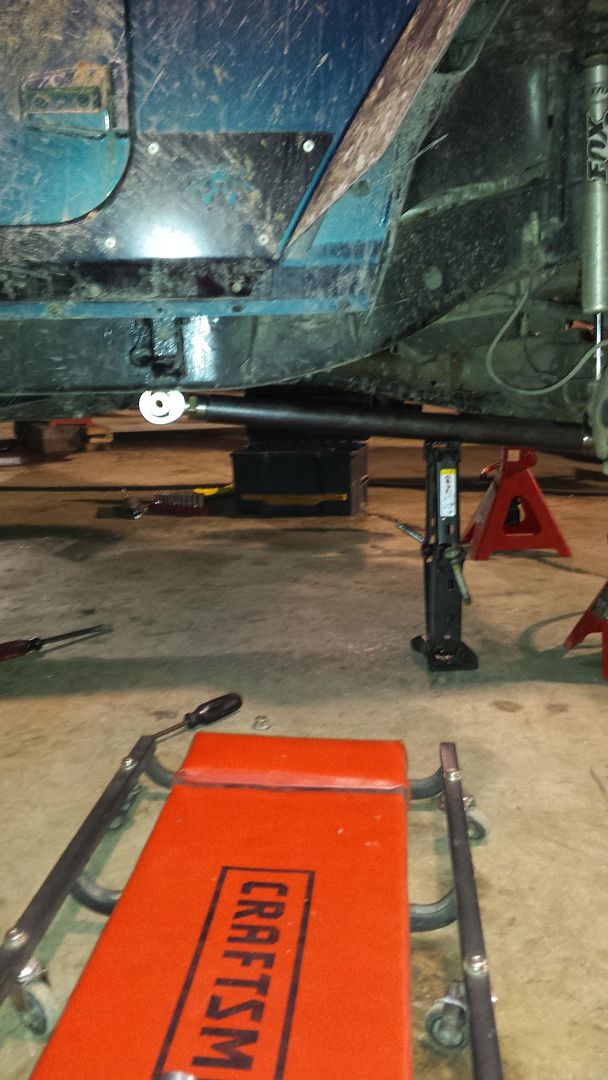
Mount tacked up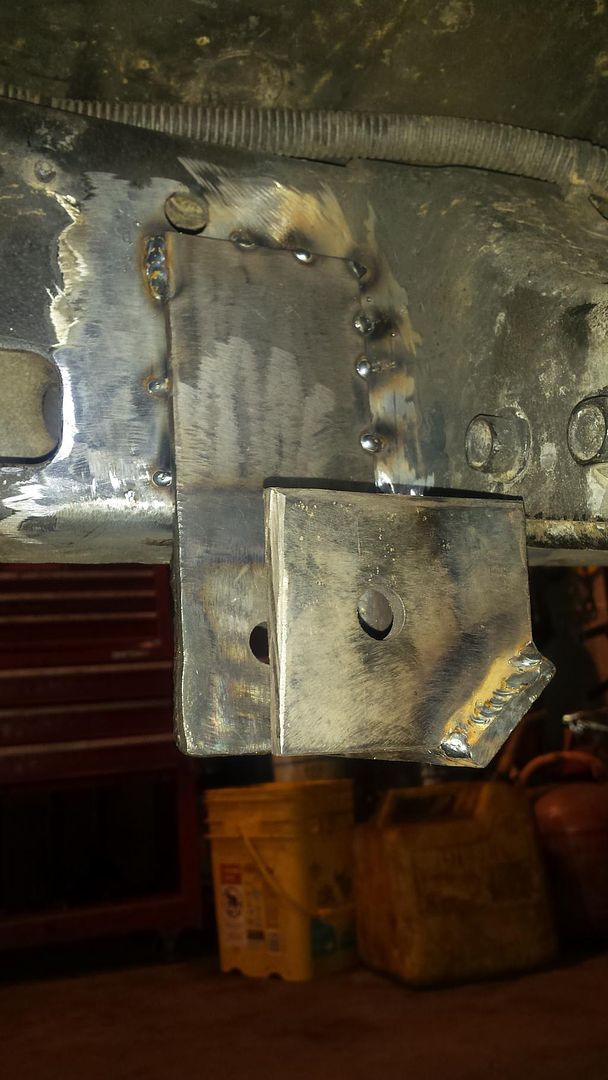
All done. Like I said I wish I got more, I'll try later to get some of the upper arm mounts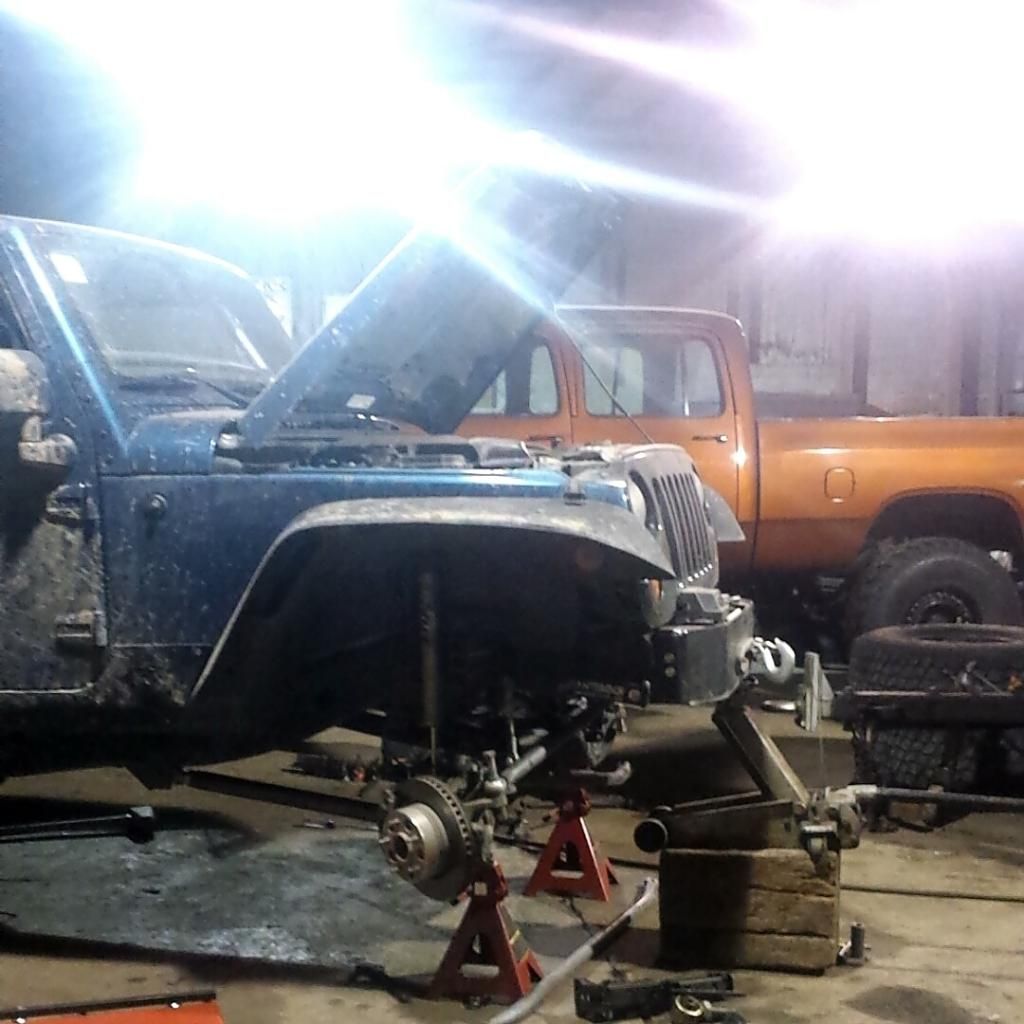
One for the ladies, haha I love this hoodie
It's actually more of a radius arm 3 link,. I can always change it to a full 3 link but after a week of on road I love it. If it handles this great off road I probably won't be changing it.
Some specs
Driver Lower 34", 1.5" .250 wall inside 2" .250 wall
Passenger lower 34", 2" .250 wall
Driver upper 18", 2" .250 wall
All mounts a 1/4" steel connected to both sides of the frame rail, out side wall of the mount is .5" thick
And to the pics. Didn't get as much as I wanted but oh well.
Stock cracked weld

Passenger side mount was a pain to get off, actually had to rip about 6" of it with a pry bar because I couldn't fit anything in there to cut it

Mock up

Mount tacked up

All done. Like I said I wish I got more, I'll try later to get some of the upper arm mounts

One for the ladies, haha I love this hoodie
 04-19-2015, 01:41 AM
#18
JK Enthusiast
Thread Starter
Join Date: Apr 2012
Location: United States
Posts: 392
Likes: 0
Received 0 Likes
on
0 Posts
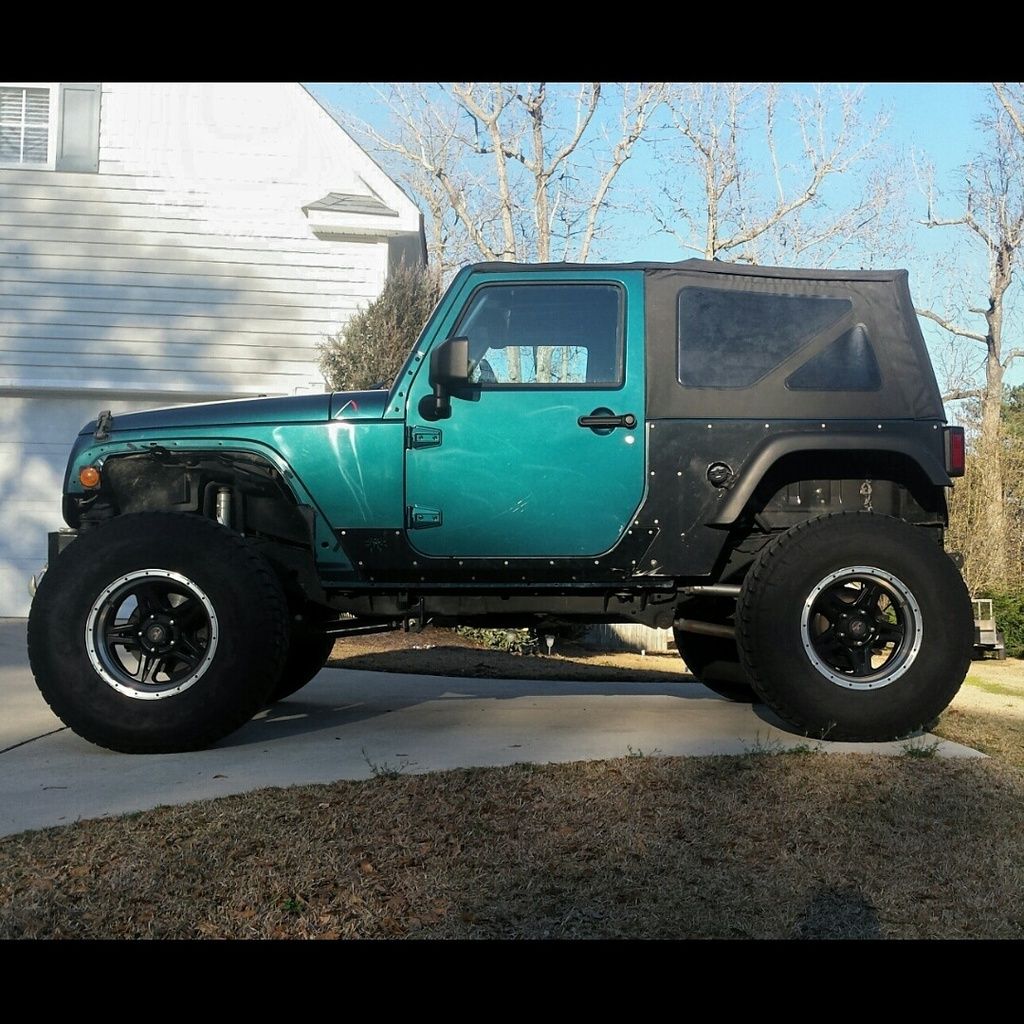
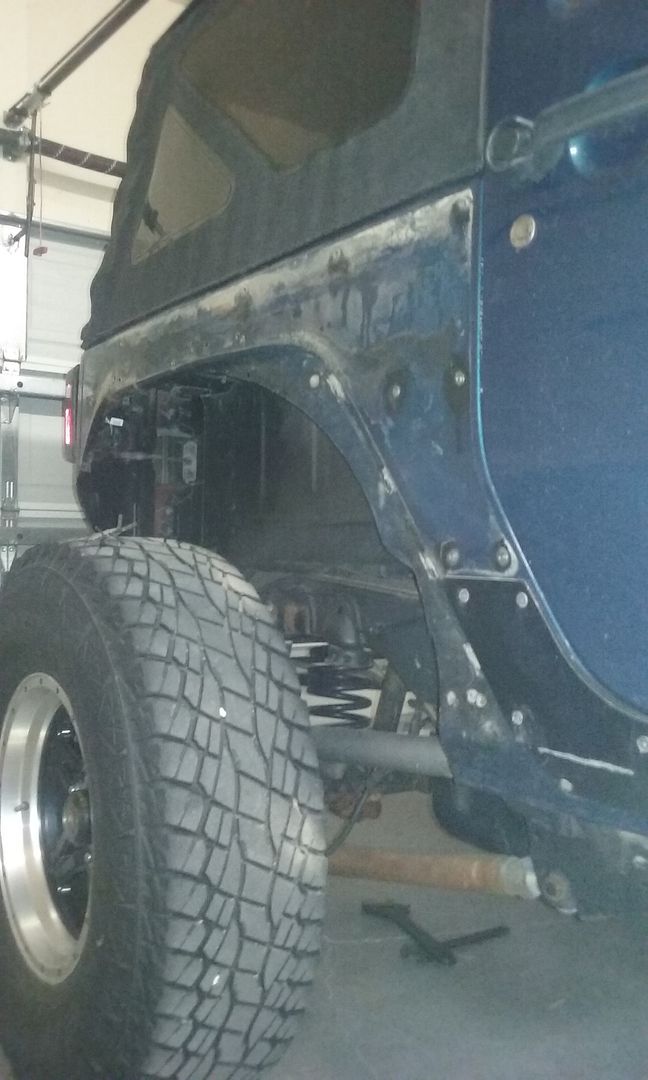
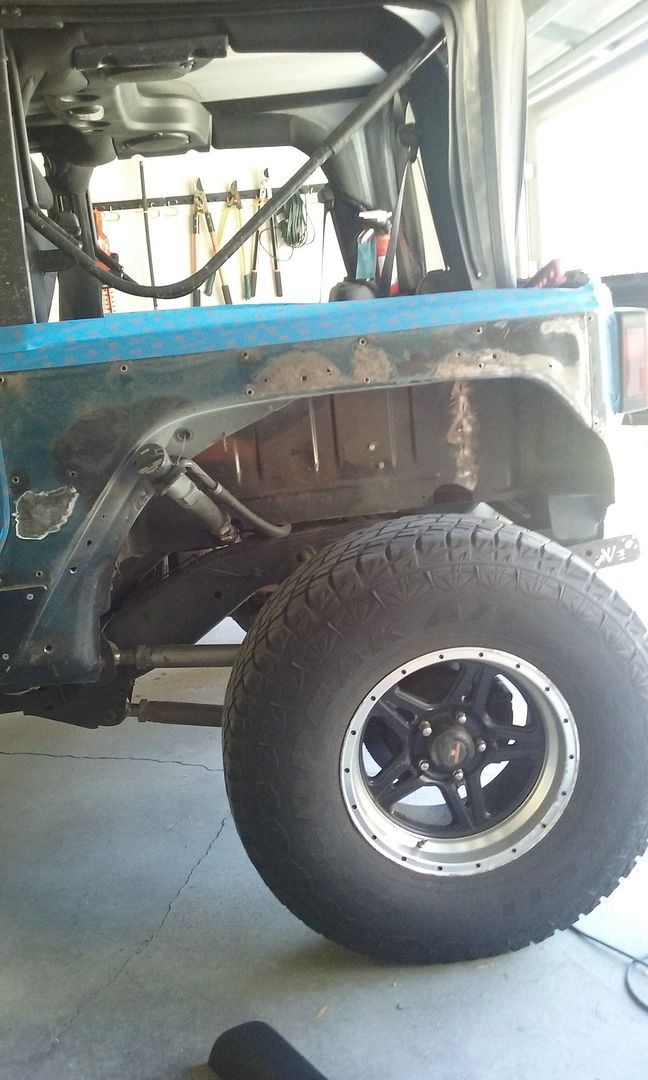
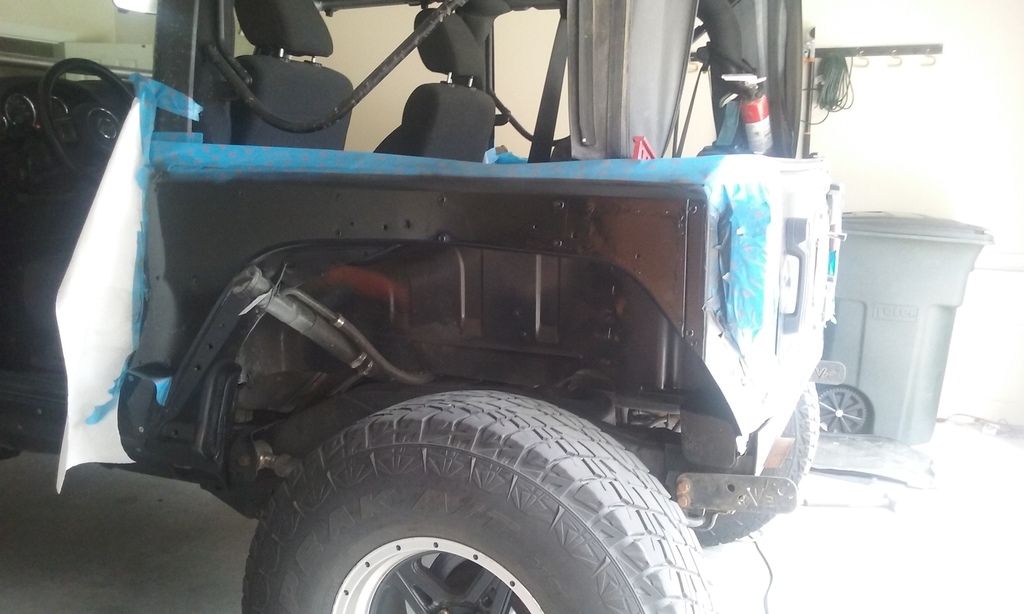
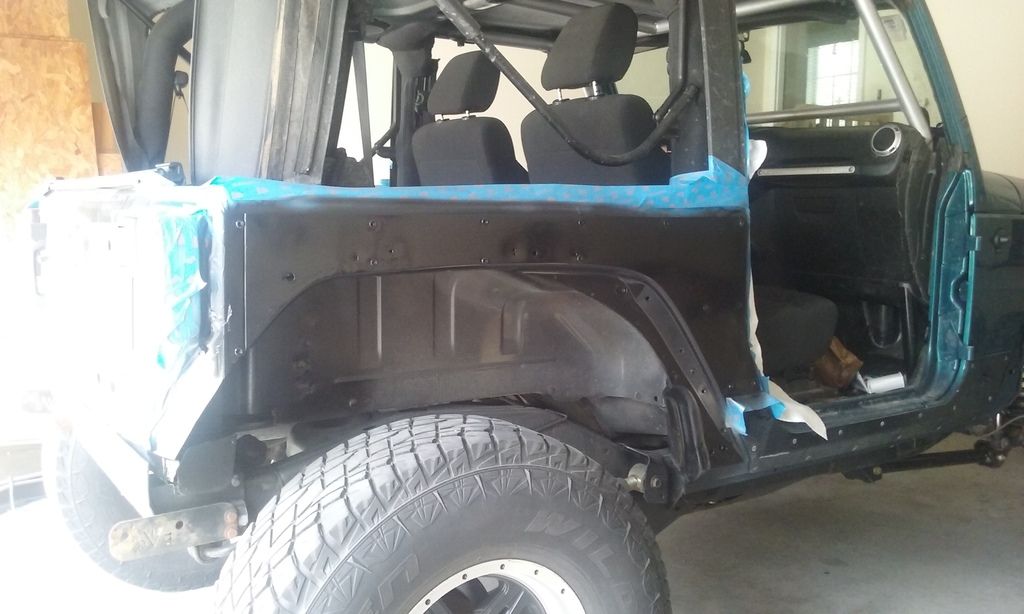
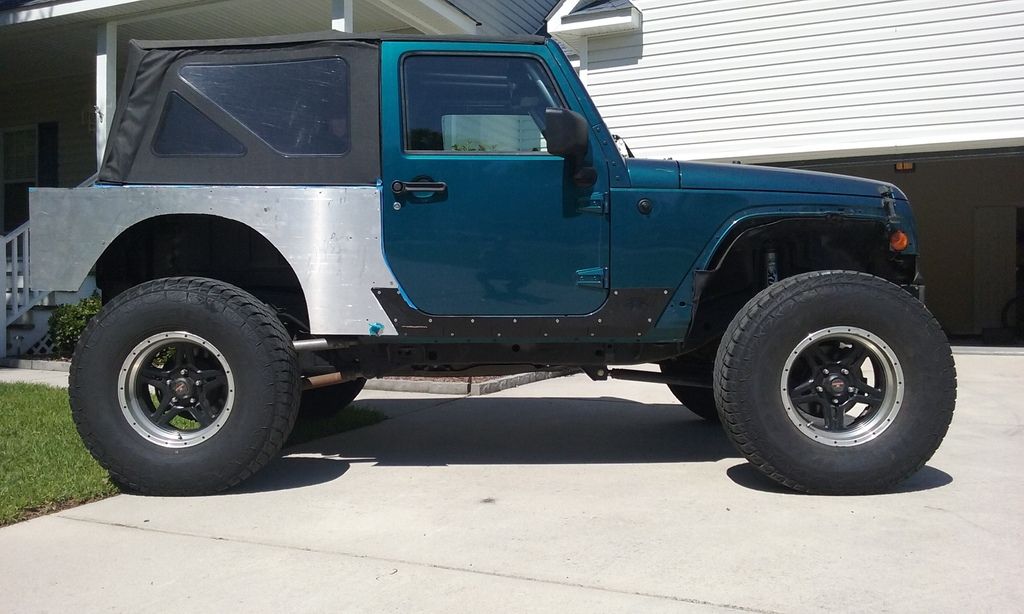
i guess it's time to up date. i've moved to nc and been doing mostly rust repair/ cosmetic things. pulled off the rear armor, ill be making a new set that doesn't have any holes for fenders. that's probably the best part of nc, no fender laws.
also been debating going to a 35" general grabber, or a 37" master craft for my next set of tires.
still saving up for the rear outboard. after that id really like to get that gas tank out of the way, possibly some other stuff, but id really like to be able to lower the jeep quite a bit.
also been debating going to a 35" general grabber, or a 37" master craft for my next set of tires.
still saving up for the rear outboard. after that id really like to get that gas tank out of the way, possibly some other stuff, but id really like to be able to lower the jeep quite a bit.
Last edited by awinski; 04-19-2015 at 02:23 AM.
04-26-2015, 03:23 PM
#19
JK Enthusiast
Thread Starter
Join Date: Apr 2012
Location: United States
Posts: 392
Likes: 0
Received 0 Likes
on
0 Posts
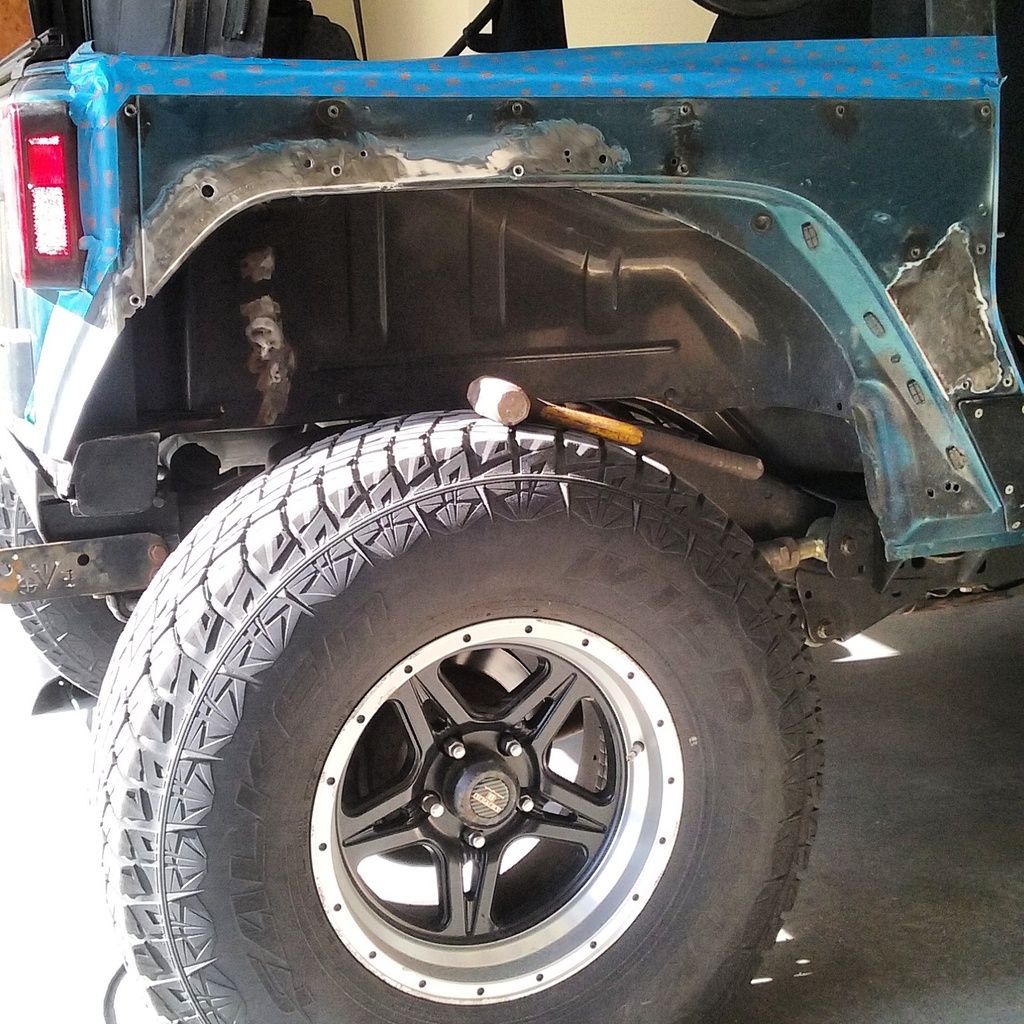
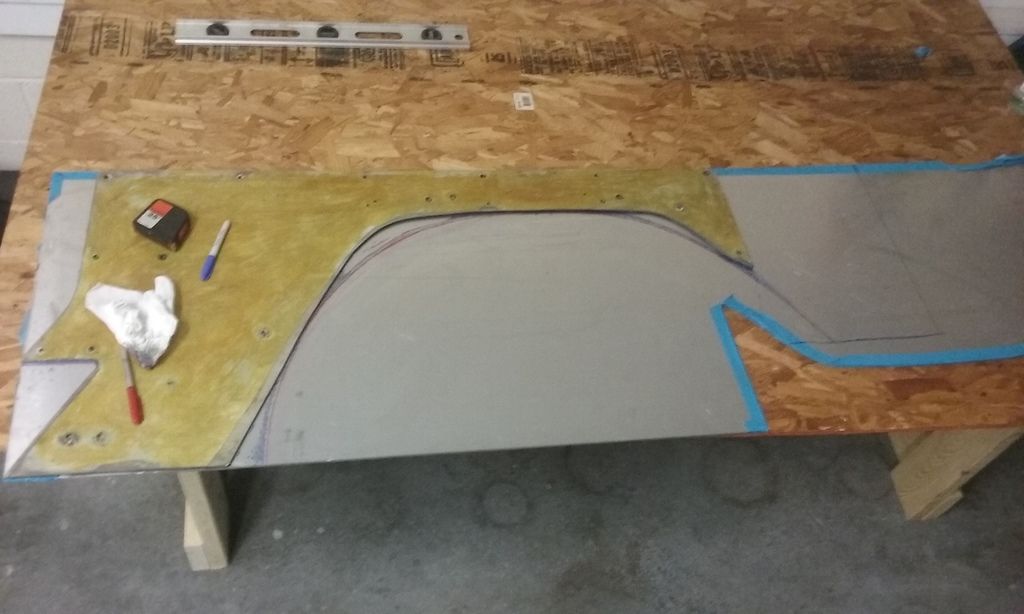
working on a new set of corners, hopefully i can successfully wrap these around the back. to do so where the bend will be i've ground the aluminum down to about 3/16 from the original 1/4". then i've annealed the area to be bent.
for the annealing process i'm using a blue sharpie, you basically shade the area you want to anneal, then from the underside i apply heat, when the blue sharpie has completely disappeared the aluminum should be the right temperature. i've also gone back over it a few times while the aluminum is hot to be sure. i'm not too worried about making it too soft, as it will be stronger than stock regardless.
if all is a success i will try to give more information, but for now this is what i have.
of course, pics