WxNerd2015's Never Ending Build -
 11-10-2015, 06:32 AM
#51
JK Enthusiast
Thread Starter
46. Once the bar is attached to the window, go ahead and rotate the side with the weather stripping so it is pointing towards the rear of the Jeep, put the top edge against the tailgate bar clips, and rotate the weather stripping side of the tailgate bar down, while pushing in to lock the tailgate bar into the clips and secure the rear window.
47. With the tailgate bar secured, go ahead and zip the zippers on either side of the rear window all the way down. And once again, if the zippers get too tight, just let them sit and they will stretch out enough to be able to go the rest of the way. (Tip to make this a bit easier, don�t zip one of the zippers all the way down and then do the other side, just zip each side evenly, alternating in small increments and it will go a bit a smoother.)
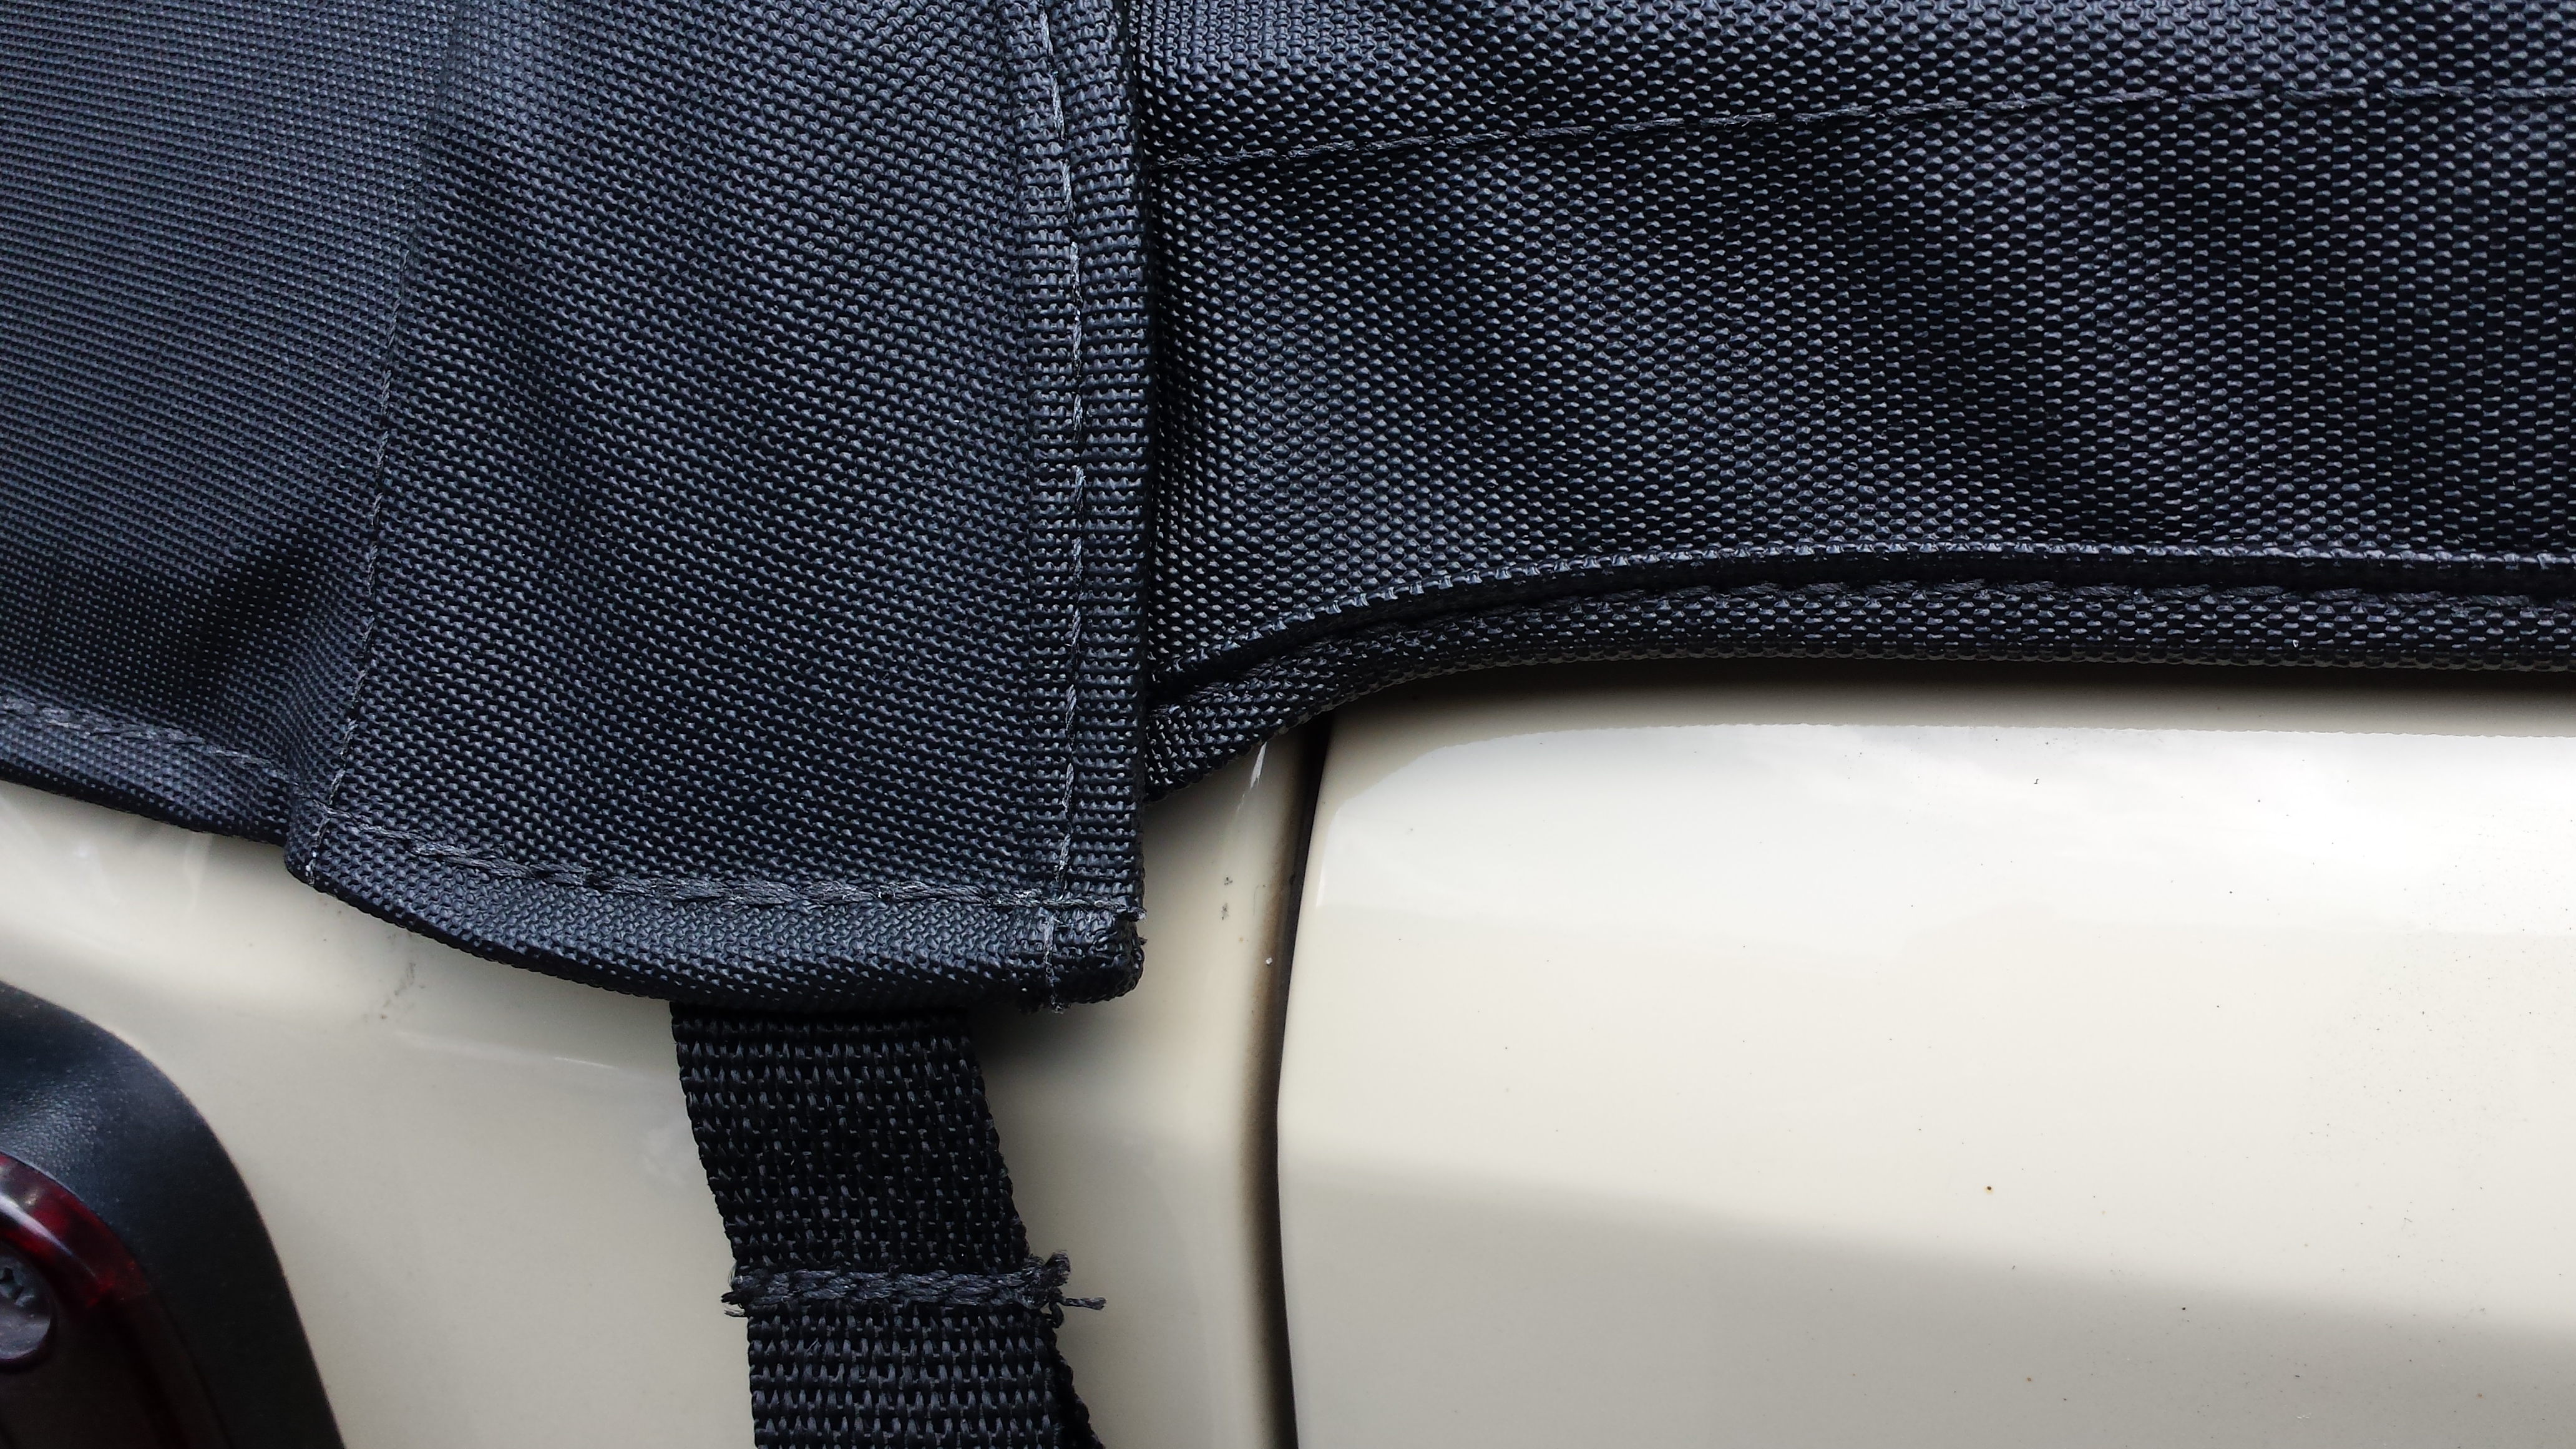
48. With the rear window zipped all the way up, first take the flap with the lip hanging down from the rear window panel and tuck the lip under the tailgate clip, then take the overhanging portion of the side panels which has a lip on it and tuck that lip into the same spot under the tailgate clip and over the piece from the rear window panel.
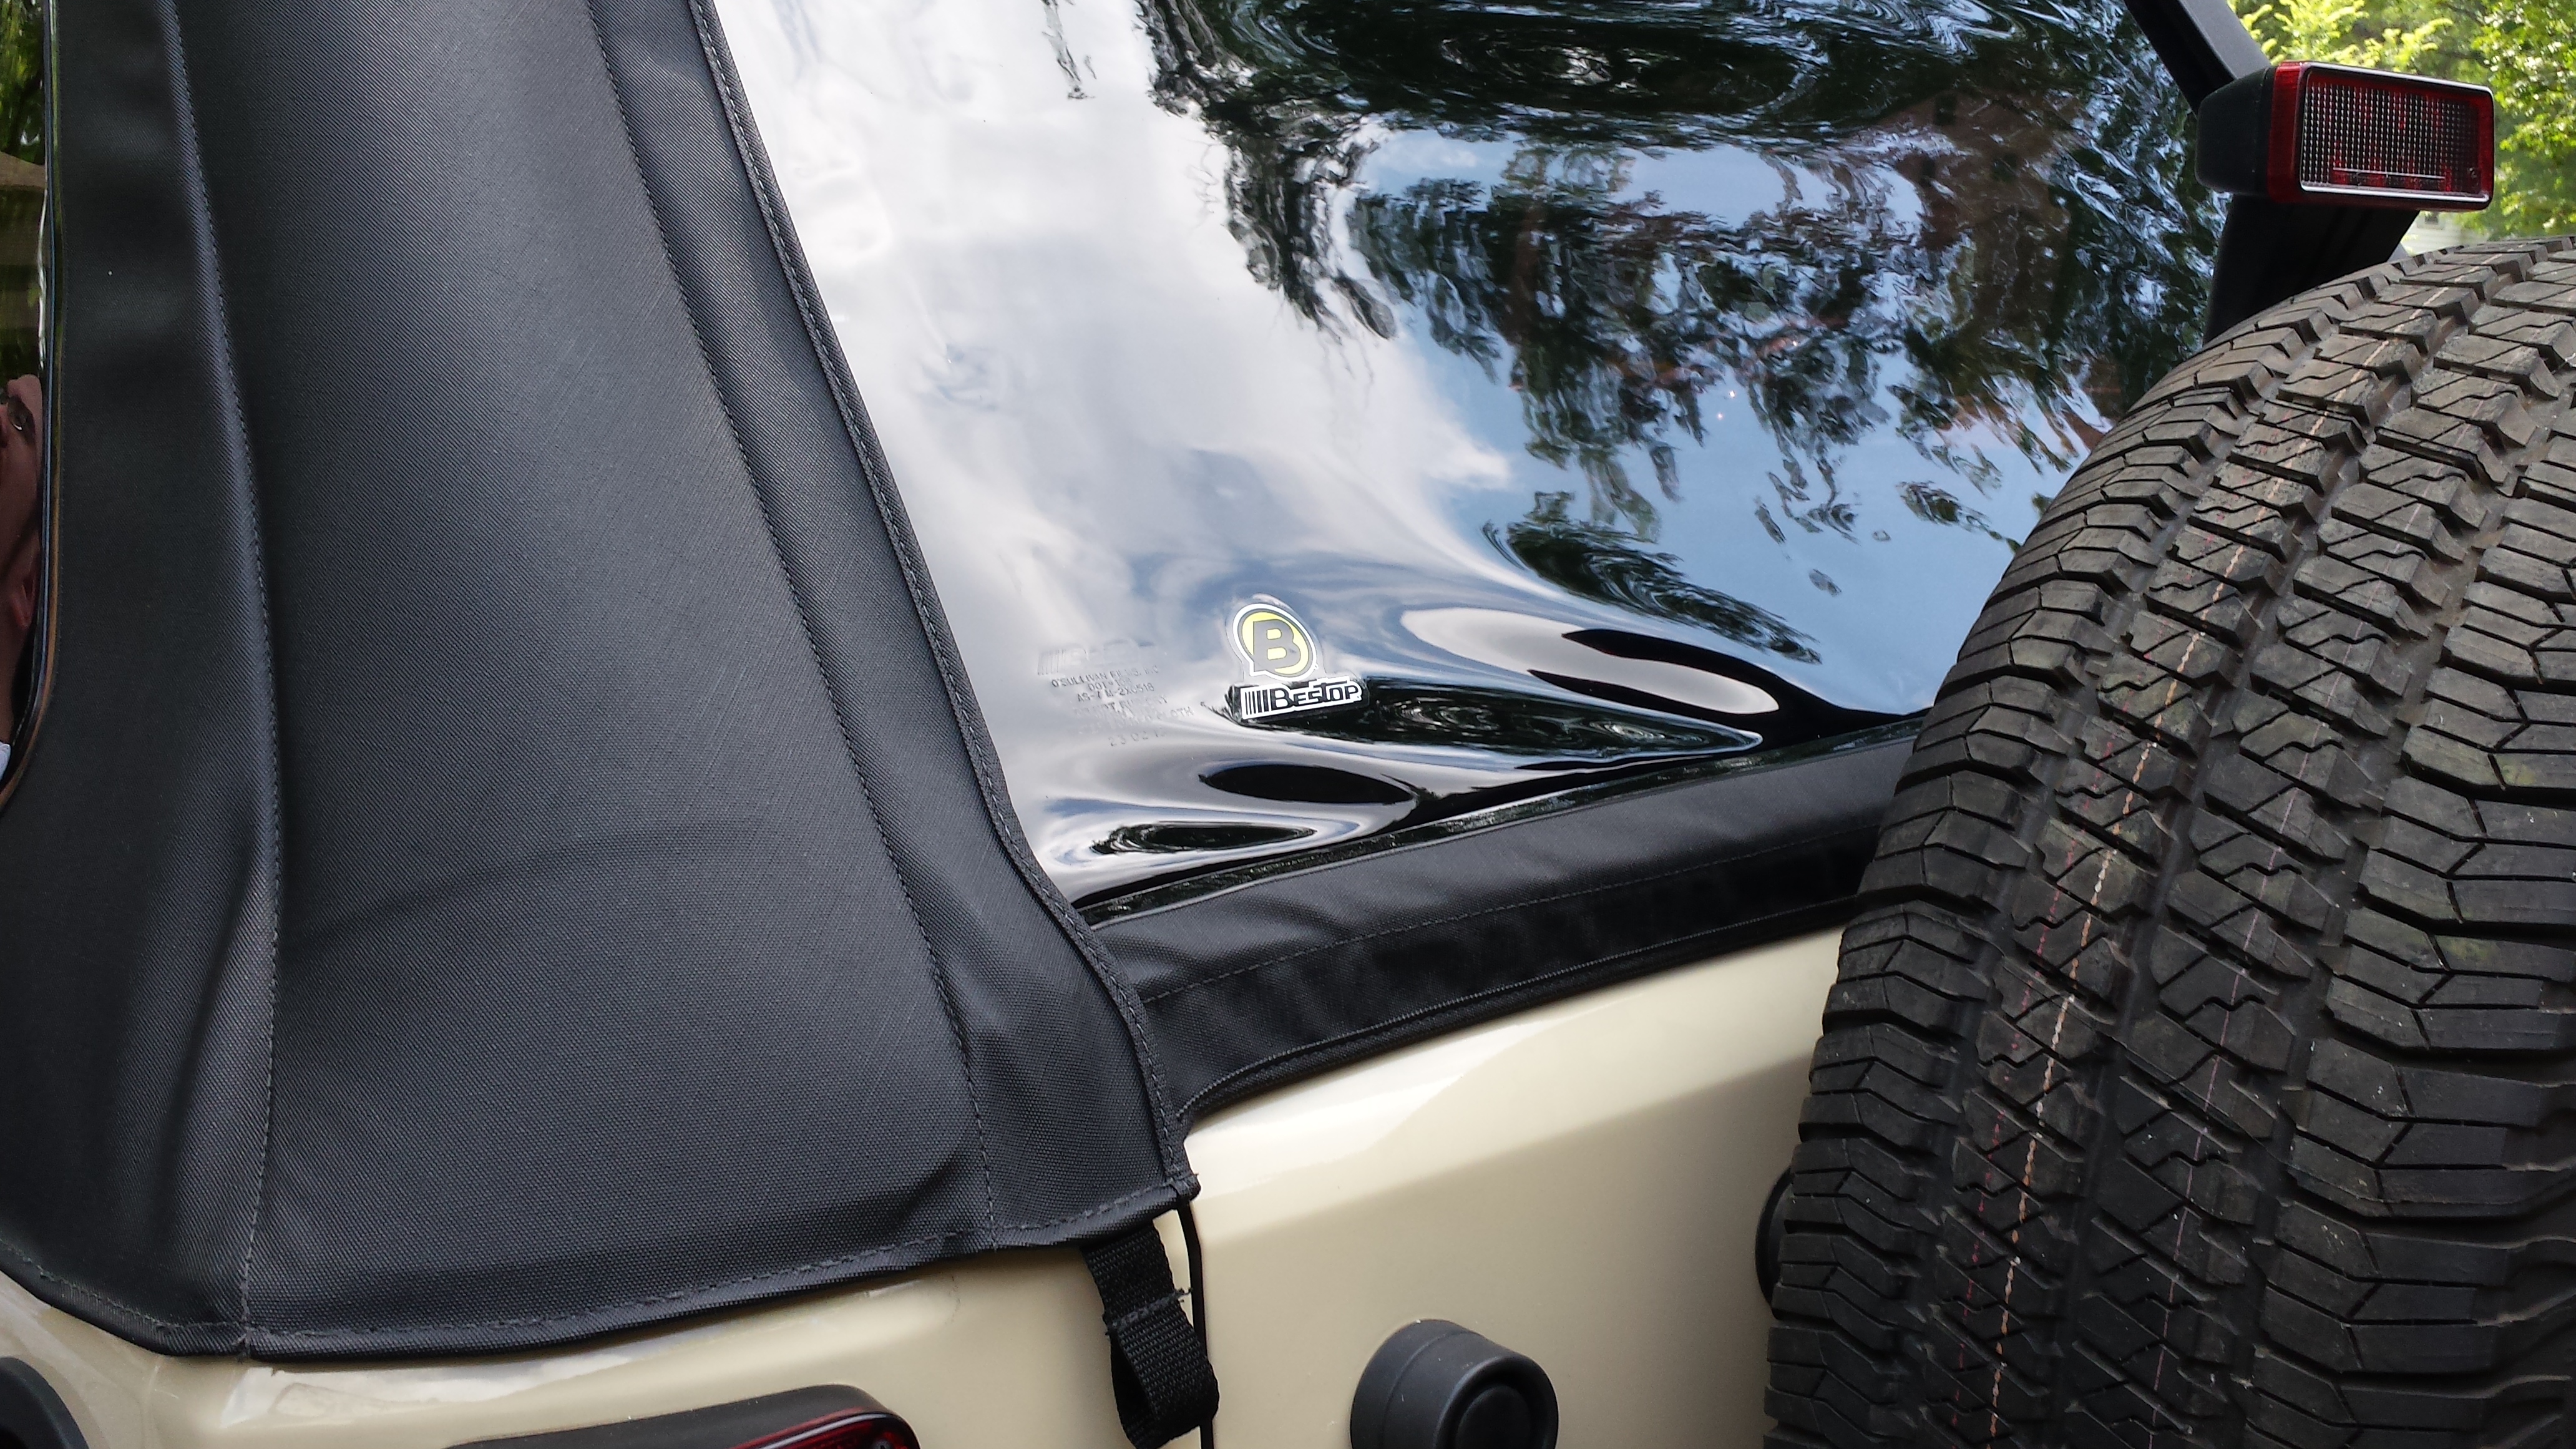
49. Now, go around the top edge of all the side and rear panels and attach all the Velcro to the top panel securely as this is what prevents a lots of precipitation from getting in as well as an extra seal for the top to cover all the zippers.
50. With all that done, climb back into the front, make sure that you have the hooks for the front part of the top attached to the Footman�s loops on the windshield frame, and turn flip the latches down and towards the front window to lock the top down.
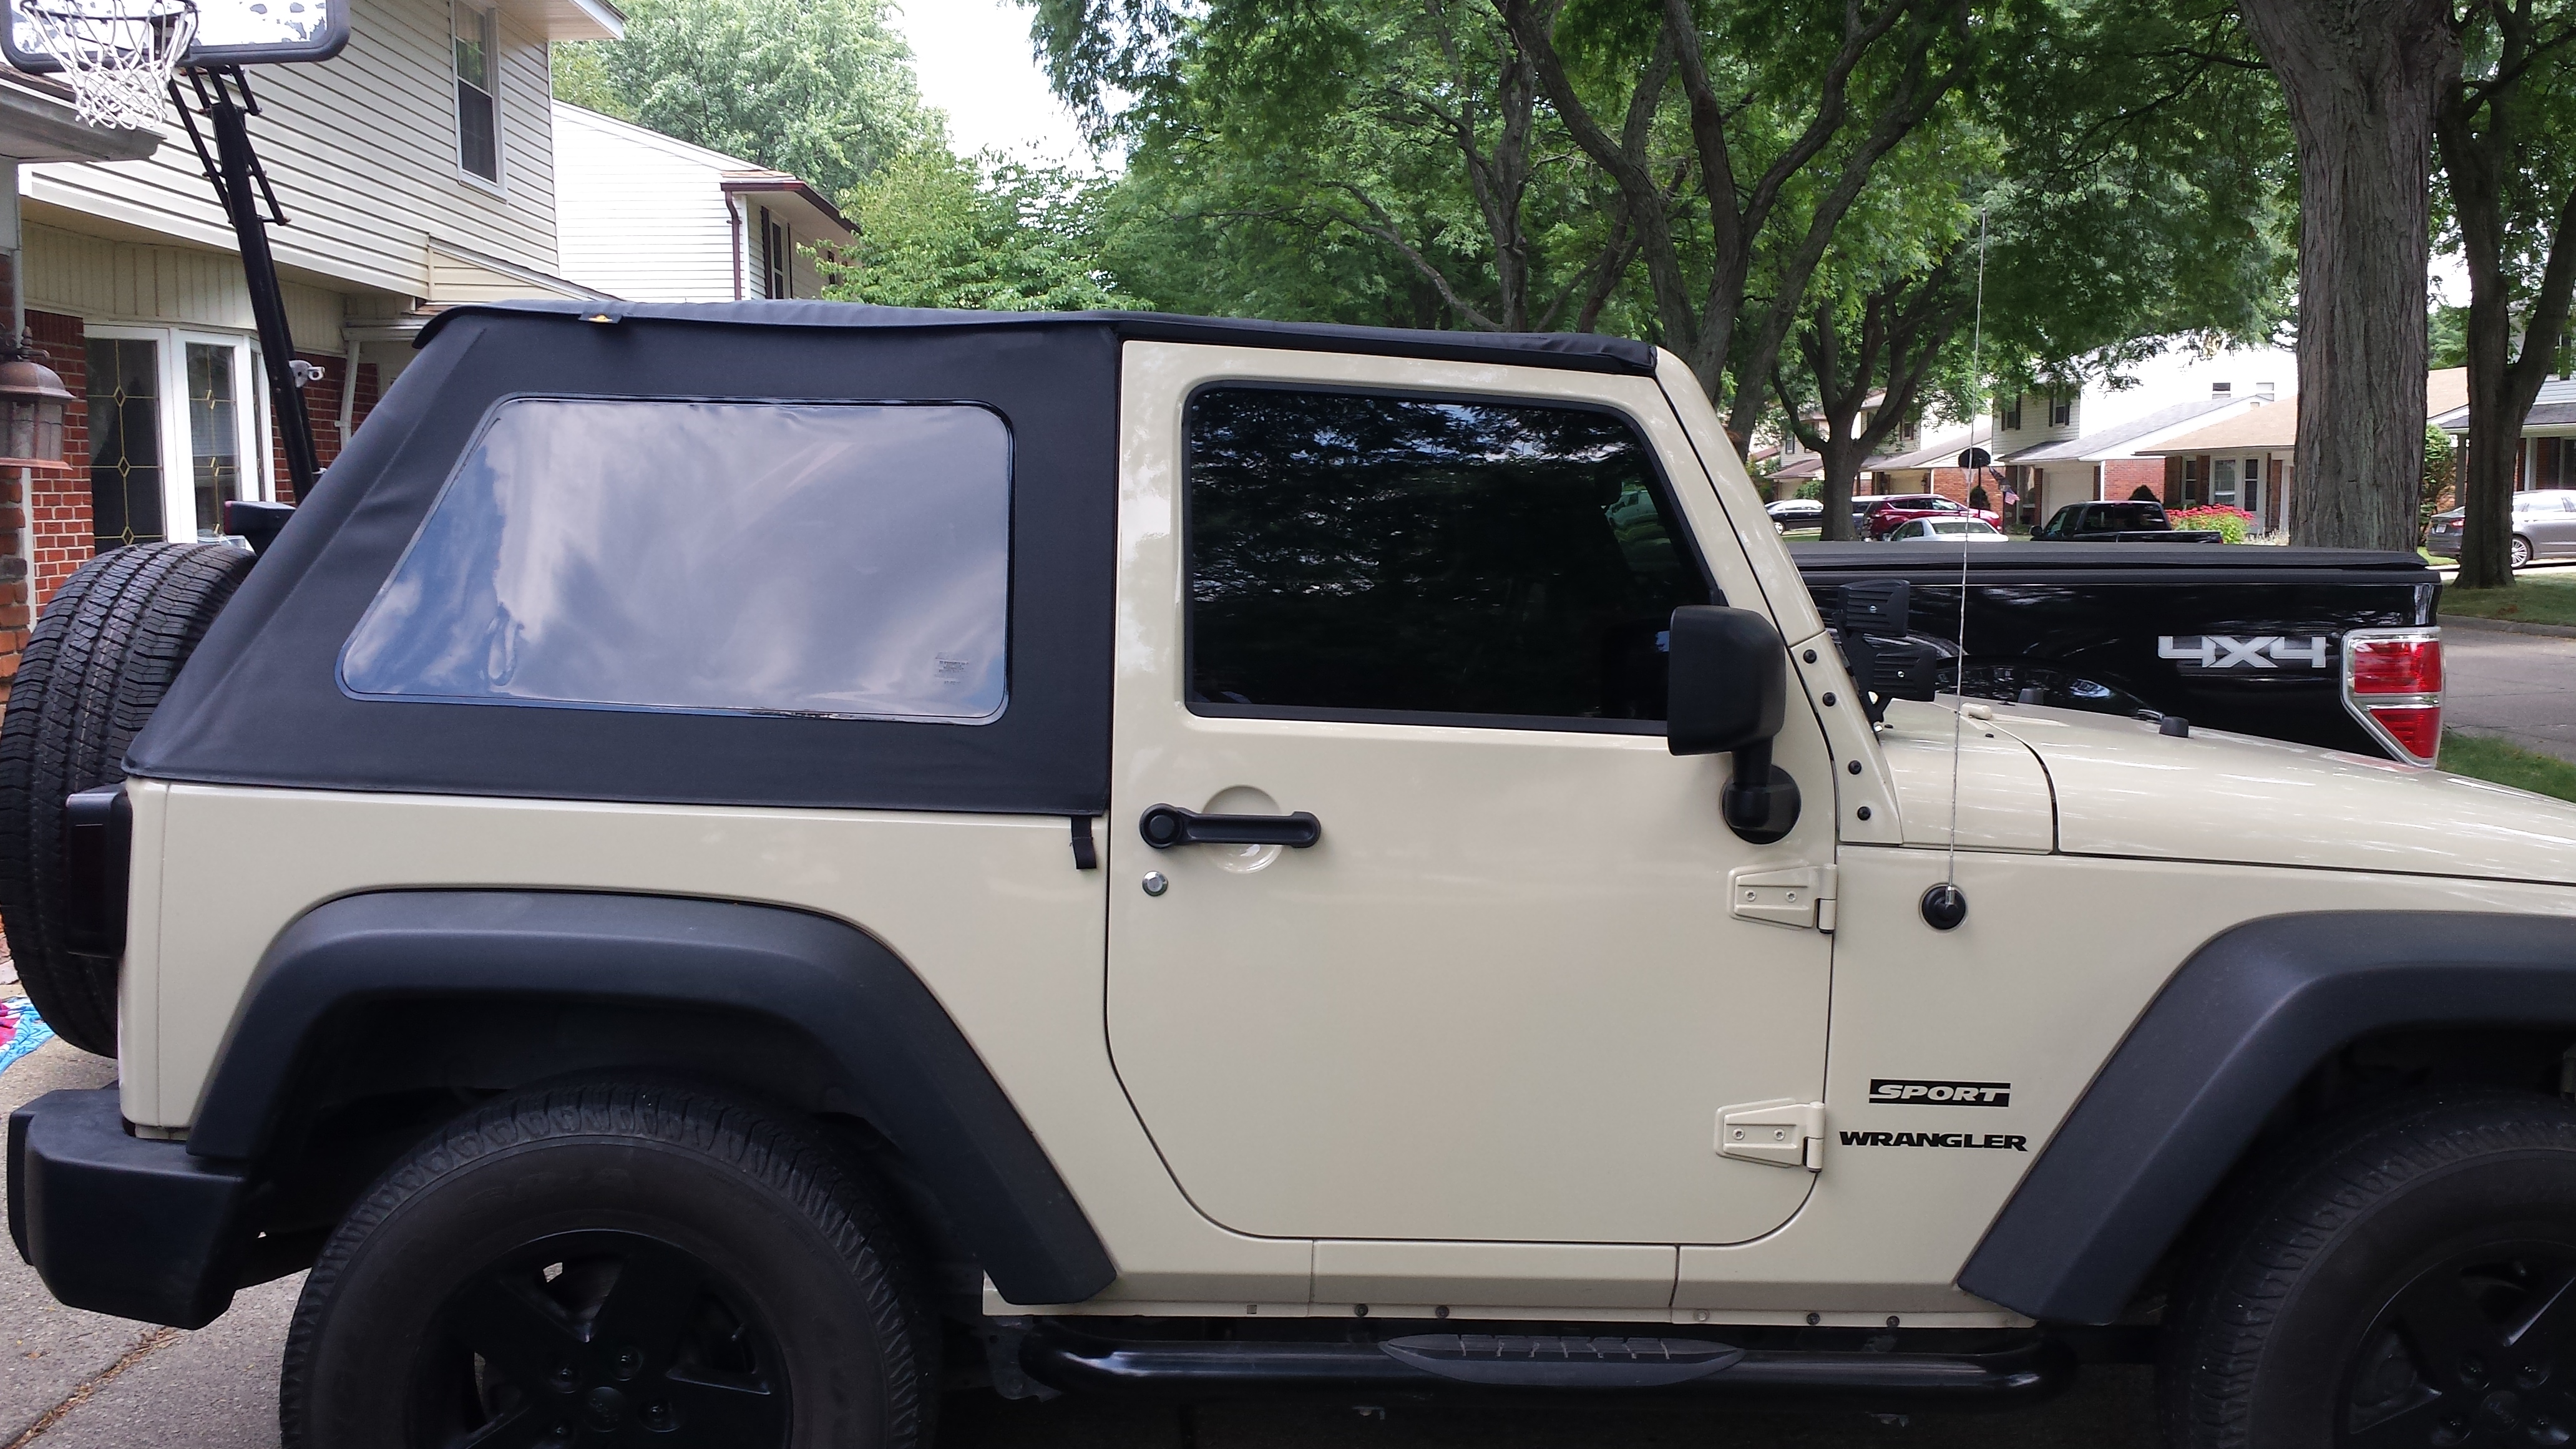
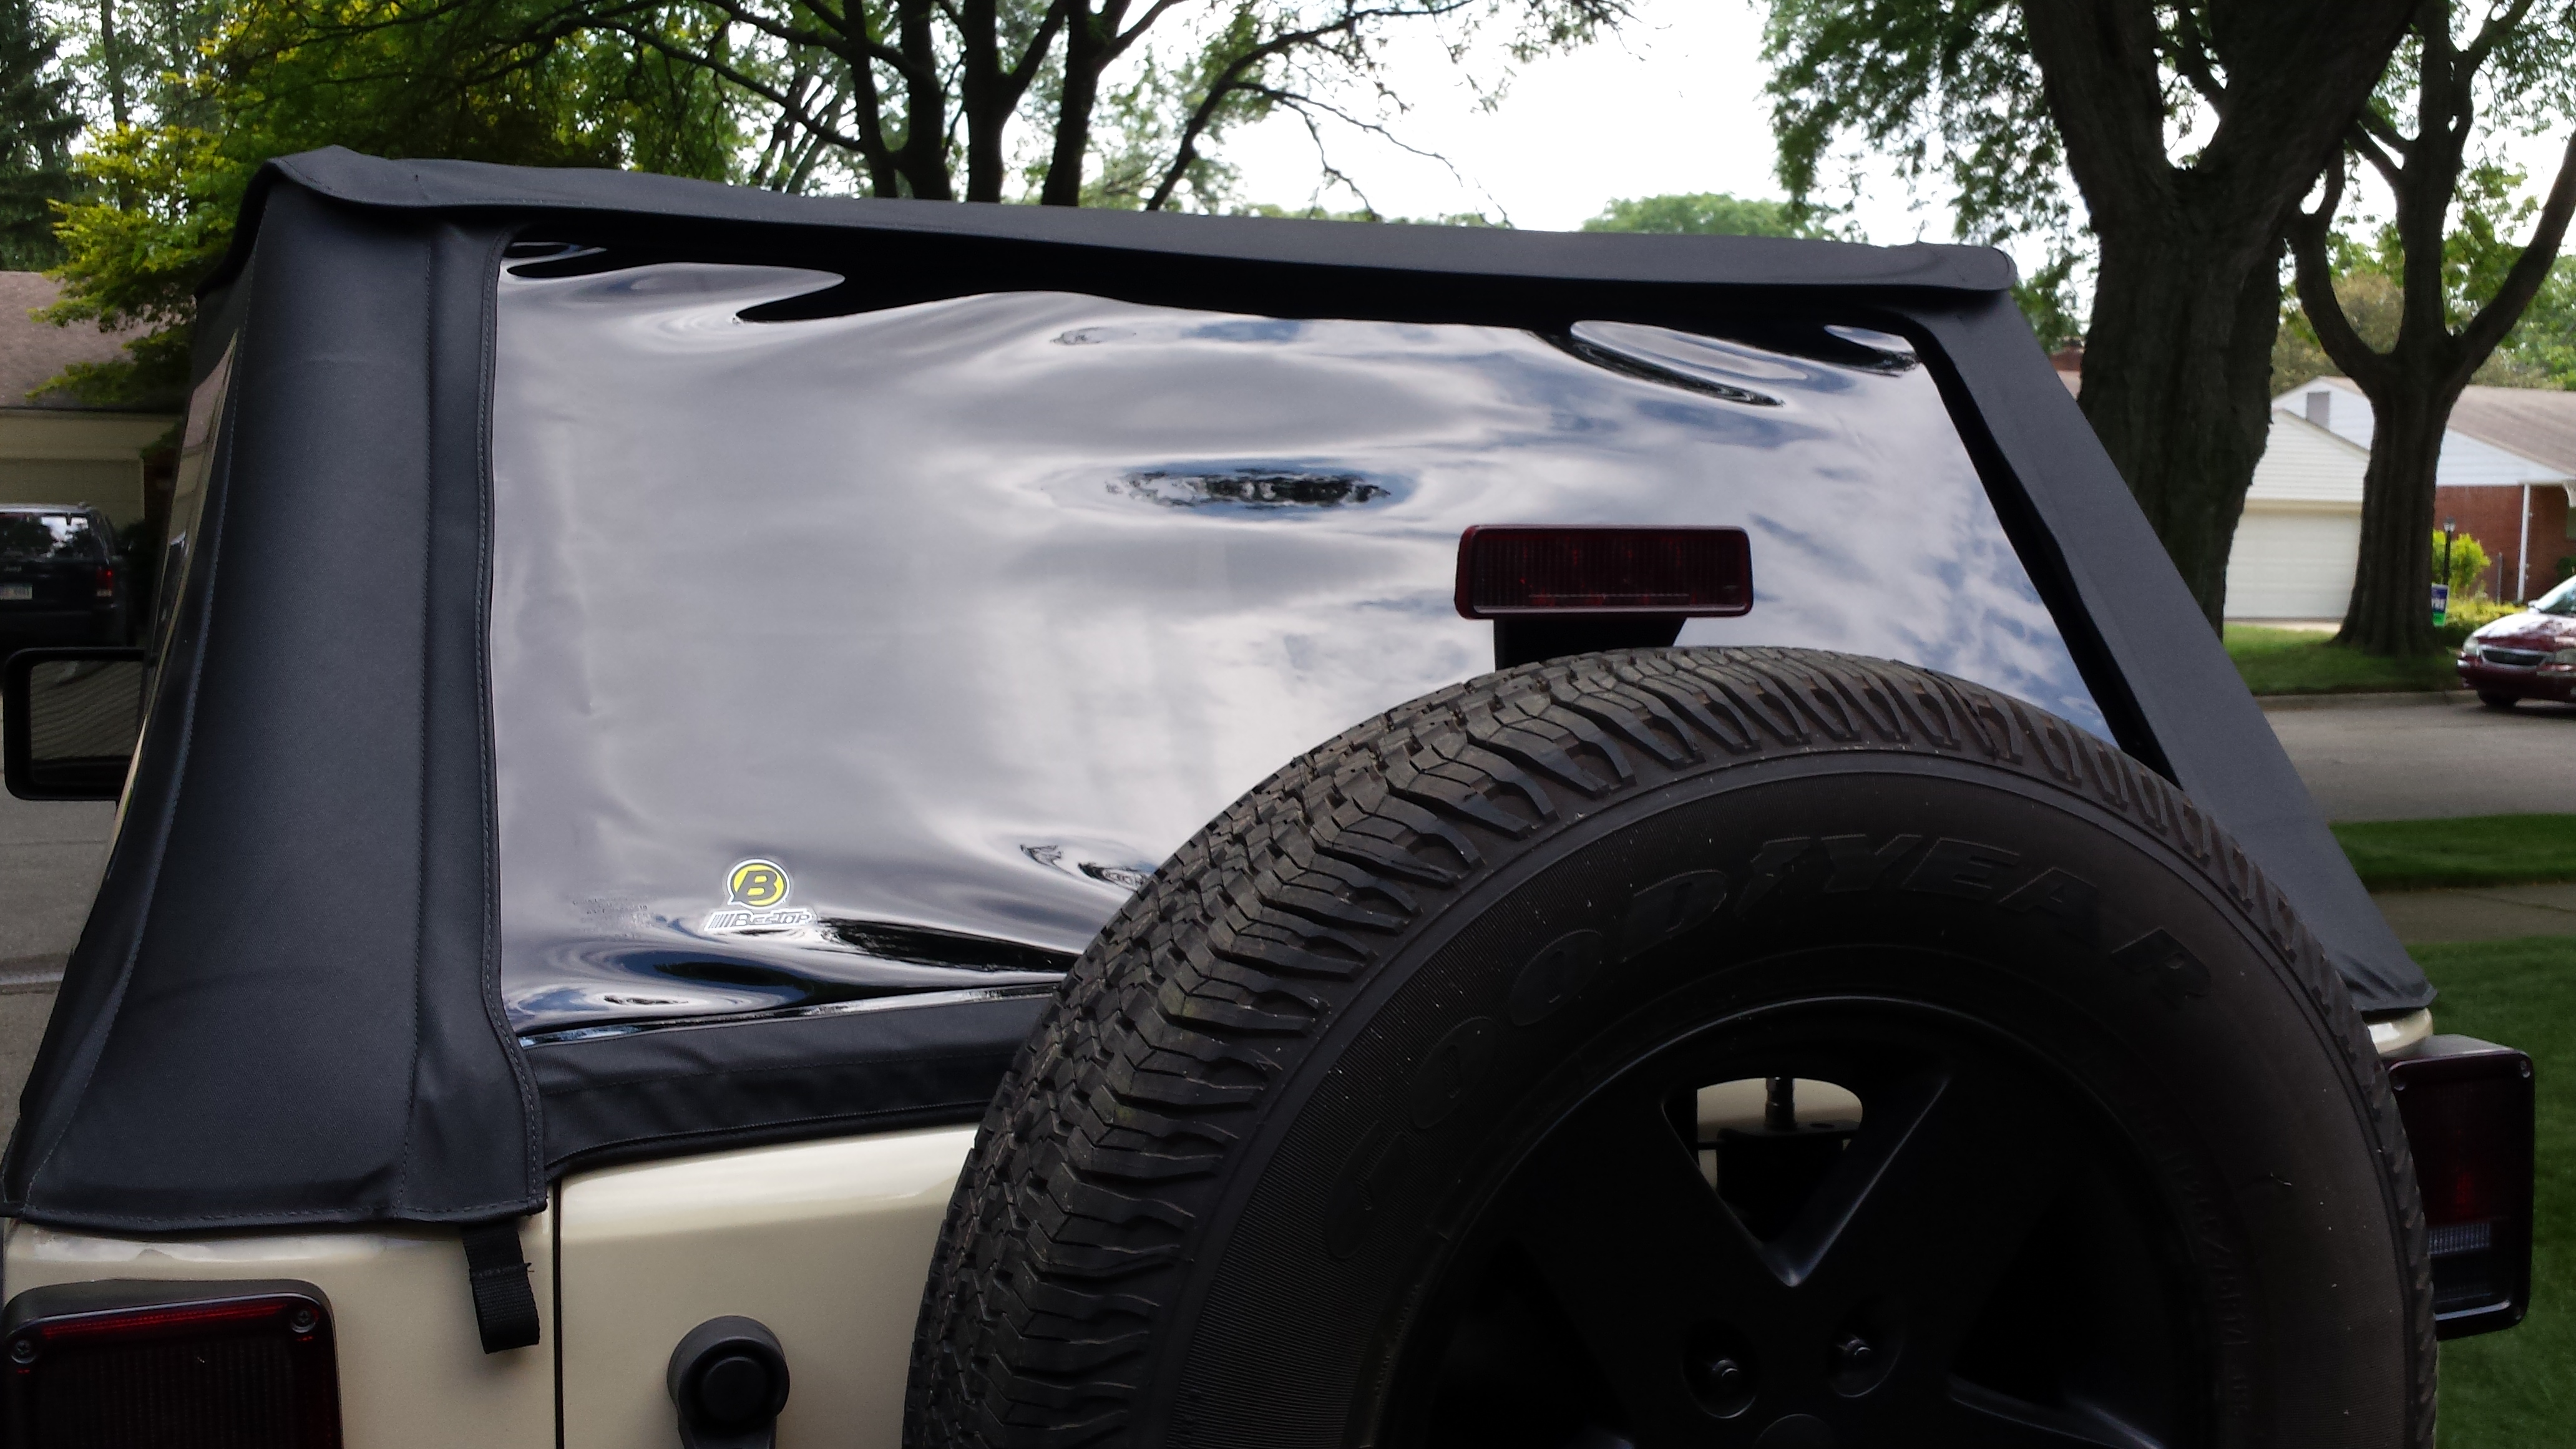
And there ya have it! The Bestop Trektop NX is now installed! From my experience and what I have been told as well, once the top is installed, leave it all the way installed for at least a week before you take the top off/down to enjoy it to make sure that te top has enough chance to stretch out and fit the Jeep better, otherwise it will be a big hassle to get back on!
And just to finish off the Trektop NX posts, just a quick overview of the features! The key to this top is that it is frameless, and has the least amount of hardware and "pieces" possible! With that said, the improvement/change from the original Trektop is the addition of the Sunrider feature where there is a small amount of frame work to all the front portion to be flipped back and allow the open air experience easily! Another feature, is that not just the windows, but the entire side panels come off, as they are all one piece, which allows the top to be used as a safari style top! And yes, you can run the top with the back window out and the side ones still attached, but if you want the whole back open, you have to remove the complete side panels, not just the windows. The whole top cane be removed in around 50-30 minutes if you would like to run completely without it! But on YouTube, I did find a cool little trick that not too many people know about with this top because Bestop does not advertise it, but if you release the J hooks in the back of the top, and release the hook on the footman's loops, you can roll the back portion of the top up on top of the sound bar and then open the Sunrider feature on top of the rolled up portion, and it is like there is no top on at all at you cannot see the top on the sound bar from inside the Jeep and barely from outside the Jeep! I have been up to 75 on the expressway with the top like that, and it is extremely secure, no worries at all! Here is the video I watched to find this out on YouTube:
https://www.youtube.com/watch?v=ppVAXnYsQ-g&index=4&list=PLc92kHHlACzy2DuMGMsLGEo9TxHJnITZa So thanks for reading and hope this install can provide some help to y'all! Enjoy!
47. With the tailgate bar secured, go ahead and zip the zippers on either side of the rear window all the way down. And once again, if the zippers get too tight, just let them sit and they will stretch out enough to be able to go the rest of the way. (Tip to make this a bit easier, don�t zip one of the zippers all the way down and then do the other side, just zip each side evenly, alternating in small increments and it will go a bit a smoother.)
48. With the rear window zipped all the way up, first take the flap with the lip hanging down from the rear window panel and tuck the lip under the tailgate clip, then take the overhanging portion of the side panels which has a lip on it and tuck that lip into the same spot under the tailgate clip and over the piece from the rear window panel.
49. Now, go around the top edge of all the side and rear panels and attach all the Velcro to the top panel securely as this is what prevents a lots of precipitation from getting in as well as an extra seal for the top to cover all the zippers.
50. With all that done, climb back into the front, make sure that you have the hooks for the front part of the top attached to the Footman�s loops on the windshield frame, and turn flip the latches down and towards the front window to lock the top down.
And there ya have it! The Bestop Trektop NX is now installed! From my experience and what I have been told as well, once the top is installed, leave it all the way installed for at least a week before you take the top off/down to enjoy it to make sure that te top has enough chance to stretch out and fit the Jeep better, otherwise it will be a big hassle to get back on!
And just to finish off the Trektop NX posts, just a quick overview of the features! The key to this top is that it is frameless, and has the least amount of hardware and "pieces" possible! With that said, the improvement/change from the original Trektop is the addition of the Sunrider feature where there is a small amount of frame work to all the front portion to be flipped back and allow the open air experience easily! Another feature, is that not just the windows, but the entire side panels come off, as they are all one piece, which allows the top to be used as a safari style top! And yes, you can run the top with the back window out and the side ones still attached, but if you want the whole back open, you have to remove the complete side panels, not just the windows. The whole top cane be removed in around 50-30 minutes if you would like to run completely without it! But on YouTube, I did find a cool little trick that not too many people know about with this top because Bestop does not advertise it, but if you release the J hooks in the back of the top, and release the hook on the footman's loops, you can roll the back portion of the top up on top of the sound bar and then open the Sunrider feature on top of the rolled up portion, and it is like there is no top on at all at you cannot see the top on the sound bar from inside the Jeep and barely from outside the Jeep! I have been up to 75 on the expressway with the top like that, and it is extremely secure, no worries at all! Here is the video I watched to find this out on YouTube:
https://www.youtube.com/watch?v=ppVAXnYsQ-g&index=4&list=PLc92kHHlACzy2DuMGMsLGEo9TxHJnITZa So thanks for reading and hope this install can provide some help to y'all! Enjoy!
 11-17-2015, 04:10 AM
#52
JK Enthusiast
Thread Starter
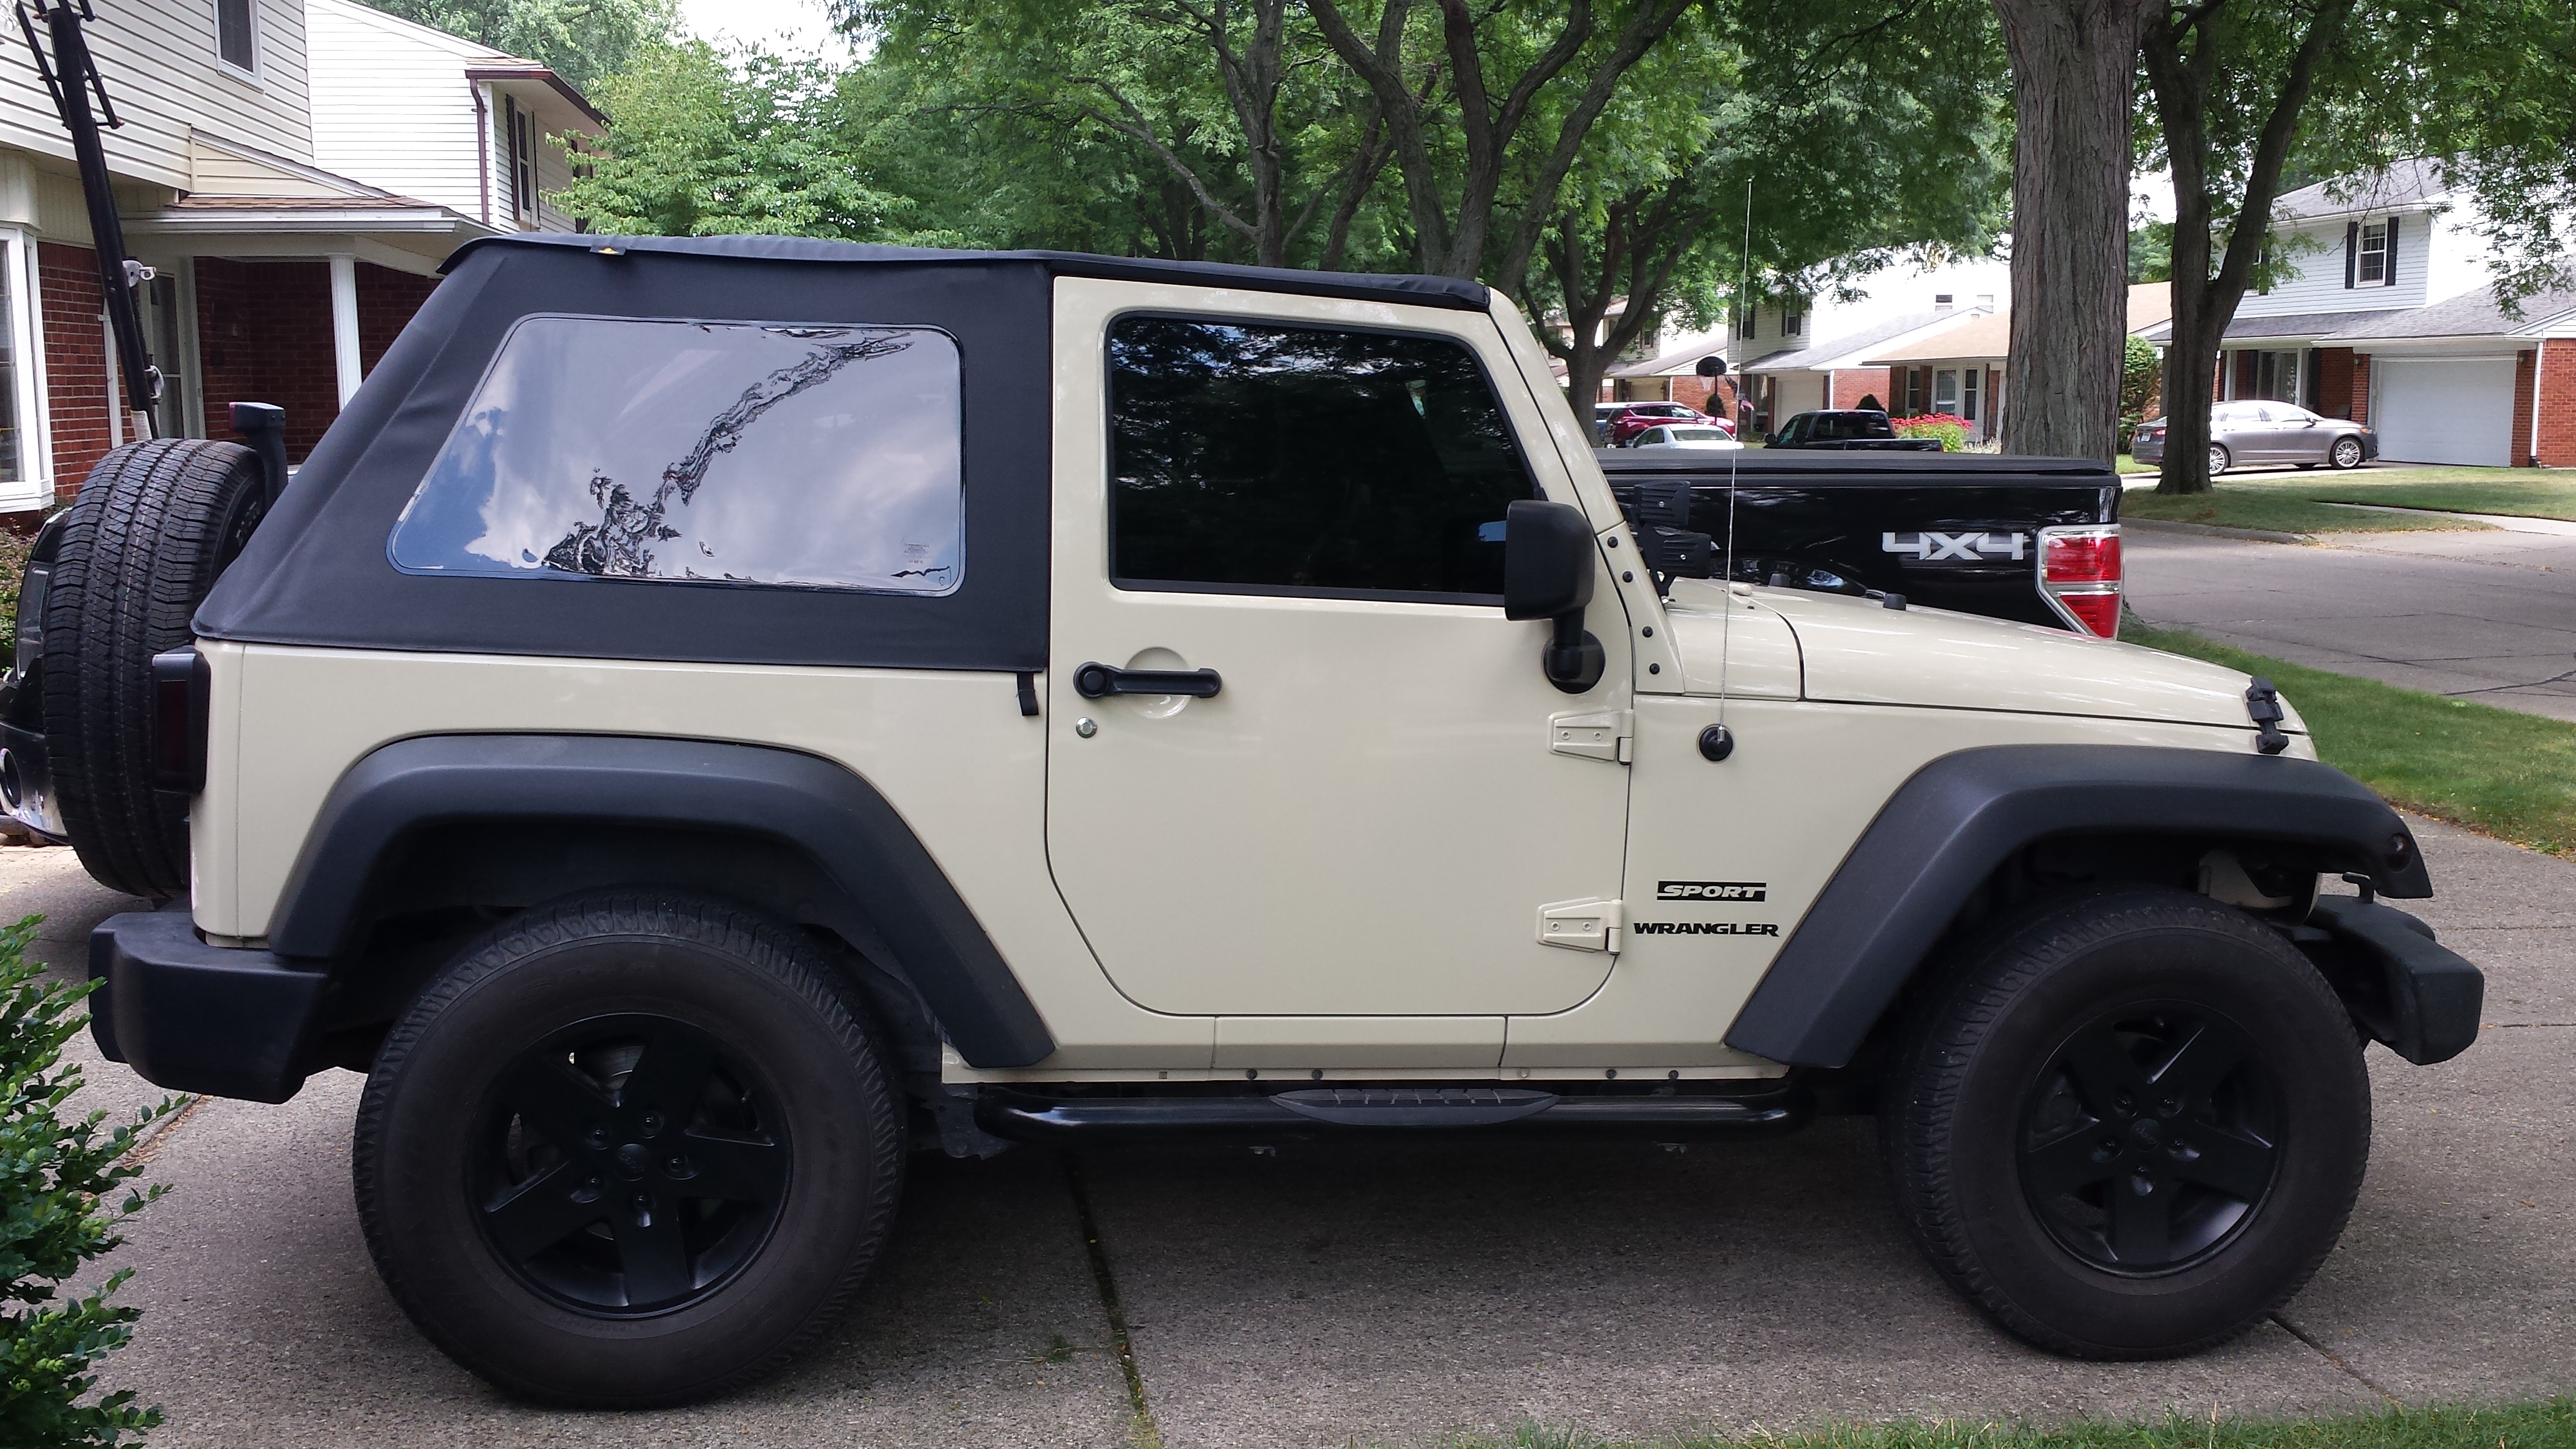
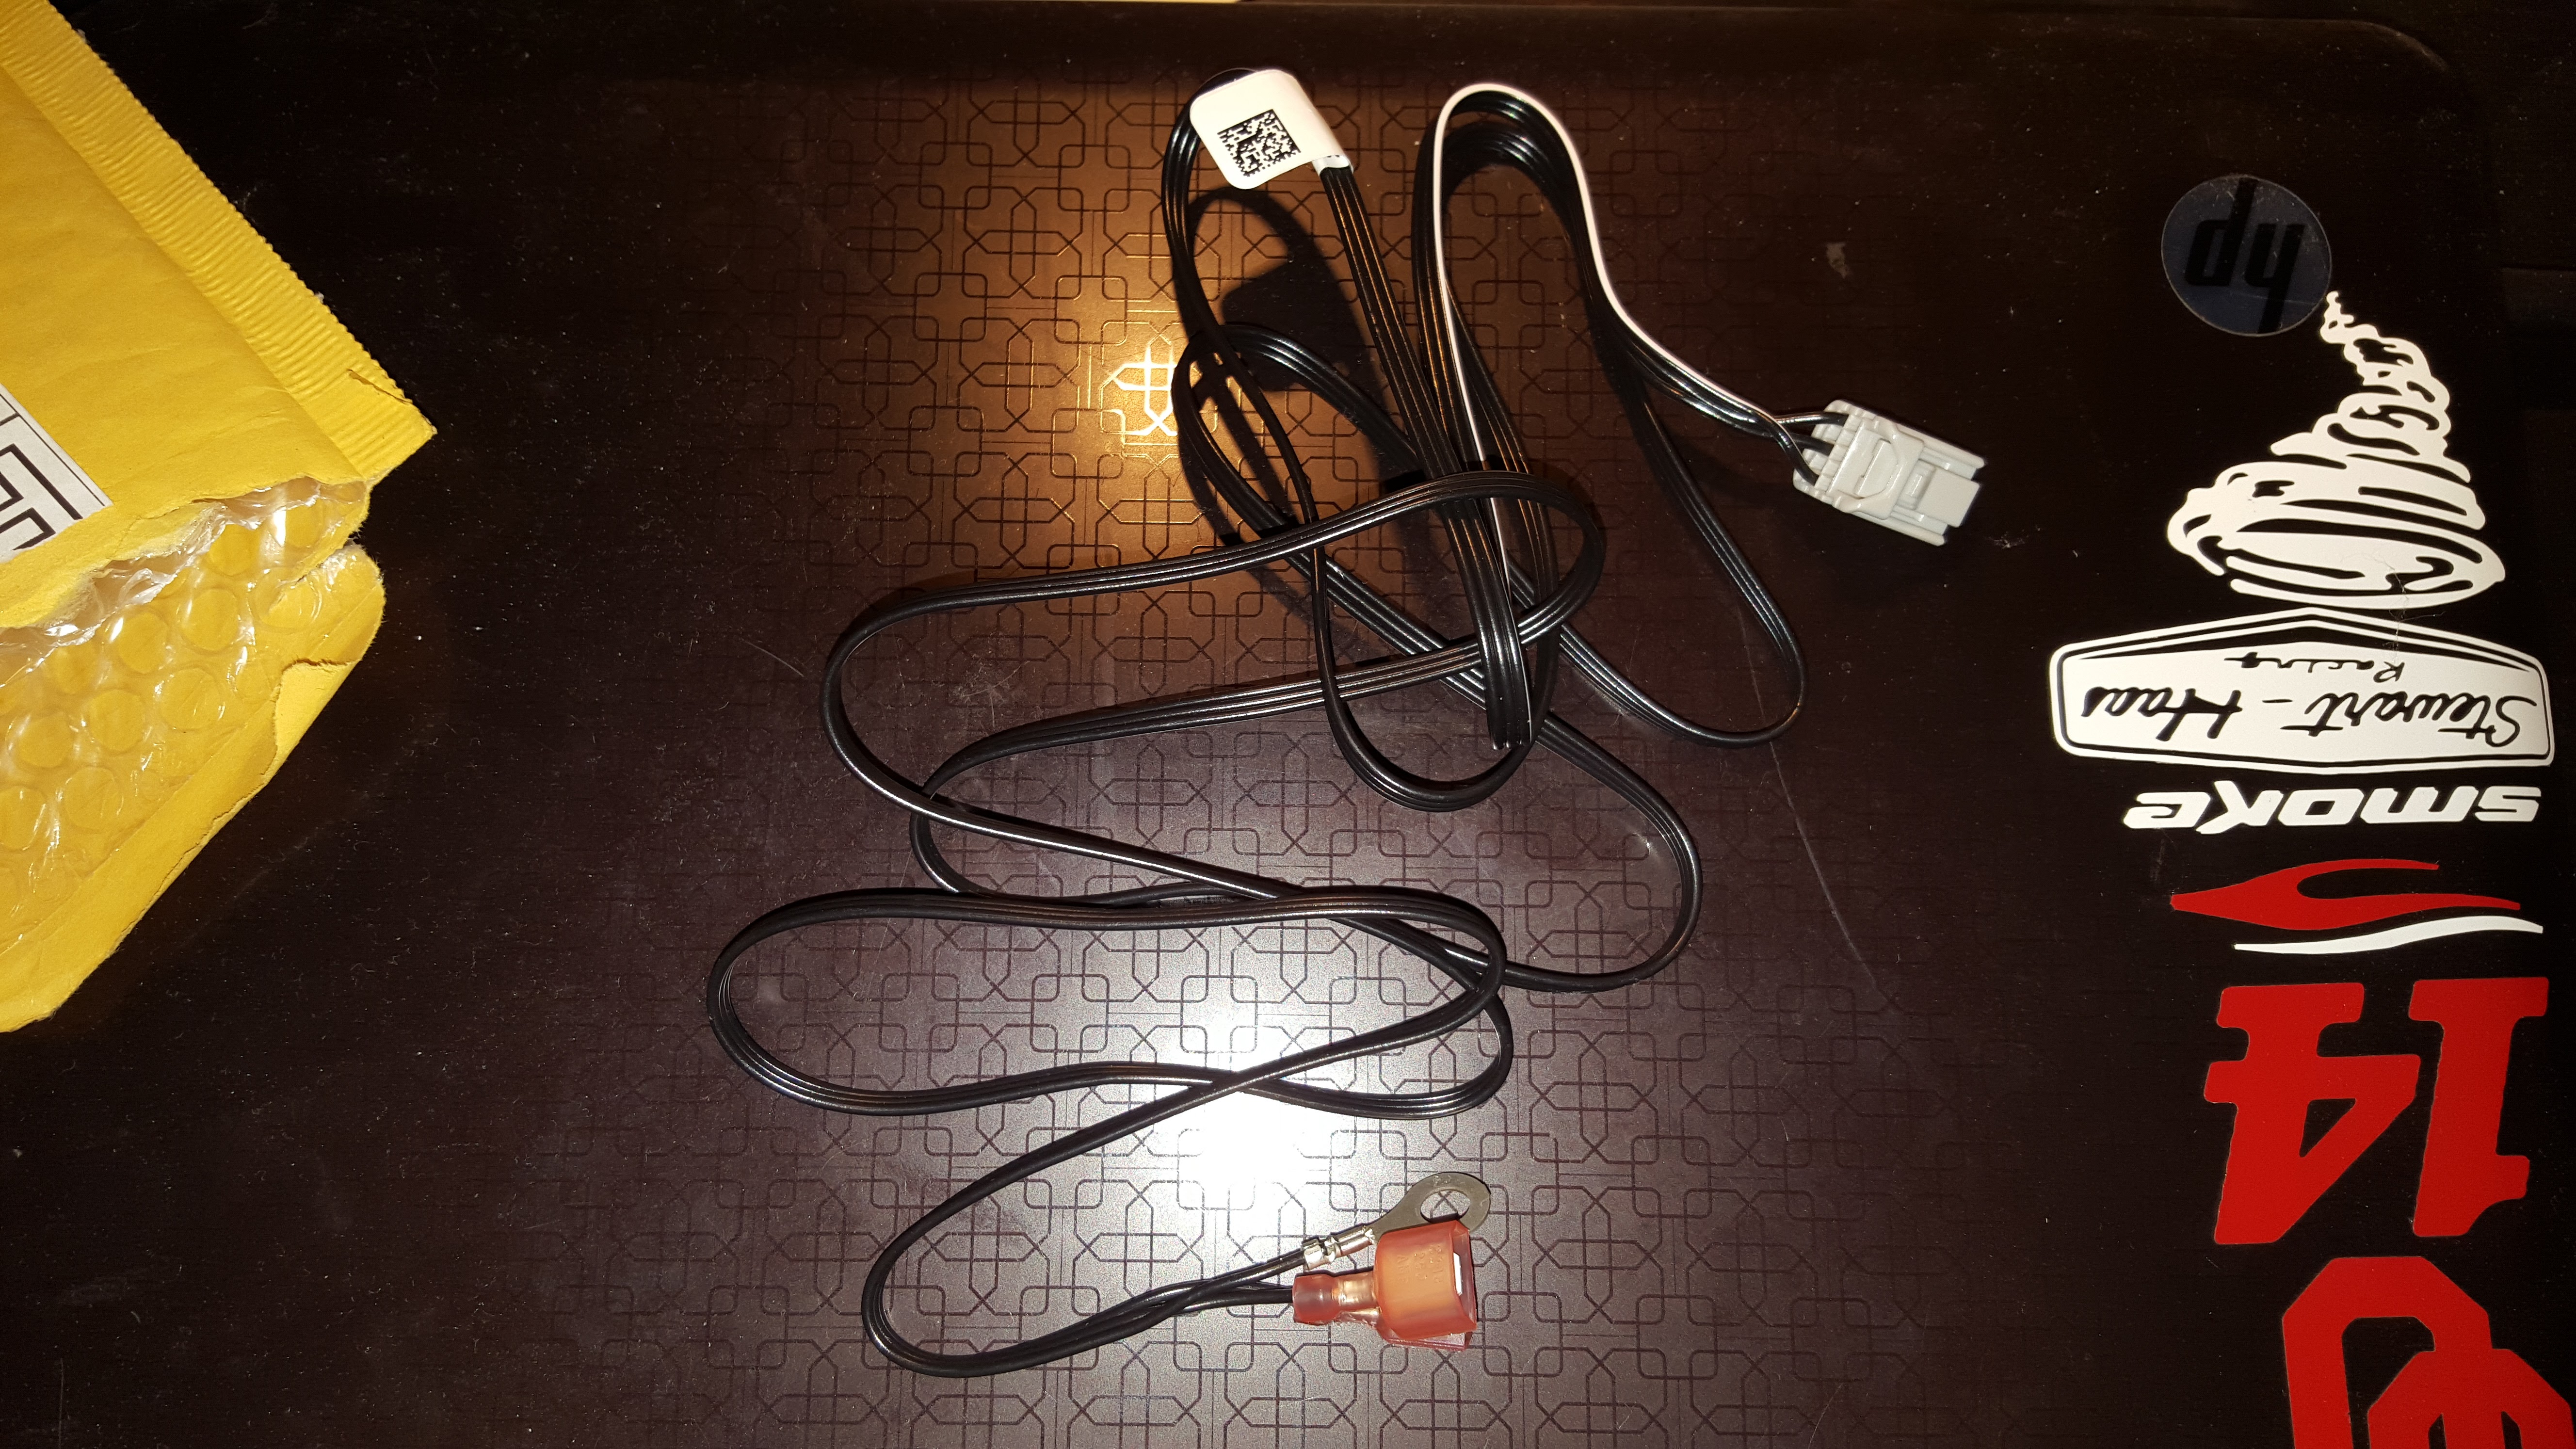
Well, the wiring harness has now arrived for the mirror too! So I am hoping I get some time tonight to get it all installed and functioning, as swapping the mirrors should only take like 15 minutes at most, and then the rest of the time is running the harness wires and finding a good ground and a switched power wire (which I still need to look into)! However, I did test fit the mirror itself without the harness over the weekend and ran into a bit of a snag! The stalk on the Homelink mirror connects slightly lower on the back of the mirror than the stock mirror, and the connection between the stalk and the wedge mount is limited in rotation distance, so the mirror has to sit about and inch or so higher than the stock mirror. For most, this would be no issue, however, with my CB radio above the mirror, there is not enough space to get the mirror positioned all the way up so that I am not looking at the floor in the back seats!
I happened to run into a Safelite tech who was repairing a windshield in the parking lot as I left work and asked him and he said that the button on the windshield could be moved down, and that most likely they could do it no problem and, may not even charge me anything, or at most $10-$15! So for that cost, and seems as though it should not be an issue, I would rather have professionals work on moving the button down so that the mirror will actually completely work! I'll update with the whole install process once it's all in, but for now, I got to find some wiring information to find a switched power wire to connect to in the driver side foot well area!
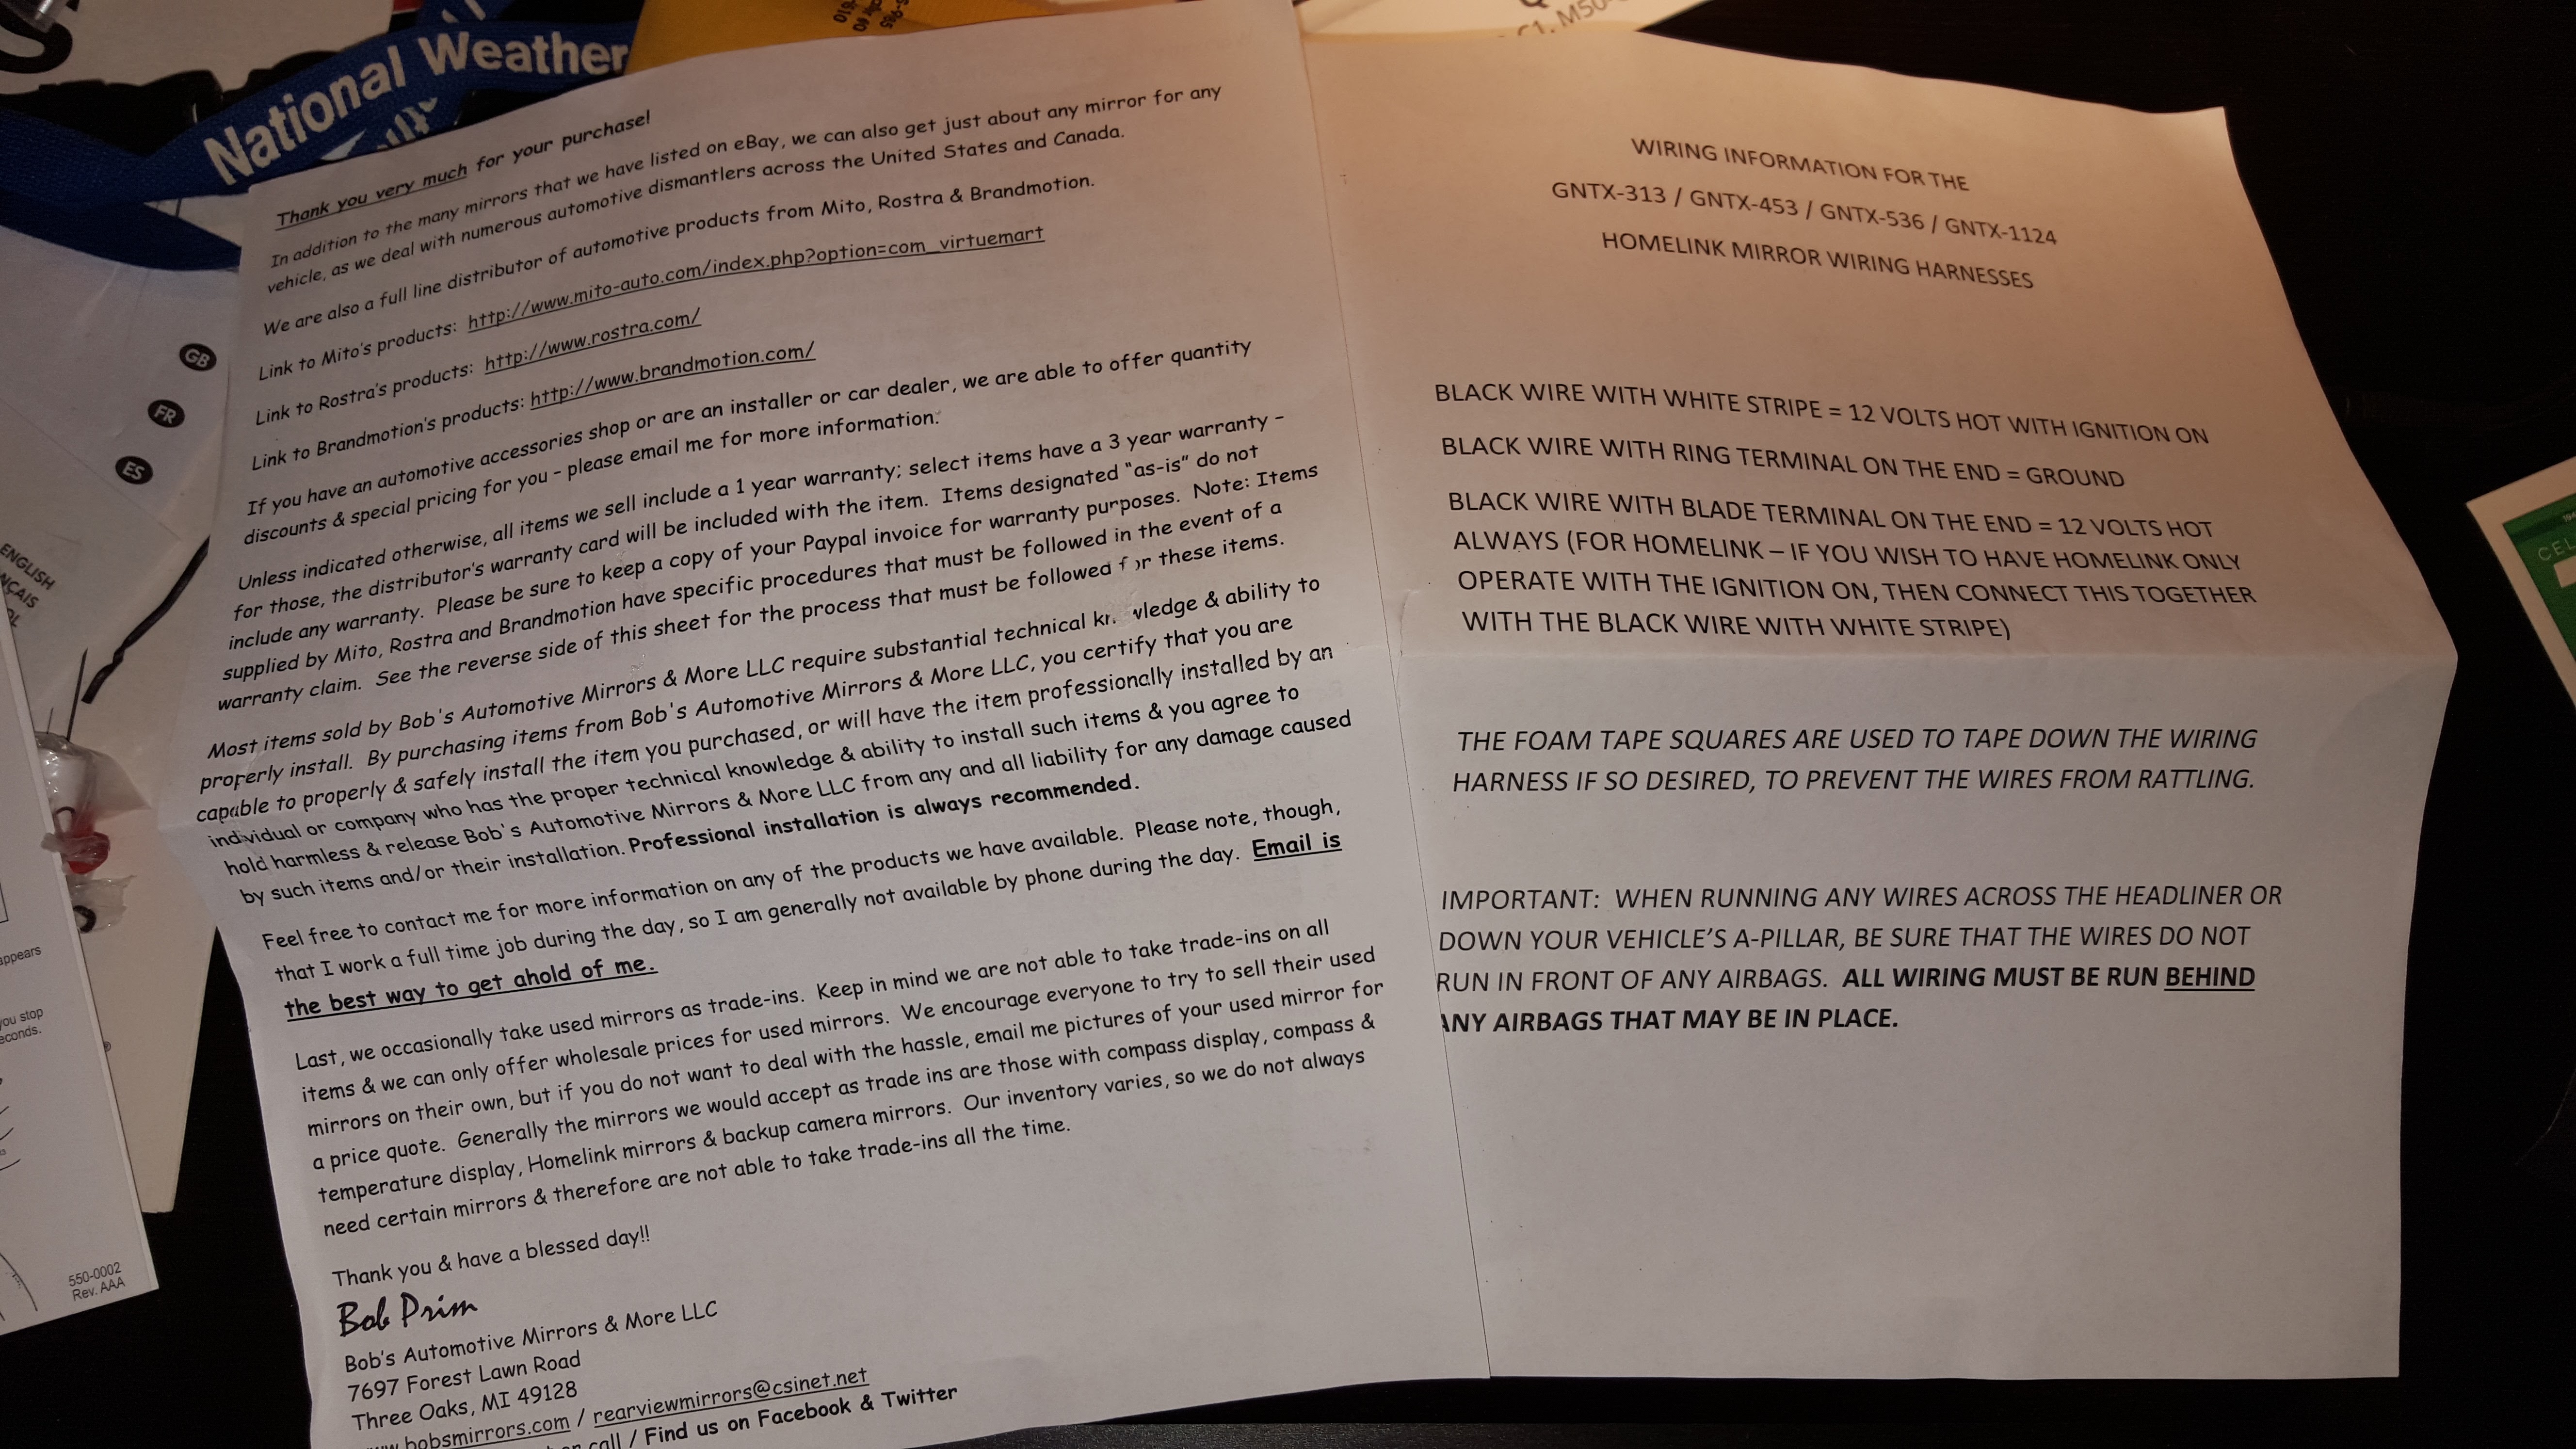
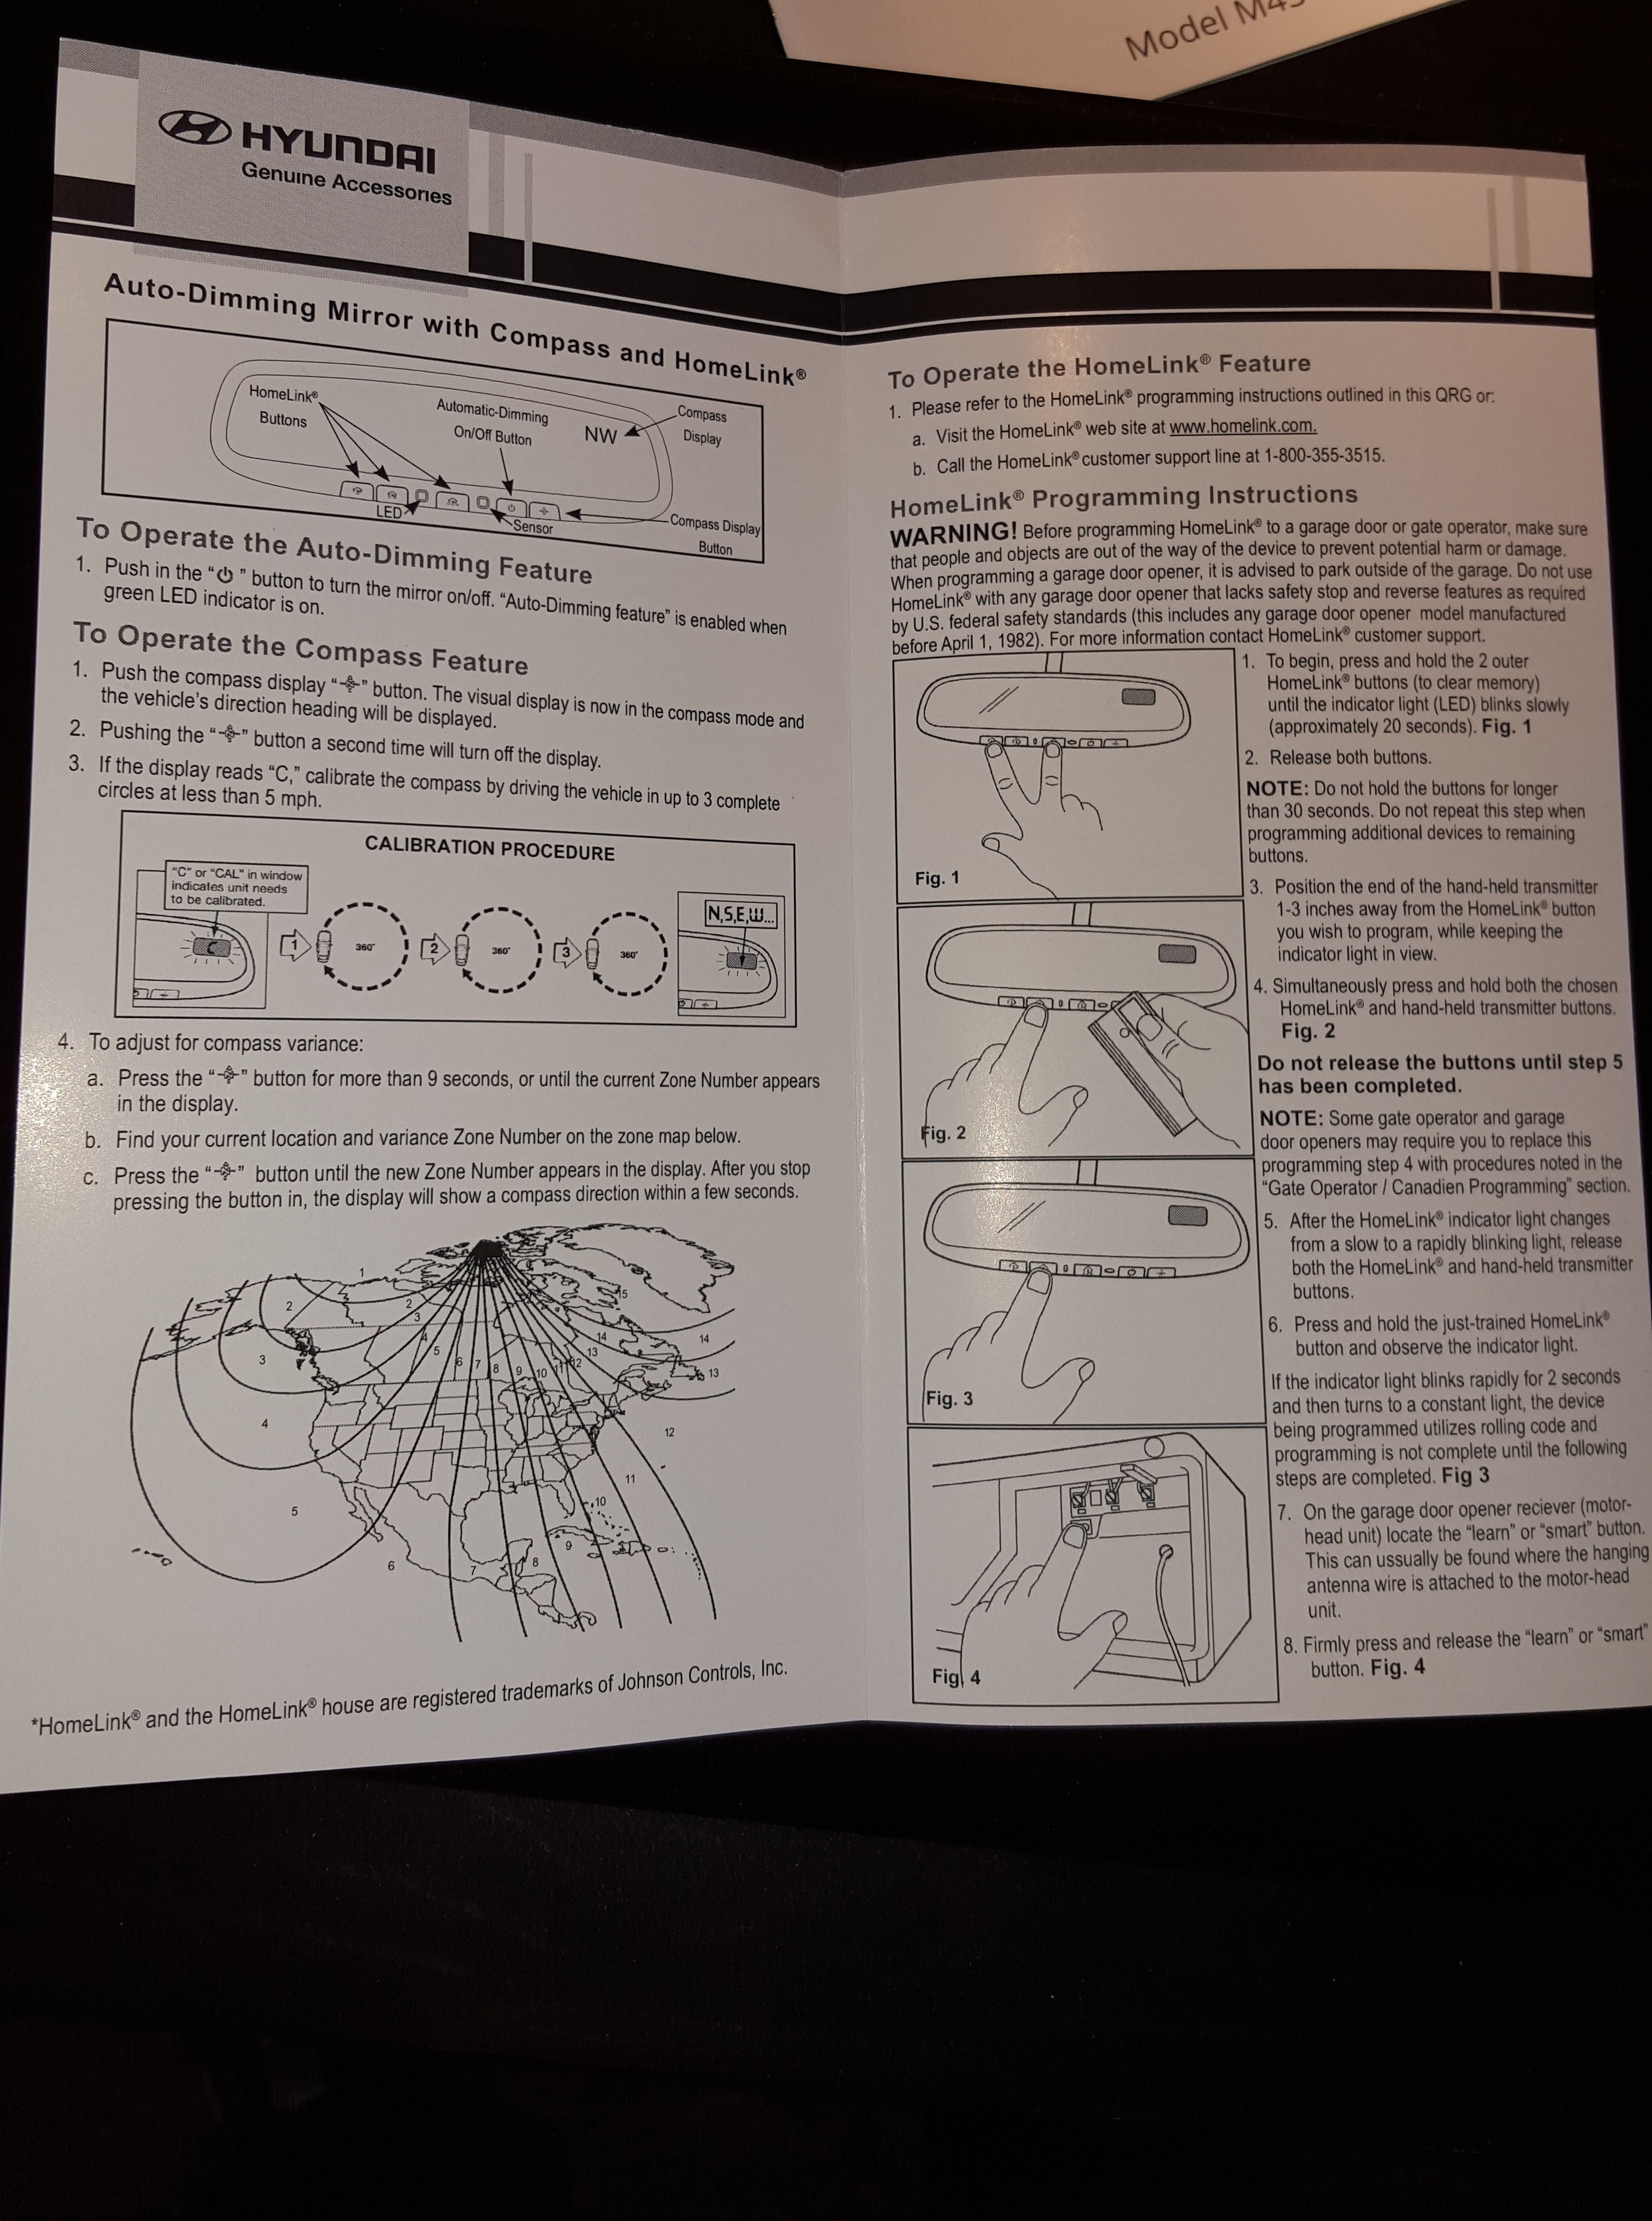
Nice part about the eBay seller I got the harness from is that they have a 1 year warranty on the harness, as well as they sent harness/mirror wiring diagrams and how to correctly wire, as well as the manual for the mirror from a Hyundai (as that was one of the vehicles that it was factory intended for) for programming and troubleshooting and all that! Pretty nice!

I happened to run into a Safelite tech who was repairing a windshield in the parking lot as I left work and asked him and he said that the button on the windshield could be moved down, and that most likely they could do it no problem and, may not even charge me anything, or at most $10-$15! So for that cost, and seems as though it should not be an issue, I would rather have professionals work on moving the button down so that the mirror will actually completely work! I'll update with the whole install process once it's all in, but for now, I got to find some wiring information to find a switched power wire to connect to in the driver side foot well area!
Nice part about the eBay seller I got the harness from is that they have a 1 year warranty on the harness, as well as they sent harness/mirror wiring diagrams and how to correctly wire, as well as the manual for the mirror from a Hyundai (as that was one of the vehicles that it was factory intended for) for programming and troubleshooting and all that! Pretty nice!
Last edited by WxNerd2015; 11-17-2015 at 04:21 AM.
11-17-2015, 08:12 PM
#54
JK Enthusiast
Thread Starter
Well, tried to get the mirror in tonight and have found that this mod isn't for me. With my mounting location on my CB radio, the mirror will not work when on the mount as it can't rotate up to actually use the mirror as I had said earlier! Safelite was a bust when I actually went to the shop, cuz it turns out, they cannot move the button from its location as that is federal law that it has to remain there, which I did not know! Anyways though, this ended up being a bust for me, as everything was good to go, except the mirror just sits an inch too high to work for my set up!
So anyone else looking to try this mod? I have a full kit ready to go! Let me know as I am looking to sell it and get my money back!
So anyone else looking to try this mod? I have a full kit ready to go! Let me know as I am looking to sell it and get my money back!
11-20-2015, 04:23 AM
#55
JK Enthusiast
Thread Starter
Well, tried to get the mirror in tonight and have found that this mod isn't for me. With my mounting location on my CB radio, the mirror will not work when on the mount as it can't rotate up to actually use the mirror as I had said earlier! Safelite was a bust when I actually went to the shop, cuz it turns out, they cannot move the button from its location as that is federal law that it has to remain there, which I did not know! Anyways though, this ended up being a bust for me, as everything was good to go, except the mirror just sits an inch too high to work for my set up!
So anyone else looking to try this mod? I have a full kit ready to go! Let me know as I am looking to sell it and get my money back!
So anyone else looking to try this mod? I have a full kit ready to go! Let me know as I am looking to sell it and get my money back!
As for other build updates, I am looking into doing both the marker light mod of turn the marker light on the fender into a dual use as a turn signal, as well as the heated washer fluid mod possibly soon, as it looks like this weekend we are gonna get our first significant snowfall of the season here in Michigan (possibly 2-4 inches in my area and up to 6 inches just a little further north on Saturday!)! I am also looking into getting some of the Rugged Ridge Aluminum Hood Latches, as watching that hood flutter in the wind is really starting to get to me, and those latches would make me feel more secure! Also, I am looking into making the transition to some LED bulbs around the Jeep (To start and test them out, I am thinking reverse light bulbs, license plate light, and interior lights, but in the end I would like to replace all of them!) from SuperBrightLEDs.com!
Also, a little further down the road, but hopefully not too far, I am also looking into the AEV 2.5" lift, with procal module and maybe I will do the geometry correction brackets and so on to get all the geometry and all that right, as well as some new rubber! I am looking at either the GoodYear Wrangler MTR with Kevlar or the GoodYear Duratrac tire, and I am trying to decide if I want to just bump up to 33's or if I want to jump all the way up to 35's!
For the mean time, these are the mods that could be coming soon, and of coarse, I will post installs and videos and pics for all of this here to the forum!
11-21-2015, 09:19 AM
#56
JK Enthusiast
Thread Starter
Winter Storm Bella is currently moving across the midwest, and today, SE Michigan is getting their first accumulation of snow for the season! Being the storm chaser that I am, and having a Jeep that I love enjoying, I have been out and about enjoying the winter wonderland! There will be a video of some driving around and time-lapse later, but here are a could picks of it here!
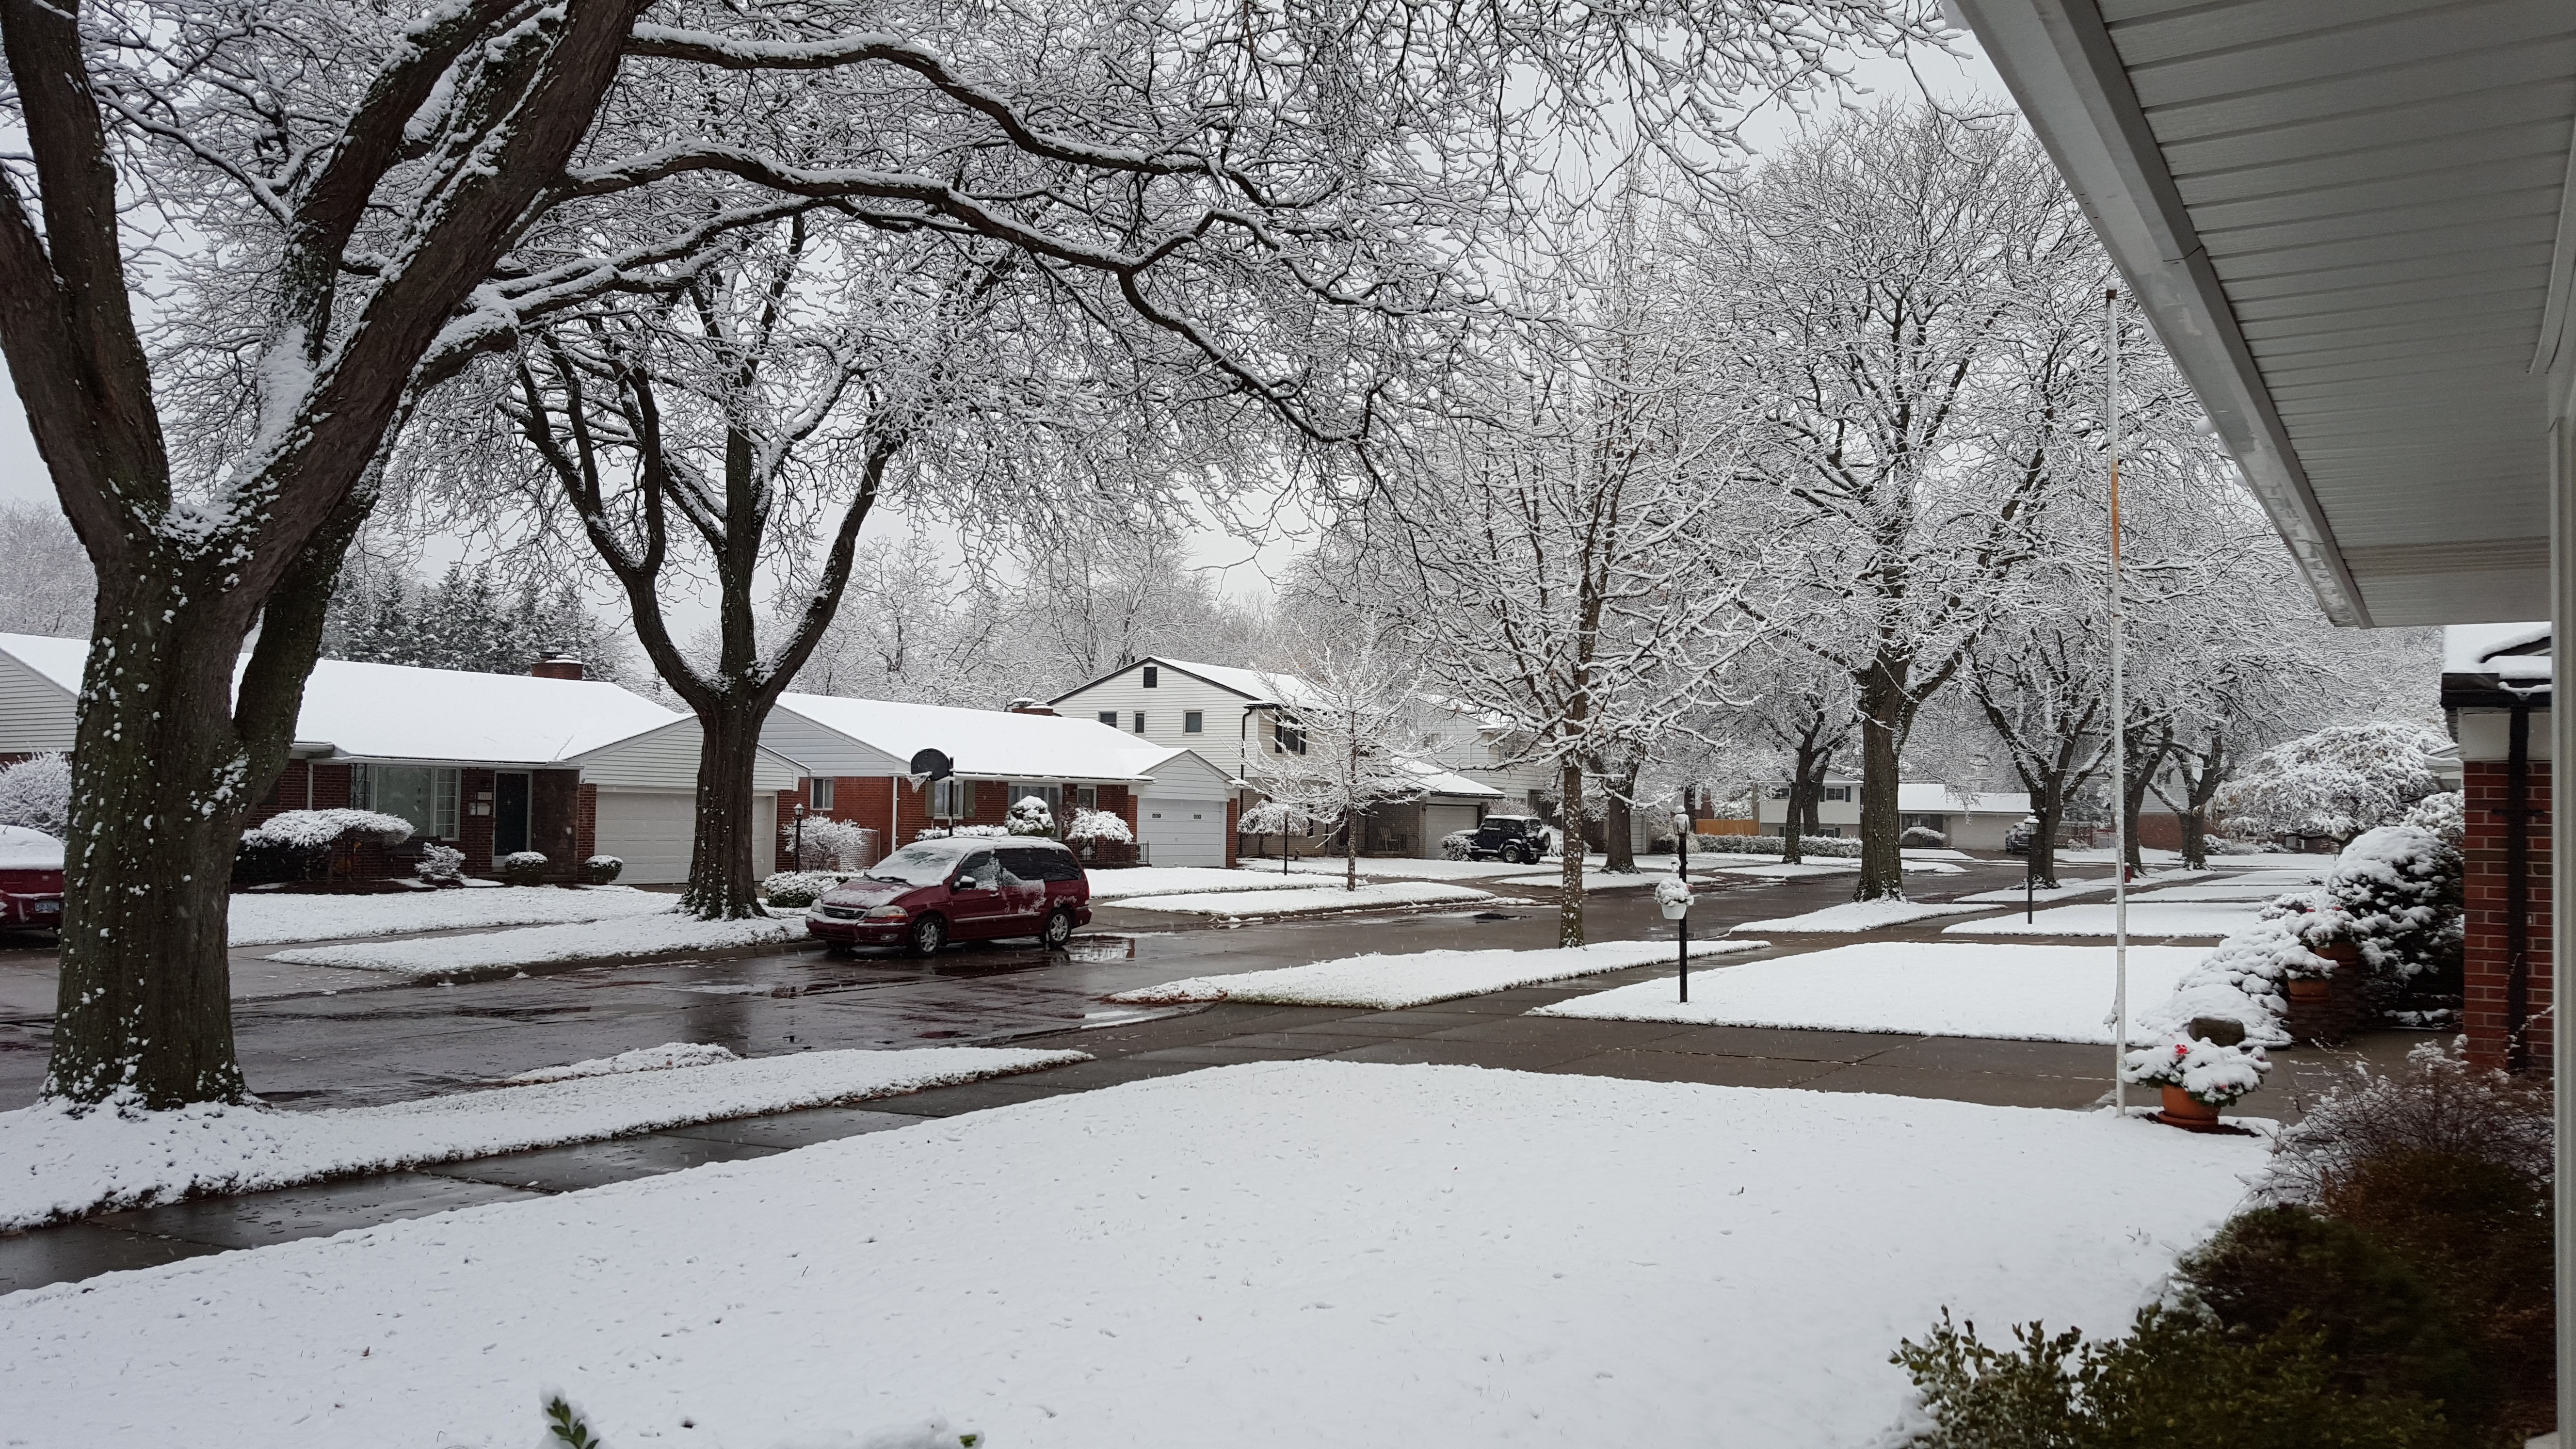
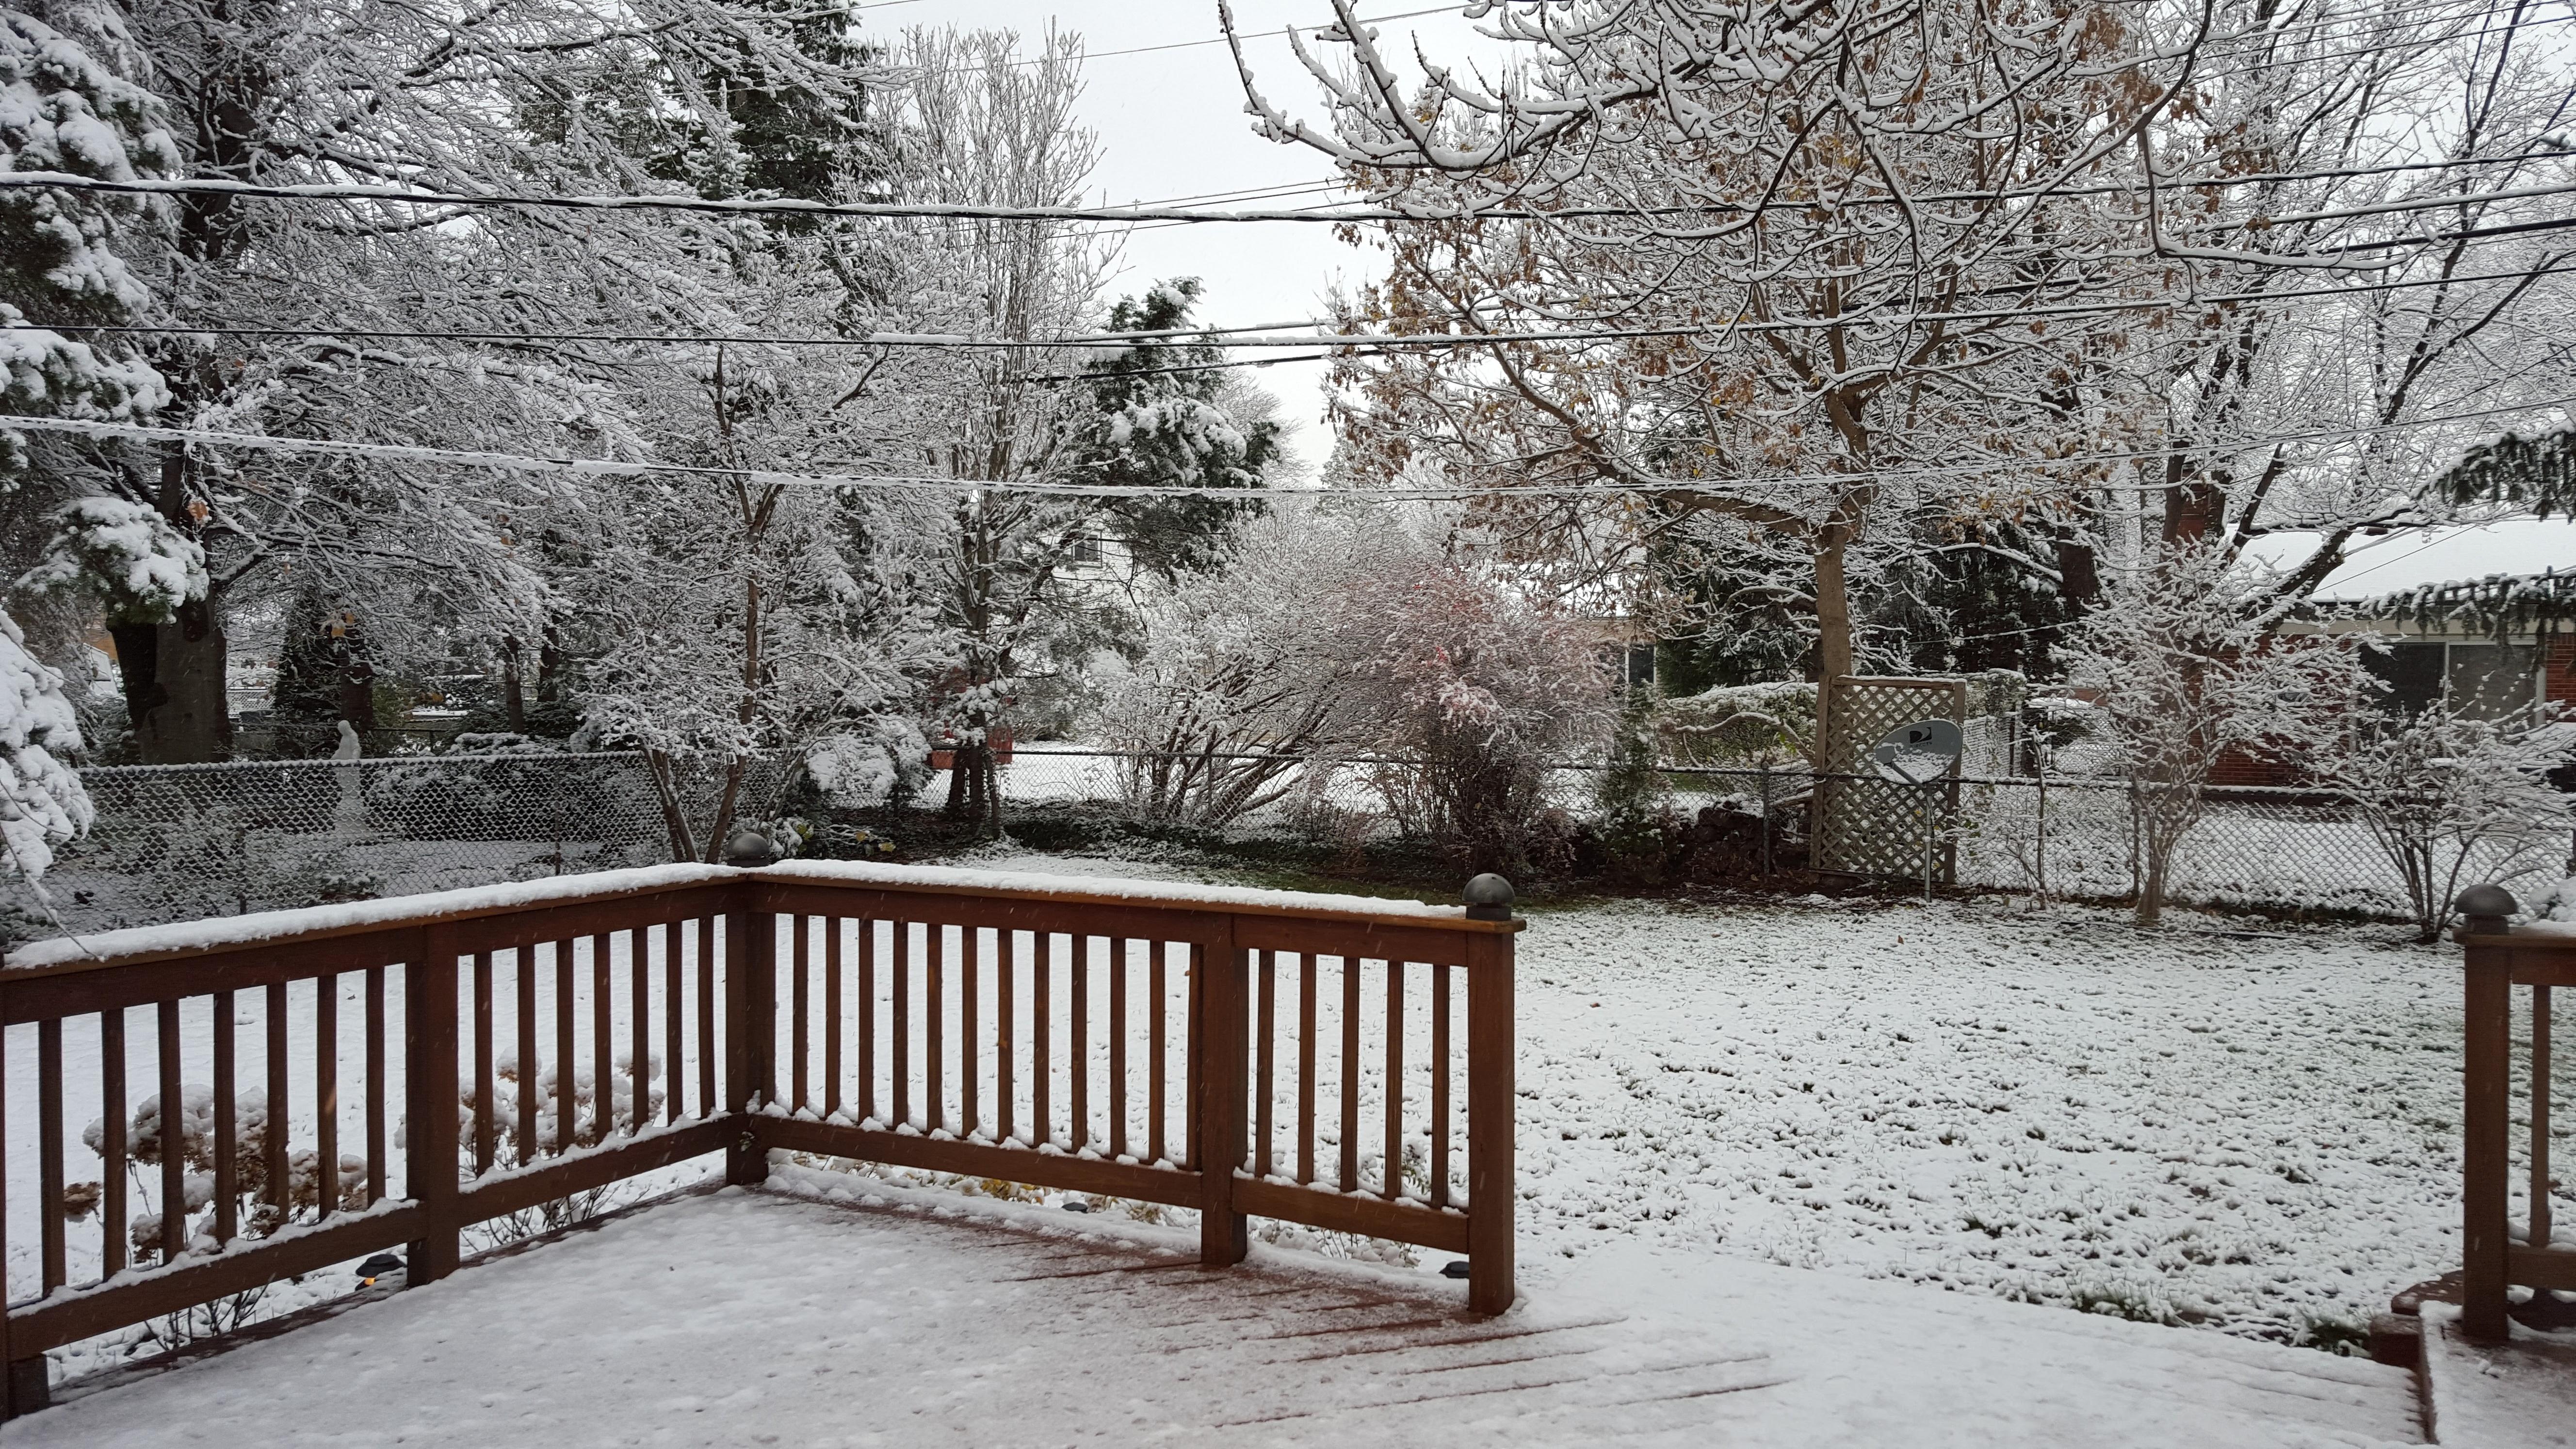
And I will say, the Jeep is feeling a bit chilly out there, but having some fun! Haha!
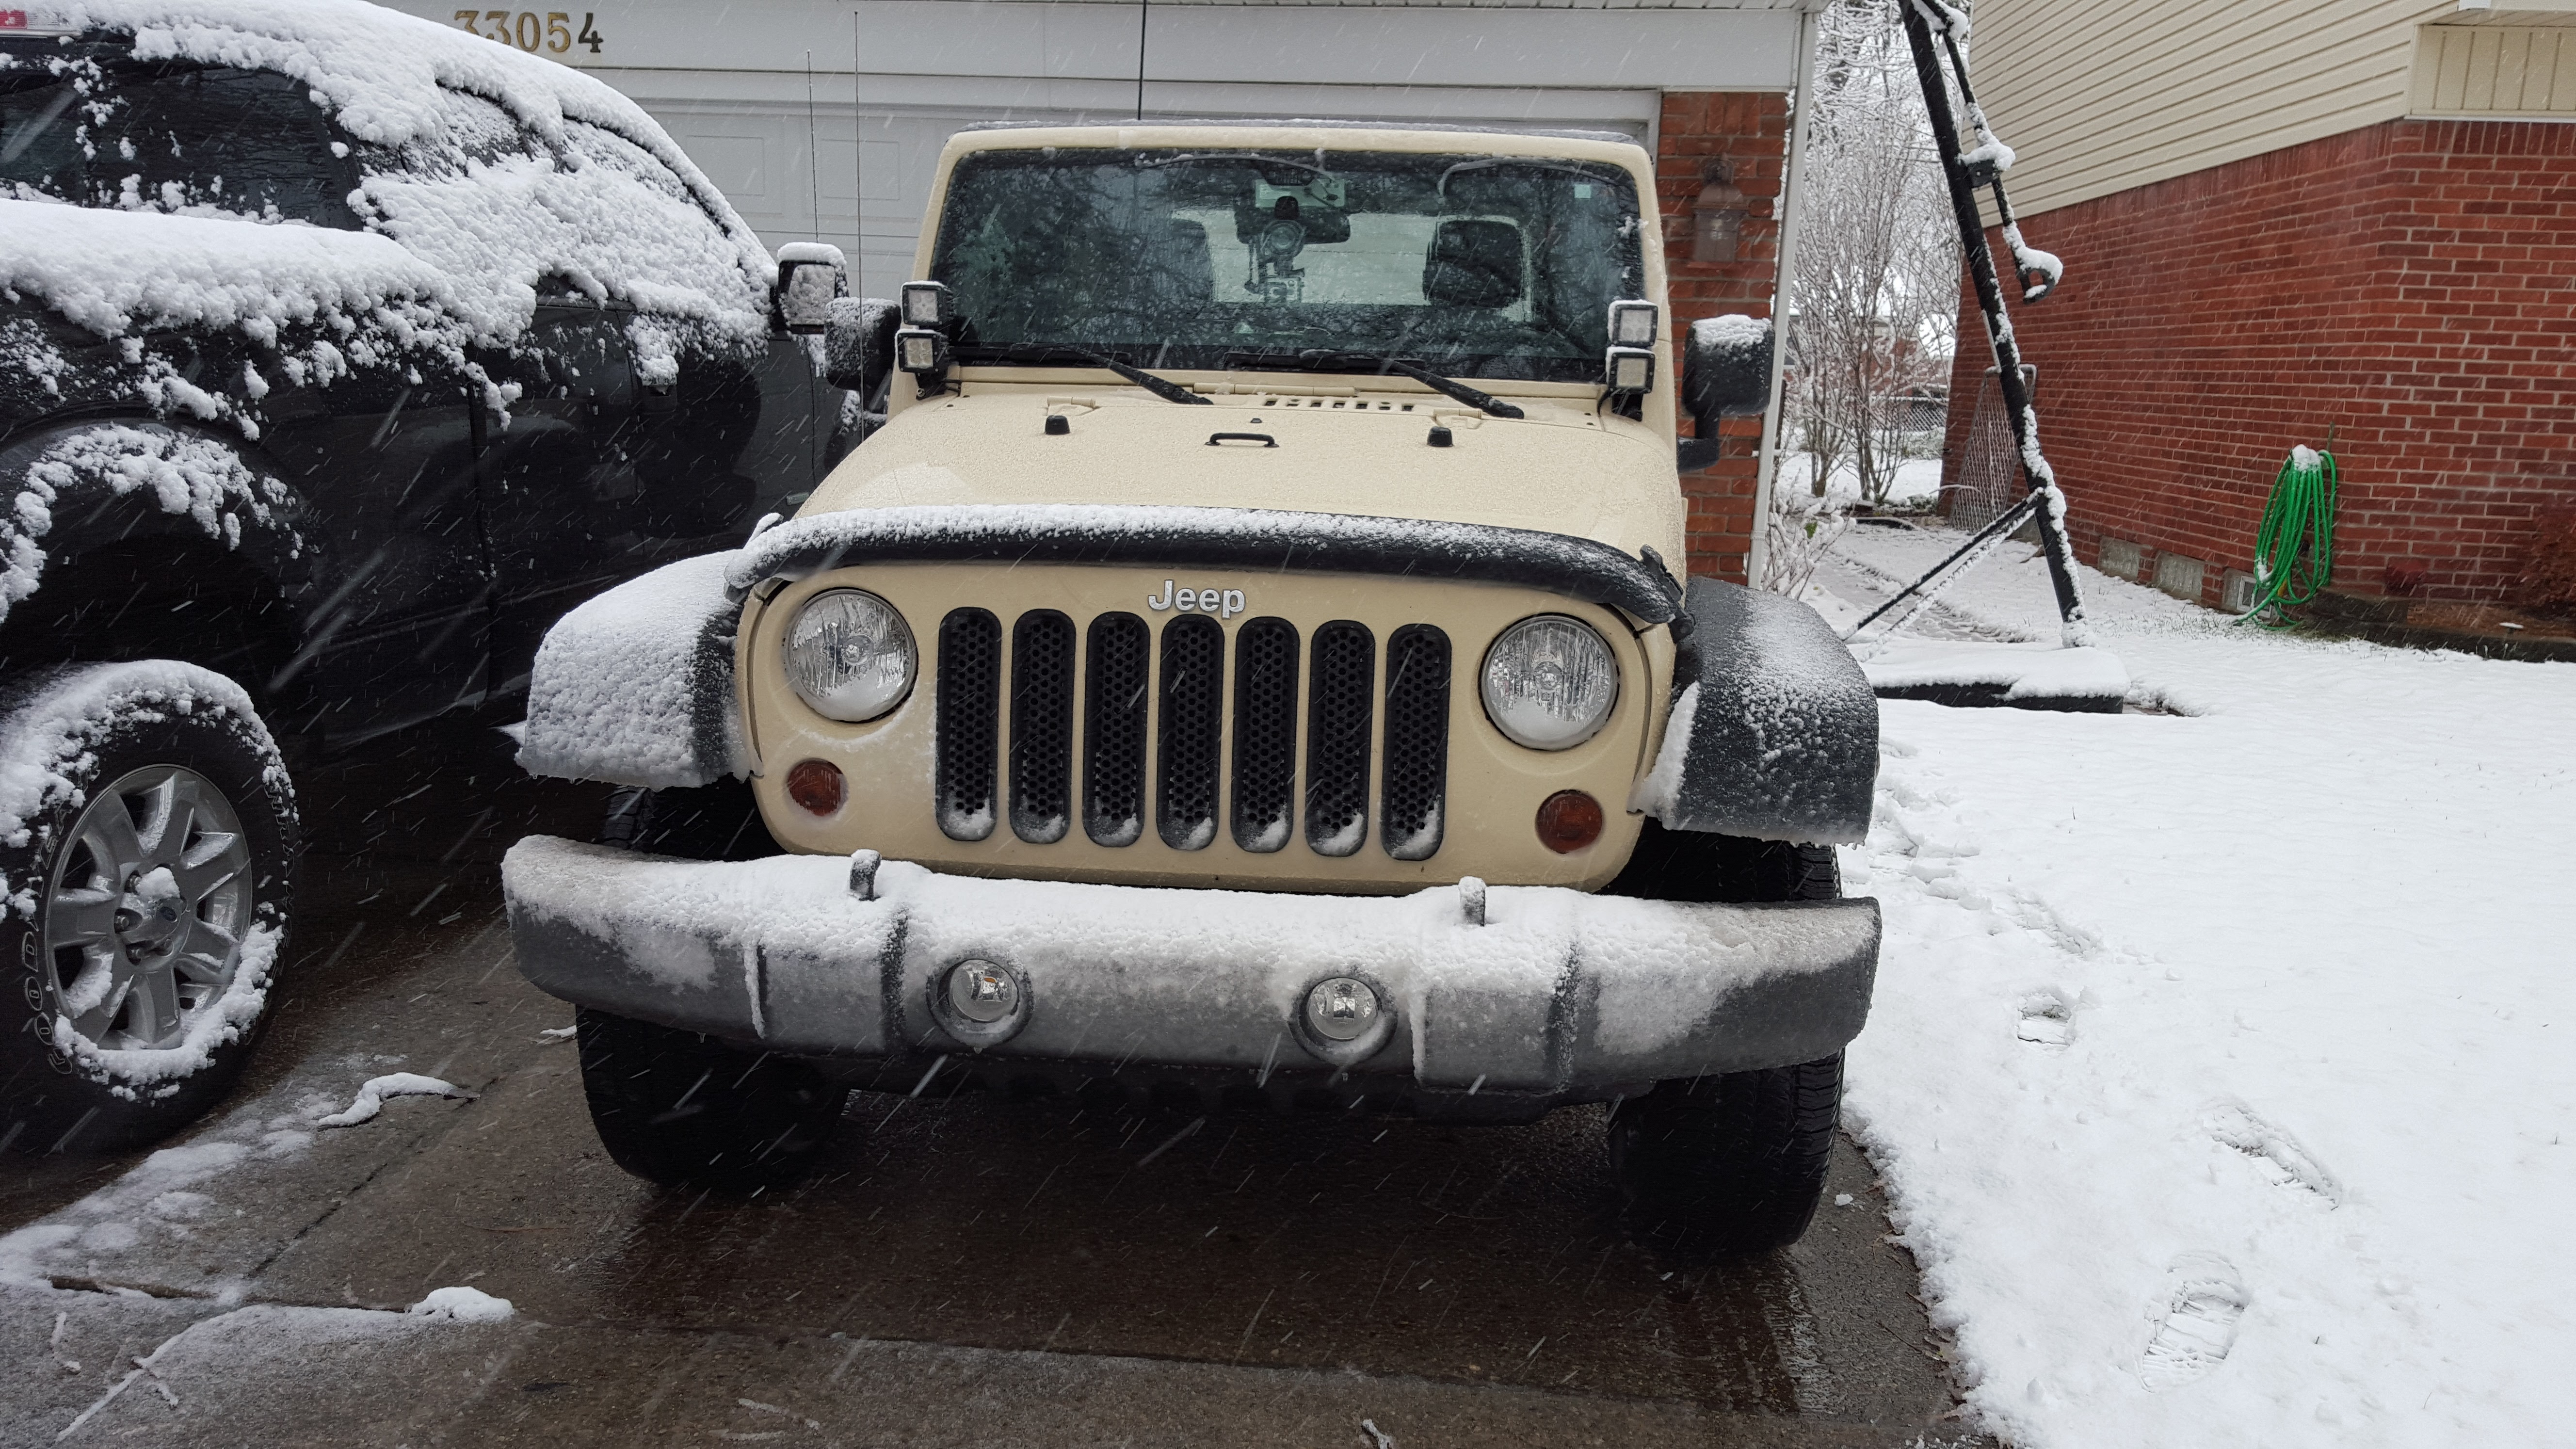
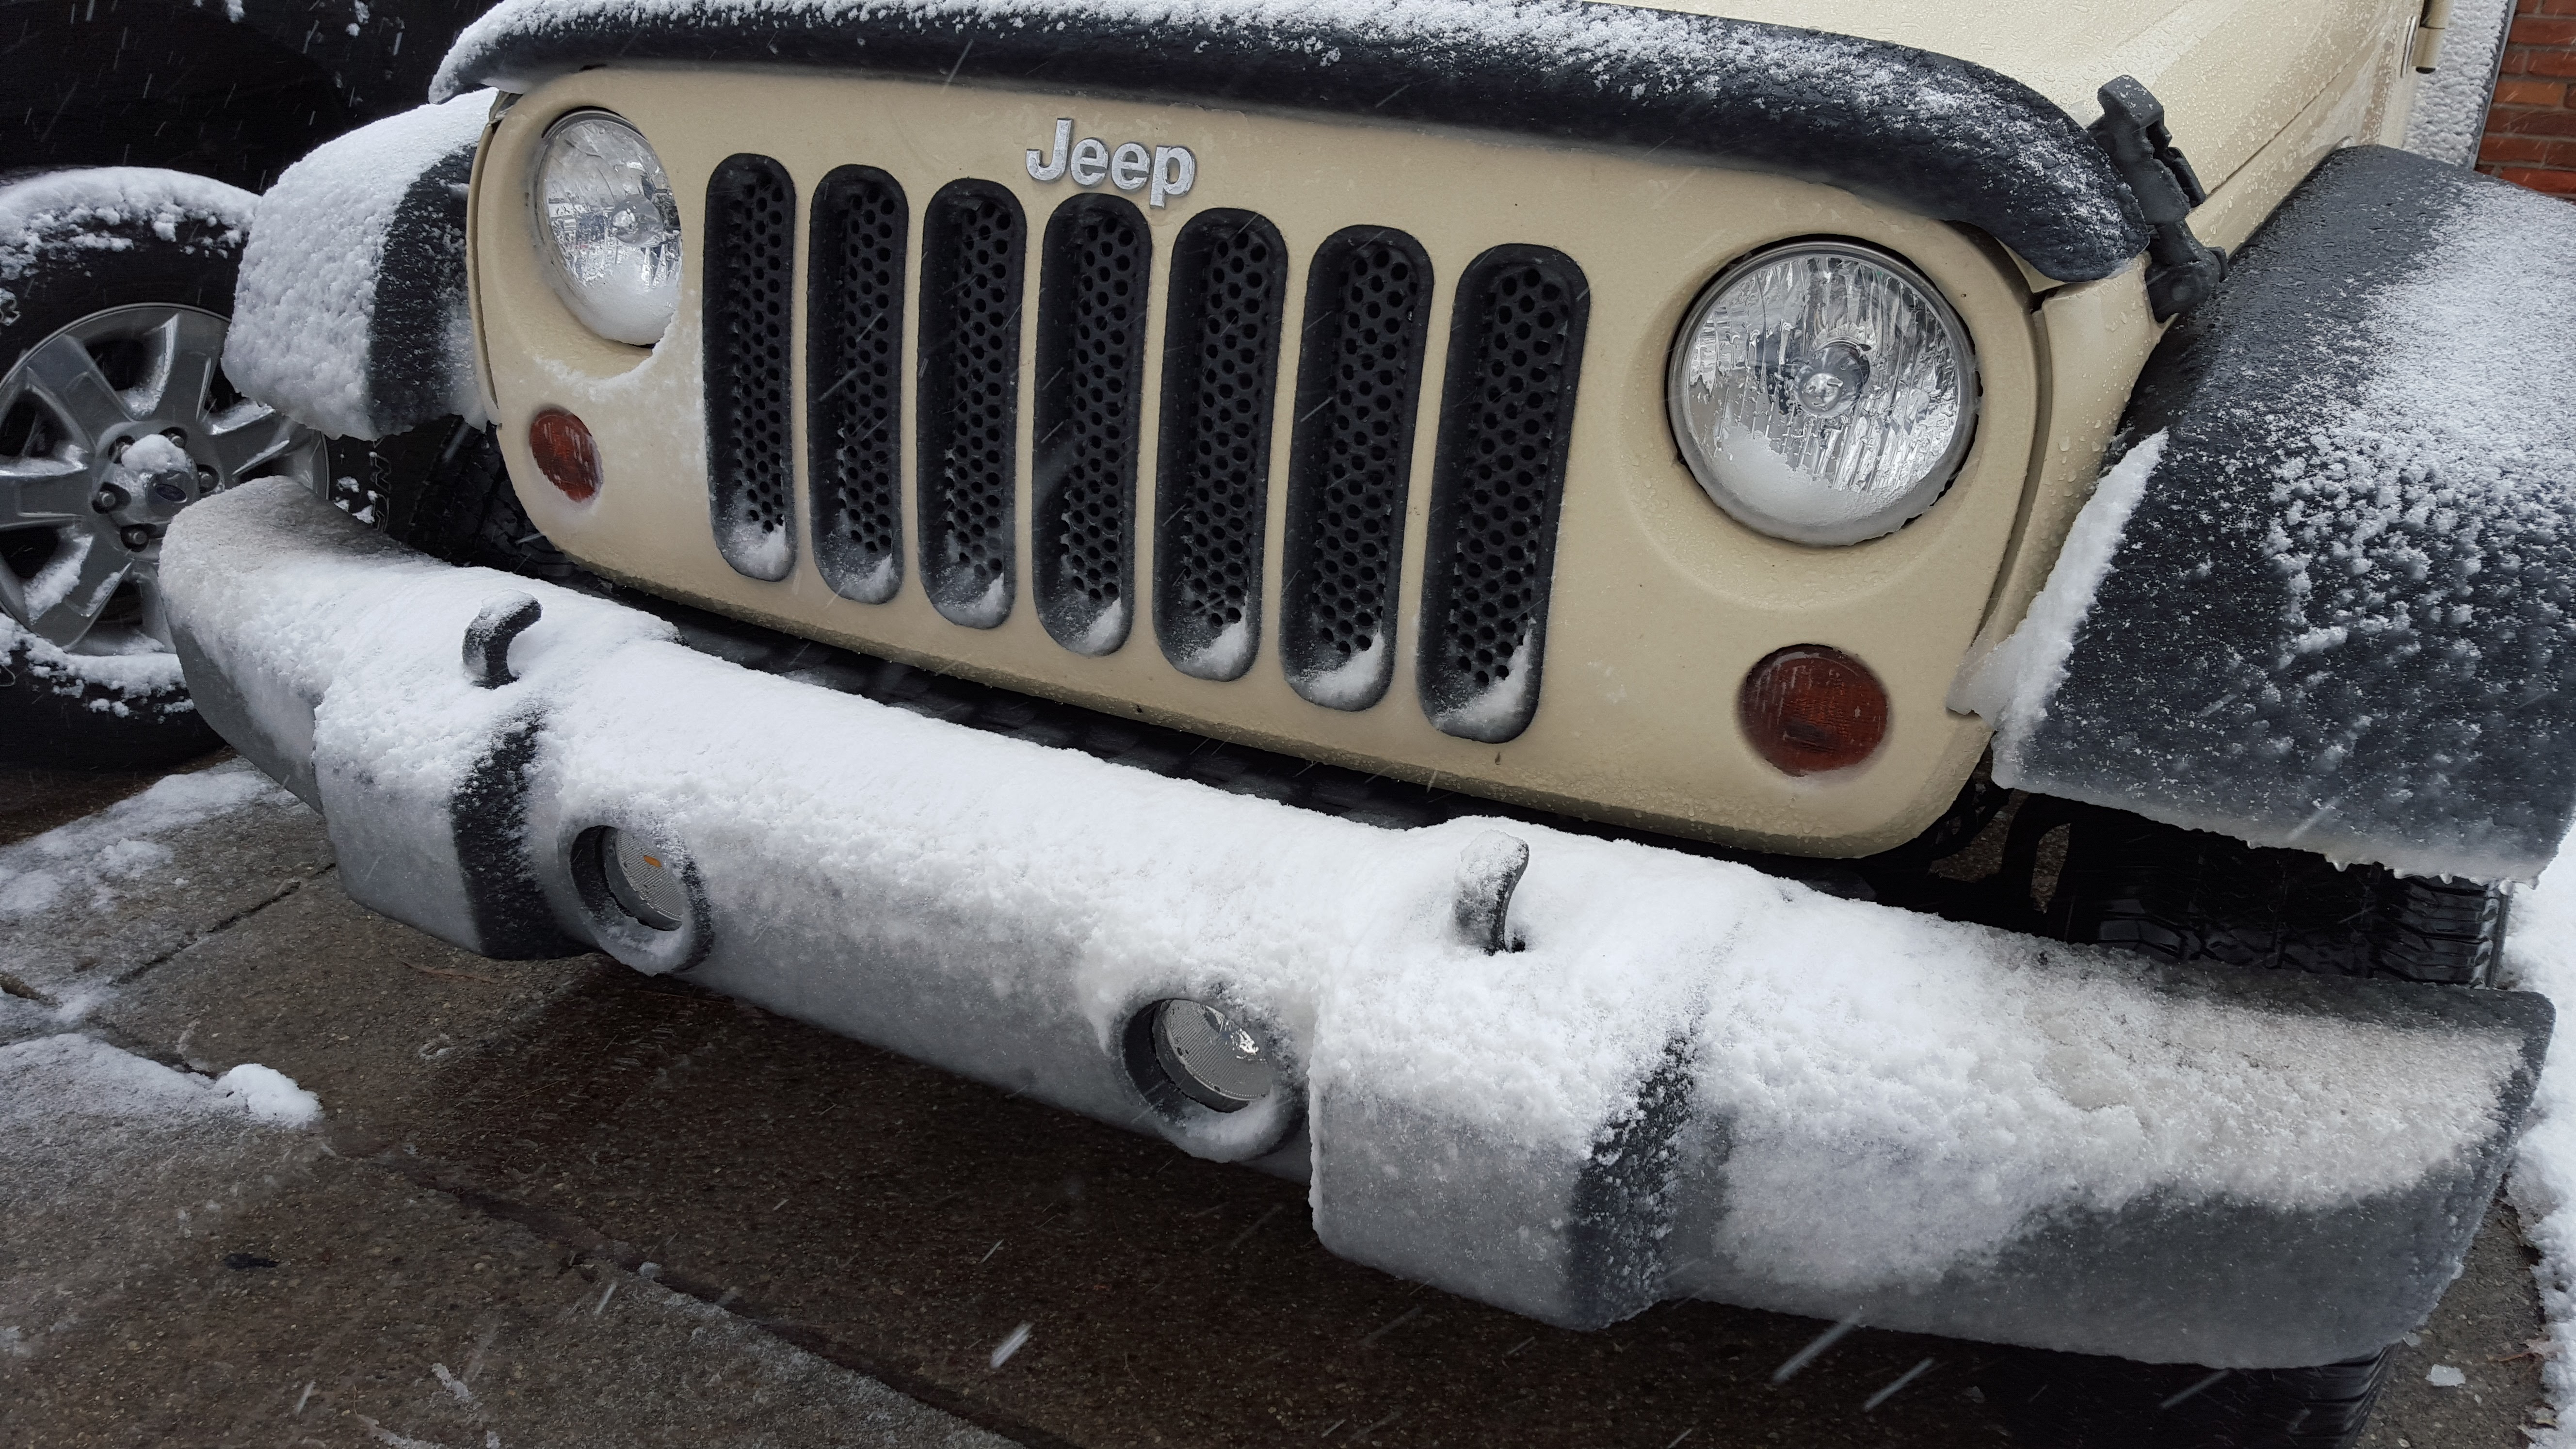
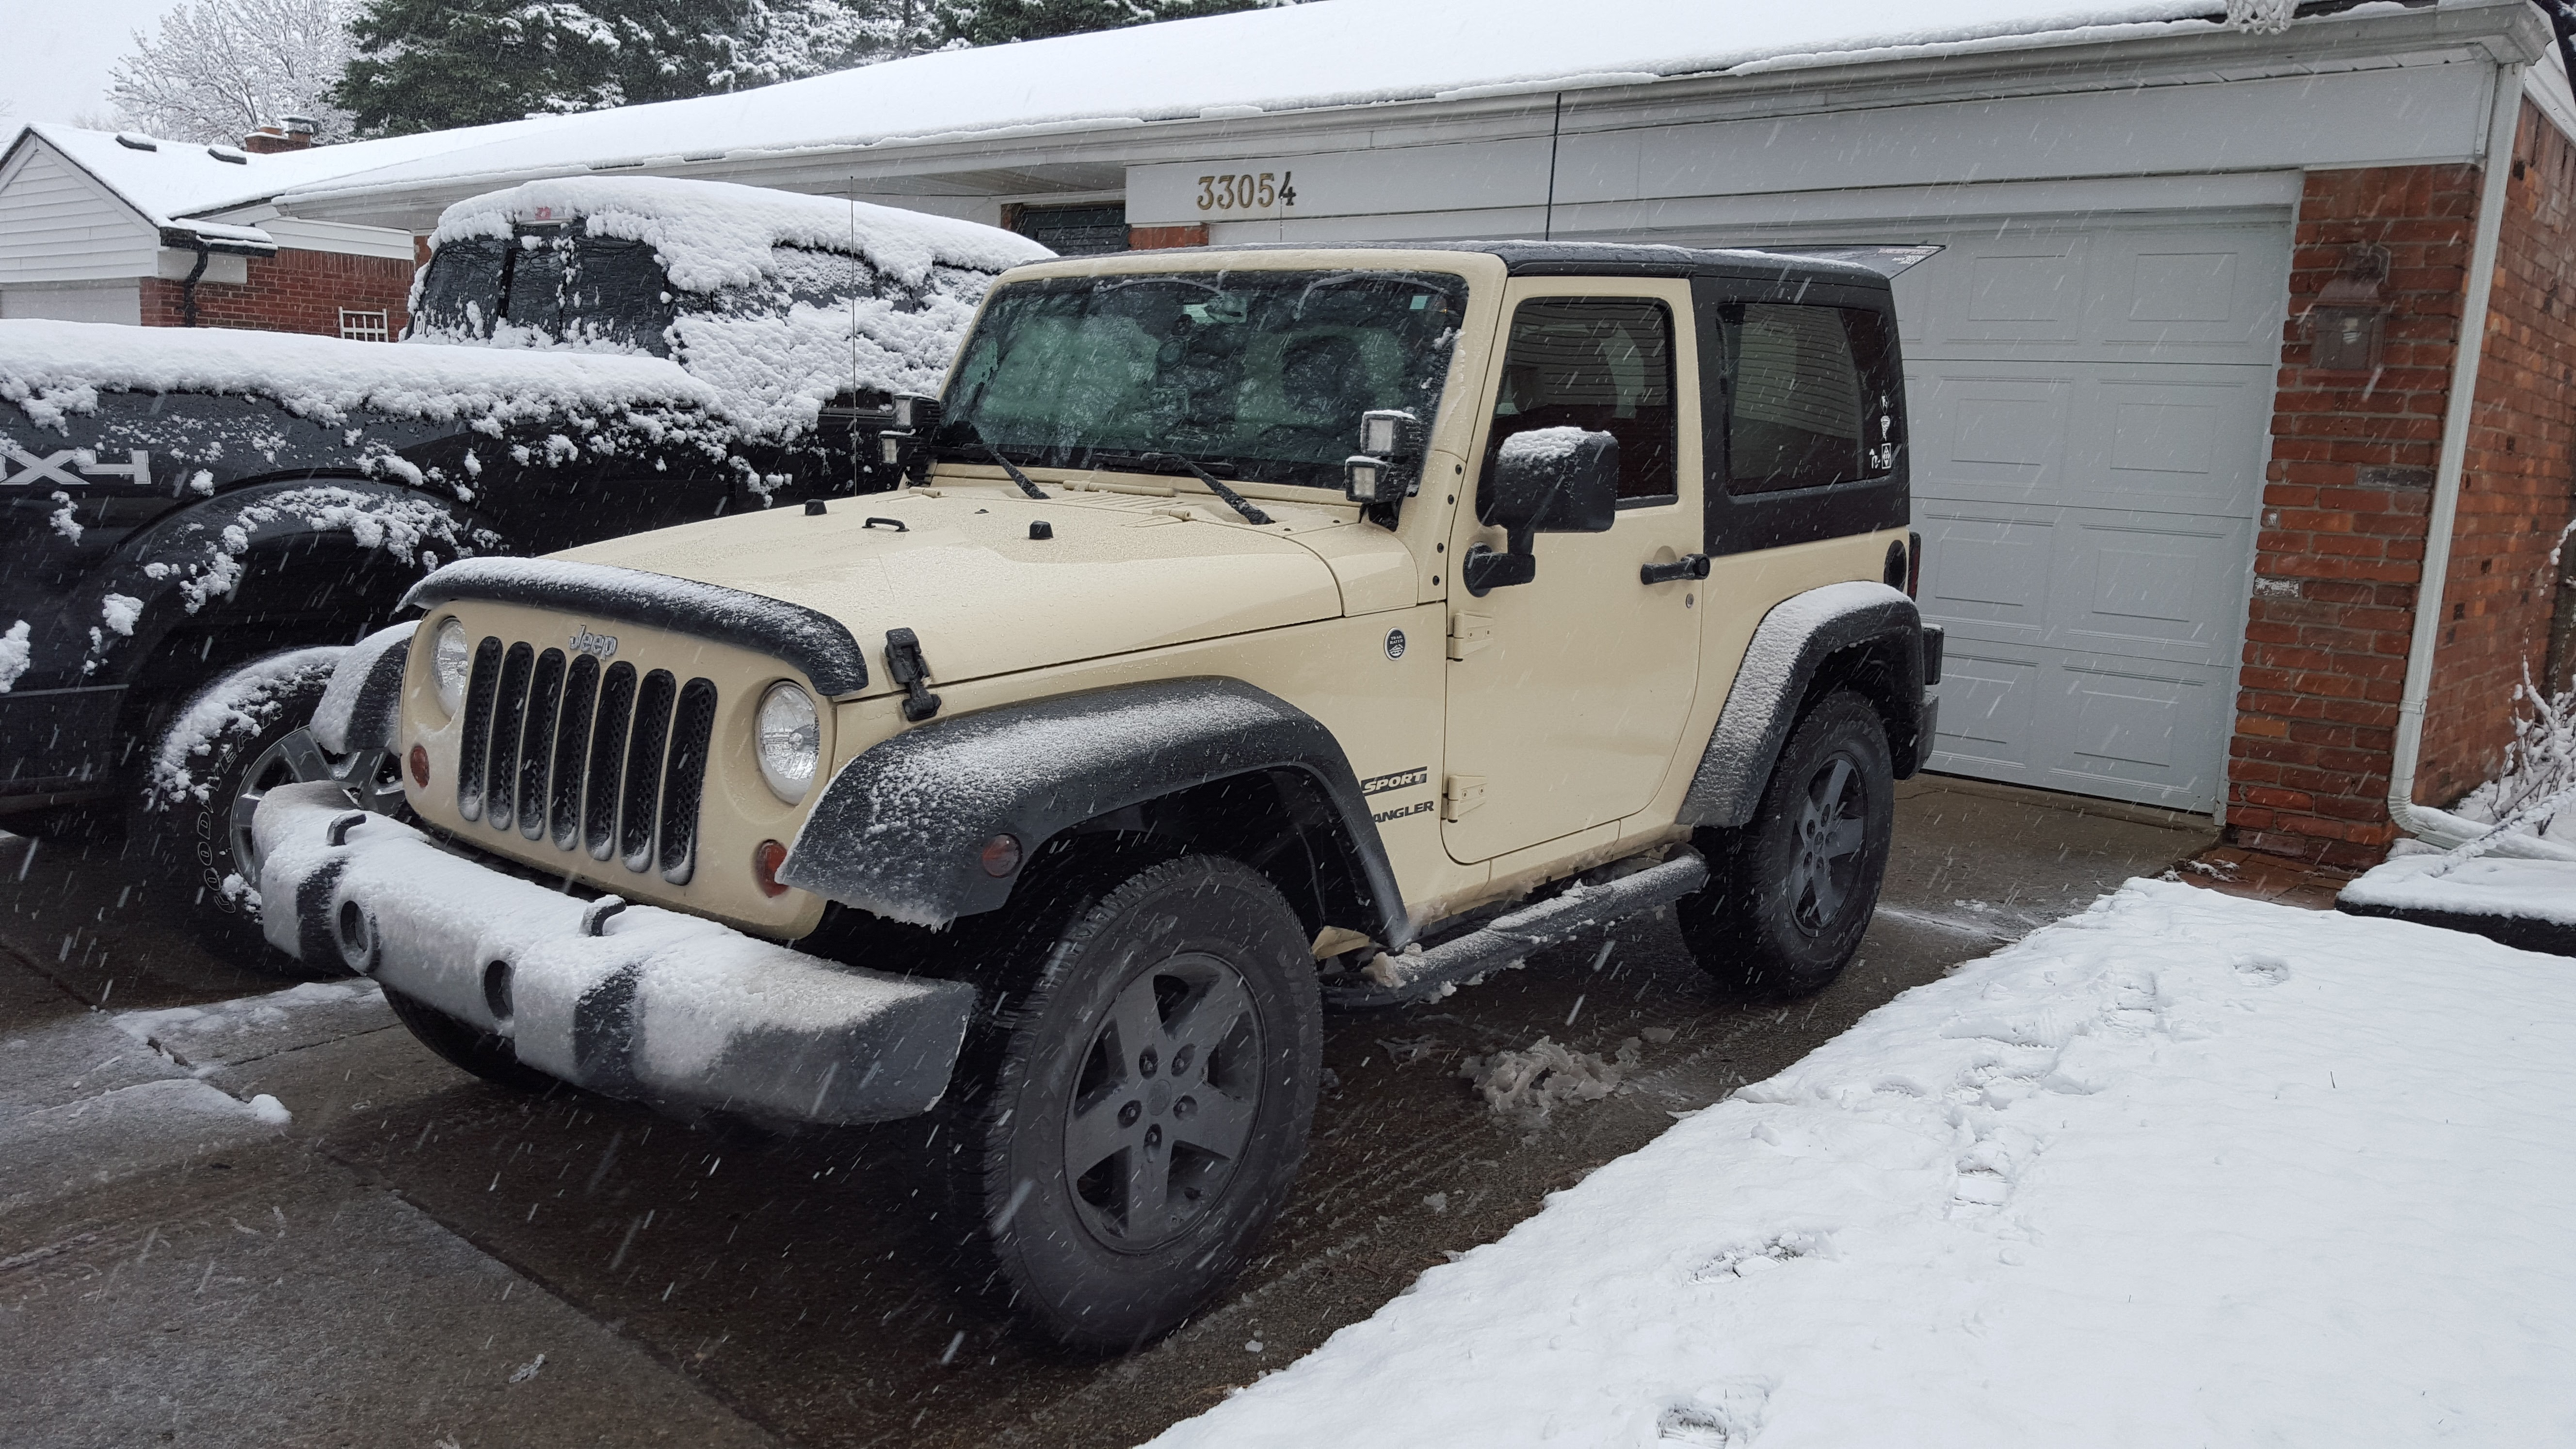
And I will say, the Jeep is feeling a bit chilly out there, but having some fun! Haha!
Last edited by WxNerd2015; 11-21-2015 at 09:41 AM.
11-25-2015, 04:37 AM
#57
JK Enthusiast
Thread Starter
Gentex Homelink Mirror with Auto Dimming GNTX 536 | eBay
11-25-2015, 04:45 AM
#58
JK Enthusiast
Thread Starter
Well, I guess I was a little late on that message getting out that it was on eBay, so if you were still interested, here are a few other links on eBay to the same mirror, just as cheap!
New Gentex Homelink Rear View Mirror with Auto Dimming | eBay
New Gentex Homelink Auto Dimming Rear View Mirror with Wire Cover | eBay
Sorry about that!
New Gentex Homelink Rear View Mirror with Auto Dimming | eBay
New Gentex Homelink Auto Dimming Rear View Mirror with Wire Cover | eBay
Sorry about that!
12-01-2015, 11:27 AM
#59
JK Enthusiast
Thread Starter
Over the Thanksgiving weekend, I picked up some new stuff for my Jeep and a few new tools! I picked up a Mag Lite 3 D Cell LED Flashlight, with the mount to attach to the side of the driver's seat! I also ordered some CAN-BUS LED replacement bulbs for my reverse lights, license plate light, and dome light inside the Jeep from SuperBrightLEDS.com! I also, on Black Friday, scored a 10 piece air tool set with air gun, air ratchet, air hammer, etc. from Sears/Craftsman for only $50 which I can't wait to use! I will post pics and install guides, as well as anything else that goes with them as I the parts and get them installed! Stay tuned!
12-07-2015, 05:02 AM
#60
JK Enthusiast
Thread Starter
Well, my LED bulbs are in now too! Hoping to get them installed tonight or tomorrow possibly! I will post comparison pics, as well as a few tips on the install, as I don't think I need to write much up about it, because it is pretty straight forward! Stay tuned for more to come!
These are the bulbs that I purchased from SBL:
The reverse light bulbs:
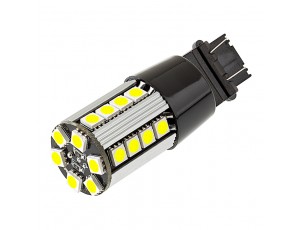
https://www.superbrightleds.com/more...car/1263/2984/
And the interior dome light bulbs and license plate light bulbs:

https://www.superbrightleds.com/more...car/1127/2672/
These are the bulbs that I purchased from SBL:
The reverse light bulbs:
https://www.superbrightleds.com/more...car/1263/2984/
And the interior dome light bulbs and license plate light bulbs:
https://www.superbrightleds.com/more...car/1127/2672/

