Ole Tink - RCO 2 Door Build
 12-30-2013, 09:28 PM
#1
Former Vendor
Thread Starter

Join Date: Nov 2010
Location: Austin, TX
Posts: 563
Likes: 0
Received 0 Likes
on
0 Posts
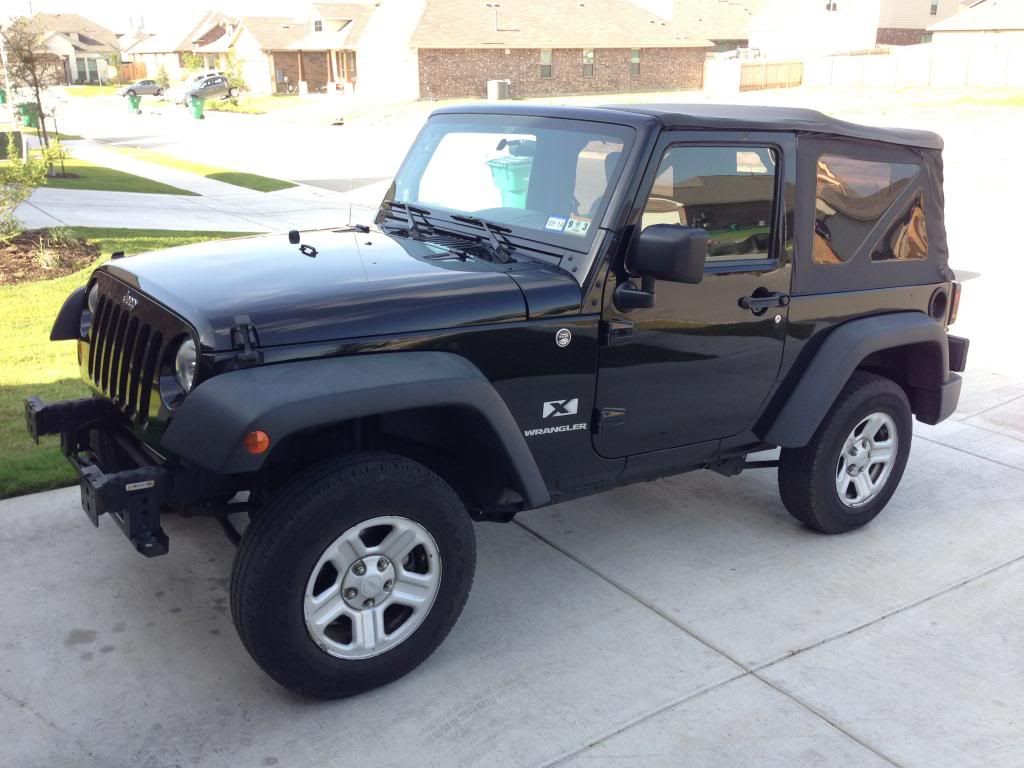
I bought this two door back in June 13 with the intention of building a do-it-all wheeling rig. When I acquired this rig it had a knocking motor, which is how it got the name "Tink Tink".
I took the cheap route and replaced the tired 3.8 with another 3.8 with about 45K miles on it from MoTech. Paul, a friend of mine in Floresville, did the grunt work there. You'd never know the motor has been out of this Jeep. His work is fantastic.
When I set out on this adventure there were a few holes in the plan. The main one was I had to learn to weld. I took a two hour basics course at the local Do It Yourself joint and then started researching machines. I ended up with a Hobart 210 MVP and away we went.
This whole build will be completed in my 2.5 car garage, on the floor, with tools that anyone can acquire. To add complications to that, the wife's car has to come in every night too. Therefore, it is constant cleanup and shop detail. It hasn't been the cheap route with the cost of acquiring the welding machine and such, but I love doing my own work and I've put too many vehicles together at this point to let something like this (welding) intimidate me anymore.
So far the build consists of the following:
Rock Krawler Suspension 2.5" Long Arm with 3" Rear Stretch
Poison Spyder:
Front Narrow Flares (steel)
BFH Front Bumper
Custom Rocker and No-Flare Corner Guards designed to hide the stretch
Tramp Stamp 2
Push-In tail lights and reverse lights
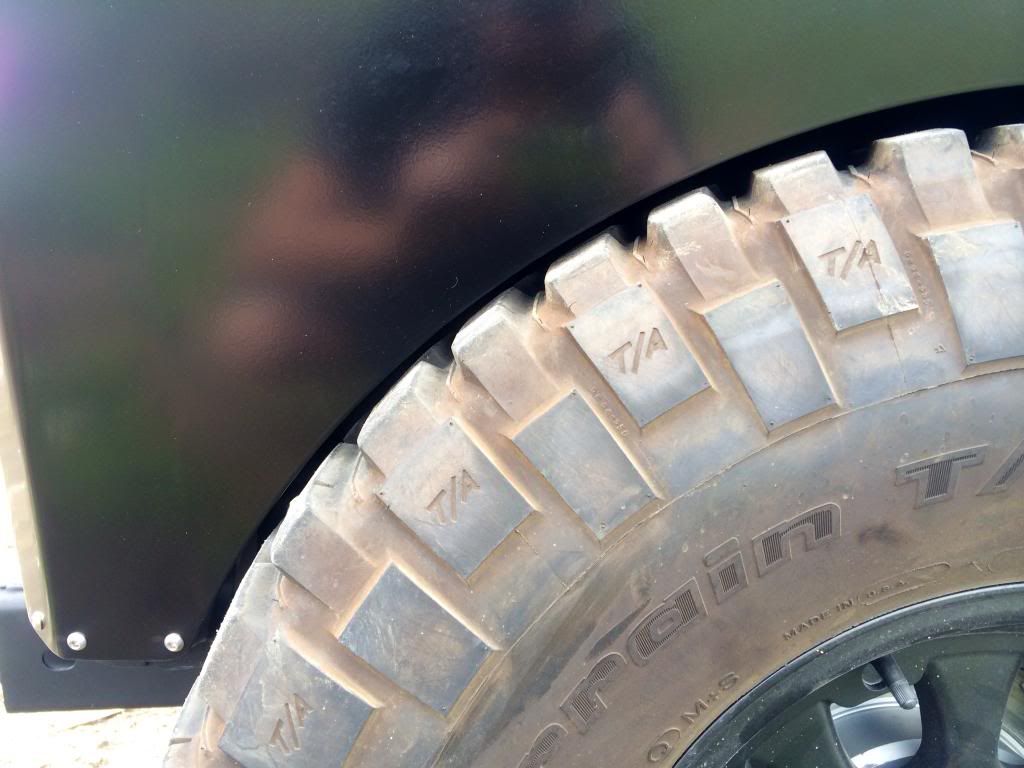
I am building around a 37" tire. I picked up a set of KM2s from TexasKev here on JKO. The current wheels are Black Rock 909Ds which are cheap and effective for now.
I also picked up a front D44 out of a wrecked Rubicon and replaced the LCA brackets and gussets with parts from Artec Industries and Synergy Suspension.
The electrical additions will all be handled through an sPOD.
On to the fun stuff...
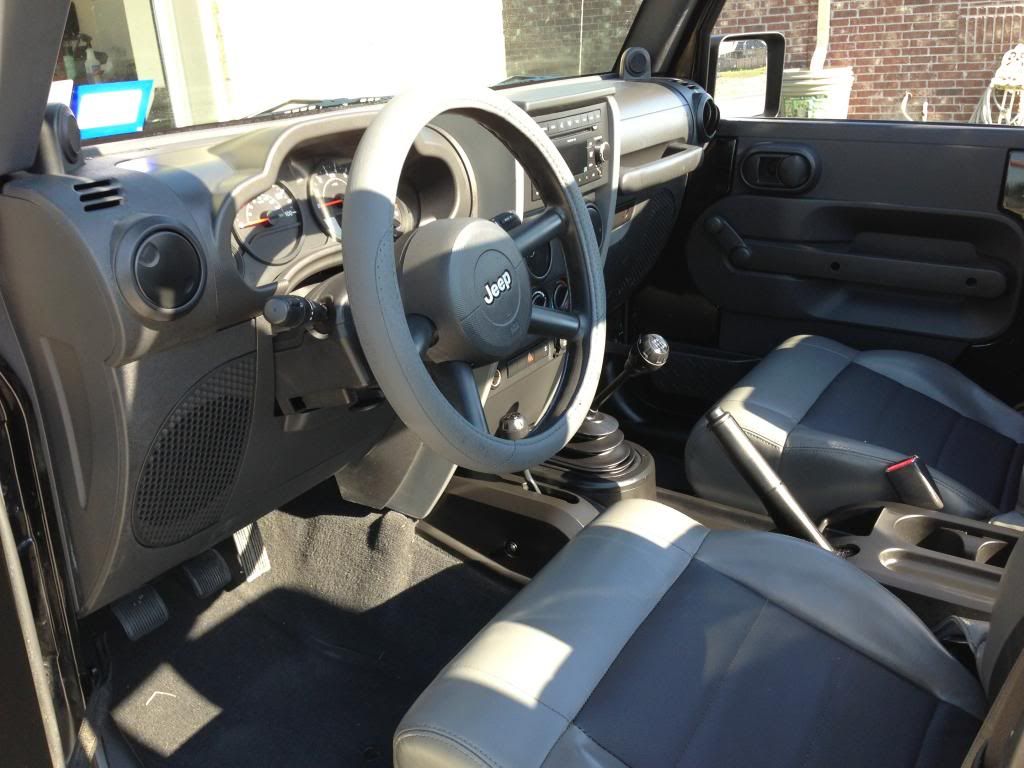
This is where we started. It was ROUGH when I bought it. I replaced the soft top (Craigslist), cleaned the interior with simple green and the pressure washer, and then went back in with some free pull out carpet, new interior door panels, and painted the console. I'm a bit of a clean freak. The seats are getting replaced and I just picked up a set of black Mopar half doors for it.
The steering wheel cover didn't work out...LOL! :thefinger:
Started hacking the body up to get the 37s out of my work area. Bone stock 100K+ mile suspension here. It rides like a blown out old Cadillac.
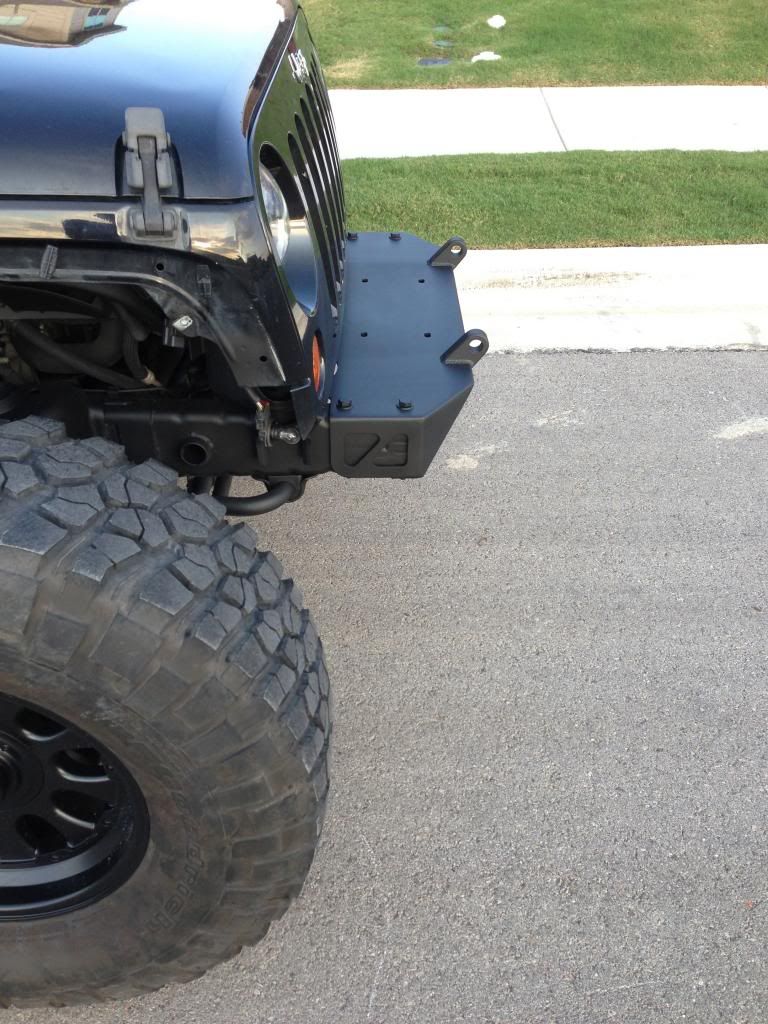
Added the BFH:
Putting the D44 together. Artec C-Gussets + Synergy LCA Mounts. I am throwing caution to the wind on the truss. I don't have much in this axle and one tons are in the long term plan. If it gets trashed, so be it.
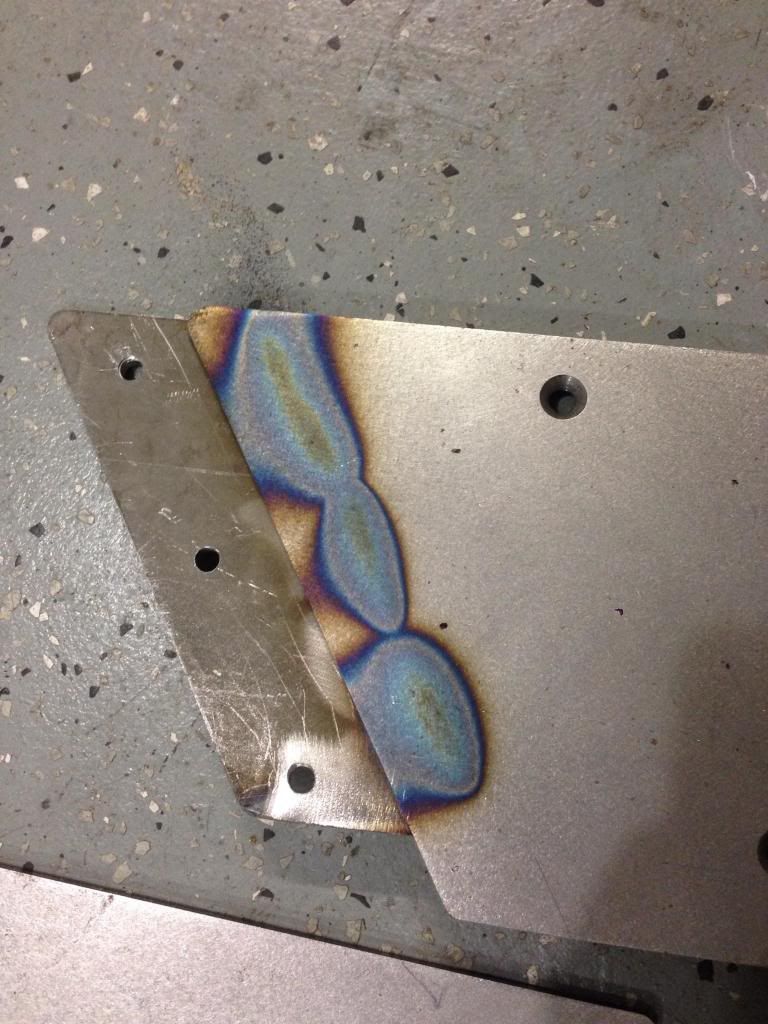
Remember, I'm teaching myself to weld as we go. Be easy.
Moving along to the armor. This stuff is hand crafted out of 3/16" plate steel. It doesn't like to be manipulated. AT ALL. So this was a bit of a bear, but I have to give it to Poison Spyder. These things fit fantastic for being "one off" parts.
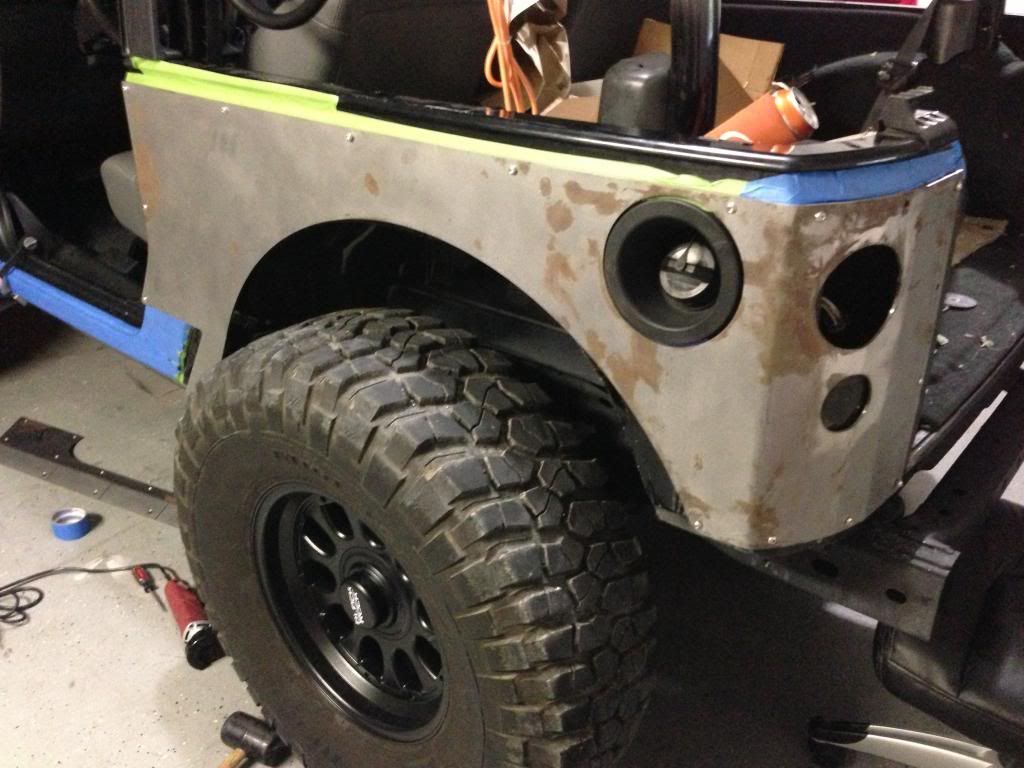
You'll notice here that I wasn't paying attention to what needed to be cut and what didn't. I have a little customization of my own to figure out on this corner. LOL :(
All of the armor is bolted up now. I have to weld tabs to the corner and add a couple of bits of hardware to pull those tabs / sideburns into the rocker armor. I knew going in that there would be some tweaking with this armor, this isn't a fault of Poison Spyder's.
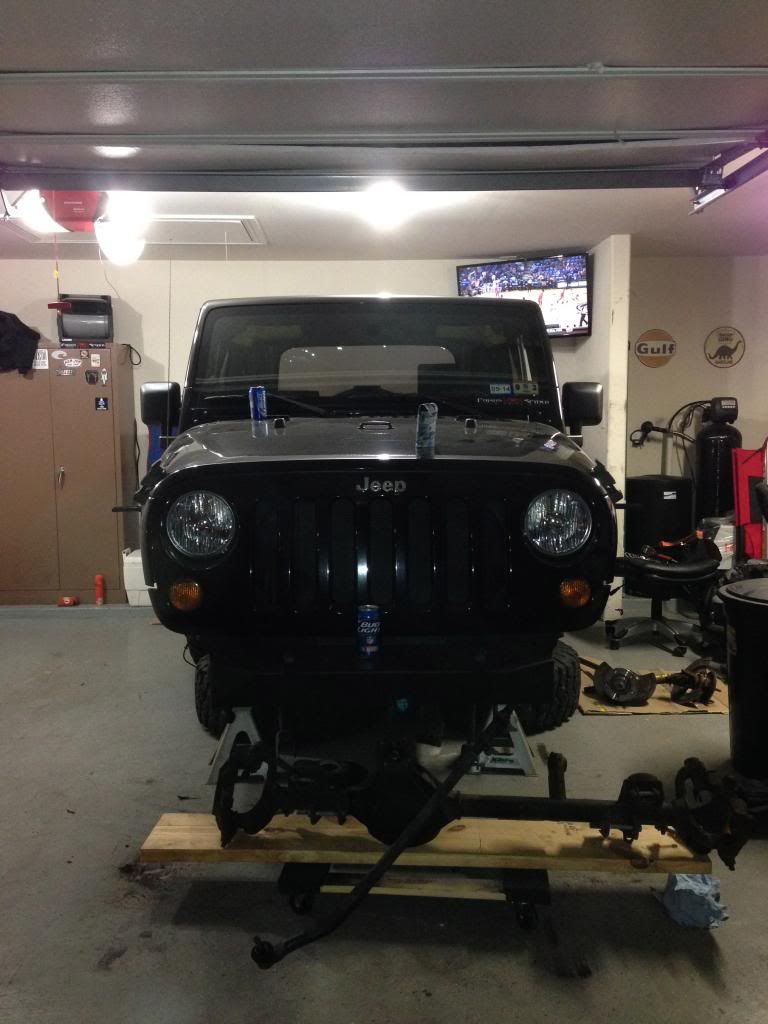
That brings us to DEMOLITION MODE!
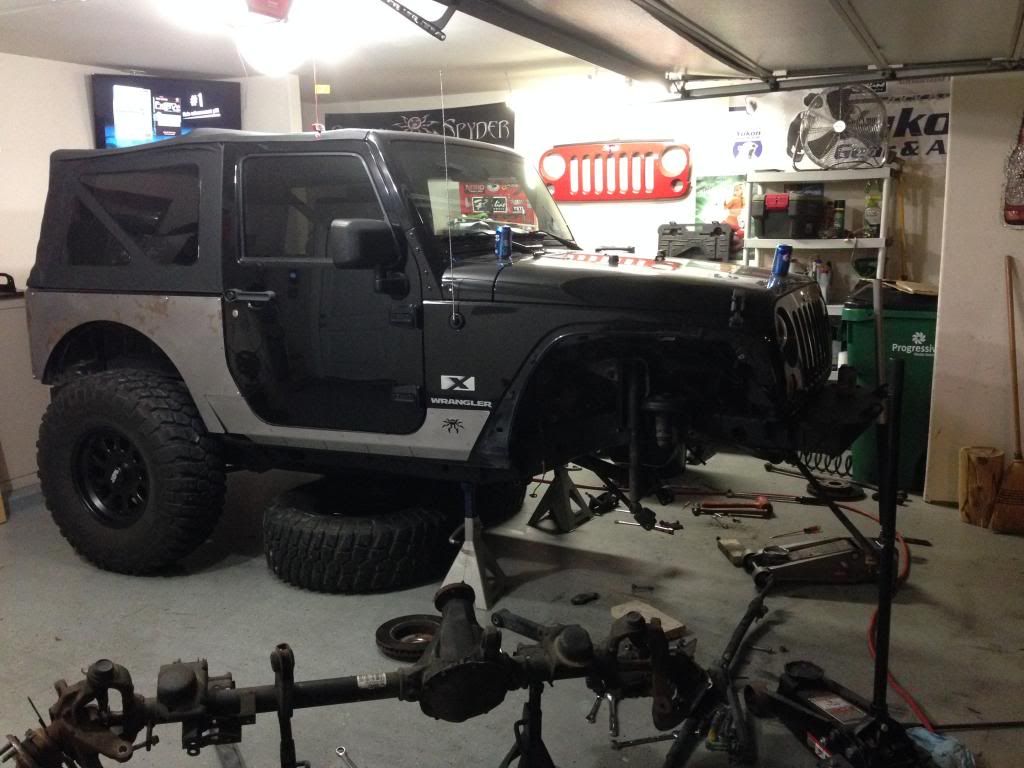
It's been hanging out in the garage like this for a few weeks now and I put in a few hours here and there. I didn't realize there were all of those beer cans in that picture. This was a late night.
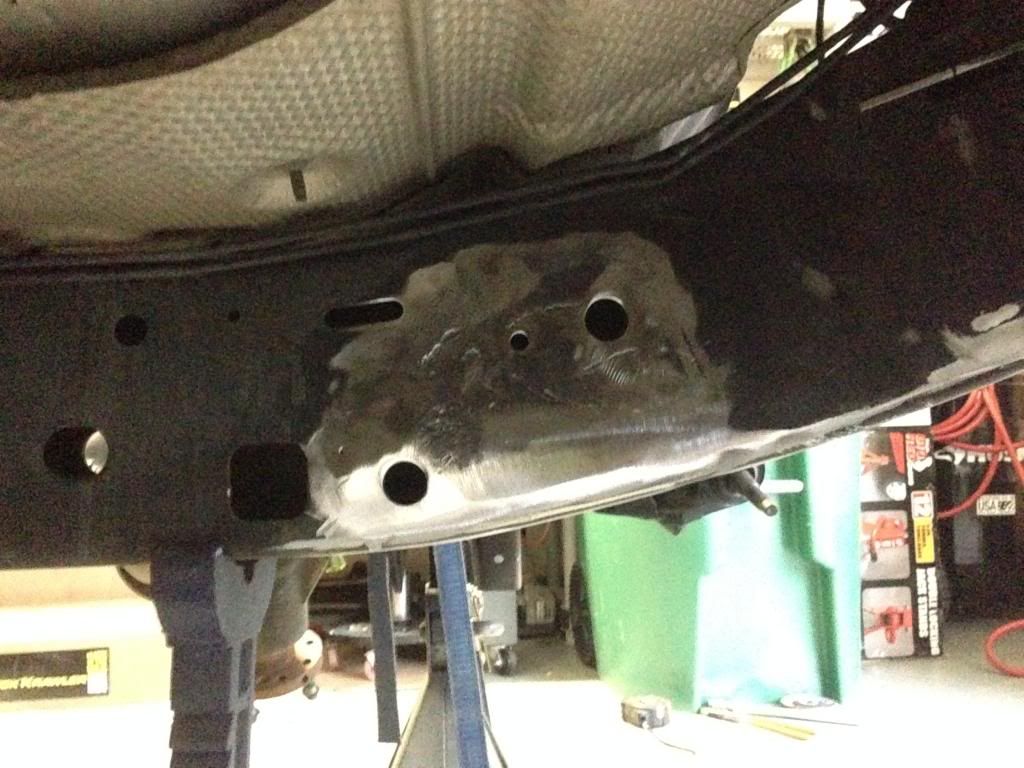
I have the upper and lower control arm brackets hacked off and smoothed out for the most part as of Sunday 12/29. What an epic pain in the ass while laying on your back.
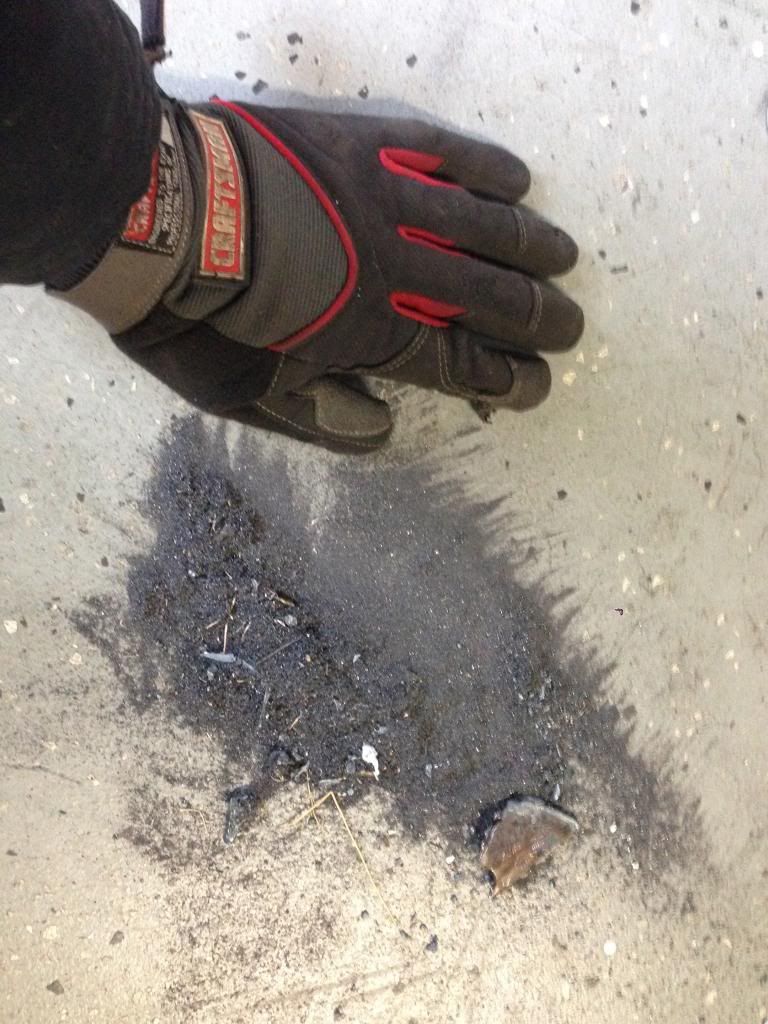
One of many of my piles of grindage...
I will work on getting the brackets installed on New Years and we'll be rolling right on down the path of destruction out back.
Stay tuned and ask away if you've got any questions. I'm learning as I go and hope you can too.
Marcus
I took the cheap route and replaced the tired 3.8 with another 3.8 with about 45K miles on it from MoTech. Paul, a friend of mine in Floresville, did the grunt work there. You'd never know the motor has been out of this Jeep. His work is fantastic.
When I set out on this adventure there were a few holes in the plan. The main one was I had to learn to weld. I took a two hour basics course at the local Do It Yourself joint and then started researching machines. I ended up with a Hobart 210 MVP and away we went.
This whole build will be completed in my 2.5 car garage, on the floor, with tools that anyone can acquire. To add complications to that, the wife's car has to come in every night too. Therefore, it is constant cleanup and shop detail. It hasn't been the cheap route with the cost of acquiring the welding machine and such, but I love doing my own work and I've put too many vehicles together at this point to let something like this (welding) intimidate me anymore.
So far the build consists of the following:
Rock Krawler Suspension 2.5" Long Arm with 3" Rear Stretch
Poison Spyder:
Front Narrow Flares (steel)
BFH Front Bumper
Custom Rocker and No-Flare Corner Guards designed to hide the stretch
Tramp Stamp 2
Push-In tail lights and reverse lights
I am building around a 37" tire. I picked up a set of KM2s from TexasKev here on JKO. The current wheels are Black Rock 909Ds which are cheap and effective for now.
I also picked up a front D44 out of a wrecked Rubicon and replaced the LCA brackets and gussets with parts from Artec Industries and Synergy Suspension.
The electrical additions will all be handled through an sPOD.
On to the fun stuff...
This is where we started. It was ROUGH when I bought it. I replaced the soft top (Craigslist), cleaned the interior with simple green and the pressure washer, and then went back in with some free pull out carpet, new interior door panels, and painted the console. I'm a bit of a clean freak. The seats are getting replaced and I just picked up a set of black Mopar half doors for it.

The steering wheel cover didn't work out...LOL! :thefinger:

Started hacking the body up to get the 37s out of my work area. Bone stock 100K+ mile suspension here. It rides like a blown out old Cadillac.

Added the BFH:


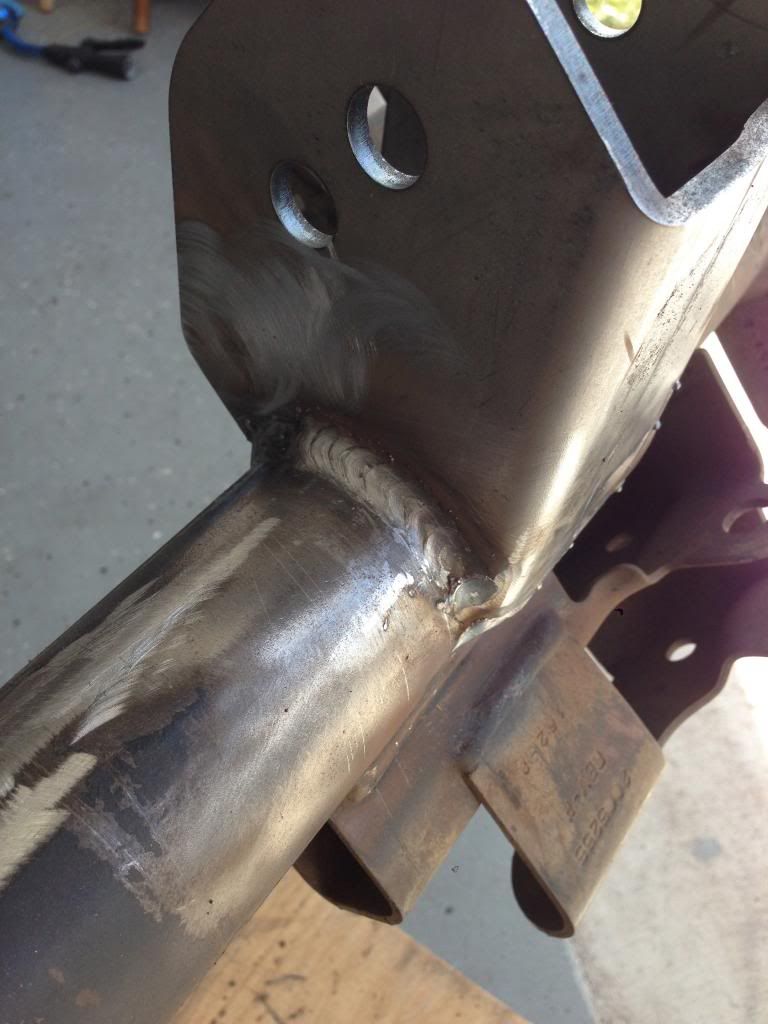
Putting the D44 together. Artec C-Gussets + Synergy LCA Mounts. I am throwing caution to the wind on the truss. I don't have much in this axle and one tons are in the long term plan. If it gets trashed, so be it.
Remember, I'm teaching myself to weld as we go. Be easy.


Moving along to the armor. This stuff is hand crafted out of 3/16" plate steel. It doesn't like to be manipulated. AT ALL. So this was a bit of a bear, but I have to give it to Poison Spyder. These things fit fantastic for being "one off" parts.


You'll notice here that I wasn't paying attention to what needed to be cut and what didn't. I have a little customization of my own to figure out on this corner. LOL :(

All of the armor is bolted up now. I have to weld tabs to the corner and add a couple of bits of hardware to pull those tabs / sideburns into the rocker armor. I knew going in that there would be some tweaking with this armor, this isn't a fault of Poison Spyder's.

That brings us to DEMOLITION MODE!

It's been hanging out in the garage like this for a few weeks now and I put in a few hours here and there. I didn't realize there were all of those beer cans in that picture.
This was a late night. 
I have the upper and lower control arm brackets hacked off and smoothed out for the most part as of Sunday 12/29. What an epic pain in the ass while laying on your back.
One of many of my piles of grindage...


I will work on getting the brackets installed on New Years and we'll be rolling right on down the path of destruction out back.
Stay tuned and ask away if you've got any questions. I'm learning as I go and hope you can too.
Marcus
Last edited by RiverCityOffroad; 10-05-2017 at 09:55 AM.


 01-28-2014, 09:38 AM
#6
Former Vendor
Thread Starter
Join Date: Nov 2010
Location: Austin, TX
Posts: 563
Likes: 0
Received 0 Likes
on
0 Posts
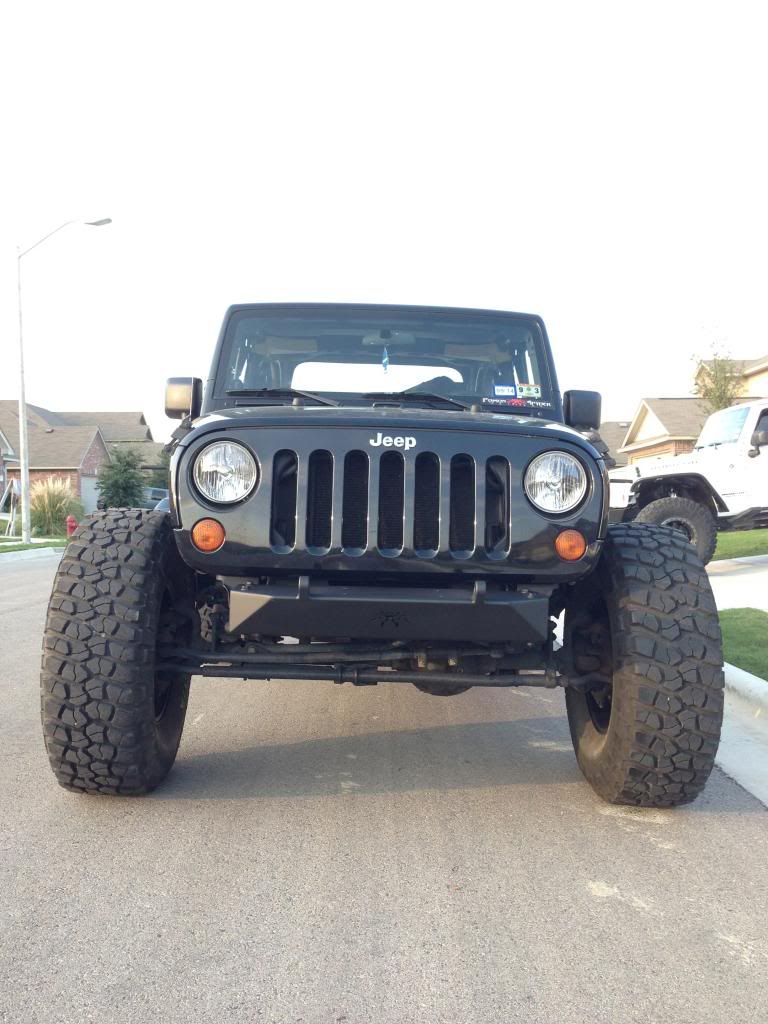
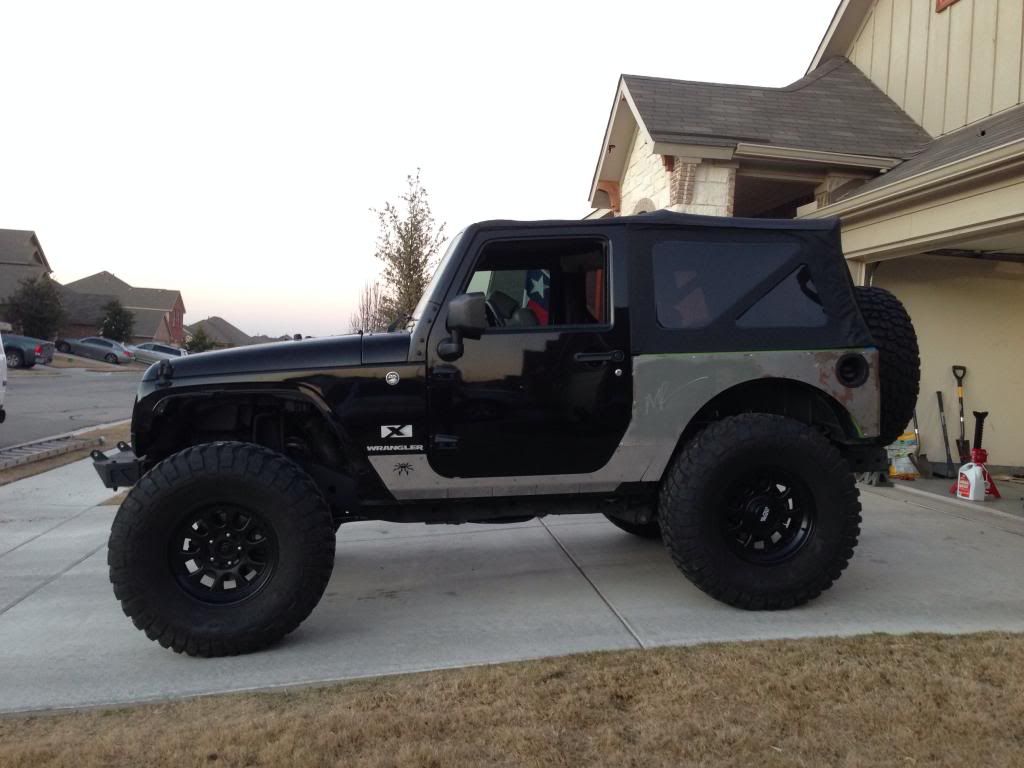
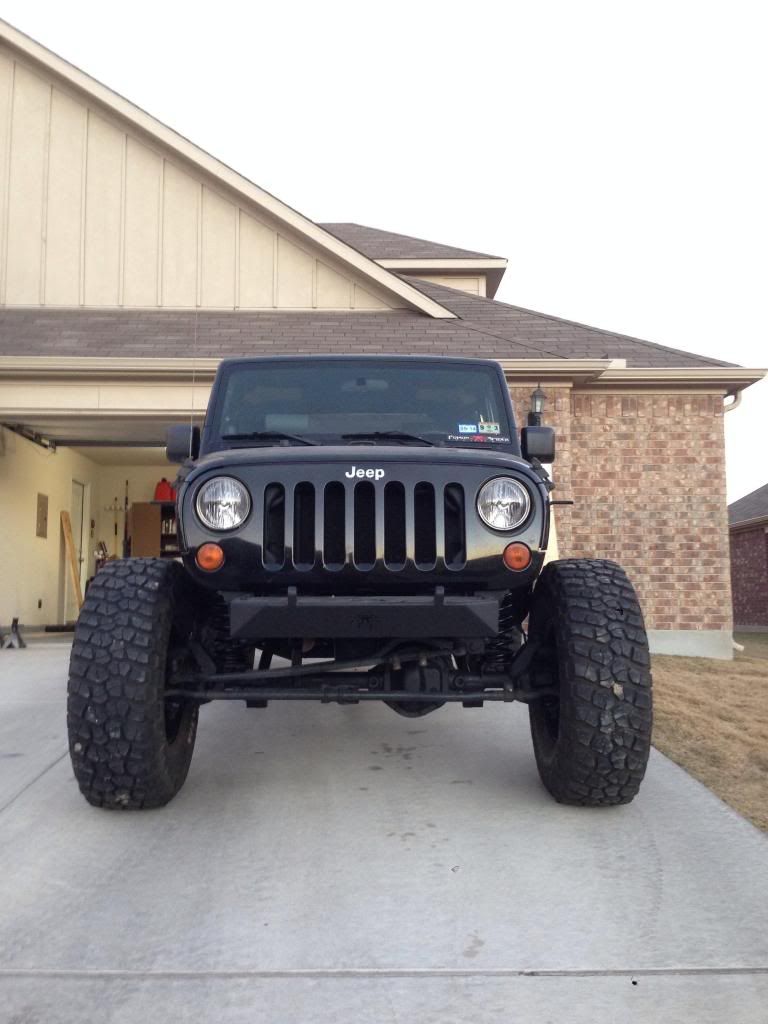
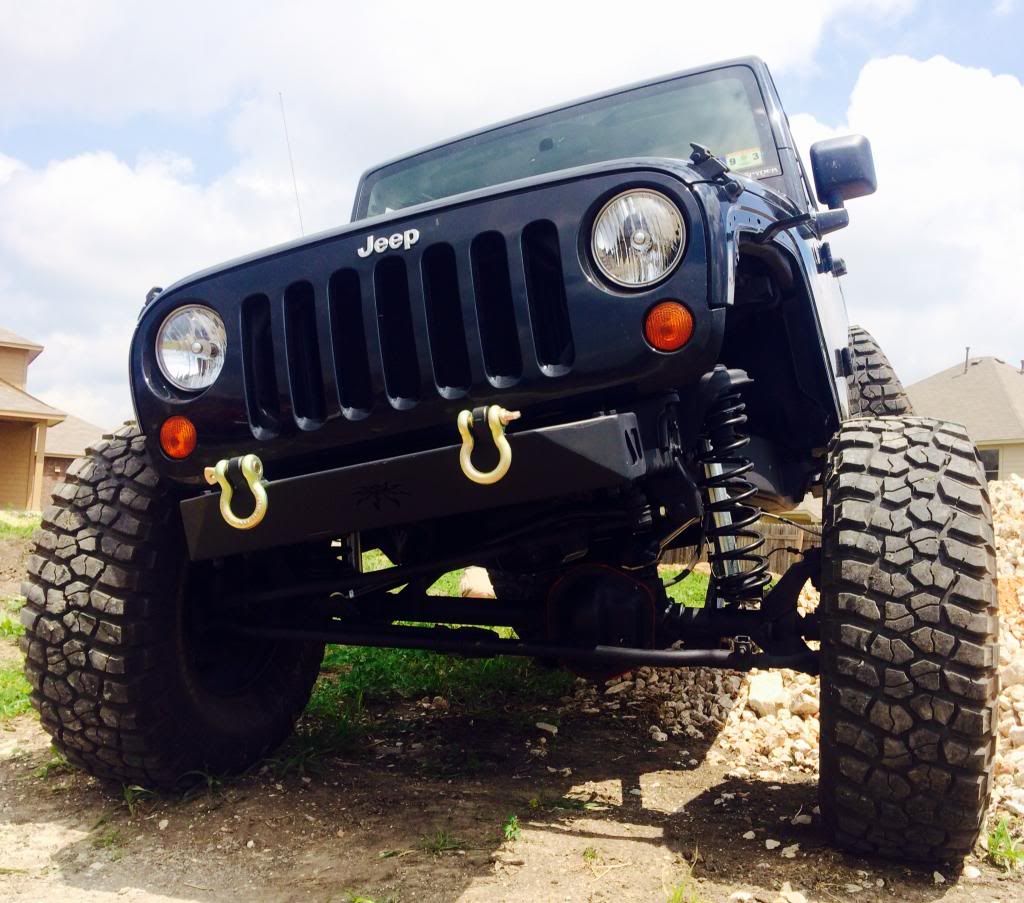
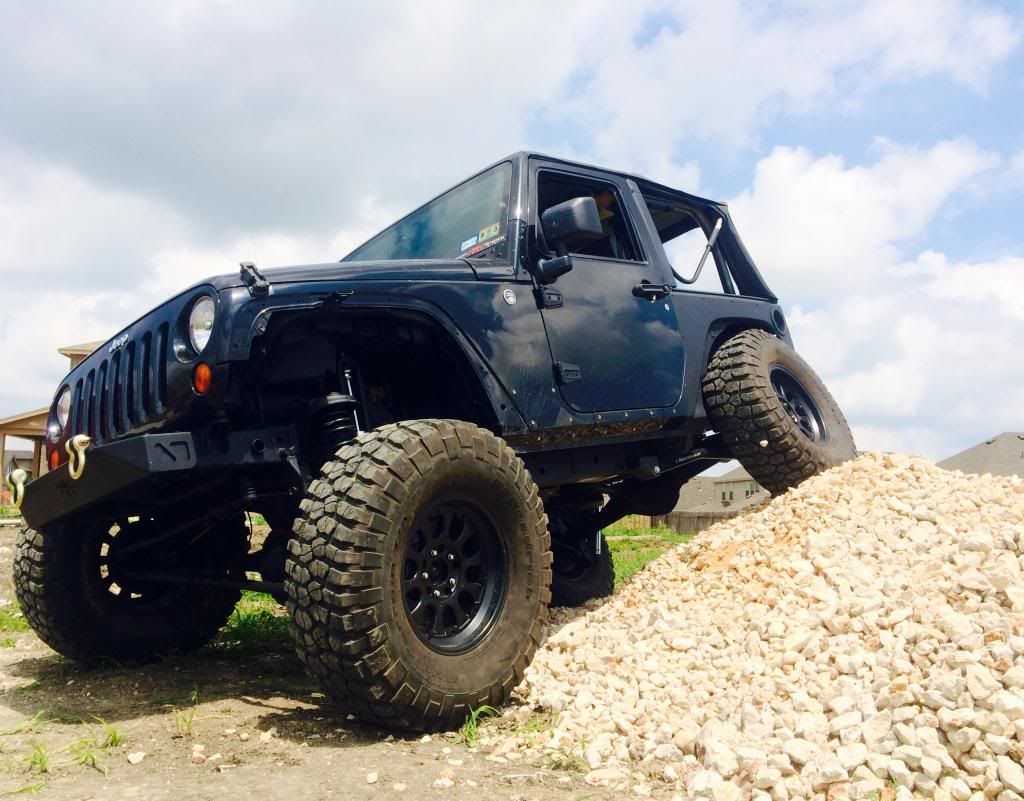
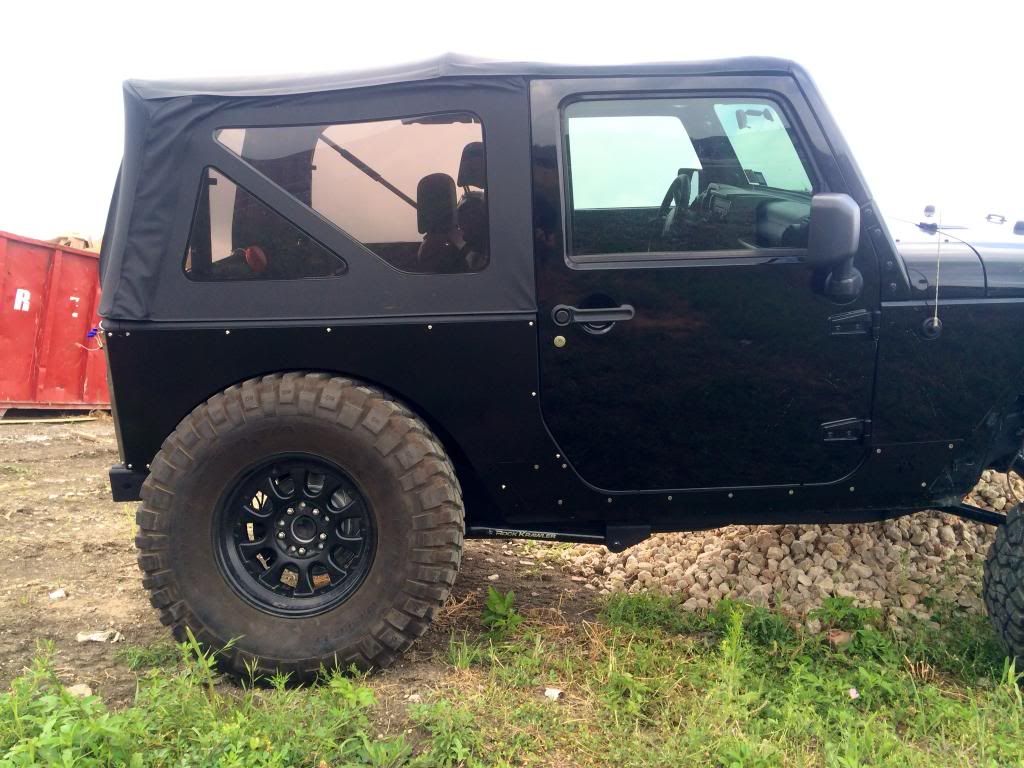
The front suspension and D44 swap are complete.
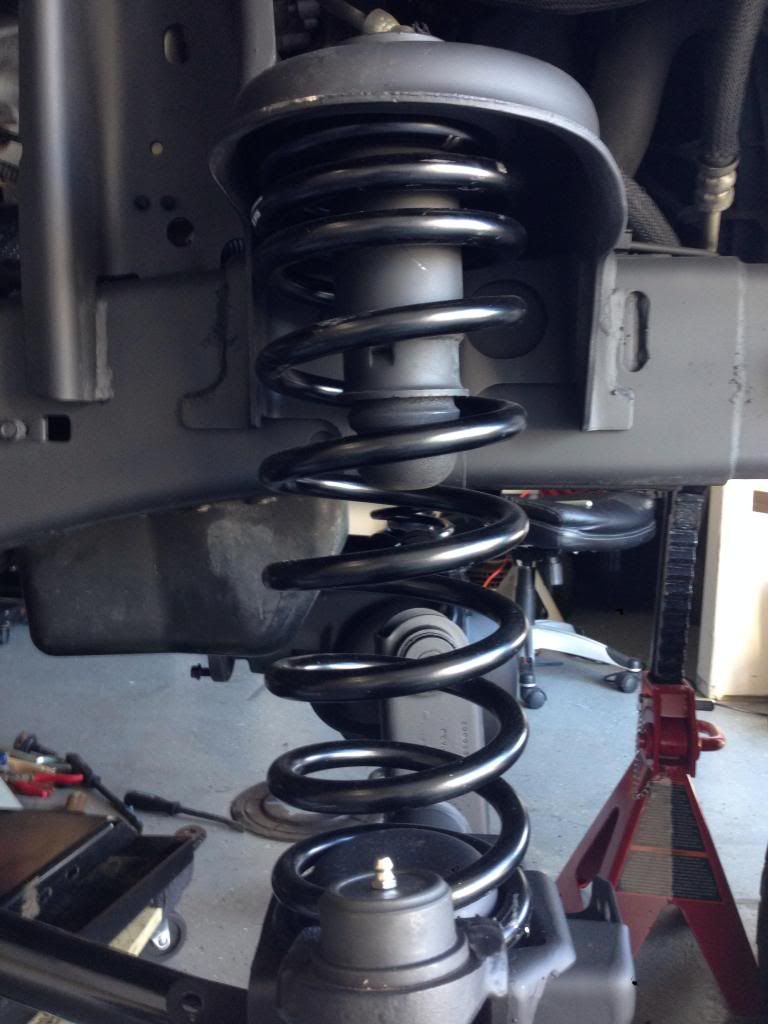
I am using Rock Krawler's new 1.5" coils and I am very happy with the stance. I will have to do some shock tuning and the rear truss vs frame cross member is going to require some creativity, but it will be cool when it is finished.
Here are the pictures! The stock steering is temporary so I didn't clean it up or paint any of it.
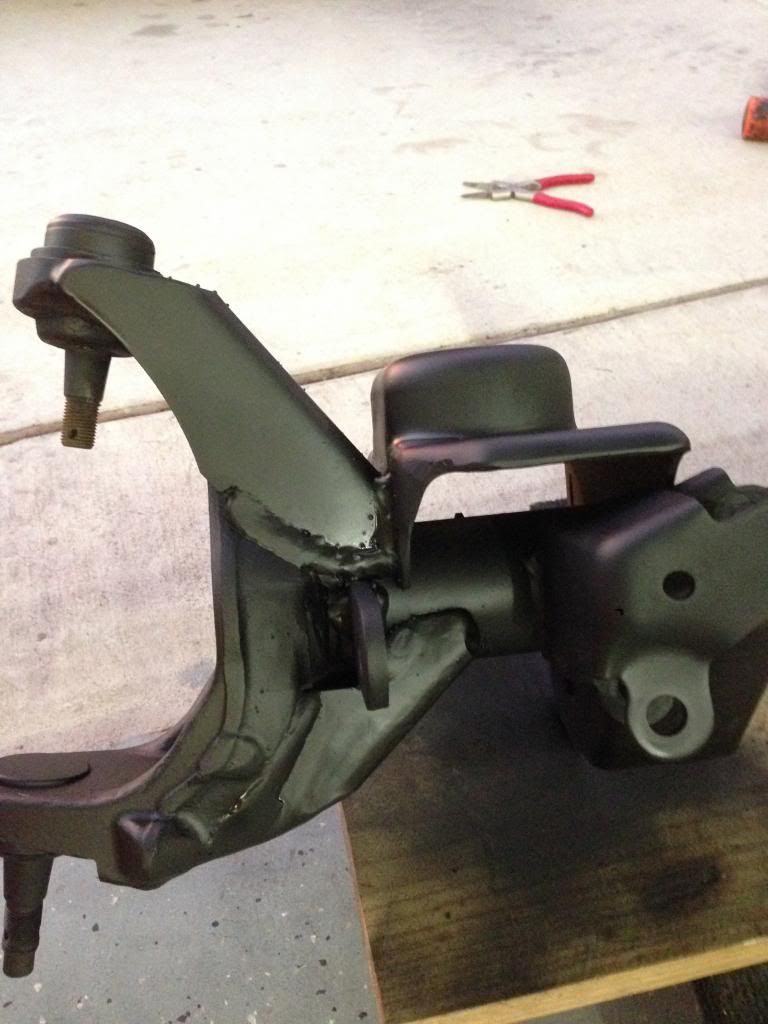
Some love for Synergy Suspension ball joints. Beefy, grease-able, and my go to ball joint when folks need replacements. The job was a breeze with the correct tools!
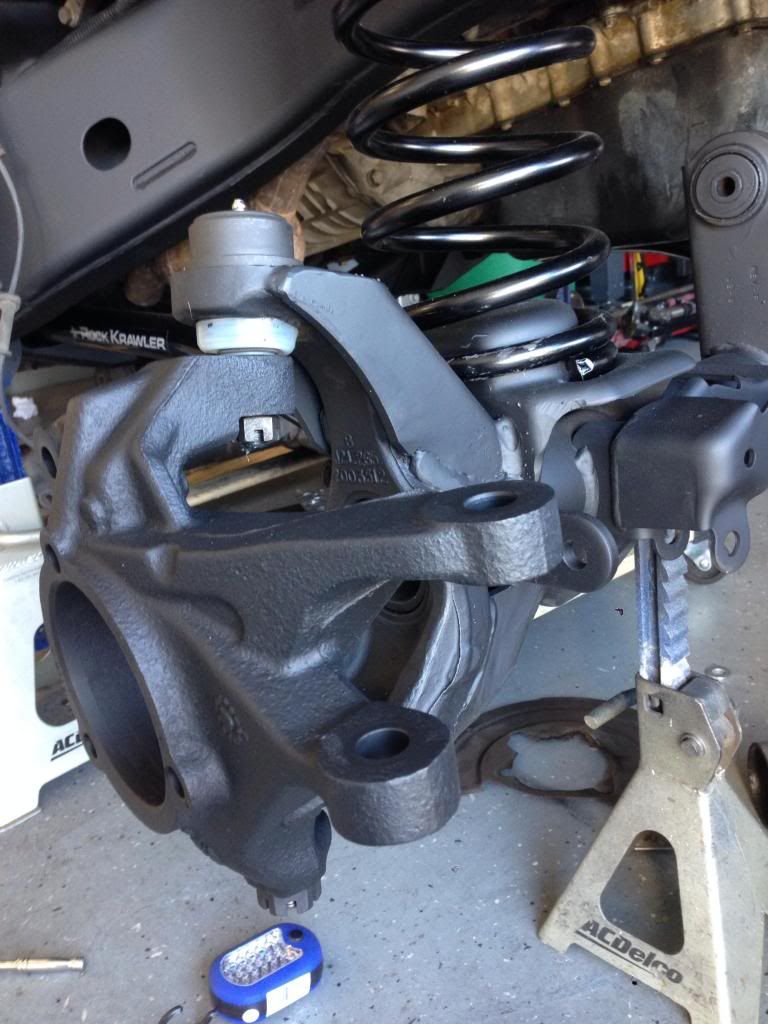
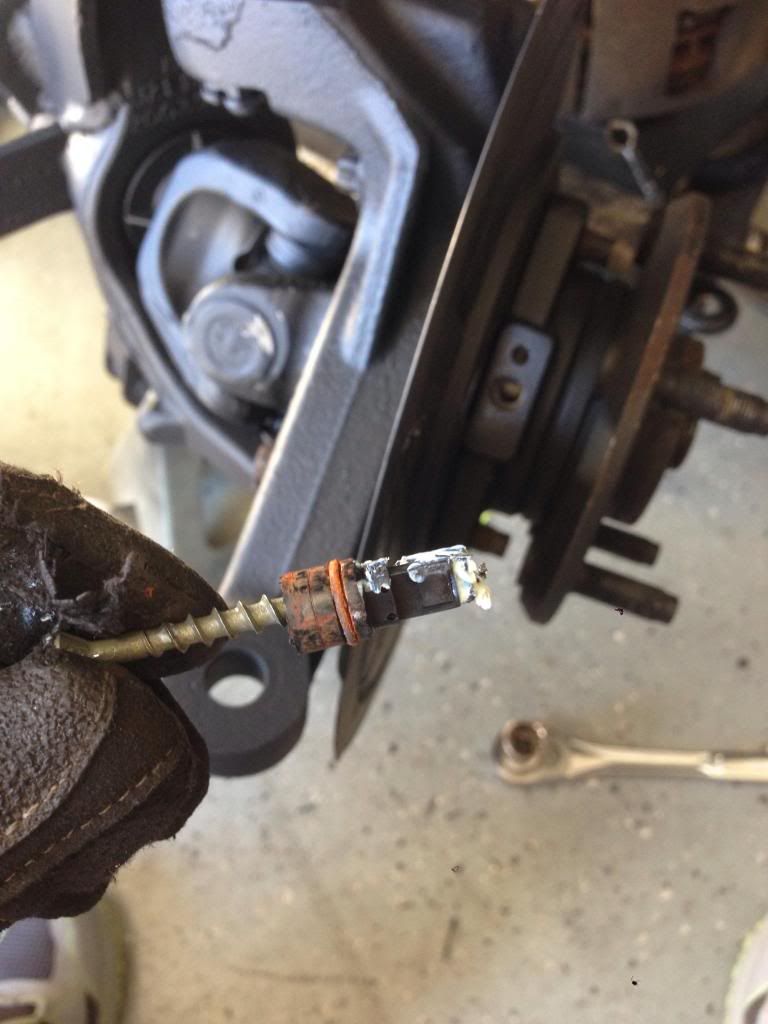
One of the ABS sensors broke off in the unit bearing and I had to get creative to remove it. A small drill bit and a wood screw solved that problem. Lol
Also, here is a tip for those of you running tall suspension or lots of droop on a PRE-2011/12 JK. The new (2011+) ABS sensors are at least 6" longer and can be purchased for about $20 at the dealer or your favorite Mopar supplier.
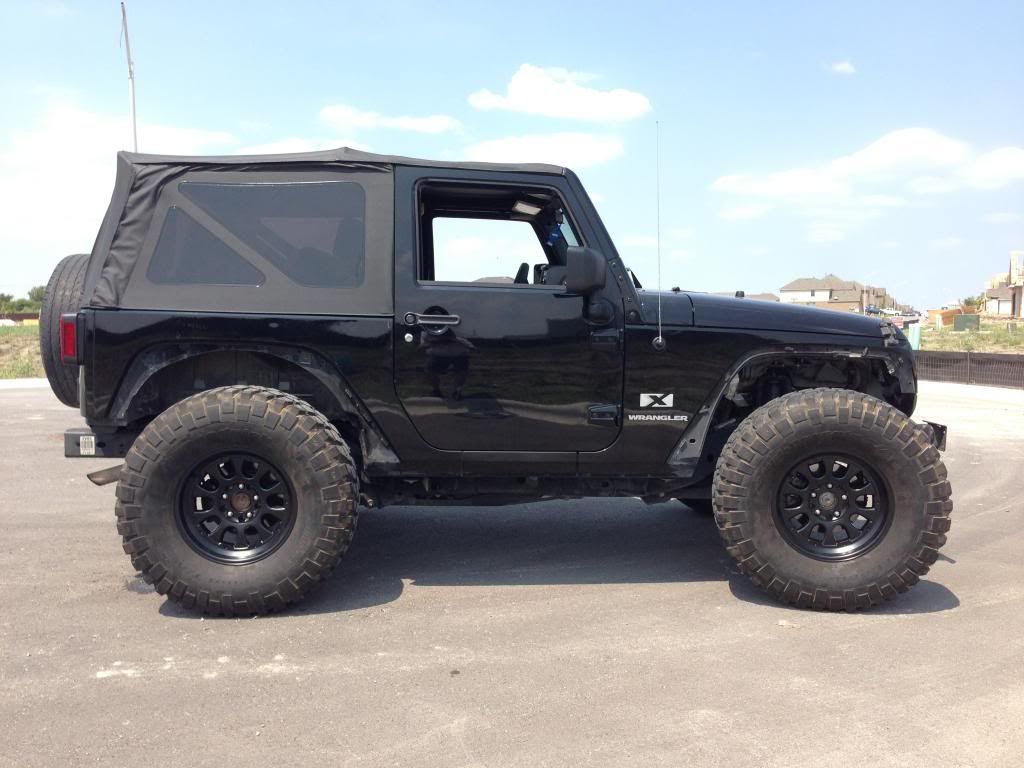
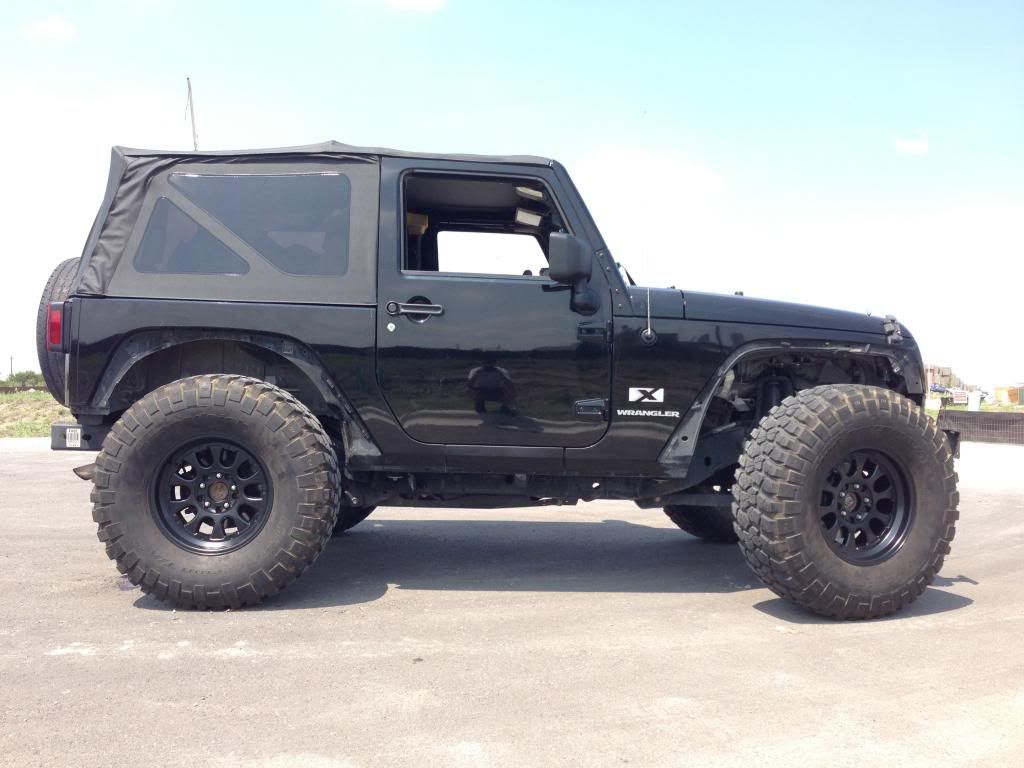
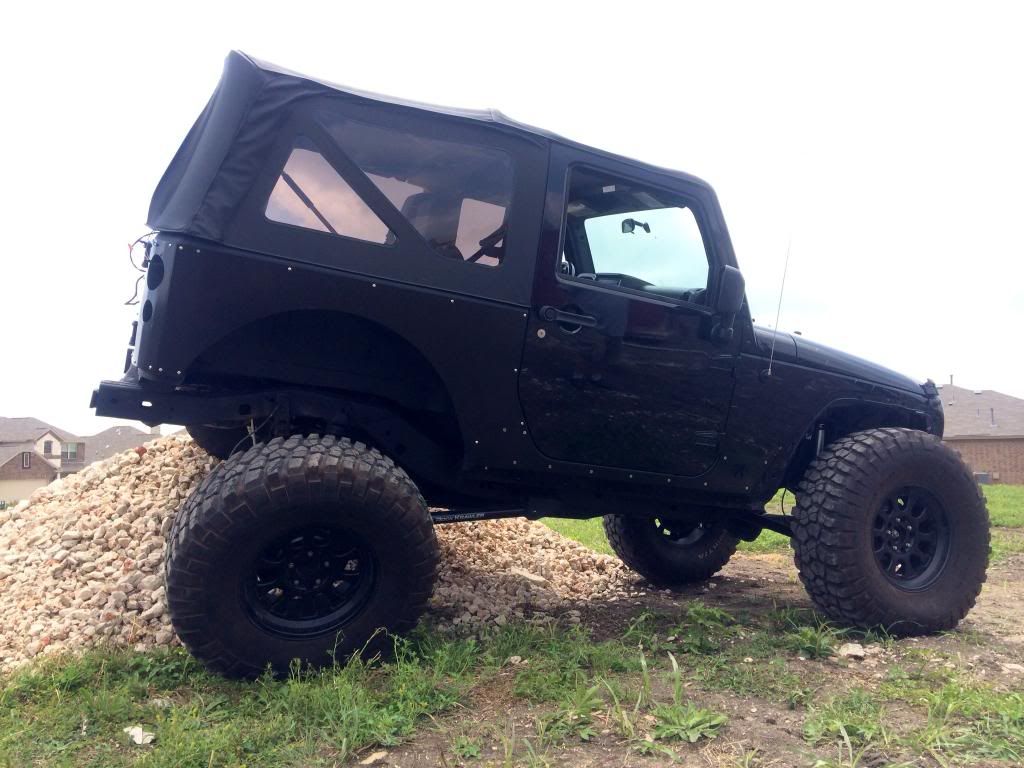
Here is a photo of it at stock height on the same wheels and tires to give you an idea of true suspension height increase.
Marcus
I am using Rock Krawler's new 1.5" coils and I am very happy with the stance. I will have to do some shock tuning and the rear truss vs frame cross member is going to require some creativity, but it will be cool when it is finished.
Here are the pictures! The stock steering is temporary so I didn't clean it up or paint any of it.


Some love for Synergy Suspension ball joints. Beefy, grease-able, and my go to ball joint when folks need replacements. The job was a breeze with the correct tools!

One of the ABS sensors broke off in the unit bearing and I had to get creative to remove it. A small drill bit and a wood screw solved that problem. Lol
Also, here is a tip for those of you running tall suspension or lots of droop on a PRE-2011/12 JK. The new (2011+) ABS sensors are at least 6" longer and can be purchased for about $20 at the dealer or your favorite Mopar supplier.

Here is a photo of it at stock height on the same wheels and tires to give you an idea of true suspension height increase.

Marcus
Last edited by RiverCityOffroad; 10-05-2017 at 09:55 AM.
01-28-2014, 09:39 AM
#7
Former Vendor
Thread Starter
Join Date: Nov 2010
Location: Austin, TX
Posts: 563
Likes: 0
Received 0 Likes
on
0 Posts
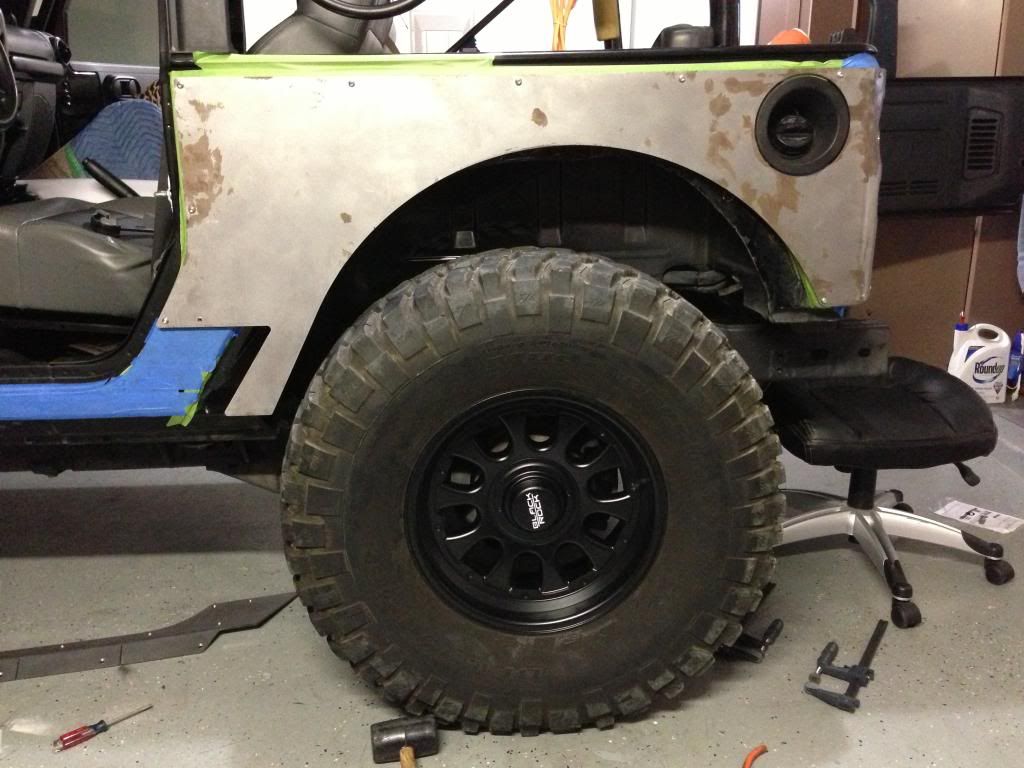
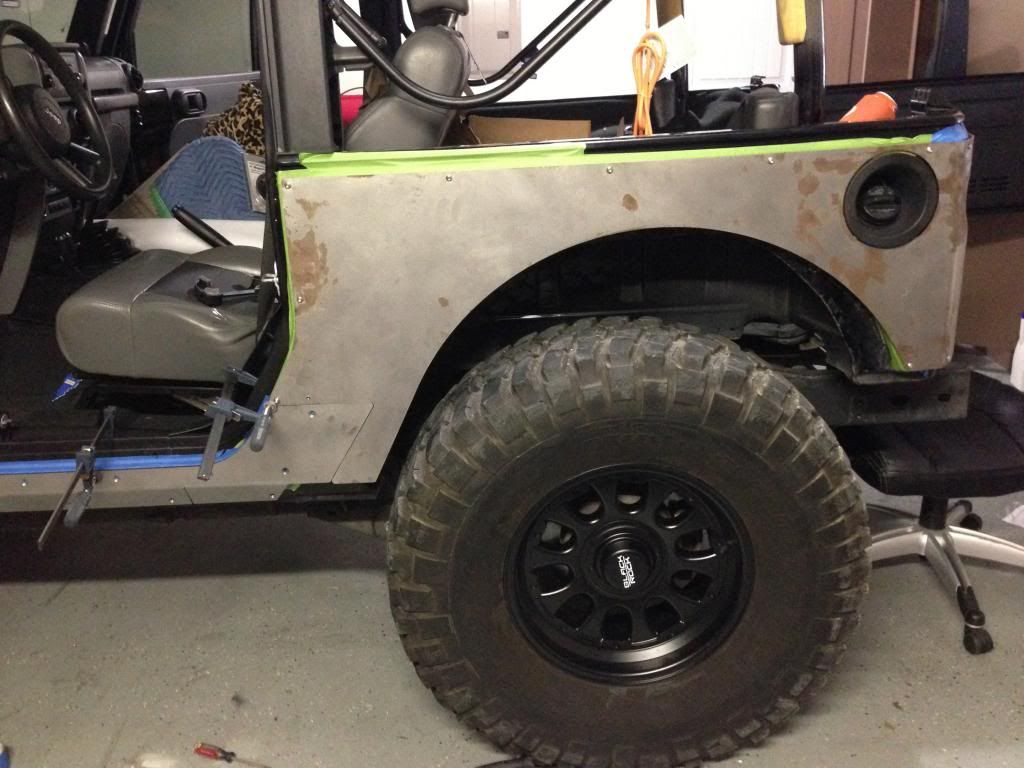
Here is what I did today (1/26). The rocker armor and stretch armor for together perfectly, but I had to create a way to pull the "sideburn" in to sit flush with the rocker panel.
I drilled the three holes and then cut up some scrap panels I had laying around to make tabs for the rocker armor. I welded the tabs on to the rocker armor and will use cap screws and nylock nuts / washers on the back side to pull it all together.
The corner armor isn't countersunk, so I'm going to tackle that and then take it over to the powder coater to be finished out in black.
Here are the photos! My welds sucked today so you don't get to see those. Ha ha!
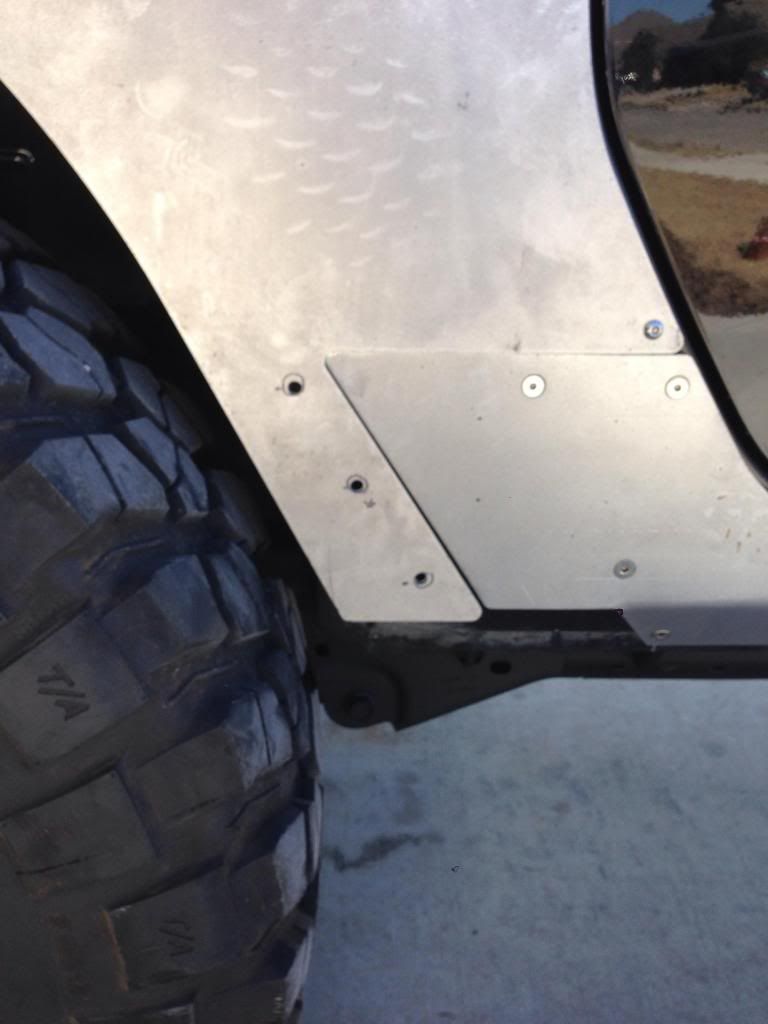
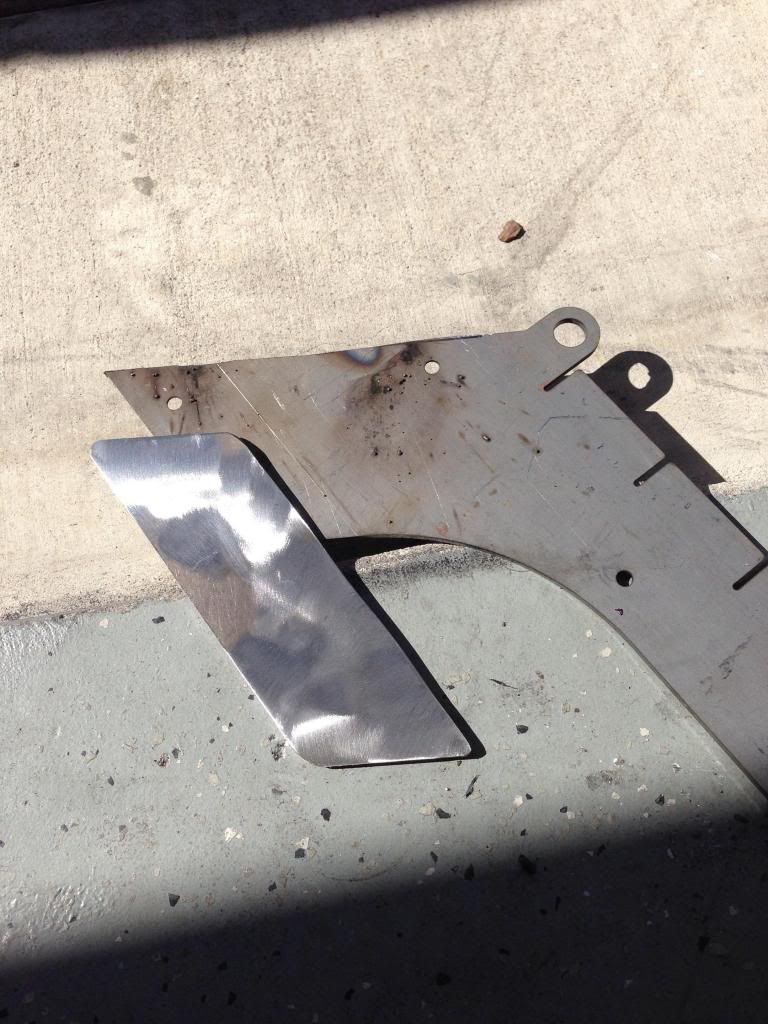


Last edited by RiverCityOffroad; 10-05-2017 at 09:55 AM.
Trending Topics
05-07-2014, 11:18 AM
#8
Former Vendor
Thread Starter
Join Date: Nov 2010
Location: Austin, TX
Posts: 563
Likes: 0
Received 0 Likes
on
0 Posts
The Jeep is back on the ground now...let me catch you guys up!
I decided to try Artec's truss and three link setup that is made for the RK geometry. Here are a few pictures showing the differences in overall size and height.
The reason I chose to do this is my use of the 1.5" coils. I'm hoping this will buy me a little more room for up-travel, but I'm confident I will have to cut and move the frame cross member either way.
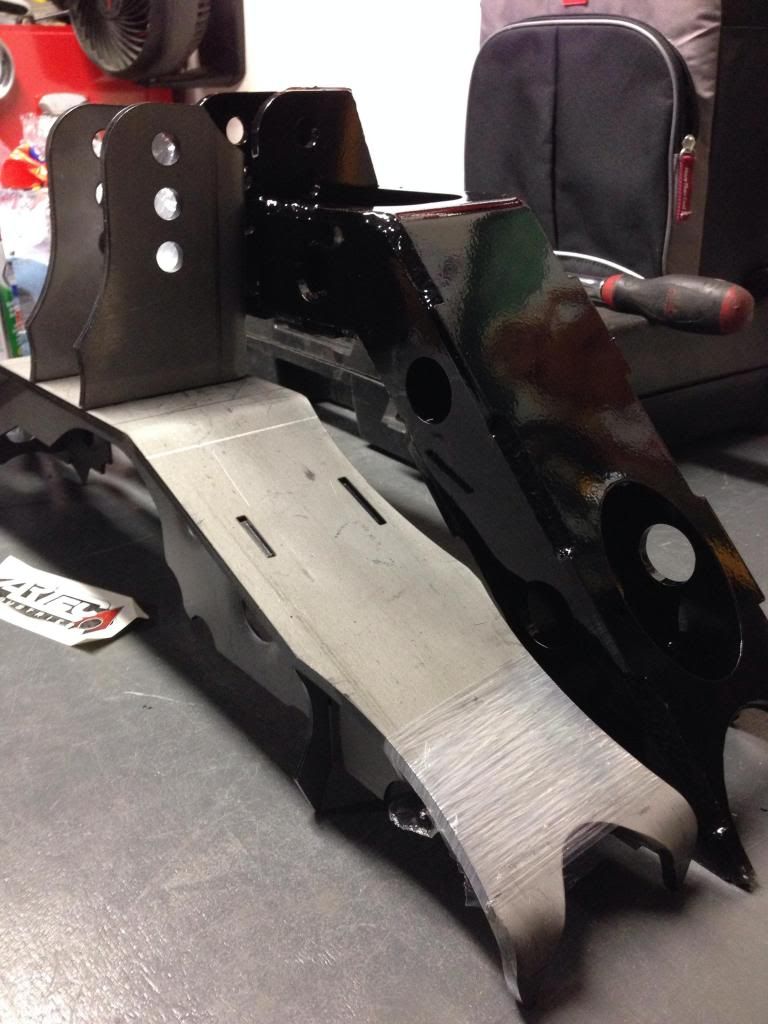
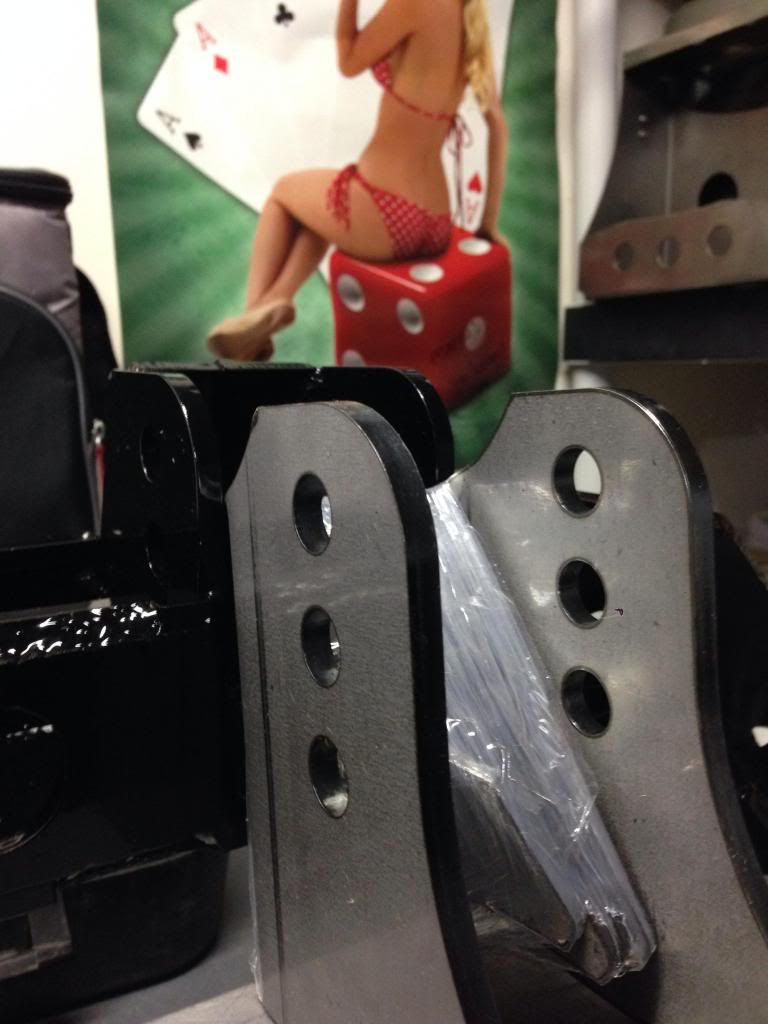
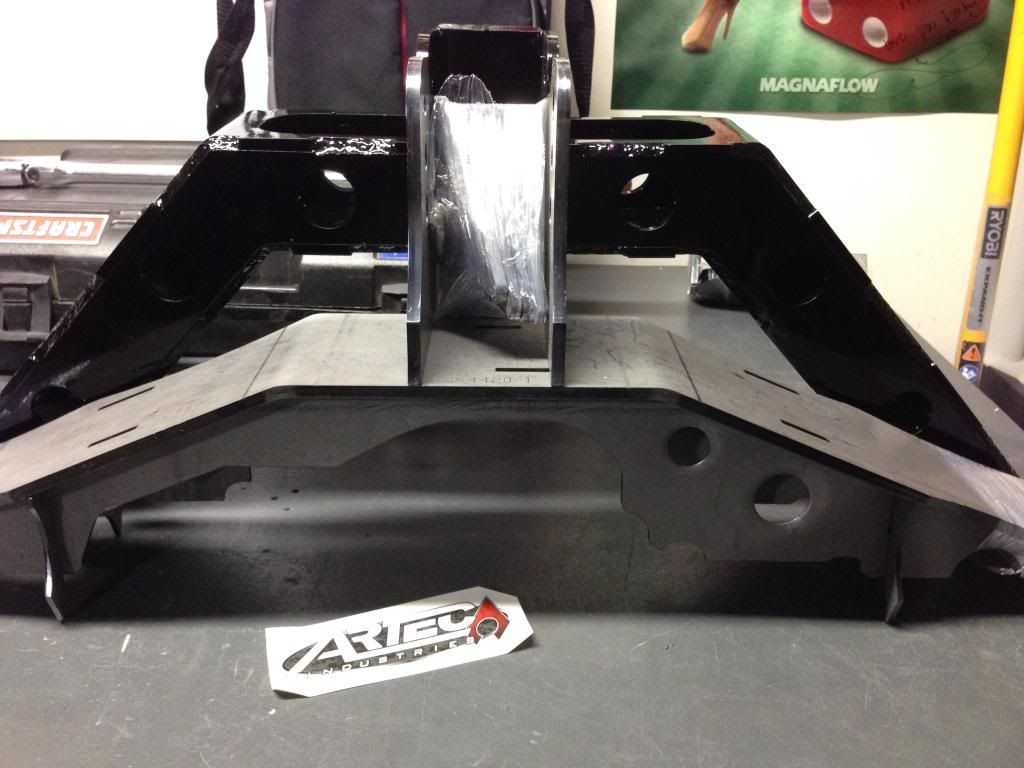


Last edited by RiverCityOffroad; 10-05-2017 at 09:56 AM.
05-07-2014, 11:22 AM
#9
Former Vendor
Thread Starter
Join Date: Nov 2010
Location: Austin, TX
Posts: 563
Likes: 0
Received 0 Likes
on
0 Posts
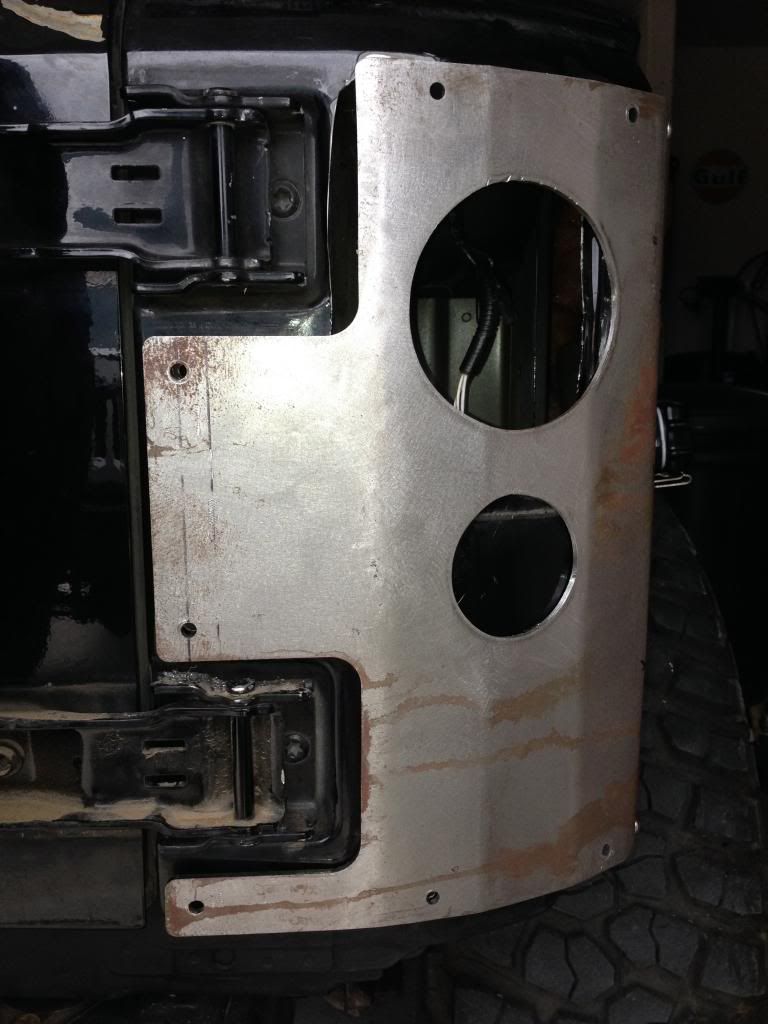
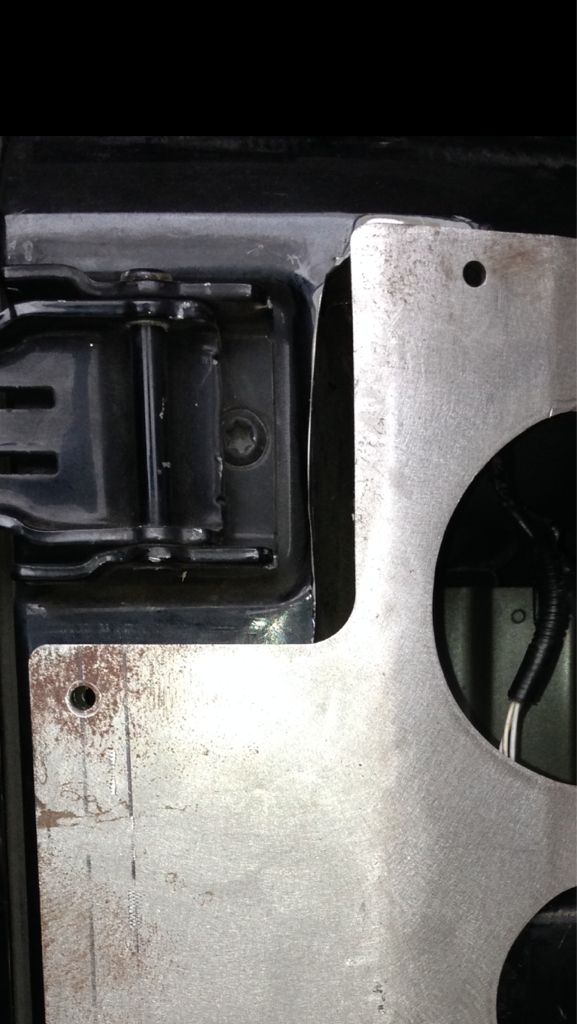
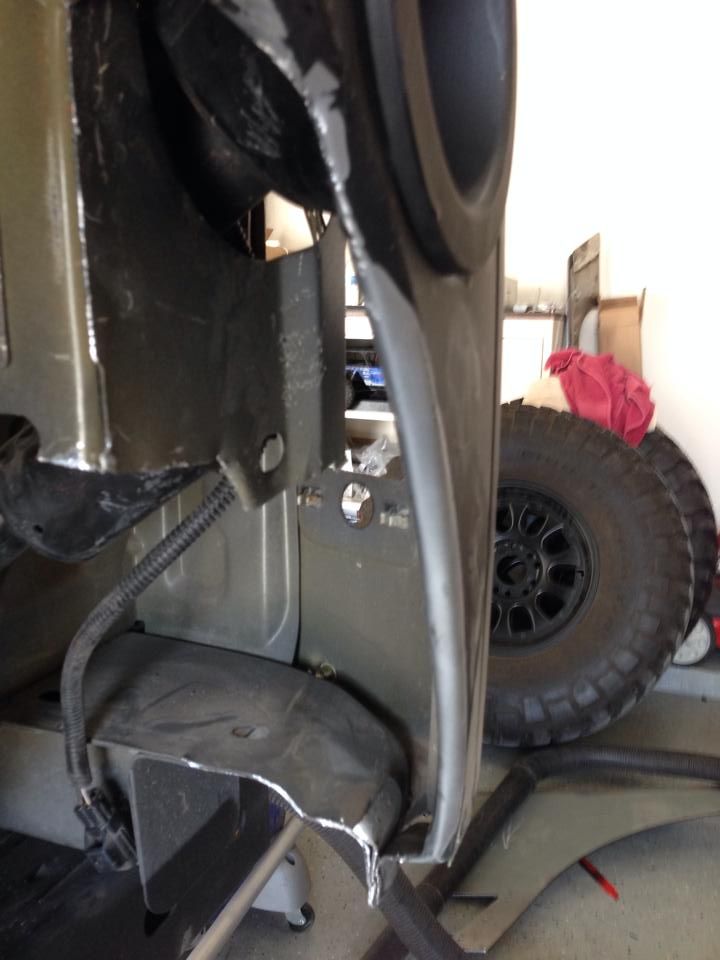
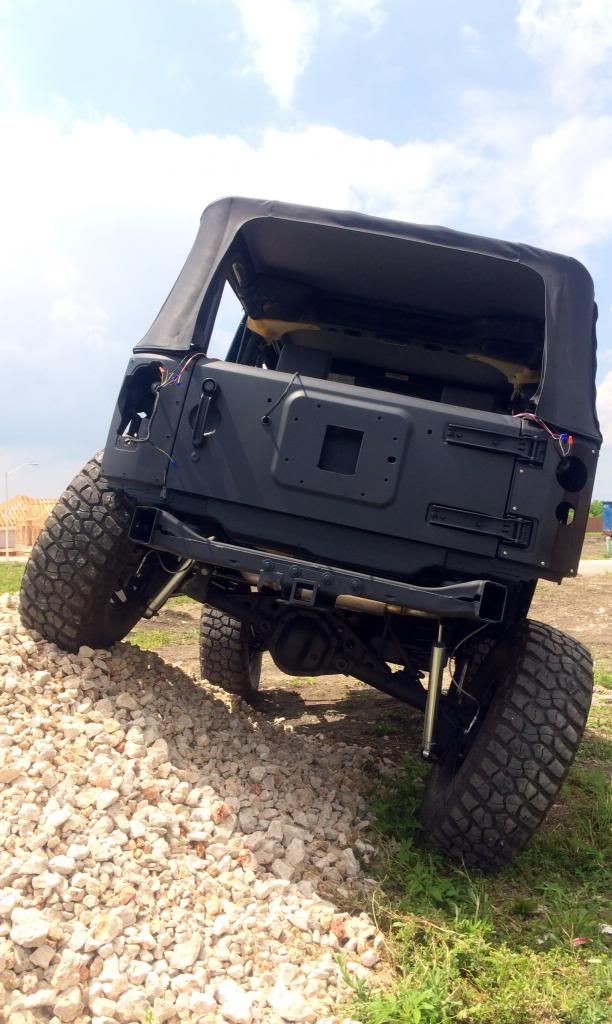
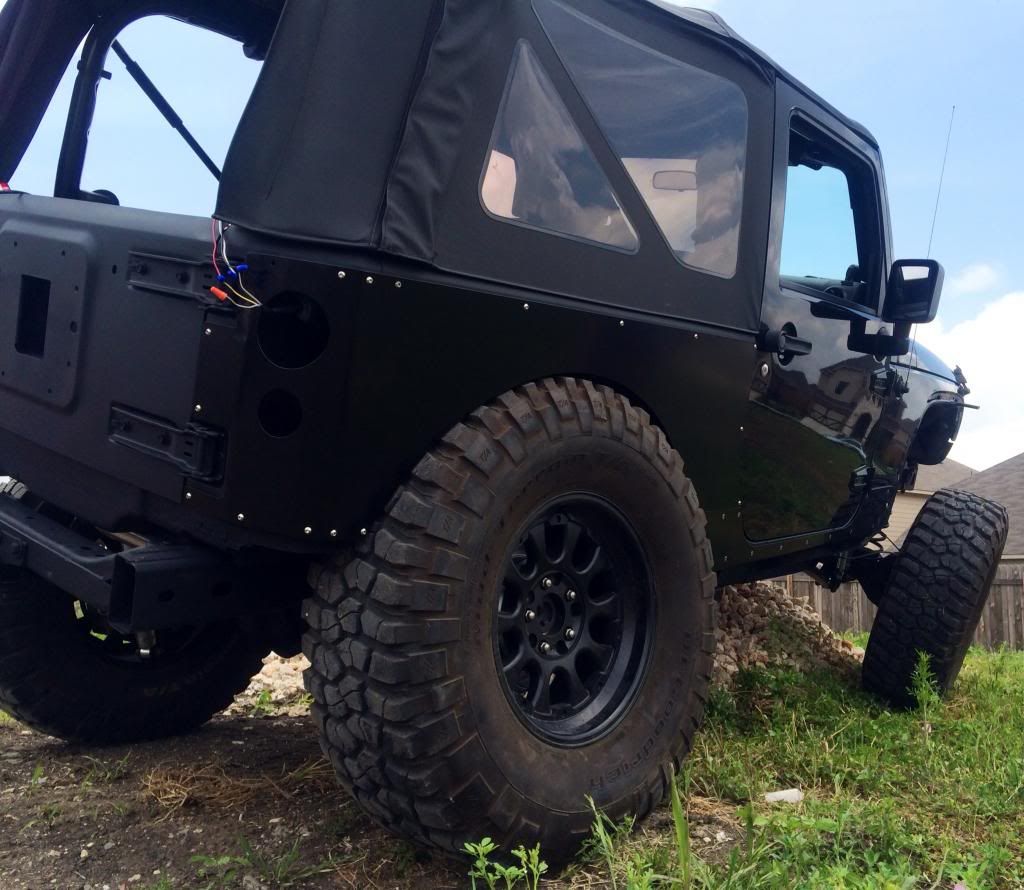
I had cut the body out too far on the passenger side and needed to extend the corner to cover up the gap. Here's what I did...
The gap.
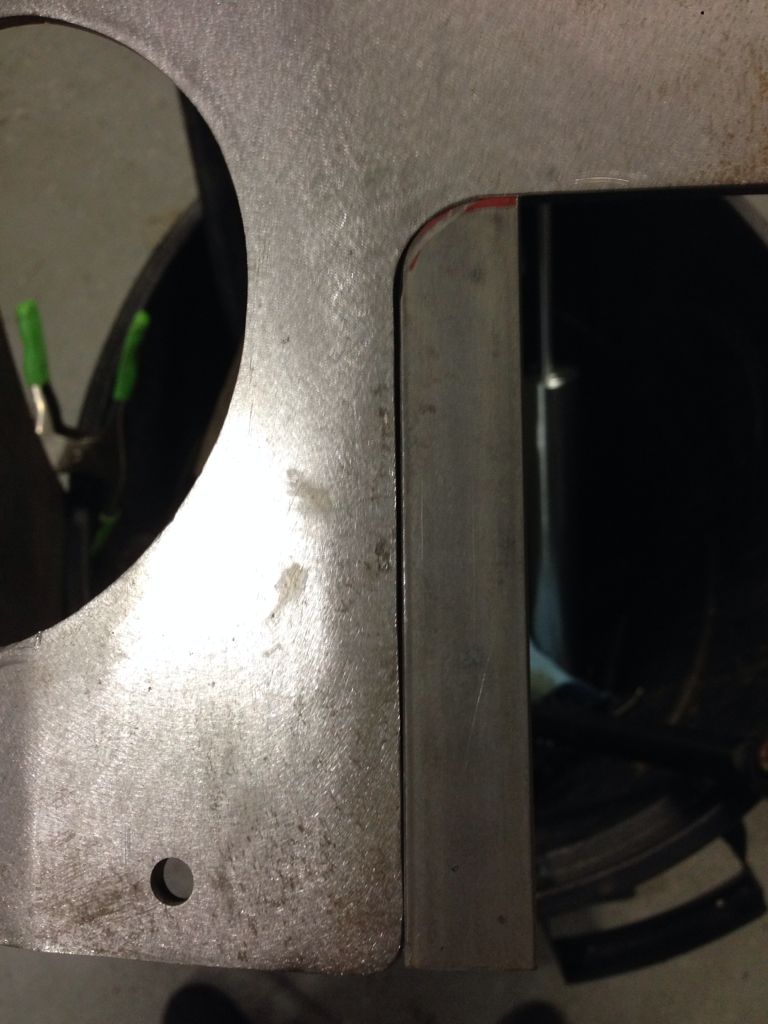
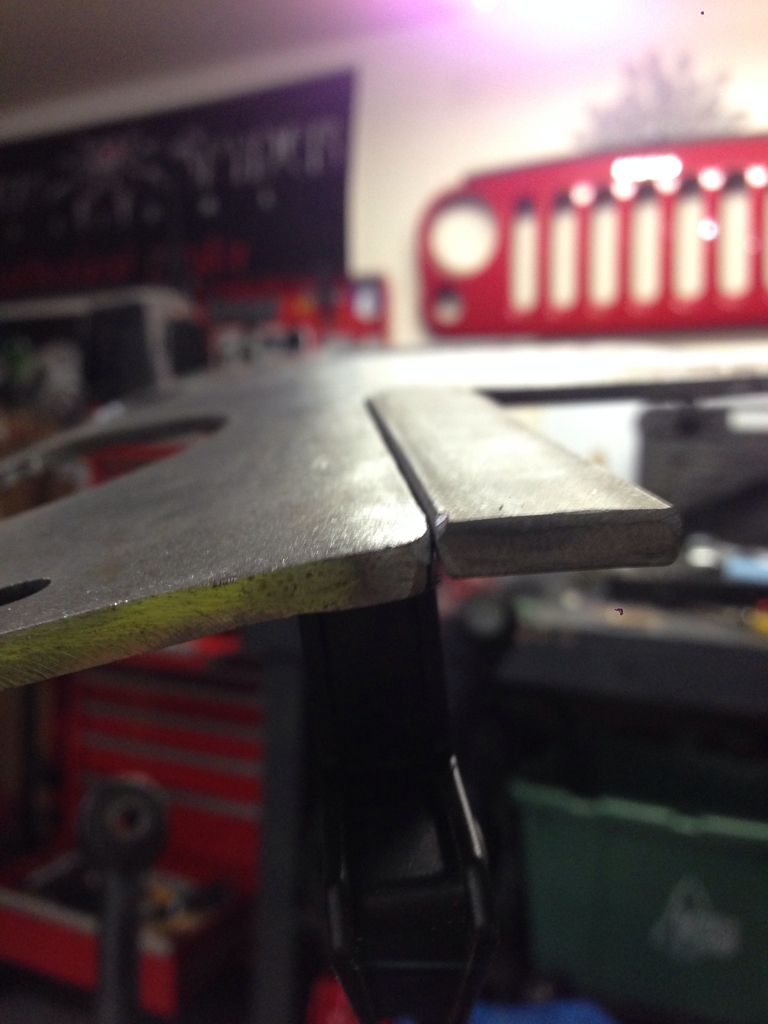
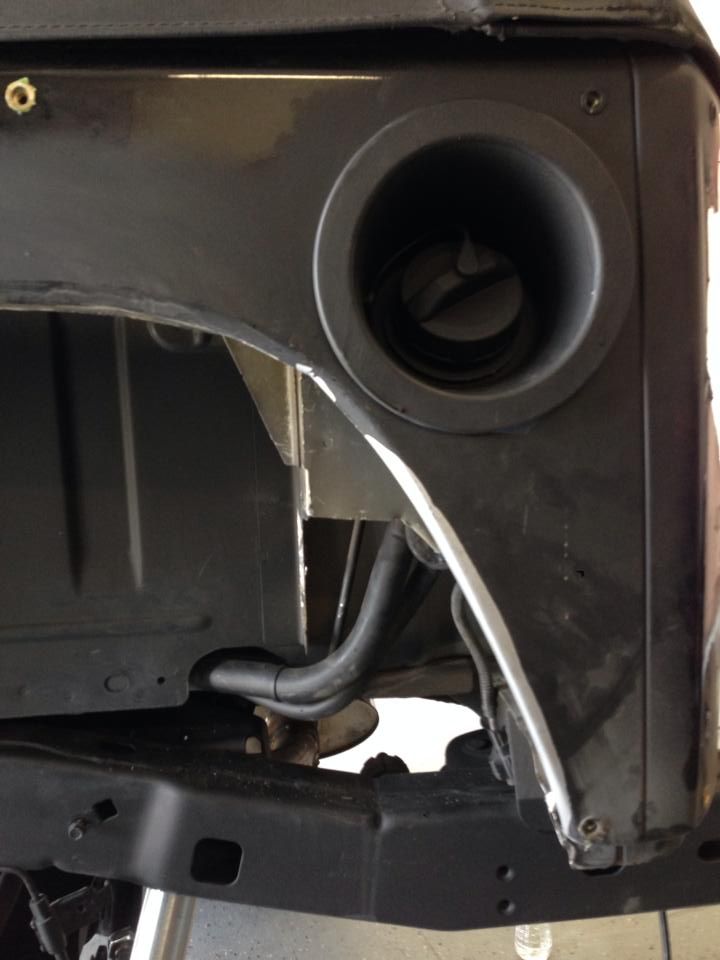
The fix.
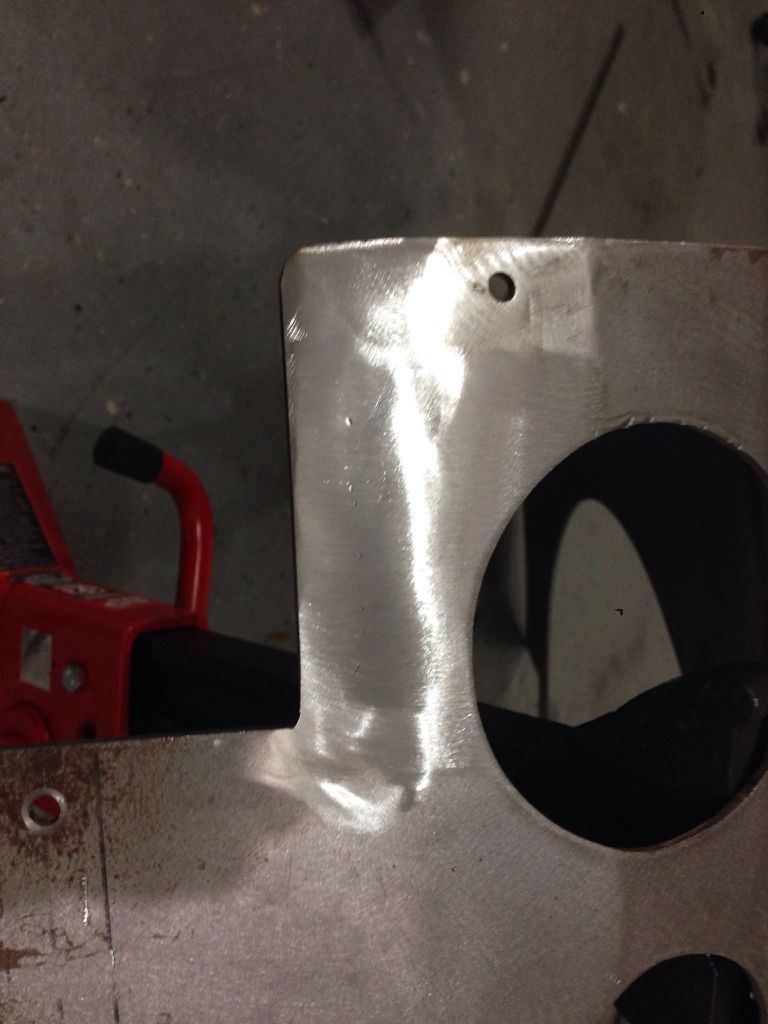
The finished product.
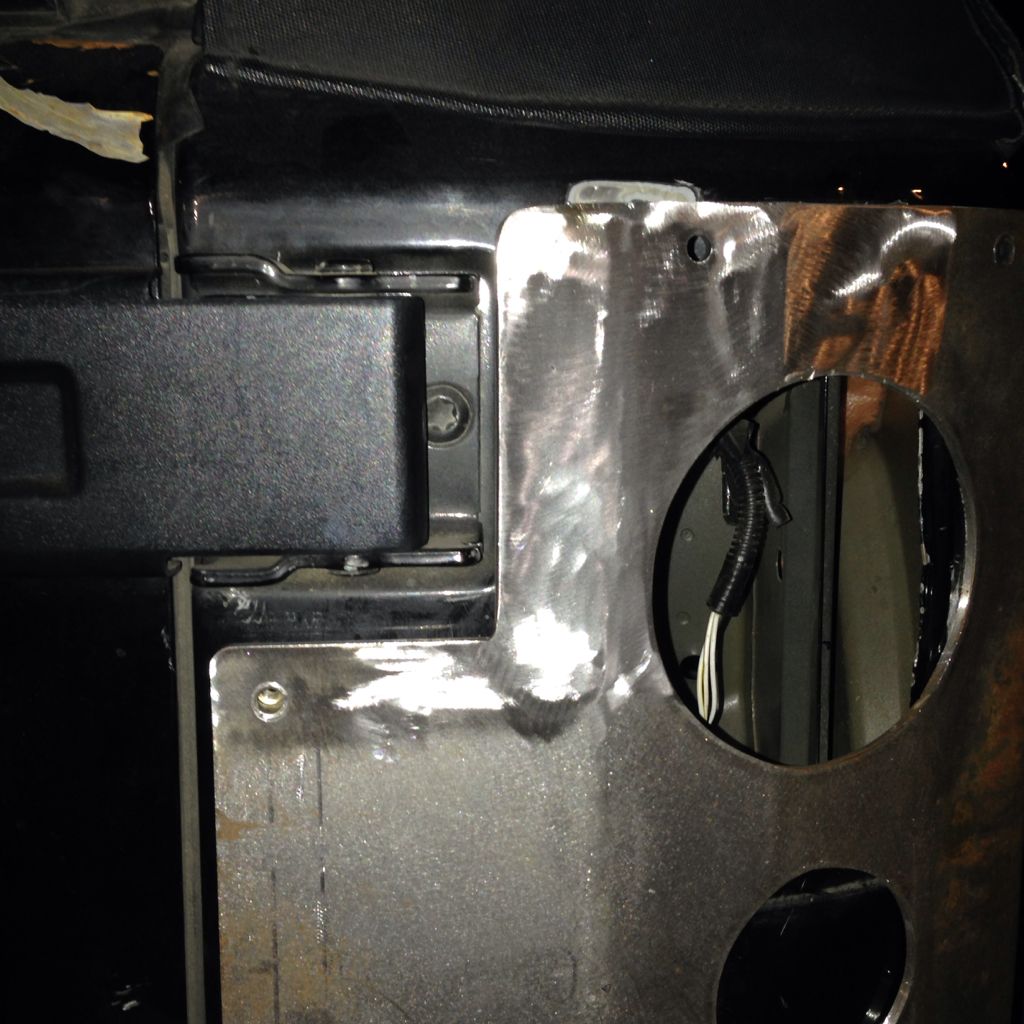
Here is the trimming and modification I did on the driver's side. These pictures were taken in the process of cutting and before I cleaned up the cuts.
I'm going to build inner fenders to cover up the mess and add some support back in. (A cage is in the works, so don't jump to any conclusions.) The body filler kept smoldering while I was using the cutoff wheel which made things interesting. It was smoking from all of the holes inside the door frame and I was just waiting on all of my hard work to go up in flames. LOL
I'm going to use a body saw on the passenger side and I'm hoping it'll come out a little better. I want to try to retain as much of the inner support over there as I can. The fuel lines for the filler made things tough on the driver's side.
The Jeep is getting re-geared with Yukon 5.13s this weekend. I'm installing a Crown Automotive brake upgrade kit as well which includes drilled and slotted rotors and new pads. I thought I'd try something new and the parts seem to be of good quality.
The only things left to do are the body trimming on the passenger side, install the sPOD, and wire the E-Locker up front. I'm getting close to having some fun!
Marcus
The gap.

The fix.


The finished product.


Here is the trimming and modification I did on the driver's side. These pictures were taken in the process of cutting and before I cleaned up the cuts.
I'm going to build inner fenders to cover up the mess and add some support back in. (A cage is in the works, so don't jump to any conclusions.) The body filler kept smoldering while I was using the cutoff wheel which made things interesting. It was smoking from all of the holes inside the door frame and I was just waiting on all of my hard work to go up in flames. LOL
I'm going to use a body saw on the passenger side and I'm hoping it'll come out a little better. I want to try to retain as much of the inner support over there as I can. The fuel lines for the filler made things tough on the driver's side.


The Jeep is getting re-geared with Yukon 5.13s this weekend. I'm installing a Crown Automotive brake upgrade kit as well which includes drilled and slotted rotors and new pads. I thought I'd try something new and the parts seem to be of good quality.
The only things left to do are the body trimming on the passenger side, install the sPOD, and wire the E-Locker up front. I'm getting close to having some fun!
Marcus
Last edited by RiverCityOffroad; 10-05-2017 at 09:56 AM.
05-07-2014, 11:23 AM
#10
Former Vendor
Thread Starter
Join Date: Nov 2010
Location: Austin, TX
Posts: 563
Likes: 0
Received 0 Likes
on
0 Posts
4/18/14
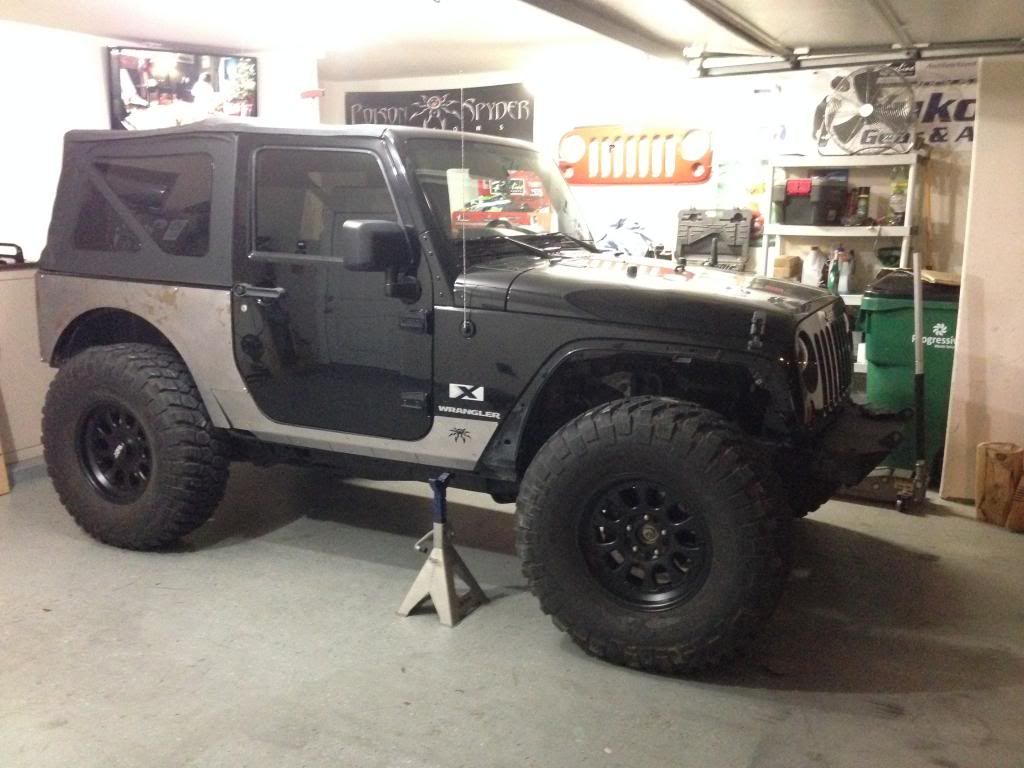
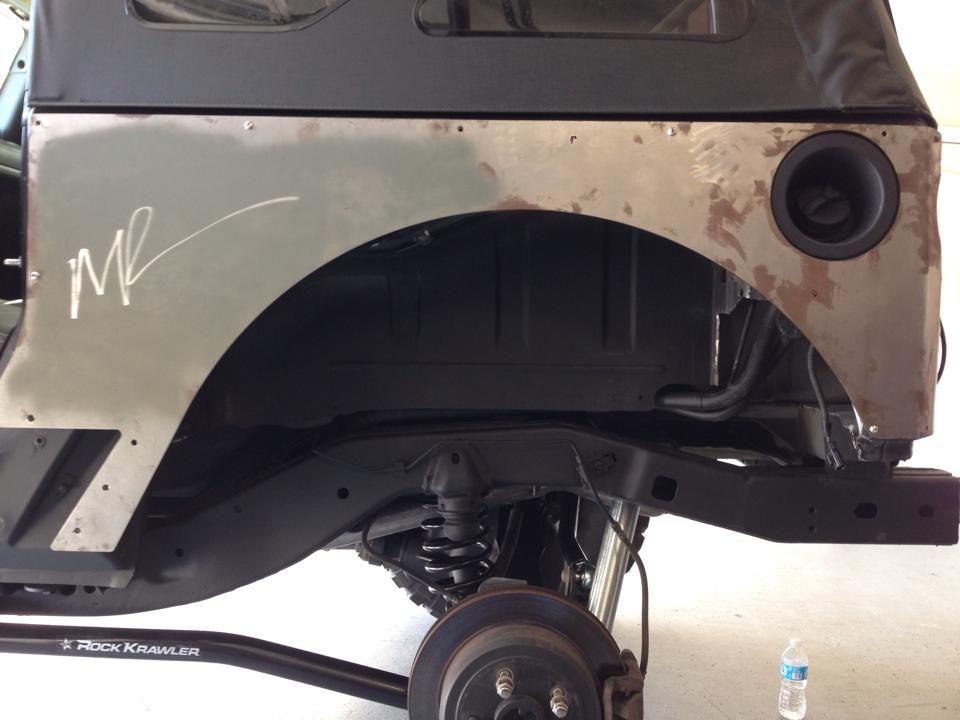
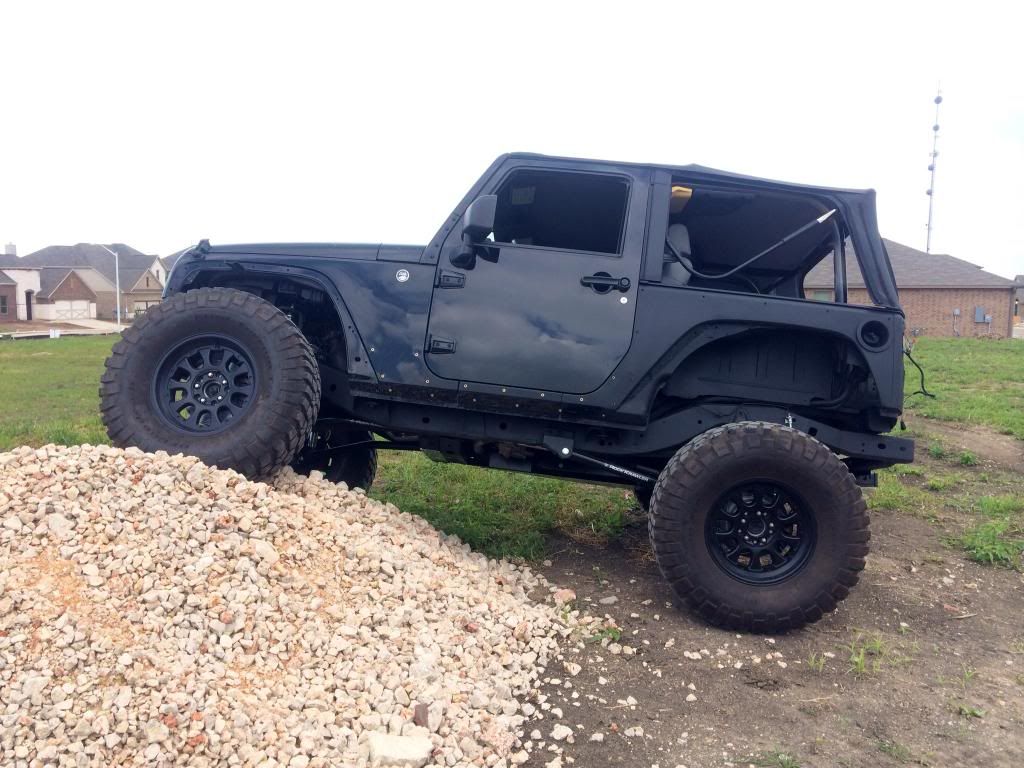
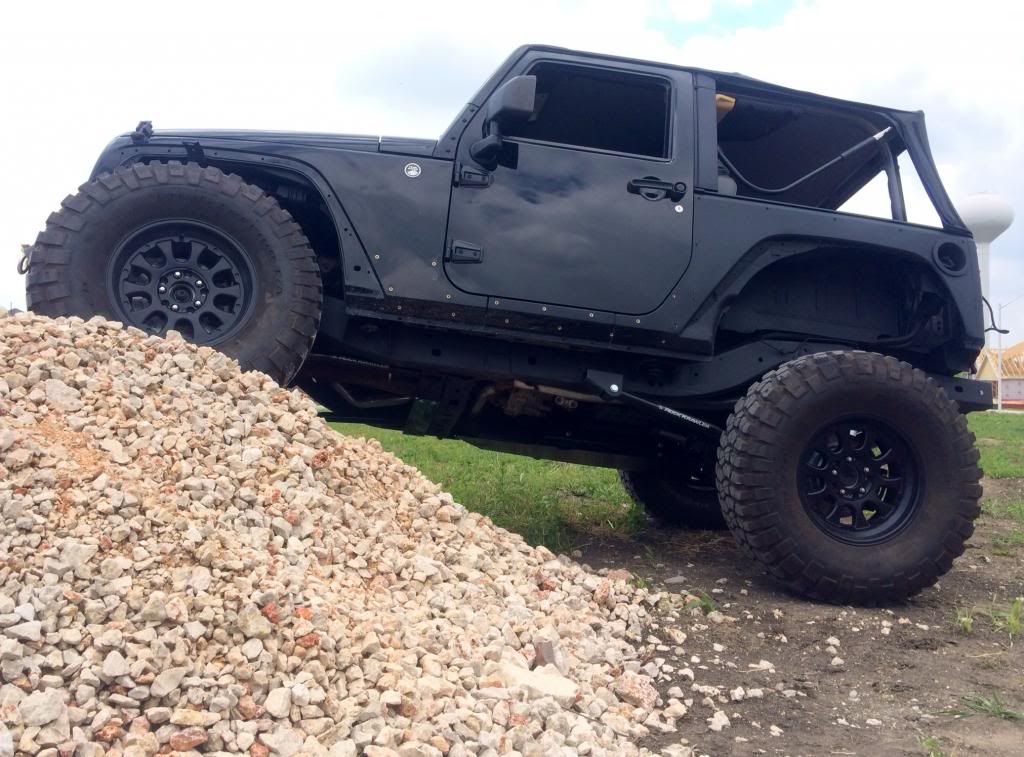
I got all of the armor back from powder coat and I'm very happy with how it turned out. I'll be finishing it all up this weekend. I was concerned with clearance so I put one of the corners on and took it for a little frolic in the park.
I had to do a little more trimming on the passenger rear corner, but we should be good now with about 2" of bump stop back there. The front shocks that are in it are really too damn long at the compressed length, so I'm going a different route. These were temporary, but they have quite a bit of droop in them so I decided to throw them on for now.
I'm really, really happy with the way it's coming together. I'll clean it up and take some quality pics of it when all of the armor is on. Going wheeling next weekend!
1.5 X-Factor Long Arm...


Last edited by RiverCityOffroad; 10-05-2017 at 09:57 AM.