Project-JK Decal Application Write-Up
 05-03-2008, 06:24 AM
#1
JK-Forum Founder
Thread Starter

Join Date: Jul 2006
Location: Laguna Niguel, CA
Posts: 36,534
Likes: 0
Received 15 Likes
on
14 Posts
Although the application of vinyl decals is pretty straight forward and easy to do, getting them on right, positioned correctly and without any wrinkles or bubbles the first time around can be somewhat tricky. That is, unless you know how to do it right. Granted, I have no doubts that there are a plethora of ways to apply decals, but this method has always worked for me and the easy to follow step by step instructions in this write-up should help you get yours on without any fuss. Of course, this write-up is for the application of the Project-JK logo decal, it will also work for any decal that you apply on your Jeep JK Wrangler.
Project-JK Decal Application Write-Up


 05-03-2008, 07:53 AM
#4
JK Enthusiast
Join Date: Sep 2007
Location: Cool, CA (Near Auburn)
Posts: 145
Likes: 0
Received 0 Likes
on
0 Posts
Begin hijack.
We used to spray windex on the surface that the sticker will be put on:
Spray the windex and get the surface good and wet, then apply the sticker. You can move the sticker around (it just slides from the windex) and when you get it where you want it, just squeegee it and you are done. It works great. If you want, try it with a little test sticker.
End hijack.
05-11-2008, 11:06 AM
#5
JK Enthusiast
Join Date: Mar 2008
Location: Latham, NY
Posts: 162
Likes: 0
Received 0 Likes
on
0 Posts
Wish I had read this about 20 minutes ago! The decals came out okay, but one got wrinkled and I had to ease it off to pull them out and the other bubbled a little and isn't centered. Looks like I might be ordering a few more from ya in the near future! Hopefully the third time will be the charm...
The decals came out okay, but one got wrinkled and I had to ease it off to pull them out and the other bubbled a little and isn't centered. Looks like I might be ordering a few more from ya in the near future! Hopefully the third time will be the charm...
Last edited by Gabryael; 05-11-2008 at 11:11 AM.
05-11-2008, 04:11 PM
#6
JK Junkie
Join Date: Mar 2008
Location: The OC baby! CA
Posts: 2,606
Likes: 0
Received 0 Likes
on
0 Posts
Glad I saw this because I need to put my project JK sticker on my windshield. Just trying to figure out if it's easier to apply with the top down. But then knowing my luck I'll put it on upside down 
05-12-2008, 12:07 AM
#7
JK Super Freak
Join Date: Apr 2007
Location: SCV, Ca
Posts: 1,544
Likes: 0
Received 0 Likes
on
0 Posts
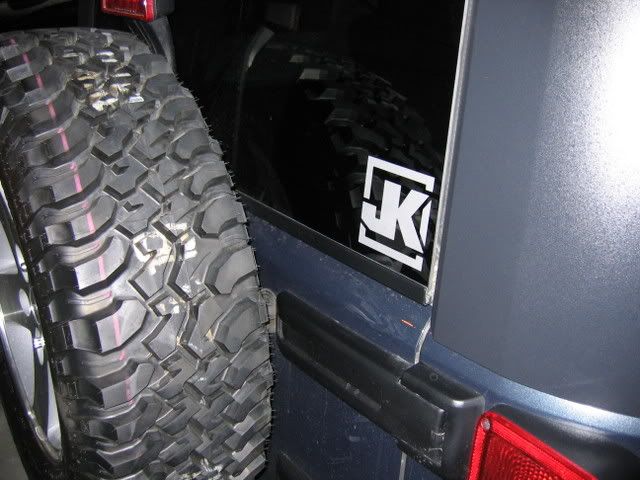
Put mine on today using Eddies instructions. I have never done these kind of decals before and they turned out pretty good. I did get a small bubble on the J on"JK" on both sides, but I think the sun should shrink them. I put my 3rd JK sticker on my back window. All in all, I am very pleased with the way the decals turned out.

Trending Topics
06-18-2008, 11:34 AM
#10
JK Jedi
Join Date: Oct 2007
Location: Colorado
Posts: 5,537
Likes: 0
Received 0 Likes
on
0 Posts
Begin hijack.
We used to spray windex on the surface that the sticker will be put on:
Spray the windex and get the surface good and wet, then apply the sticker. You can move the sticker around (it just slides from the windex) and when you get it where you want it, just squeegee it and you are done. It works great. If you want, try it with a little test sticker.
End hijack.
We used to spray windex on the surface that the sticker will be put on:
Spray the windex and get the surface good and wet, then apply the sticker. You can move the sticker around (it just slides from the windex) and when you get it where you want it, just squeegee it and you are done. It works great. If you want, try it with a little test sticker.
End hijack.
I've had good luck with this method as well, it also eliminates bubbles. I haven't done any new decals on the JK paint yet, looking to get some JK ones at some point though.

