Rear Pinch Seam / Rubicon Rail End Cap Trim
 12-17-2010, 07:51 PM
#11
JK Super Freak
Join Date: Oct 2007
Location: Phoenix, AZ
Posts: 1,572
Likes: 0
Received 0 Likes
on
0 Posts
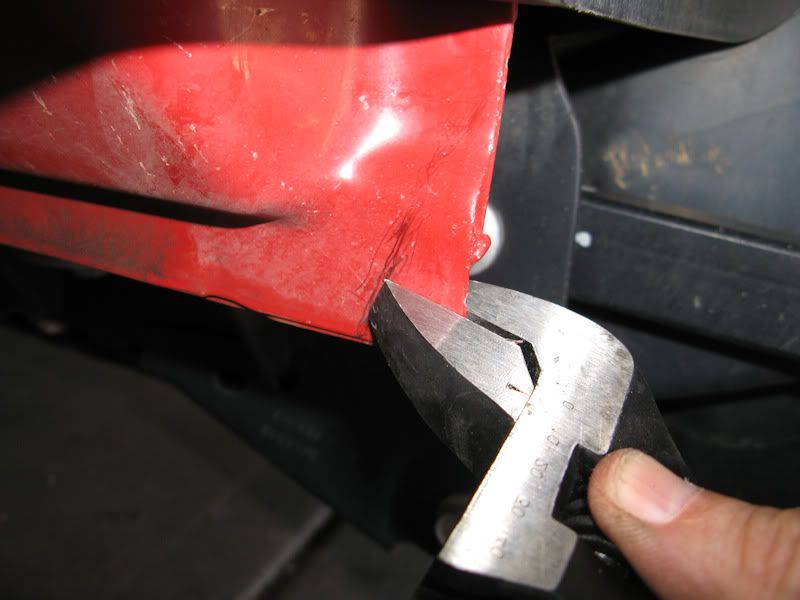
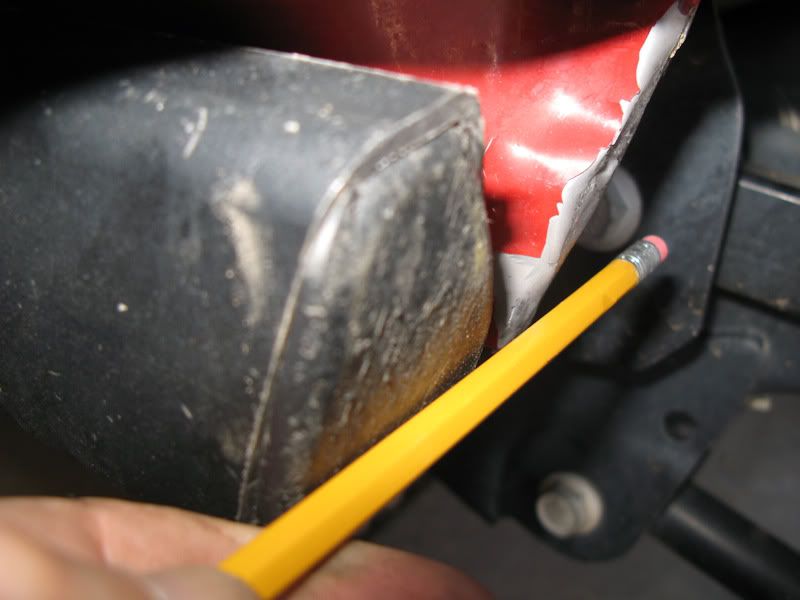
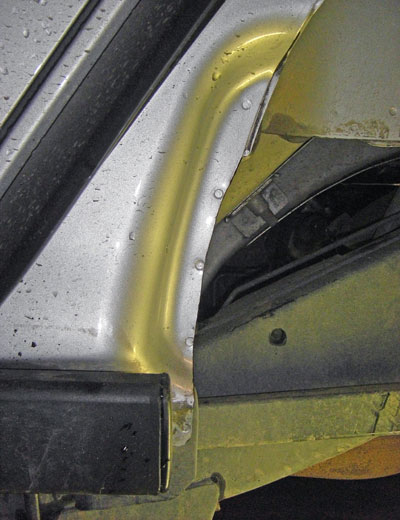
First I cut my slider and put the end cap back on and made a line on the pinch seam where I wanted to make the bend:
I first made the bend with my adjustable wrench:
I then got out the BFH and used it until it was level with the slider:
Painted:
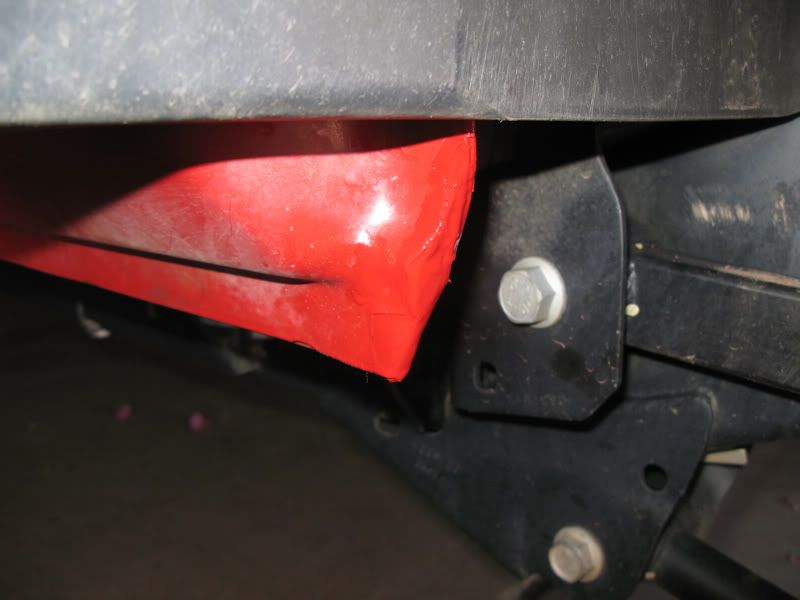
Finished:

I first made the bend with my adjustable wrench:
I then got out the BFH and used it until it was level with the slider:
Painted:
Finished:

 12-21-2010, 11:31 AM
#15
JK Freak
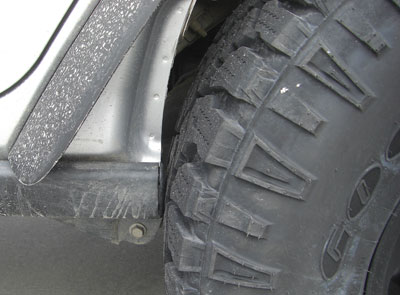
I used a sawzall to cut both the rock rail (after removing it) and the pinch seam. I really didn't want to go past the spot welds so I only took off about 1/4".
Cut rock rail and pinch seam:
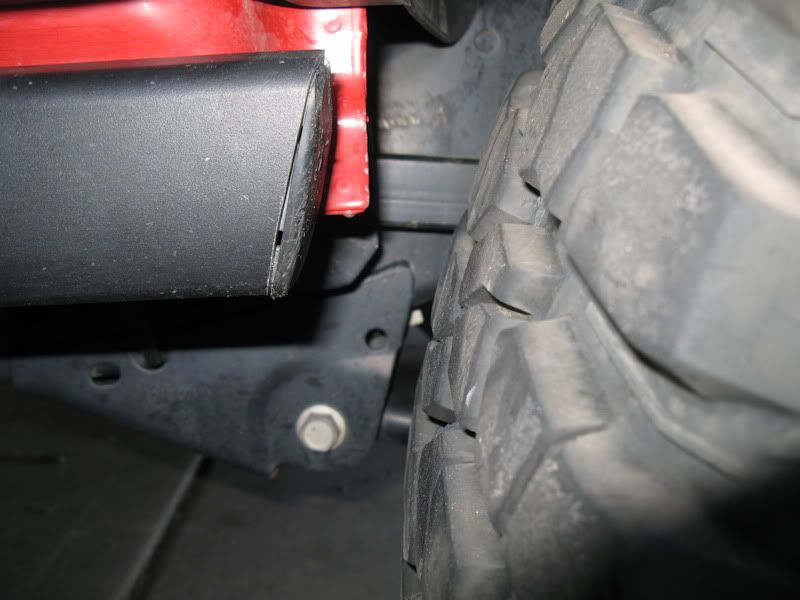
Stuffed to the max before cutting:
Stuffed even more after cutting:
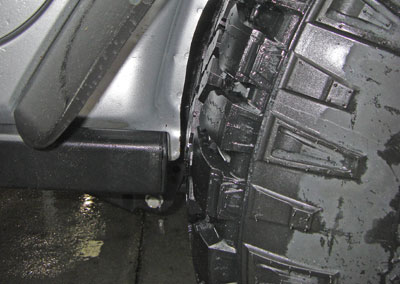
There's not much room but it doesn't touch. The tire was about as stuffed as it can get. We'll see what happens on the trail with lower tire pressures.
Cut rock rail and pinch seam:
Stuffed to the max before cutting:
Stuffed even more after cutting:
There's not much room but it doesn't touch. The tire was about as stuffed as it can get. We'll see what happens on the trail with lower tire pressures.


 That would be too close for my comfort. You'll have to let us know how that turns out for you.