Rugged Ridge 4-Door JK Bowless Top Install
 09-22-2015, 06:57 PM
#1
JK Jedi
Thread Starter


Installation time (first install): ~60 mins Difficulty:

The following write-up from Brenda & Frank Hansen writers for JK-Forum for more information on their adventures go to their blog at http://http://adventuresofjkthang.com/
We have always liked the slant-back style soft top for the JK. Our first soft top was a first generation Trek Top; however after running the top (3 tops from 3 different generations--NOT including the NX version) for about 3 years, we decided the downsides of the that top (wind noise, terribly designed tailgate bar, difficulty in installing, and frustrating rear window zippers) were starting to outweigh the benefits, and we have been running an OEM soft-top since. When Rugged Ridge asked us to try out their new 4-door JK Bowless top and give our feedback, we were more than happy to give it a try.
Before even receiving the top our first impression was the cost. The Rugged Ridge top is significantly lower in price than many of the other competing tops out there. It is important to note; however that this particular top does require the use of the OEM soft top factory surrounds and tailgate bar/retainers—so if you are not already running a soft top, you will need to factor the cost of these into your purchase price. In addition, this top (as well as all the other similar style tops as far as we are aware) requires a header bar. Rugged Ridge has their own version (Summer Top Header #13308.06), but the nice thing about this top is that it will work with headers from other manufacturers as well.

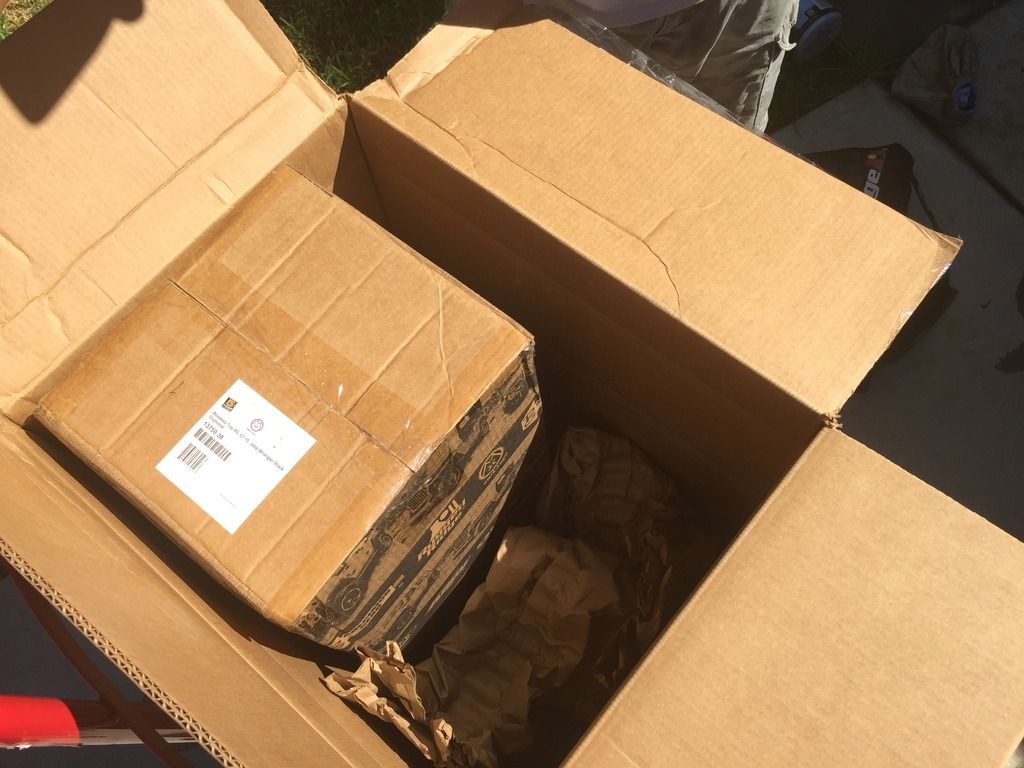
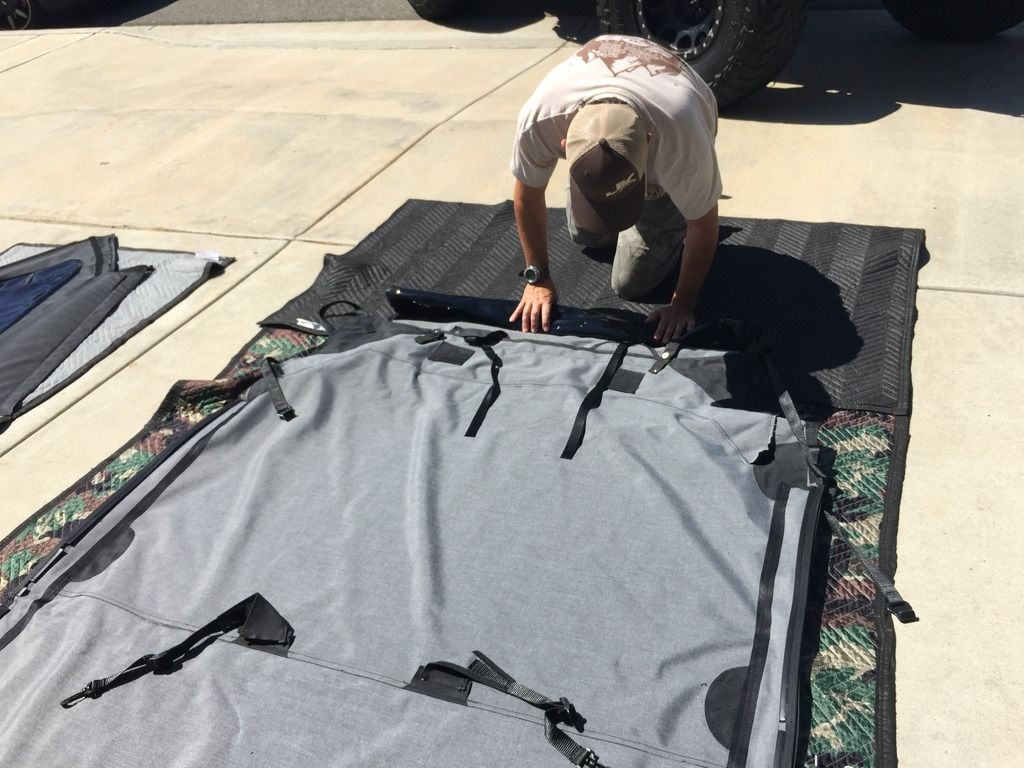
Step 1: un-package the soft top and lay the top and side windows in the sun on a blanket or some other protective cover to prevent scratches on the windows. Review the instructions to ensure all the components were included. Our package consisted of the top, 2 side windows and 4 support bow bar.
a. Our top and header bar came nicely packaged. As with any soft top, it is always best to install on a warm day, so the fabric will be more soft and flexible and make your installation much easier. As luck would have it, not only are we in sunny Southern California, but we have been in the midst of record heat and humidity, so warmth was not an issue on this day.

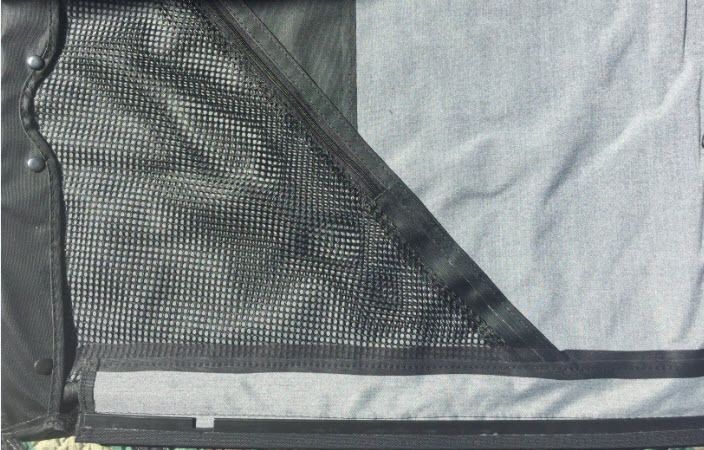
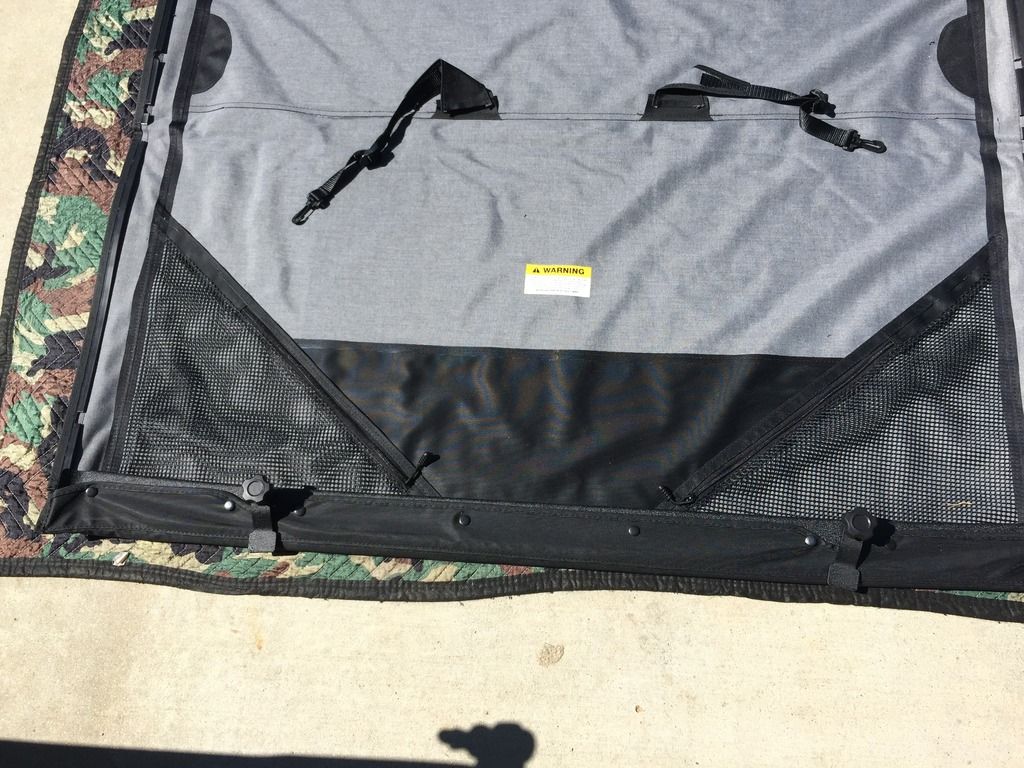
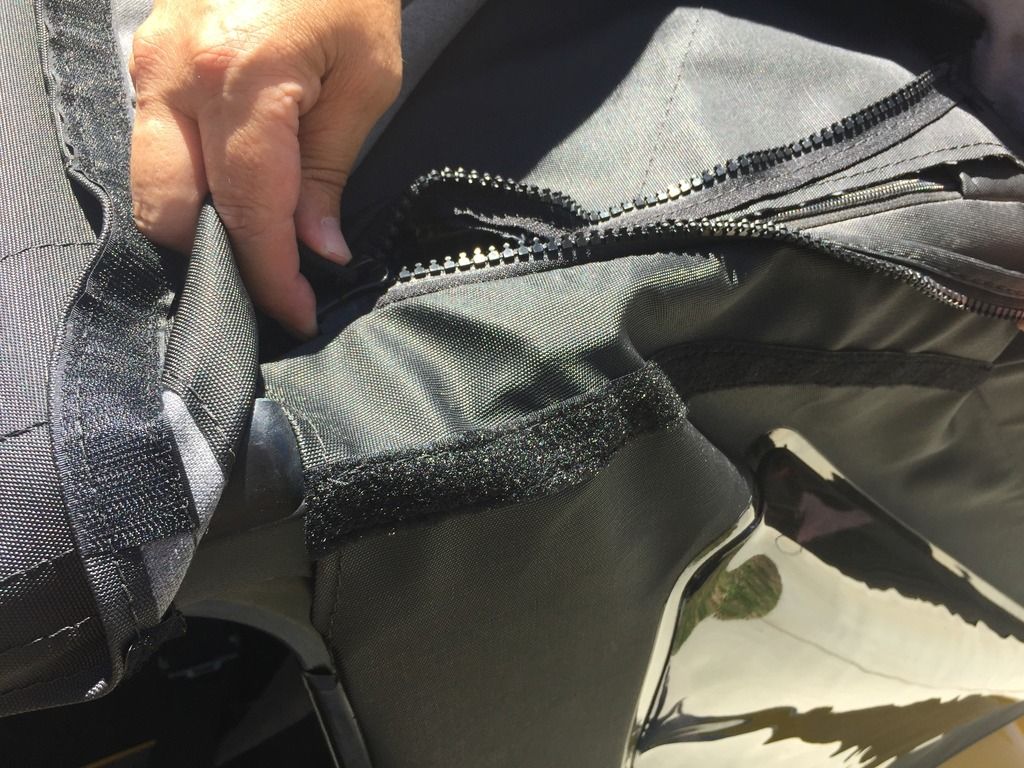
b. Note the mesh corner storage pockets with zippers on each side.
c. We also liked the plastic insert around the side windows that adds some additional rigidity.
Step 2: Prepare your JK for installation. If you are running a hard top, obviously it will need to be removed. If you are currently running an OEM soft top like we were, the first step is to remove the metal mounting brackets from the roll bar in the rear cargo area (2 simple screws on each), and install the OE top surrounds (if not already installed):
a. If you are running a pre-2010 soft top and/or surrounds– great, you are all set. Leave your factory surrounds installed and skip to Step 4.
b. If you are running a 2010-current soft top and surrounds, unfortunately, you will need to remove these and do some modifications first. This is IMPORTANT to note – if you have a 2010+ soft top and you plan on running it on occasion, as well as your Rugged Ridge bowless top, we highly recommend you purchase some first generation surrounds to use with the Rugged Ridge top.
Step 3: Because our JK was running the 2010-current style soft top, we were required to remove the outer extrusion from the surround. This is to allow the edges of the new top to clip securely into the frame.
If you look closely at the pics you can see some small staples holding this piece on both the front and rear surrounds.
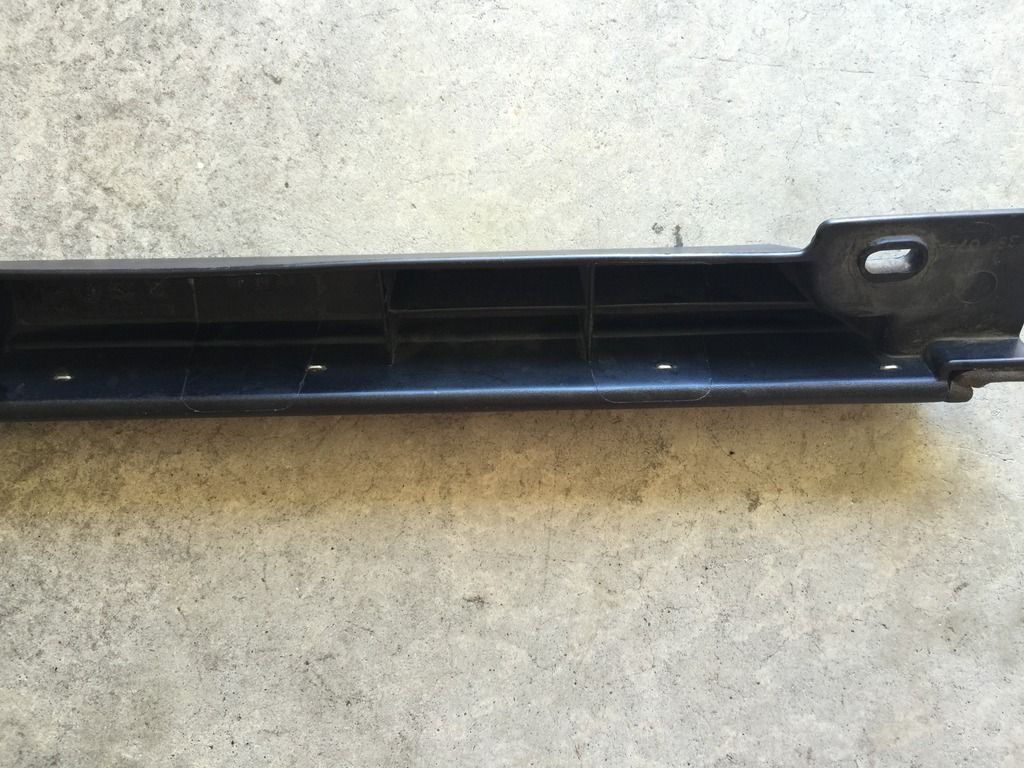
We found it easiest to insert a large flat screwdriver in between the 2 pieces to loosen the staples a bit, then insert a small tool into the back of each staple to pull out. This was not super difficult, but probably the most time consuming part of the entire install.
Once the extrusions are removed on all 4 pieces (front and rear surrounds), install the surrounds back on the JK.
Step 4: Leaving the new top lying flat, install your header bar into the front of the top. The top should be over the header channel and the snaps aligned. Fasten the snaps on the underside of the header.
a. If you are using the Rugged Ridge header bar, you will need to insure the footman is facing towards the outer edge of top and facing down (as shown in the picture below). We really liked this design much better than any of the other headers we have run. Much easier to secure, and provides a nice tight fit.

Step 5: Next you will want to slide the top onto the front of the JK, laying it over the roll bars and the header along the windshield frame.
a. We found it easier to, first, roll up the rear winder and fasten it with the 2 straps/snaps attached above it on the top—this will prevent it from flopping around and possibly getting scratched in the process.
b. It is definitely easier to slide on the top with 2 people, but can be done with one—it just will require a bit of extra effort.
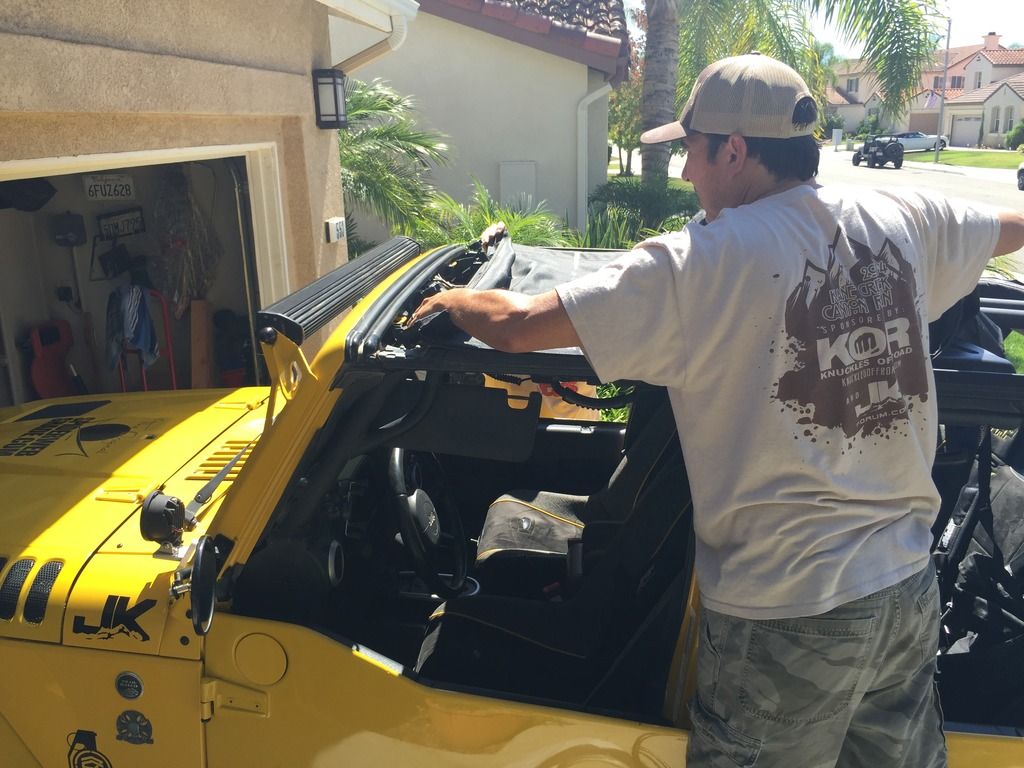
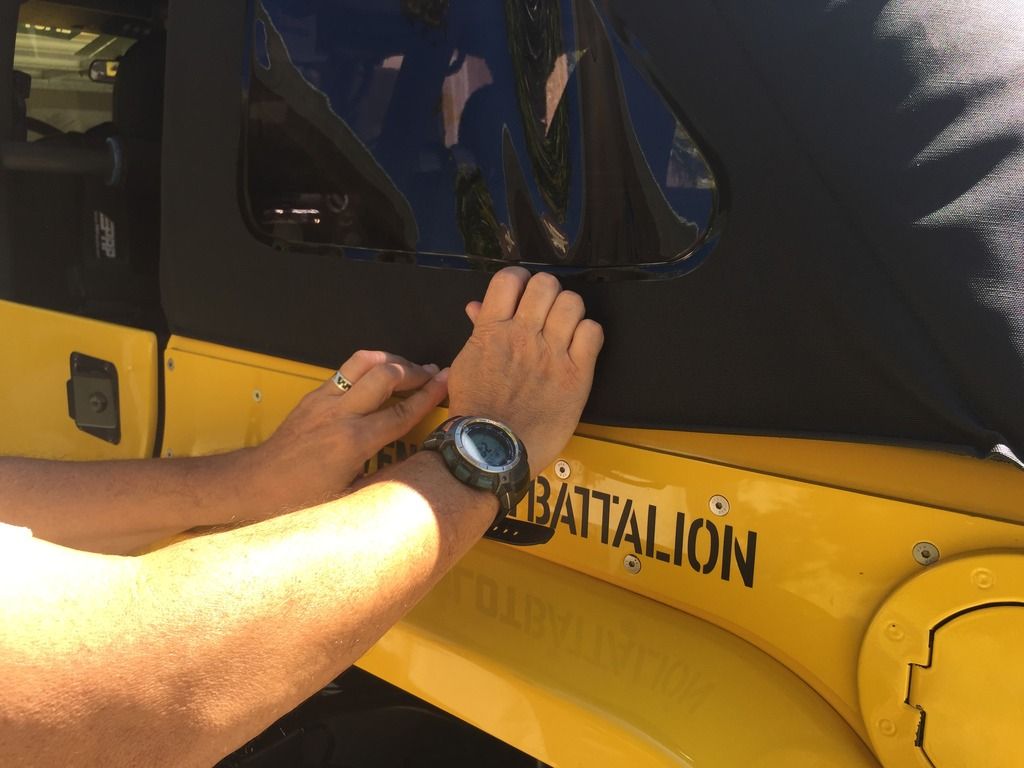
Step 6: Ensure the header is centered over the windshield frame, then go inside the JK, unclip the visors and move them to the side, and attach the header latch to the footman loops.
a. If you are using the Rugged Ridge header bar, you will need to ensure the footman J-hook is placed through the footman loop on the JK window frame.
b. Once you have ensure the header is properly centered, tighten the plastic knobs on the header—both sides.
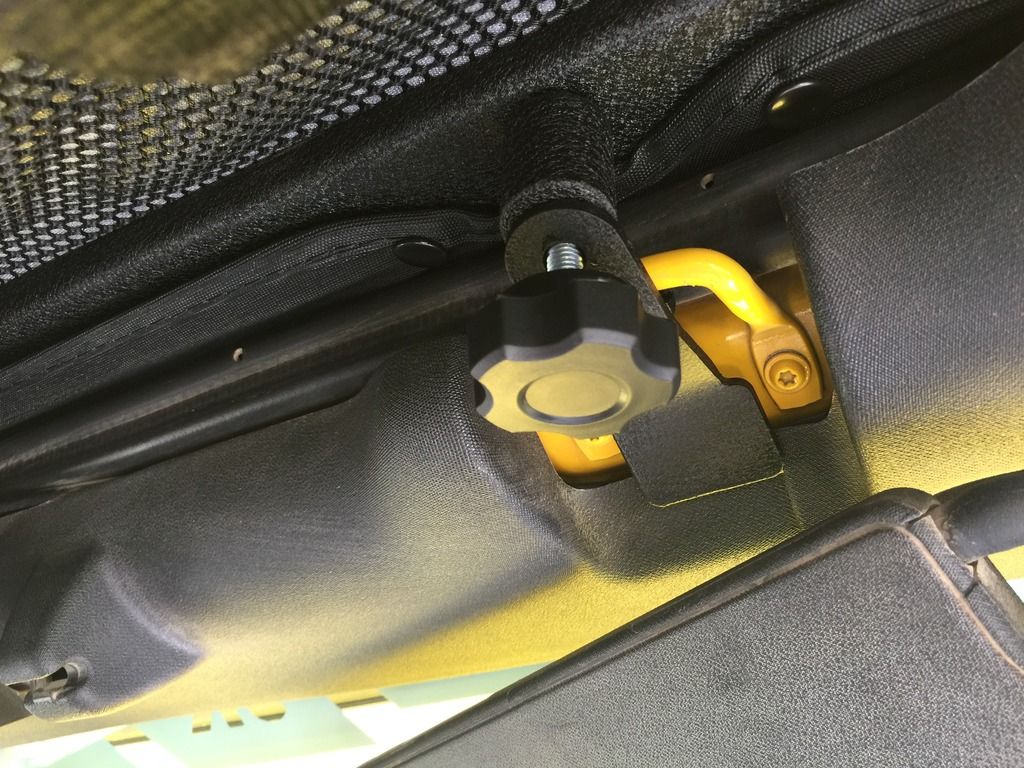
Here is a pic of the Rugged Ridge header latch
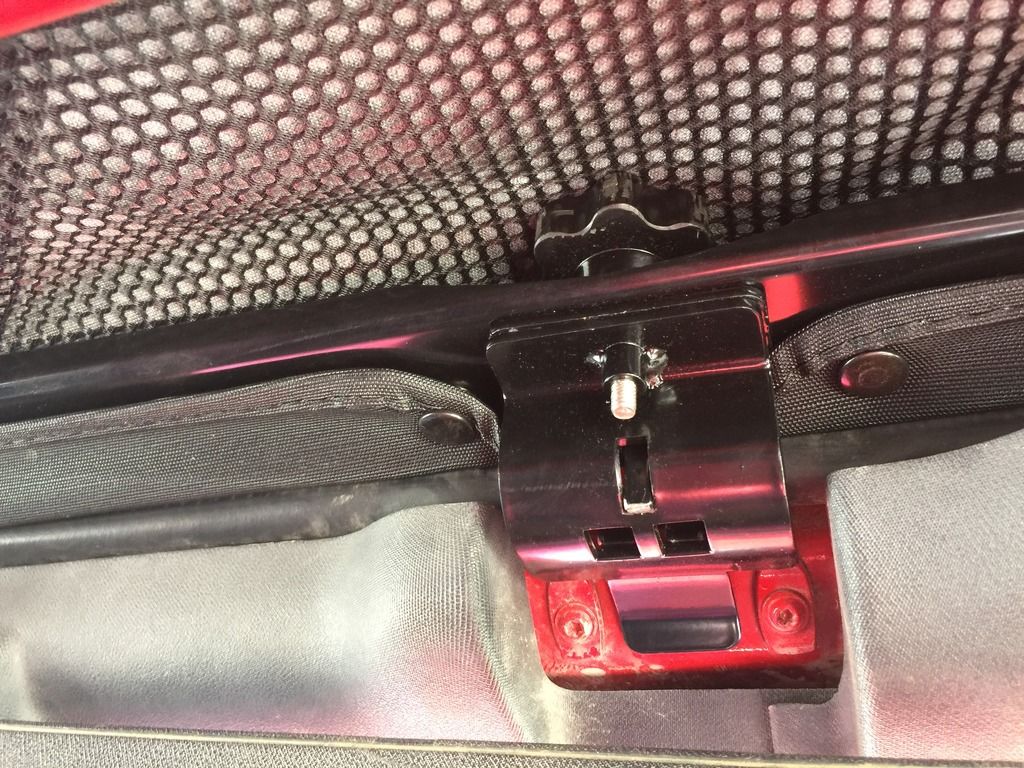
And a different brand latch that our friend DesertJeep is running on his Rugged Ridge top
Step 7: Slide the plastic retainer clips on the edges of the soft top into the grooves over each door. (Note: If you are using a 2010+ door surround, this is where the importance of completing step 3 comes into play). Rugged Ridge recommends that the surrounds be hooked into the grooves over each door in an “X” pattern (e.g. driver front, passenger rear, passenger front, driver rear).
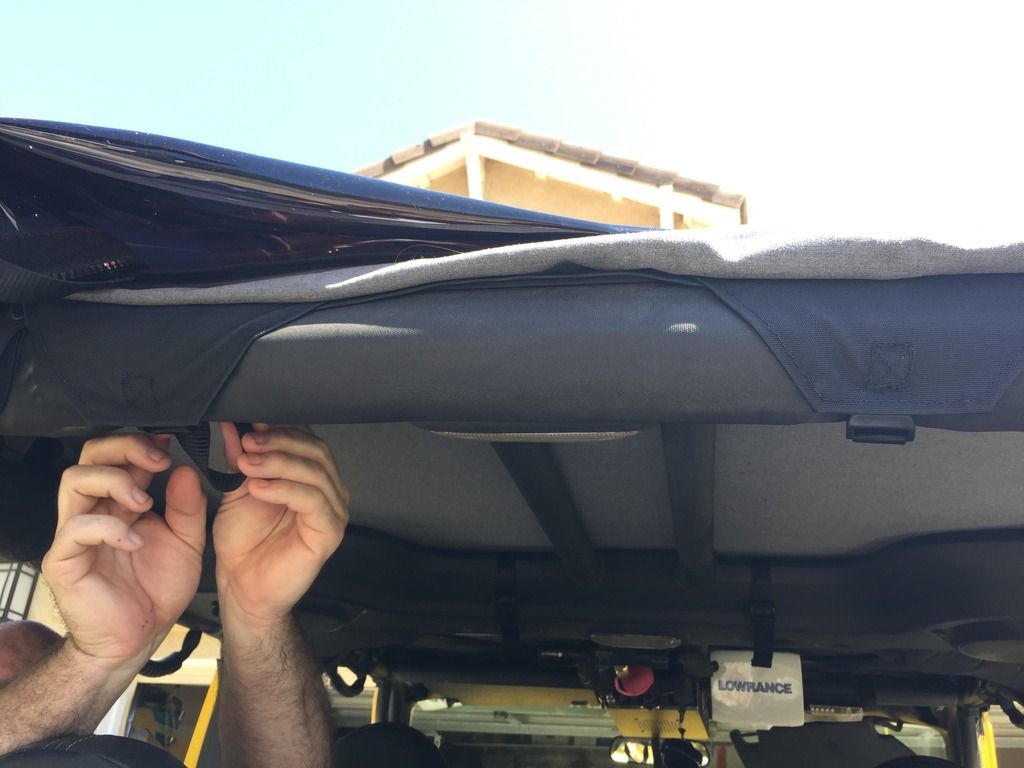
Step 8: Get into the back seat of the JK and grab the strap attached to the top near the front sport bar. Pull the strap from behind the bar towards the front, and hook the clip at the end of the strap into the lip of the circular cut out in the sport bar, repeat on other side, then tighten each strap. This is a nice design that will keep the top from poofing up while driving (something that was annoying with our early generation Trek Tops).
Step 9: While still in the back seat, turn around and grab the 2 rear straps above rear sport bar (one on either side) and run strap through buckle, repeat on other side, then tighten each strap.
Step 10: This next step can be done from outside or inside the JK, but we found it was easier to tighten the strap from the inside: find the rear side strap attached to the top near edge of rear sport bar, pull the strap from outside of vehicle around outside of sport bar towards inside, looping it under the seatbelt stud then back around outside the JK. Loop through buckle and tighten. Tucking in any loose ends.
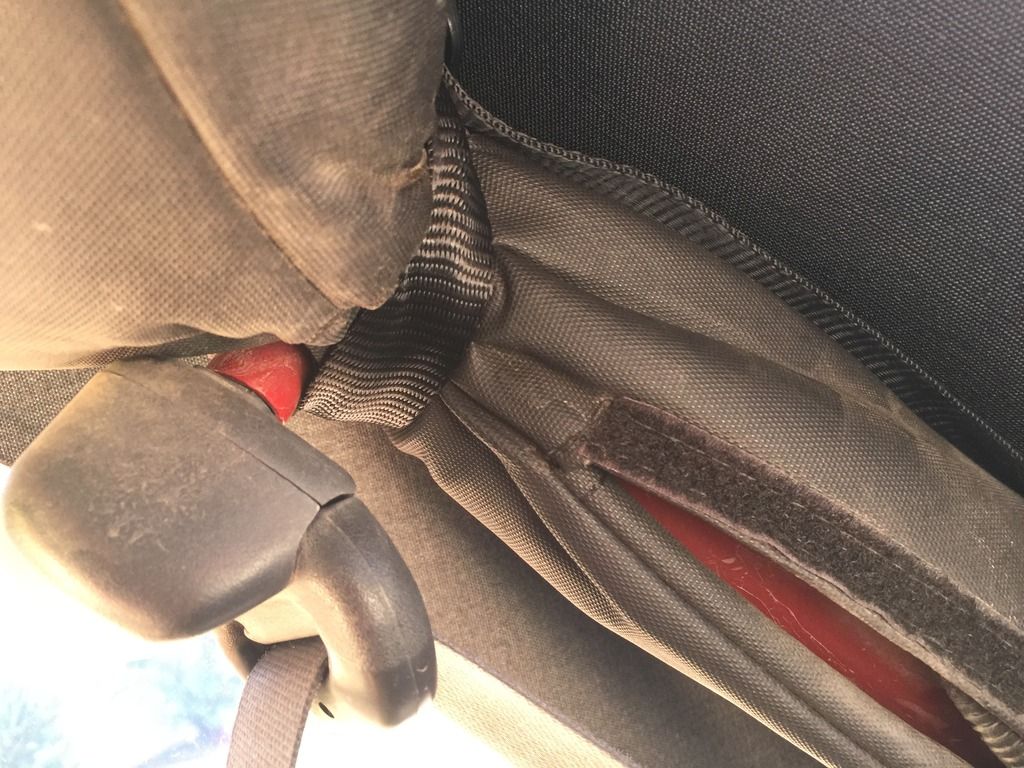
a. Pictured above is our friend Desert Jeep’s JK showing the strap wrapped under the seat belt studs. Because we are running non OEM seats, utilizing 5 point harnesses, we had removed our seat belt mounts from the sport bar. This required us to tighten the strap a big higher up (pic below), but still worked well and was very secure.
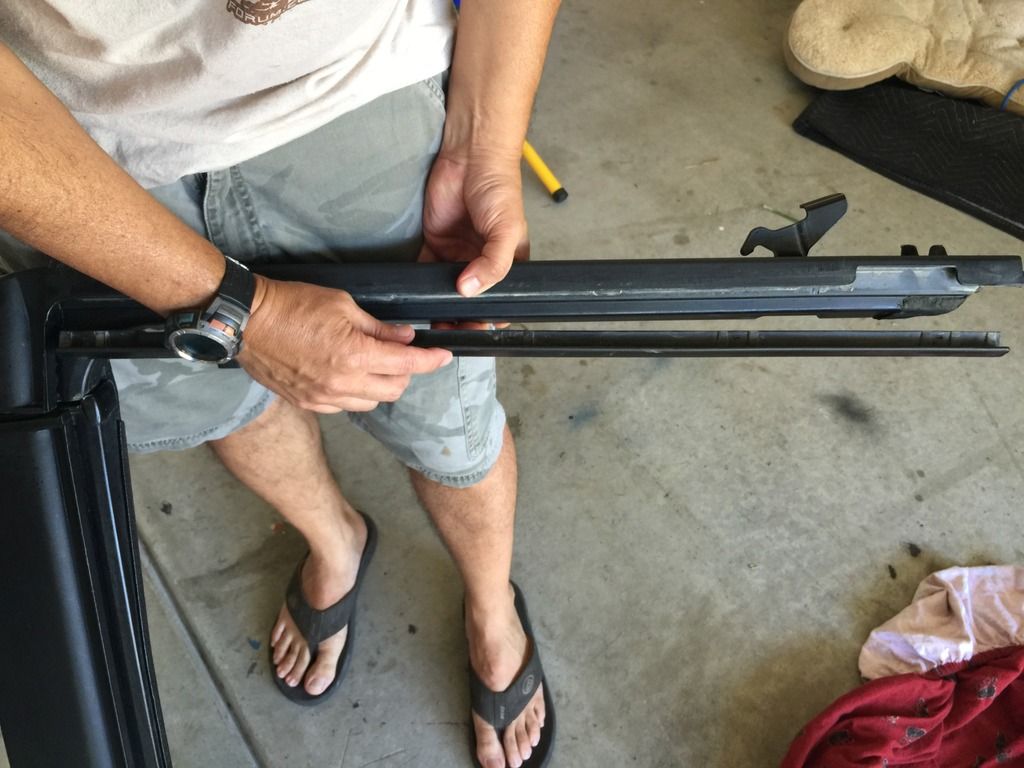
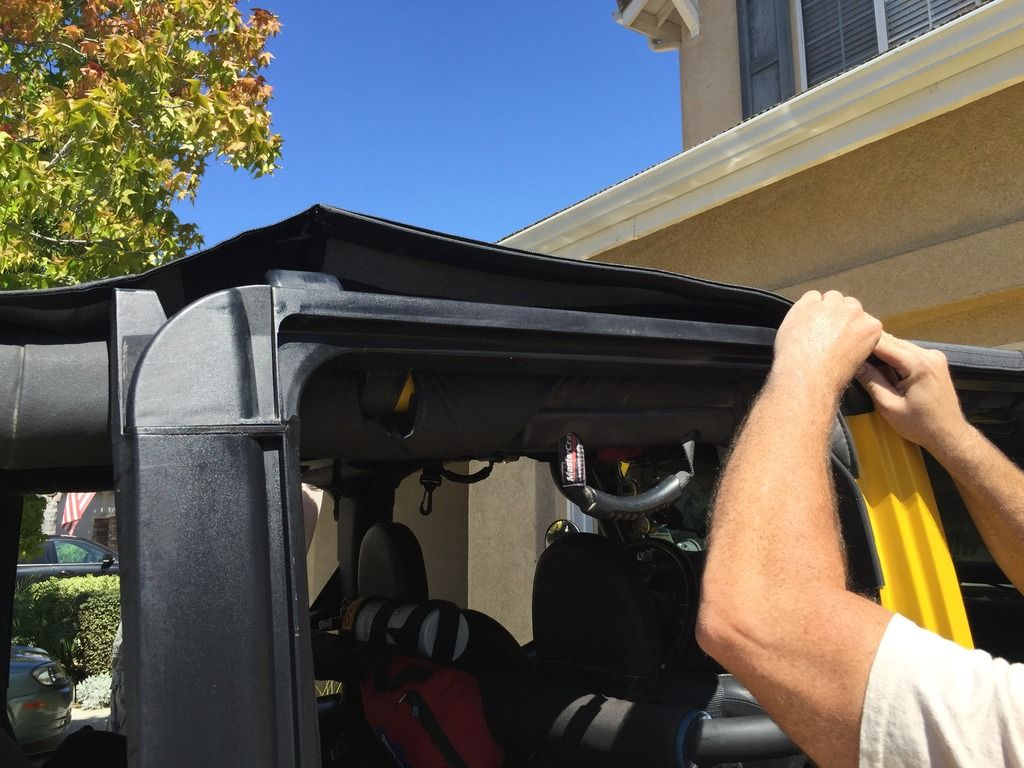
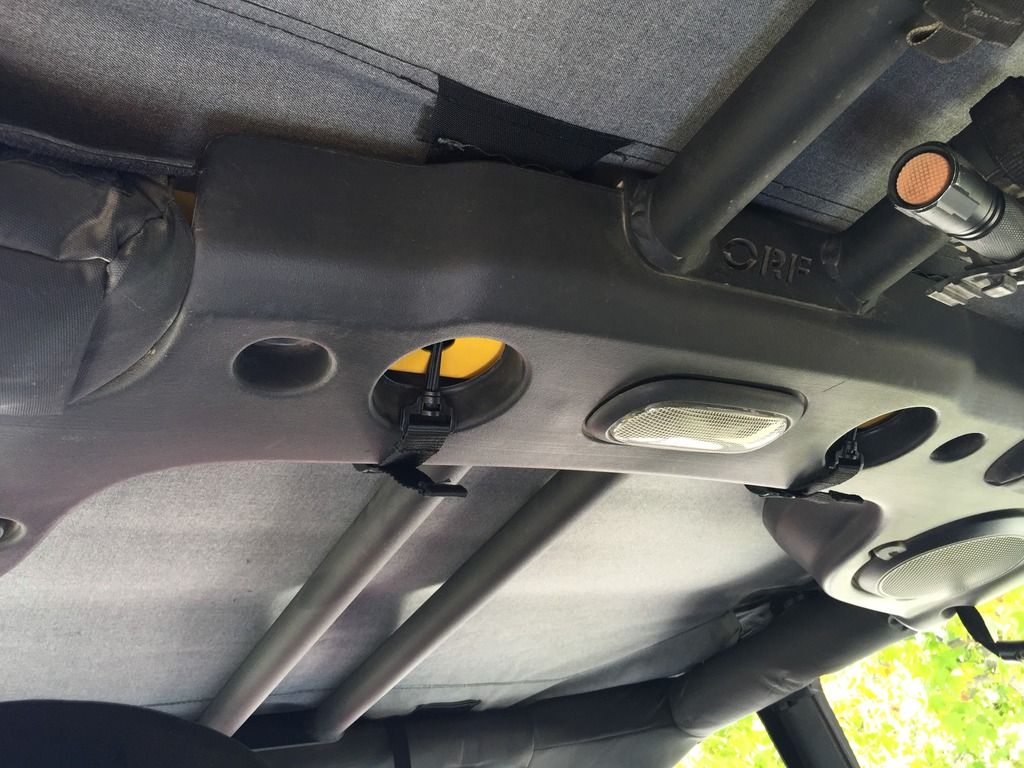
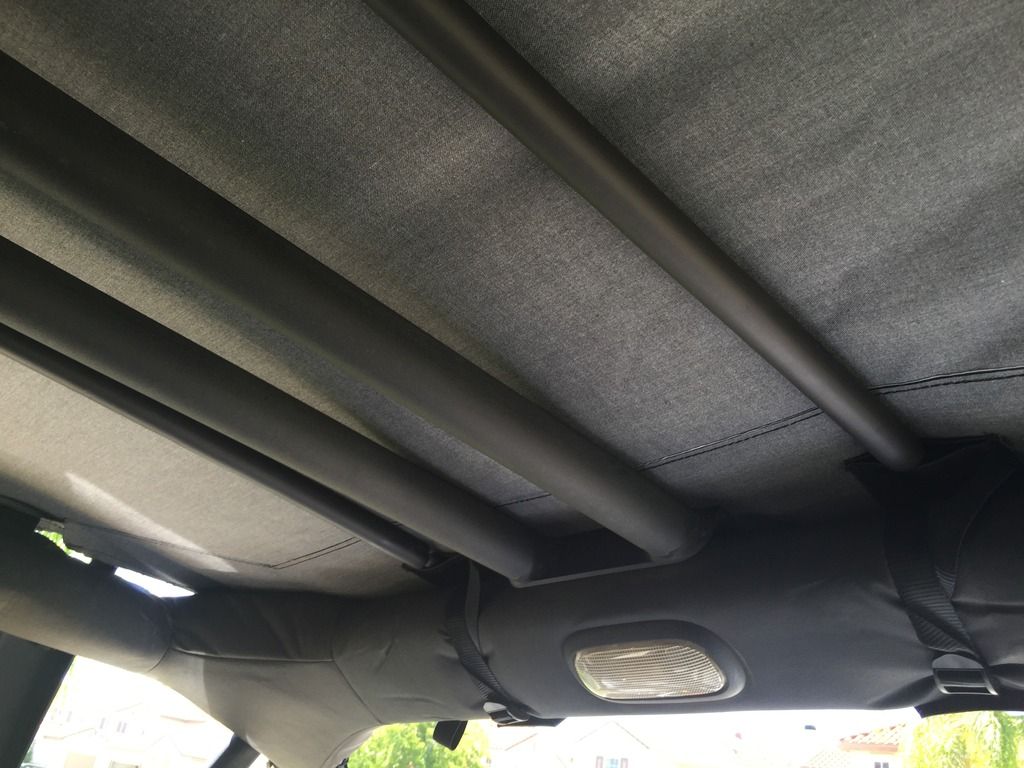
Step 11: Slide both of the support bows from the front inside of the JK over the center roll bar. Each pole consists of 2 pieces attached together. We found this step easiest if the poles are attached before sliding over roll bar. Each bow will run from front outer corner to back towards center.
a. From the front seat, locate the small pocket in the front just above the mesh corner pocket. Slide the front end of the support bow into the pocket. Repeat on other side.

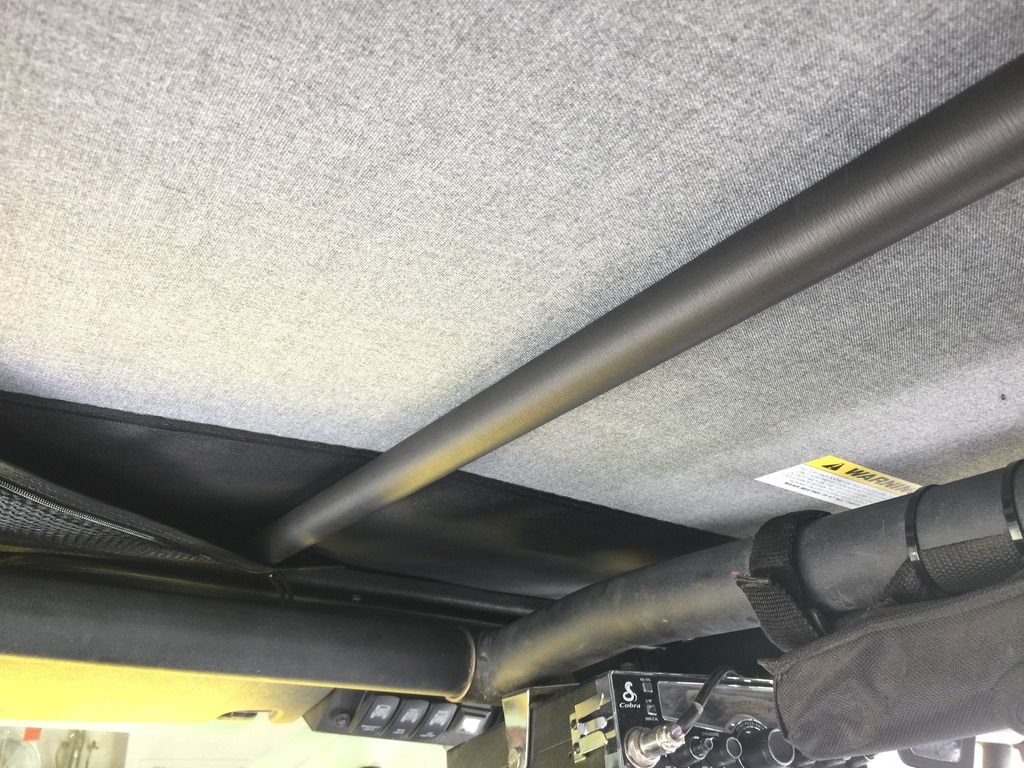
b. From rear seat, locate the small pocket above back of rear seat, and slide opposite end of bar into pocket. Repeat on other side.
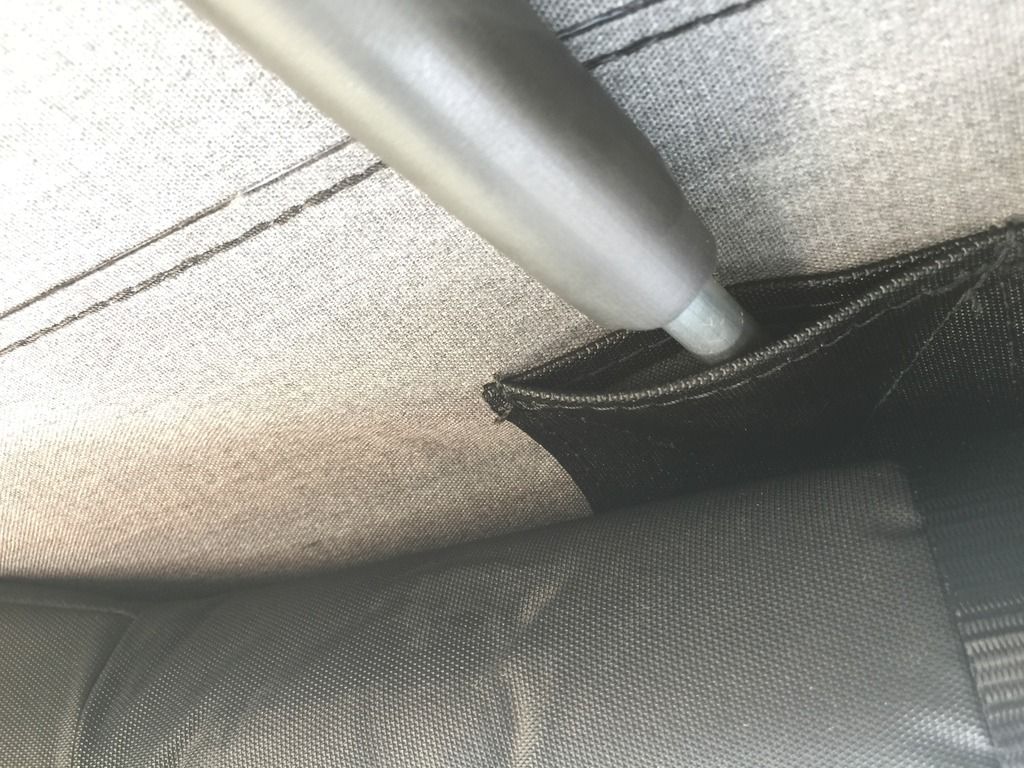
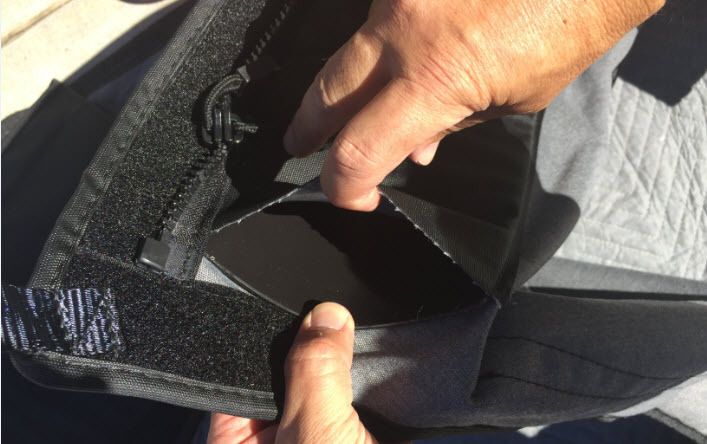
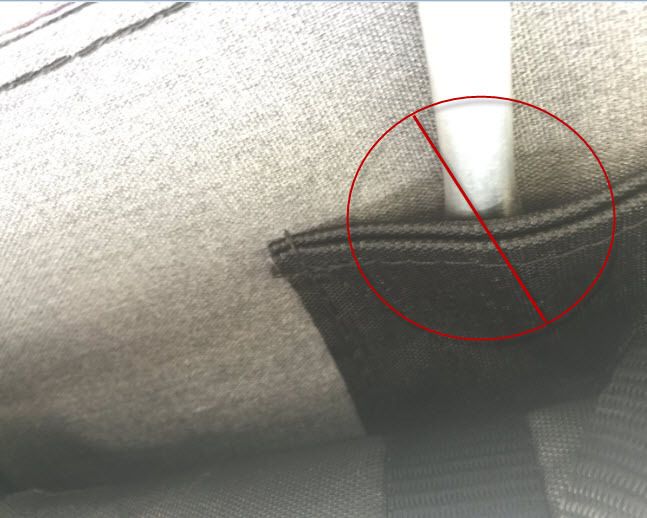
c. IMPORTANT NOTE ABOUT THE POCKETS: All 5 pockets have a top and a bottom. It is important to ensure that the end of the pole is in the center and not above the pocket coming in contact with the top; otherwise you risk possible damage to soft top. (see pic below)
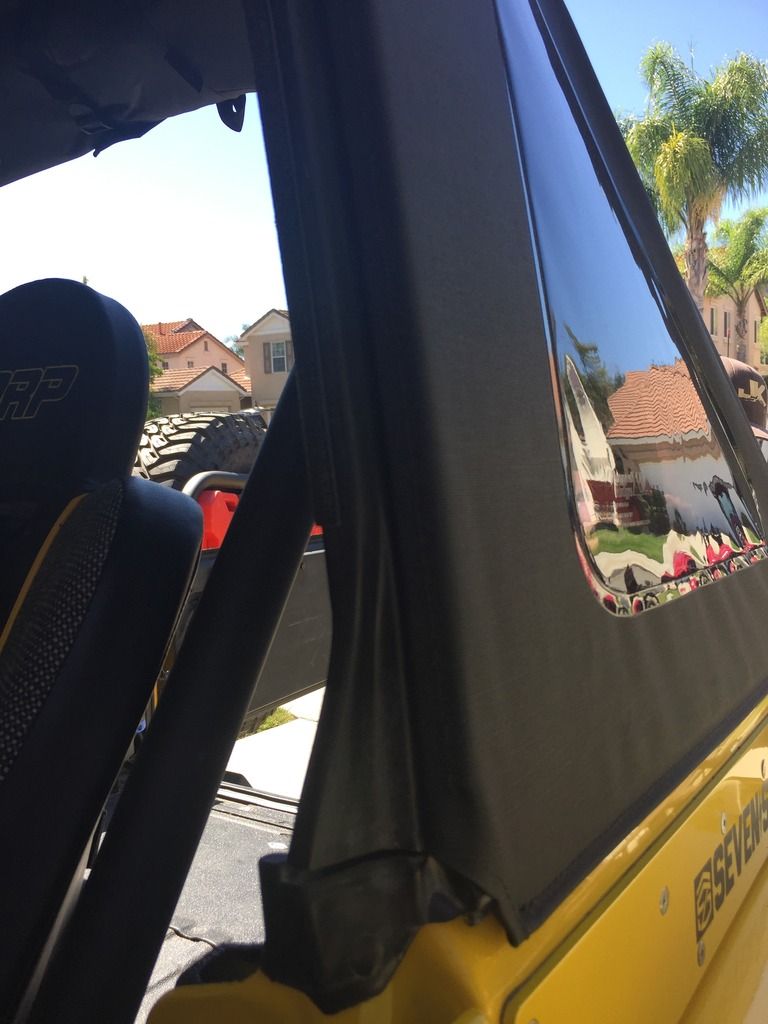
Step 12: Time to install the windows. Start with the driver’s side window, and insert the plastic retainer around front of side window around the rear door frame, and hook into the grooves (similar to OEM soft top design) ensuring a flush fit.

a. Move to top of window, locate zipper, and zip up the top side of the window.
b. Contrary to Rugged Ridge’s instructions, we found it easiest to also start the zipper for the rear window at this time (zip maybe about 6-10 inches only). If you rolled up the window as we suggested in Step 5, you will need to release it before performing this step.
c. Repeat on passenger side
d. Pull down side window and place the bottom plastic retainer into side grove of body tub. Repeat on other side.
e. Finish zipping down rear window on both sides (leave the plastic retainers unattached from the body tub grooves on the rear of the JK at this time – we found it easiest to do this step after the tailgate bar is installed).
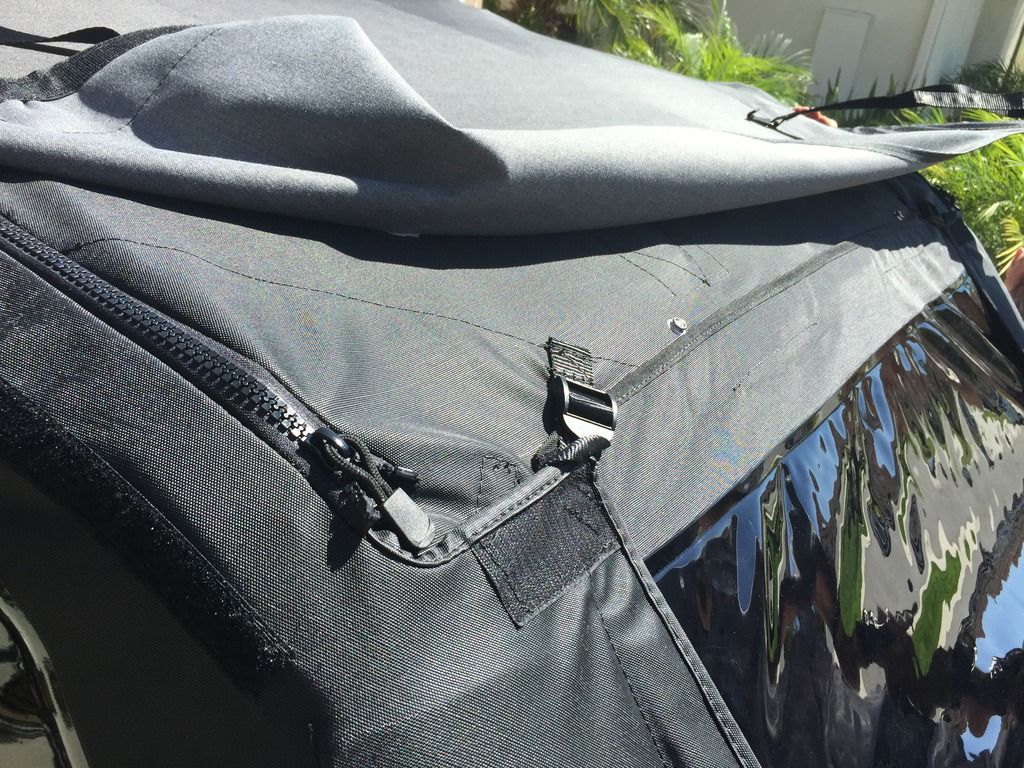
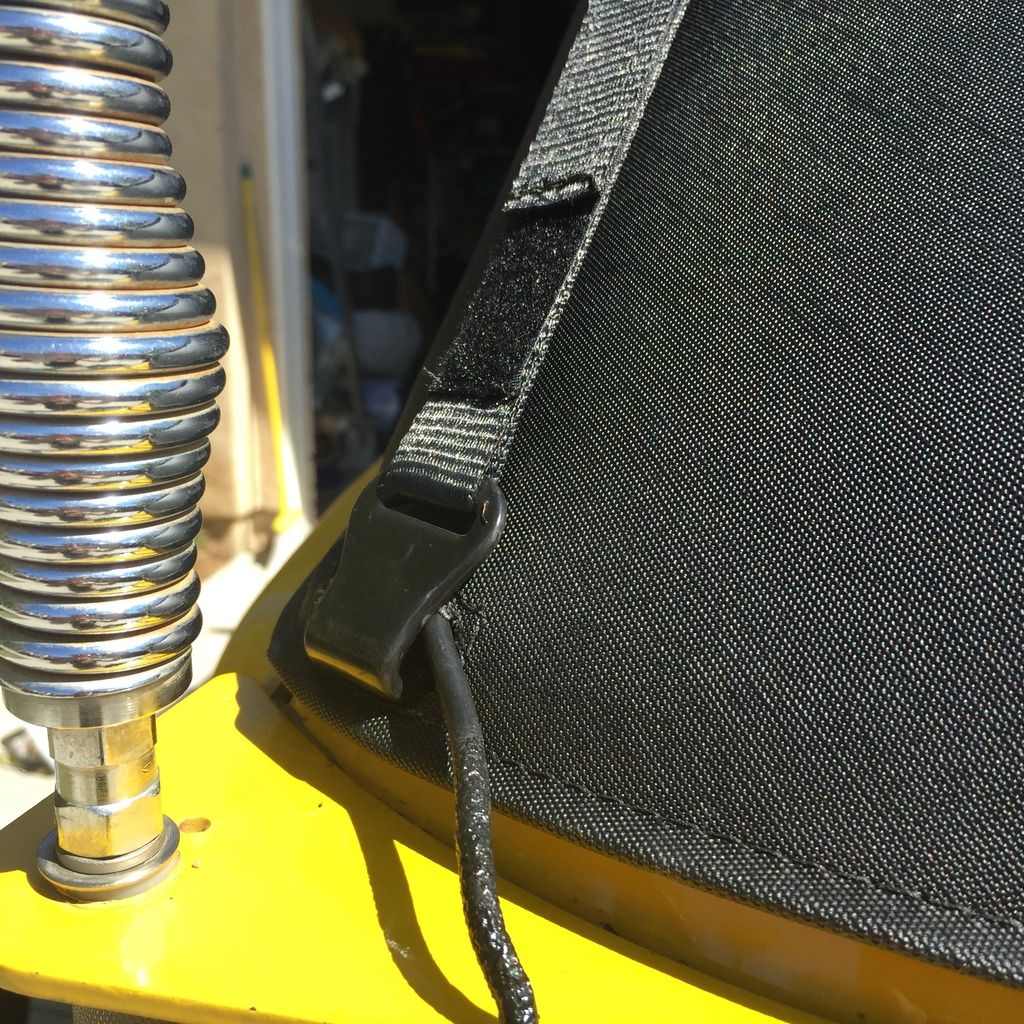
Step 13: Move back to top rear of the soft top and ensure the corner straps are secured (loop around plastic holder and tighten/tuck in) and tighten the Velcro around the rear window, ensuring a smooth fit. Repeat on other side.
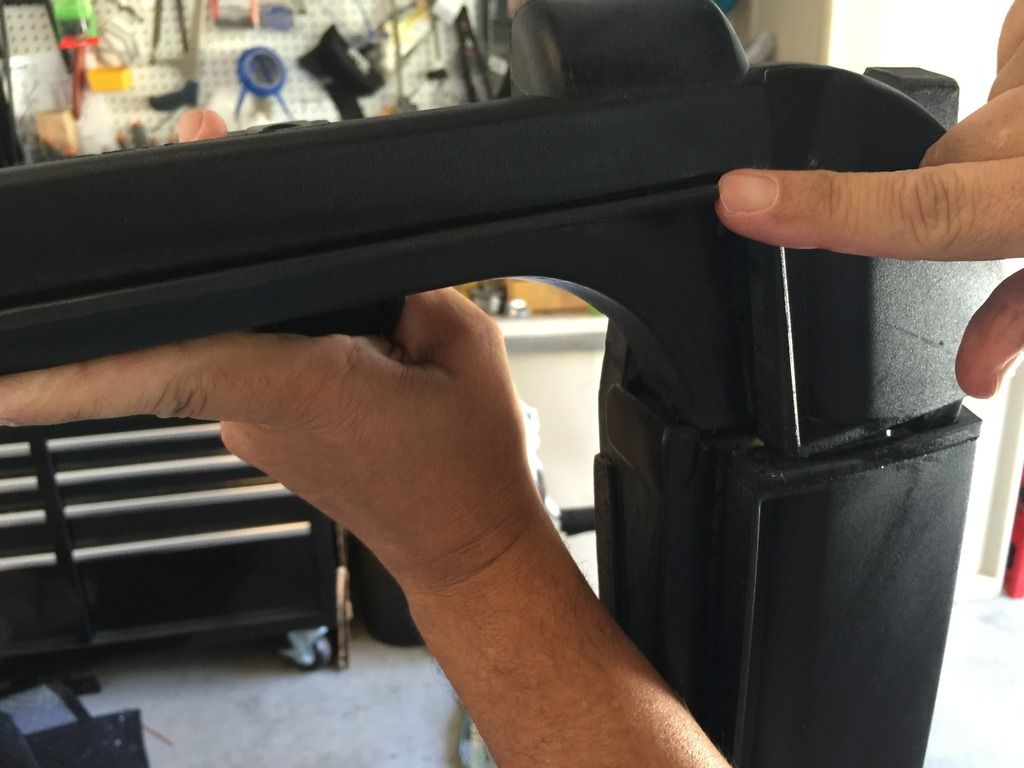
Step 14: Installing tailgate bar: If you do not have an installed factory tailgate retainer – do it at this time, otherwise skip to step a. below:
a. Slide your tailgate bar into the bottom of the rear window (ensuring proper orientation) and attach into the tailgate receivers on both sides.
b. Insert the remaining side window retainers at the rear into the grooves in the tub.
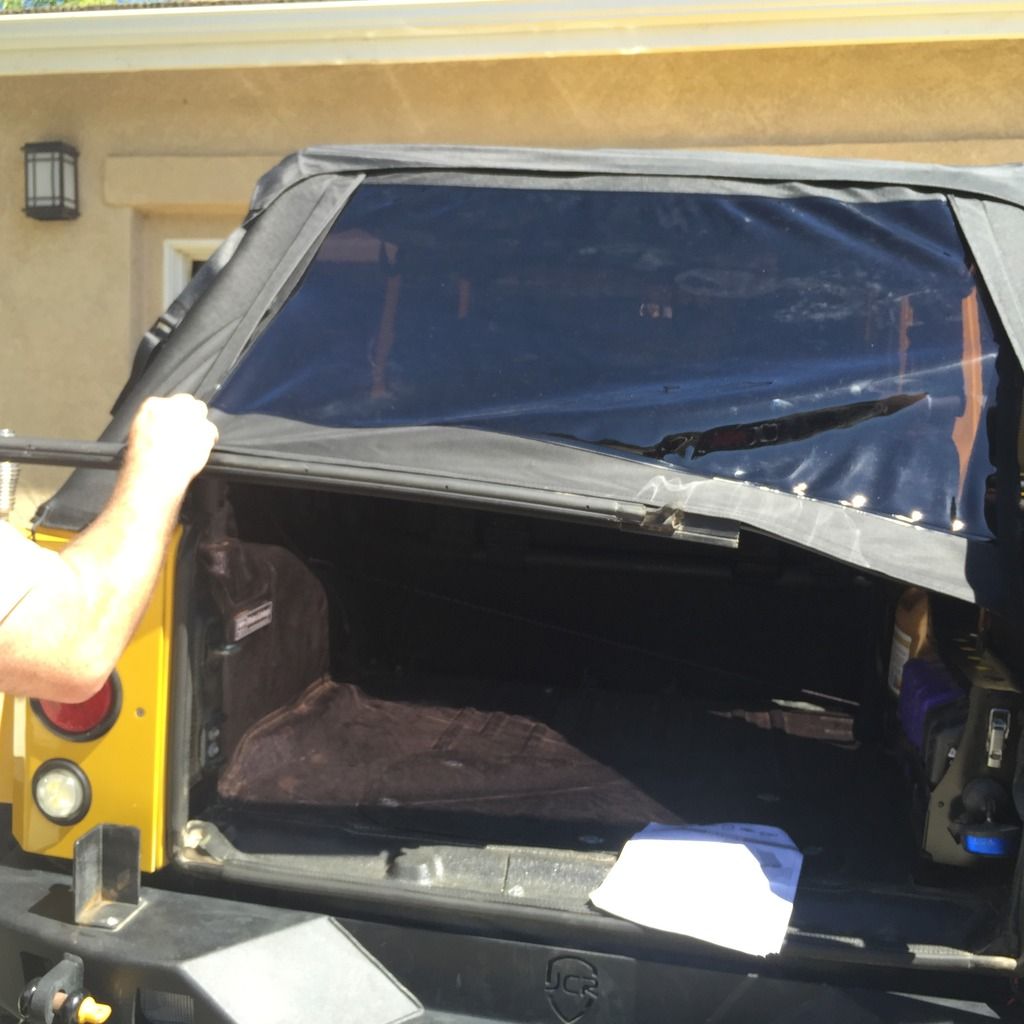
c. Take the long rear strap on the driver’s side and pull down, locating the small cutout in the rear panel, and attach hook on end of strap into the body tub through this cut out. (This cut out came in handy for our CB antennae wiring—see pic below). Tighten strap.
d. Repeat on passenger side
e. And you’re done!
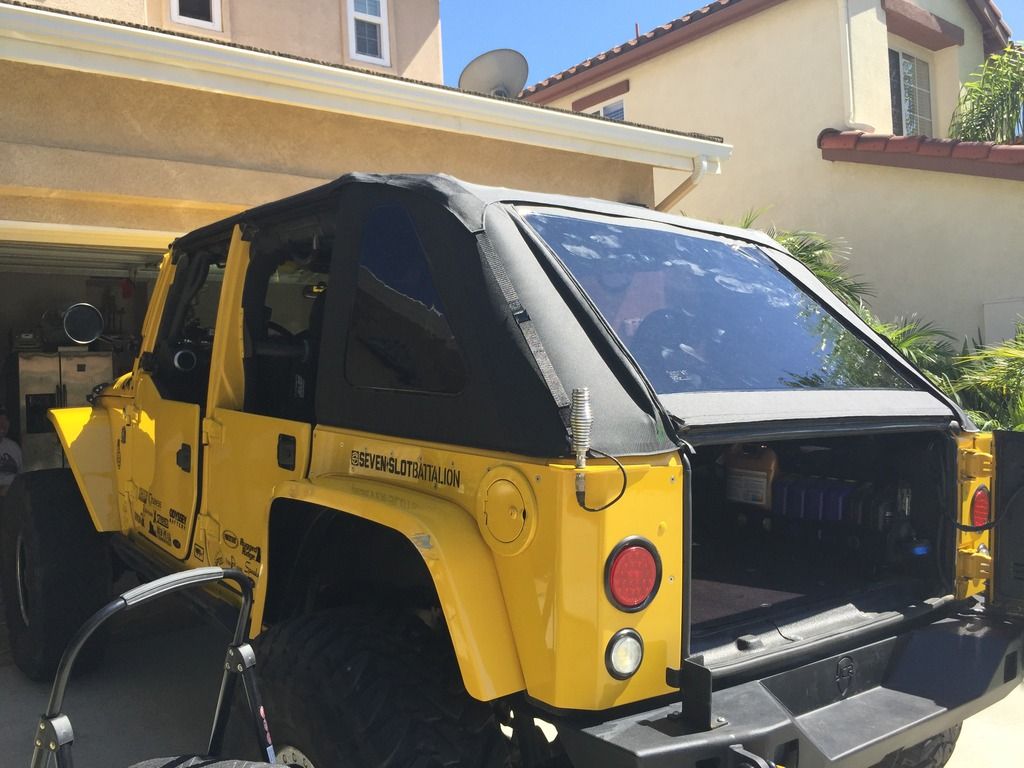
Our first impressions are that this top is really well designed and very good quality. The fit and finish is perfect and we love the tinted windows and the ability to roll up the rear window, safely keeping it stowed out of the way. (Now if only Rugged Ridge would come out with a tinted window option for their half doors—hint hint). We love their header bar design as it is very secure and does not require super human strength to latch. The tailgate bar, because it utilizes the OEM design, is a breeze. The top fits very securely and was easy to install, and wind noise appears to be very minimal. There is a chance of rain tomorrow so we hope to be able to see how it holds up and check for leaks. In the meantime we hope to wait out this oppressive heat wave; but we feel we are now ready for the “Godzilla” El Nino that is predicted for the fall and winter season here in Southern California.
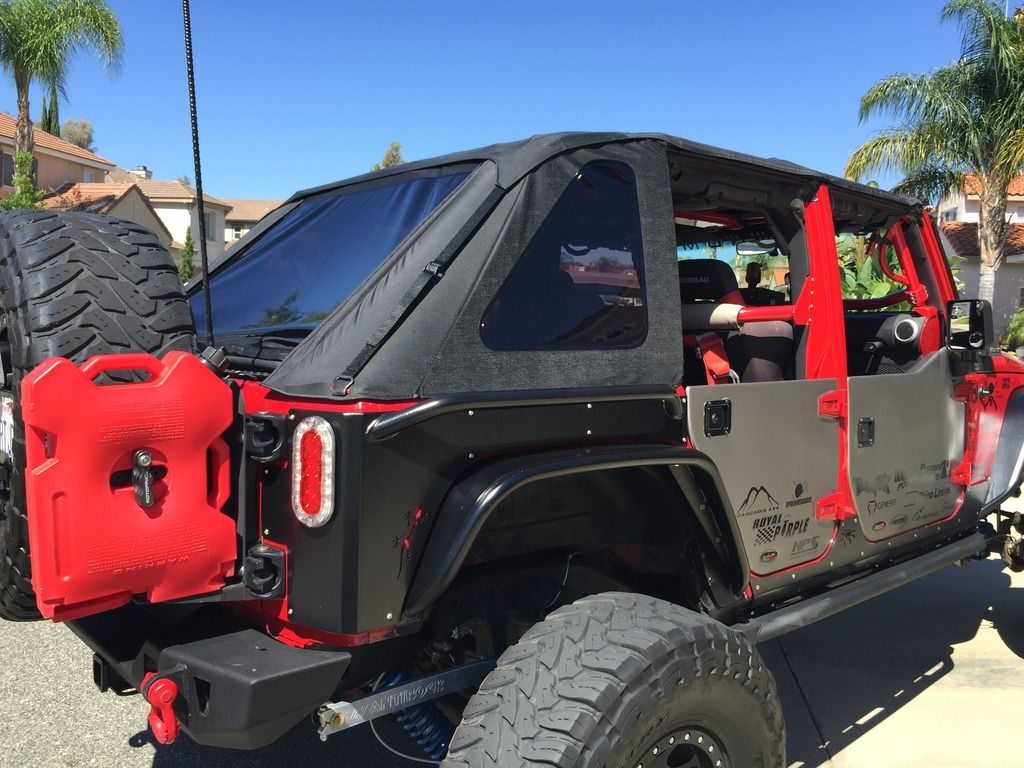
Here is a pic of the top installed on DesertJeep’s rig
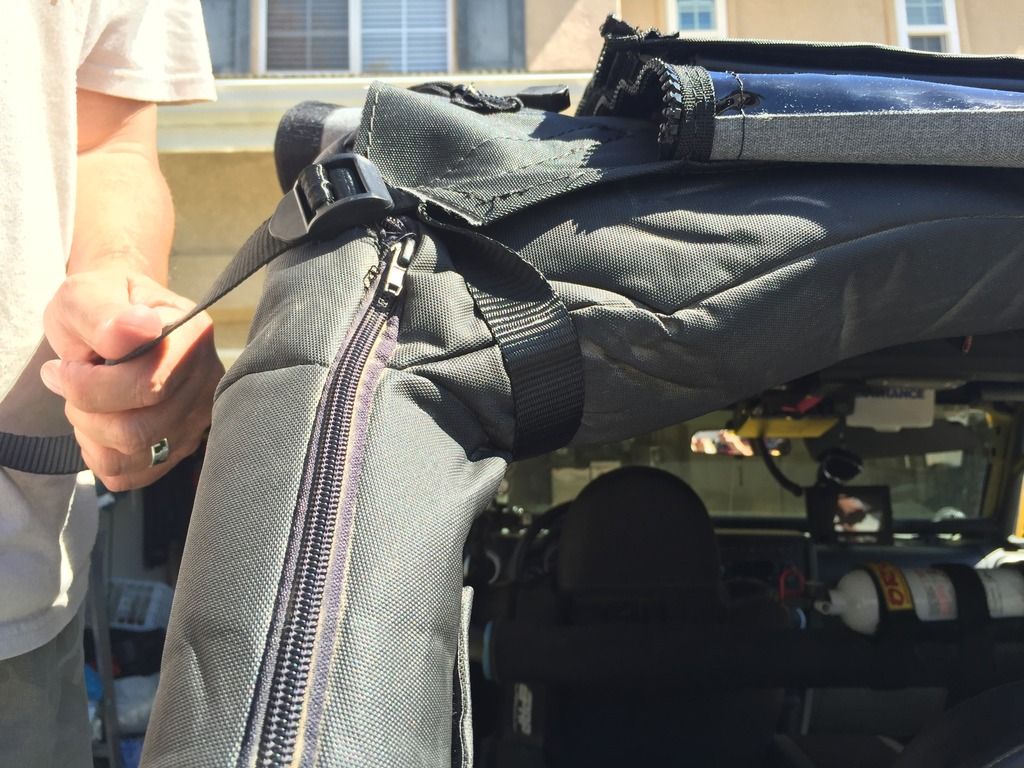
If you want to keep the top with you for the times when the weather could change on a dime and you're caught with a top, here you go.
For storage we have two options:
Rugged Ridge 12106.01 Soft Top Storage Bag, Black
Rugged Ridge 12107.05 Window Storage Bag, 07-15 Jeep Wrangler (JK)
Last edited by sm_rubi; 10-26-2015 at 06:40 AM.
 09-23-2015, 04:42 AM
#3
JK Jedi
Thread Starter
 Click on the image below for some pricing info.
 09-23-2015, 05:26 PM
#6
JK Jedi
Thread Starter
Here's what Rugged Ridge said about storage bag.

For storage we have two options:
Rugged Ridge 12106.01 Soft Top Storage Bag, Black
Rugged Ridge 12107.05 Window Storage Bag, 07-15 Jeep Wrangler (JK)
Trending Topics
09-25-2015, 01:01 PM
#10
JK-Forum Editor

Join Date: May 2014
Posts: 349
Likes: 0
Received 0 Likes
on
0 Posts
Great stuff! Thought the front page should see it too...
JK Forum Moderator Tackles New Rugged Ridge Slanted Soft Top - JK-Forum
JK Forum Moderator Tackles New Rugged Ridge Slanted Soft Top - JK-Forum