Under-Floor Storage
 05-18-2011, 01:03 PM
#1
JK Jedi Master
Thread Starter
Go here to see this thread with pictures: http://web.archive.org/web/201604071...torage-178549/
I have seen this done before, but with a wood frame.
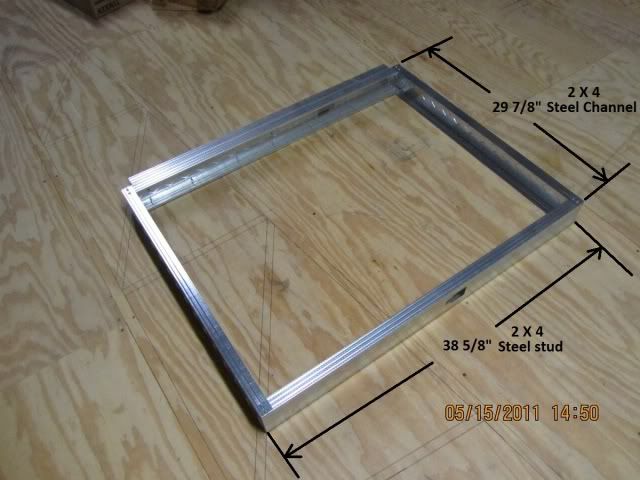
I wanted to keep the weight to a minimum, so I used steel studs; much more fun to work with.
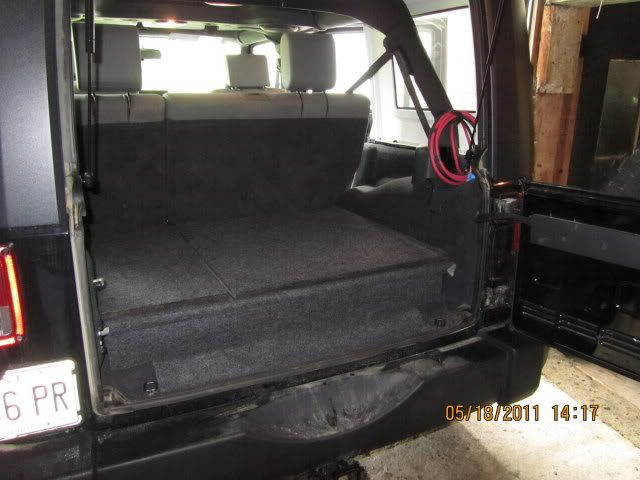
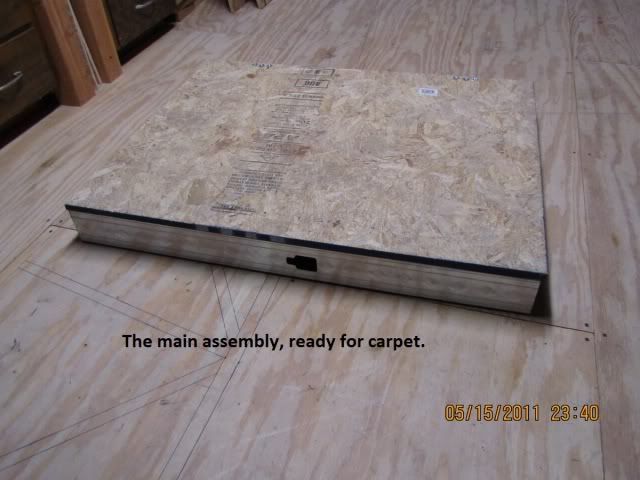
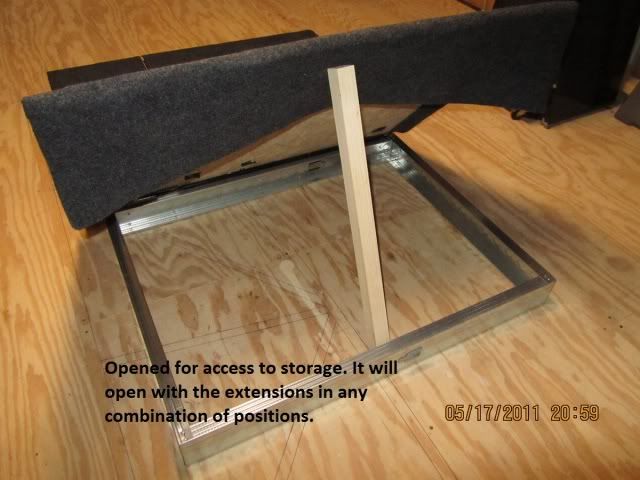
Most things I always carry will fit under the cover. Larger items will fit if placed in the original depression in the floor. This arrangement keeps things out of sight. Looking in through the window, the back appears empty.
I still have to bolt it down, (will use rivnuts in the tub floor), and install a lock.
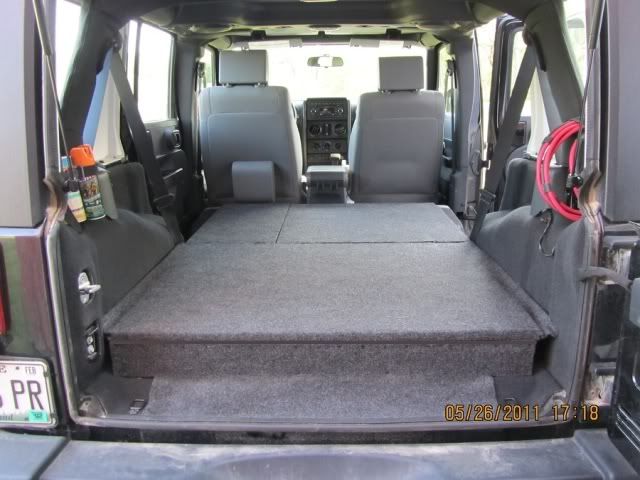
I'll show the finished product first, then some construction pics.
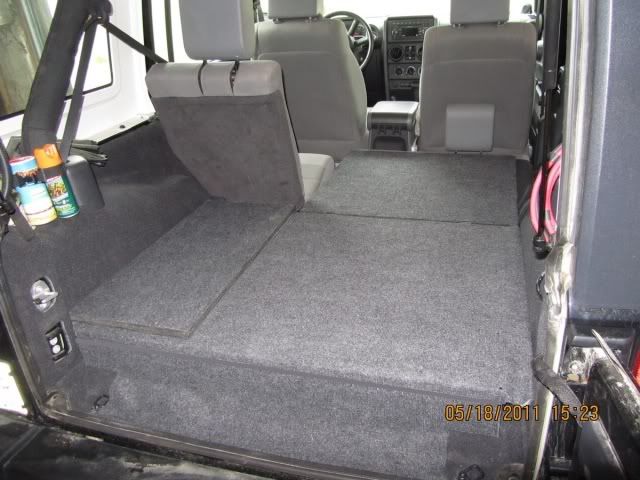
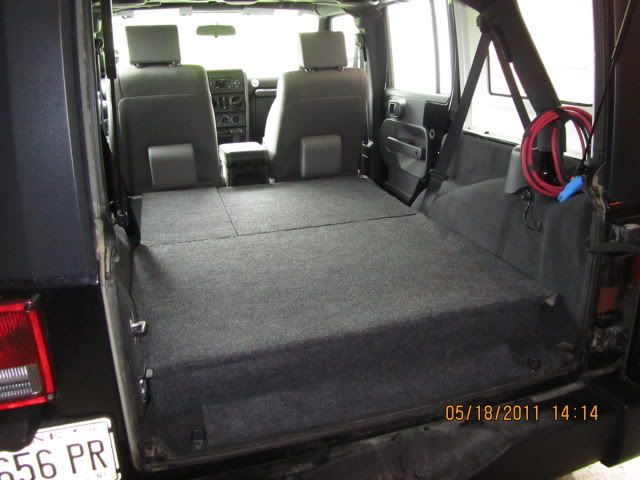
Sliding the front seats all the way forward will allow the two headrests to go flat, too. Plenty of room to lay out a sleeping bag, or an inflatable mattress.
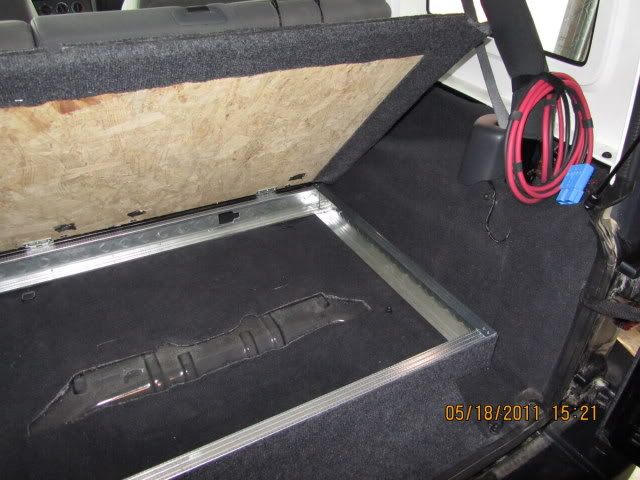
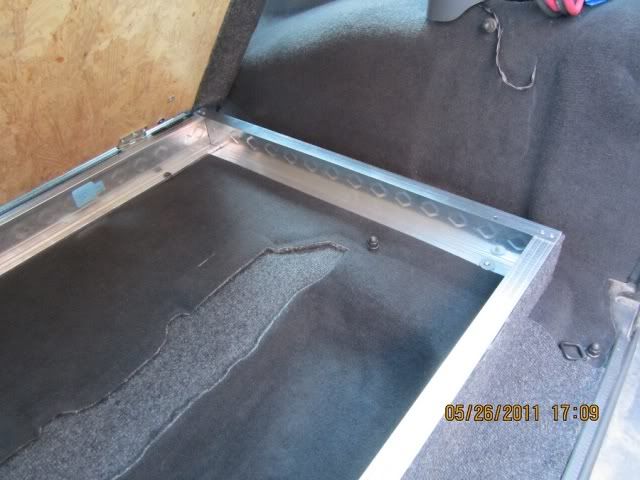
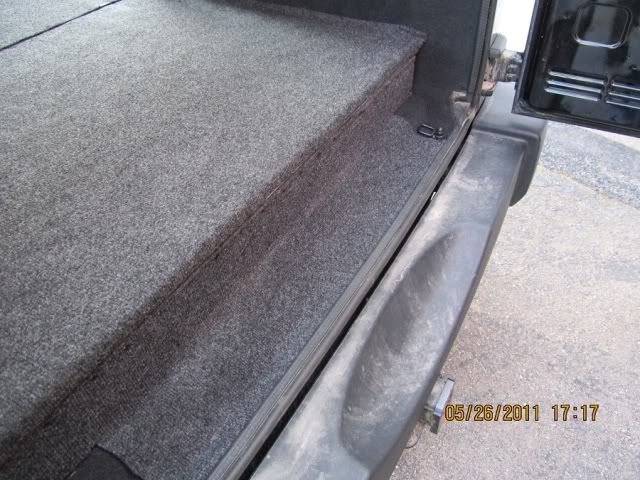
The dimensions of the frame allow it to sit flat on the floor, between the raised portion at the fender well bases. This leaves some room along the sides for small items.
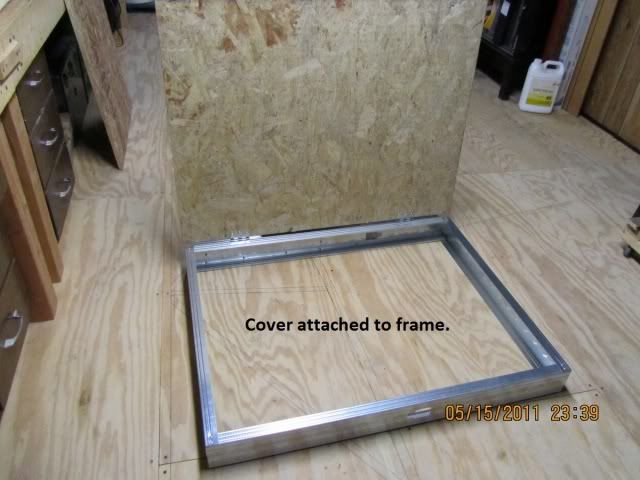
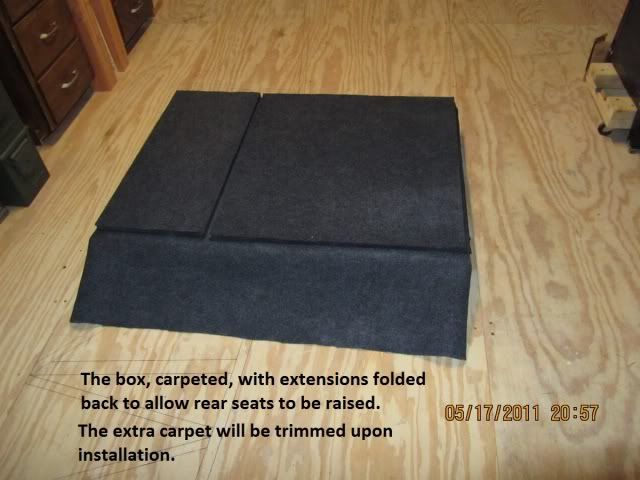
The two floor extensions, seen here folded back onto main box, are hinged to the top cover.
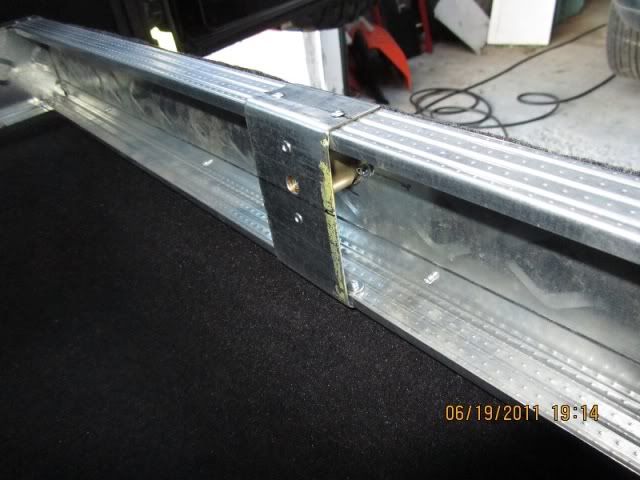
I installed a riv-nut in each side, at the tailgate end of the frame. You'll see where in another picture.
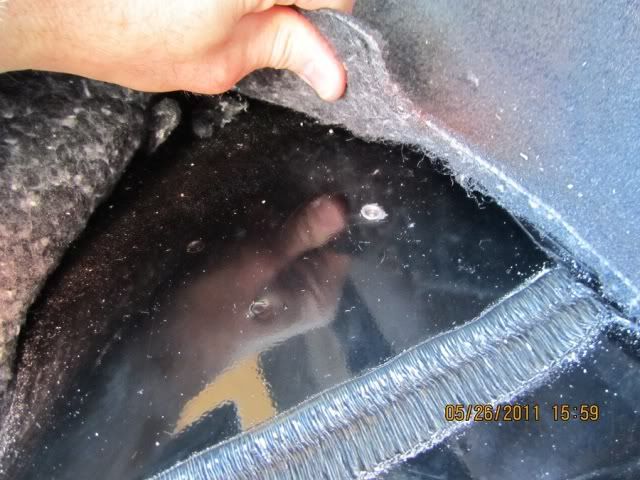
A spacer at each bolt location makes up for the carpet thickness.

All four bolts installed; two pictured here. The bolts and riv-nuts on the front end of the frame, close to the rear seats, were already there for the original tie downs. The riv-nuts I installed are under the sides of the frame, close to the tailgate.
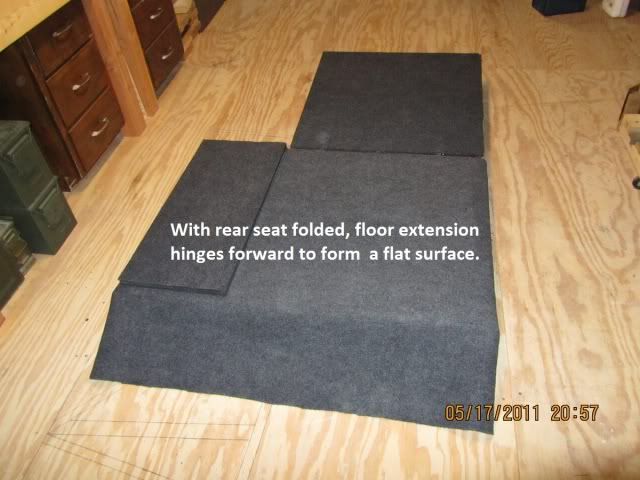
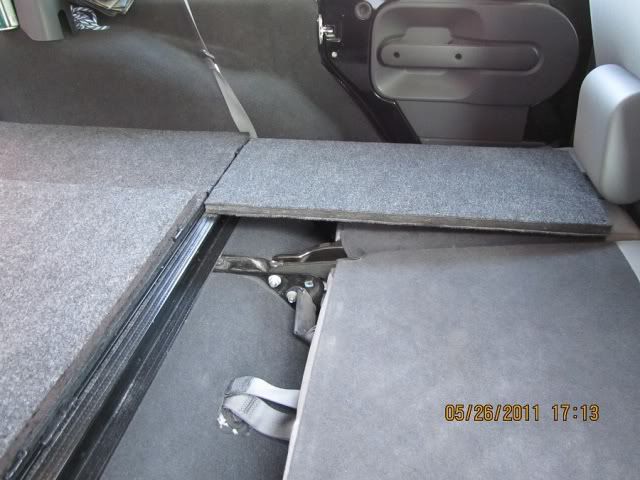
This view shows one extension, and how it rests on the extra frame member, taking the load off the hinges. You can see some useable storage space in the gap between the seat and floor.
This picture shows how the headrest will fold flat when the front seat is moved forward, giving plenty of room to lay out an air mattress.
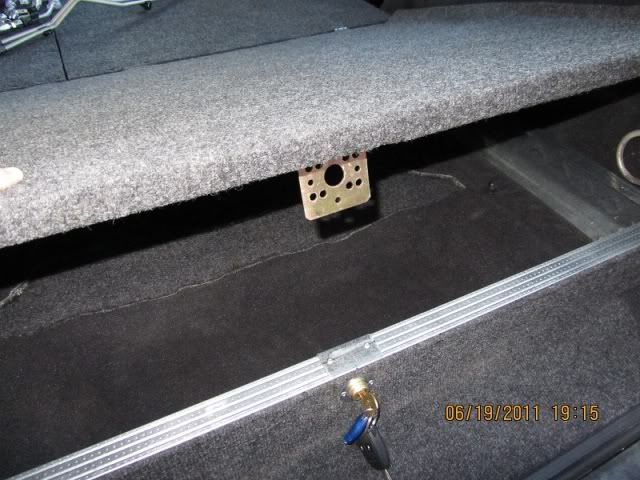
The jack and tools are accessible without having to open the storage box; handy if you get a flat when the cargo floor is loaded.
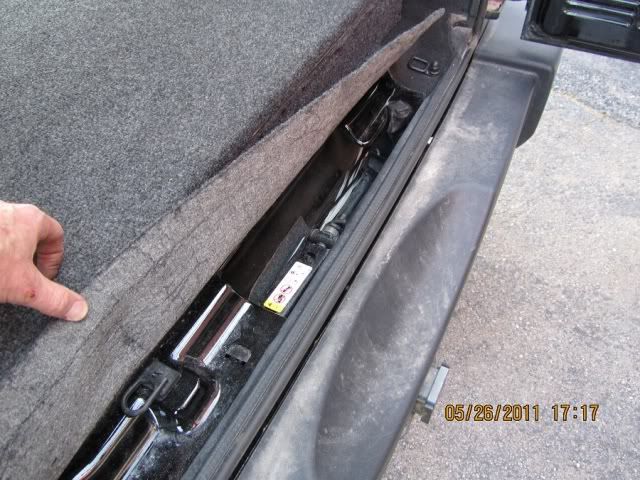
This picture shows the jack compartment covered.
The last task related to this project is to figure out a nice locking system for it.
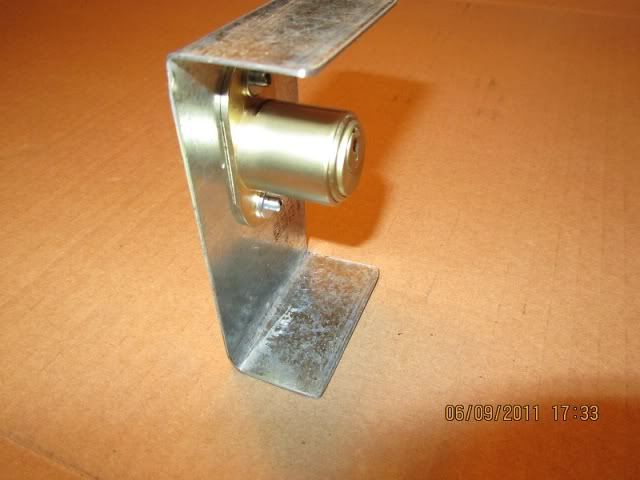
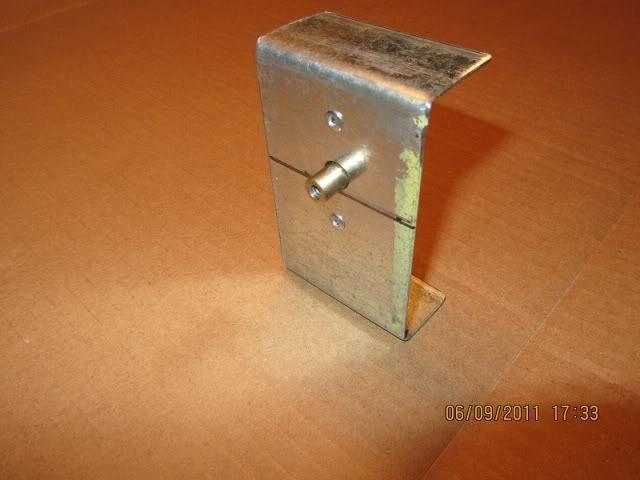
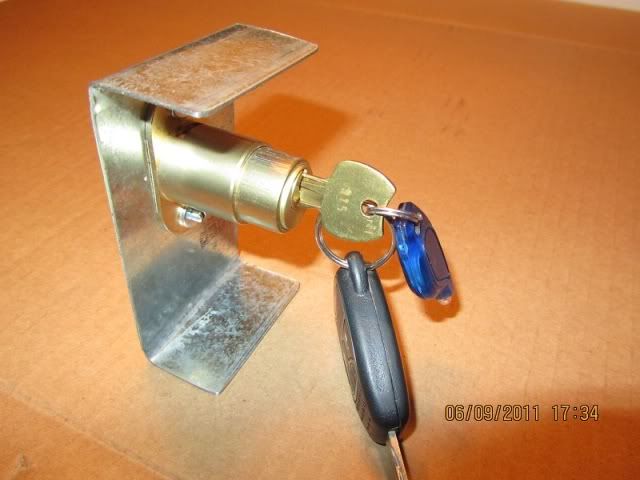
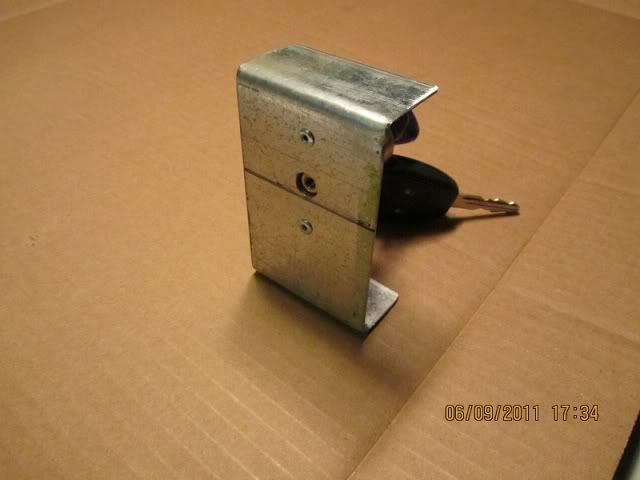
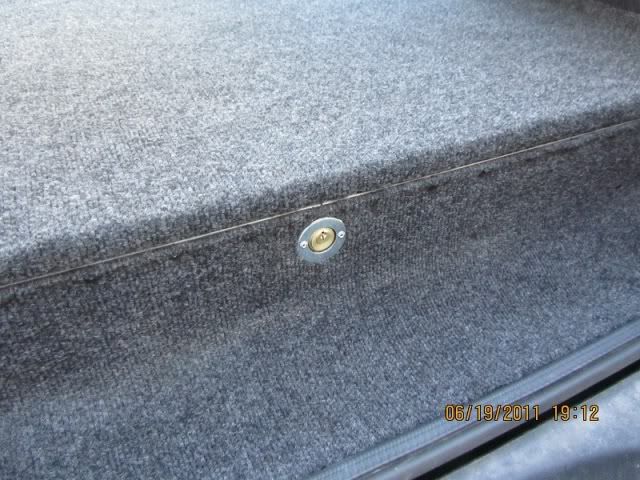
Finished the lock for the under-floor storage.
I found the lock at a local lock shop. No part number or description. It was just in a sealed plastic bag with some hardware; $12.
I have seen this done before, but with a wood frame.
I wanted to keep the weight to a minimum, so I used steel studs; much more fun to work with.
Most things I always carry will fit under the cover. Larger items will fit if placed in the original depression in the floor. This arrangement keeps things out of sight. Looking in through the window, the back appears empty.
I still have to bolt it down, (will use rivnuts in the tub floor), and install a lock.
I'll show the finished product first, then some construction pics.
Sliding the front seats all the way forward will allow the two headrests to go flat, too. Plenty of room to lay out a sleeping bag, or an inflatable mattress.
The dimensions of the frame allow it to sit flat on the floor, between the raised portion at the fender well bases. This leaves some room along the sides for small items.
The two floor extensions, seen here folded back onto main box, are hinged to the top cover.
I installed a riv-nut in each side, at the tailgate end of the frame. You'll see where in another picture.
A spacer at each bolt location makes up for the carpet thickness.
All four bolts installed; two pictured here. The bolts and riv-nuts on the front end of the frame, close to the rear seats, were already there for the original tie downs. The riv-nuts I installed are under the sides of the frame, close to the tailgate.
This view shows one extension, and how it rests on the extra frame member, taking the load off the hinges. You can see some useable storage space in the gap between the seat and floor.
This picture shows how the headrest will fold flat when the front seat is moved forward, giving plenty of room to lay out an air mattress.
The jack and tools are accessible without having to open the storage box; handy if you get a flat when the cargo floor is loaded.
This picture shows the jack compartment covered.
The last task related to this project is to figure out a nice locking system for it.
Finished the lock for the under-floor storage.
I found the lock at a local lock shop. No part number or description. It was just in a sealed plastic bag with some hardware; $12.
Last edited by ronjenx; 07-11-2017 at 03:11 PM.

The following users liked this post:
Alextorello (08-22-2018)
05-18-2011, 02:01 PM
#3
JK Jedi Master
Thread Starter
 05-18-2011, 07:03 PM
#5
JK Super Freak
Join Date: Nov 2010
Location: NE, Ohio
Posts: 1,575
Likes: 0
Received 0 Likes
on
0 Posts
That's awesome. I have been thinking of making something like that but you nailed it. Very nice work.
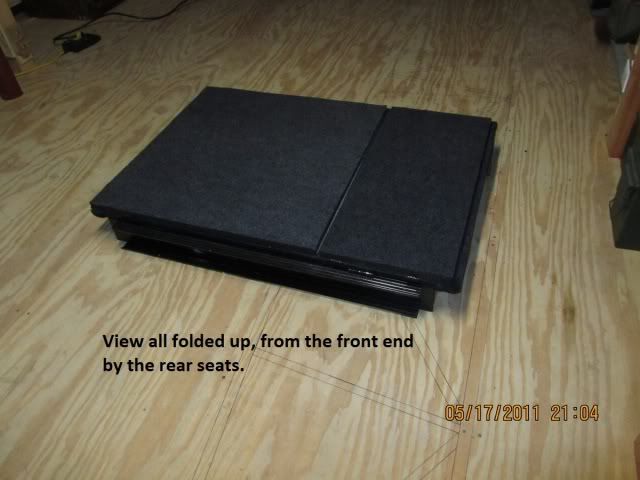
How do the extensions attach to the box? It looks like the lid and the extensions are on the same hinge.
How do the extensions attach to the box? It looks like the lid and the extensions are on the same hinge.
05-18-2011, 07:18 PM
#6
JK Jedi Master
Thread Starter
Looking at the last picture, the narrow extension, you can see the two little hinges for the extension to the lid, and between them, the larger hinge for the lid to the frame.
Last edited by ronjenx; 05-18-2011 at 07:26 PM.
Trending Topics
05-19-2011, 07:28 AM
#9
JK Enthusiast
Join Date: May 2010
Location: Toronto
Posts: 347
Likes: 0
Received 0 Likes
on
0 Posts
Great work I made something like yours last month to keep my dog off my work gear , I like the way you flip out extension , I wonder if I can incorporate it into my design
05-19-2011, 08:05 AM
#10
JK Jedi Master
Thread Starter
I see you can lock yours. I still have to decide how I'm going to do that on mine.

