Maertz's Half Ass Build Thread
 01-21-2014, 04:16 PM
#1
JK Jedi
Thread Starter
Ok well I had a really crappy recap on here, and am going to try and slowly fill this one in and copy over more info from my thread on another site. Feel free to ask any questions and I can try to explain more if my description sucks. This was my very first jeep and build, so I learned a ton. To this day if I were to rebuild it I would have done it completely different still.
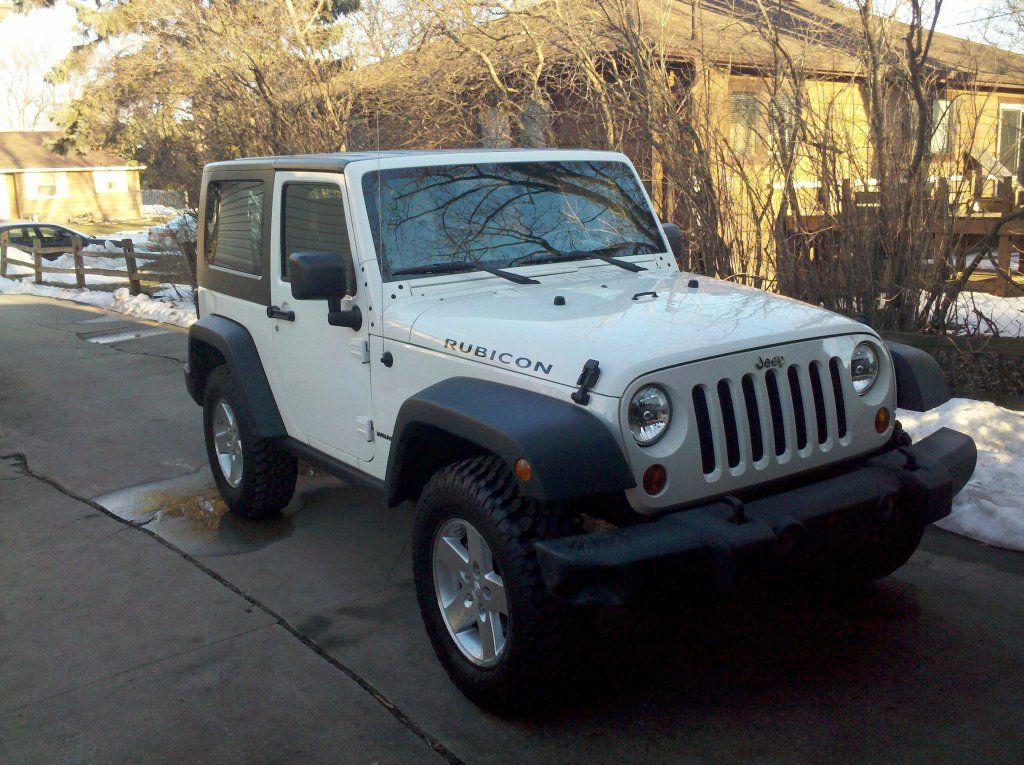
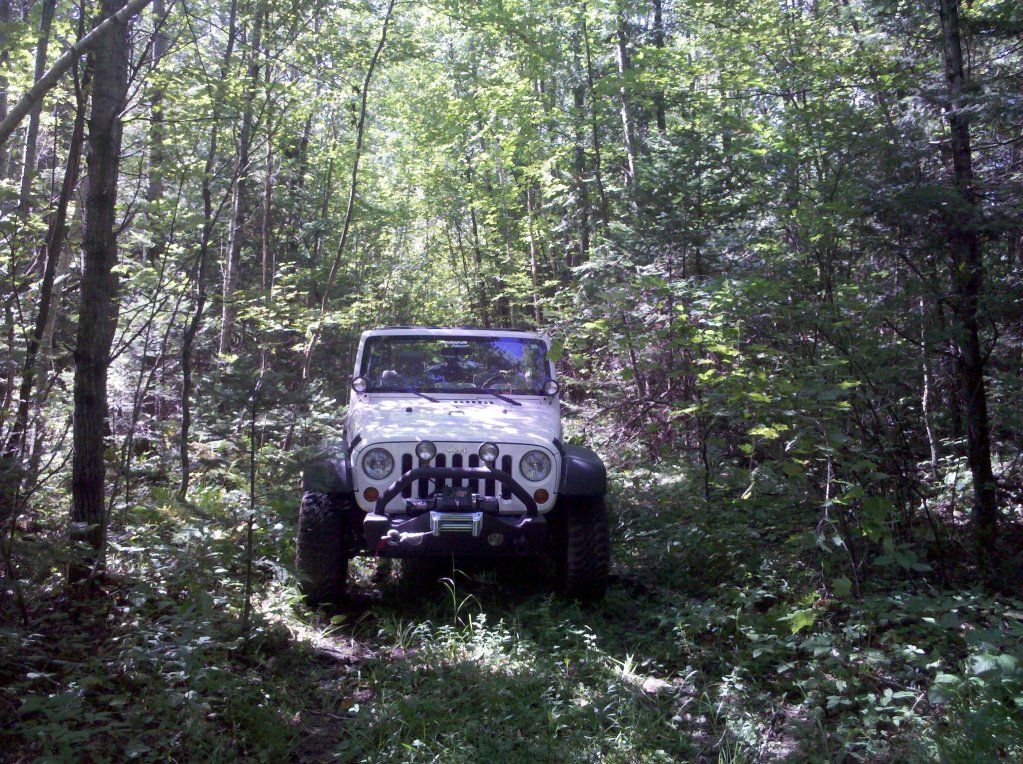
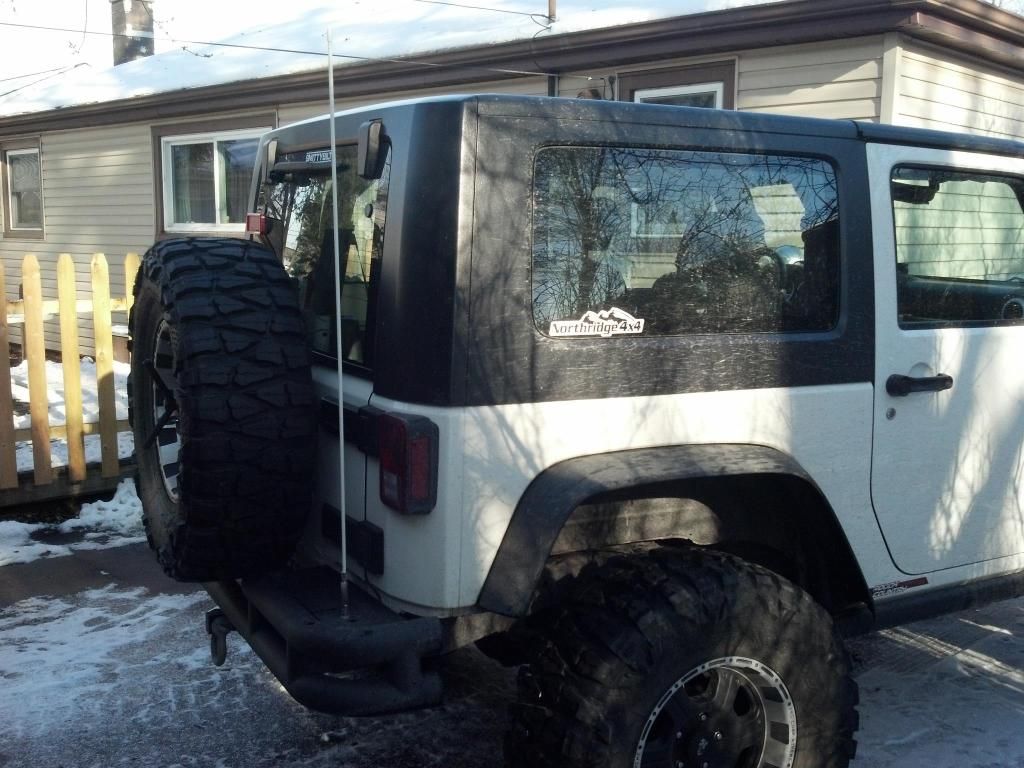
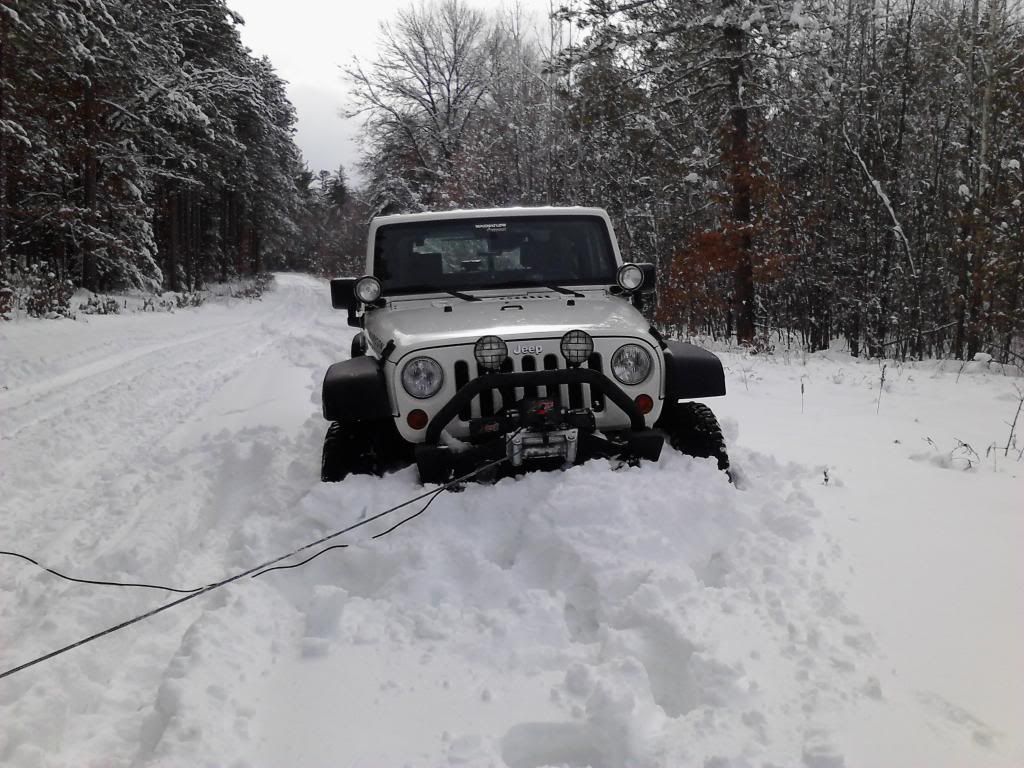
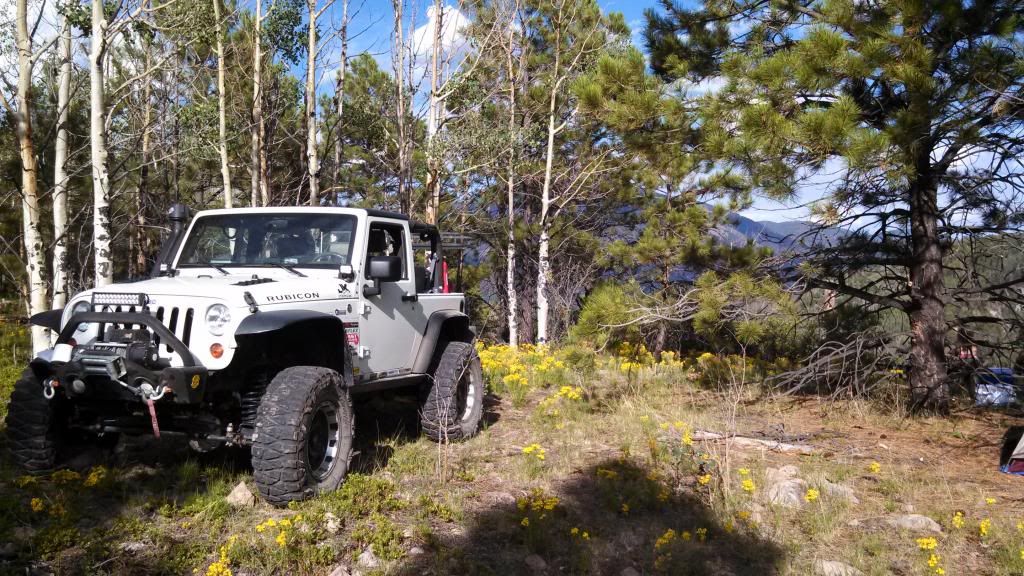
This is Where i started out...
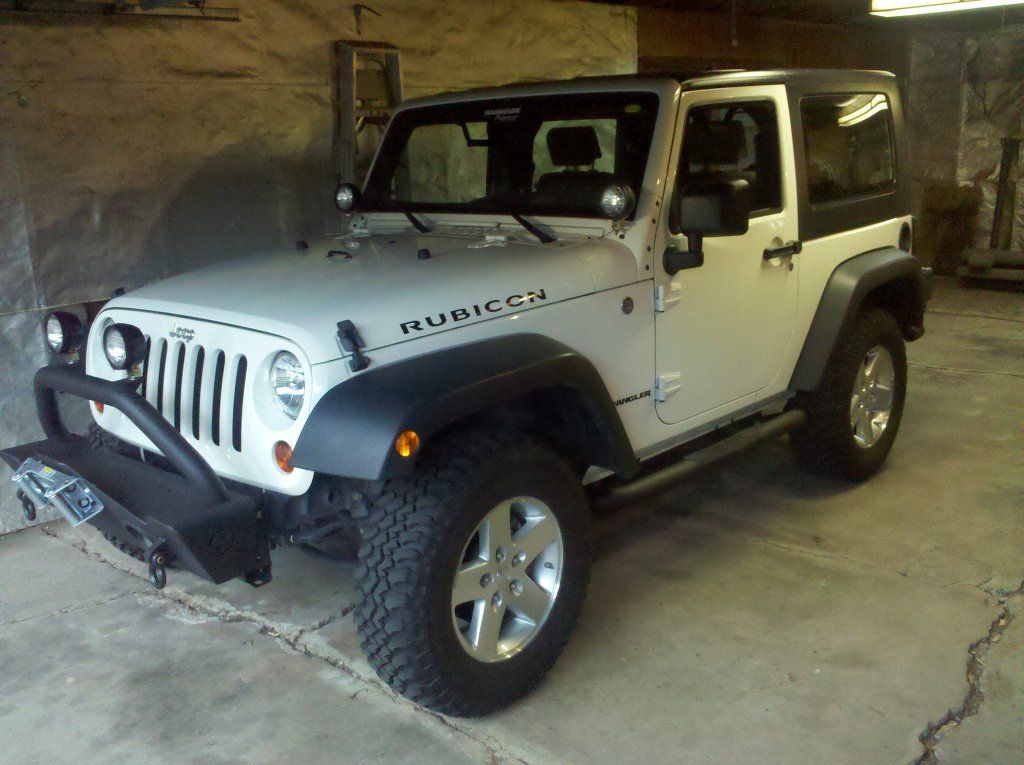
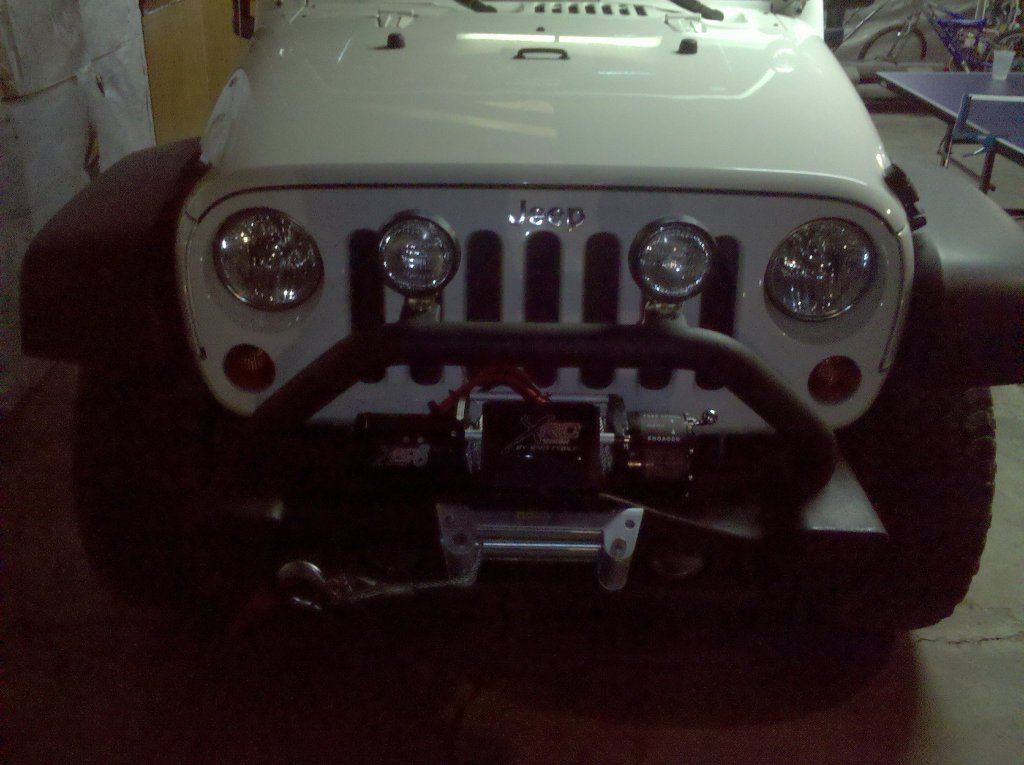
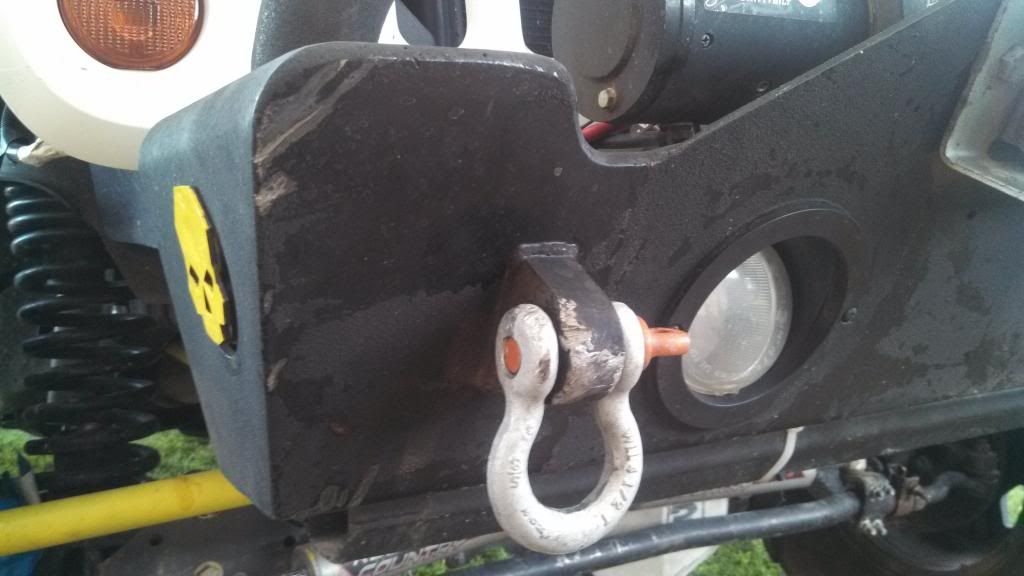
First thing I added was a Bestop Narrow Bumper. I belined it to match the rear bumper I had gotten as the front one was glossy.

I then added these pos rampage side steps. At first didnt think I would ever get to extreme and they really helped the short girlfriend get in...Still a waste on these.
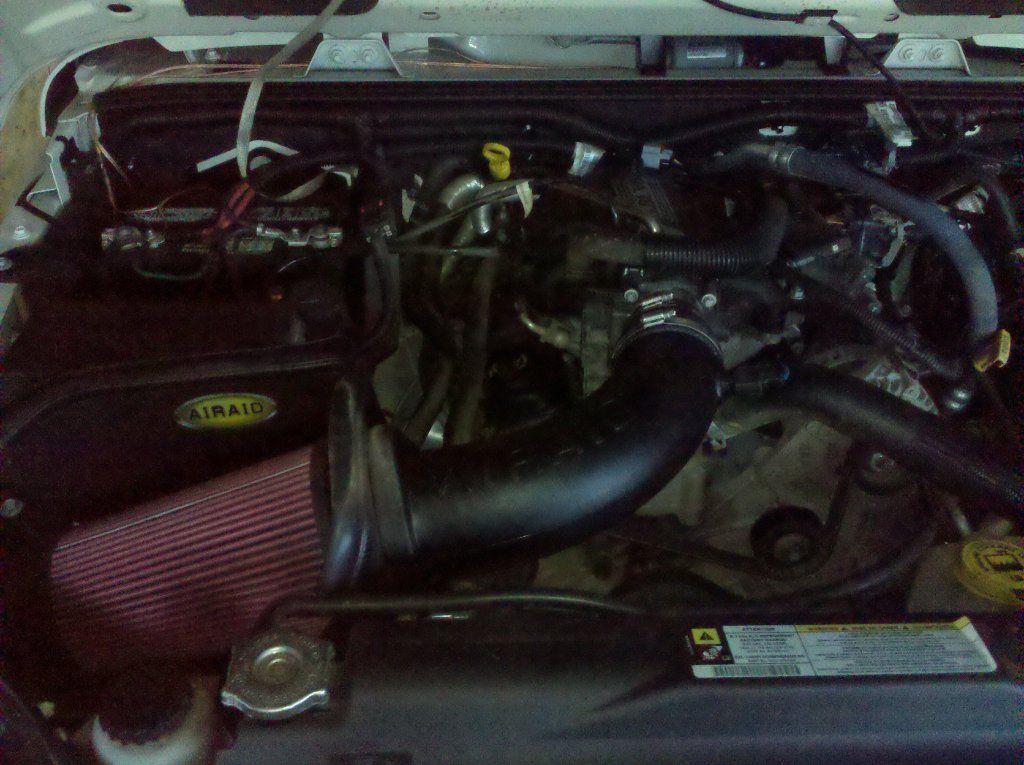
Another wasted add on here was the Airraid cai I installed. I was a sucker for thinking i needed this at the time...
Next on the list was a rear bumper. I went with a ****tybilt tubular for some stupid reason. At the time id say it probably had to do with how inexpensive they were.
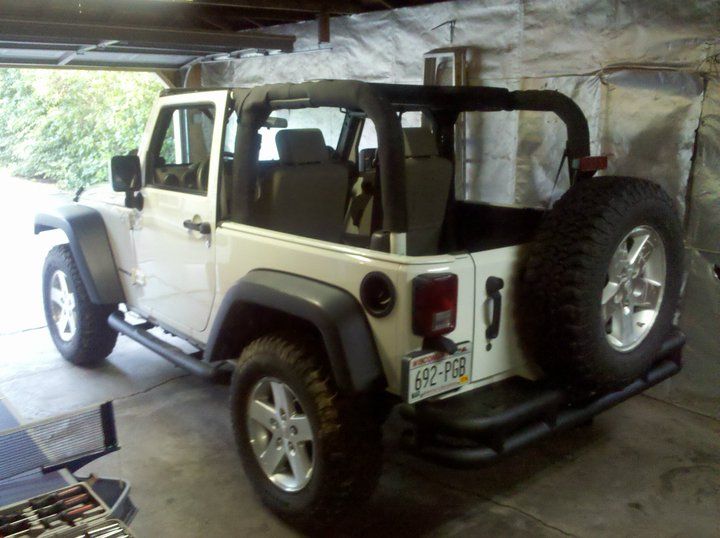
I also had installed crappy utility lights...
Next i added a Magnaflow Cat back exhaust. Again more wasted money as this thing sounded like *** and was just waiting to get beat on.

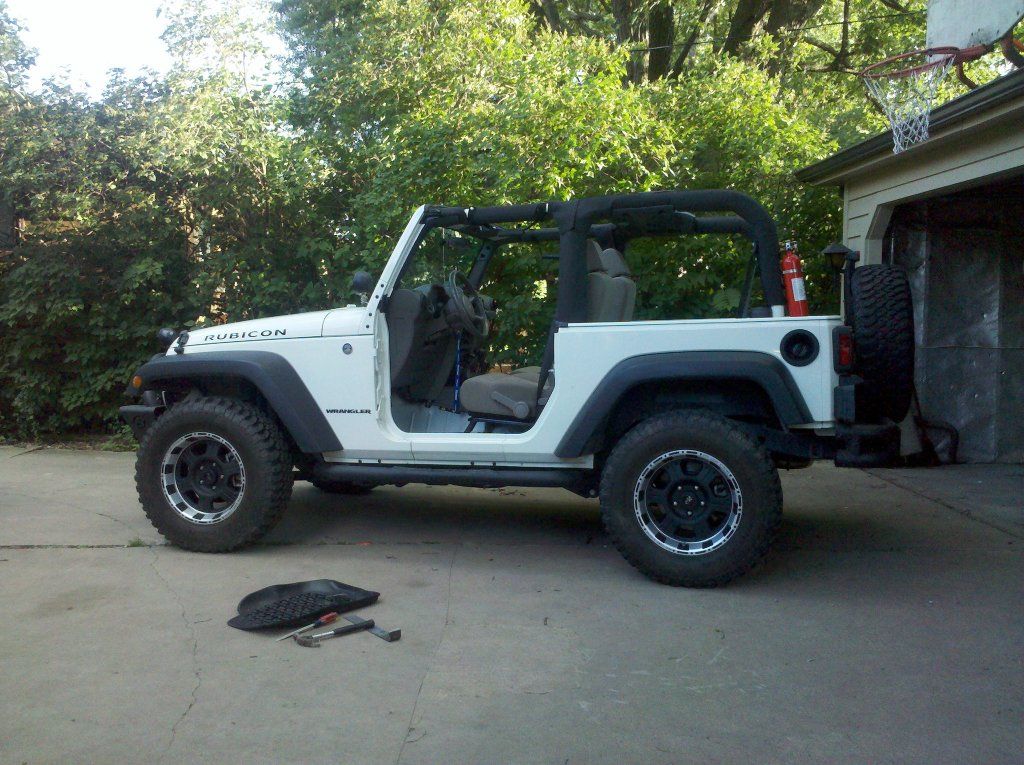
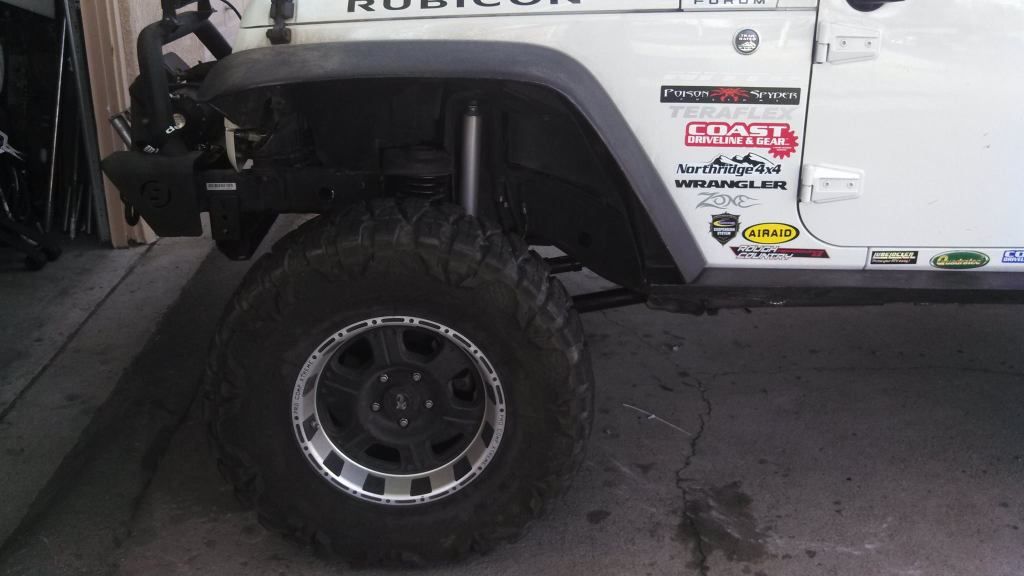
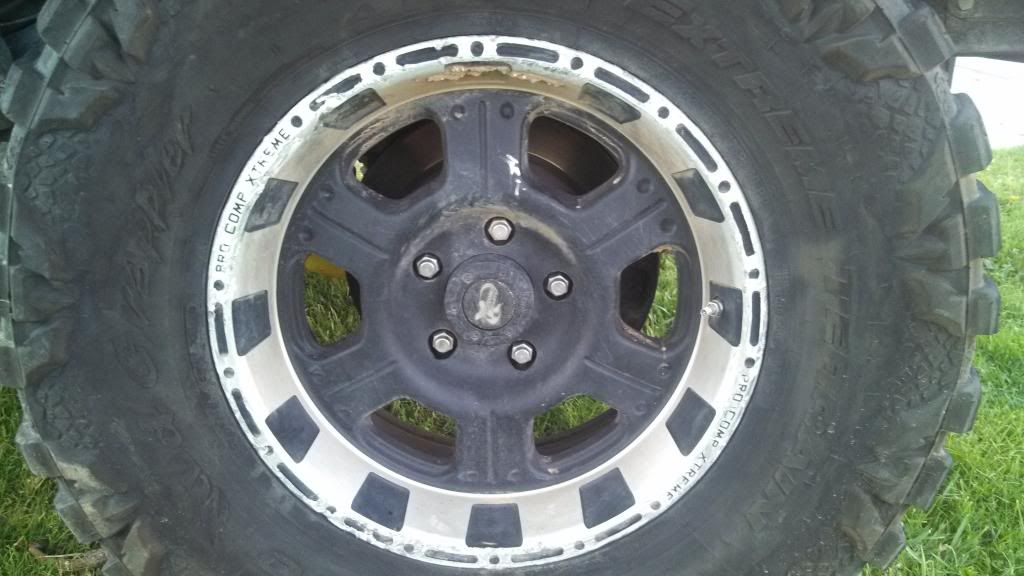
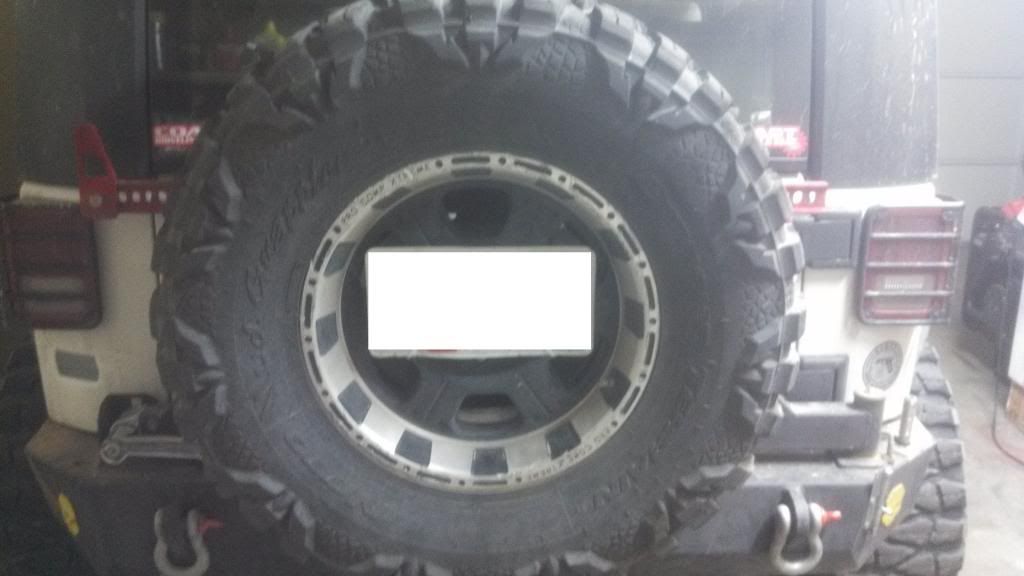
Next I added some rims. Im a sucker for black on white look.... These have gotten beat to crap over time, but held up fine. I wish I would have went steel so I could have welded on bead lock rings later though. O well, there only 8" wide so there technically poor mans bead locks.
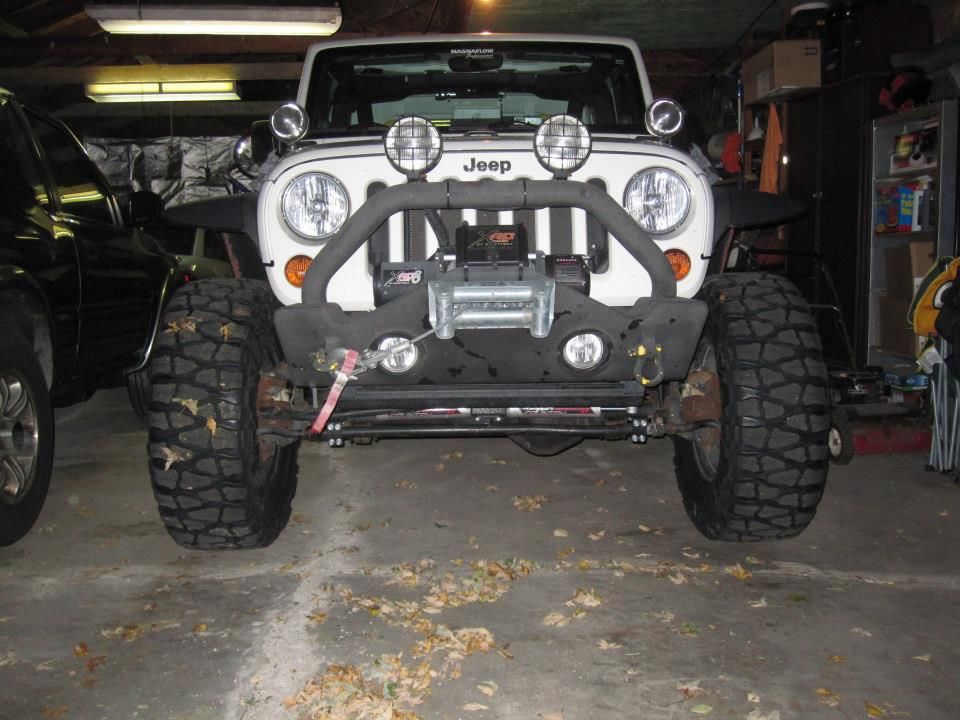
Seen as i like to wheel alone when I was in Wisconsin i figured i would put on a winch. I got the xrc 8. This thing has been through alot and never let me down. If i were to do it again I would have just gotten a 10k.
The new rims gave it a slightly wider stance...
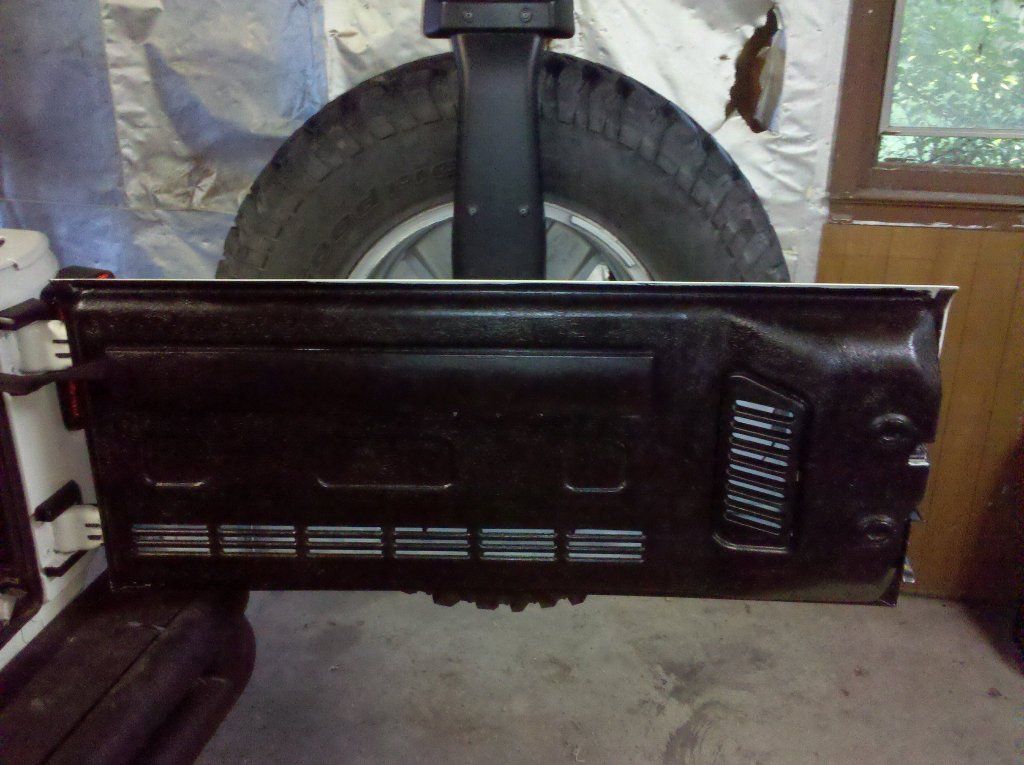
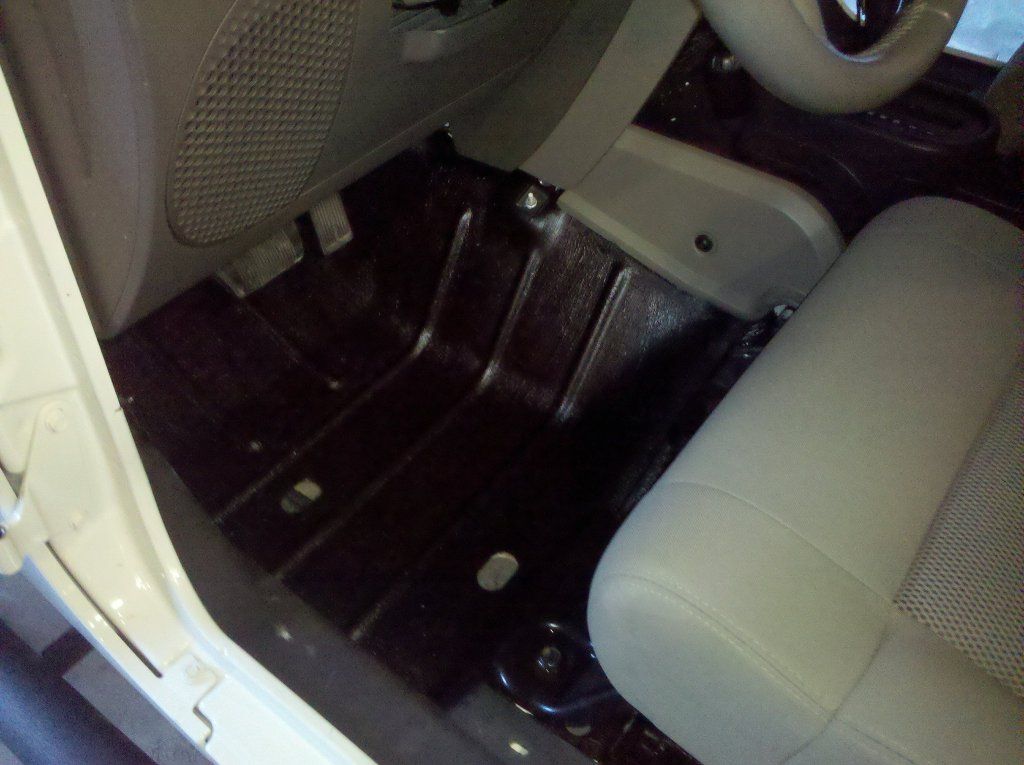
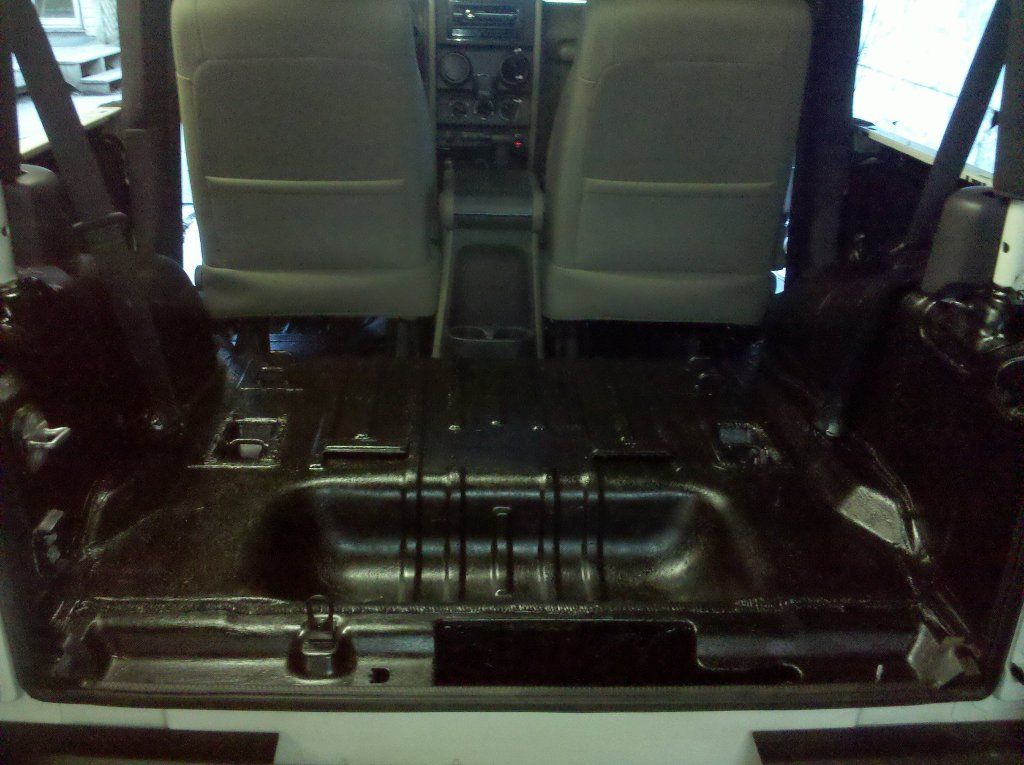
Next on my list was to ditch the carpeting as my dog has white hair and it was annoying as all hell. I bedlined everything. I used rustoleum bed liner. Its held up very well. I also chiseled out all of the sound foam stuff.
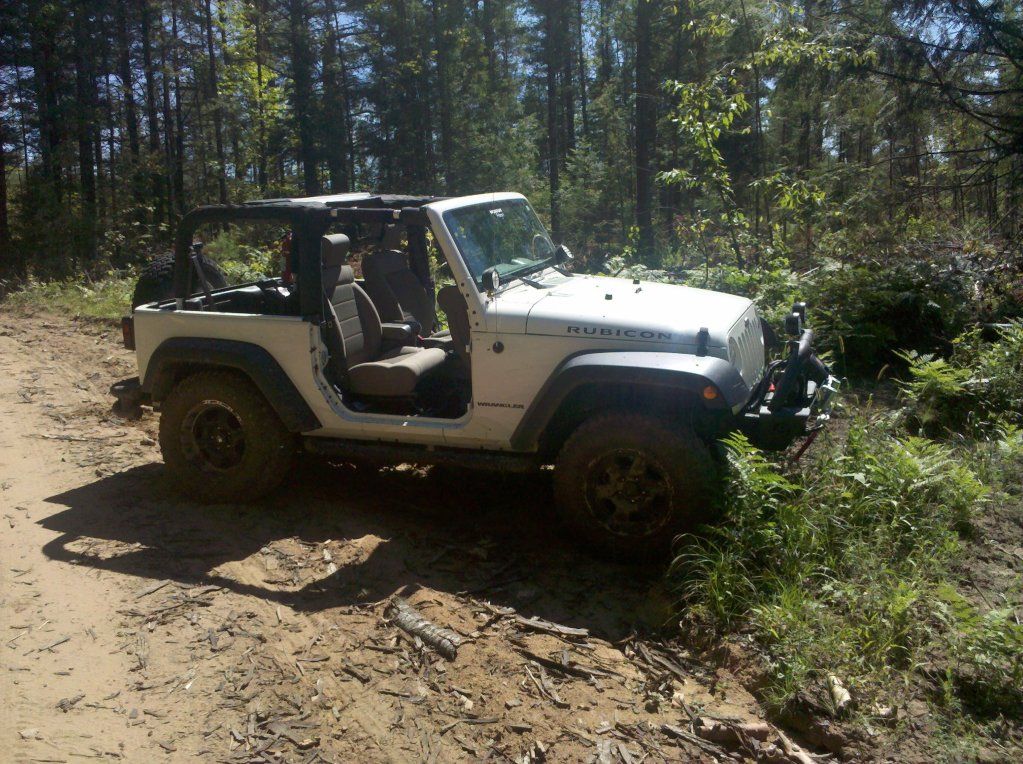
Got to test all of this out briefly. At this point I probably had no idea what a sway bar disco was if I had to guess looks like its still connected...
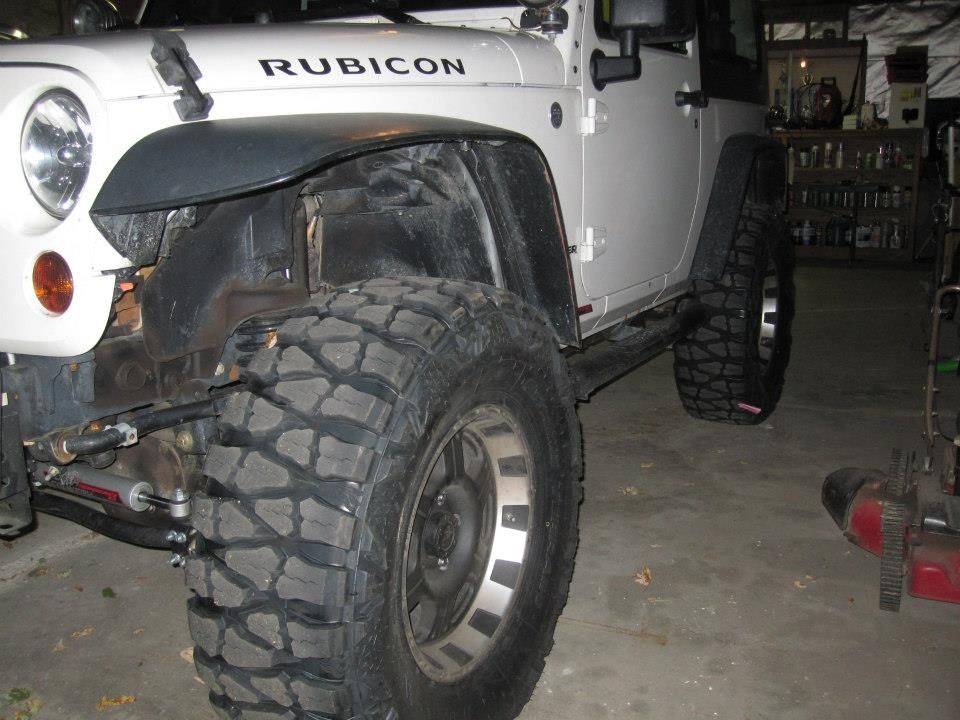
After that I installed a zone offroad 3" lift. Yet another waste of money, but at the time it served me just fine. At the same time I installed some 35" Mud Grapplers and a Dual Steering Stabalizer. I also installed synergy 1.75" wheel spacers.
I also chopped the fenders down.
Next up was some coast 1310 drive shafts.
I clearly didnt have this correctly. ALso over greased the hell out of it.

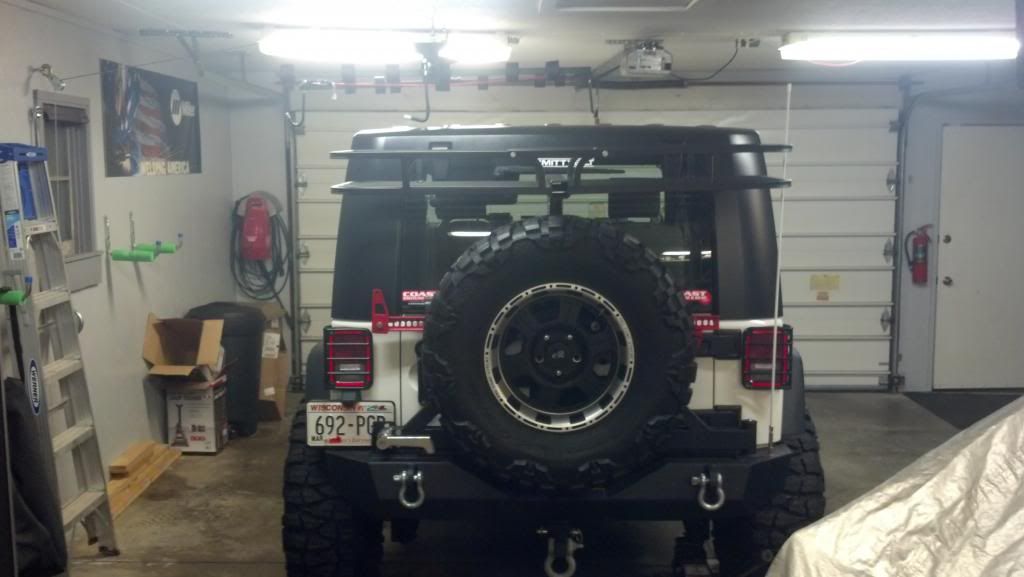
Also added a cb and antenna. And the ****tybilt oversize tire carrier.
My next up was to finally adress some of the strength issues.
This is Where i started out...

First thing I added was a Bestop Narrow Bumper. I belined it to match the rear bumper I had gotten as the front one was glossy.

I then added these pos rampage side steps. At first didnt think I would ever get to extreme and they really helped the short girlfriend get in...Still a waste on these.

Another wasted add on here was the Airraid cai I installed. I was a sucker for thinking i needed this at the time...

Next on the list was a rear bumper. I went with a ****tybilt tubular for some stupid reason. At the time id say it probably had to do with how inexpensive they were.

I also had installed crappy utility lights...

Next i added a Magnaflow Cat back exhaust. Again more wasted money as this thing sounded like *** and was just waiting to get beat on.

Next I added some rims. Im a sucker for black on white look.... These have gotten beat to crap over time, but held up fine. I wish I would have went steel so I could have welded on bead lock rings later though. O well, there only 8" wide so there technically poor mans bead locks.

Seen as i like to wheel alone when I was in Wisconsin i figured i would put on a winch. I got the xrc 8. This thing has been through alot and never let me down. If i were to do it again I would have just gotten a 10k.

The new rims gave it a slightly wider stance...

Next on my list was to ditch the carpeting as my dog has white hair and it was annoying as all hell. I bedlined everything. I used rustoleum bed liner. Its held up very well. I also chiseled out all of the sound foam stuff.


Got to test all of this out briefly. At this point I probably had no idea what a sway bar disco was if I had to guess looks like its still connected...


After that I installed a zone offroad 3" lift. Yet another waste of money, but at the time it served me just fine. At the same time I installed some 35" Mud Grapplers and a Dual Steering Stabalizer. I also installed synergy 1.75" wheel spacers.

I also chopped the fenders down.

Next up was some coast 1310 drive shafts.

I clearly didnt have this correctly. ALso over greased the hell out of it.

Also added a cb and antenna. And the ****tybilt oversize tire carrier.

My next up was to finally adress some of the strength issues.

Last edited by Maertz; 01-21-2014 at 04:46 PM.
 01-21-2014, 04:18 PM
#2
JK Jedi
Thread Starter
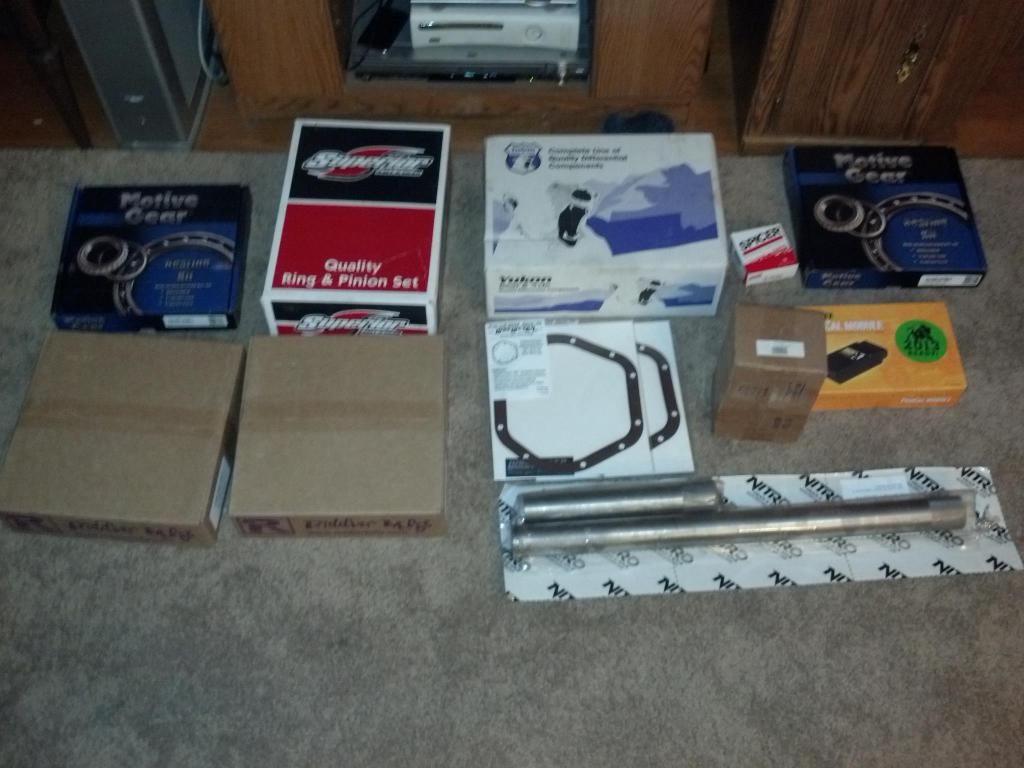
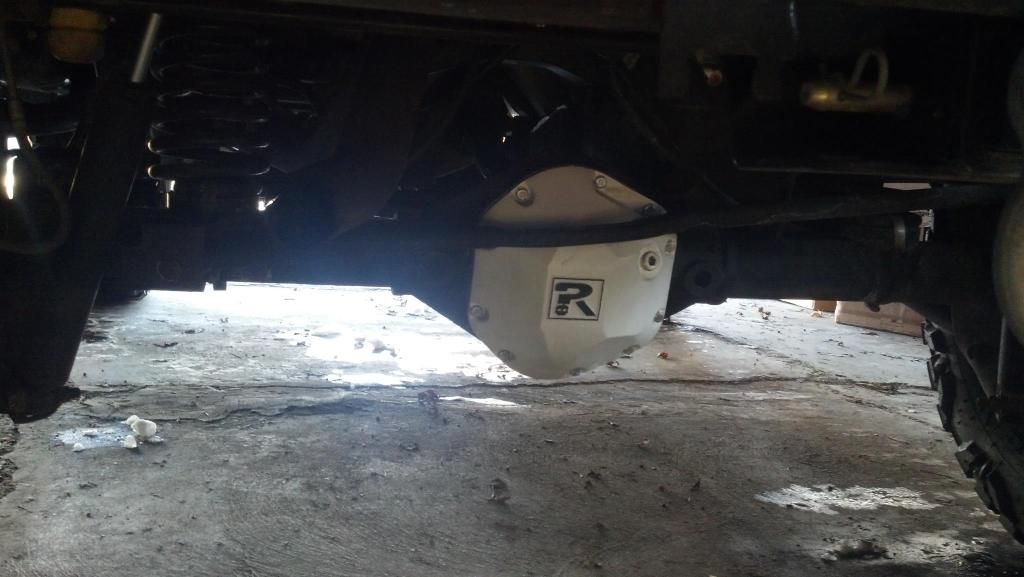
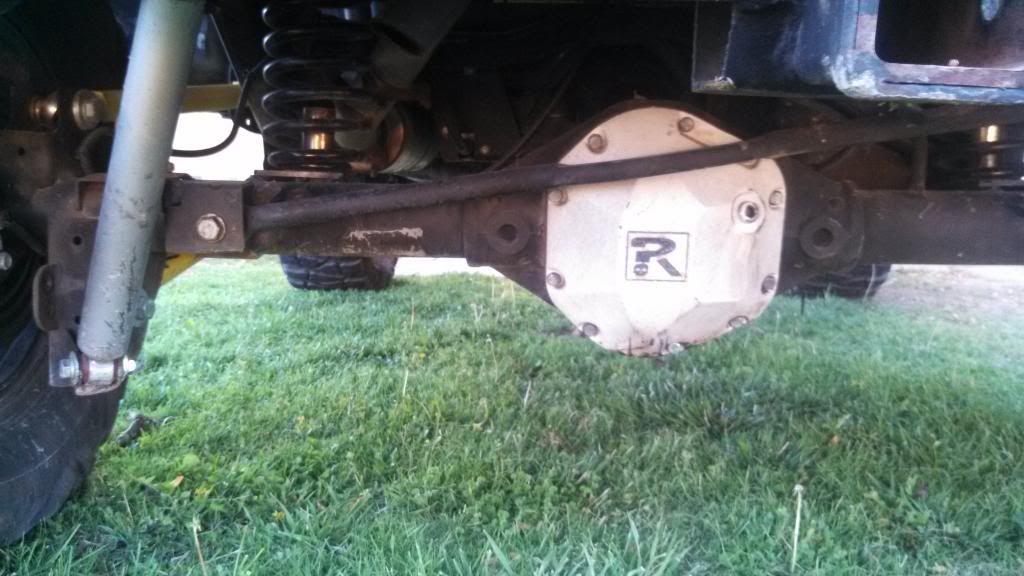
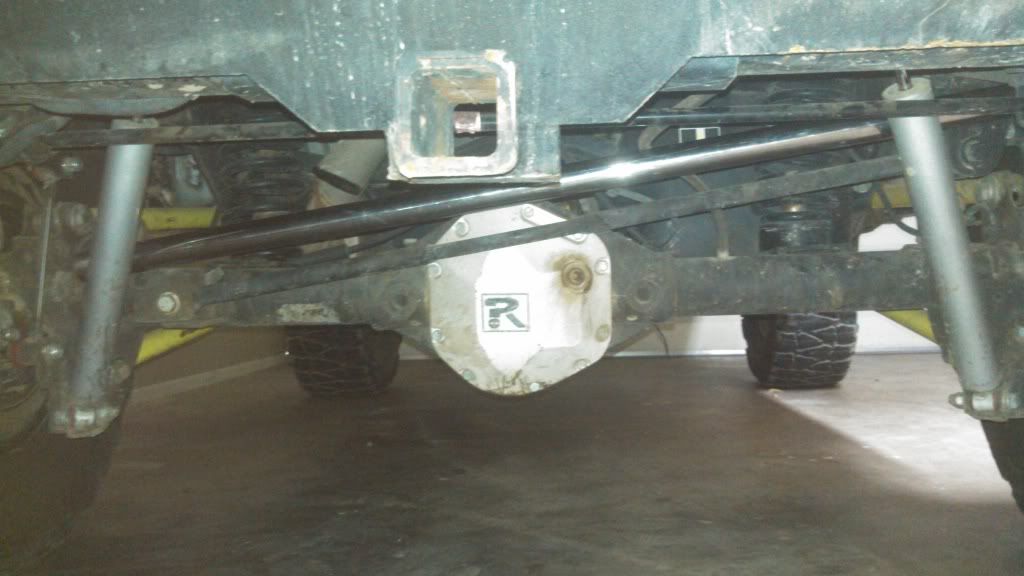
Again as i love the black on white look I painted the riddler dif covers.
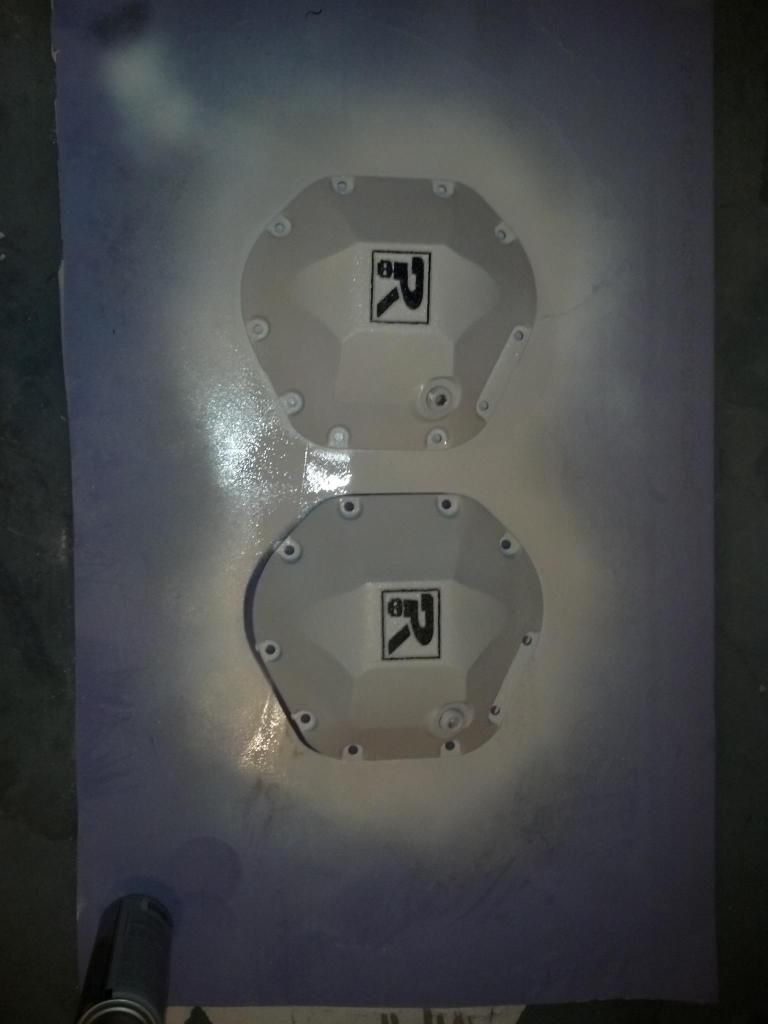
They installed easily.
Also installed were the gussets,sleeves,gears.
I then removed my stock reverse light bulbs and cut out the housing a little to fit in the wall-mart rock lights.
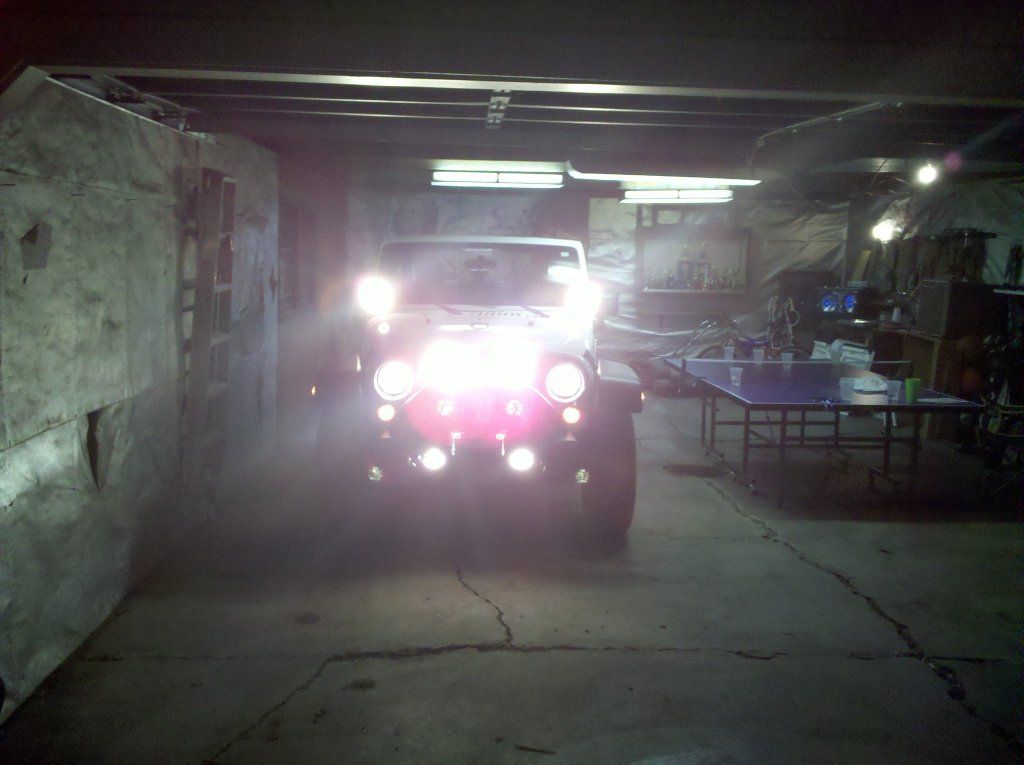
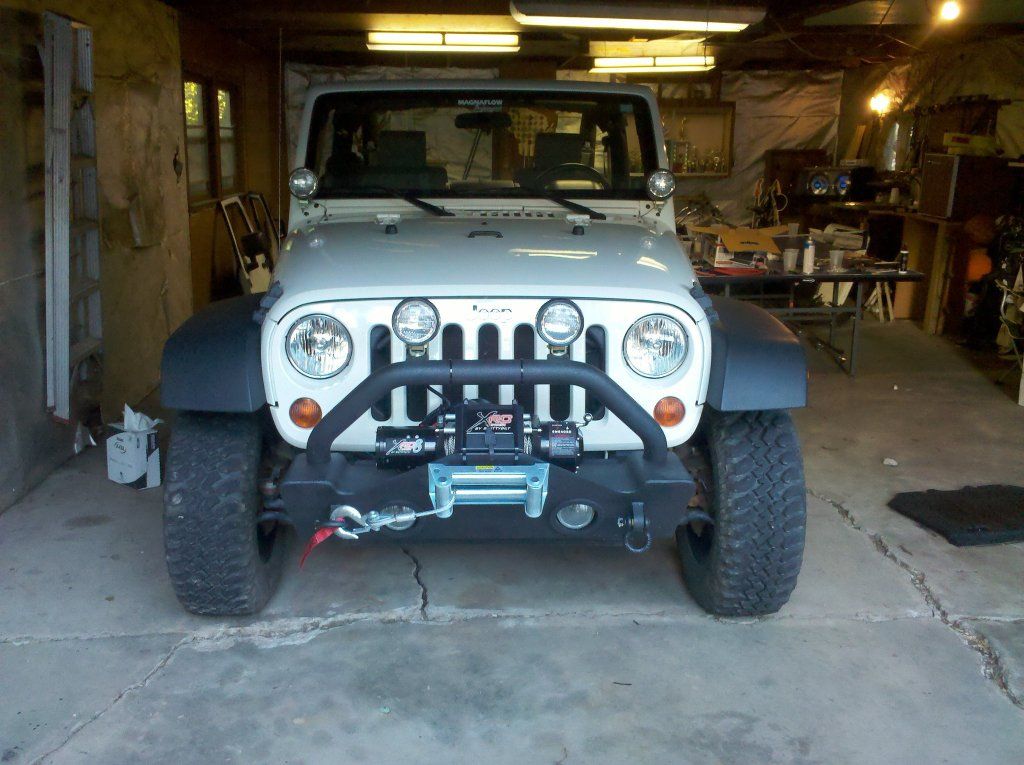
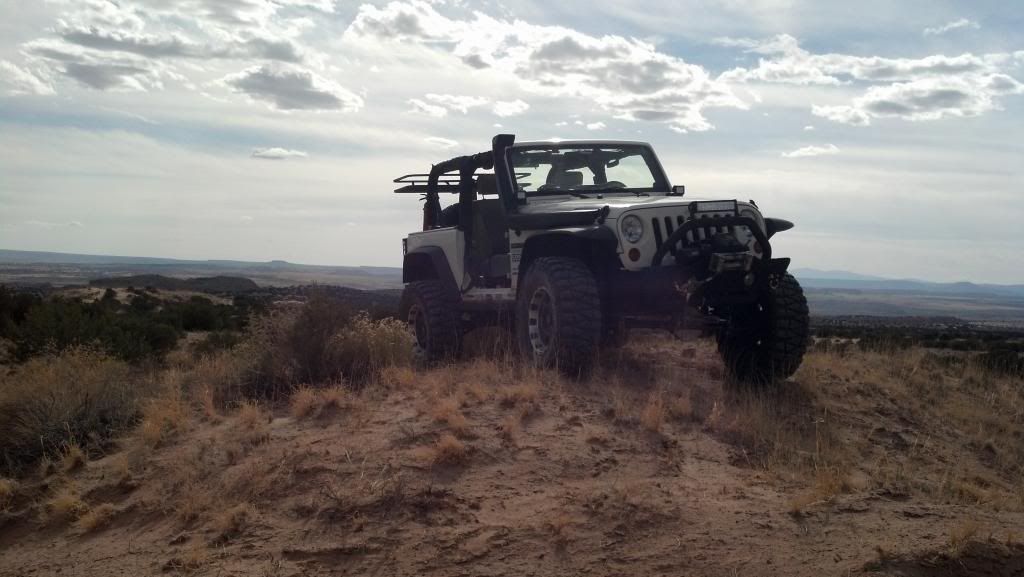
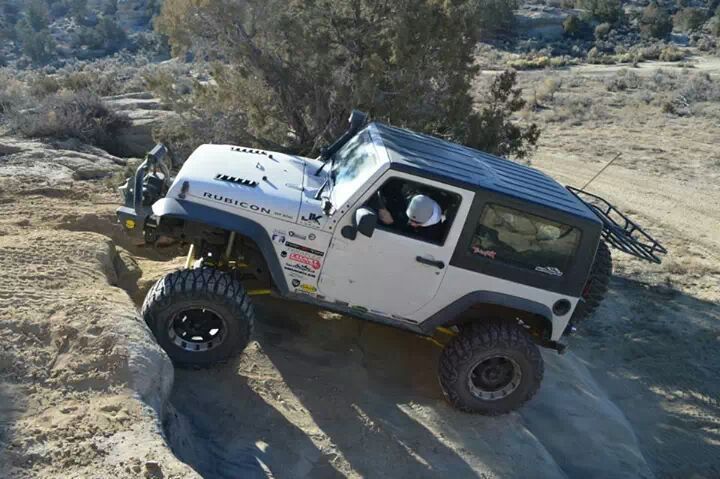
Got some more time to test the lift and all the others installed.


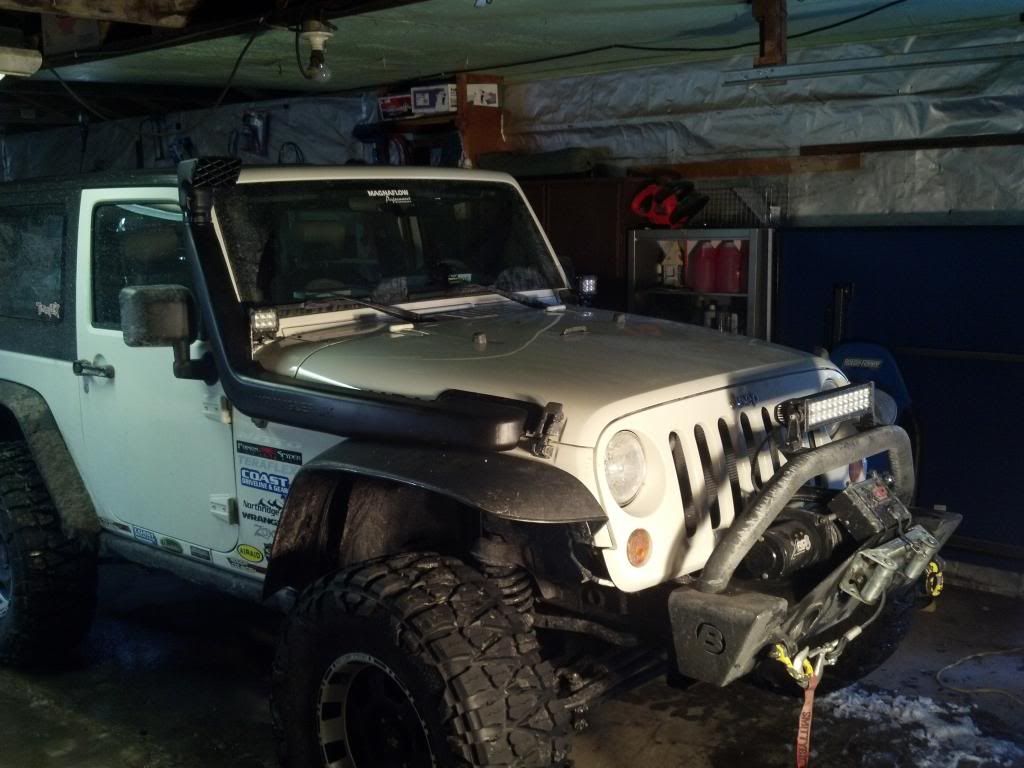
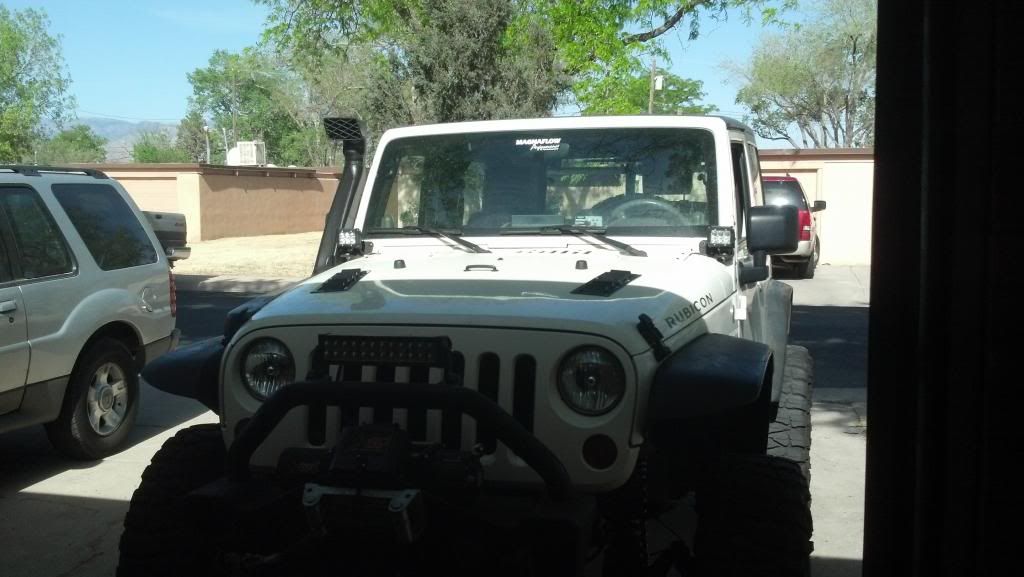
I opted to remove the cai and utility lights i had on and installed some ebay led lights and lightbar. I also Installed a chinese replica snorkel... Go ahead flame away.
Installed some basic tailight guards..

Next i removed the magnaflow exhaust and installed an MBRP offroad exhaust. Much happier with this one.
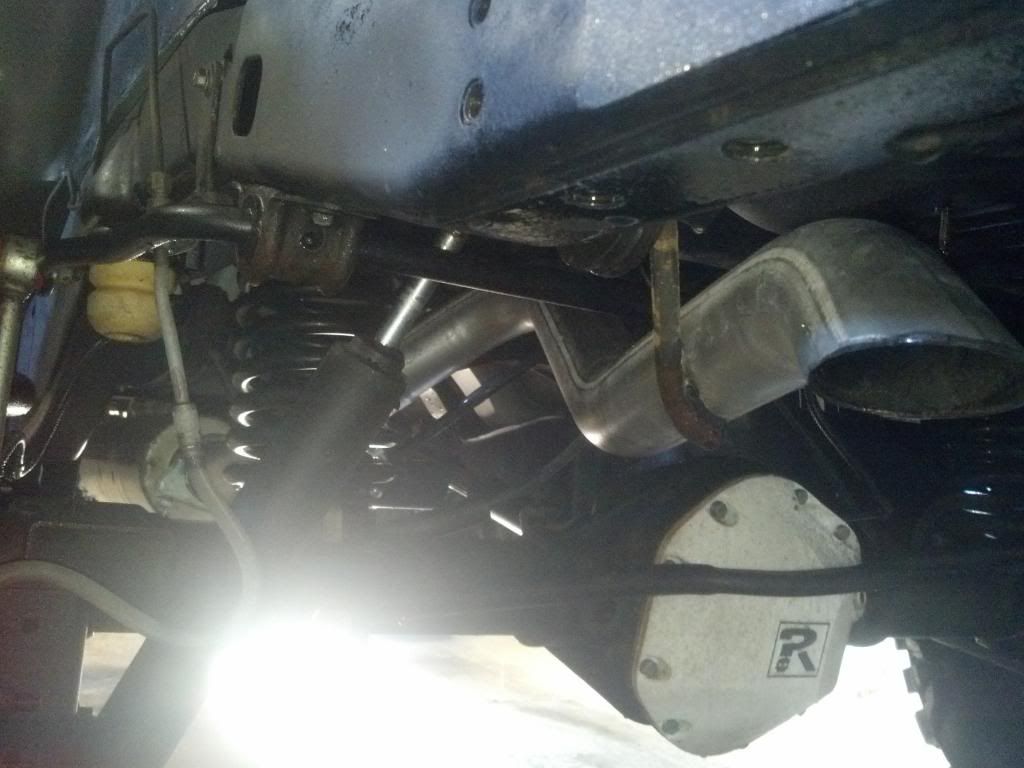
Also installed a poison spyder evap skid while i was there.

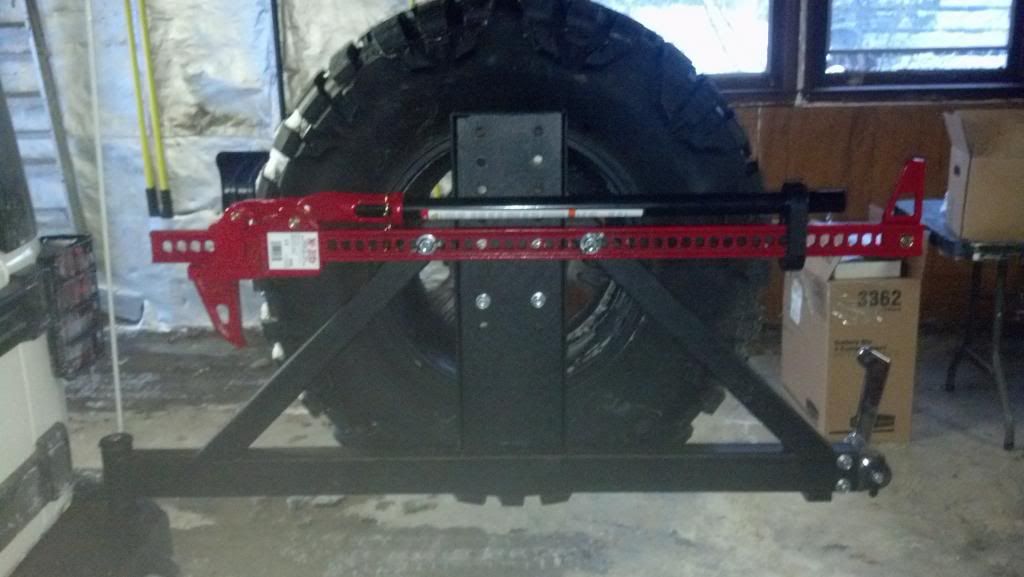
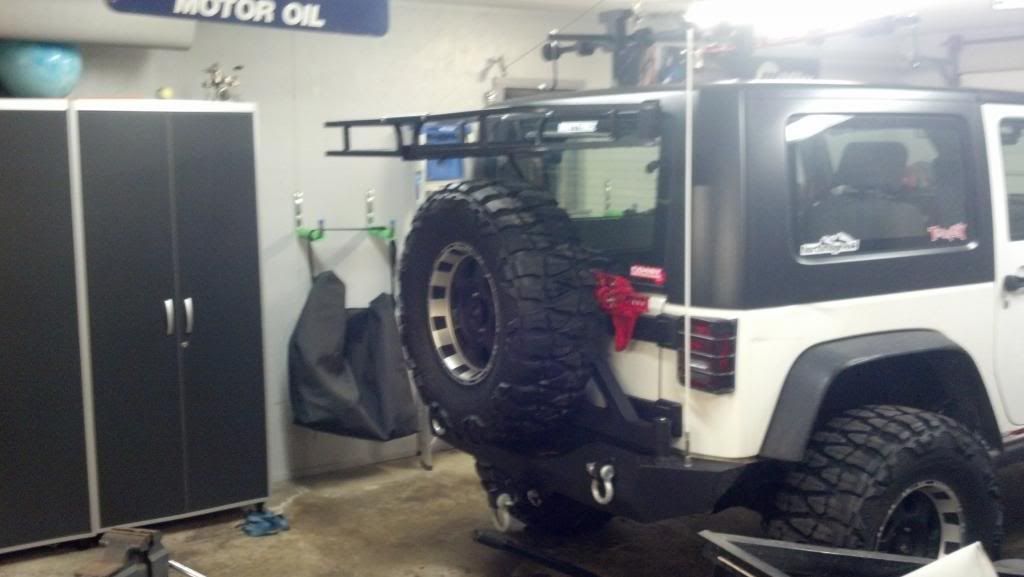
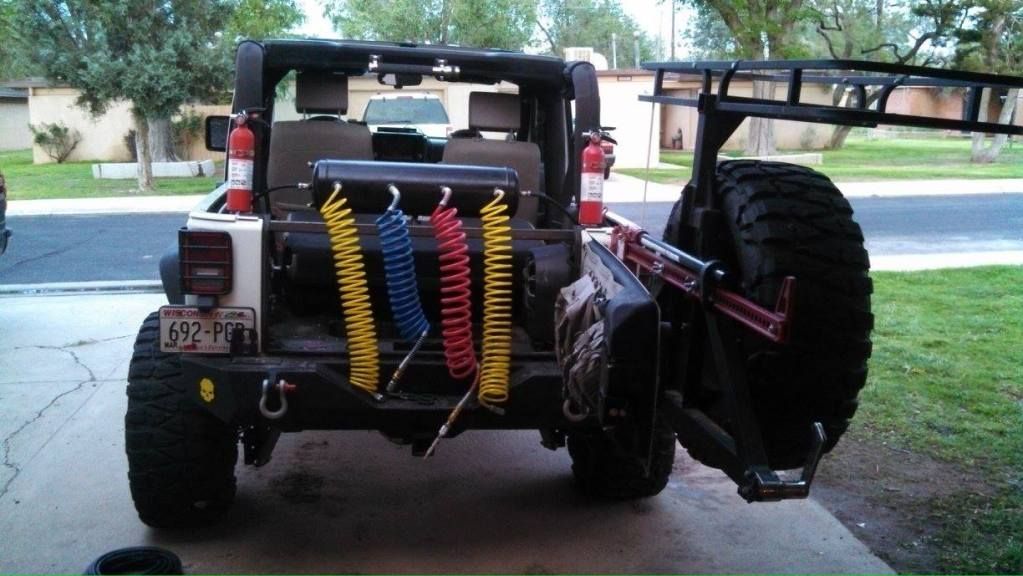
Next I ditched the ****tbilt rear tubular for an eautogrilles swing out tire carrier. This thing has been beat on pretty good and I have no complaints at all. Sure the coating got its *** kicked and it got dinged a little on rocks, but all in all i was happy.
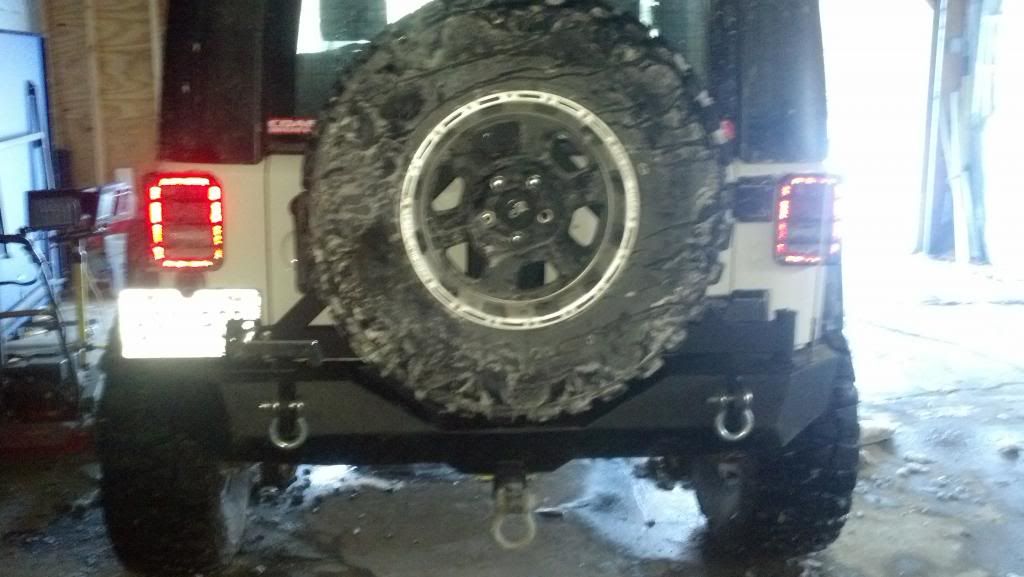
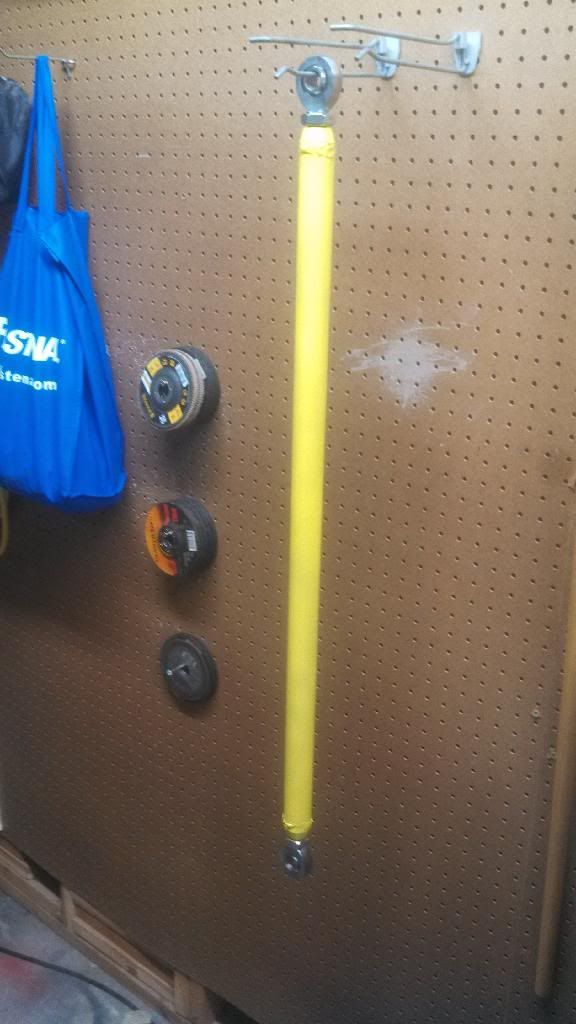
Mounted my hi-lift to it by drilling 2 holes and putting 2 bolts thru them..
I then bought a hitch cargo rack from harbor freight for like 75 dollars and cut it up a little.
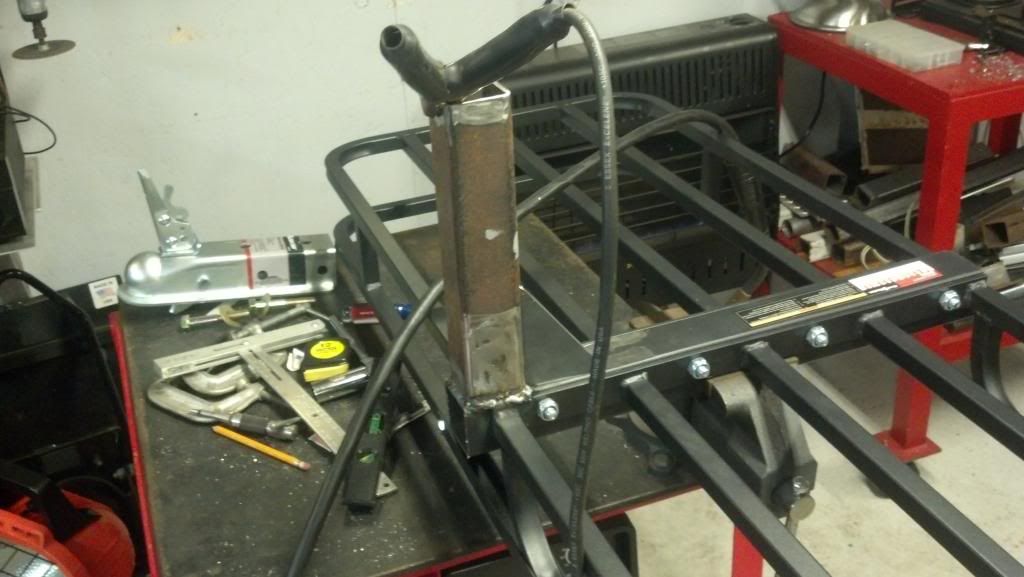
Grinded my swing out bumper to prepare it for the cargo carrier.
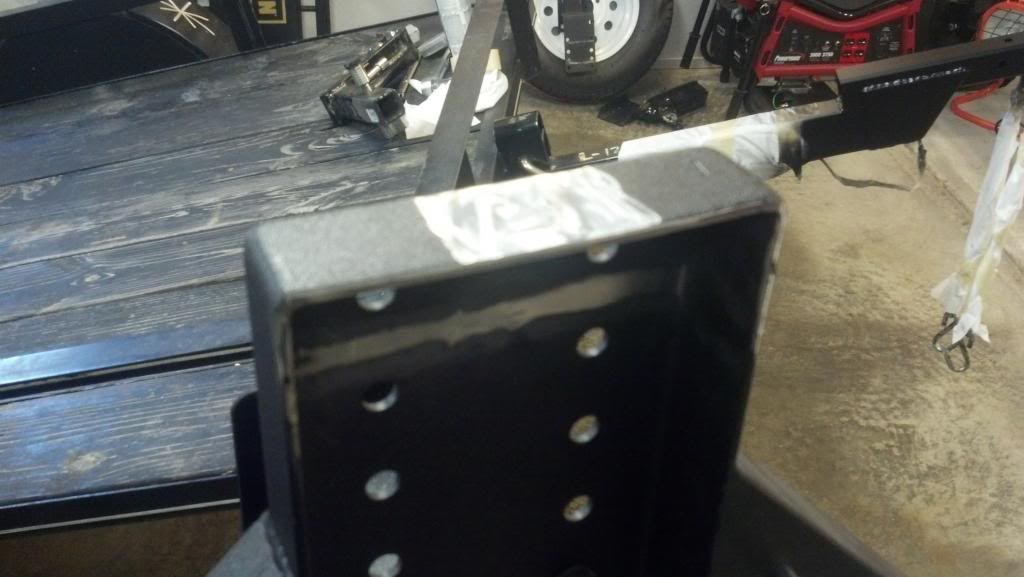
And walla.
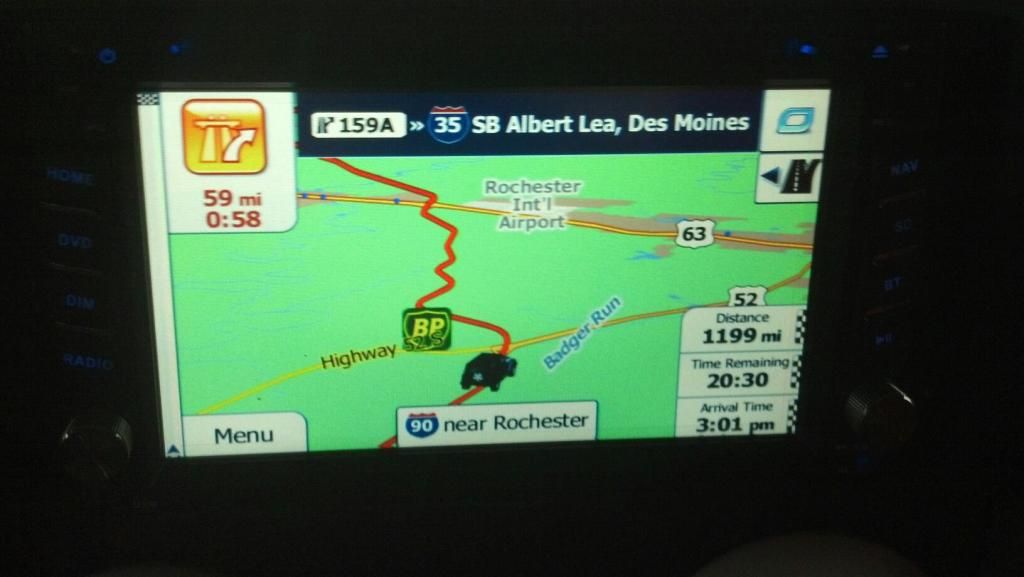
That was about it in Wisconsin, I then packed up and for some reason moved to Albuquerque New Mexico...

Once I got here and got to experience he new type of wheeling to do, alot of my build plan changed.
Now comes alot more of the fun stuff...

They installed easily.

Also installed were the gussets,sleeves,gears.

I then removed my stock reverse light bulbs and cut out the housing a little to fit in the wall-mart rock lights.

Got some more time to test the lift and all the others installed.


I opted to remove the cai and utility lights i had on and installed some ebay led lights and lightbar. I also Installed a chinese replica snorkel... Go ahead flame away.

Installed some basic tailight guards..

Next i removed the magnaflow exhaust and installed an MBRP offroad exhaust. Much happier with this one.

Also installed a poison spyder evap skid while i was there.

Next I ditched the ****tbilt rear tubular for an eautogrilles swing out tire carrier. This thing has been beat on pretty good and I have no complaints at all. Sure the coating got its *** kicked and it got dinged a little on rocks, but all in all i was happy.

Mounted my hi-lift to it by drilling 2 holes and putting 2 bolts thru them..

I then bought a hitch cargo rack from harbor freight for like 75 dollars and cut it up a little.

Grinded my swing out bumper to prepare it for the cargo carrier.

And walla.


That was about it in Wisconsin, I then packed up and for some reason moved to Albuquerque New Mexico...


Once I got here and got to experience he new type of wheeling to do, alot of my build plan changed.


Now comes alot more of the fun stuff...
01-21-2014, 04:21 PM
#3
JK Jedi
Thread Starter
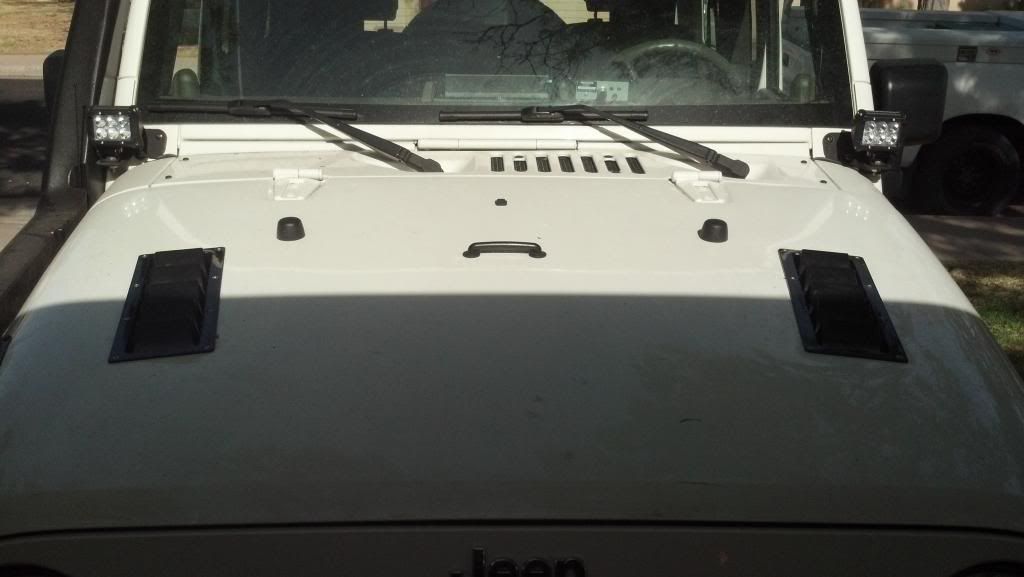
Next was a real quick basic install of some hood louvers as its hot as hell down here.
My stock bjs were about shot at this point having about 1/4 of play. So i swapped them with some synergy ones. Prolly used way more tools then needed.
This was my bj press. Id recommended anyone else doing this to just get the tool...
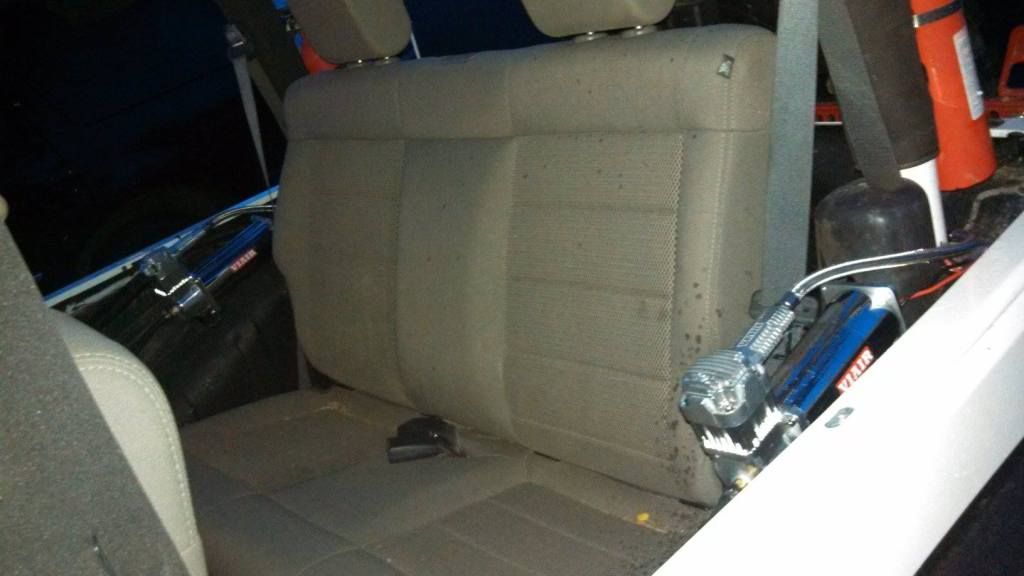
Got tired of driving a few miles to air up so I installed a 5 gallon tank.
I installed the dual viair 444cs here.
Next up i did the rubi locker modification as the stock set up really annoyed me.
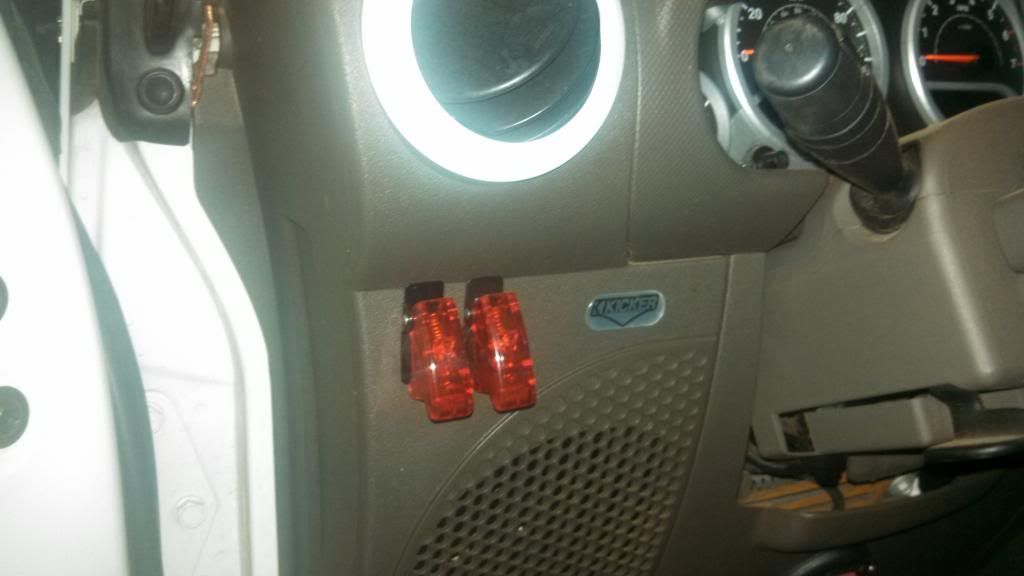
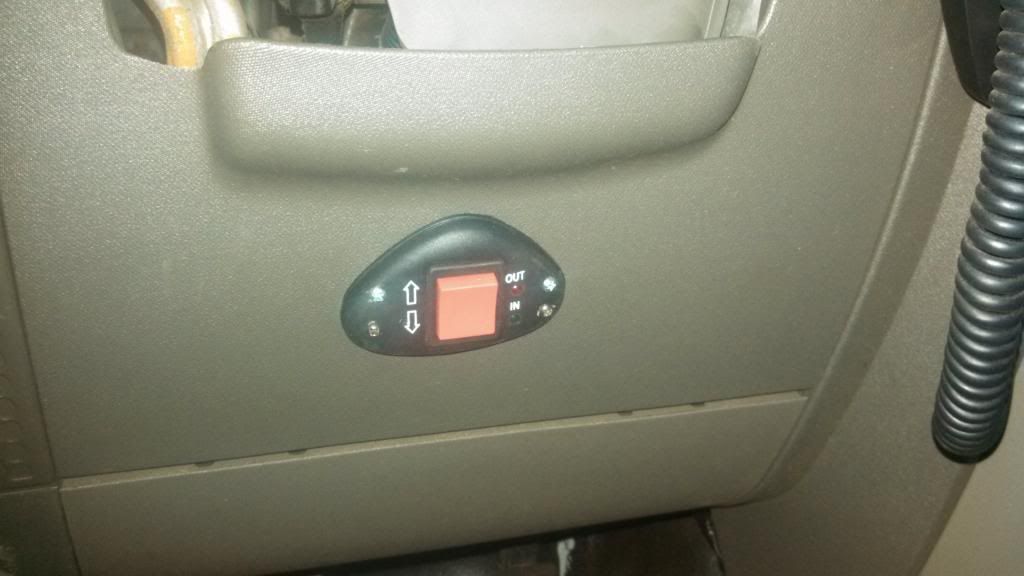
Also moved the winch controller into my dash.
Somewhere I bent my rear axle flanges so I installed some chromolys.

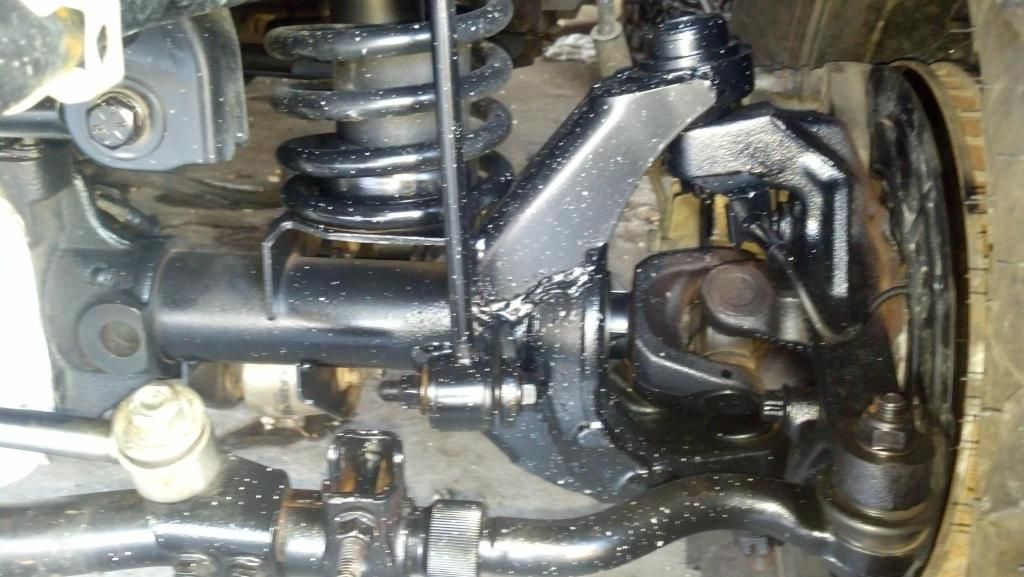
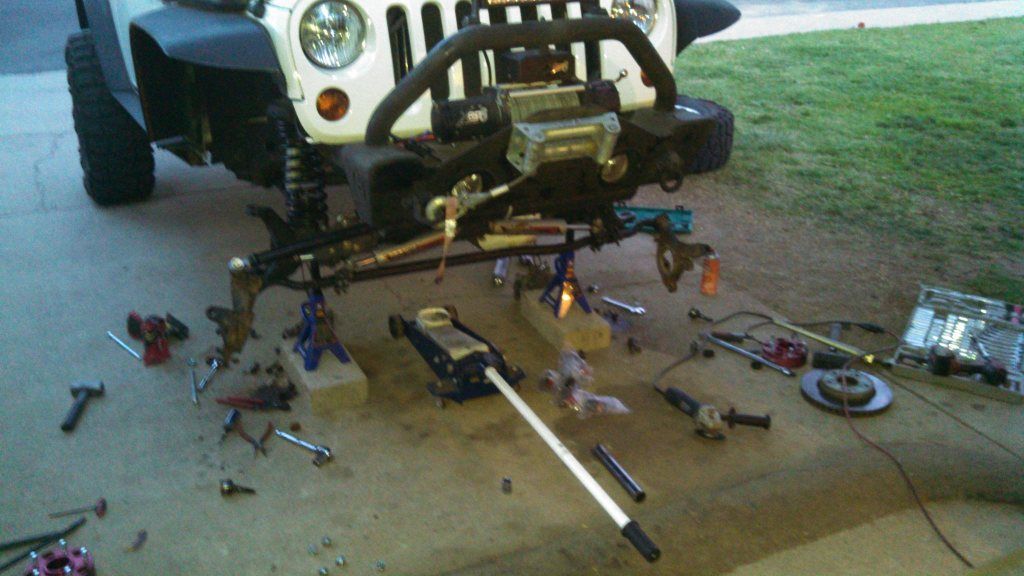
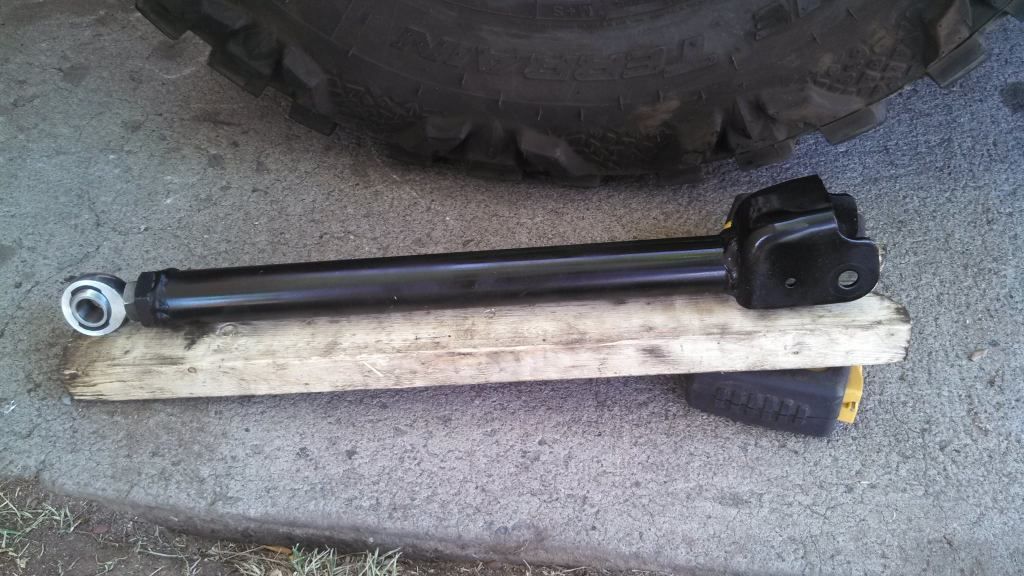
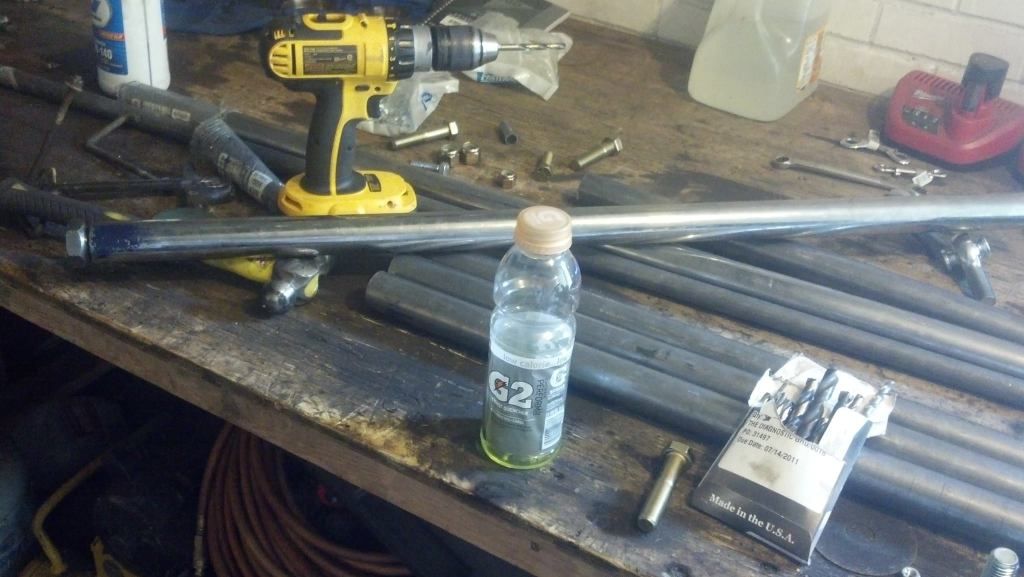
Got tired of the short wheel base and no good control arms. Started making my own. I used 1-1/2od x .250 wall dom tubing. The rest of the bungs and rod ends I got from Ballistic Fab.
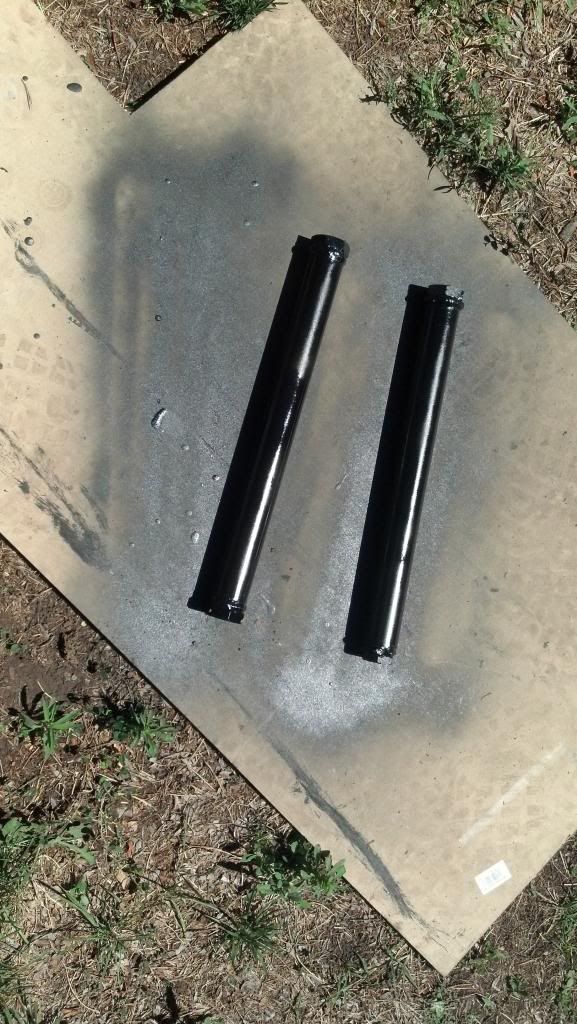

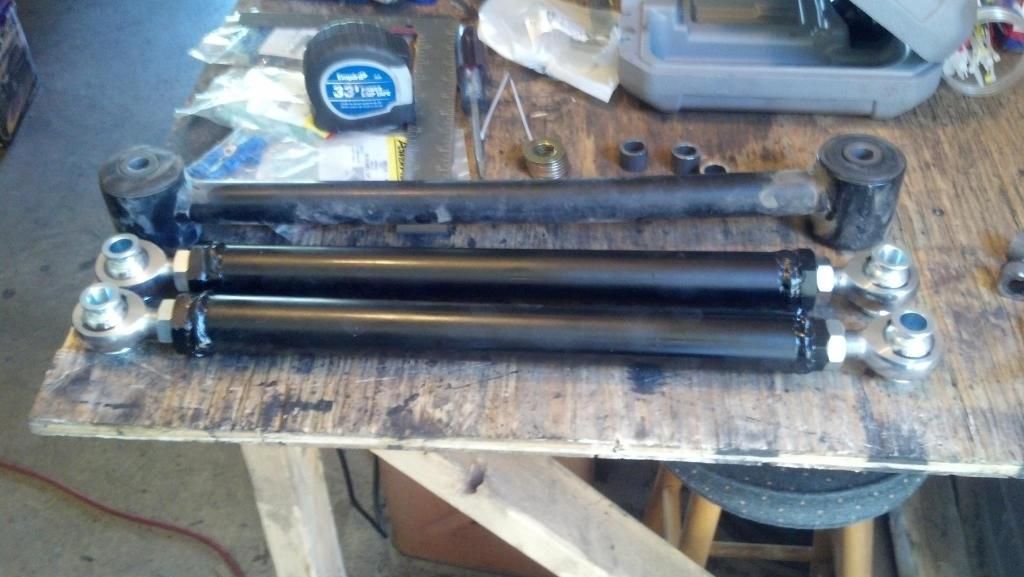
The front I ran into and issue because the axle mounts have massive bushings. Every other arm I could just drill out to 5/8 Bolts, not these. I had to reuse the stock end. So cut it off and weld it to the dom tubing I had.
Got the rear arms in and it will be pushing the axle back about 4" You can see where i will have to trim.
Here is the rear stretched and cut out. I dont have pictures, but I also had to move the coil mounts and trackbar. Track bar bracket I got was a ballistic fab weld together bracket. Not really for this application but it worked great. The coild mounts I welded to the axle using 1/4 flat stock for the Flat part and gussets.

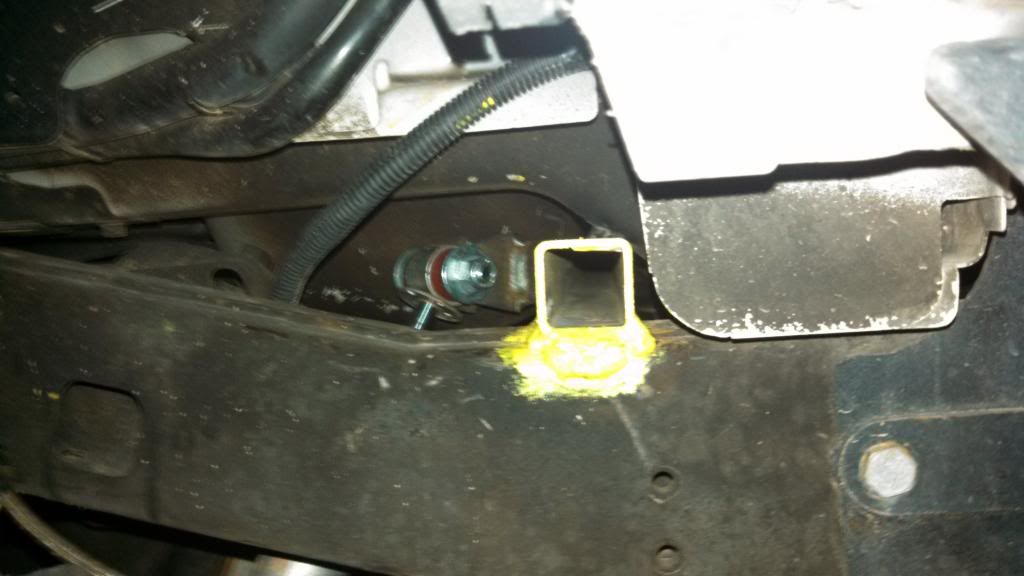
I got new shocks at this point some 12.5" travel shocks. With the stretch I had to move the rear sway bar and track bar. I also had to move the shock mounts. I welded a square tube that perfectly fit down to the frame and added tabs.

Heres a better pic of where it fits.
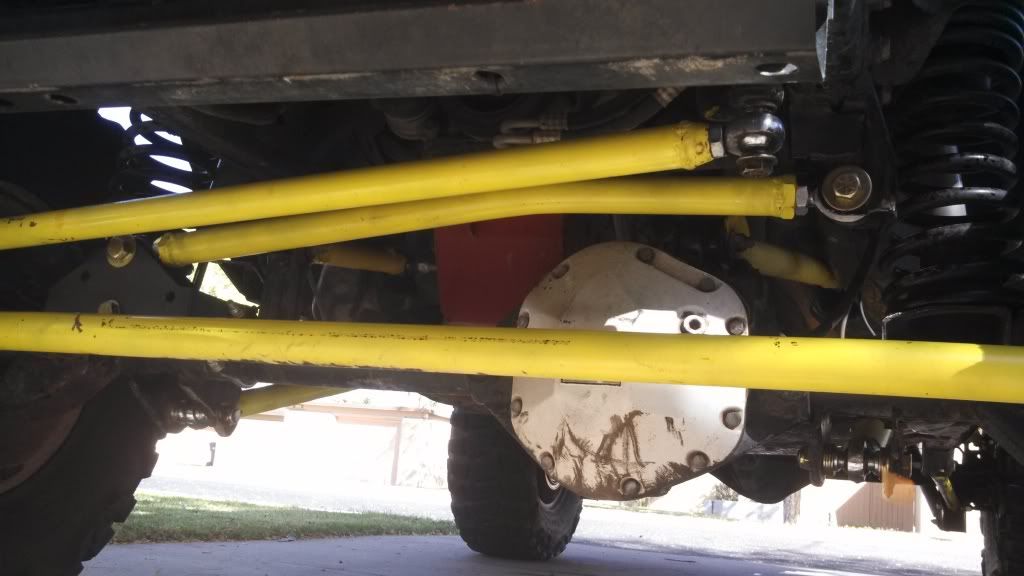
The front was also stretched about 1" but you cant really notice it to much. I should have went more...
Next up was a drag link. This was pretty straight forward...
At the same time i flipped it to the top of the knuckle and added a synergy track bar mount.
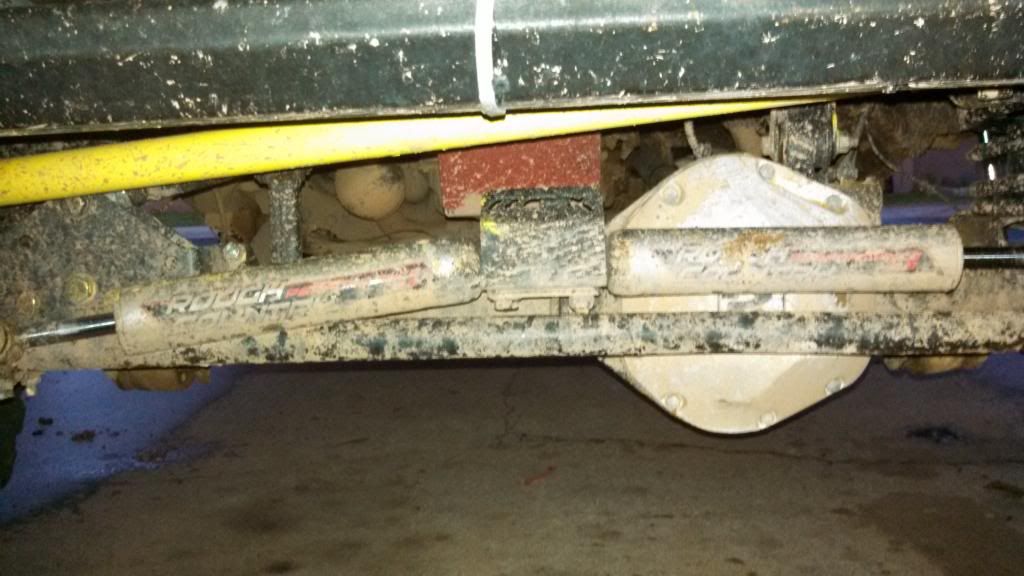
As you can see the pos dual ss is always getting hit so I removed it. Also fyi the drag link flip can be done safely on 2.5" on my rig. Everyone claims 3", but 2.5 is plenty safe.
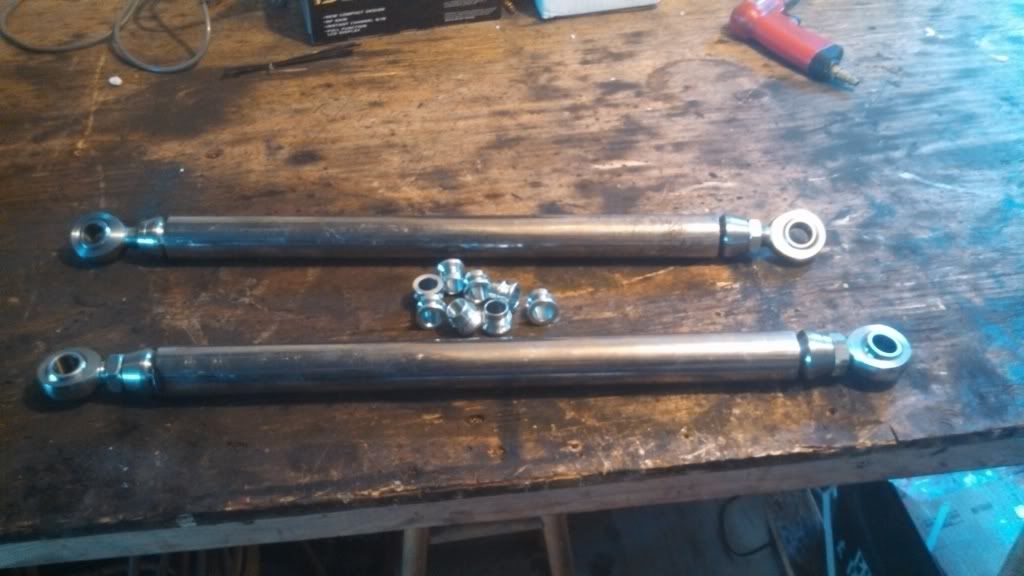
Next up was a track bar and tie rod.
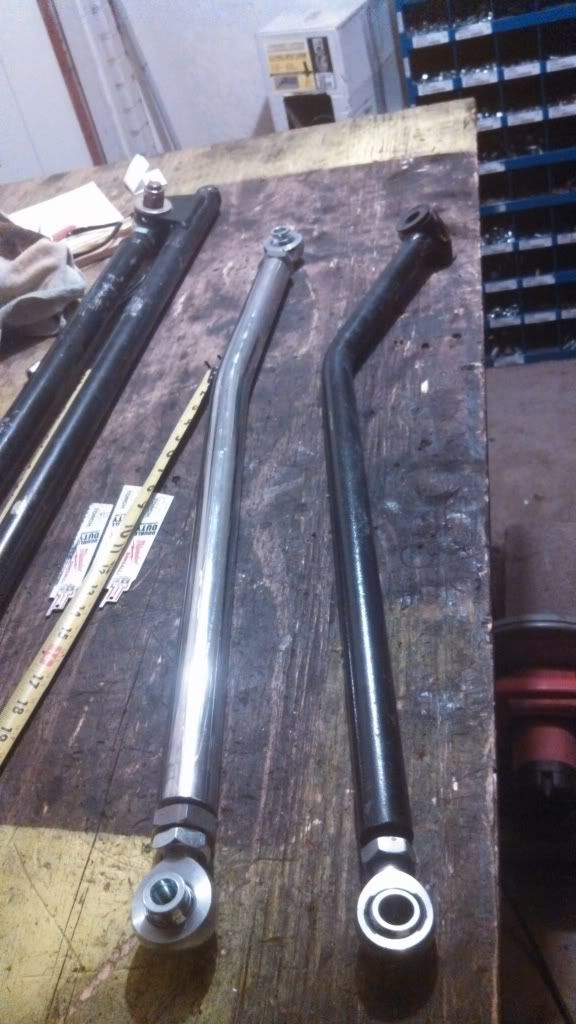
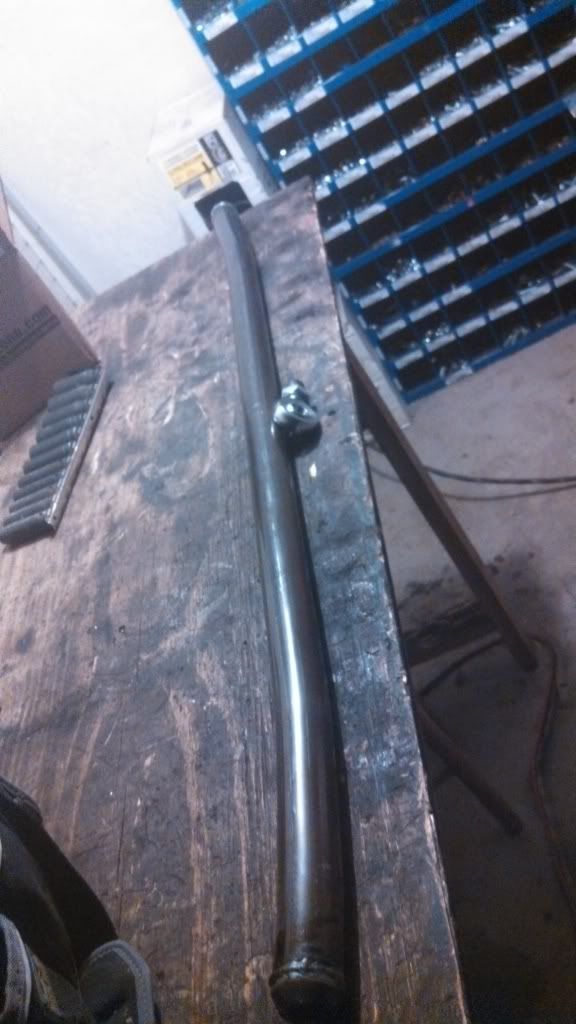
The 1.5"od x 1/4 wall tie rod got bent to **** the first trip...
I also made a rookie mistake and made the rod ends have mo alignment... This is what i got next.

So I upgraded to 1.75 od by 1/4... So far much better. Also used misalignment.
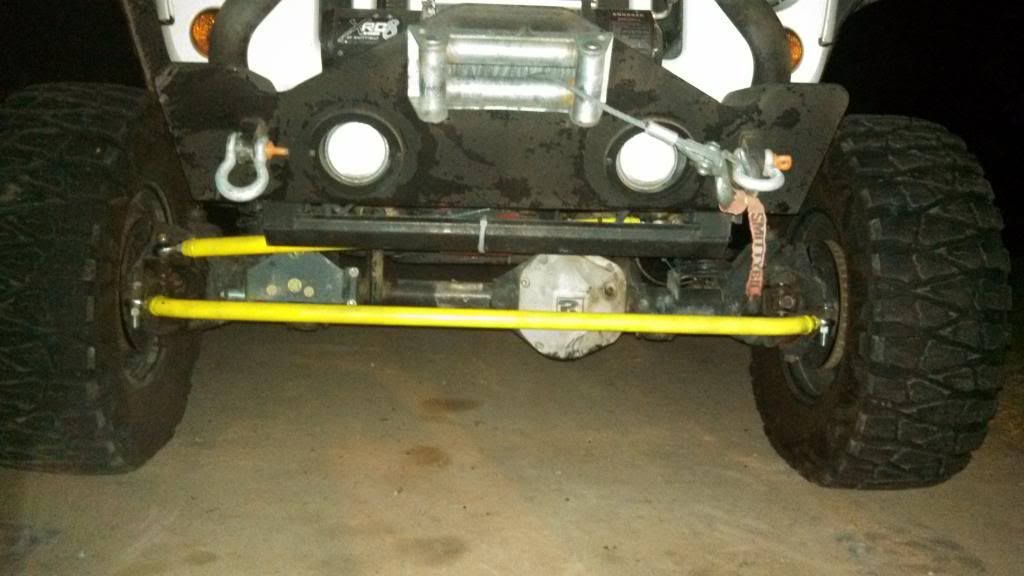
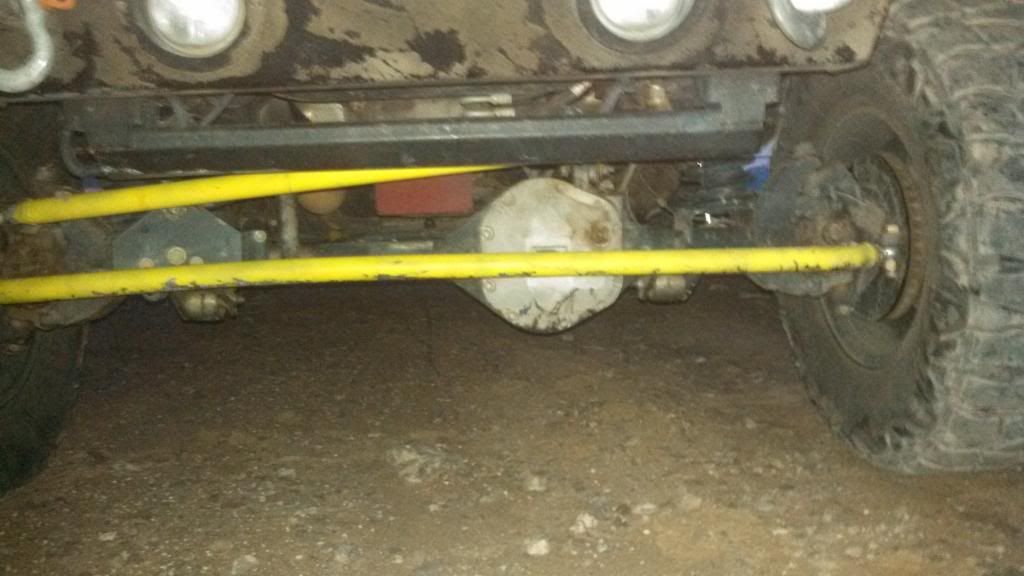
Heres everything installed.
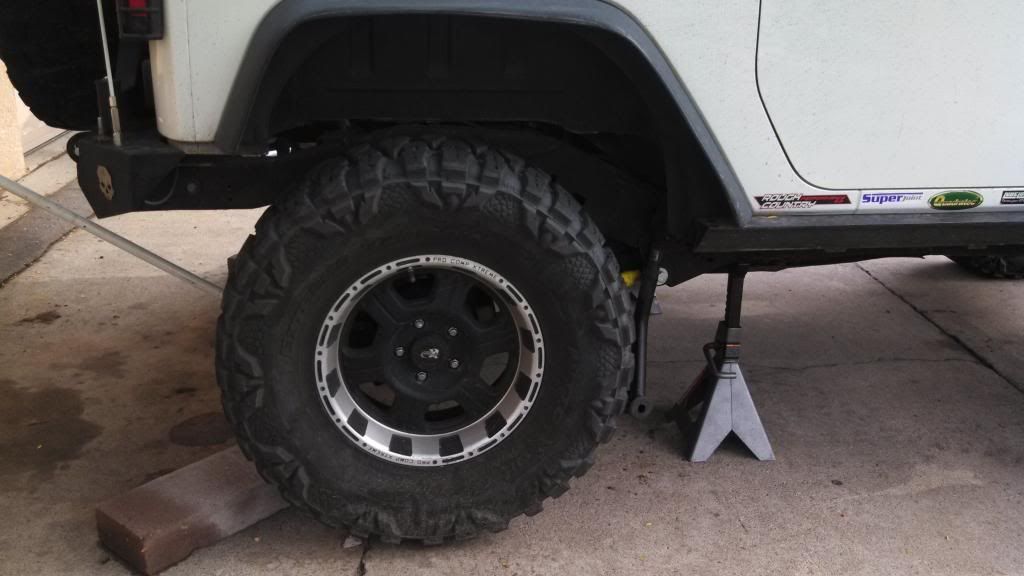
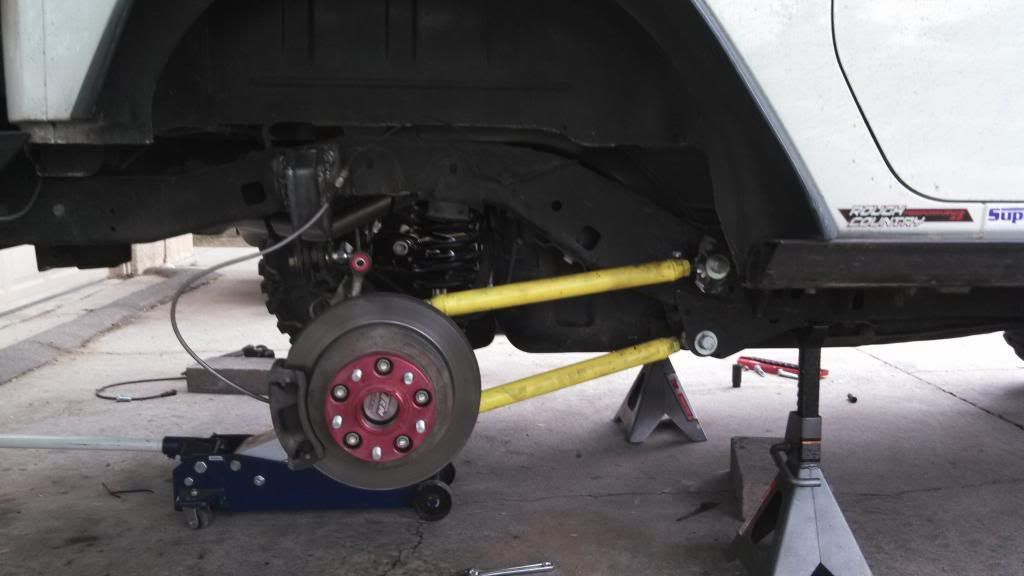
Tested out the new shocks, and RK 3.5 coils.
Worked out ok. But my shock was rubbing the frame, had to move the lower mount out a little. Also contrary to what most say the rear sway bar does limit the flex about 3" in my tests. I removed the front sway bar as its useless. Keeping the rear is plenty.


My stock bjs were about shot at this point having about 1/4 of play. So i swapped them with some synergy ones. Prolly used way more tools then needed.

This was my bj press. Id recommended anyone else doing this to just get the tool...

Got tired of driving a few miles to air up so I installed a 5 gallon tank.

I installed the dual viair 444cs here.

Next up i did the rubi locker modification as the stock set up really annoyed me.

Also moved the winch controller into my dash.

Somewhere I bent my rear axle flanges so I installed some chromolys.

Got tired of the short wheel base and no good control arms. Started making my own. I used 1-1/2od x .250 wall dom tubing. The rest of the bungs and rod ends I got from Ballistic Fab.


The front I ran into and issue because the axle mounts have massive bushings. Every other arm I could just drill out to 5/8 Bolts, not these. I had to reuse the stock end. So cut it off and weld it to the dom tubing I had.

Got the rear arms in and it will be pushing the axle back about 4" You can see where i will have to trim.


Here is the rear stretched and cut out. I dont have pictures, but I also had to move the coil mounts and trackbar. Track bar bracket I got was a ballistic fab weld together bracket. Not really for this application but it worked great. The coild mounts I welded to the axle using 1/4 flat stock for the Flat part and gussets.

I got new shocks at this point some 12.5" travel shocks. With the stretch I had to move the rear sway bar and track bar. I also had to move the shock mounts. I welded a square tube that perfectly fit down to the frame and added tabs.

Heres a better pic of where it fits.

The front was also stretched about 1" but you cant really notice it to much. I should have went more...

Next up was a drag link. This was pretty straight forward...

At the same time i flipped it to the top of the knuckle and added a synergy track bar mount.

As you can see the pos dual ss is always getting hit so I removed it. Also fyi the drag link flip can be done safely on 2.5" on my rig. Everyone claims 3", but 2.5 is plenty safe.
Next up was a track bar and tie rod.


The 1.5"od x 1/4 wall tie rod got bent to **** the first trip...

I also made a rookie mistake and made the rod ends have mo alignment... This is what i got next.

So I upgraded to 1.75 od by 1/4... So far much better. Also used misalignment.

Heres everything installed.

Tested out the new shocks, and RK 3.5 coils.


Worked out ok. But my shock was rubbing the frame, had to move the lower mount out a little. Also contrary to what most say the rear sway bar does limit the flex about 3" in my tests. I removed the front sway bar as its useless. Keeping the rear is plenty.
01-21-2014, 04:26 PM
#4
JK Jedi
Thread Starter
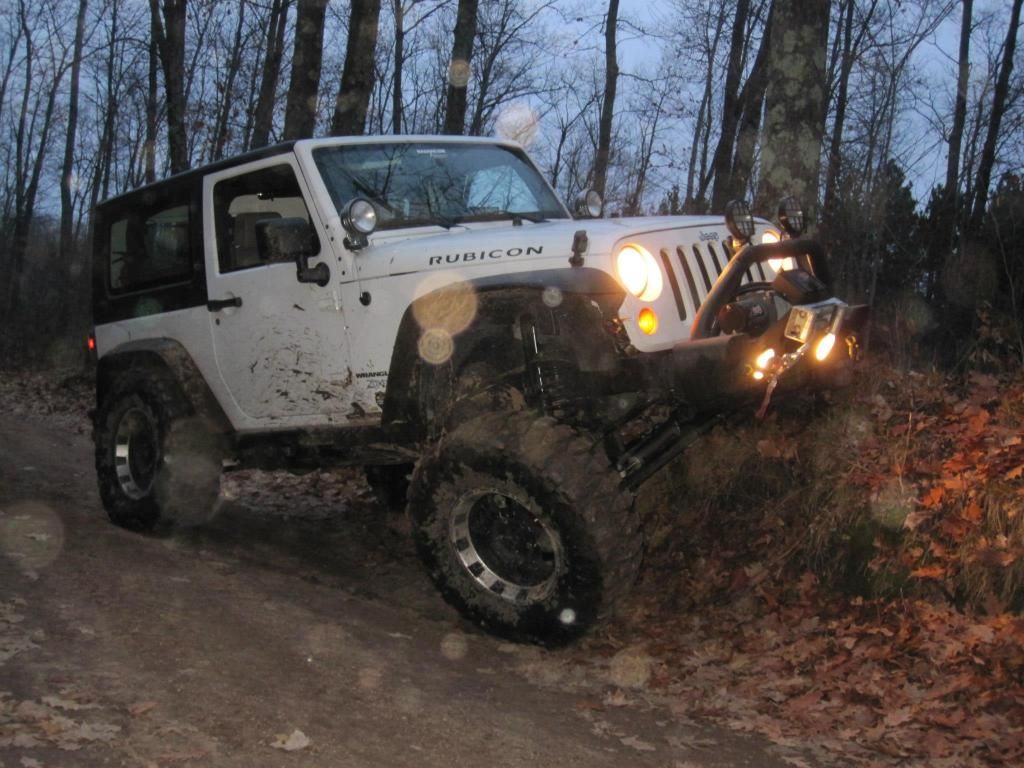
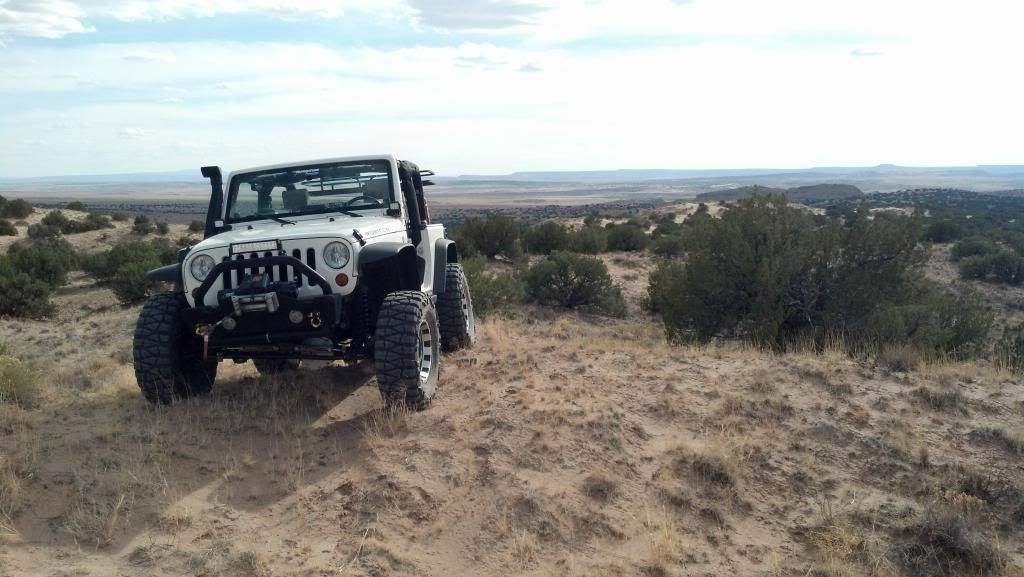
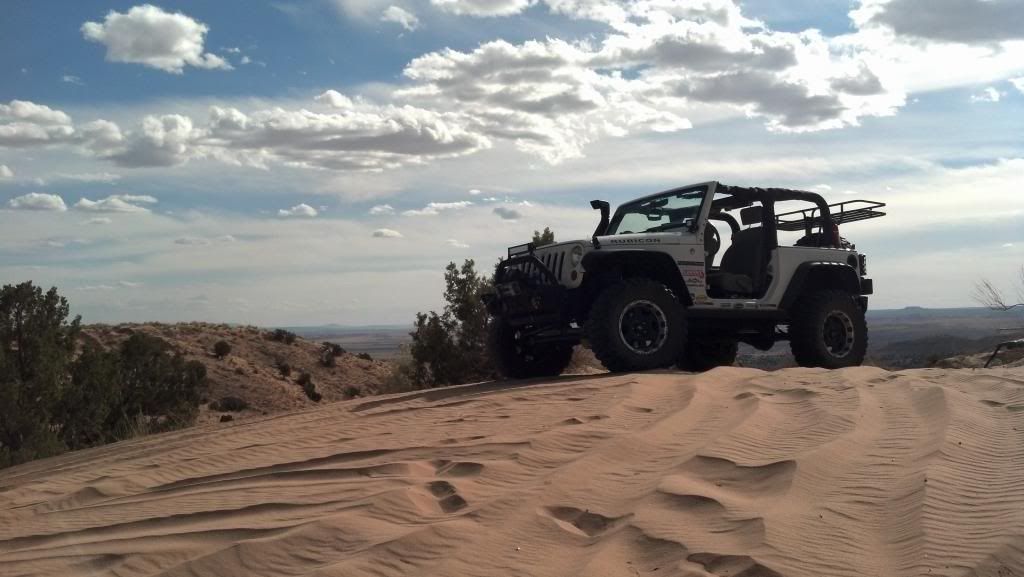
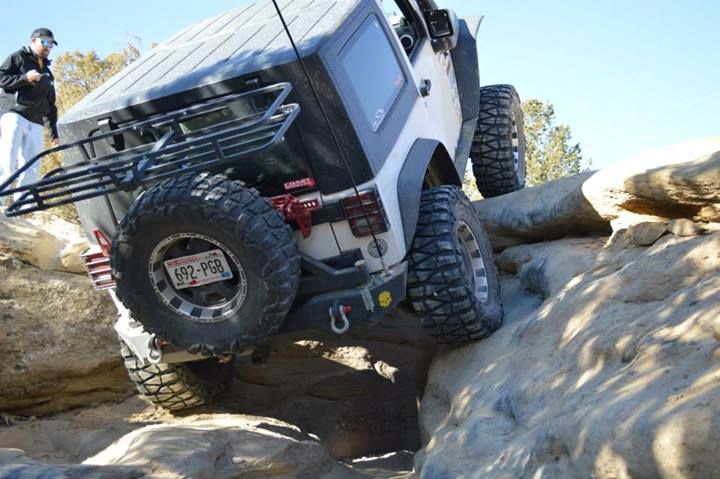
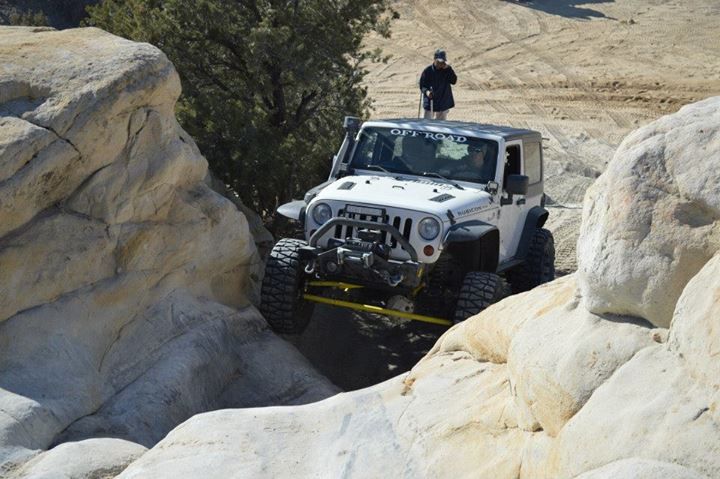
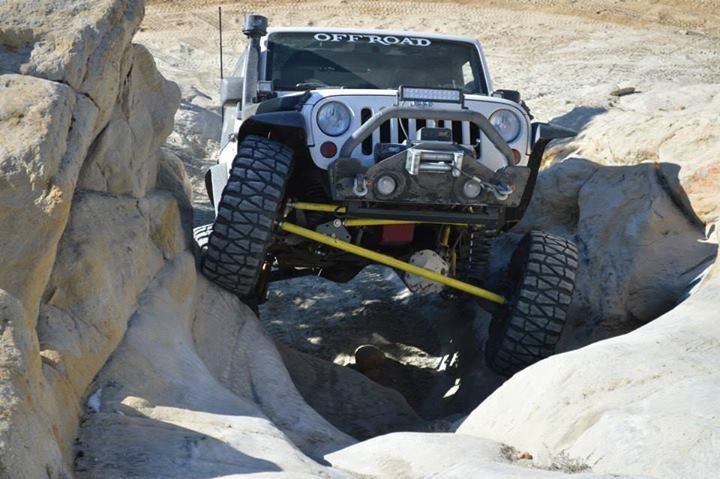
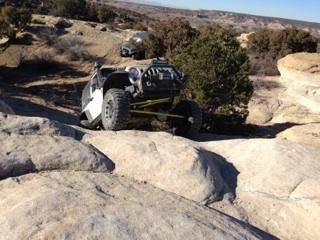
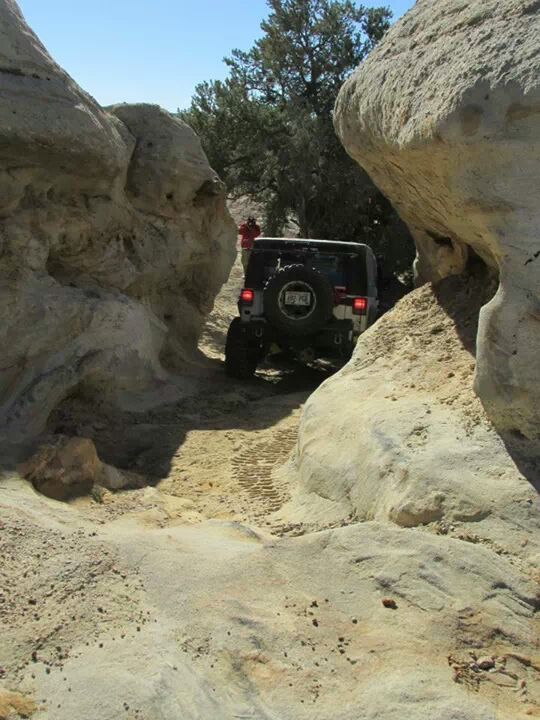
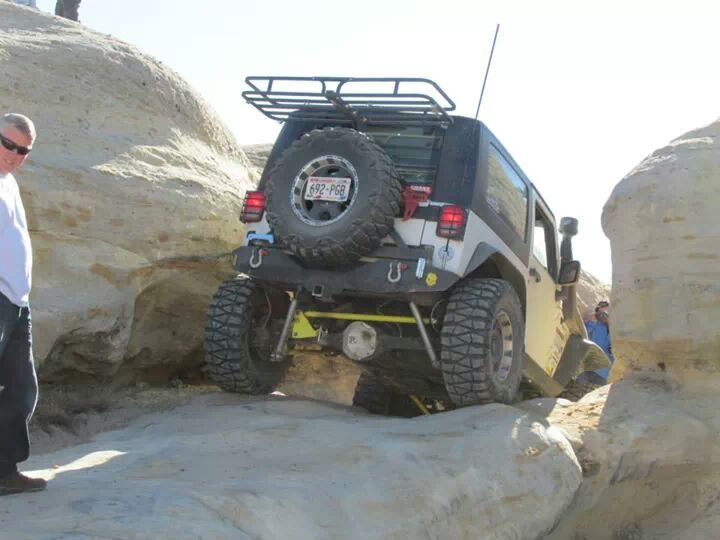
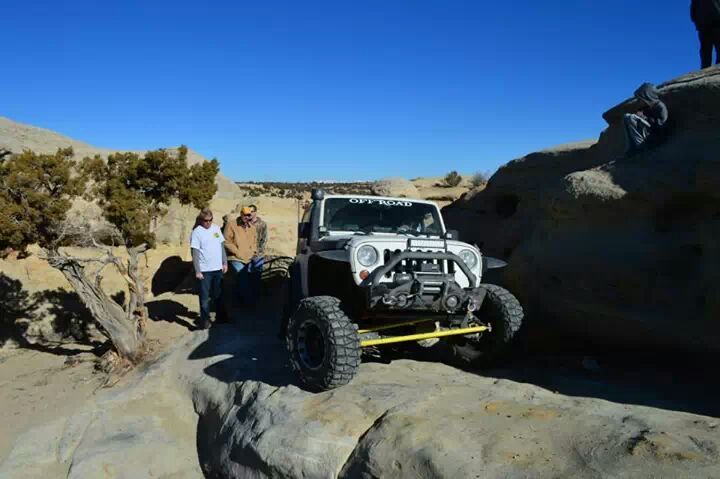
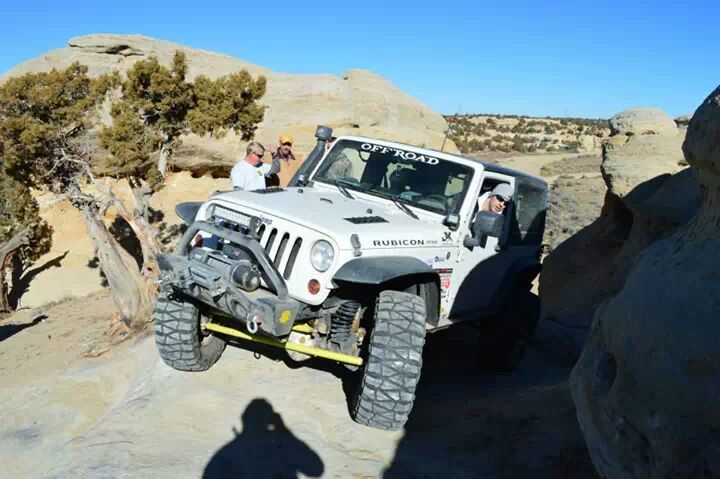
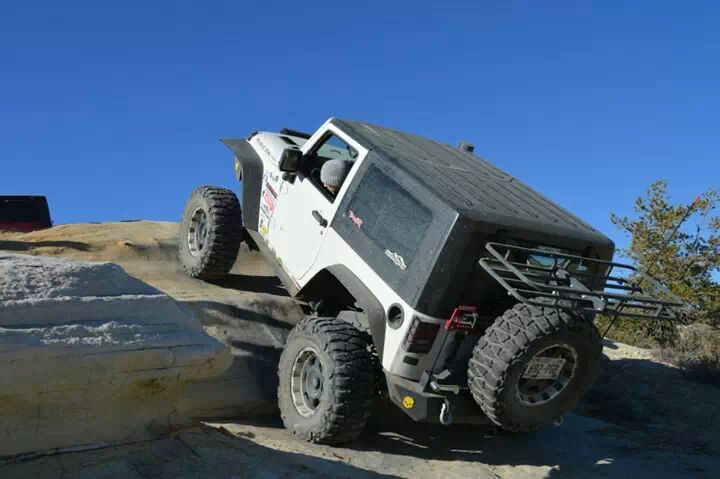
Did a little bit of trail riding...

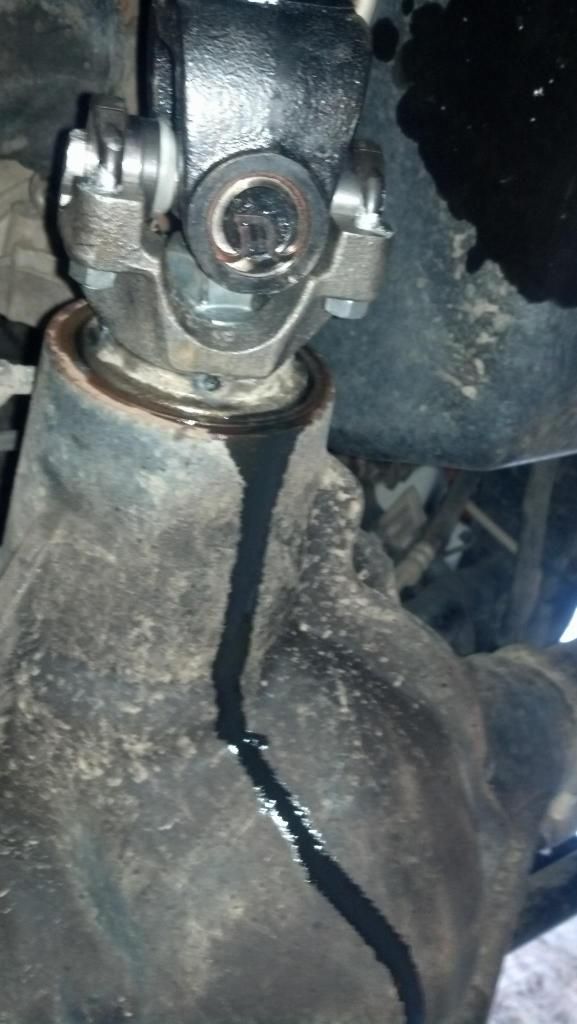
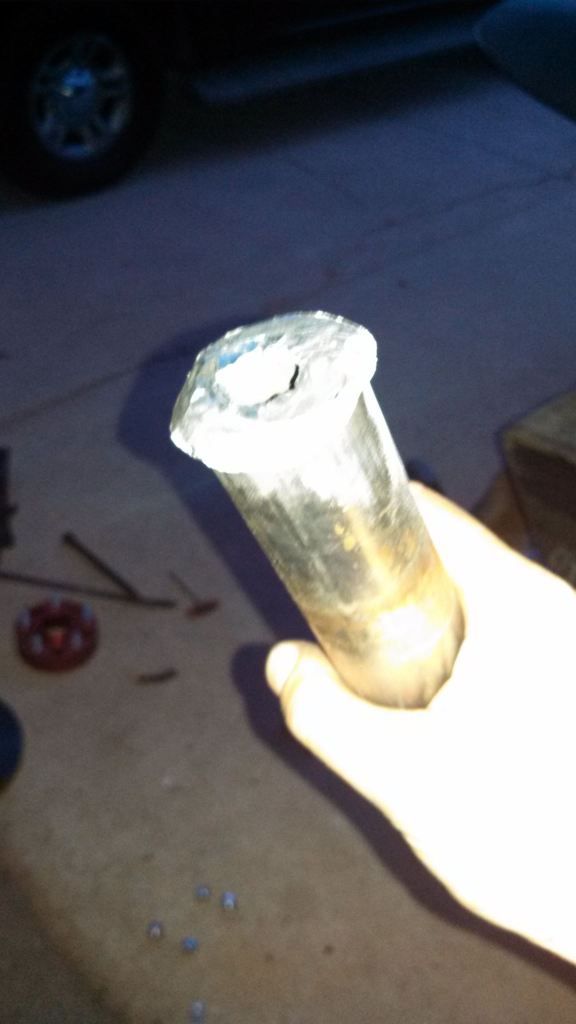
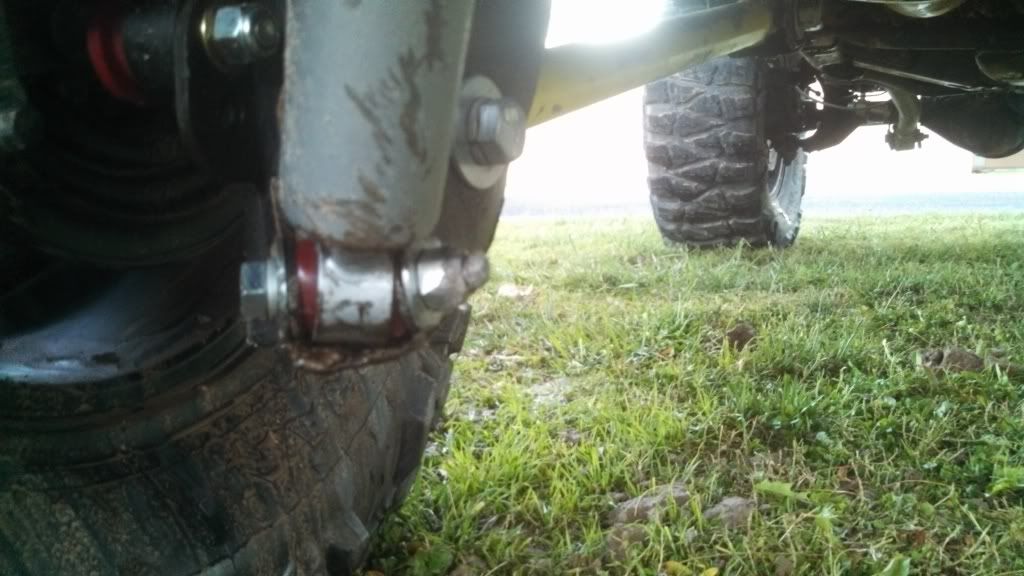
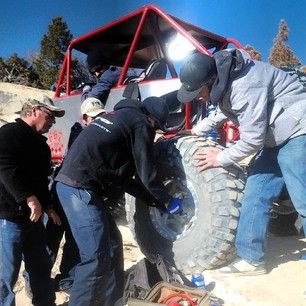
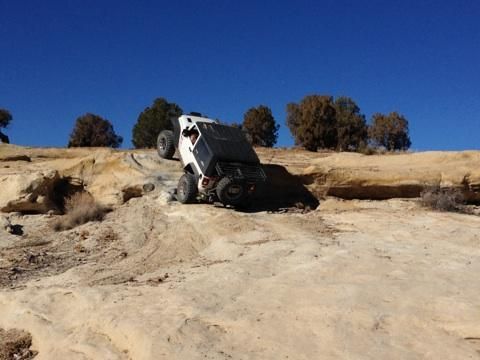
Then we took a pretty intense trail and this happened...
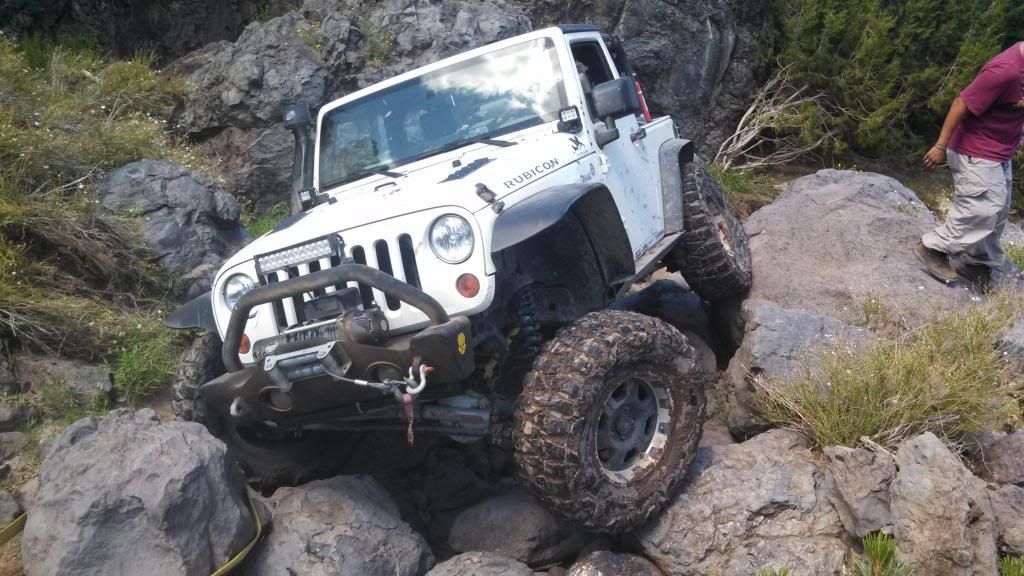
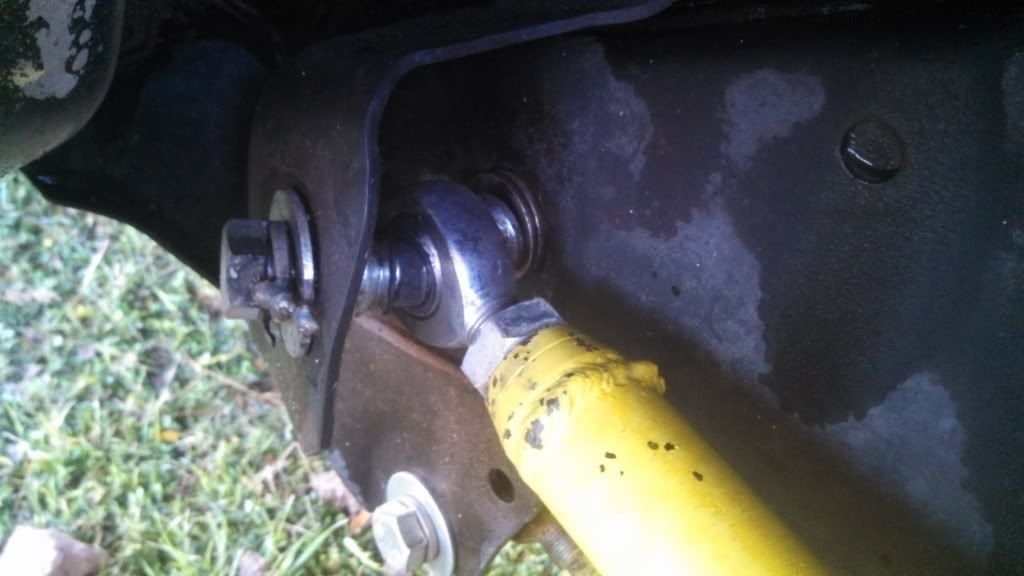
Heres a closer look.

It also almost took out my bj.

We just pulled the shaft and drove home. I ordered up some alloy usa chromolys and havent had another problem....yet.
Learned the hard way on a few g5 bolts. So i swapped everything to grade 8.
Few more carnage pics...

Had some issues with the rear coils coming out. So I had to make some coil retainers top and bottom...

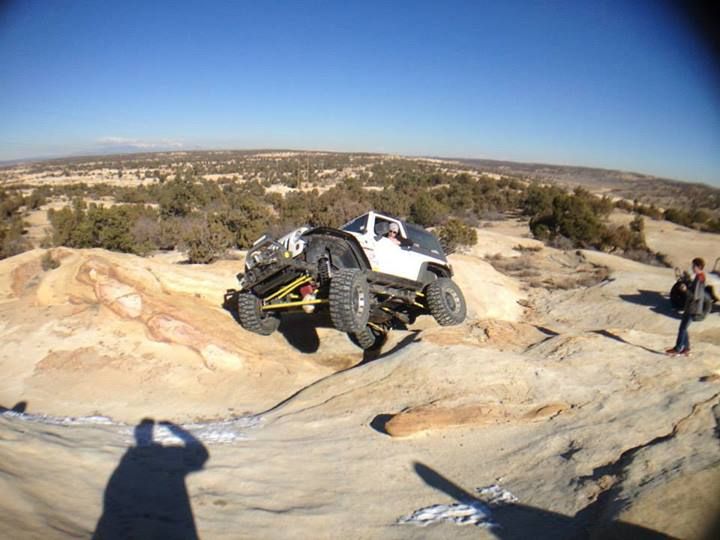
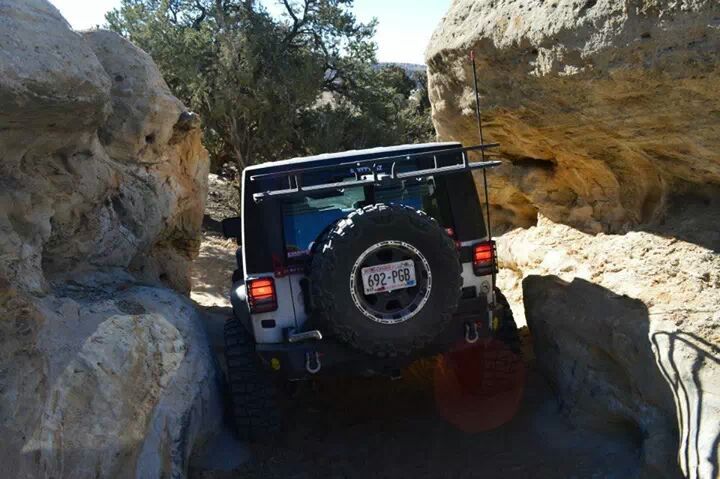
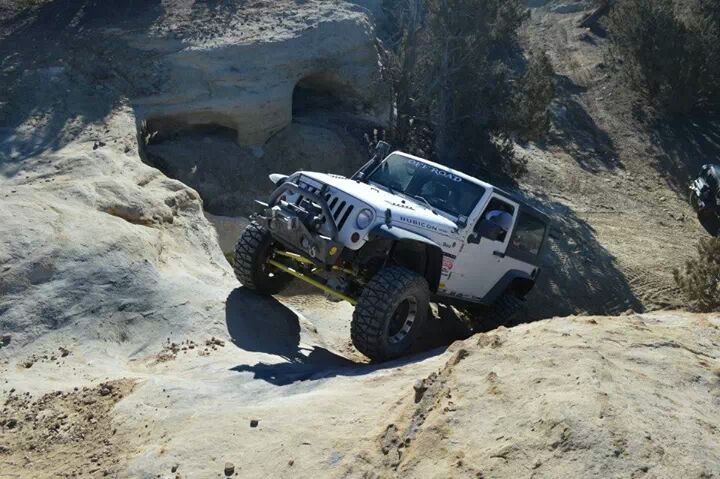
Some more wheeling and measurements...Testing clearance.
I have since moved to Farmington and havent done much since. Except Explore.


I will however be getting a metalcloak rear trackbar brace, so I will be installing that and making a rear track bar as well. SO that will be coming up soon. Heres a quick mock up.
Well thats my super quick recap. Im sure I missed a ton of stuff and I know i didnt go into much detail, I always forget to take pics...Slowly getting better...Ive learned tons just in this project alone...The whole time in albuquerque we were also working on this guys build. My YJ build/adventures Thread - Page 6 - JeepForum.com
Hes the one who helped do all of the welding.
Painted the rear track bar bracket, but will probably be awhile to install it. Still need to drill it out and make the rear track bar.. Waiting on rod ends...
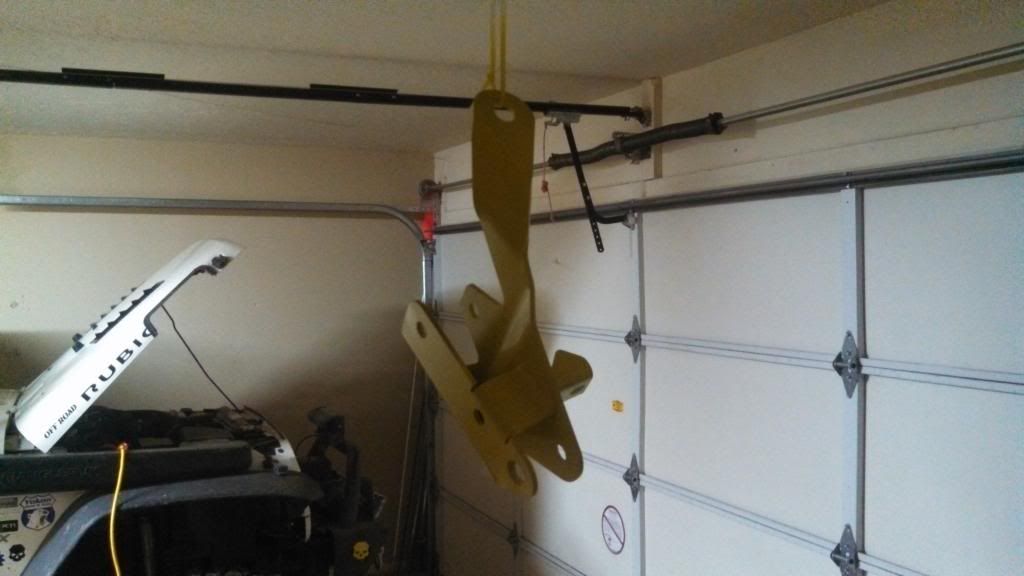
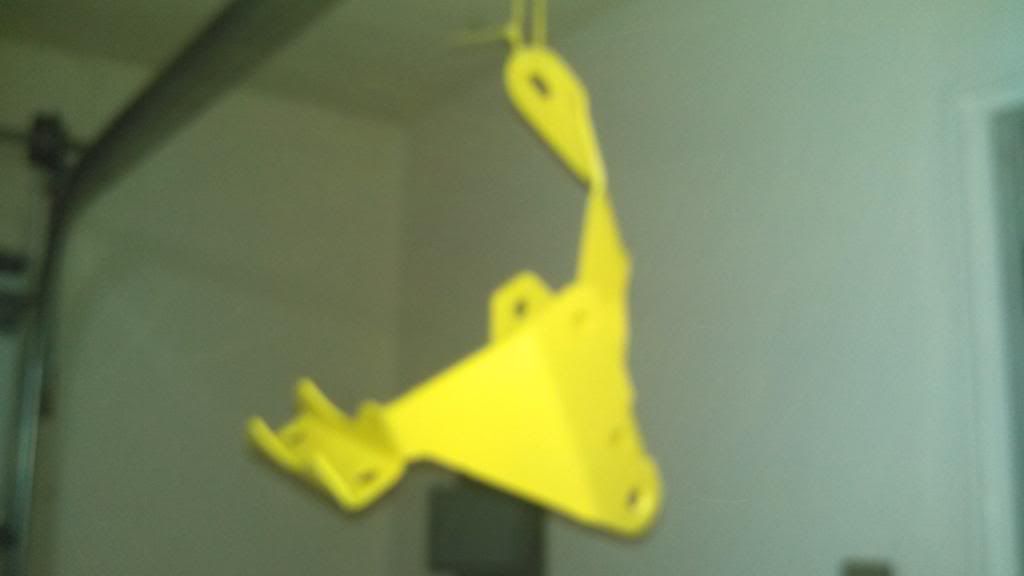
Painted the rear track bar bracket, but will probably be awhile to install it. Still need to drill it out and make the rear track bar.. Waiting on rod ends...
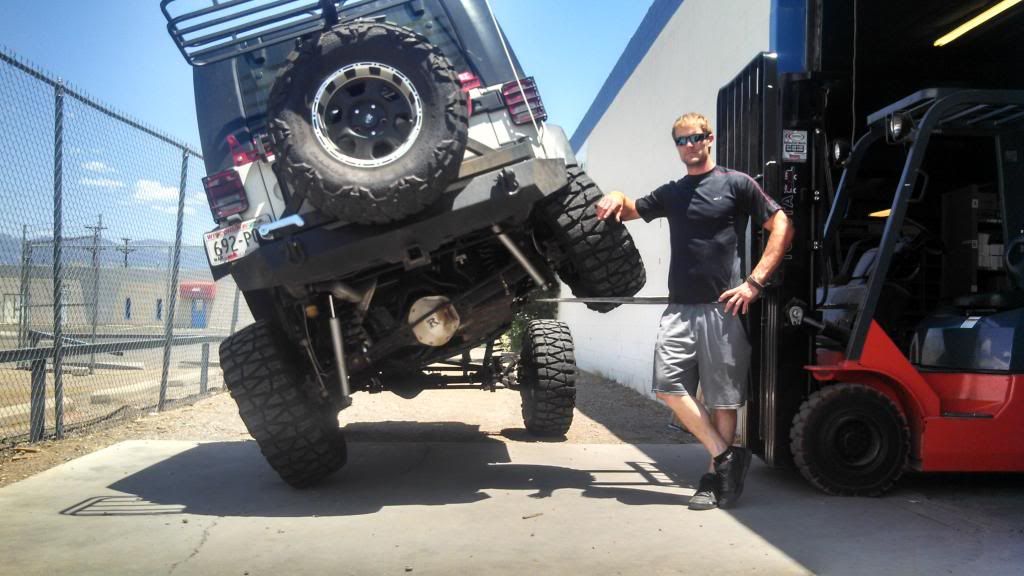
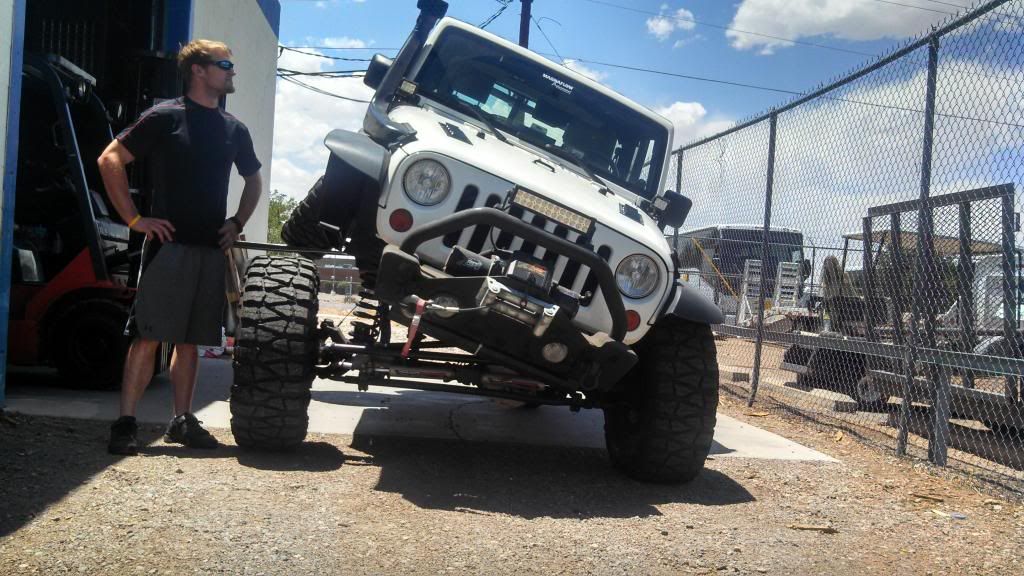
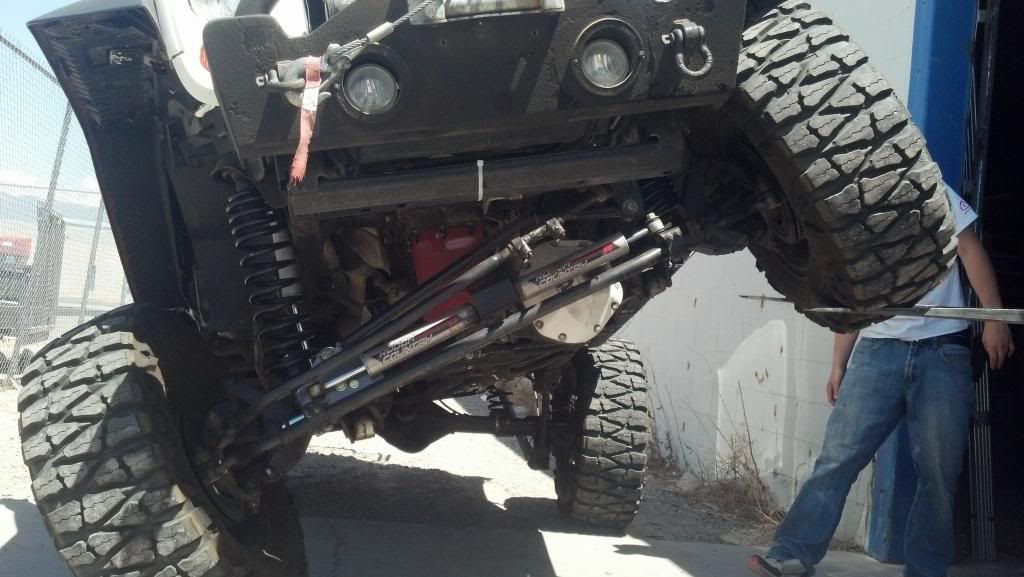
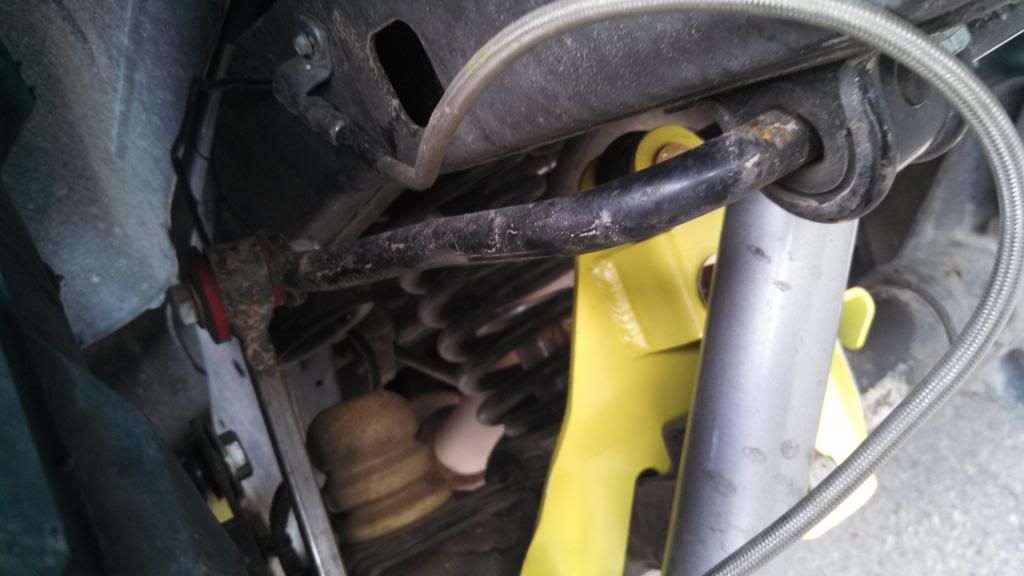
Well threw the jeep on the forklift to get a half *** idea if it would hit with this Eiffel tower in the back. Its damn close, but it just might clear at full stuff.. I may need to cut out the old shock mount location in the worst case scenario.

No damn clue why its about 6.5" up though. im still not sure I want to run it that high as my fronts only raised 3.5"... I also cant use the second hole down due to the crap design of this.. I feel it would be come pretty weak cutting it up enough to get it to fit. That second hole would be ideal. My track bar will be damn near level in the top hole....Would make the track bar simple though with no bends possibly.
Side note, best radio reception ever...
After researching all of this more though, the Metalcloak rear trackbar bracket is a damn good option and the height doesnt matter one bit.
Well track bar is almost ready to get welded and tested out.

Hopefully this weekend I can see if it will hit anything.
Also played around with my suspension geometry slightly.
On my rig with the mc bracket in the rear raising it 6.5" (wich barely hits my frame on uptravel) and the front raised 3.0" (synergy kit) my roll centers are 22.3" rear and 22" front. That seems fine imo. Slight understeer, but nothing major. I need to work on the rear antisquat a tad bit though, but its hard to figure out the exact sprung mass cg. I might call it good. To fix it though i would have to raise my rear lower arms, at the same time I would raise the shock mounts. It would only gain about 1" Clearance on the arms and maybe 1/2 on the shocks... The more i look at there bracket its a good setup.
Got the rear track bar finished.

While testing it out i broke this...
Fixed it up.


Then we took a pretty intense trail and this happened...

Heres a closer look.

It also almost took out my bj.

We just pulled the shaft and drove home. I ordered up some alloy usa chromolys and havent had another problem....yet.
Learned the hard way on a few g5 bolts. So i swapped everything to grade 8.


Few more carnage pics...


Had some issues with the rear coils coming out. So I had to make some coil retainers top and bottom...

Some more wheeling and measurements...Testing clearance.


I have since moved to Farmington and havent done much since. Except Explore.


I will however be getting a metalcloak rear trackbar brace, so I will be installing that and making a rear track bar as well. SO that will be coming up soon. Heres a quick mock up.

Well thats my super quick recap. Im sure I missed a ton of stuff and I know i didnt go into much detail, I always forget to take pics...Slowly getting better...Ive learned tons just in this project alone...The whole time in albuquerque we were also working on this guys build. My YJ build/adventures Thread - Page 6 - JeepForum.com
Hes the one who helped do all of the welding.
Painted the rear track bar bracket, but will probably be awhile to install it. Still need to drill it out and make the rear track bar.. Waiting on rod ends...


Painted the rear track bar bracket, but will probably be awhile to install it. Still need to drill it out and make the rear track bar.. Waiting on rod ends...
Well threw the jeep on the forklift to get a half *** idea if it would hit with this Eiffel tower in the back. Its damn close, but it just might clear at full stuff.. I may need to cut out the old shock mount location in the worst case scenario.

No damn clue why its about 6.5" up though. im still not sure I want to run it that high as my fronts only raised 3.5"... I also cant use the second hole down due to the crap design of this.. I feel it would be come pretty weak cutting it up enough to get it to fit. That second hole would be ideal. My track bar will be damn near level in the top hole....Would make the track bar simple though with no bends possibly.

Side note, best radio reception ever...
After researching all of this more though, the Metalcloak rear trackbar bracket is a damn good option and the height doesnt matter one bit.
Well track bar is almost ready to get welded and tested out.

Hopefully this weekend I can see if it will hit anything.
Also played around with my suspension geometry slightly.
On my rig with the mc bracket in the rear raising it 6.5" (wich barely hits my frame on uptravel) and the front raised 3.0" (synergy kit) my roll centers are 22.3" rear and 22" front. That seems fine imo. Slight understeer, but nothing major. I need to work on the rear antisquat a tad bit though, but its hard to figure out the exact sprung mass cg. I might call it good. To fix it though i would have to raise my rear lower arms, at the same time I would raise the shock mounts. It would only gain about 1" Clearance on the arms and maybe 1/2 on the shocks... The more i look at there bracket its a good setup.
Got the rear track bar finished.


While testing it out i broke this...

Fixed it up.
 01-21-2014, 04:27 PM
#5
JK Jedi
Thread Starter
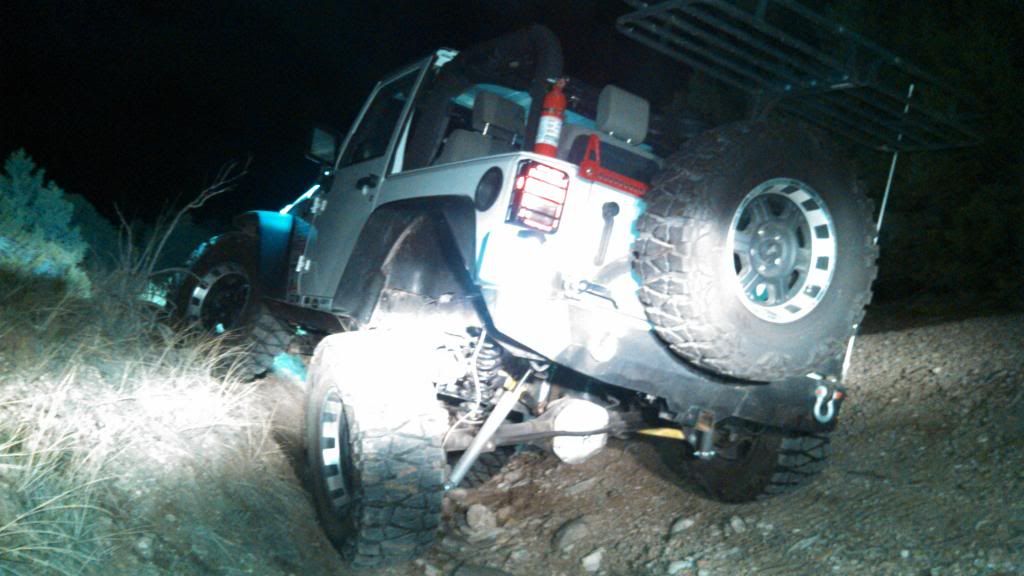
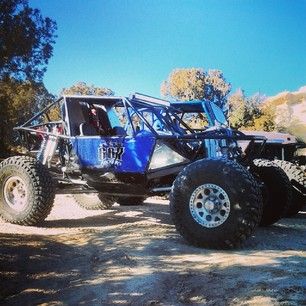
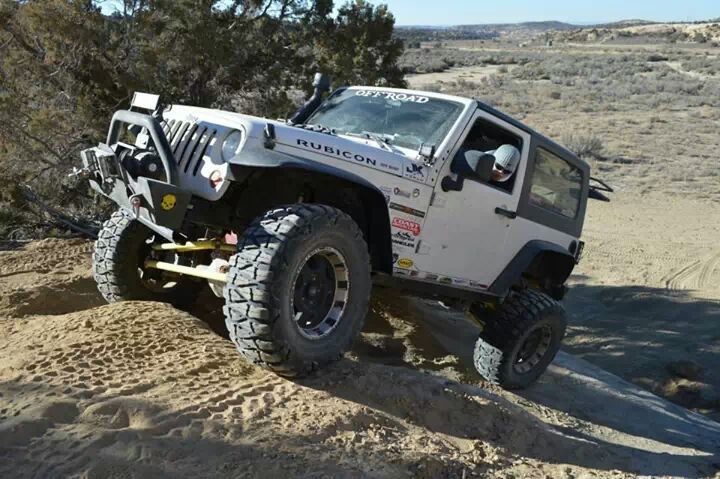
Well got out to play with 4x4tricks and the 667 rockers a little bit today.


A few from when randon and rambo came out wheeling last weekend.

Rambo even managed to blow a cv...^^^^^
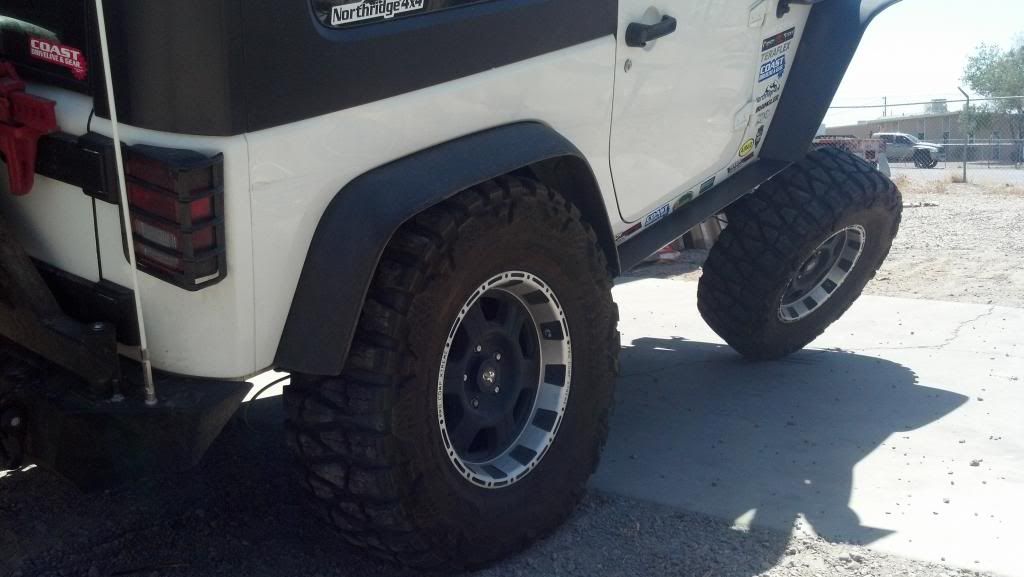
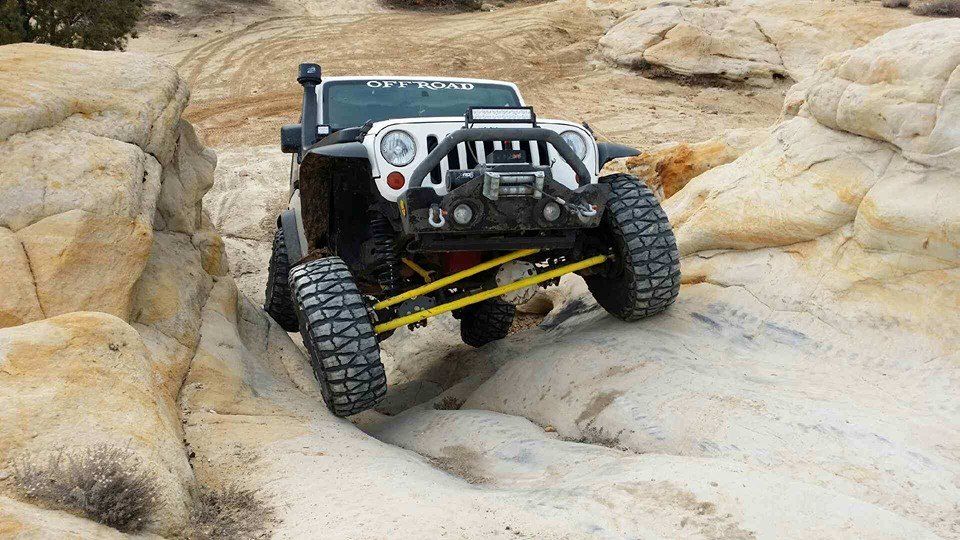
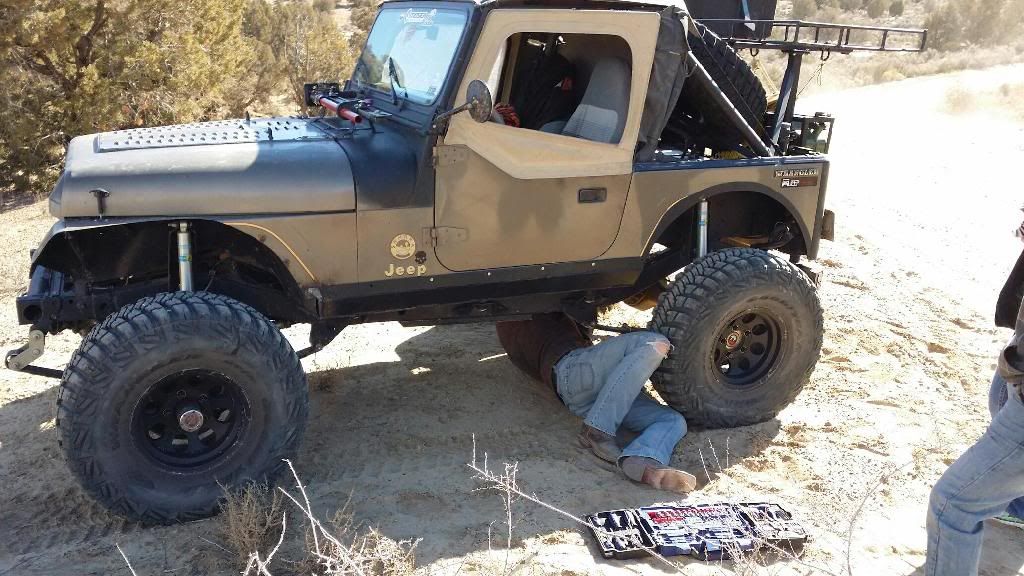
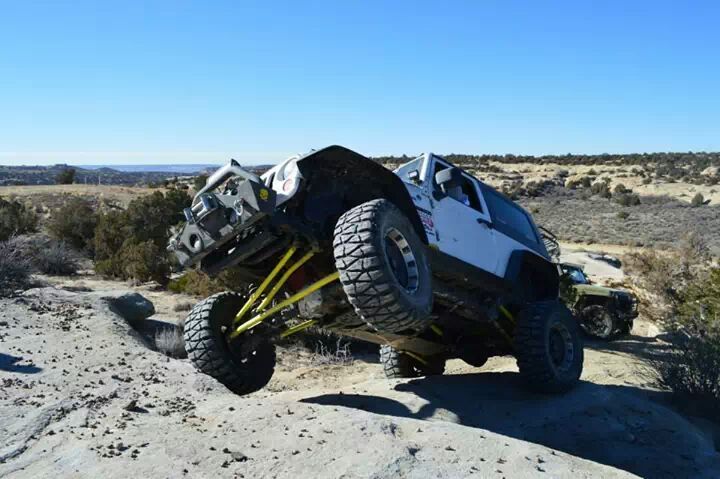
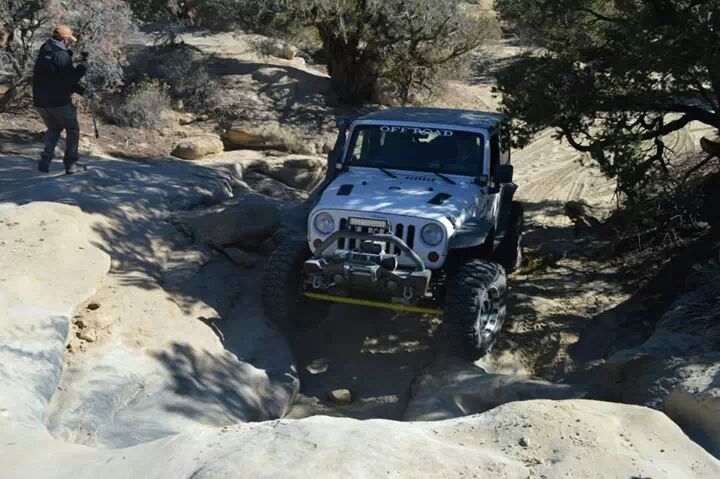
A quick comparison from rambos yj to my jks ground clearance.

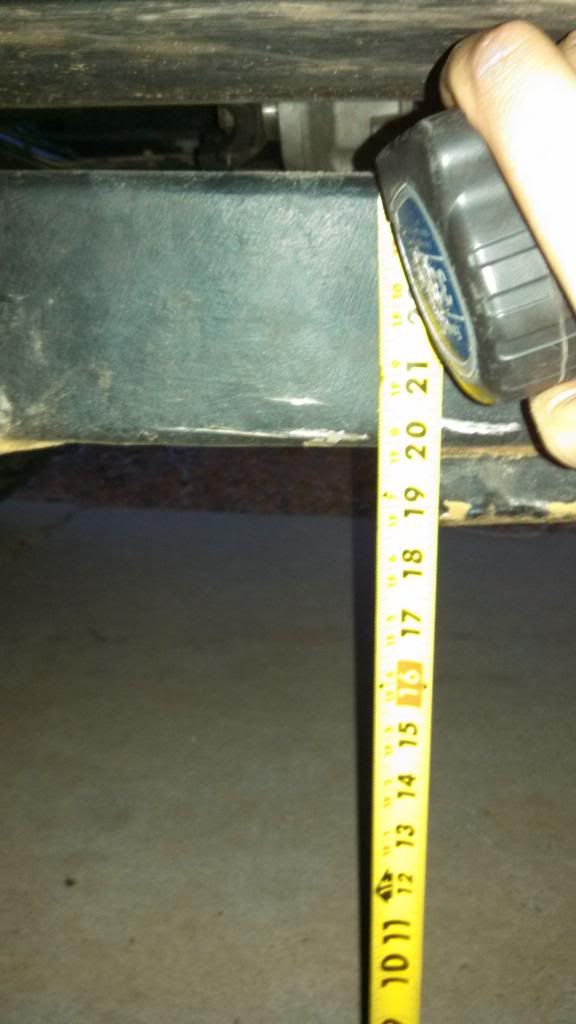

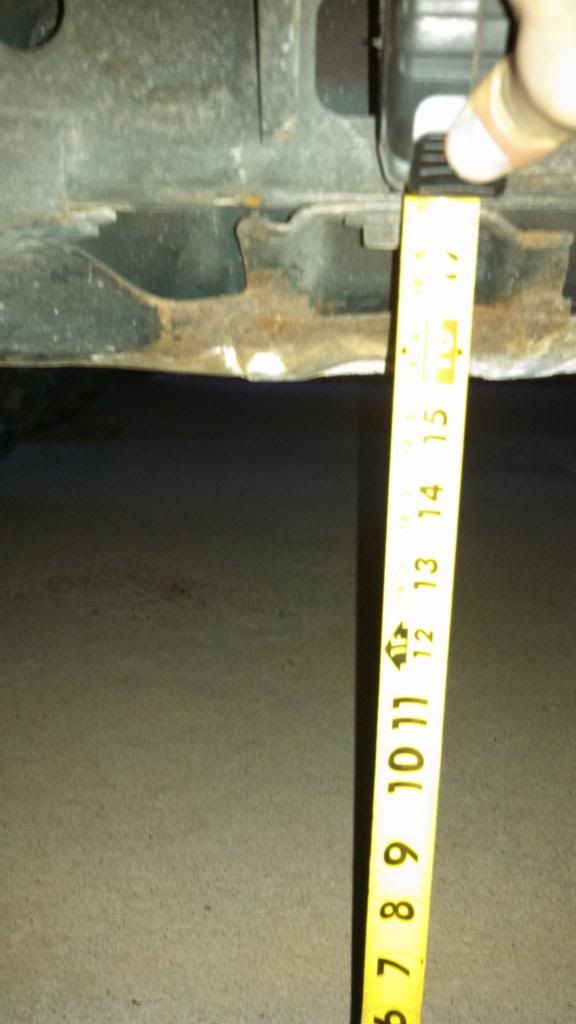
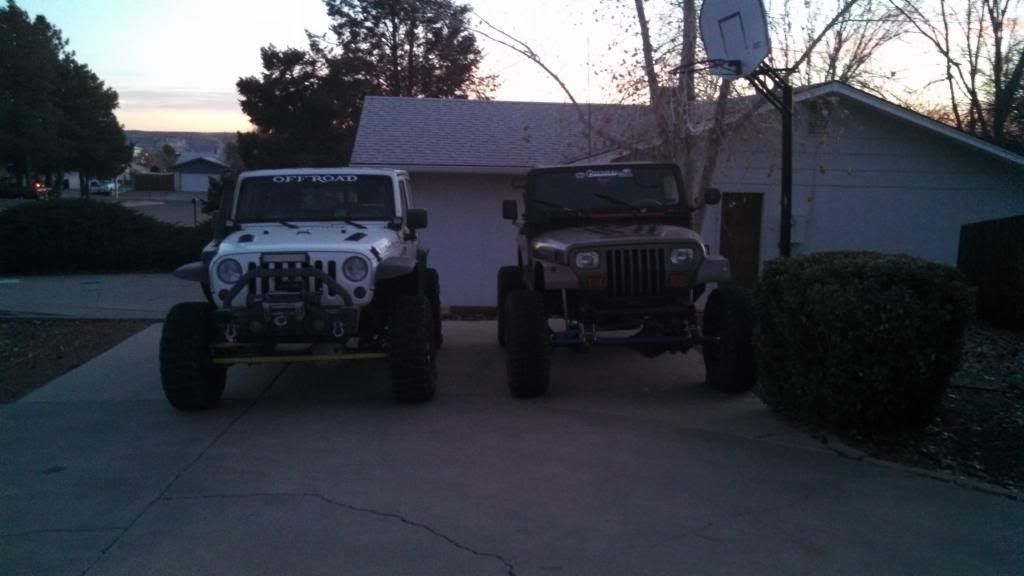
My driveway slopes slighlty, but we have same tire size and almost identical lift height. Excuse my **** pictures though...
Well another weeekend down. We had a blast with the NMORJG and our local group 4x4tricks.


All in all a pretty mild trail day...
Sorry some of you maybe have seen alot of this before in other threads or in my old recap, but I wanted to try and copy all the stuff from my other build thread and figured it would be easier then editing and trying to reorganize the other thread.


A few from when randon and rambo came out wheeling last weekend.


Rambo even managed to blow a cv...^^^^^
A quick comparison from rambos yj to my jks ground clearance.


My driveway slopes slighlty, but we have same tire size and almost identical lift height. Excuse my **** pictures though...
Well another weeekend down. We had a blast with the NMORJG and our local group 4x4tricks.


All in all a pretty mild trail day...
Sorry some of you maybe have seen alot of this before in other threads or in my old recap, but I wanted to try and copy all the stuff from my other build thread and figured it would be easier then editing and trying to reorganize the other thread.
01-21-2014, 06:53 PM
#6
JK Enthusiast
Join Date: Sep 2013
Location: Pioneer, CA
Posts: 415
Likes: 0
Received 0 Likes
on
0 Posts
I really like your Jeep. I'm definitely learning some things from you.
How is the on road handling with your stretch and, was it 3.5" springs? Looks like you're using all the stock frame and axle mounts for the control arms, did I see that right? How it all work?
How is the on road handling with your stretch and, was it 3.5" springs? Looks like you're using all the stock frame and axle mounts for the control arms, did I see that right? How it all work?

Trending Topics
01-21-2014, 07:01 PM
#8
JK Jedi
Thread Starter
Honestly it felt more stable. Yes it was 3.5 rk springs. If i were to do a coil/spring set up i would get metalcloak coils for there length. Yes also using all stock mounts. With my set up its pretty good. It gave the rear pretty high anti squat but the fix is moving my rear lower arms up to fix it. It worked fine but the rear i had to move axle side coil perches, track bar, sway bar, and upper shock mounts.
01-21-2014, 07:05 PM
#9
JK Jedi
Thread Starter
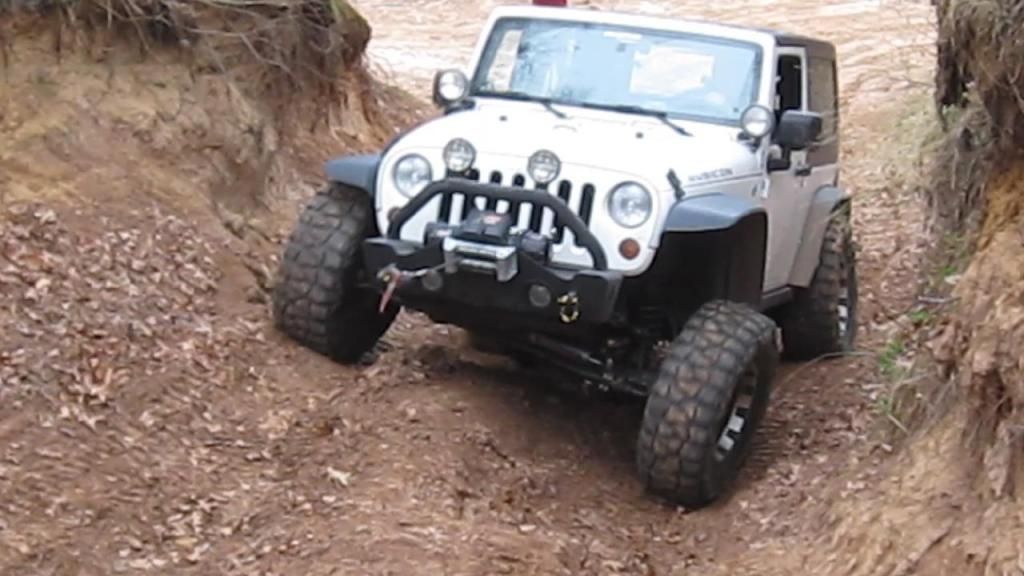
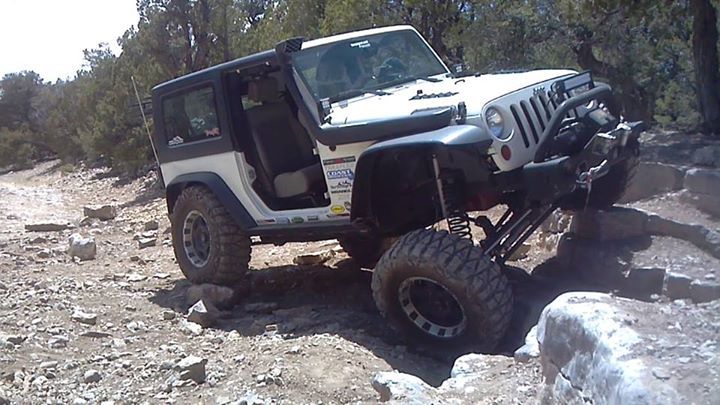
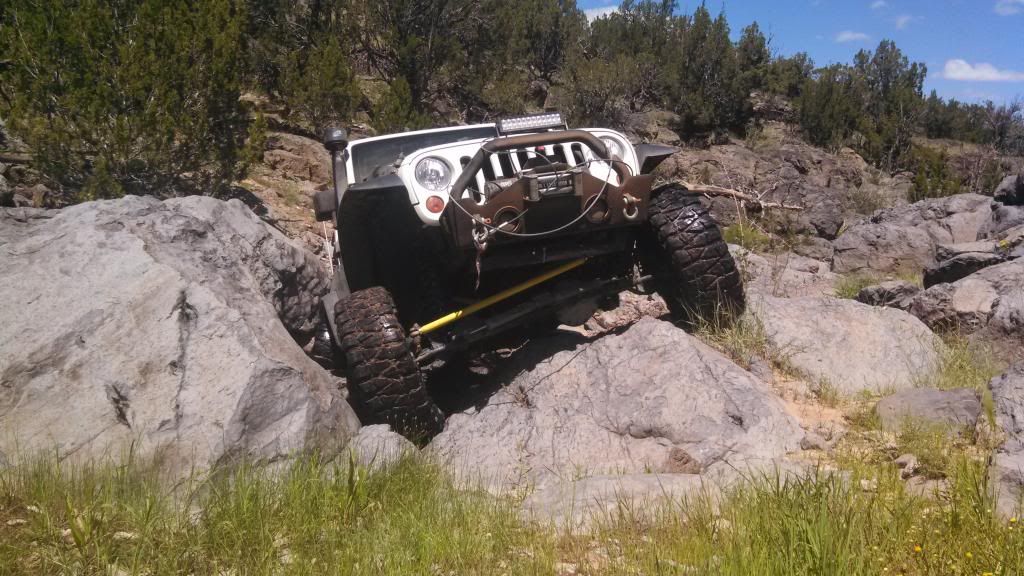
Ha thanks. Im using 12" of travel on shocks that are about 12.5" travel. Should have done longer coils though.
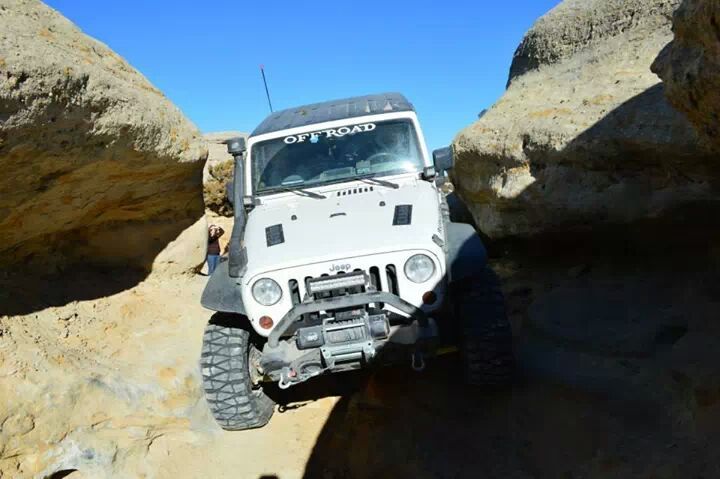
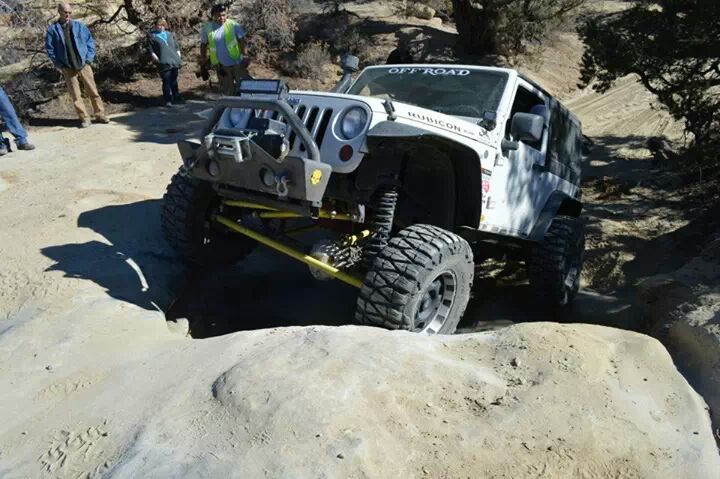
As for the picture my friend. Thats in Chokecherry Farmington NM . Just a little trench in the first playground. The whole chokecherry area is about 3 mins from my house.
As for the picture my friend. Thats in Chokecherry Farmington NM . Just a little trench in the first playground. The whole chokecherry area is about 3 mins from my house.

