RebelZILLA Build Thread - The Ultimate Daily Driver!
 07-15-2016, 08:46 AM
#11
Former Vendor
Thread Starter

Join Date: Jan 2012
Location: Southern California
Posts: 1,456
Likes: 0
Received 17 Likes
on
16 Posts
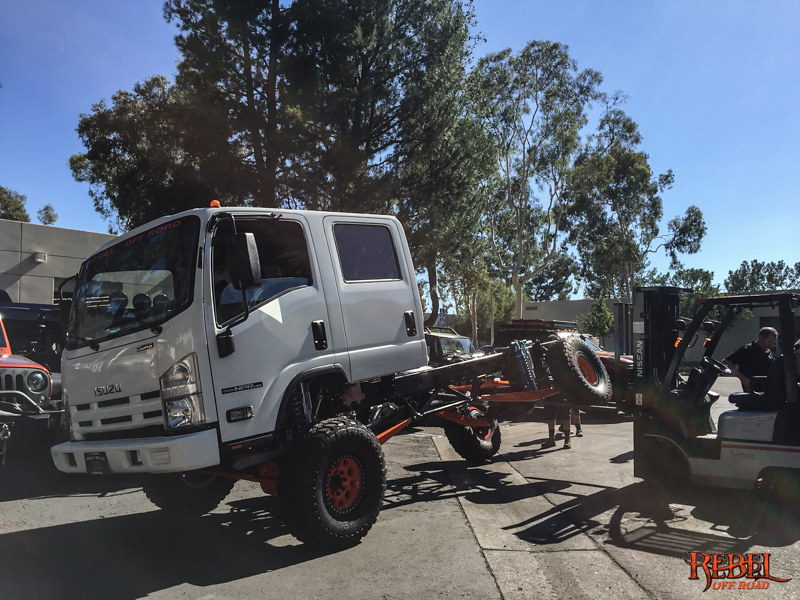
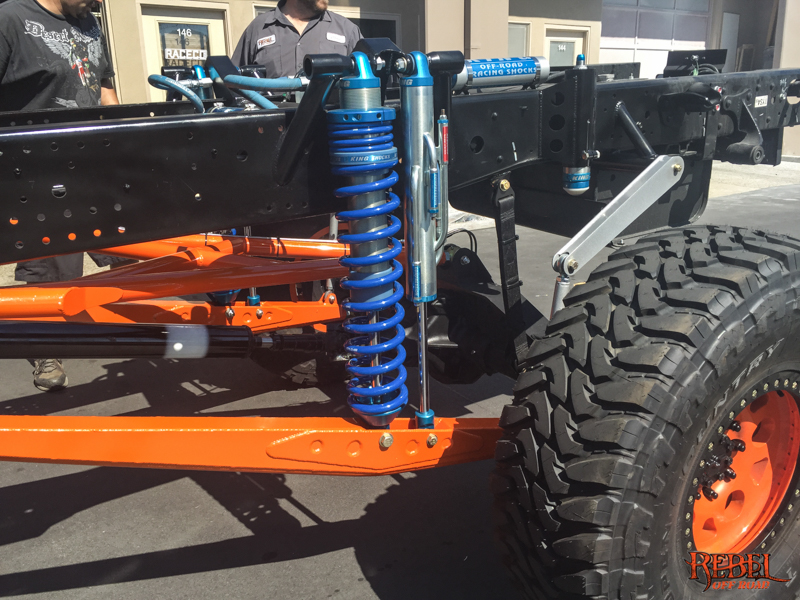
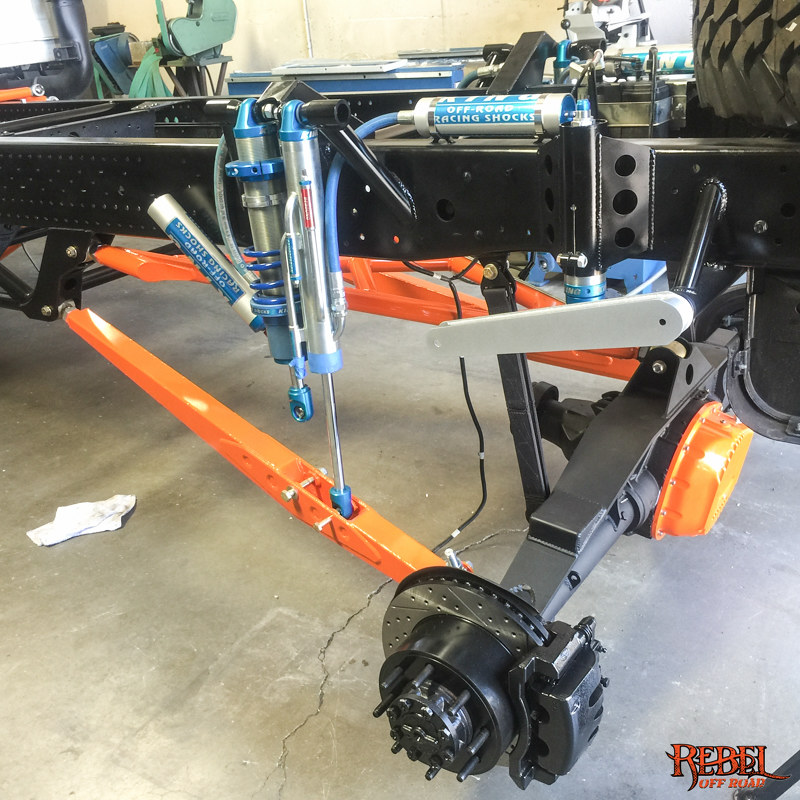
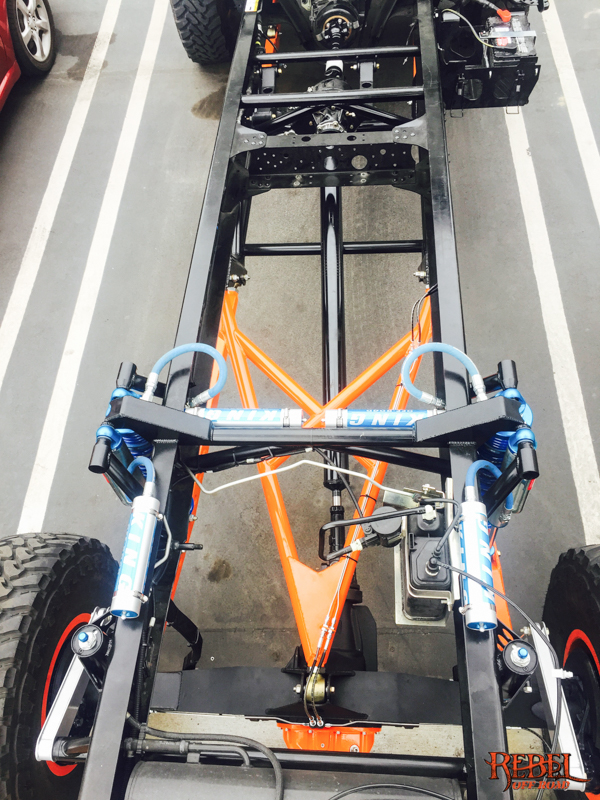
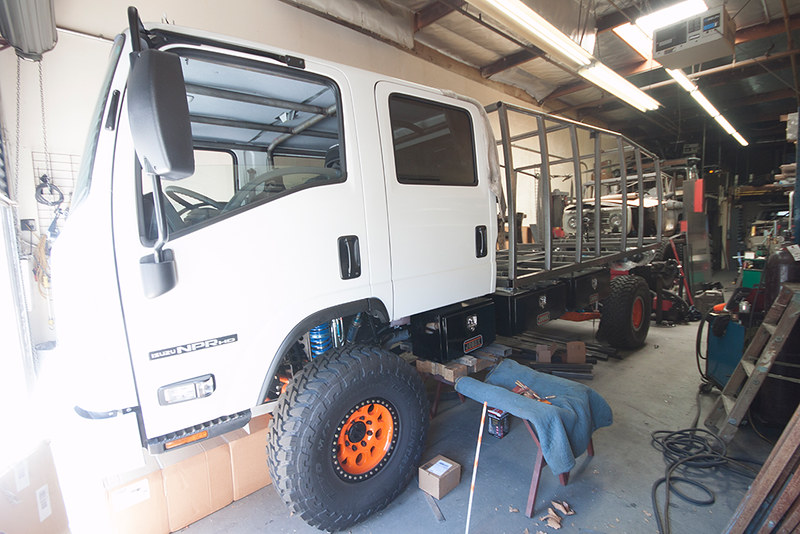
We decided to hard mount the rear box to the frame on Rebelzilla and have the suspension do all the work for us. Suspension is what we specialize here at Rebel. This eliminated the need for suspension seats or a pivoting frame. In the rear its a 3 link with trailing arms. King 3" coilover and 2.5" 3 tube bypass w/ remote resi. In the front is a radius arm suspensions setup with King 3" coliovers and 2.5" 3 tube bypass w/ remote resi.
 07-15-2016, 08:56 AM
#12
Former Vendor
Thread Starter
Join Date: Jan 2012
Location: Southern California
Posts: 1,456
Likes: 0
Received 17 Likes
on
16 Posts
Check out this video we created with some GoPro footage of the interior being stripped.
https://youtu.be/gVBroKP4_aM
https://youtu.be/gVBroKP4_aM
07-20-2016, 12:22 PM
#13
Former Vendor
Thread Starter
Join Date: Jan 2012
Location: Southern California
Posts: 1,456
Likes: 0
Received 17 Likes
on
16 Posts
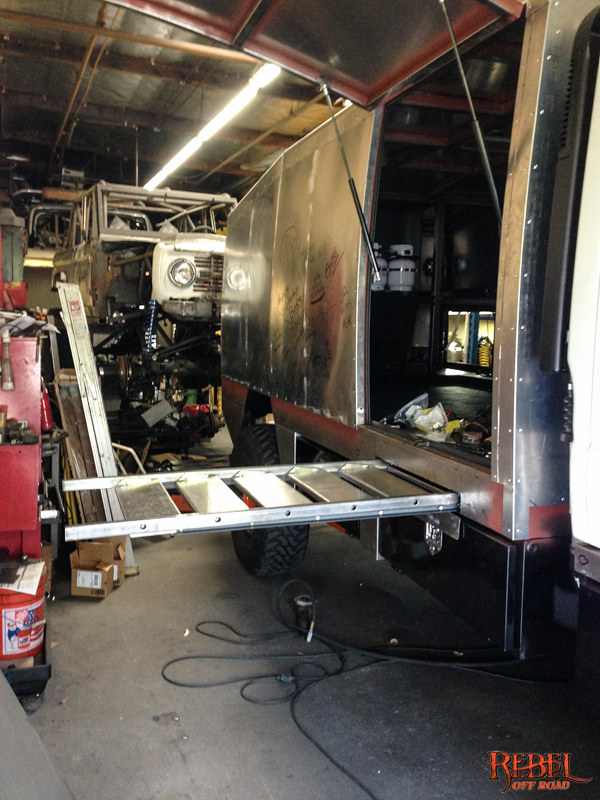
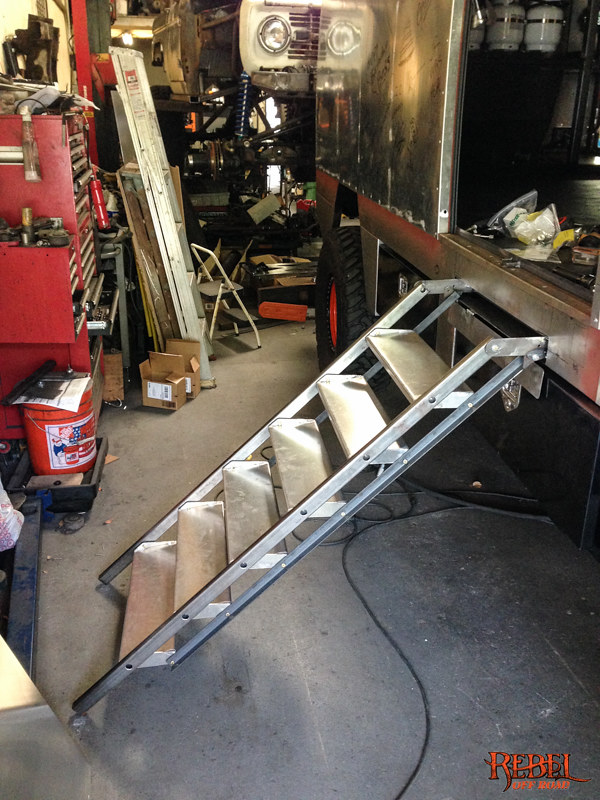
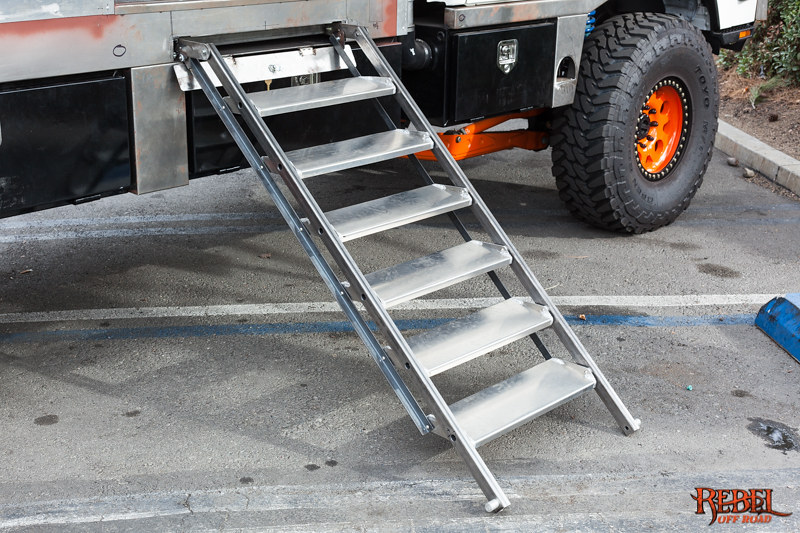
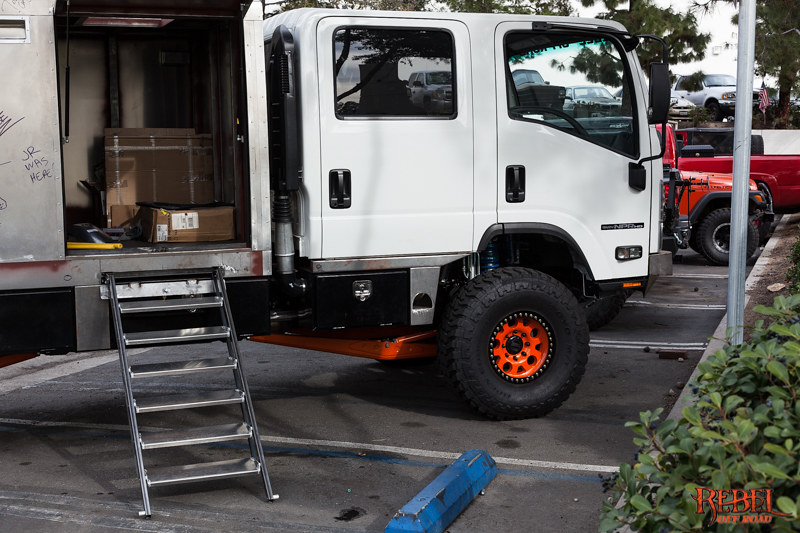
Wanted to share the steps that were designed to get into the rear cabin. Unfortunately these photos don't show the action that these stairs perform when folded in. You probably can tell that they fold flat when raised. We'll post a video of the stairs performing the folding actions very soon.
07-20-2016, 06:39 PM
#16
JK Junkie
 08-16-2016, 09:42 AM
#18
Former Vendor
Thread Starter
Join Date: Jan 2012
Location: Southern California
Posts: 1,456
Likes: 0
Received 17 Likes
on
16 Posts
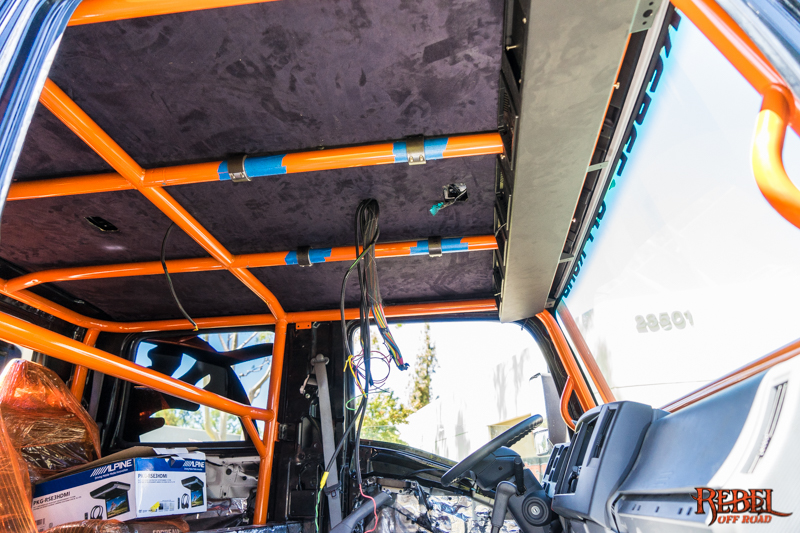
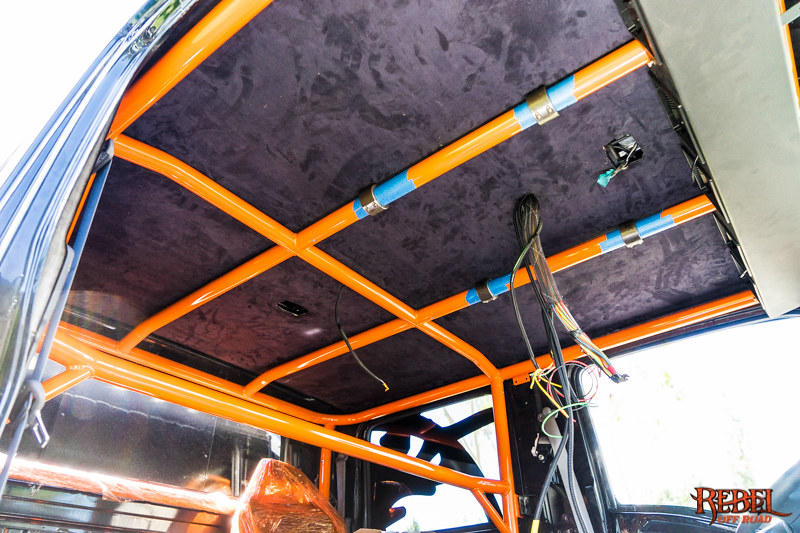
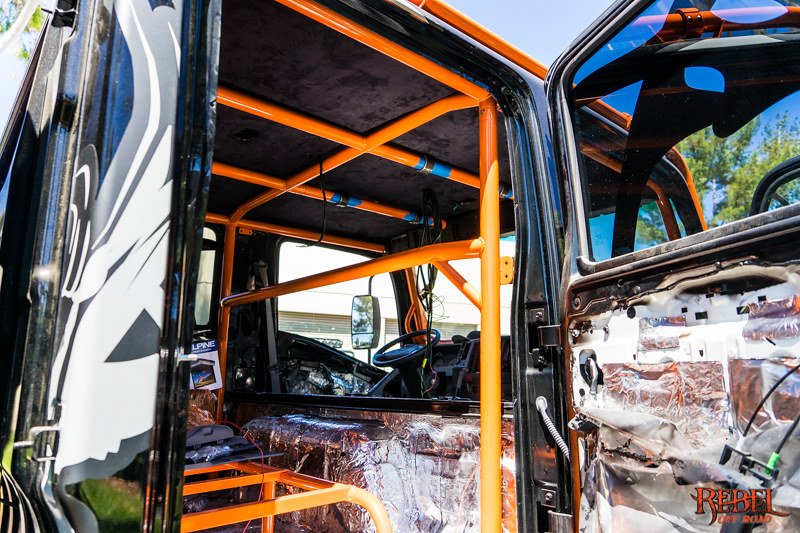
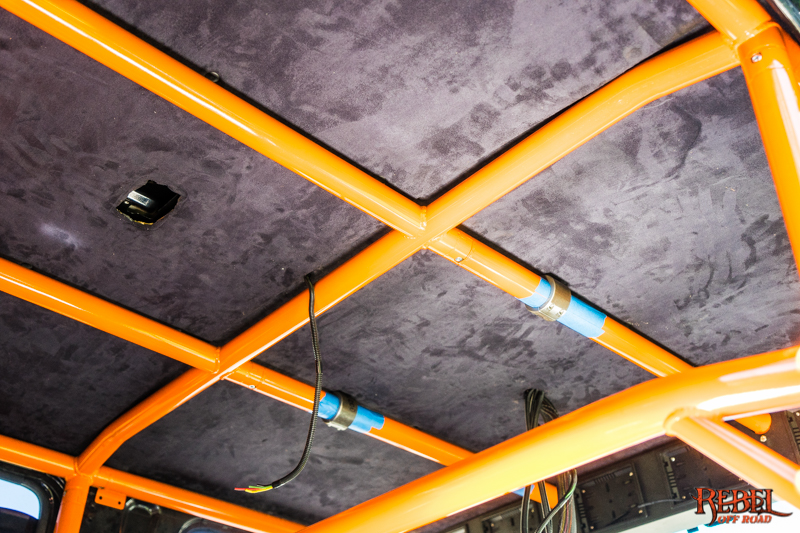
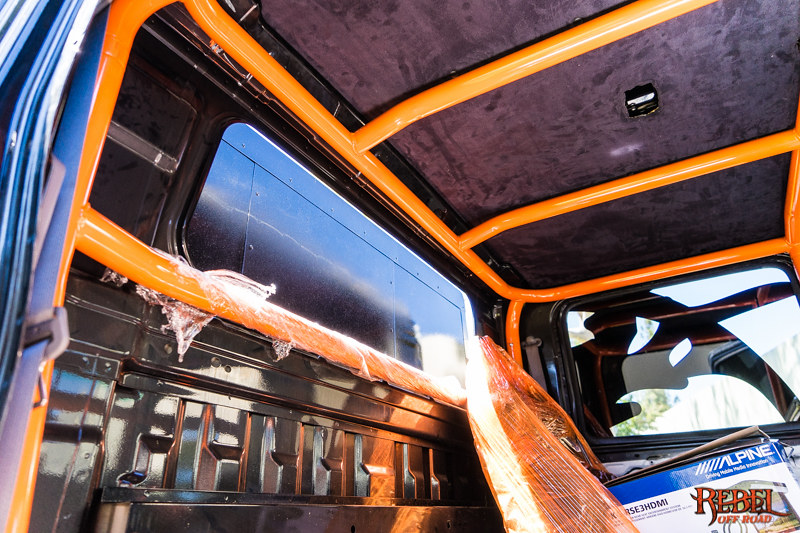
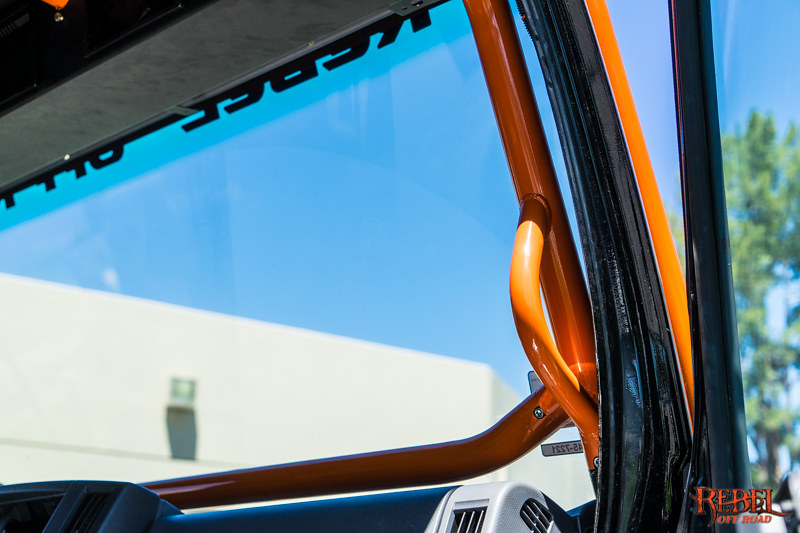
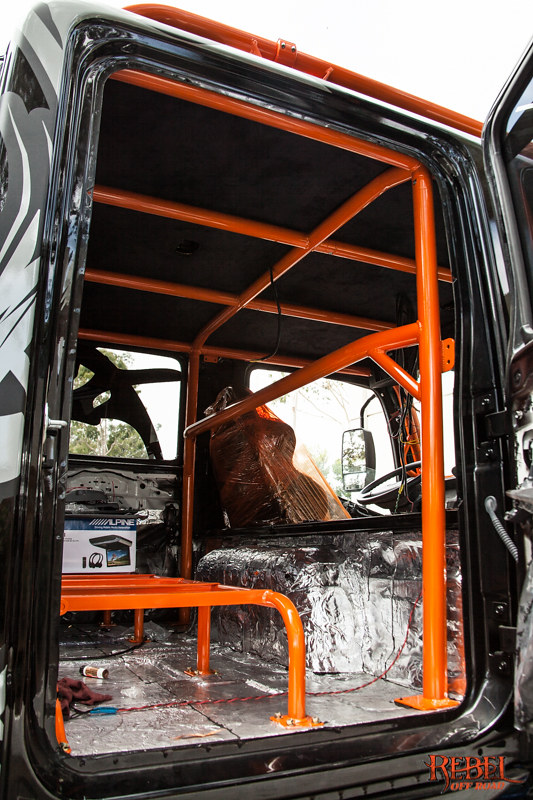
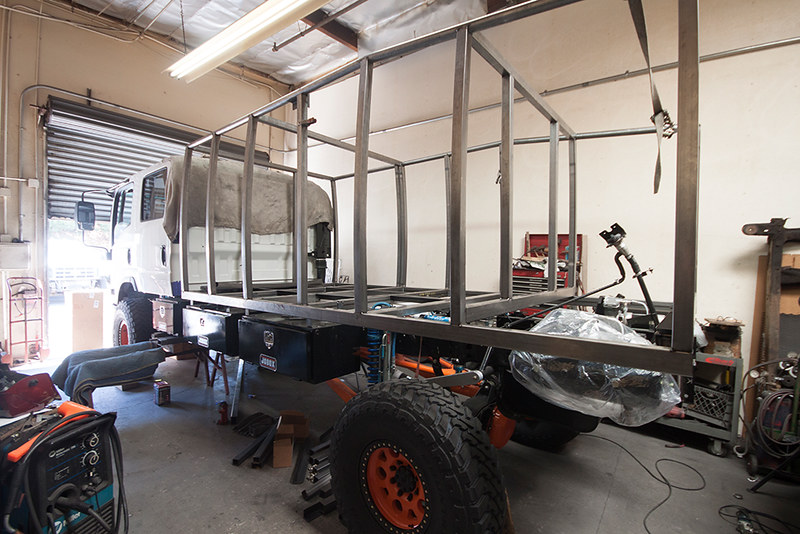
Here's and update on the cage that has been installed inside of Rebelzilla. You can also see the headliner that's been put in recently as well. Its a micro suede that has a black finish. You also might be able to see the wire harness that's hanging from the headliner. We'll go more into that on a separate post.