Inspired Engineering One ton TJ build... Check this out!
 10-12-2015, 09:54 PM
#1
Former Vendor
Thread Starter

Join Date: Jun 2013
Location: United States
Posts: 972
Likes: 0
Received 0 Likes
on
0 Posts
A lot of big things have been going on in the Inspired Engineering shop, some you guys have seen, and some you haven't. For now we will keep you guys updated on our TJ build.
We started off with an XJ on one tons, owned by our sales Manager, Sami. After blowing the head gasket, well, Sami blew a head gasket as well, and figured it was time to part out the XJ and build a TJ. The XJ was on coilovers in the front, and one ton axles with JCR armor, and lots of other things. Whether Sami made the right decision, that's up to you, ill keep my opinion to myself.
Not only do we sell lights, but we are also authorized distributors of many brands used in this build, including Poison Spyder, JCR Offroad, Method Wheels, Ruffstuff specialties, Switch-pros, Rock Krawler, and every other item you see in this build.
We do not just sell the items, we test them out for ourselves.
We didn't want to reinvent the wheel, but go with our take on a tried and tested setup. There are some surprises, but here is the general build plan.
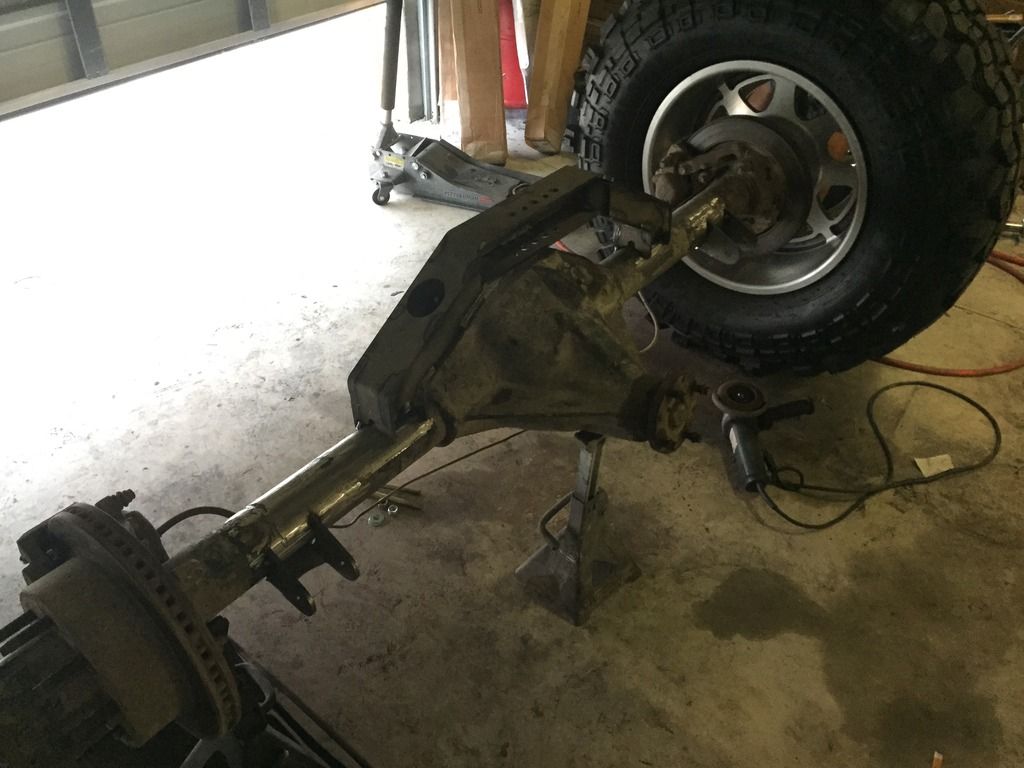
-Dana 60 front and rear axles with 5:13 gears. Front has Spartan locker and G2 locking hubs. The rear has 35 spline Yukon chrome molly shafts, Lock rite locker, and Ruffstuff diff covers with disk brakes.
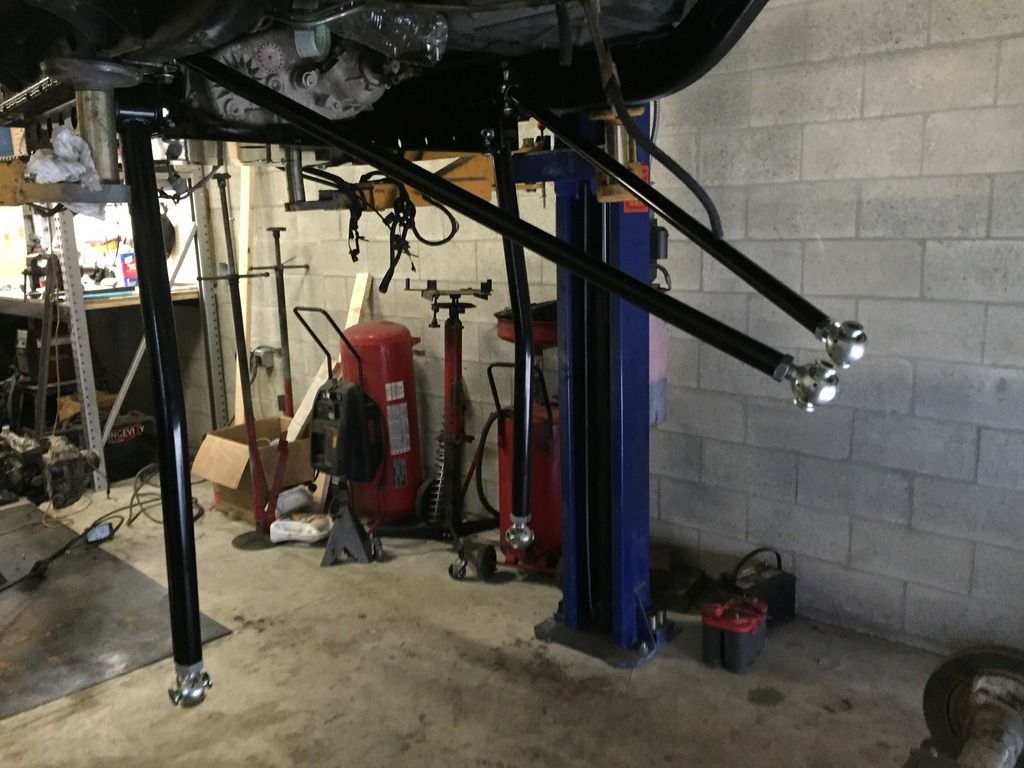
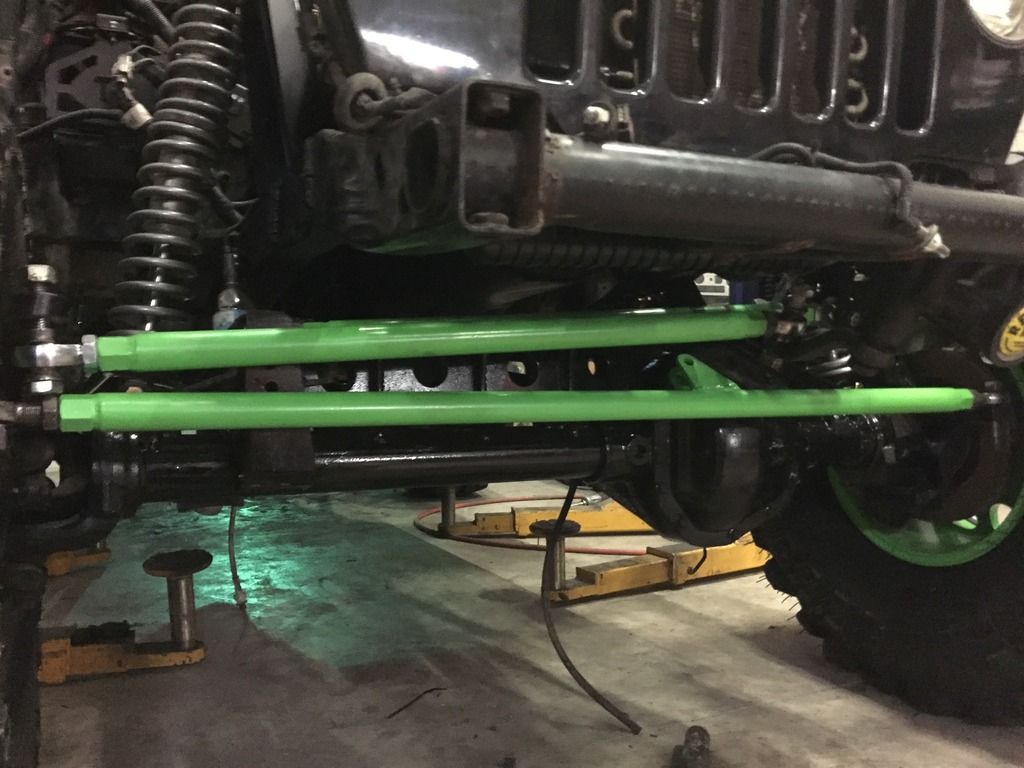
- Rock Krawler LJ long arm kit: Single triangulated rear, with 3 link front. Nets 10" of rear stretch, and about 1" or so front stretch.
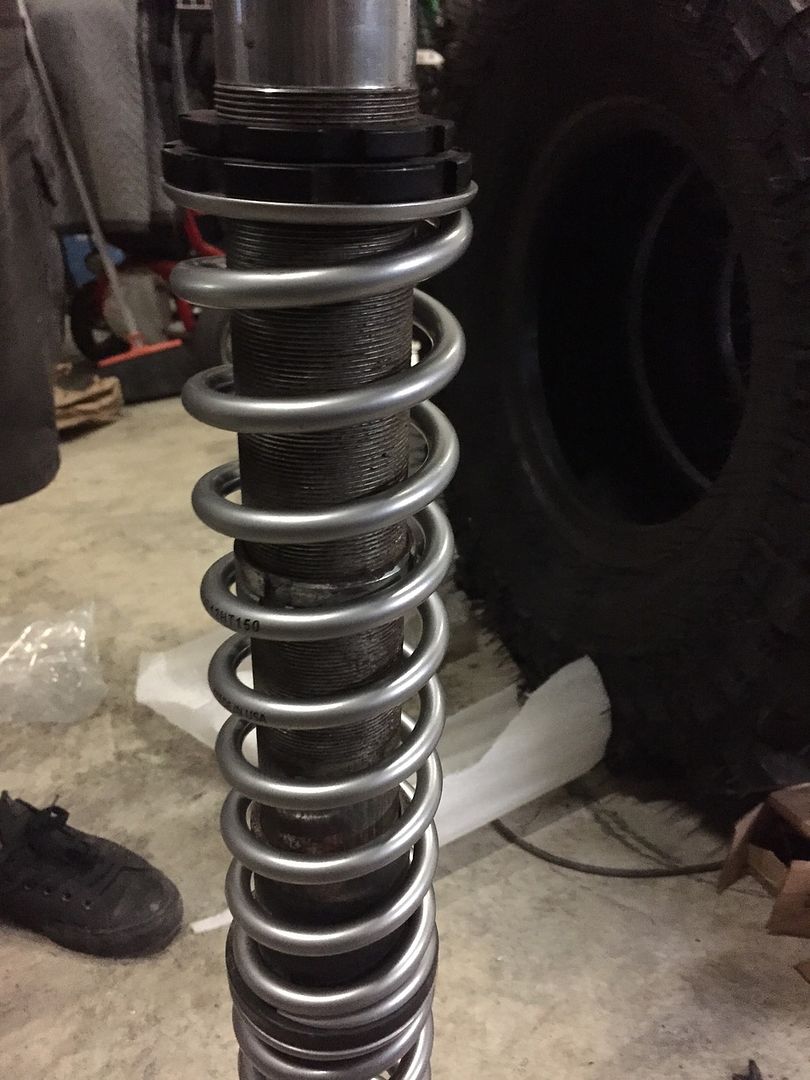
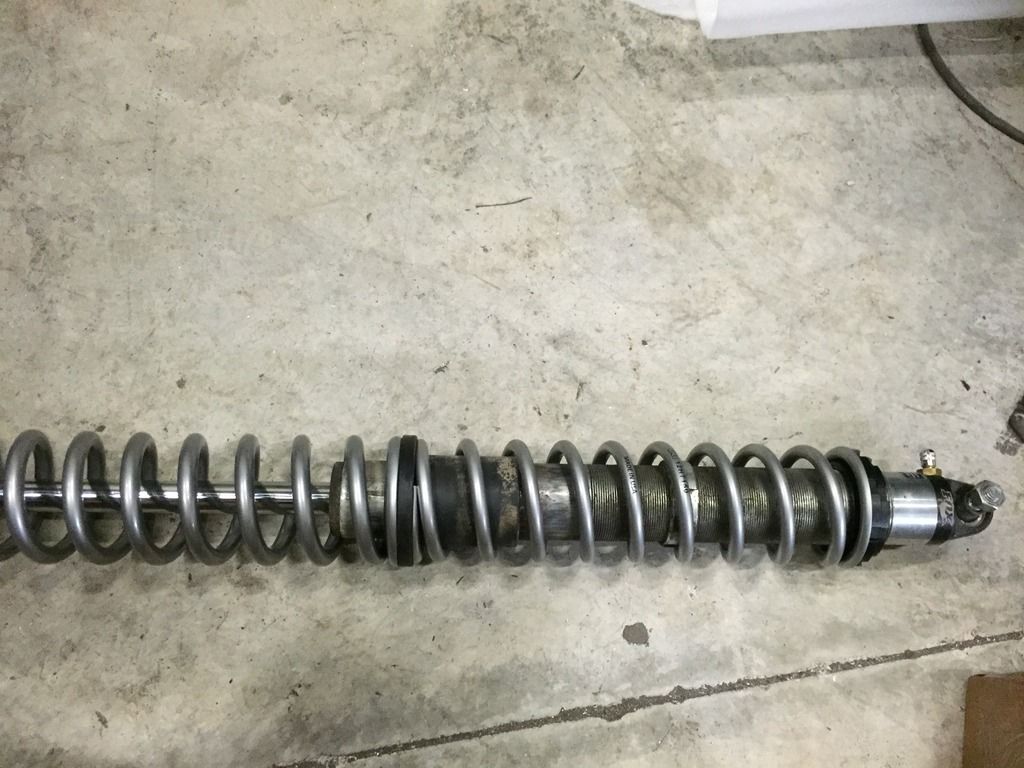
-Fox 2.0 Emulsion coilovers 12" front, and 14" rear, with QA-1 springs
- PSC Brawler lite front bumper with brawler bar, Front hiline defender aluminum fenders, Rocker Knockers with no tube work, Custom rear aluminum PSC rear corners, PSC roll cage.
-Method 105 Beadlocks wheels on 42" TSL SX tires
-AW-4 automatic transmission
-Much more but follow the thread for now.
If you guys like this build, check out our new project as well...
This is what we started off with. A 1997 unmolested stock TJ, never offroaded. D30 front, D35 rear, A/C, 4.0, Ax15, Hard doors, brand new best top soft top, and dont forget, Chrome Wheels*
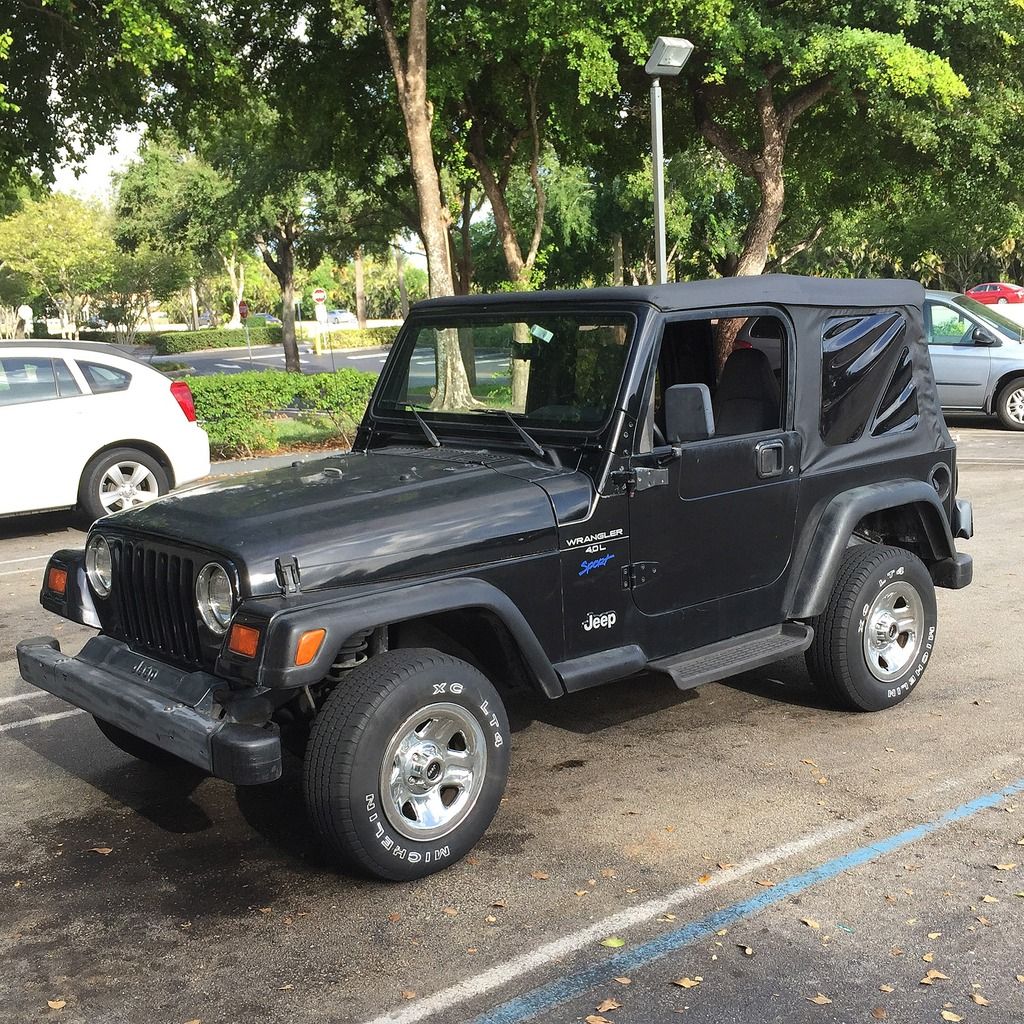
As with any great finished product, you have to start with something great. First step was tear down. The fun part.
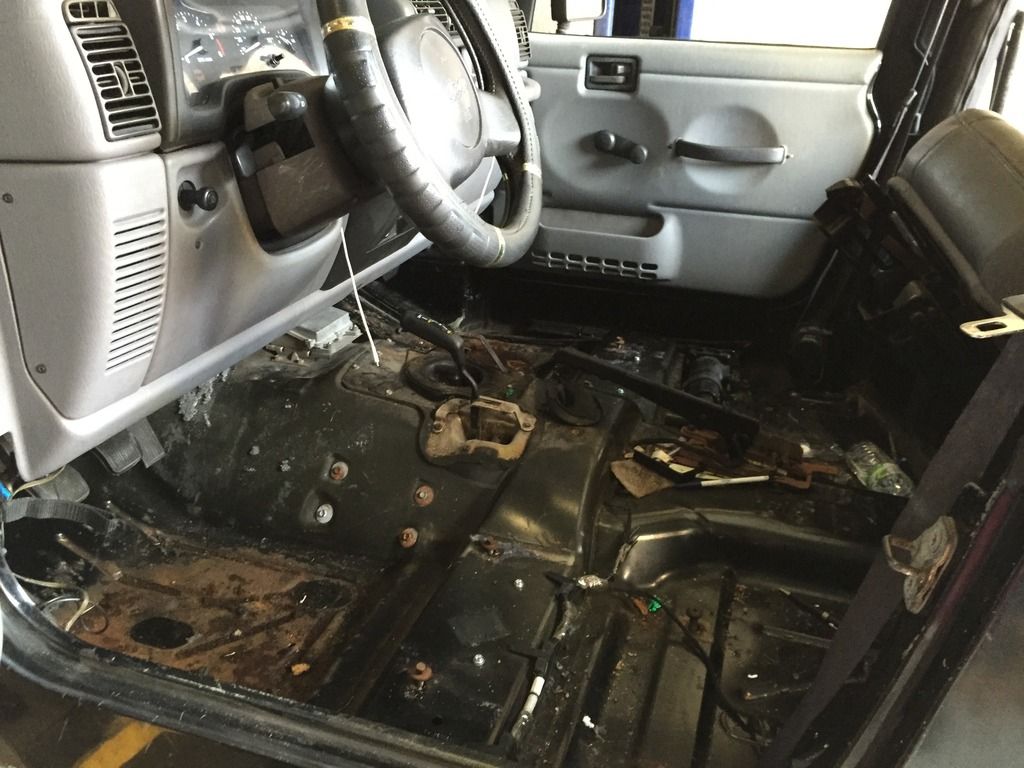
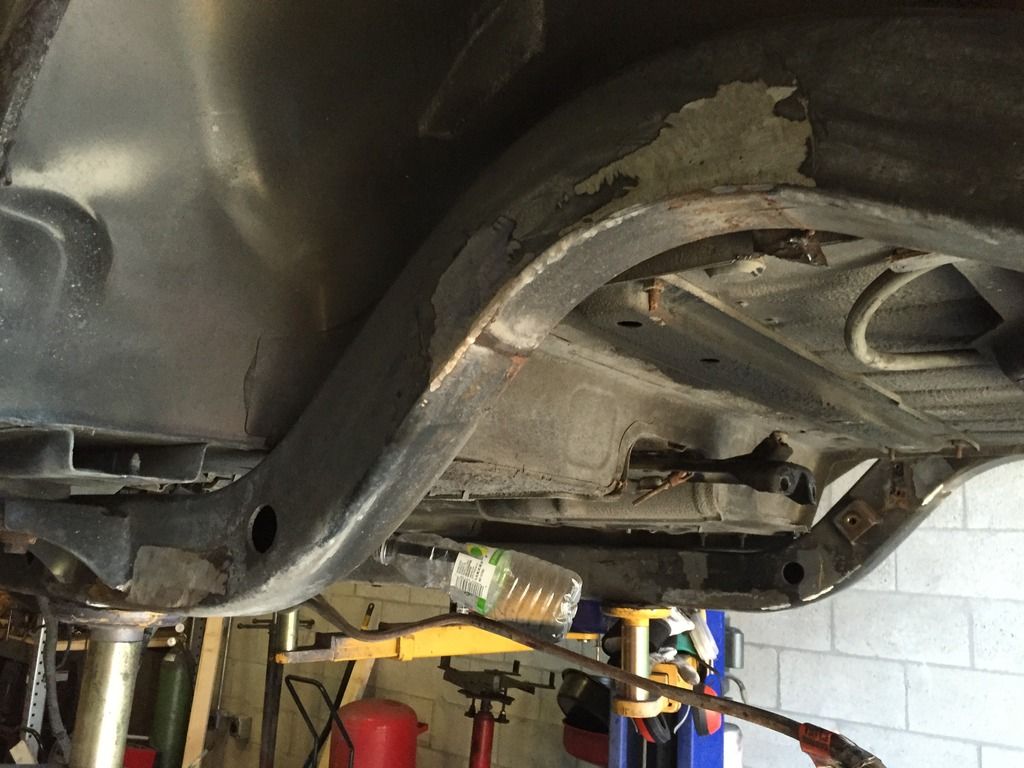
Then even more fun work. We took about 100 photos here, but refuse to bore you. We removed all OEM Control arm mounts, track bar mounts and anything else not being used any longer.
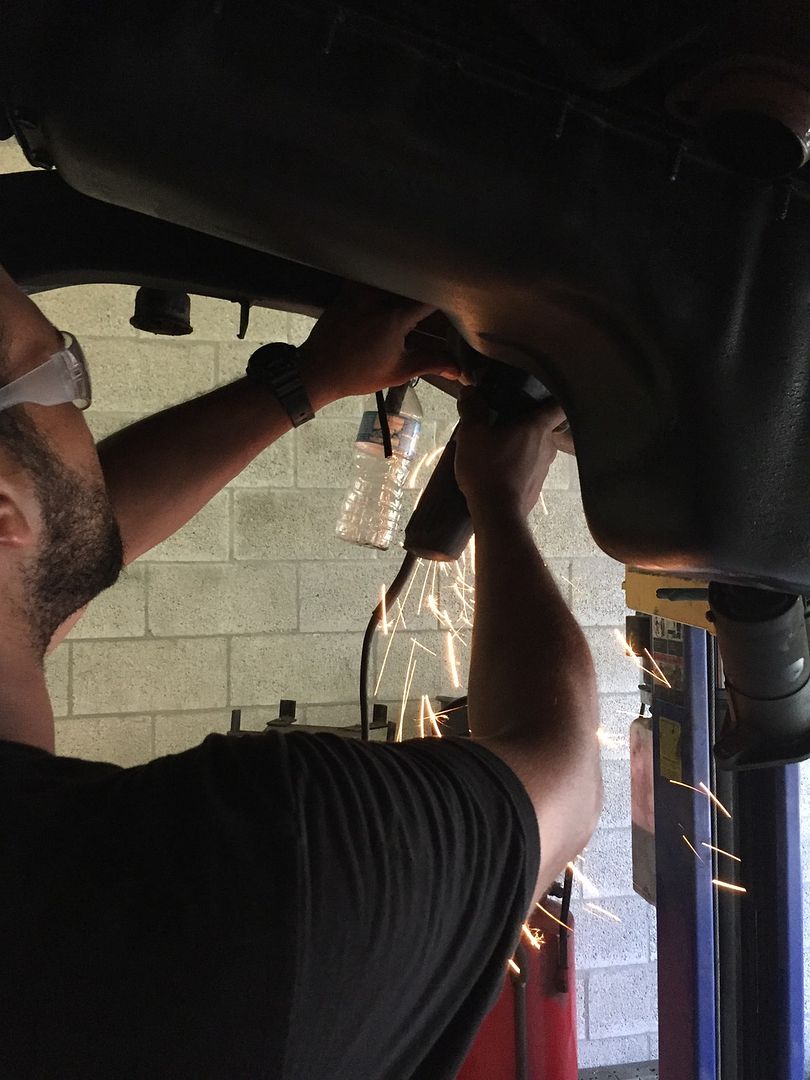
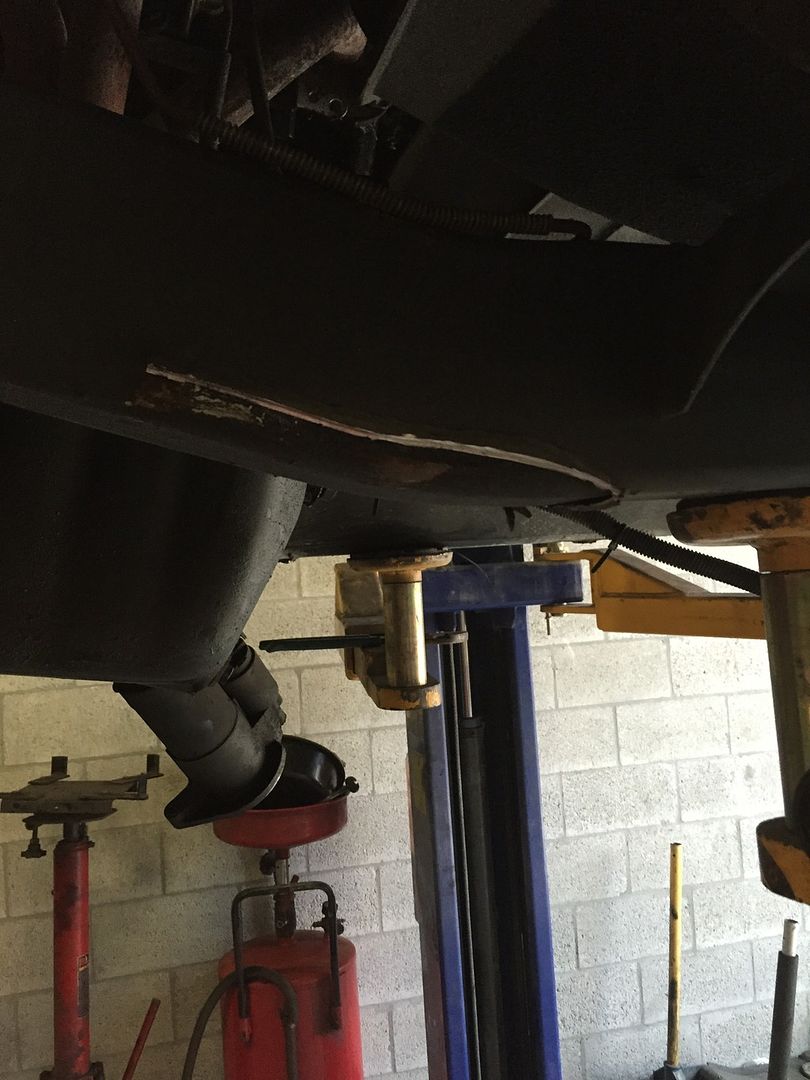
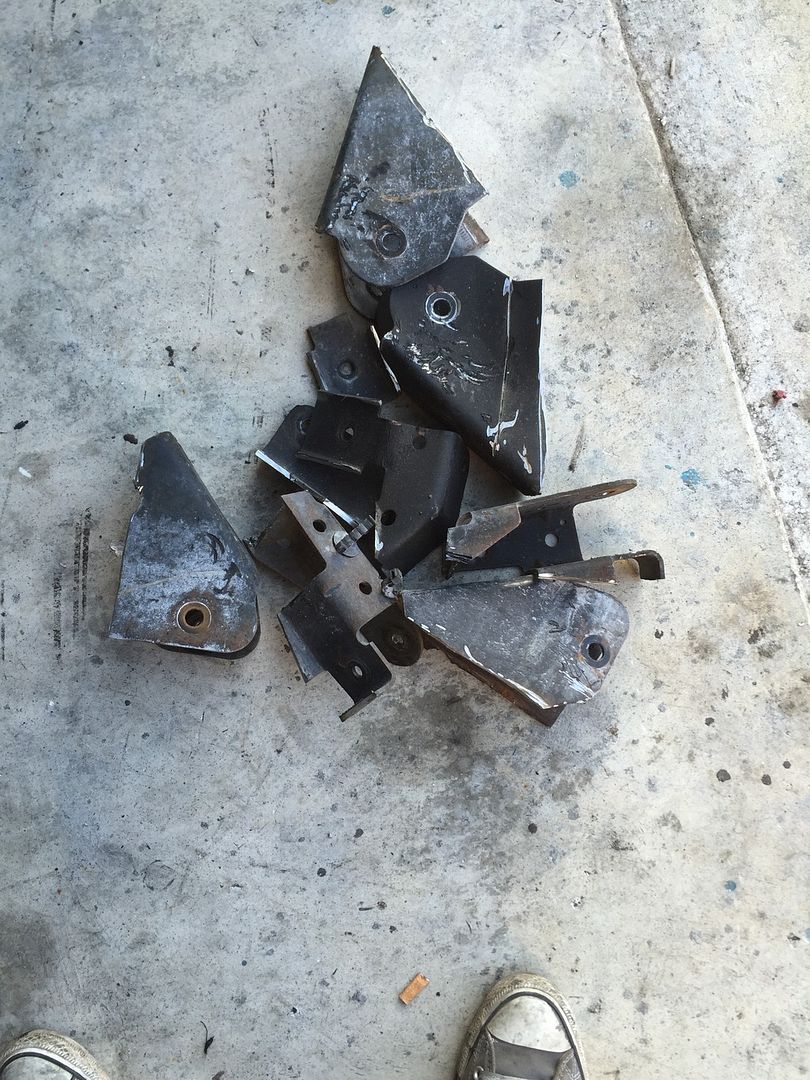

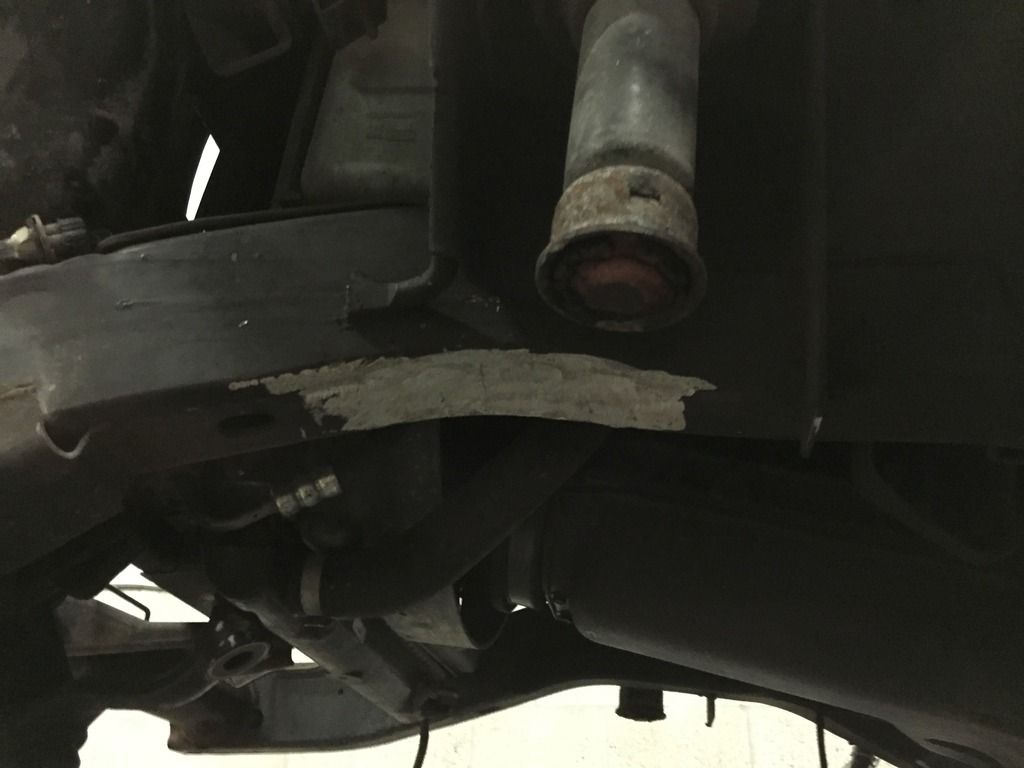
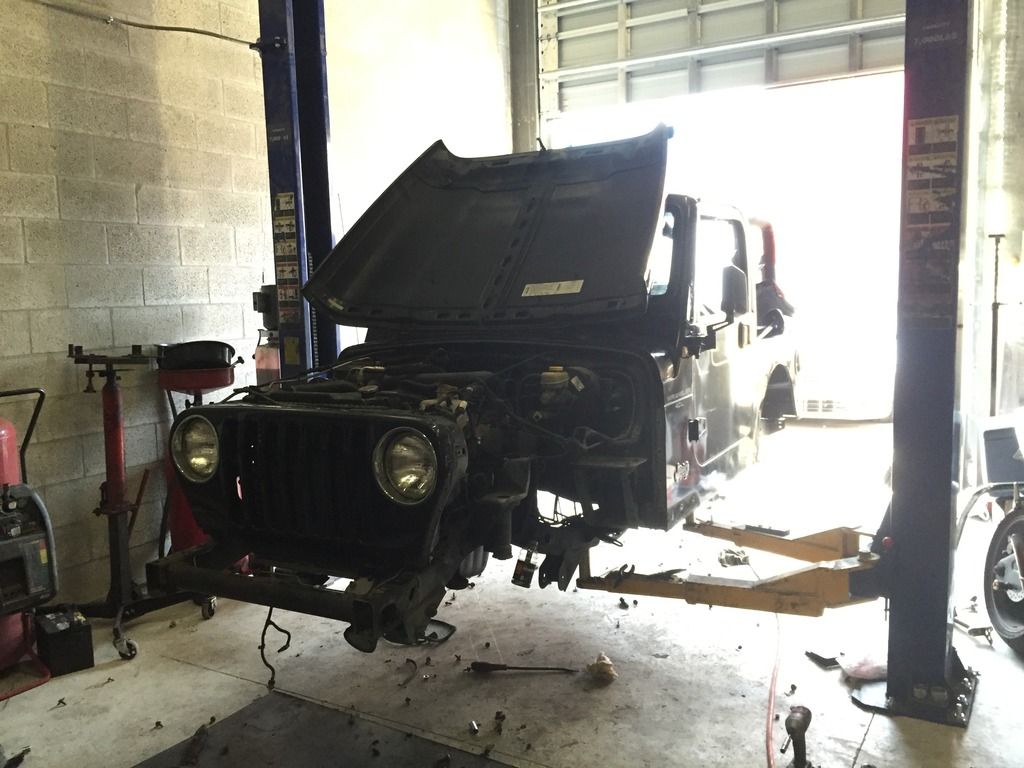
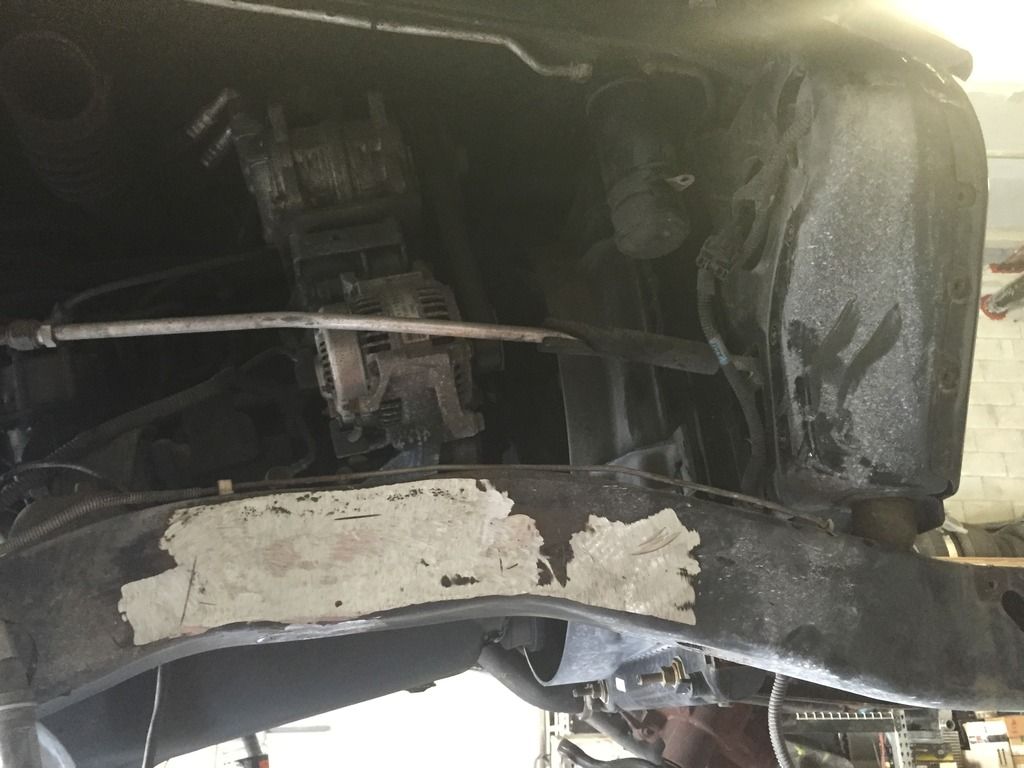
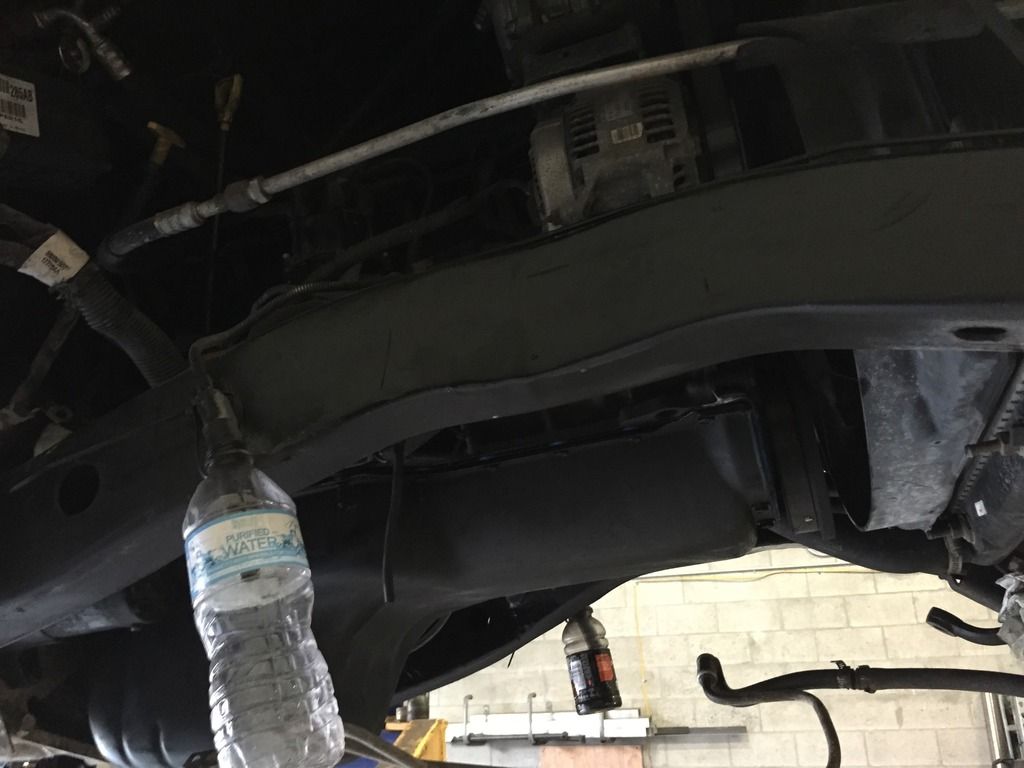
More grinding, until the frame looked like the last pics
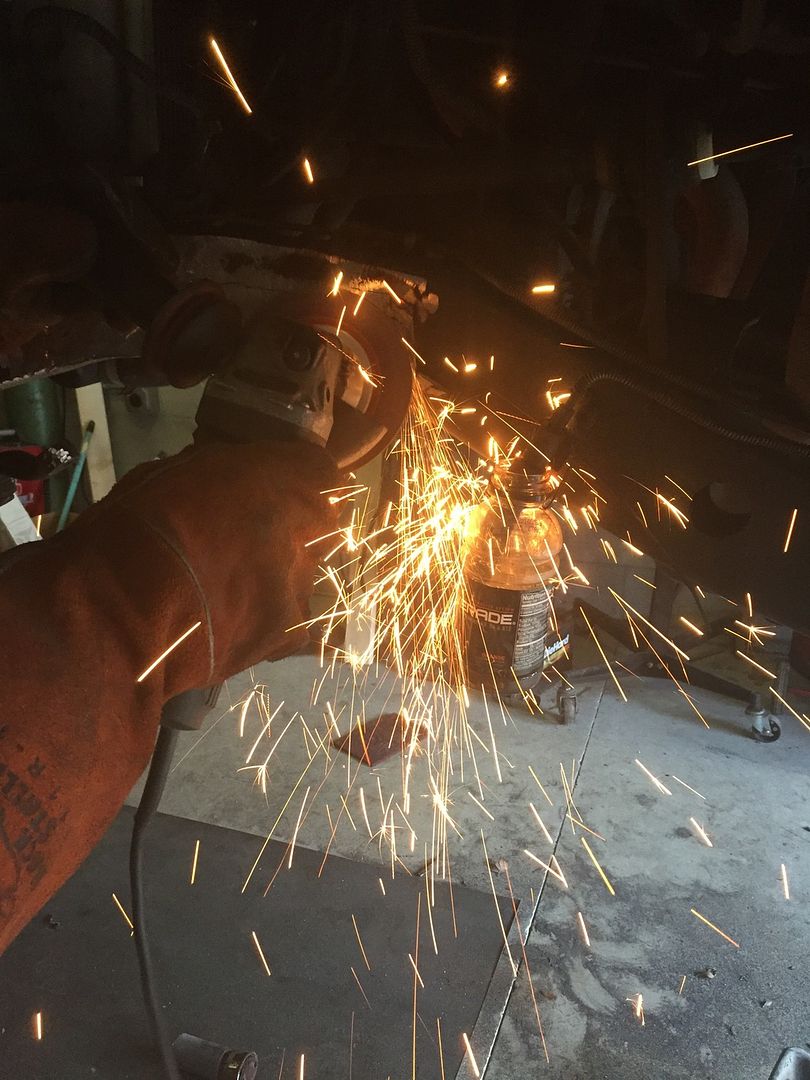
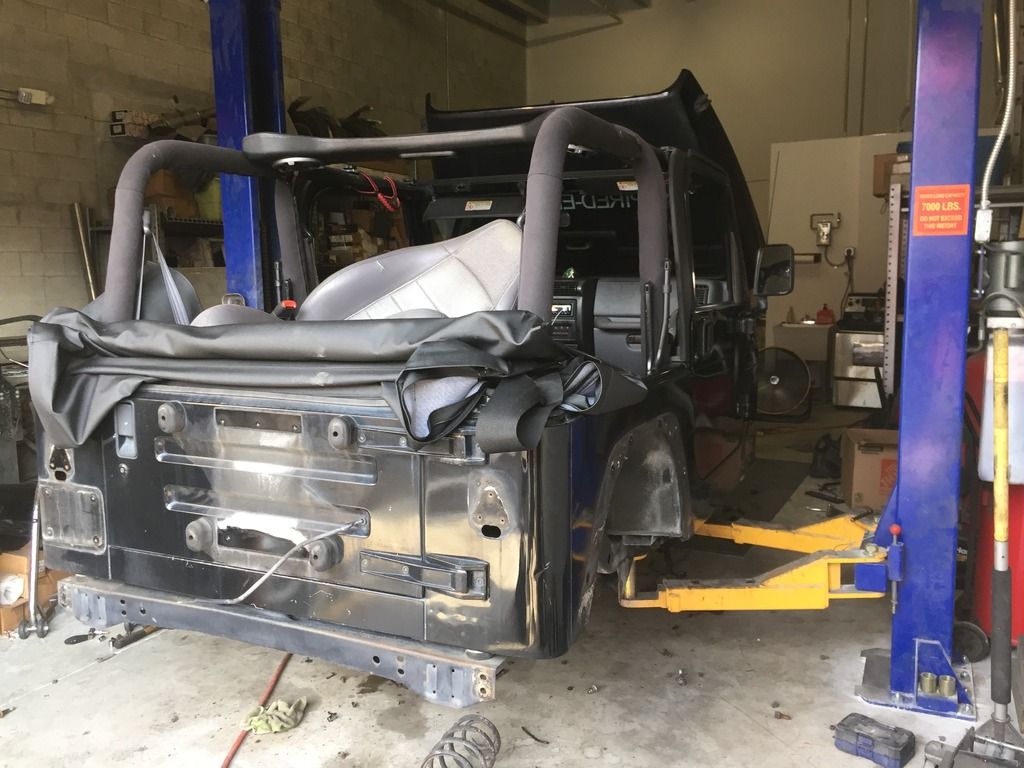
And... even more fun work. Getting the feel of these builds?
Now was time to cut the Tub for preliminary fitment. We did not have the armor yet at this point.
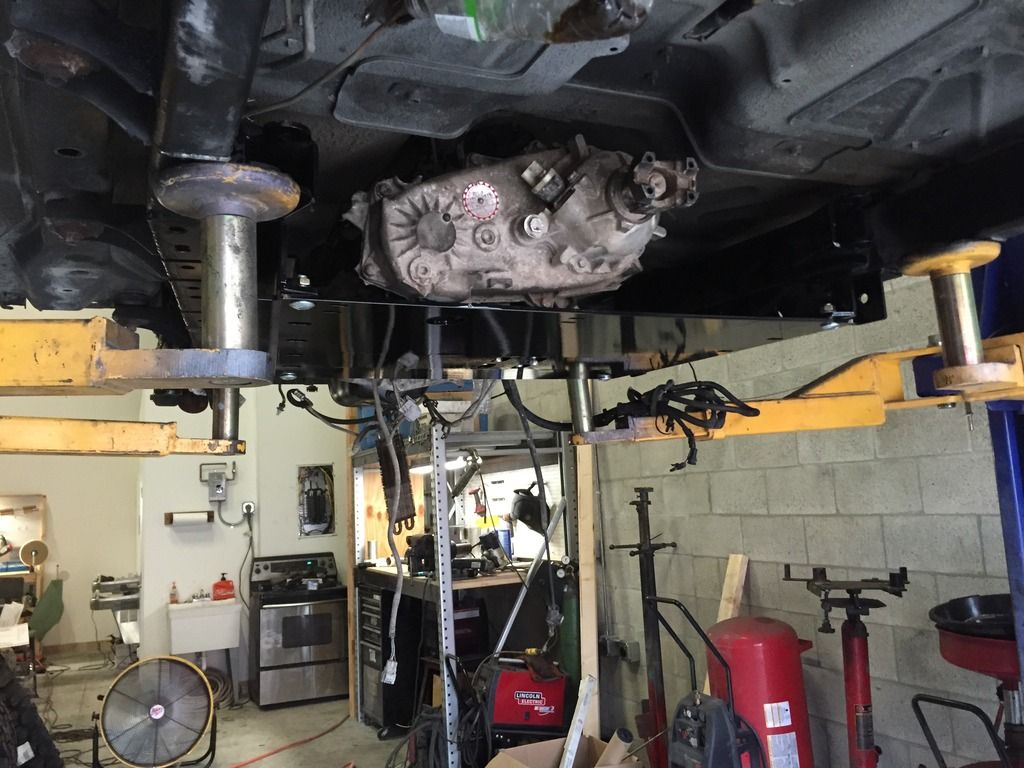
We also welded the Rock Krawler frame support/ CA mounts, mounted the transmission up, and the skid plate.

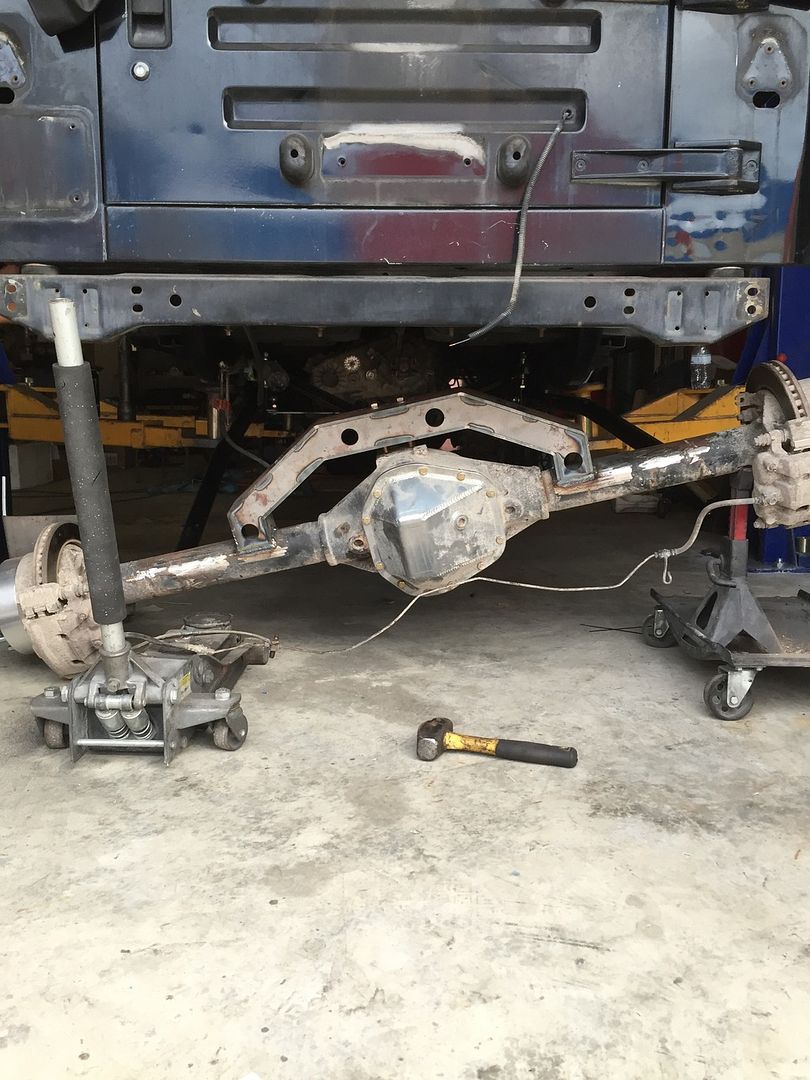
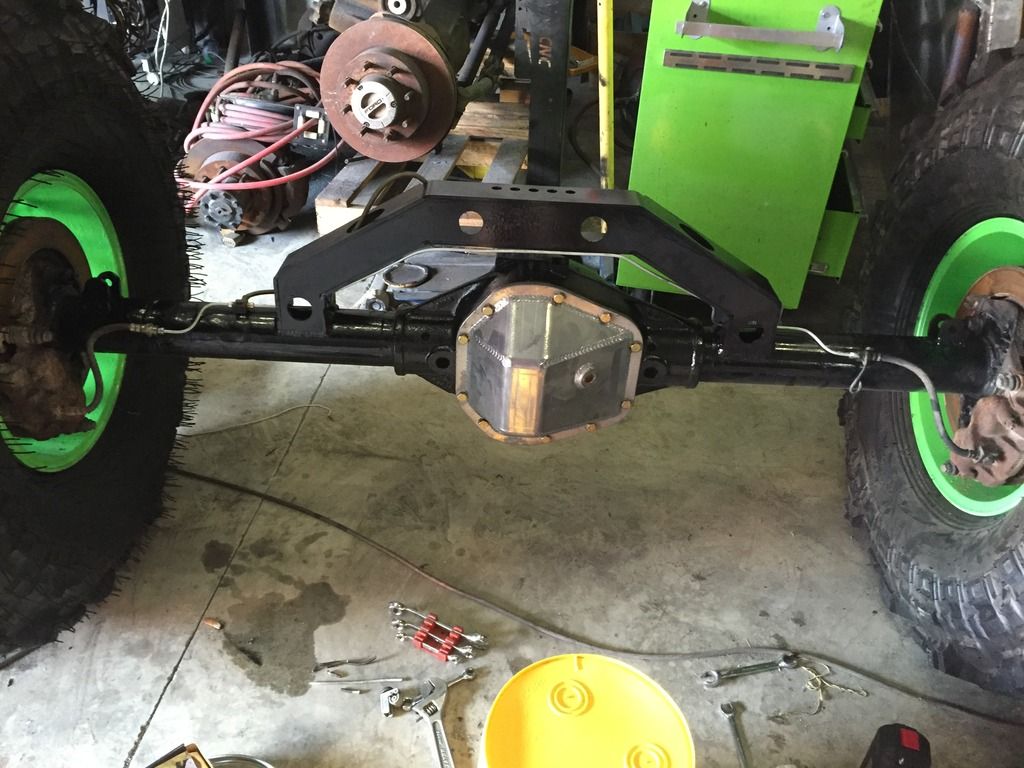
Finally some headway. Welding on the rear Rock Krawler axle truss, and Ruffstuff LCA mounts.
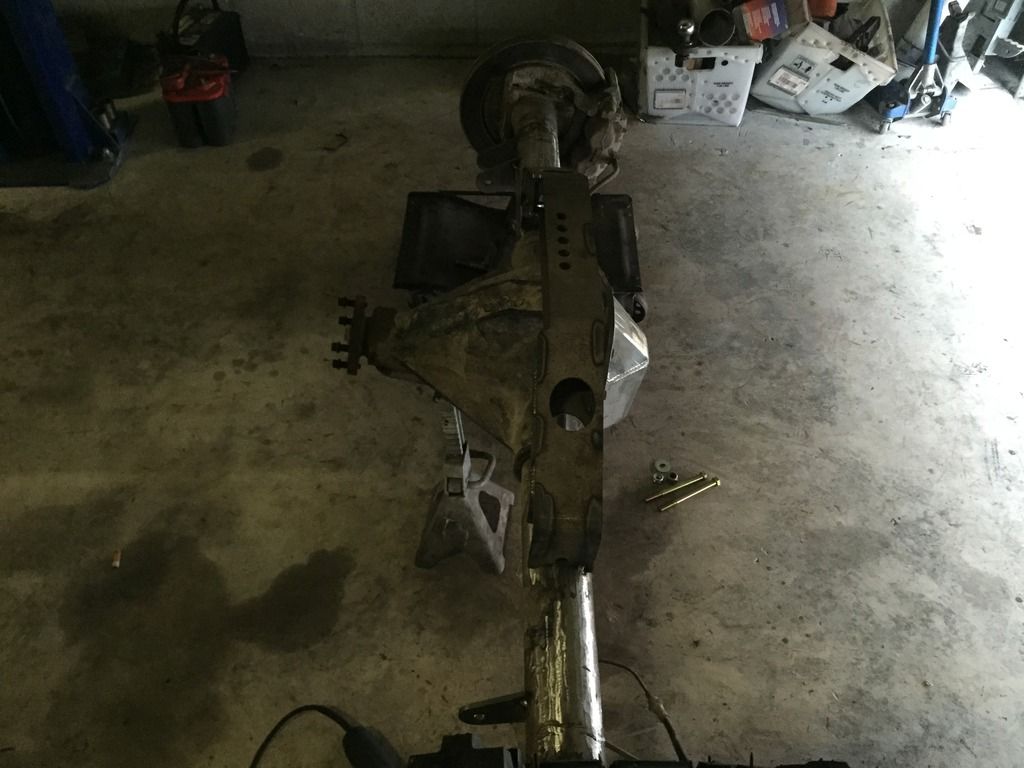
Next we got the rear control arms mounted, and the rear axle all finished, minus the coil over mounts.
Check out that cool rear flex!
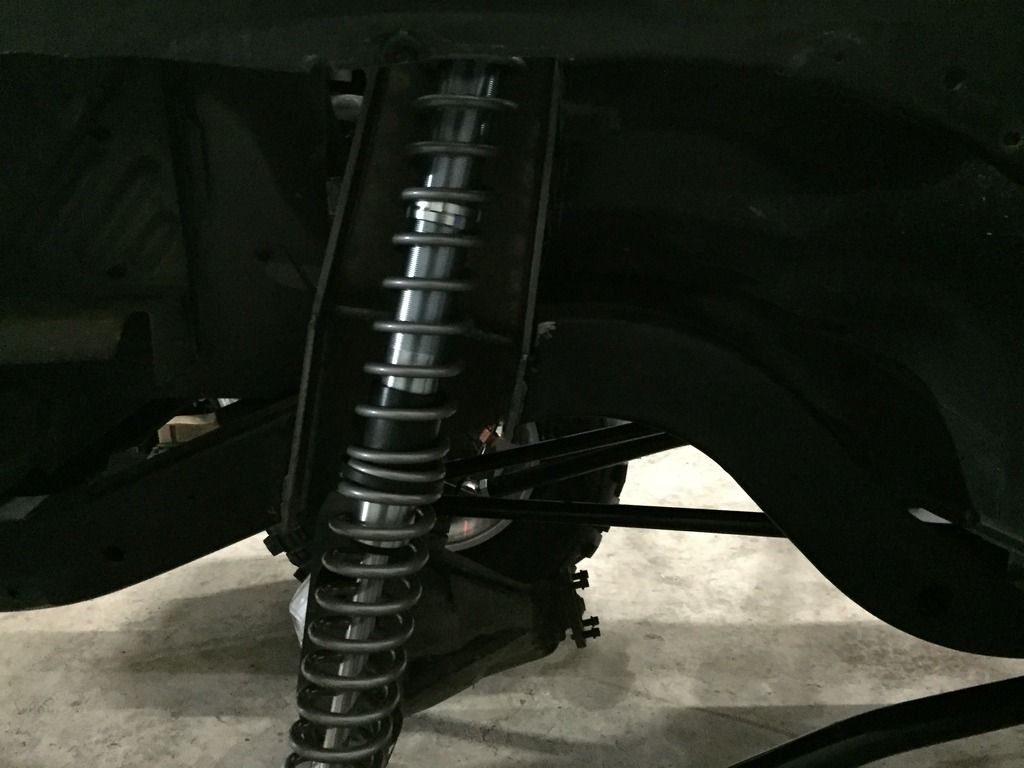
Take off coilovers from the Cherokee with new springs. So pretty... So shiny...
Now a little bit of front end work
Mounted the Control arms and fit the axle. Instantly noticing the old coilover mounts on the axles, no longer cut it, so they got cut.
New ones fit. Wider, and lower for the stance
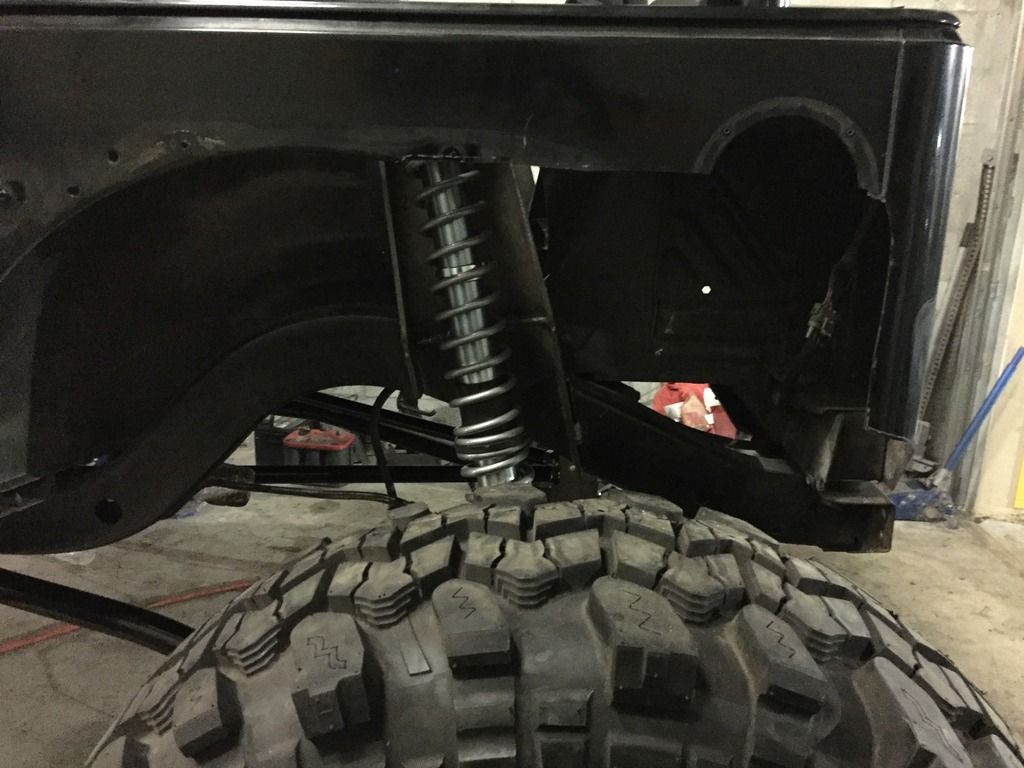
Test fit, and final welding of the Ruffstuff Coilover towers.
Everything fit, so final welding was done
Trackbar bracket and final welding on the towers as well.


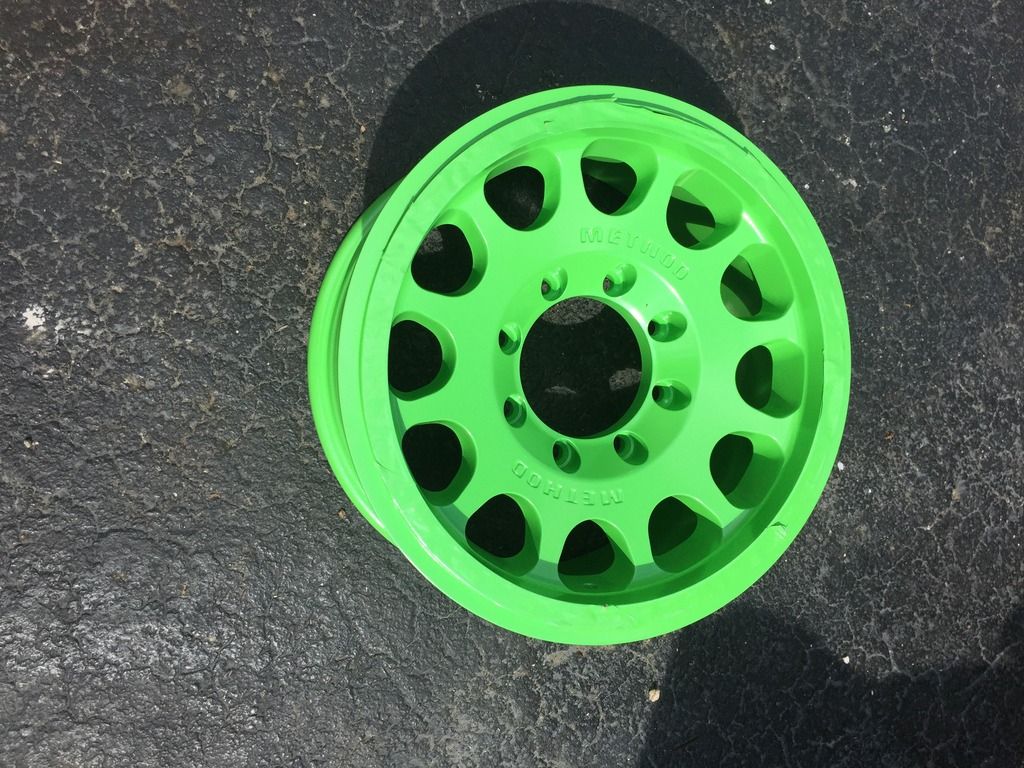
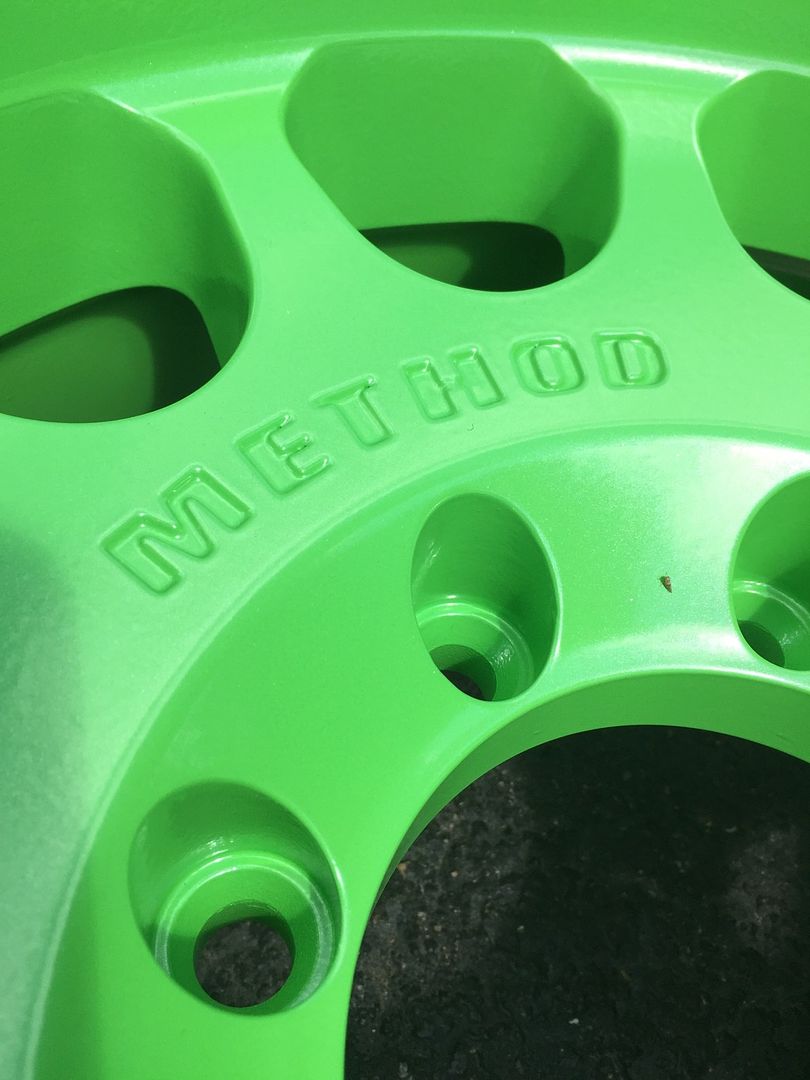
Teaser pic ( these are not the wheels for this build, remember I mentioned another build?)
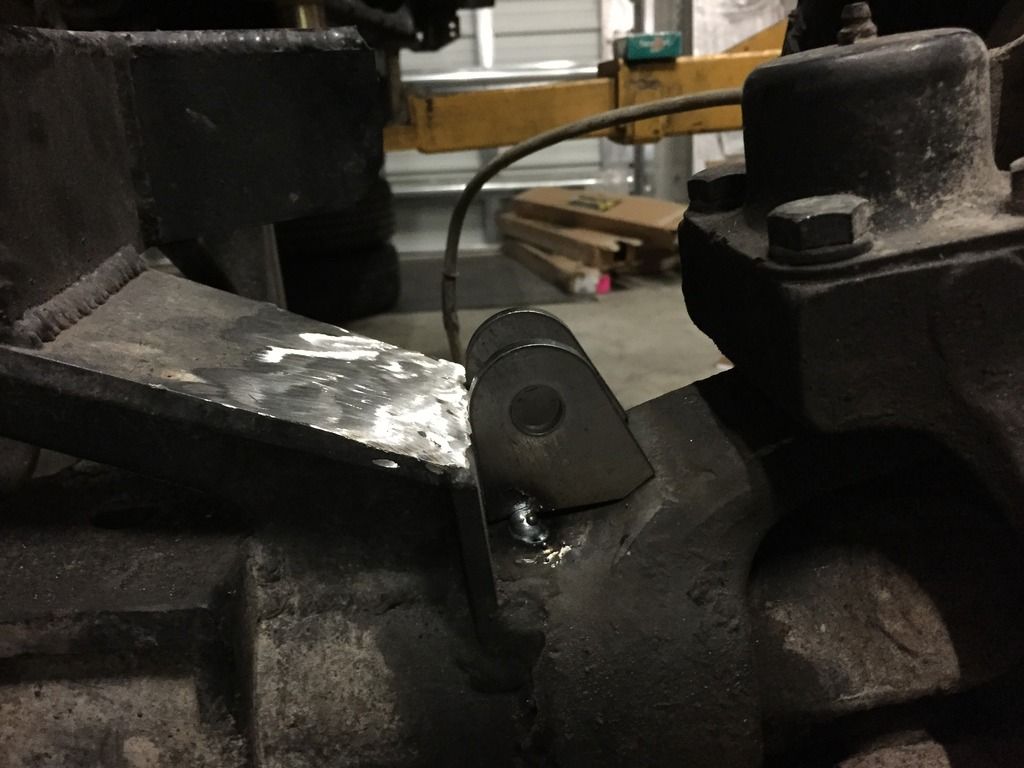
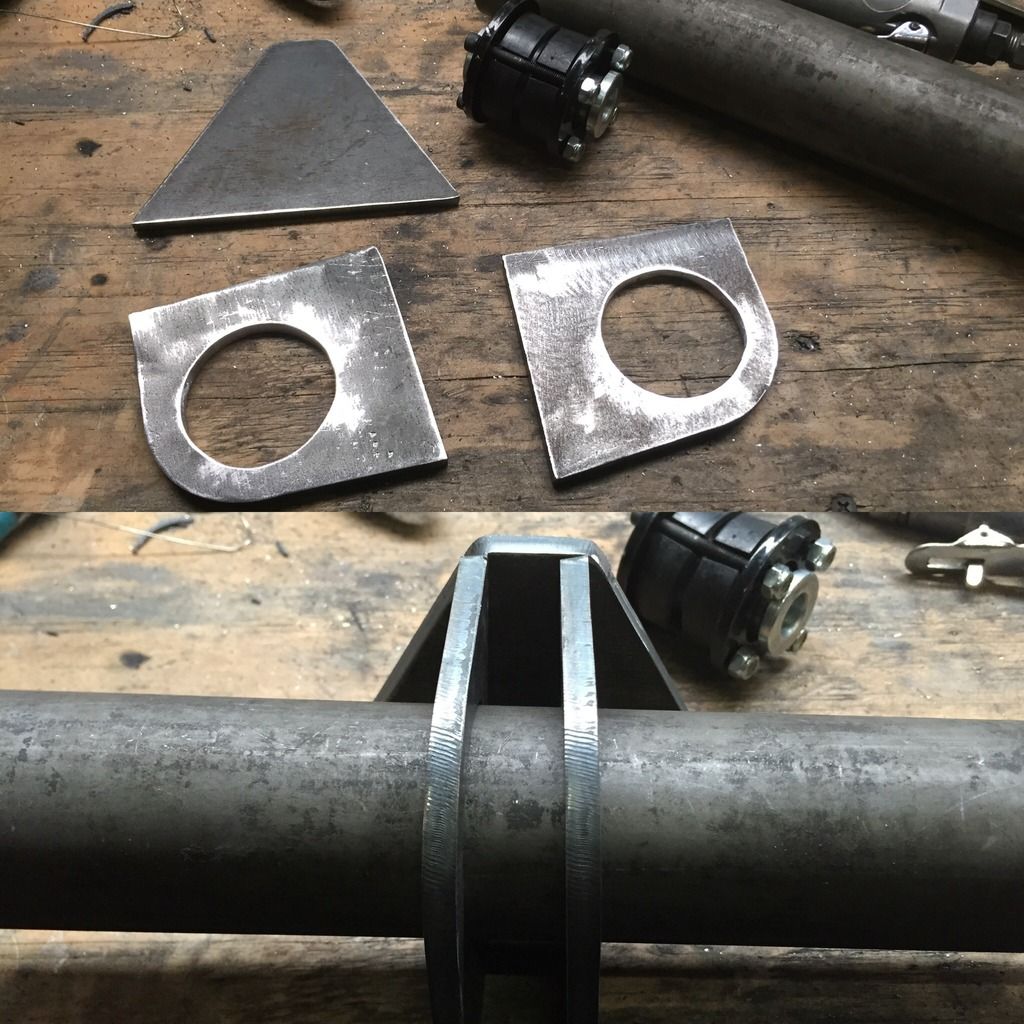
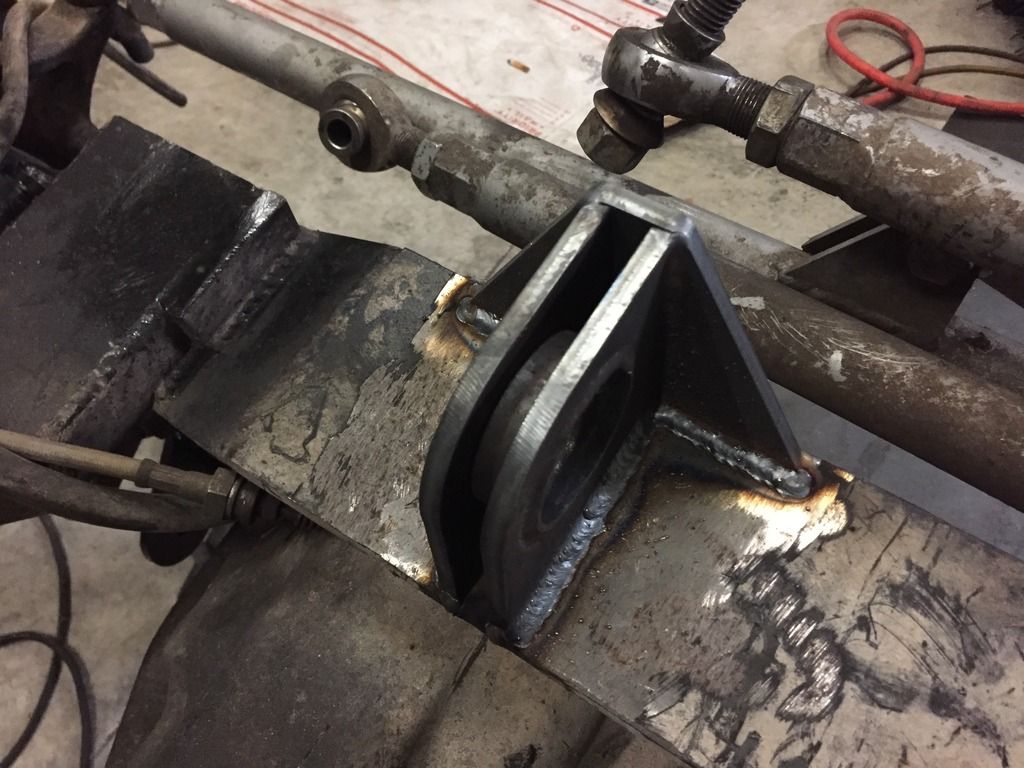
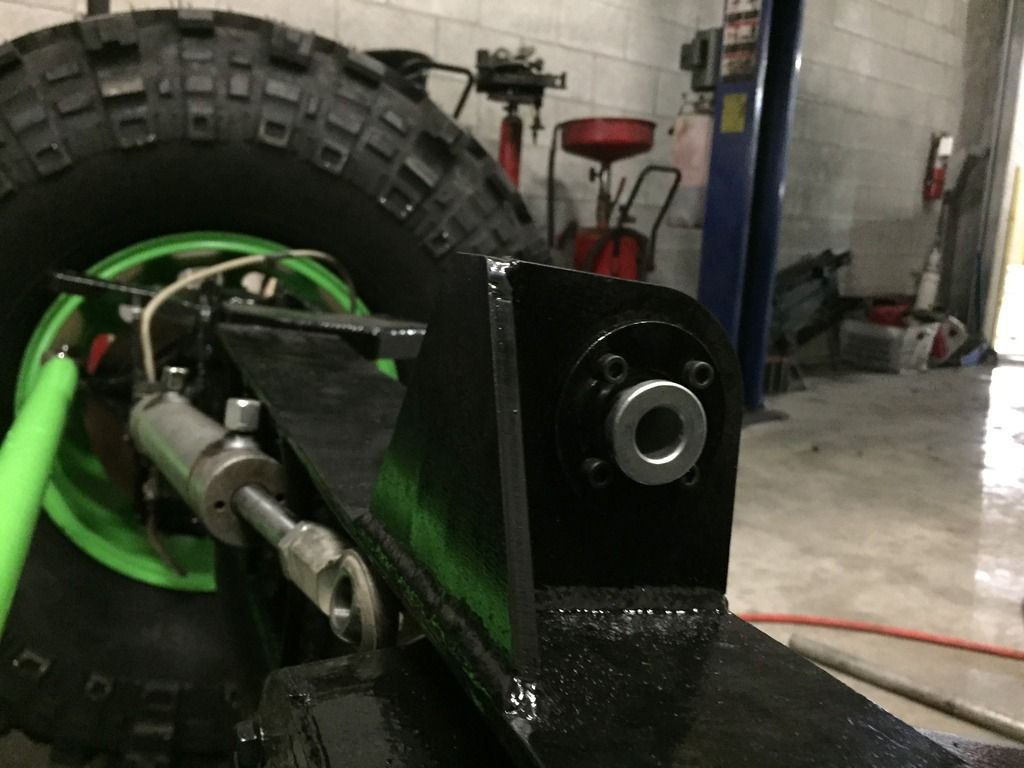
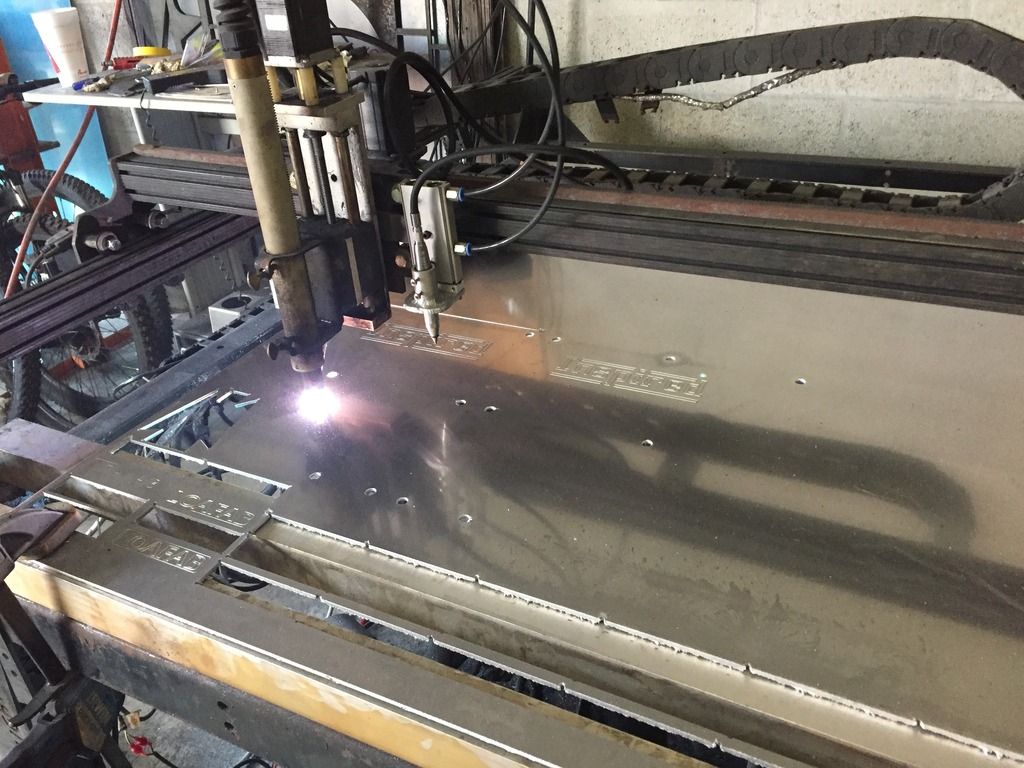
We needed a upper control arm mount. Now the issue was that the Rock Krawler kit was designed to work with the factor UCA mount, which we obviusly do not have. The kit comes with a cool joint replacement which works kind of like a Johnny Joint, pretty cool stuff, and we wanted to stick with it. With that said, we decided to fab our own up. We drew one up, and cut it with our in house plasma table. Using some DOM supplies by Ruffstuff.

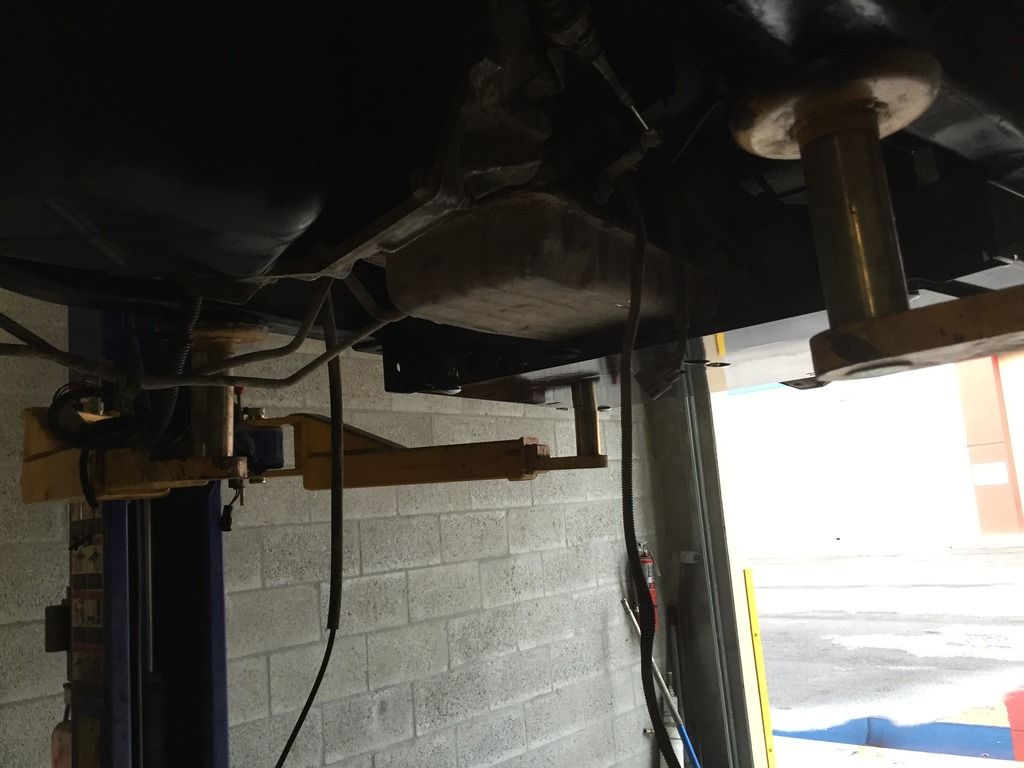
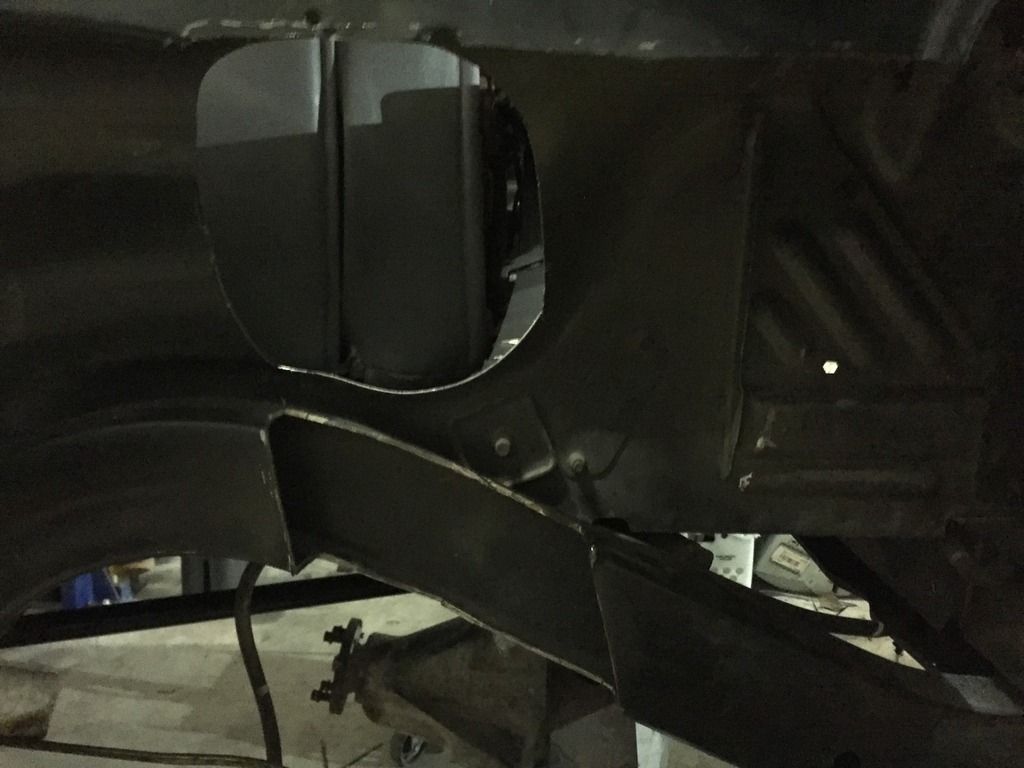
Now back to the rear (don't mind our randomness of locations...) It is time to cut yet another hole in the tub and french the frame.
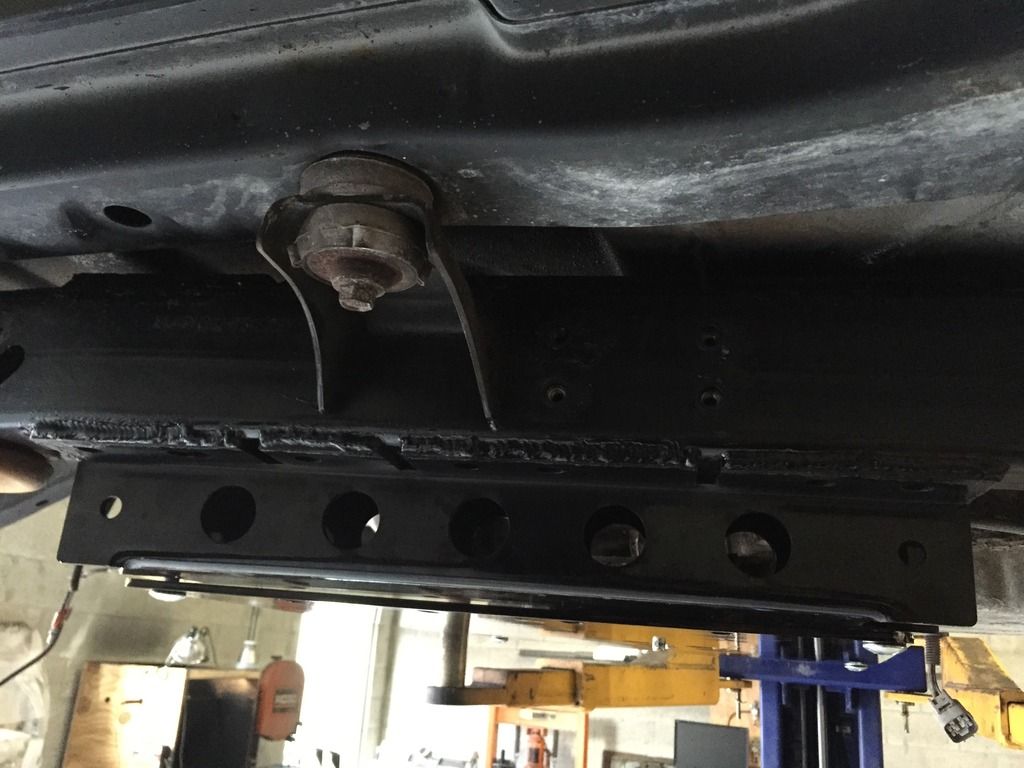
We then needed to extend the Ruffstuff mounts to work with our desires, so back to the CNC machine to cut the needed parts, then weld them together. The next step was to test fit, and mount on the frame.
We started off with an XJ on one tons, owned by our sales Manager, Sami. After blowing the head gasket, well, Sami blew a head gasket as well, and figured it was time to part out the XJ and build a TJ. The XJ was on coilovers in the front, and one ton axles with JCR armor, and lots of other things. Whether Sami made the right decision, that's up to you, ill keep my opinion to myself.
Not only do we sell lights, but we are also authorized distributors of many brands used in this build, including Poison Spyder, JCR Offroad, Method Wheels, Ruffstuff specialties, Switch-pros, Rock Krawler, and every other item you see in this build.
We do not just sell the items, we test them out for ourselves.
We didn't want to reinvent the wheel, but go with our take on a tried and tested setup. There are some surprises, but here is the general build plan.
-Dana 60 front and rear axles with 5:13 gears. Front has Spartan locker and G2 locking hubs. The rear has 35 spline Yukon chrome molly shafts, Lock rite locker, and Ruffstuff diff covers with disk brakes.
- Rock Krawler LJ long arm kit: Single triangulated rear, with 3 link front. Nets 10" of rear stretch, and about 1" or so front stretch.
-Fox 2.0 Emulsion coilovers 12" front, and 14" rear, with QA-1 springs
- PSC Brawler lite front bumper with brawler bar, Front hiline defender aluminum fenders, Rocker Knockers with no tube work, Custom rear aluminum PSC rear corners, PSC roll cage.
-Method 105 Beadlocks wheels on 42" TSL SX tires
-AW-4 automatic transmission
-Much more but follow the thread for now.
If you guys like this build, check out our new project as well...
This is what we started off with. A 1997 unmolested stock TJ, never offroaded. D30 front, D35 rear, A/C, 4.0, Ax15, Hard doors, brand new best top soft top, and dont forget, Chrome Wheels*

As with any great finished product, you have to start with something great. First step was tear down. The fun part.


Then even more fun work. We took about 100 photos here, but refuse to bore you. We removed all OEM Control arm mounts, track bar mounts and anything else not being used any longer.


More grinding, until the frame looked like the last pics


And... even more fun work. Getting the feel of these builds?
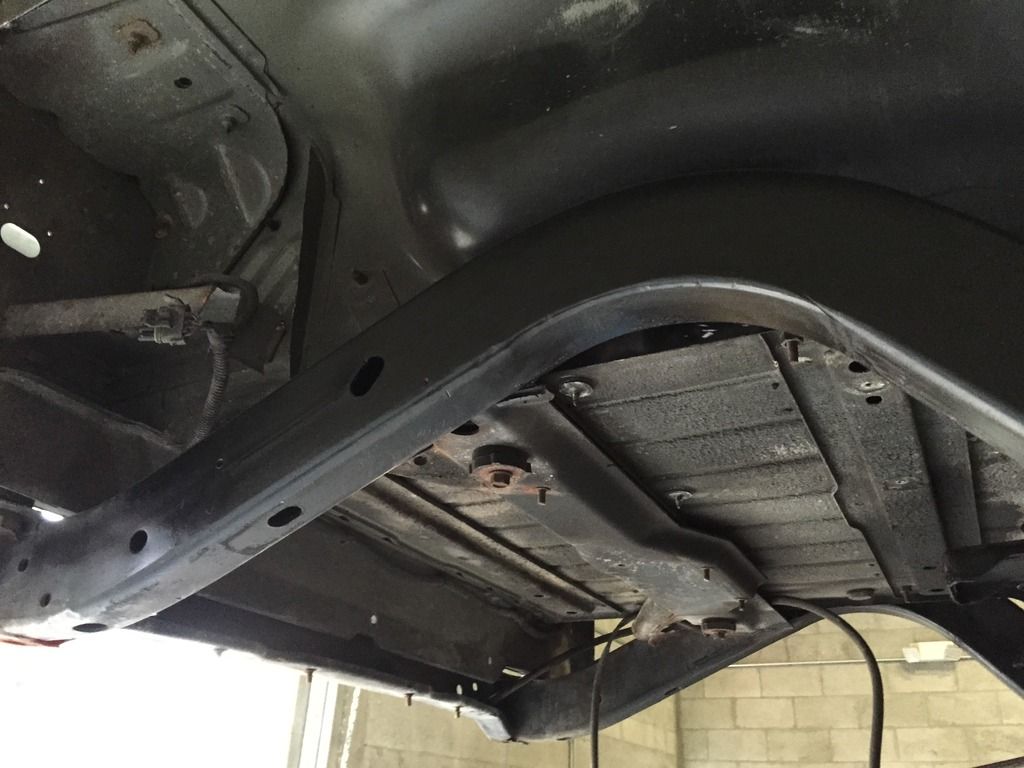
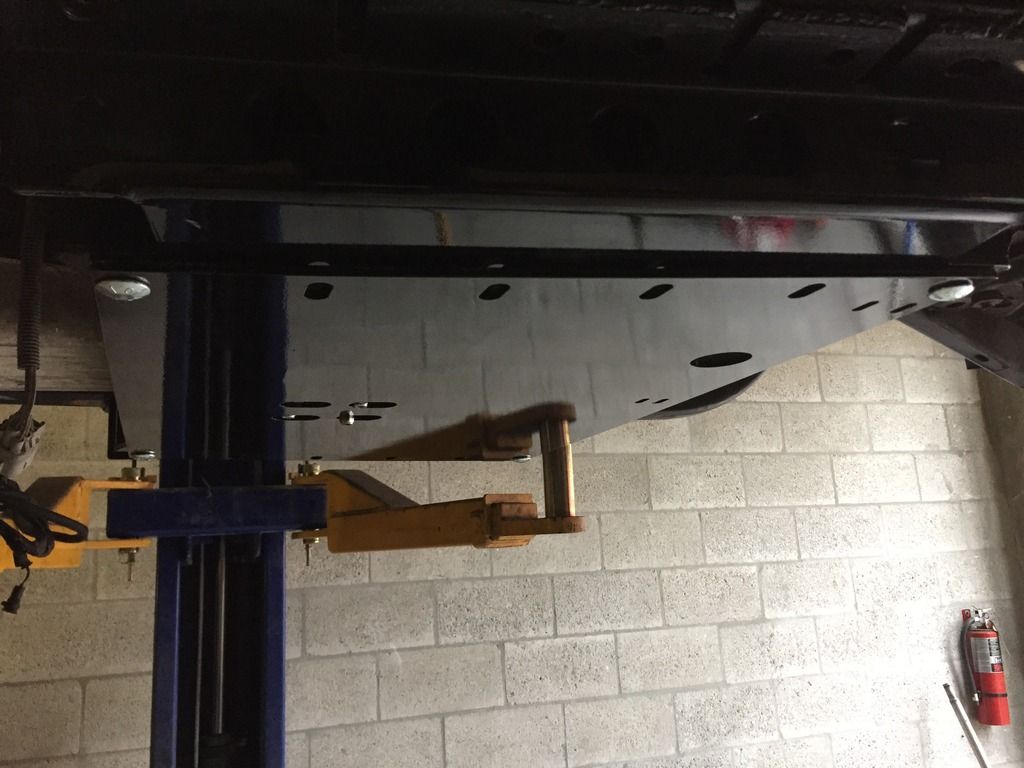
Now was time to cut the Tub for preliminary fitment. We did not have the armor yet at this point.
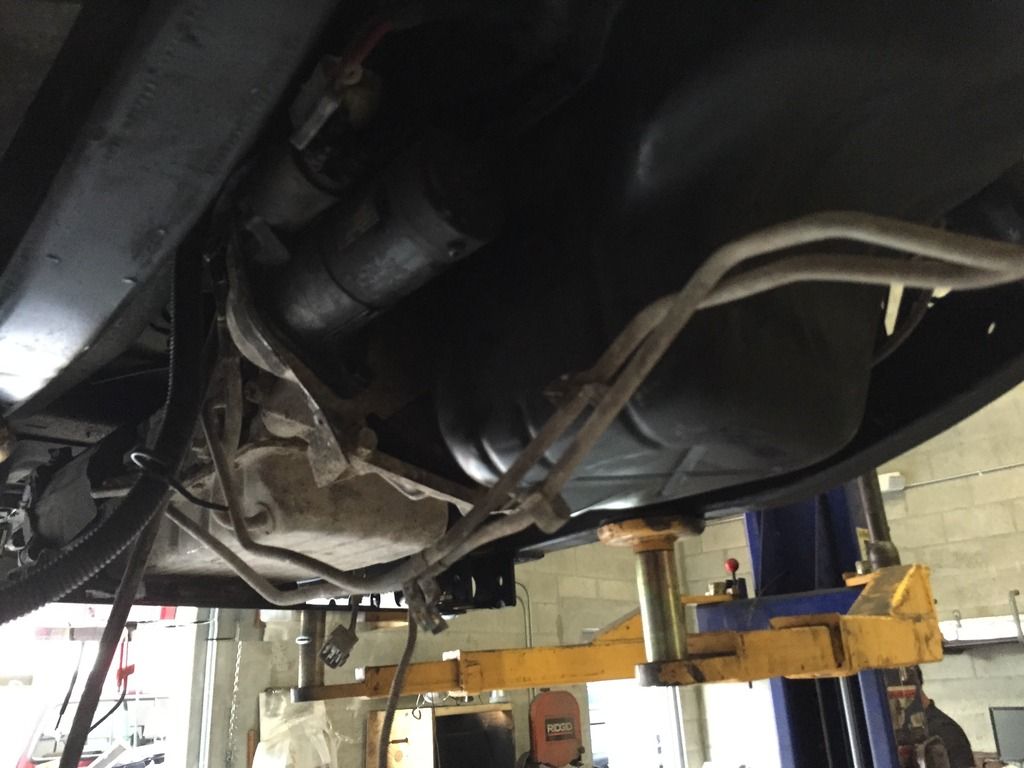
We also welded the Rock Krawler frame support/ CA mounts, mounted the transmission up, and the skid plate.


Finally some headway. Welding on the rear Rock Krawler axle truss, and Ruffstuff LCA mounts.

Next we got the rear control arms mounted, and the rear axle all finished, minus the coil over mounts.


Check out that cool rear flex!

Take off coilovers from the Cherokee with new springs. So pretty... So shiny...


Now a little bit of front end work
Mounted the Control arms and fit the axle. Instantly noticing the old coilover mounts on the axles, no longer cut it, so they got cut.


New ones fit. Wider, and lower for the stance

Test fit, and final welding of the Ruffstuff Coilover towers.


Everything fit, so final welding was done


Trackbar bracket and final welding on the towers as well.


Teaser pic ( these are not the wheels for this build, remember I mentioned another build?)

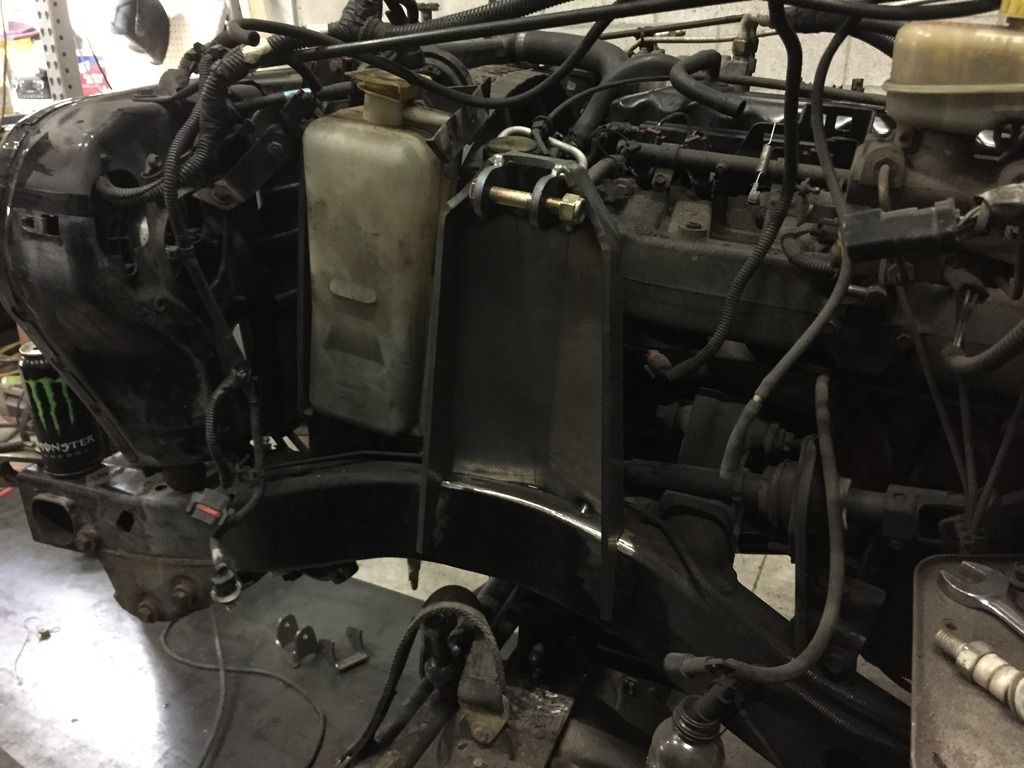
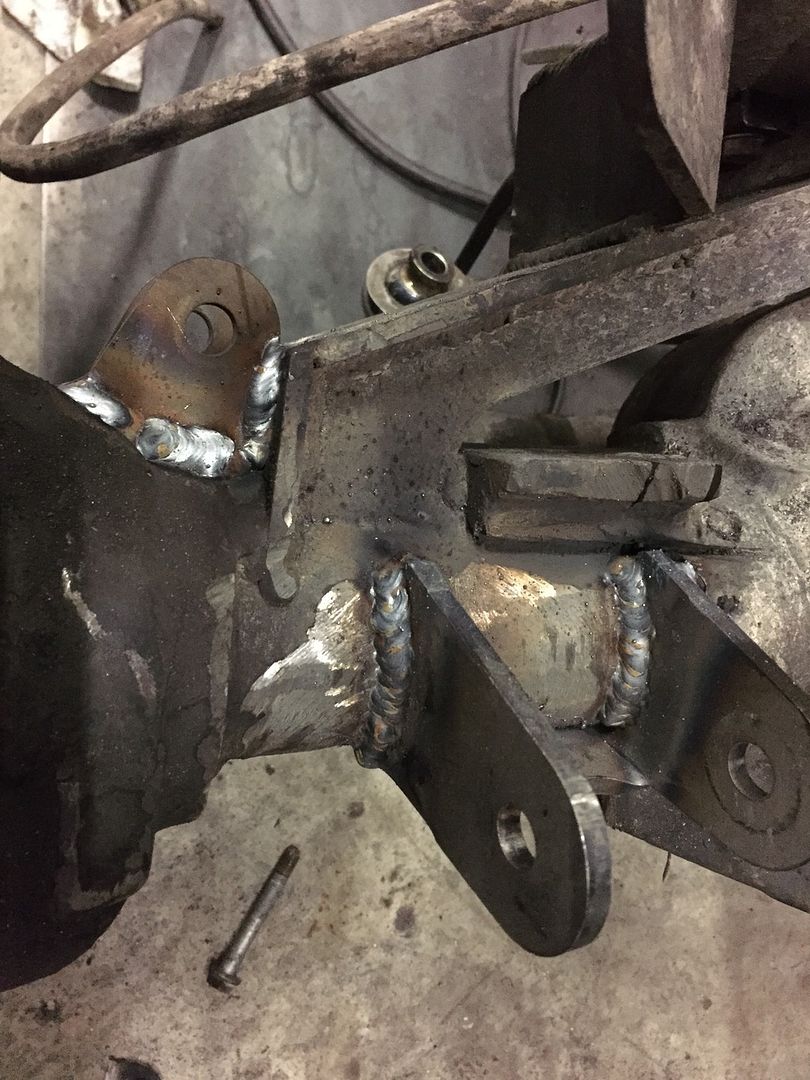
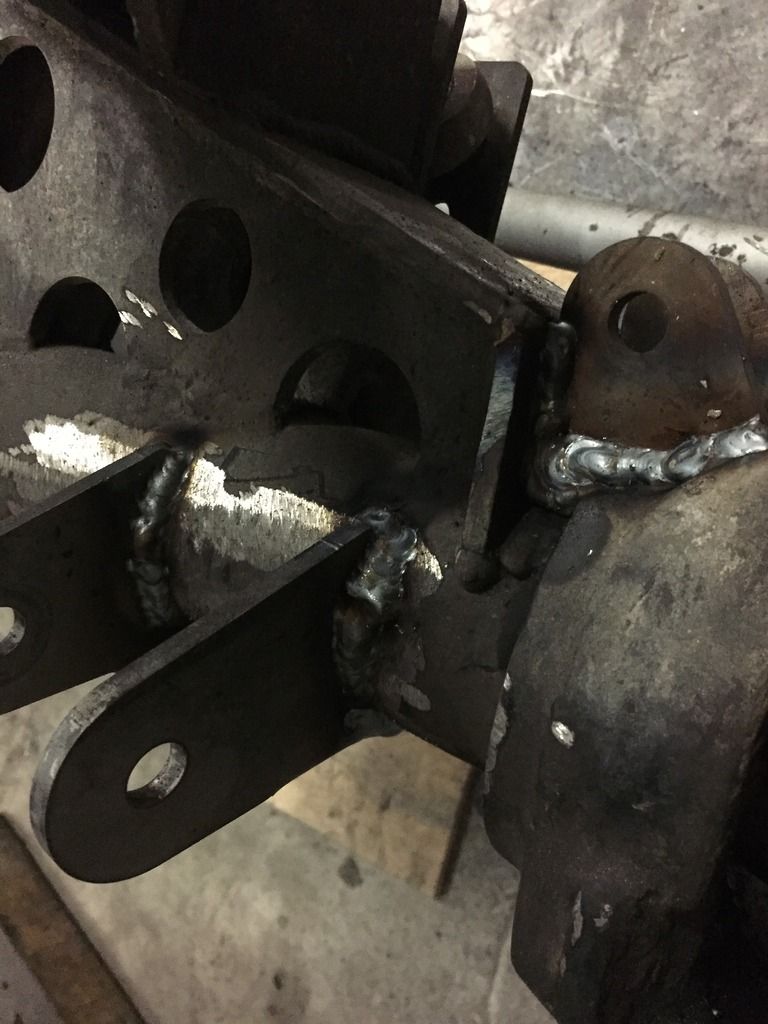
We needed a upper control arm mount. Now the issue was that the Rock Krawler kit was designed to work with the factor UCA mount, which we obviusly do not have. The kit comes with a cool joint replacement which works kind of like a Johnny Joint, pretty cool stuff, and we wanted to stick with it. With that said, we decided to fab our own up. We drew one up, and cut it with our in house plasma table. Using some DOM supplies by Ruffstuff.


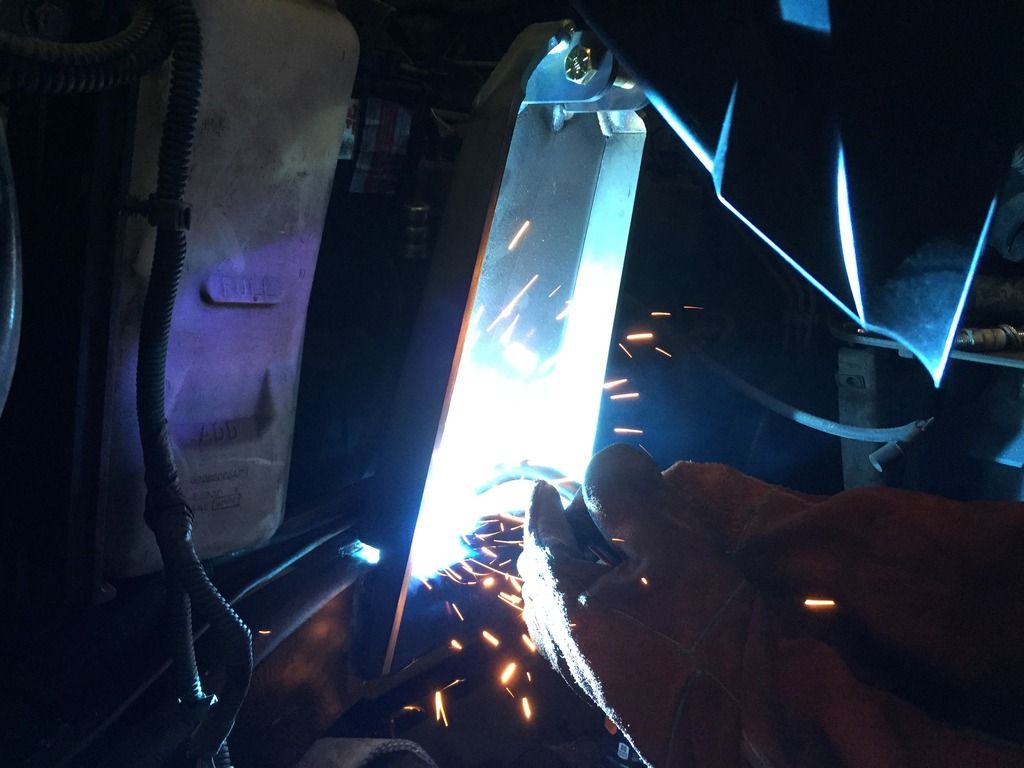
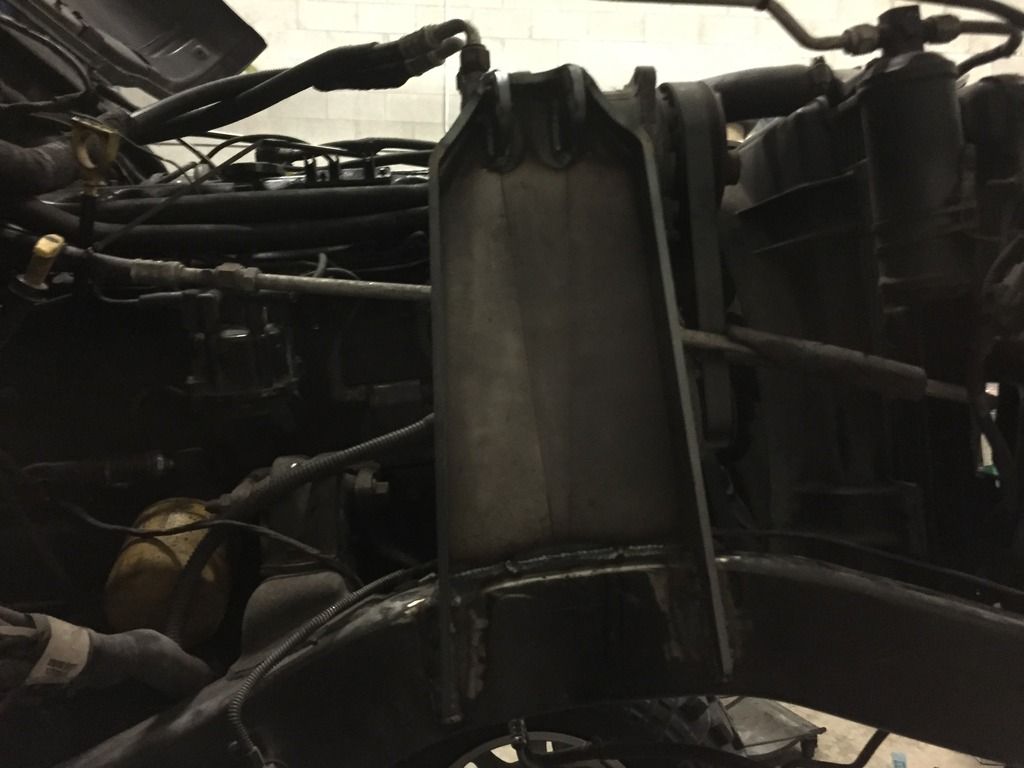
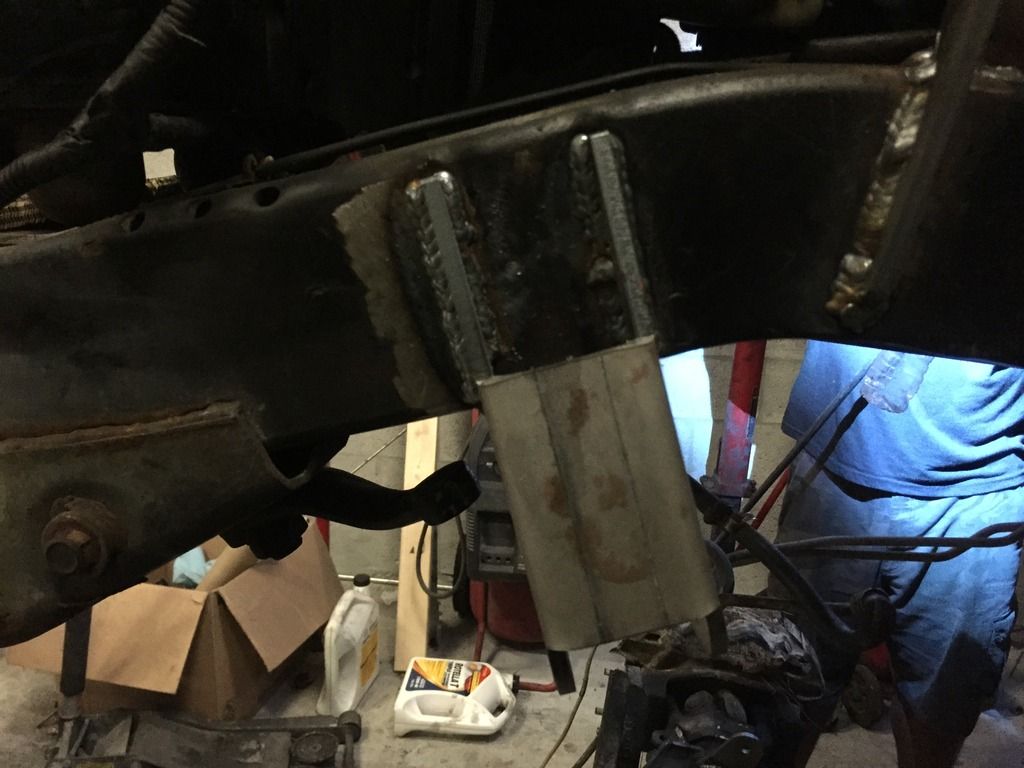
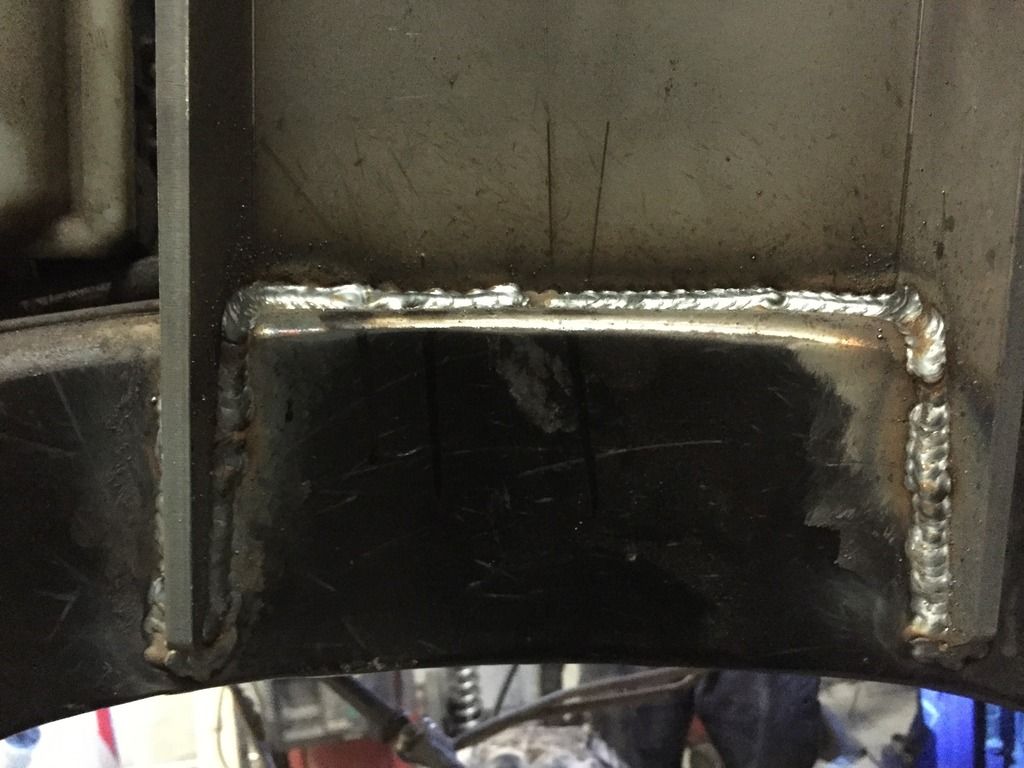
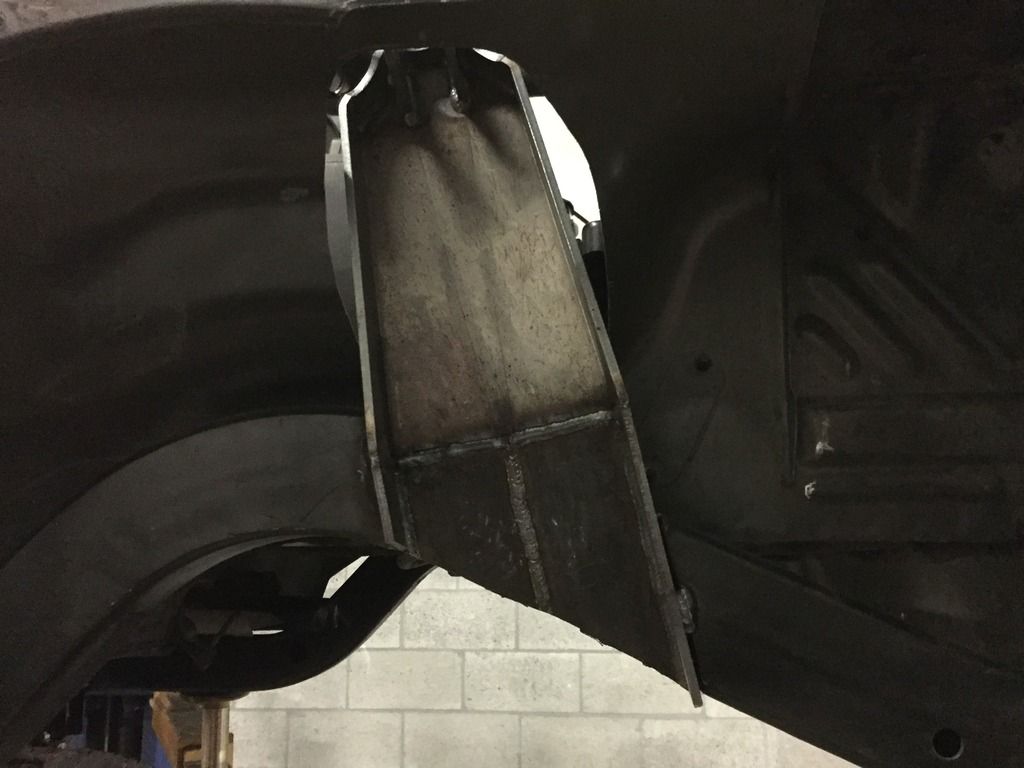
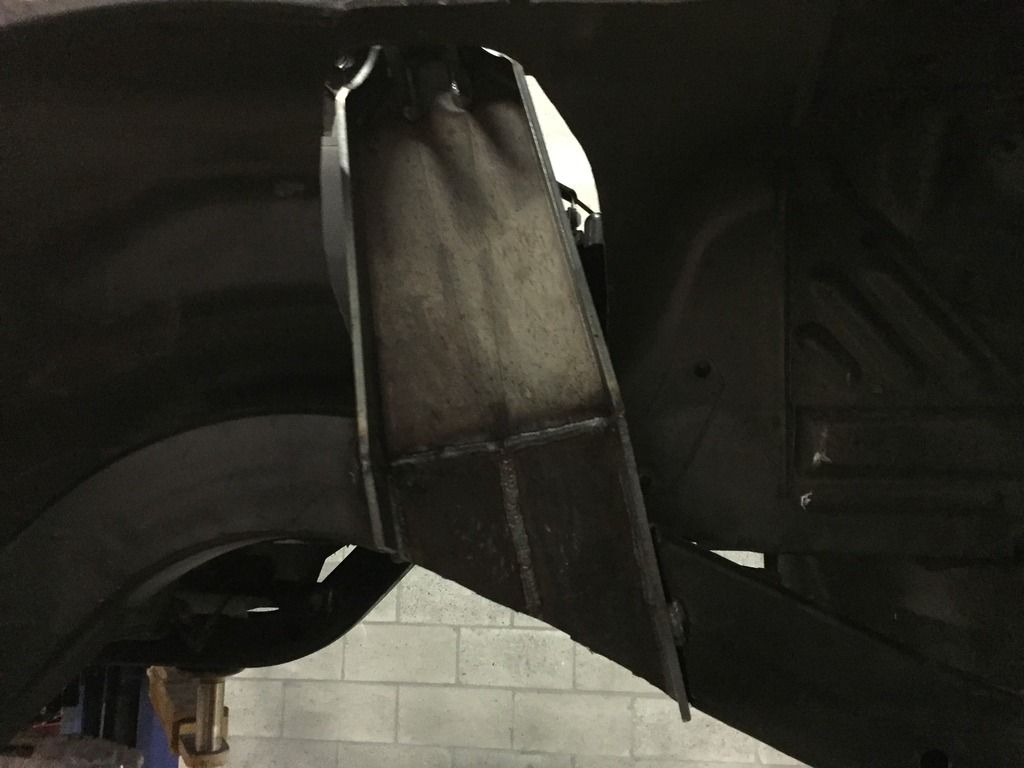
Now back to the rear (don't mind our randomness of locations...) It is time to cut yet another hole in the tub and french the frame.


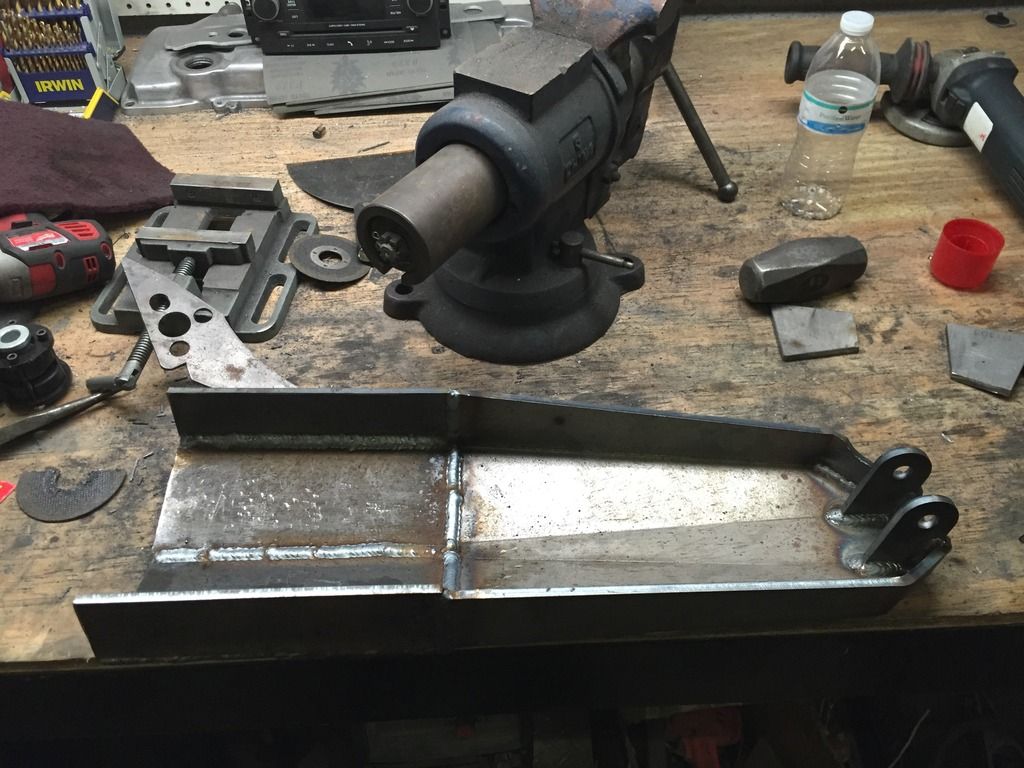
We then needed to extend the Ruffstuff mounts to work with our desires, so back to the CNC machine to cut the needed parts, then weld them together. The next step was to test fit, and mount on the frame.


 10-12-2015, 10:00 PM
#2
Former Vendor
Thread Starter
Join Date: Jun 2013
Location: United States
Posts: 972
Likes: 0
Received 0 Likes
on
0 Posts
#progress? I think so.
Front UCA mount welded on to the Artec Truss
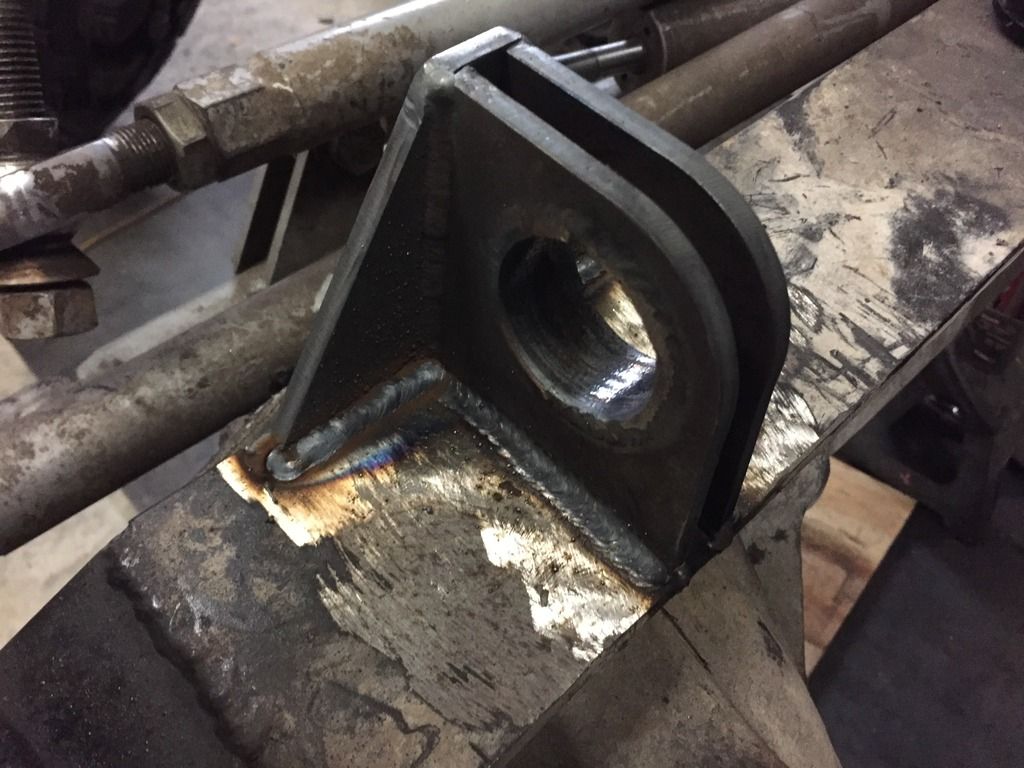
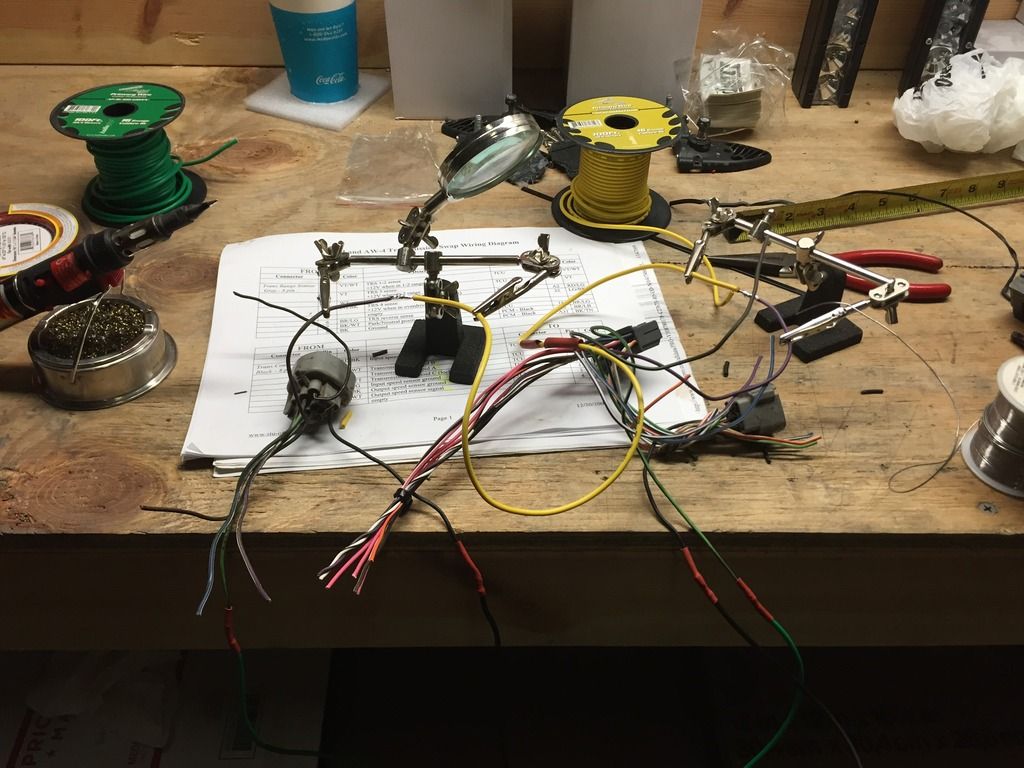
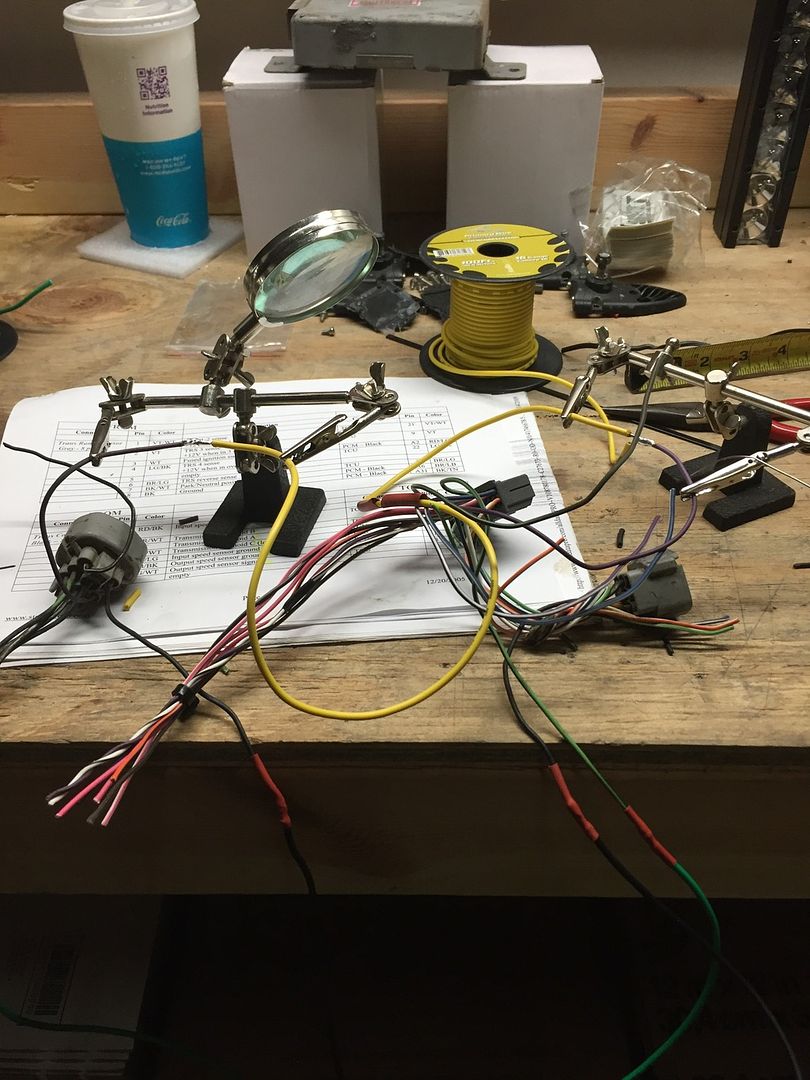
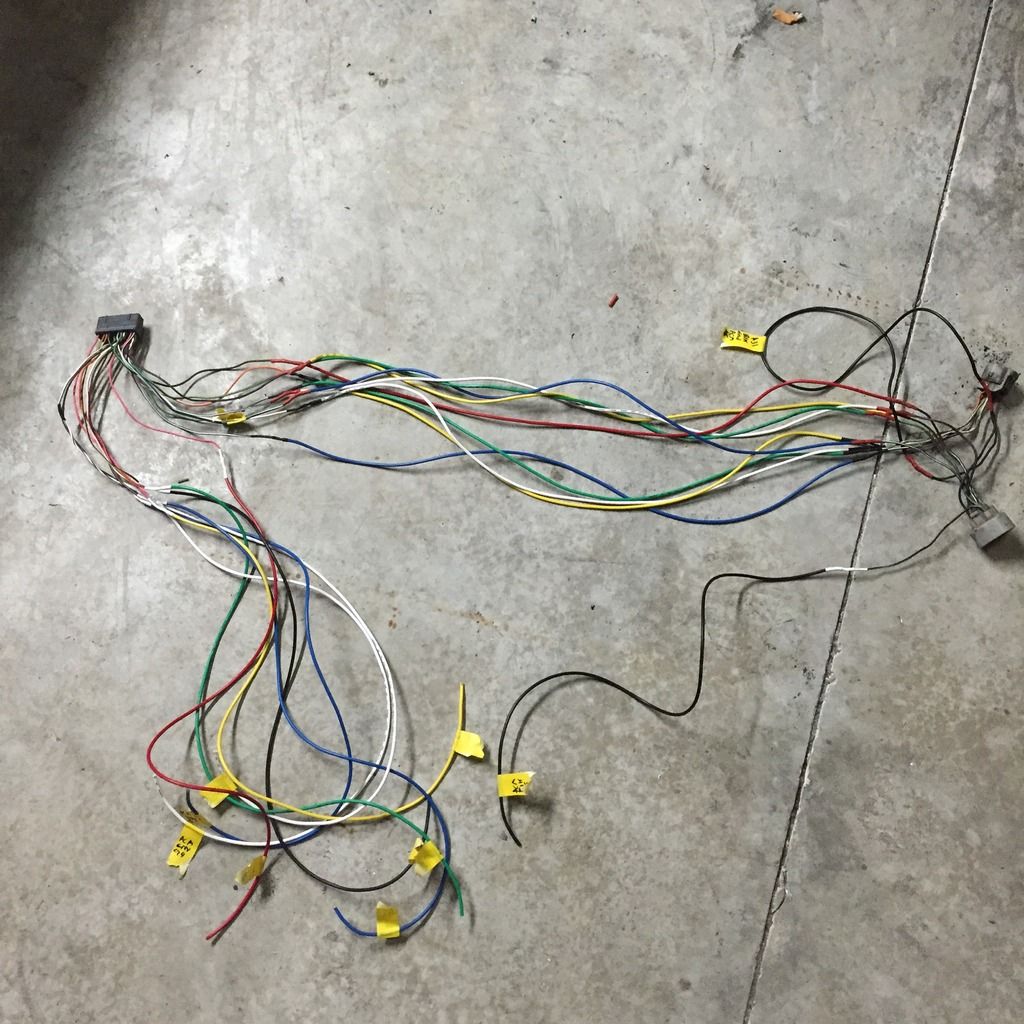
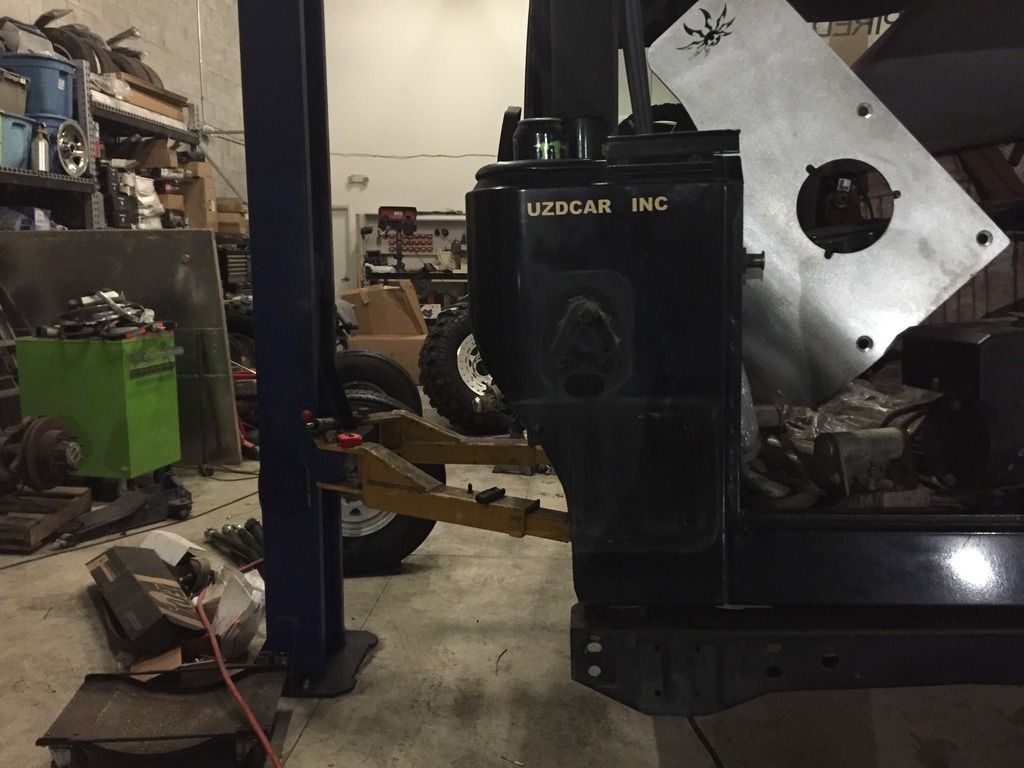
Next was my favorite part. Creating the wire harness for the AW4 to the TJ. Now I know you might be wondering why didn't we just take the wire harness from the Cherokee. The answer is that we just felt it would be easier to make a jumper harness rather than fishing the whole XJ one out. We aren't sure yet if that was the right decision since the Jeep isn't finished yet.
Here is the progress
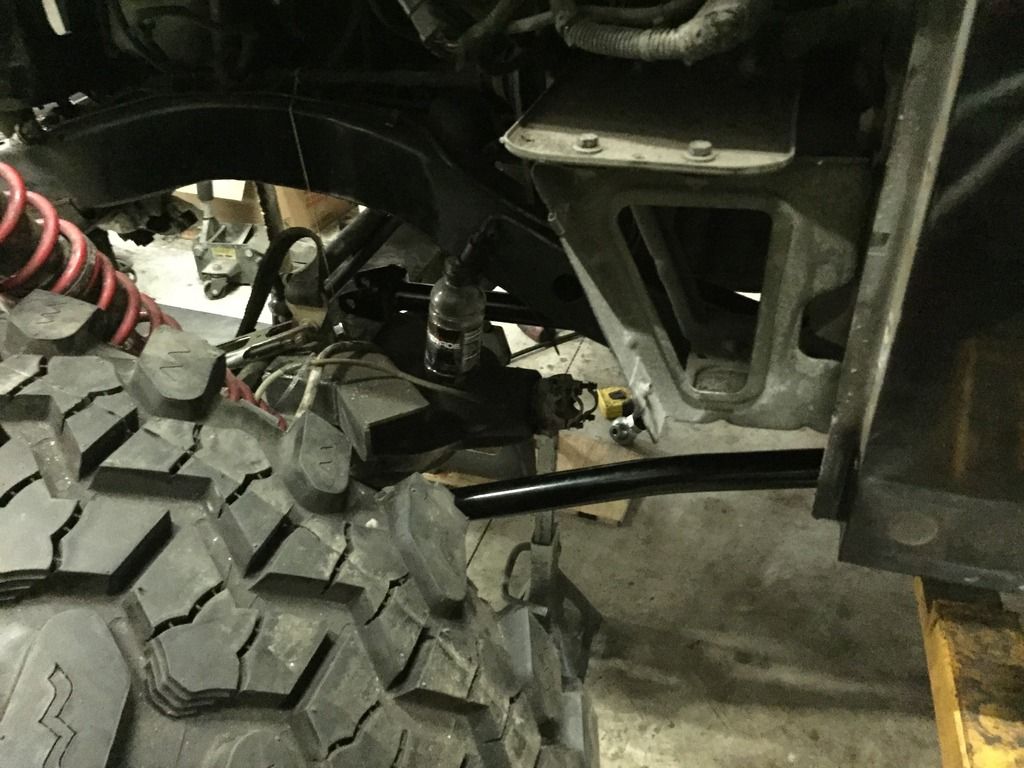
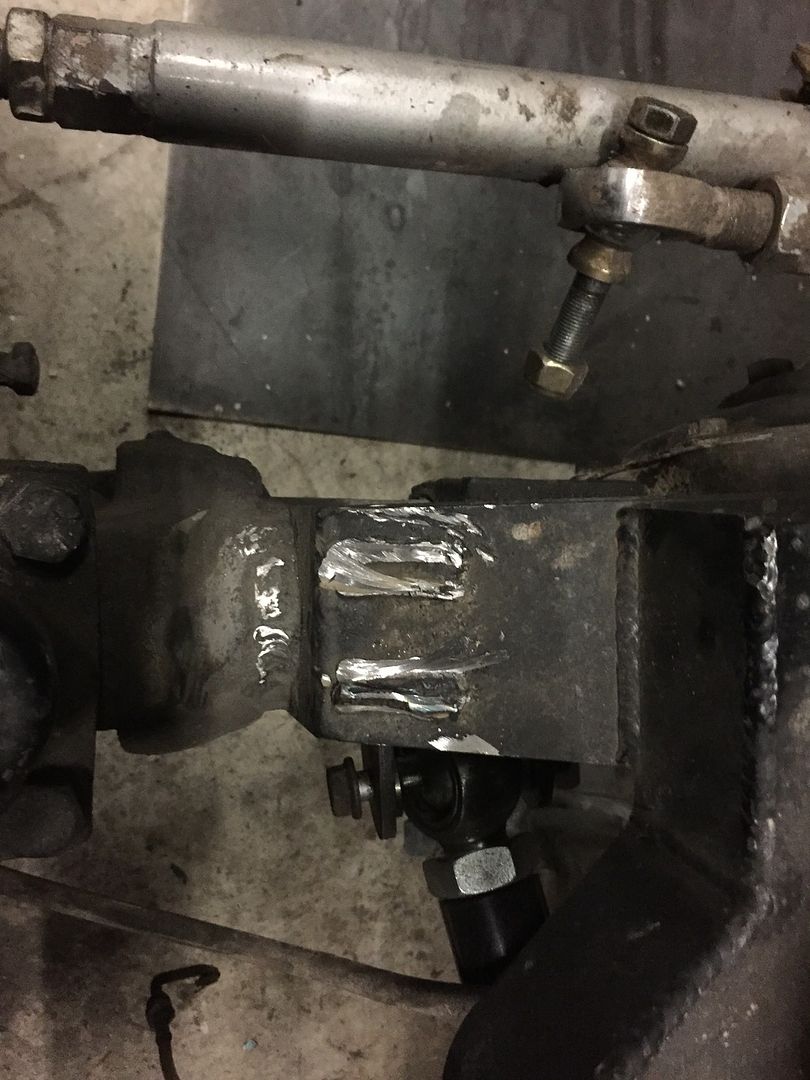
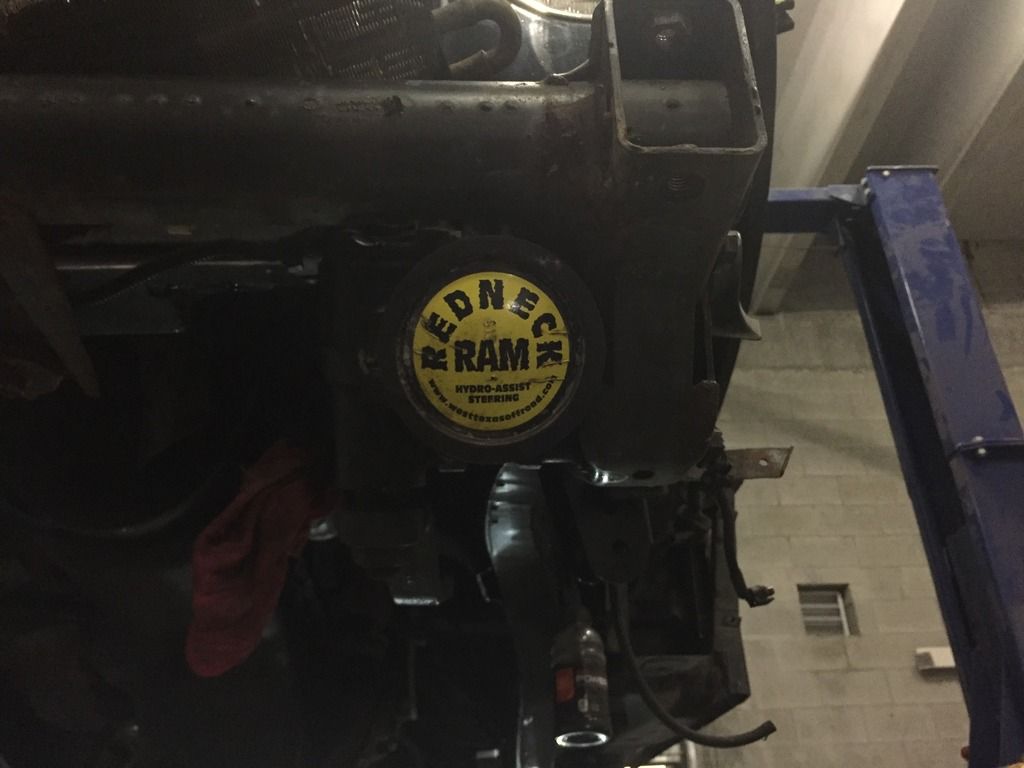
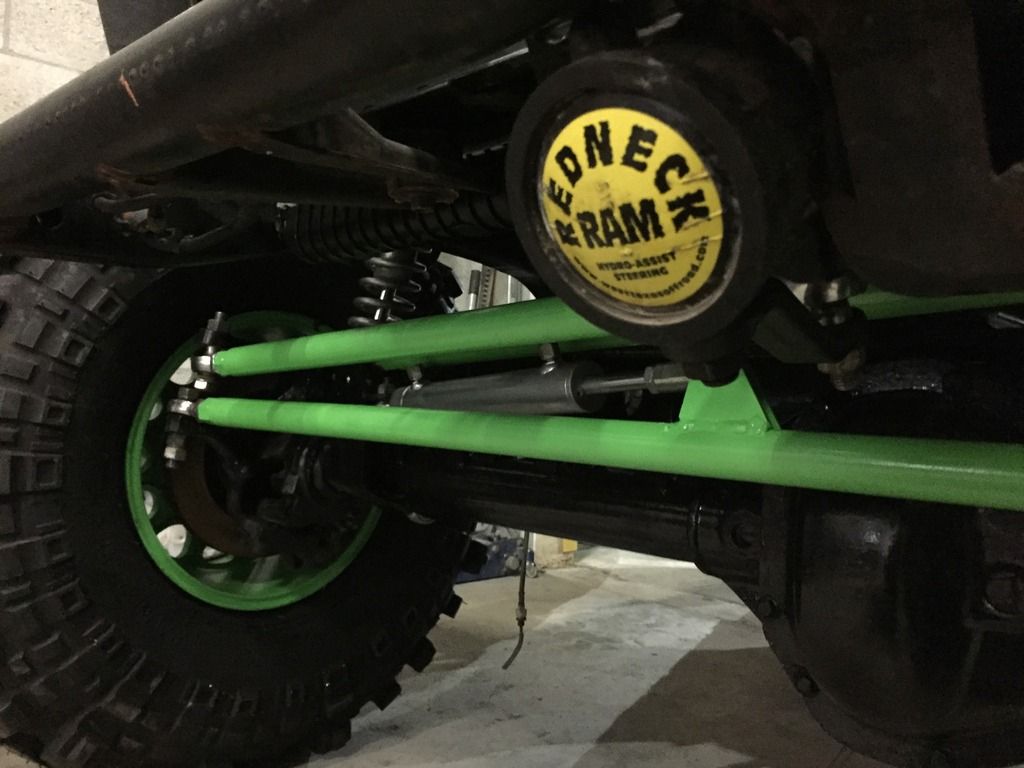
Redneck ram with Durango steering box is mounted and installed
Armor came in and tub was cut yet again. I'm pretty sure this Jeep hates us currently.
Nope, no armor pics yet, that you'll have to wait for
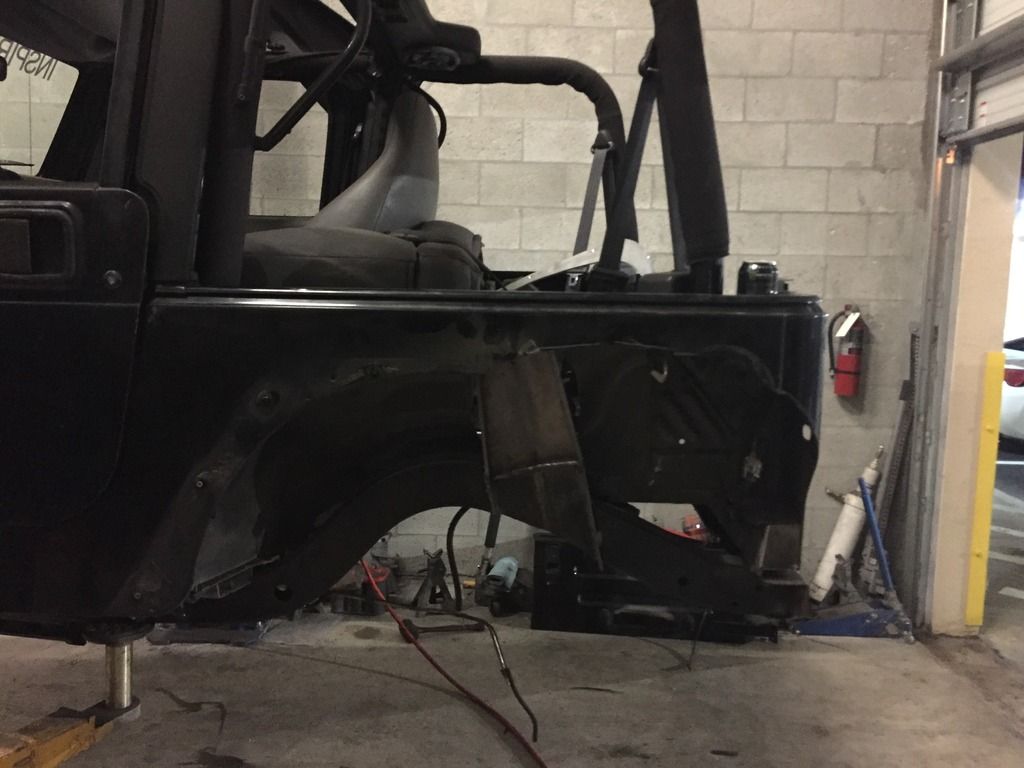
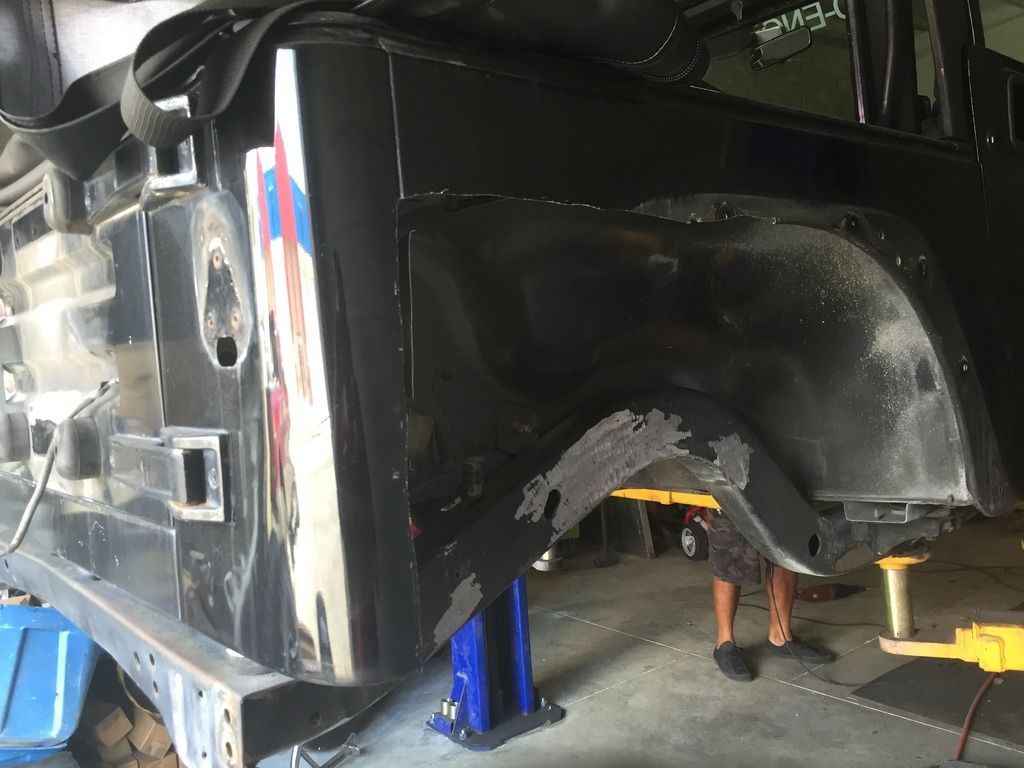
But I could show you this. (dont mind the shorts, they jumped into the pic)
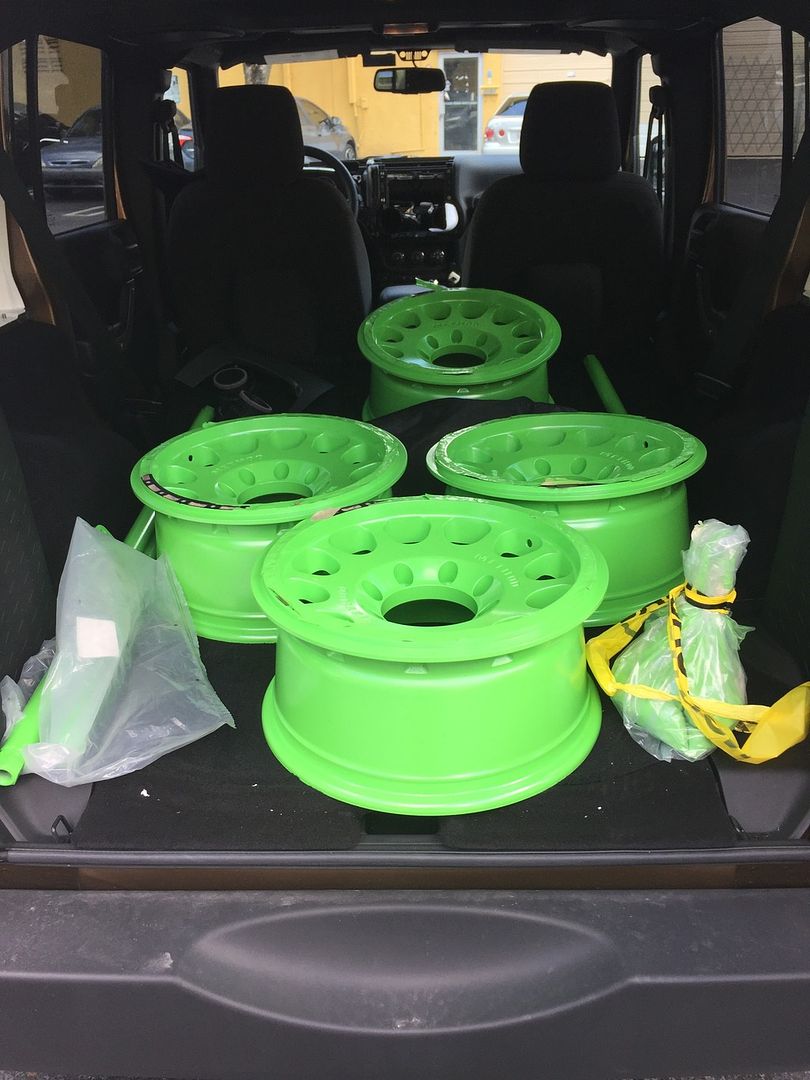
And there you are with our current progress. All of the wheels should be mounted this week, as we were waiting on ring spacers to be shipped from Method wheels, since the bead is huge on these tires.
The armor was also dropped of to the powdercoater today, wait and see for the color.
There is a ton more to see and now the build is coming together and finally is fun and should be entertaining to watch. Keep up with it.
Follow us on Instagram @inspiredengineering and Facebook under Inspired Engineering as well.
We will be updating this daily now as progress is made!


Front UCA mount welded on to the Artec Truss


Next was my favorite part. Creating the wire harness for the AW4 to the TJ. Now I know you might be wondering why didn't we just take the wire harness from the Cherokee. The answer is that we just felt it would be easier to make a jumper harness rather than fishing the whole XJ one out. We aren't sure yet if that was the right decision since the Jeep isn't finished yet.
Here is the progress


Redneck ram with Durango steering box is mounted and installed

Armor came in and tub was cut yet again. I'm pretty sure this Jeep hates us currently.
Nope, no armor pics yet, that you'll have to wait for


But I could show you this. (dont mind the shorts, they jumped into the pic)


And there you are with our current progress. All of the wheels should be mounted this week, as we were waiting on ring spacers to be shipped from Method wheels, since the bead is huge on these tires.
The armor was also dropped of to the powdercoater today, wait and see for the color.
There is a ton more to see and now the build is coming together and finally is fun and should be entertaining to watch. Keep up with it.
Follow us on Instagram @inspiredengineering and Facebook under Inspired Engineering as well.
We will be updating this daily now as progress is made!
10-13-2015, 08:17 PM
#3
Former Vendor
Thread Starter
Join Date: Jun 2013
Location: United States
Posts: 972
Likes: 0
Received 0 Likes
on
0 Posts
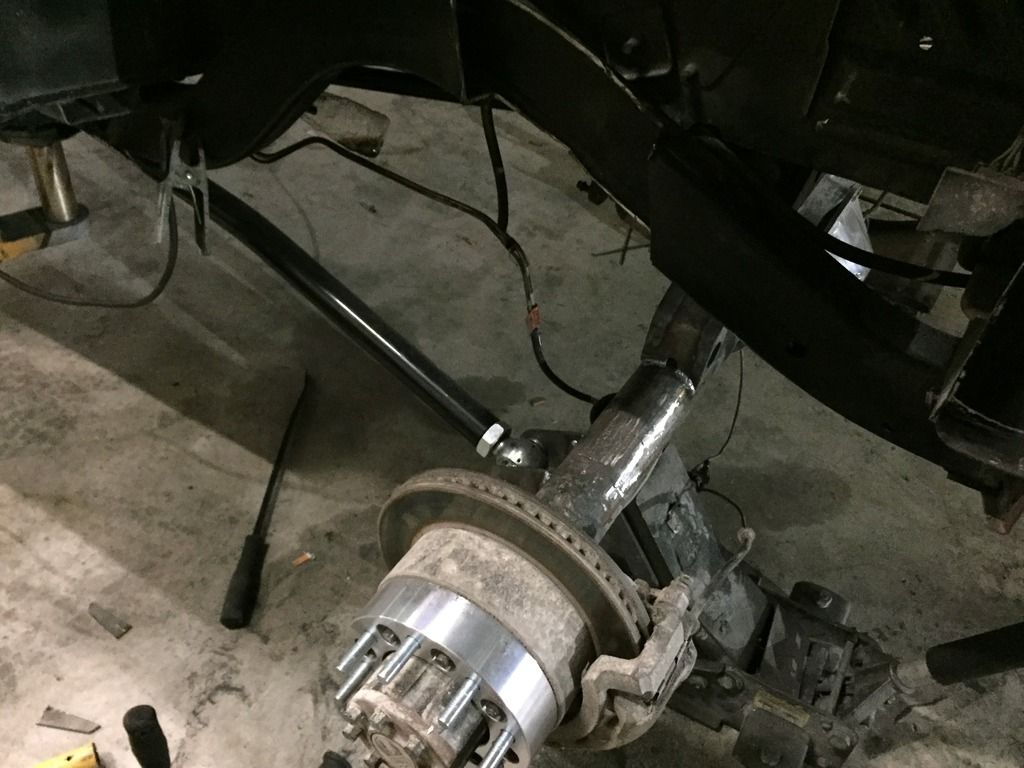
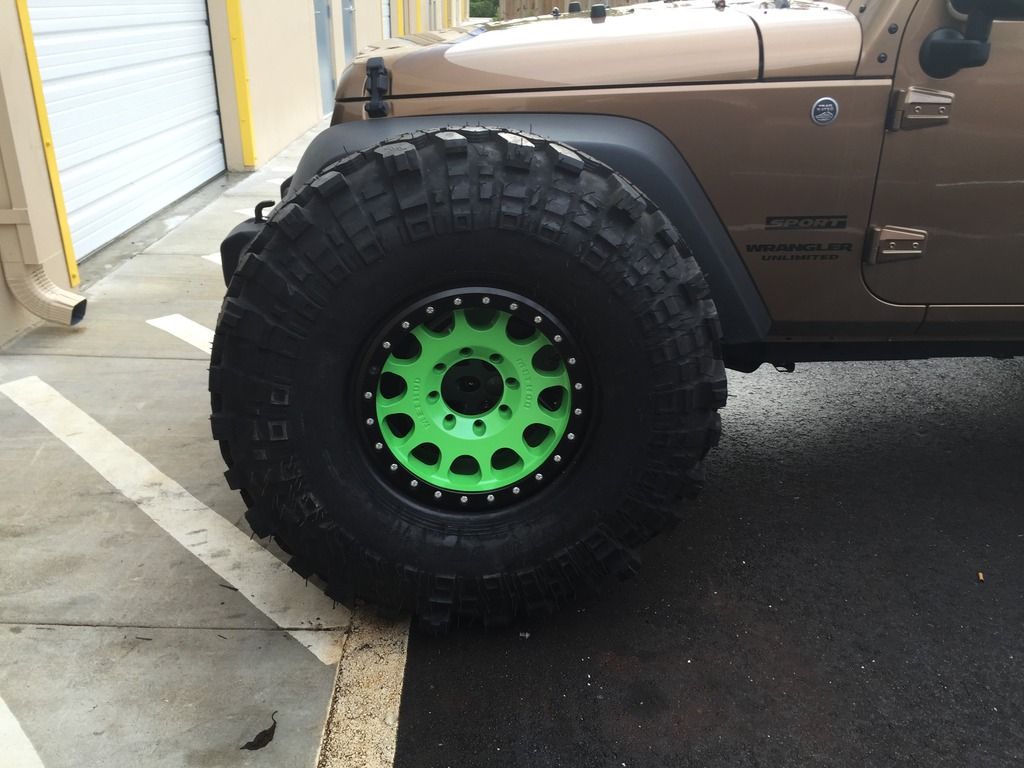
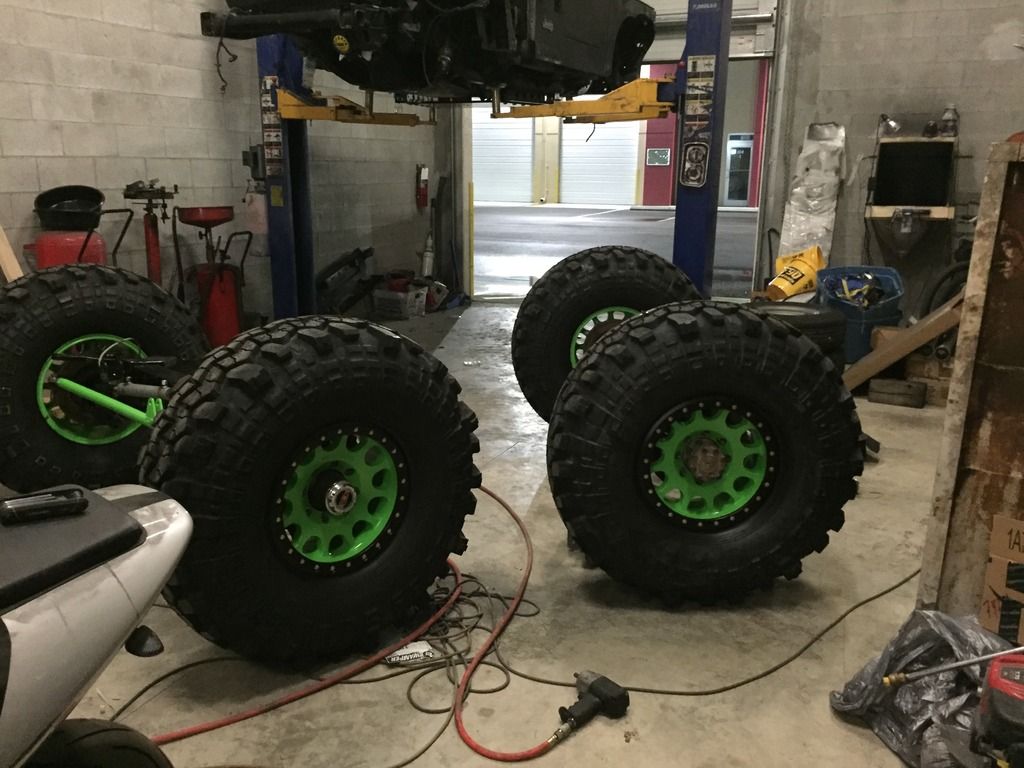
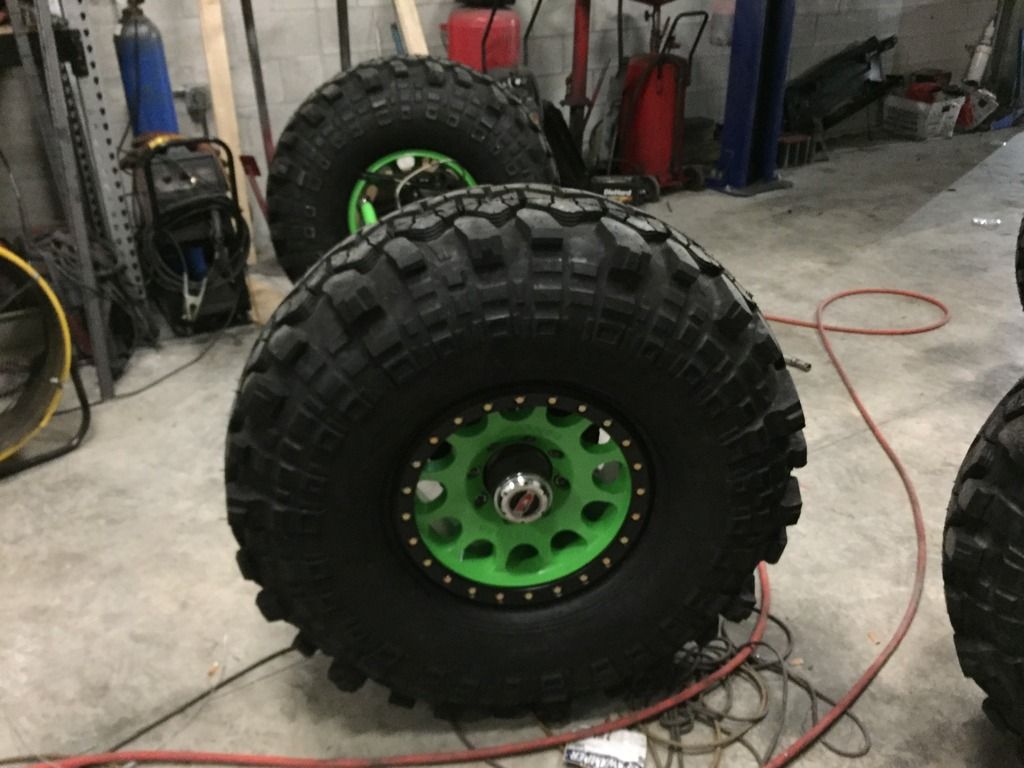
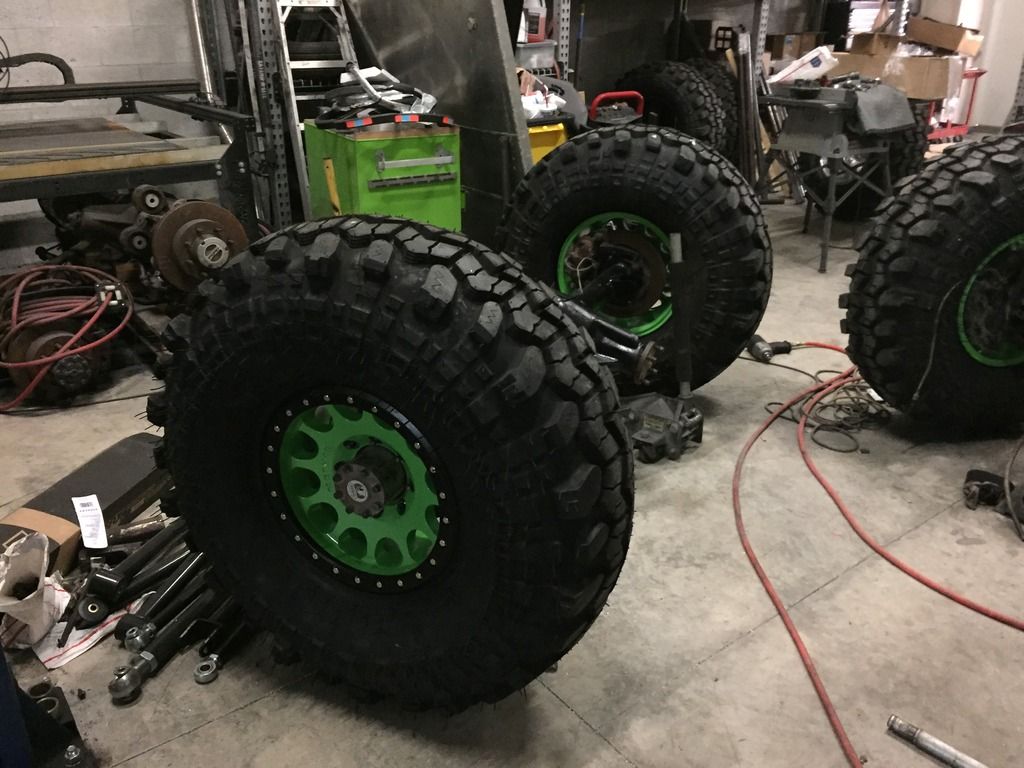
Got the Rock Krawler UCA mount installed today and Method race wheels came through with new hardware and ring spacers for our 105's. Got them mounted and put on the axles as well.
Its starting to come together...
Its starting to come together...


 10-22-2015, 10:16 AM
#5
Former Vendor
Thread Starter
Join Date: Jun 2013
Location: United States
Posts: 972
Likes: 0
Received 0 Likes
on
0 Posts
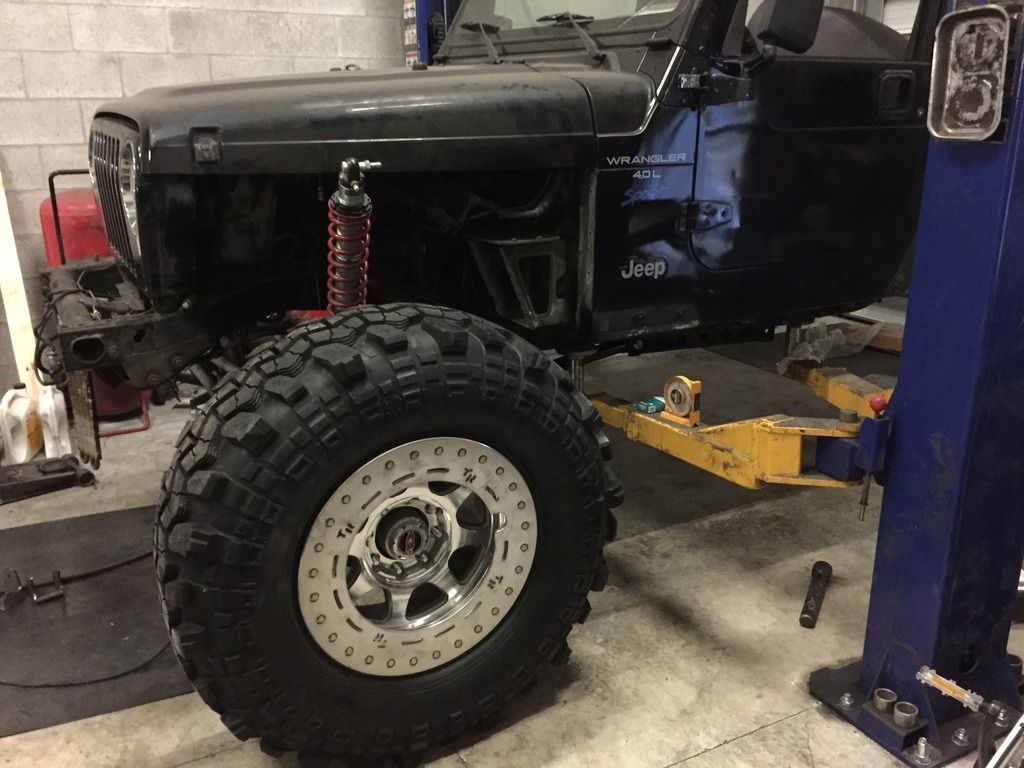
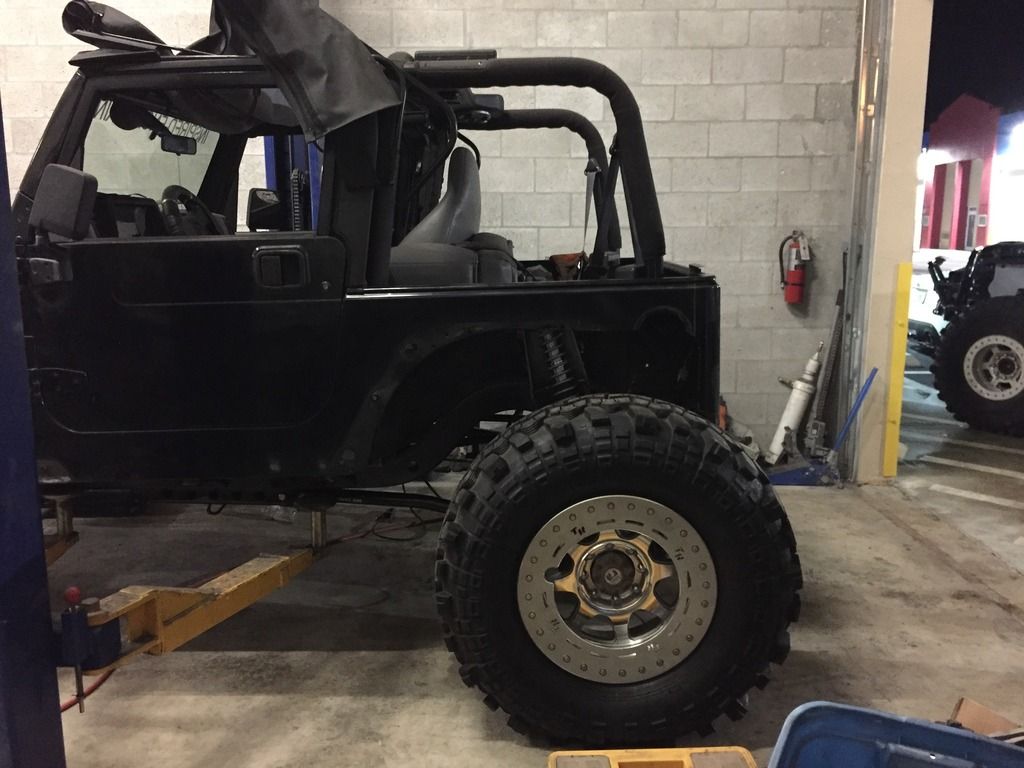
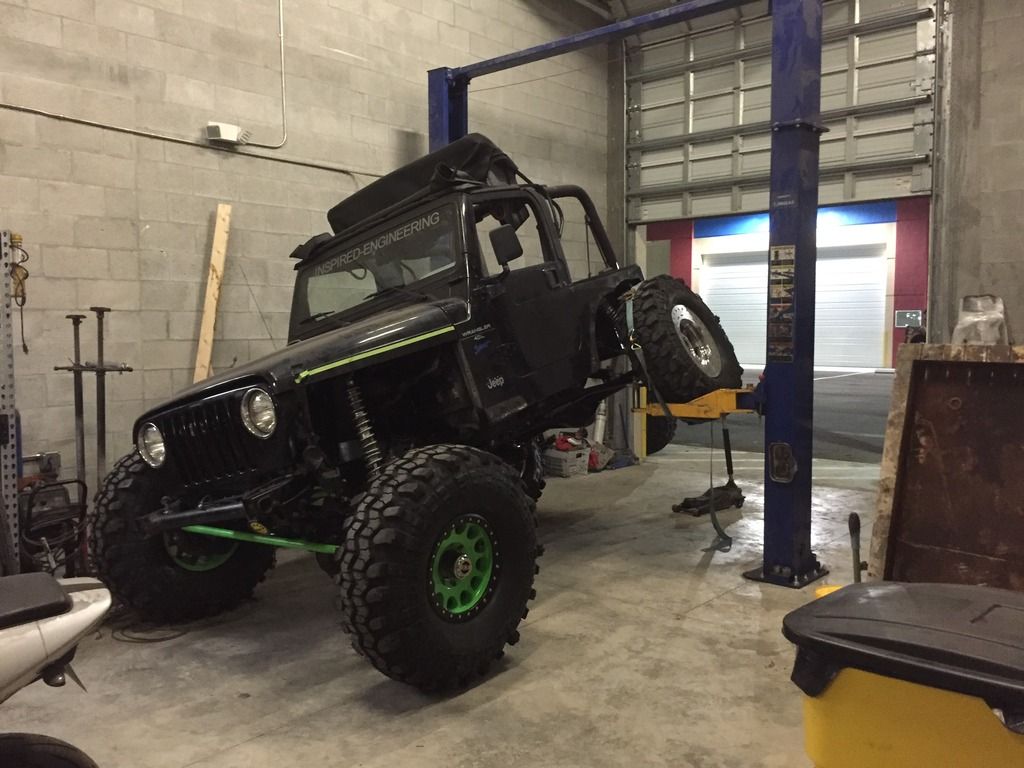
We were able to tie some loose ends up the past few days.
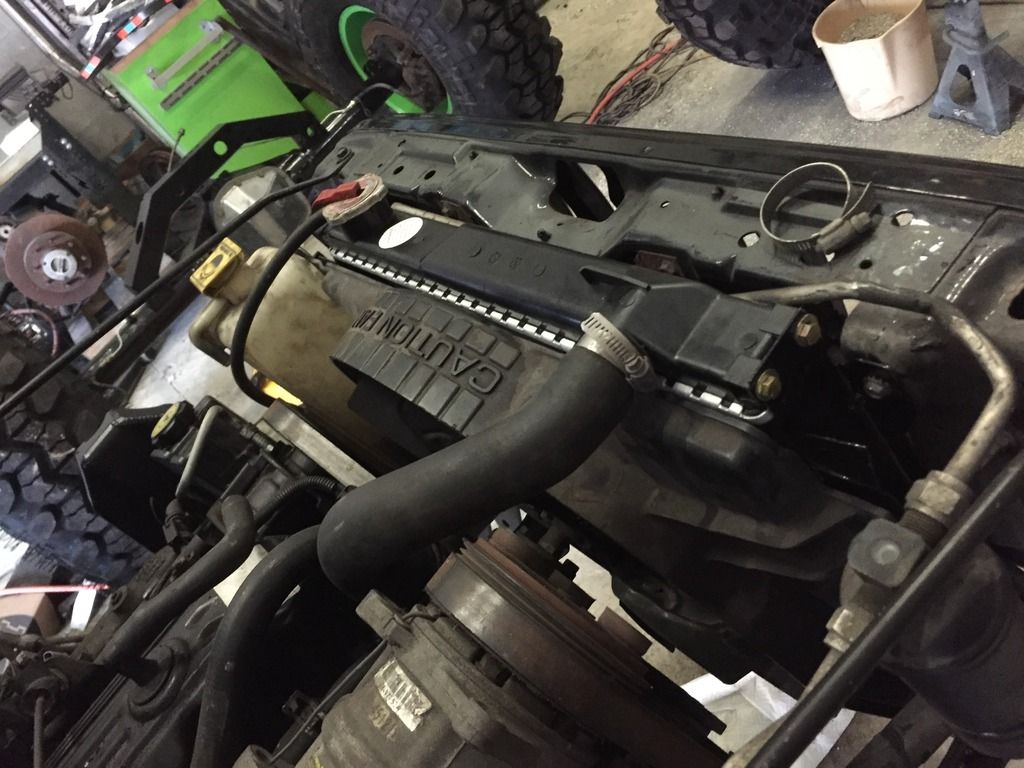
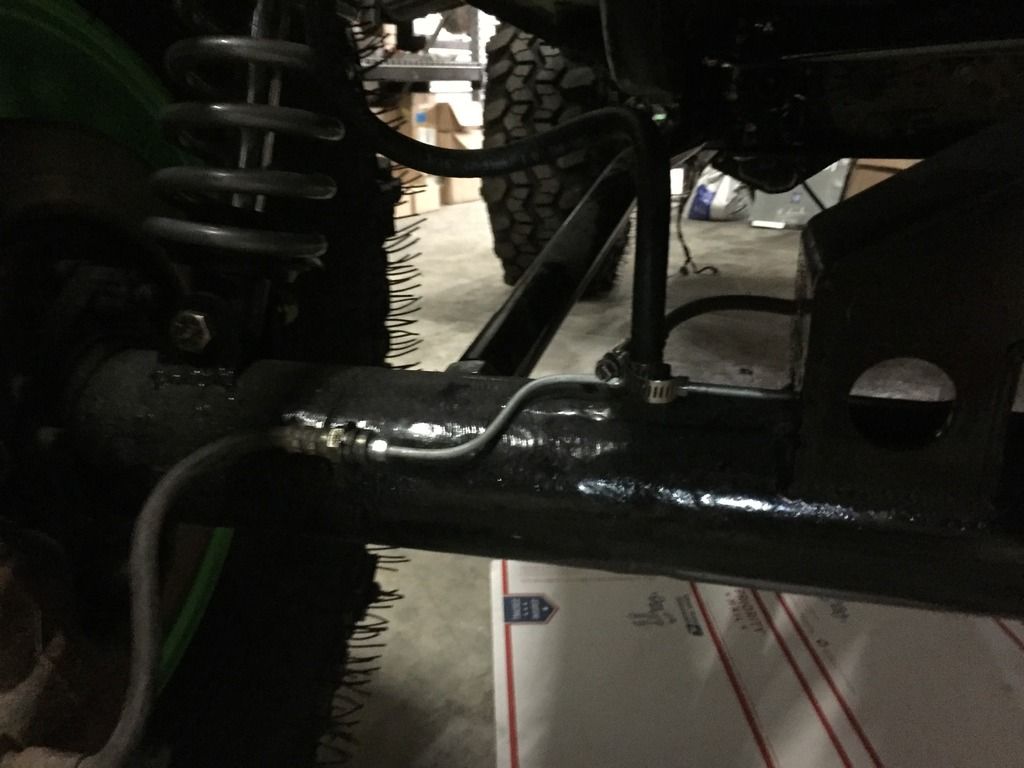
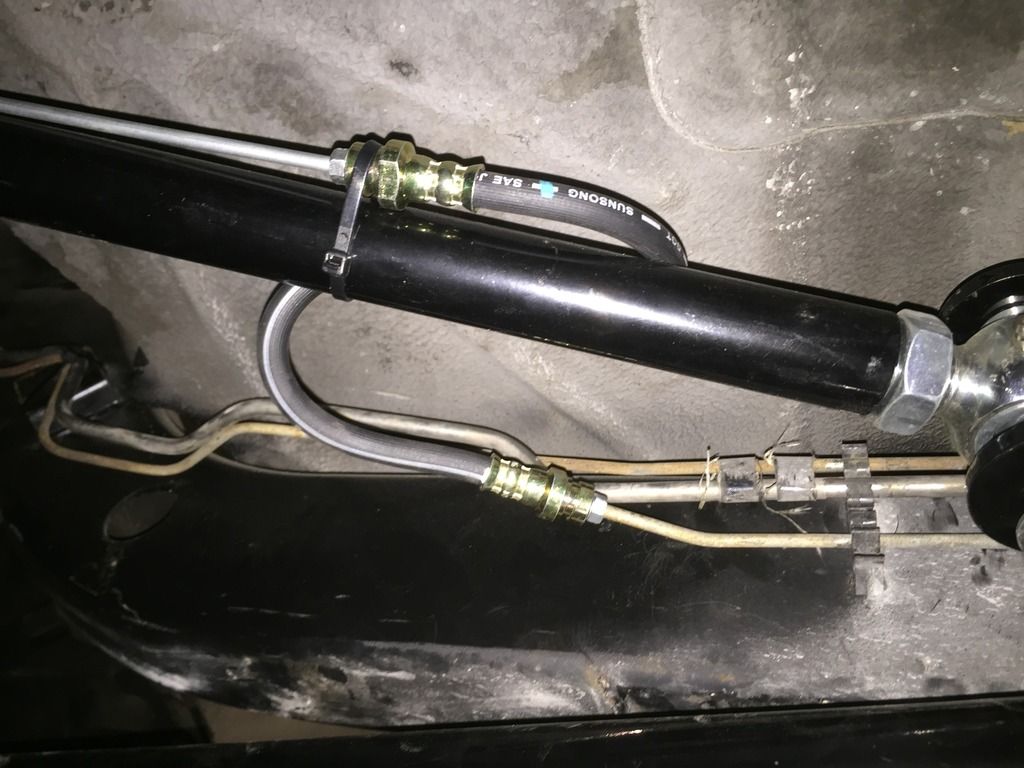
We installed a brand new radiator, Daystar poly motor mounts, brake lines on the axle, Installed a battery tray mount, with Trail Gear battery box for the Optima Battery.
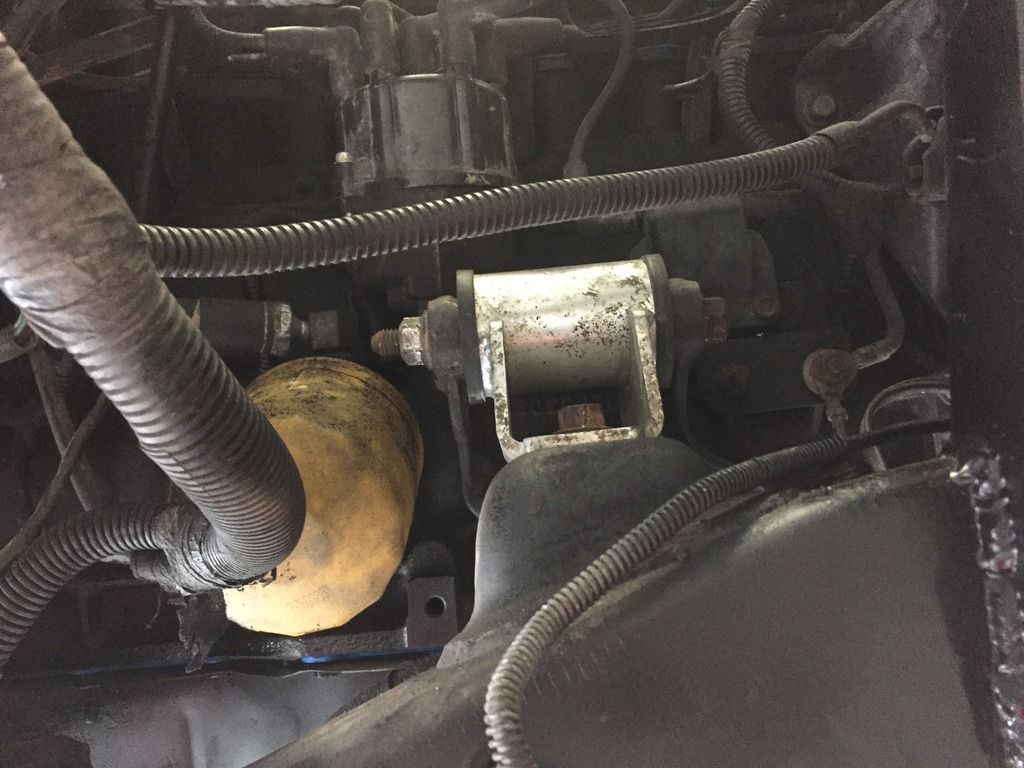
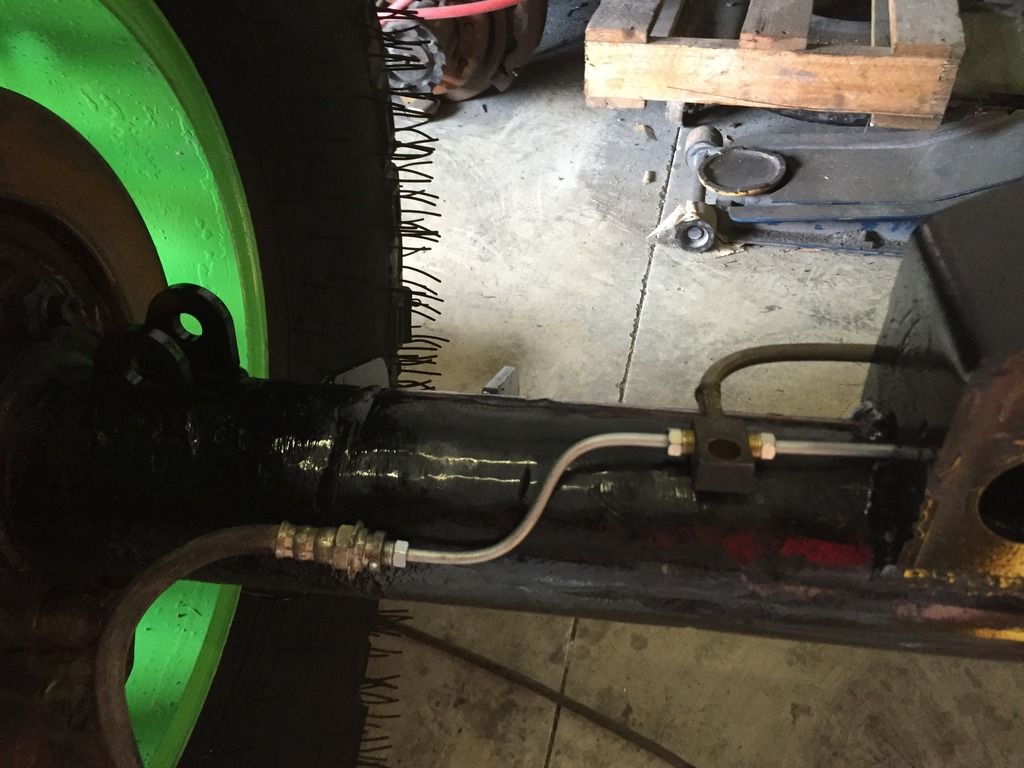

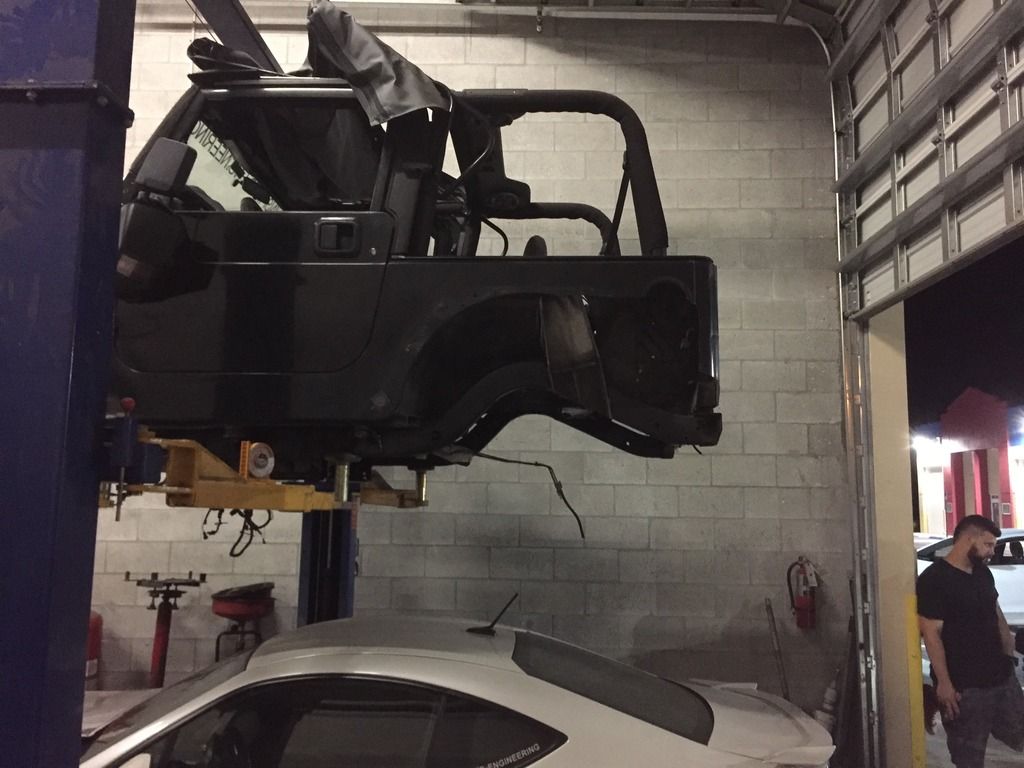
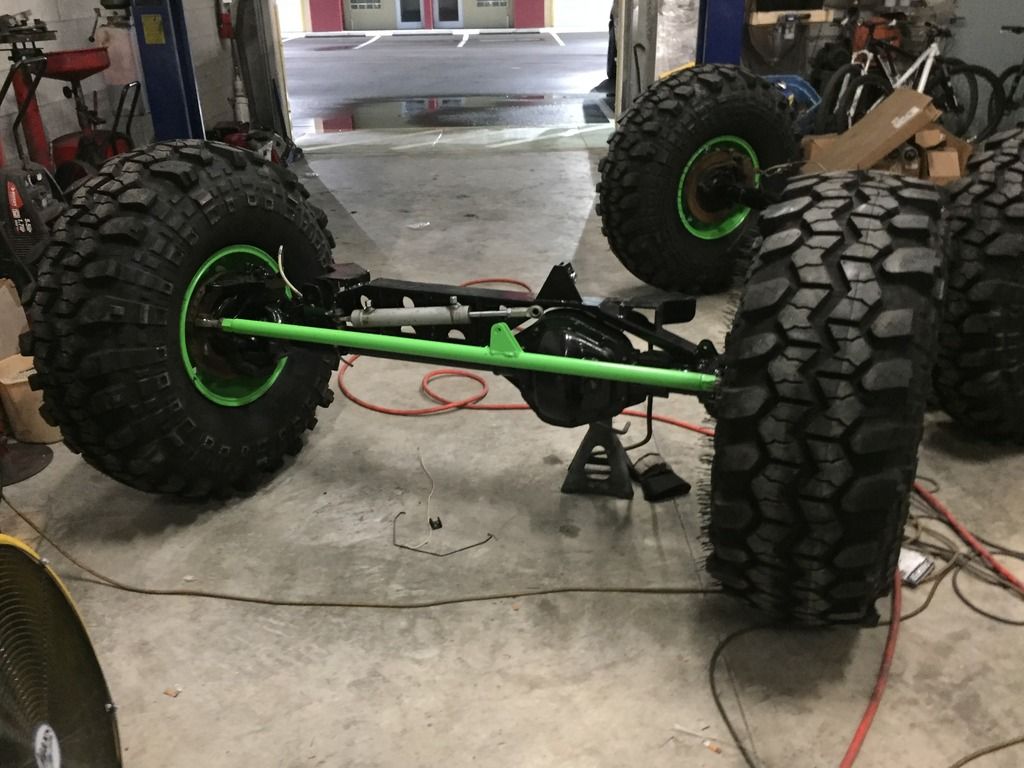
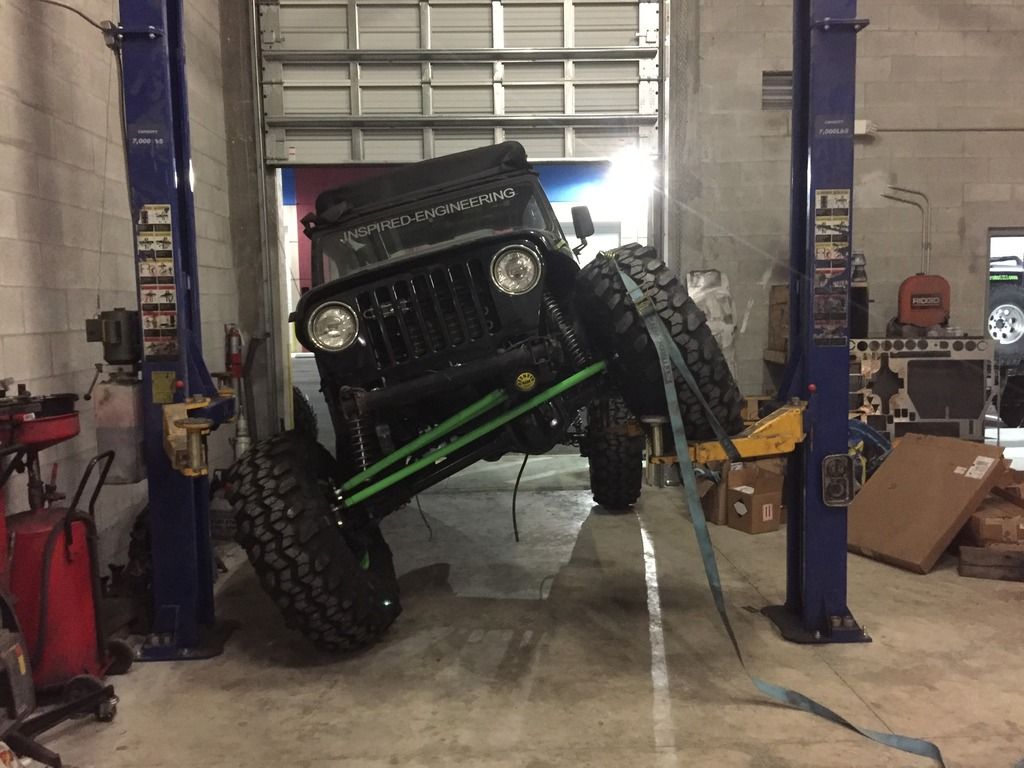
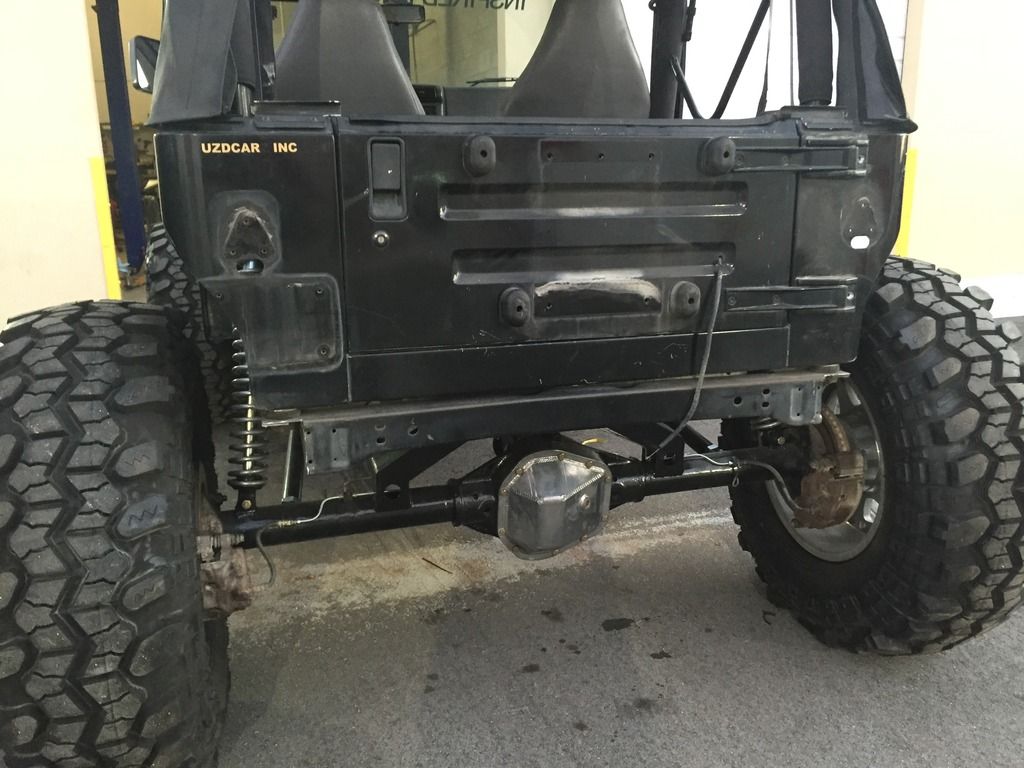
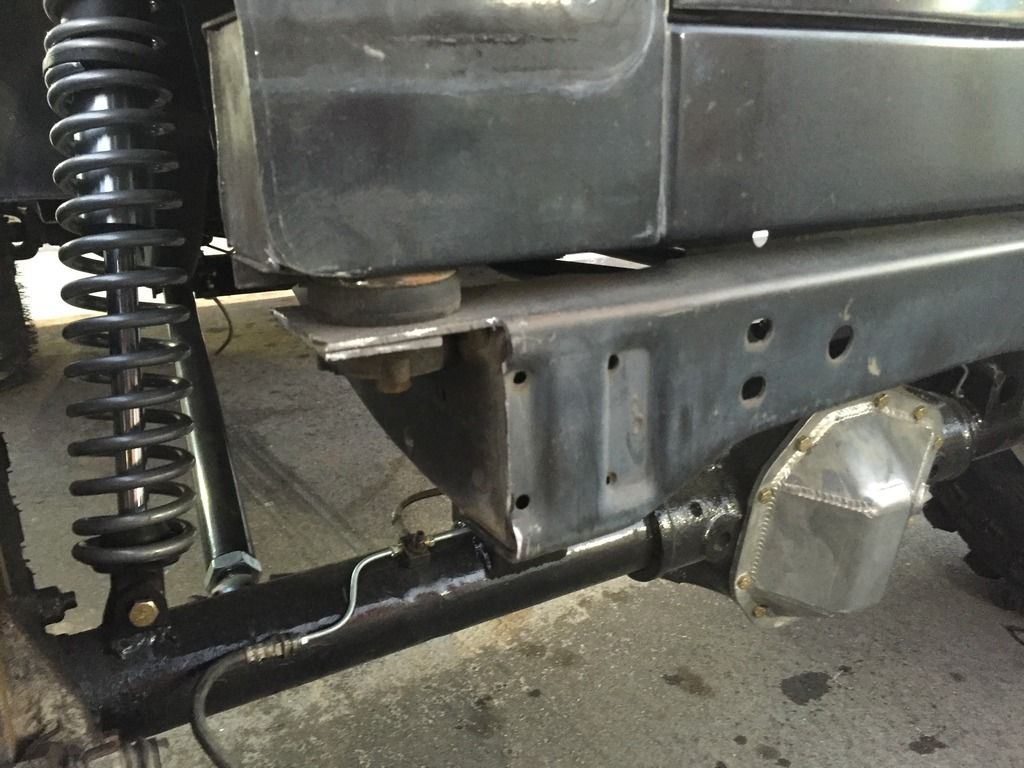
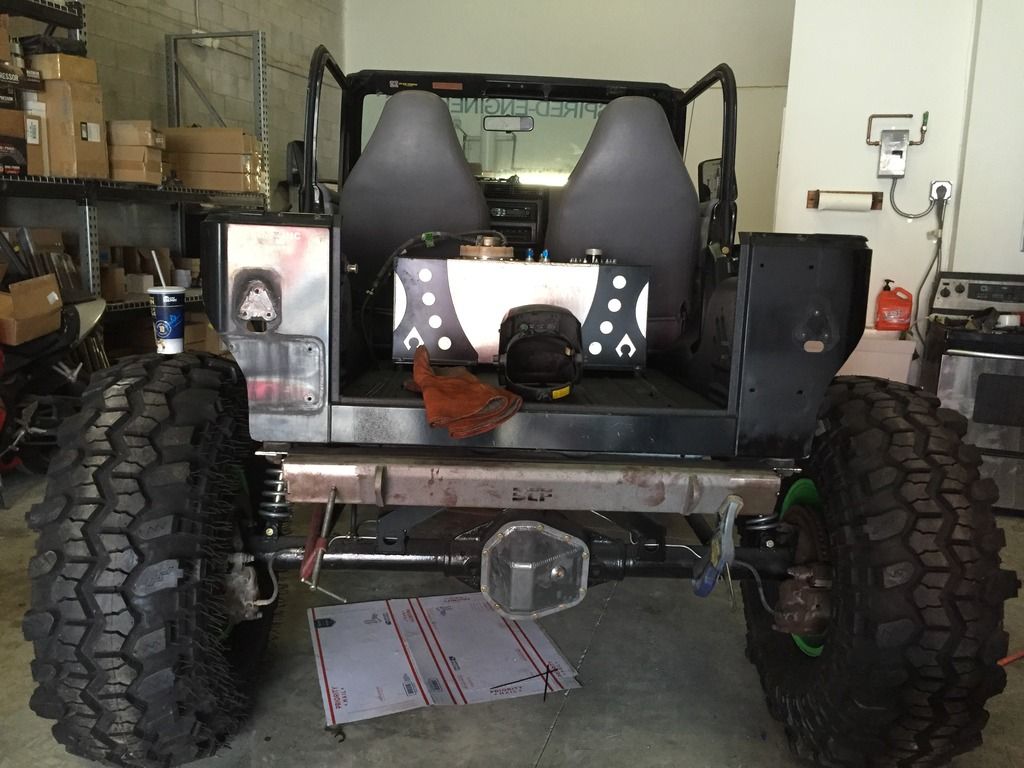
Finally it was time to get the Jeep on its own weight! We also installed the Hydro ram.
Insert necessary flex test.
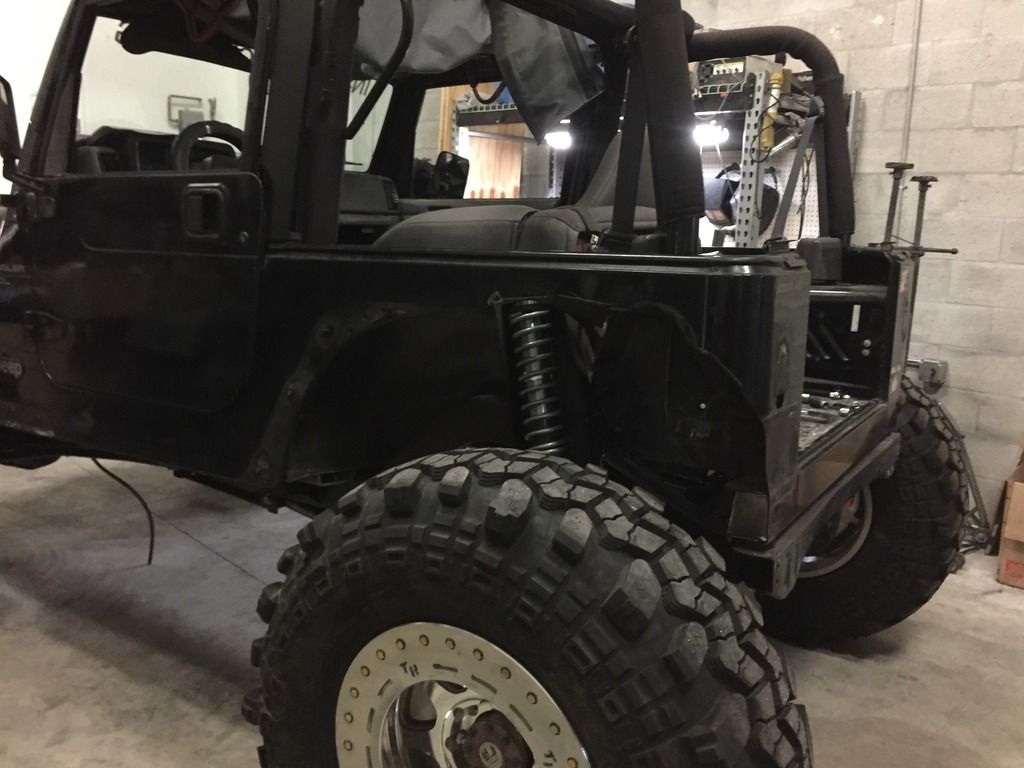
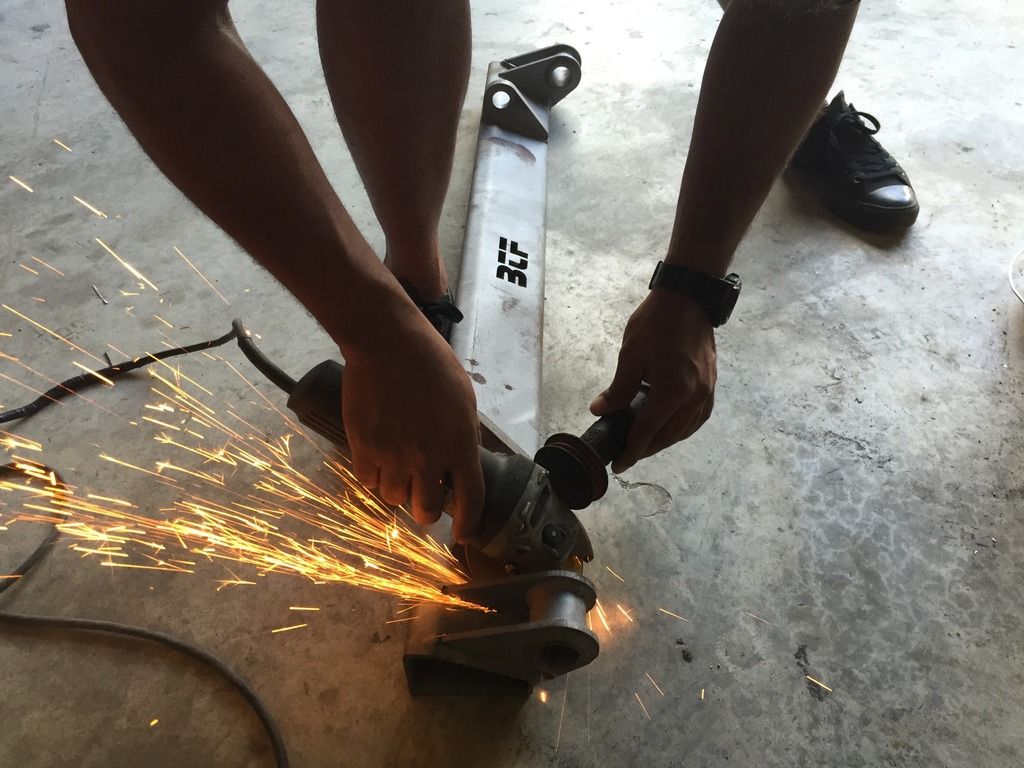
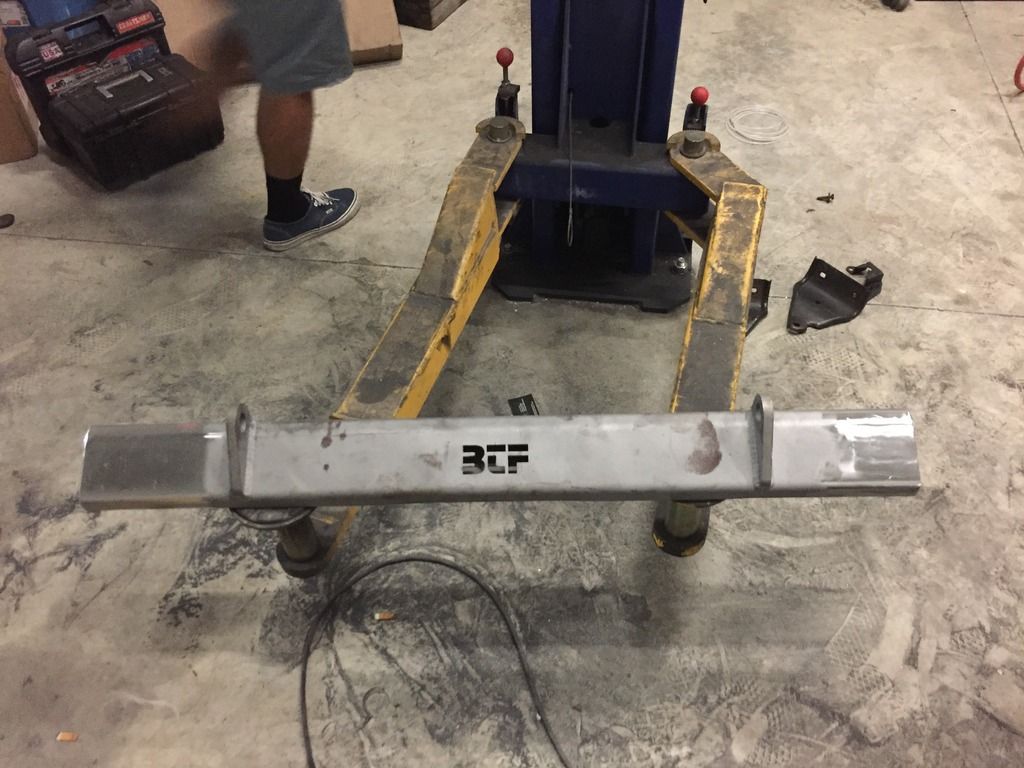
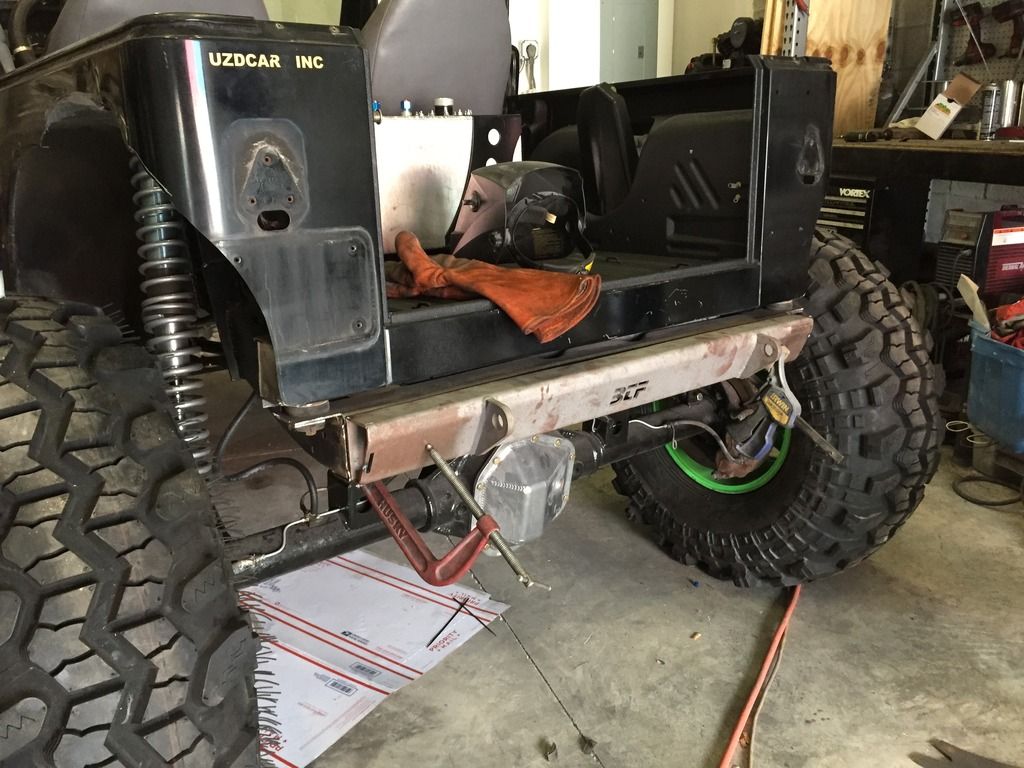
We have been bumping heads the rear bumper for a while. We have a BTF stretch kit laying around, so figured it was time to modify it.
Wait until the end to see the finished product.
We also started cutting something really trick...
We installed a brand new radiator, Daystar poly motor mounts, brake lines on the axle, Installed a battery tray mount, with Trail Gear battery box for the Optima Battery.


Finally it was time to get the Jeep on its own weight! We also installed the Hydro ram.
Insert necessary flex test.


We have been bumping heads the rear bumper for a while. We have a BTF stretch kit laying around, so figured it was time to modify it.
Wait until the end to see the finished product.


We also started cutting something really trick...

Trending Topics
11-05-2015, 11:09 AM
#8
Former Vendor
Thread Starter
Join Date: Jun 2013
Location: United States
Posts: 972
Likes: 0
Received 0 Likes
on
0 Posts
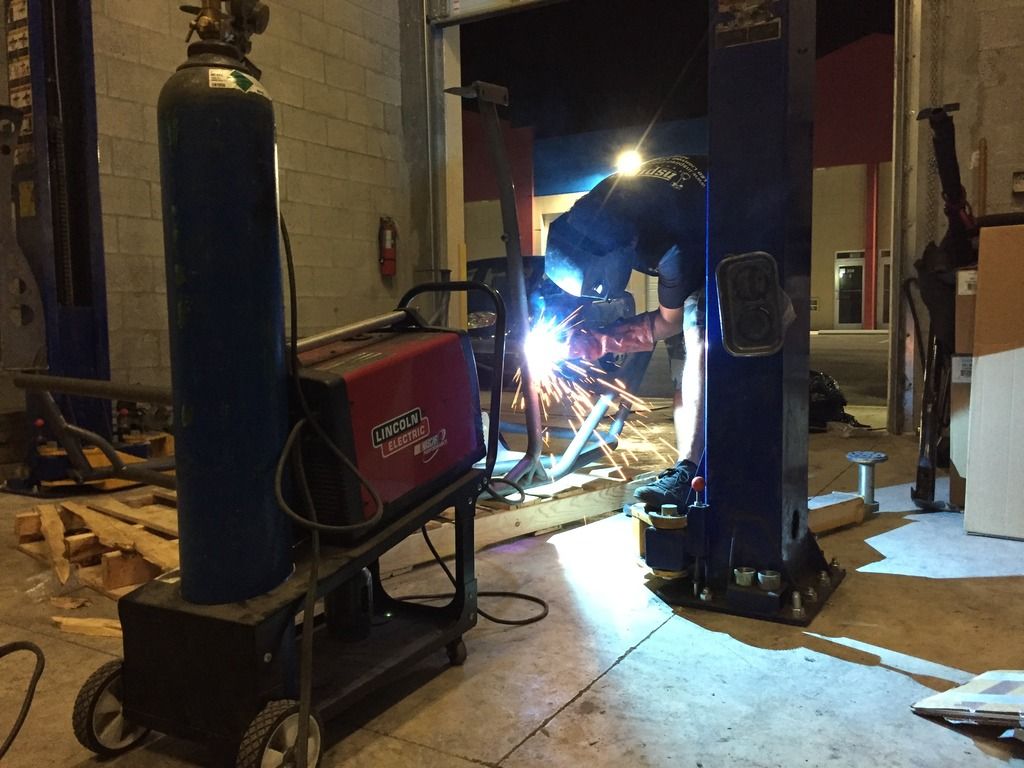
Sorry for the lack of updates, its been crazy working on it while fitting in real work as well 
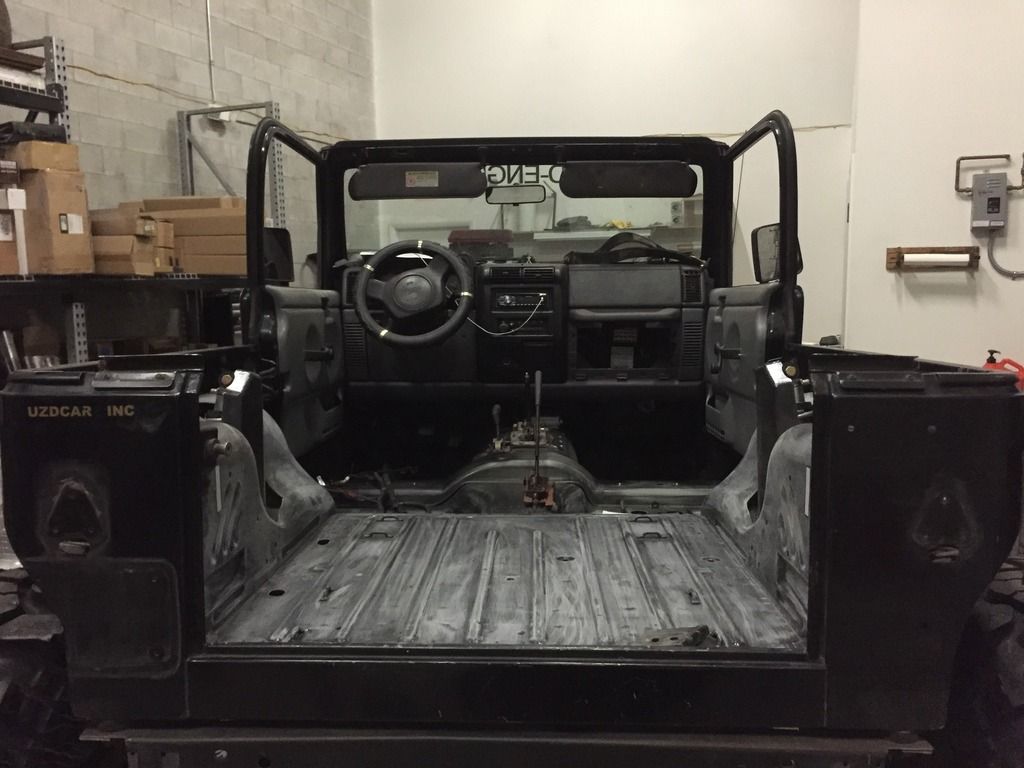
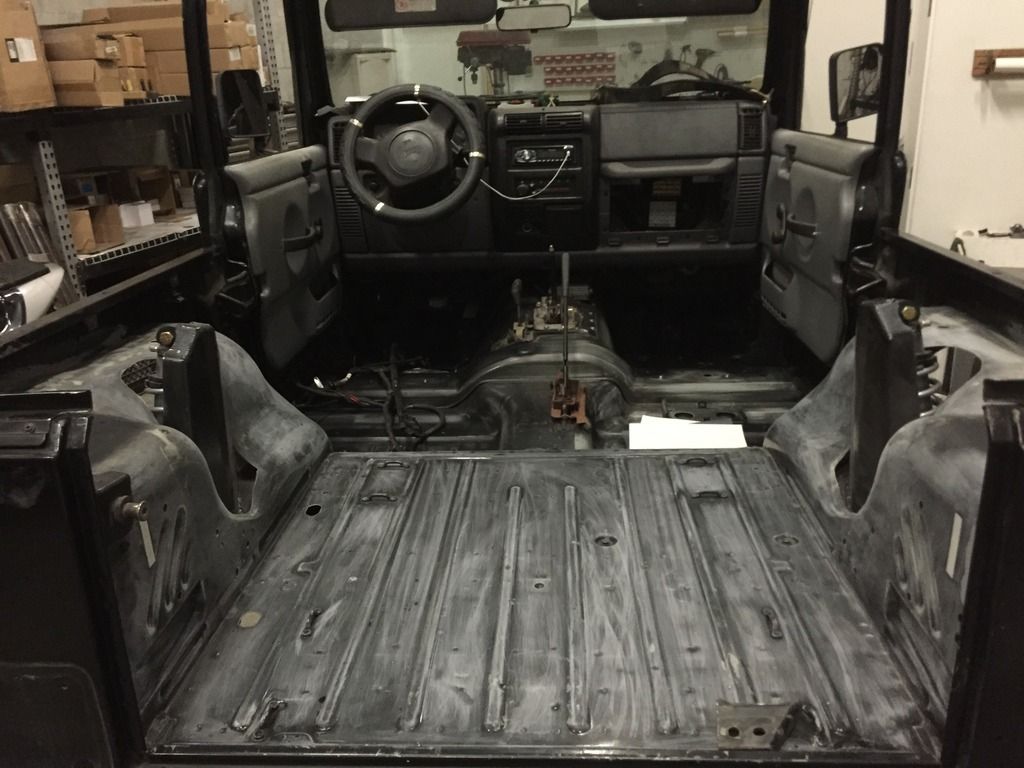
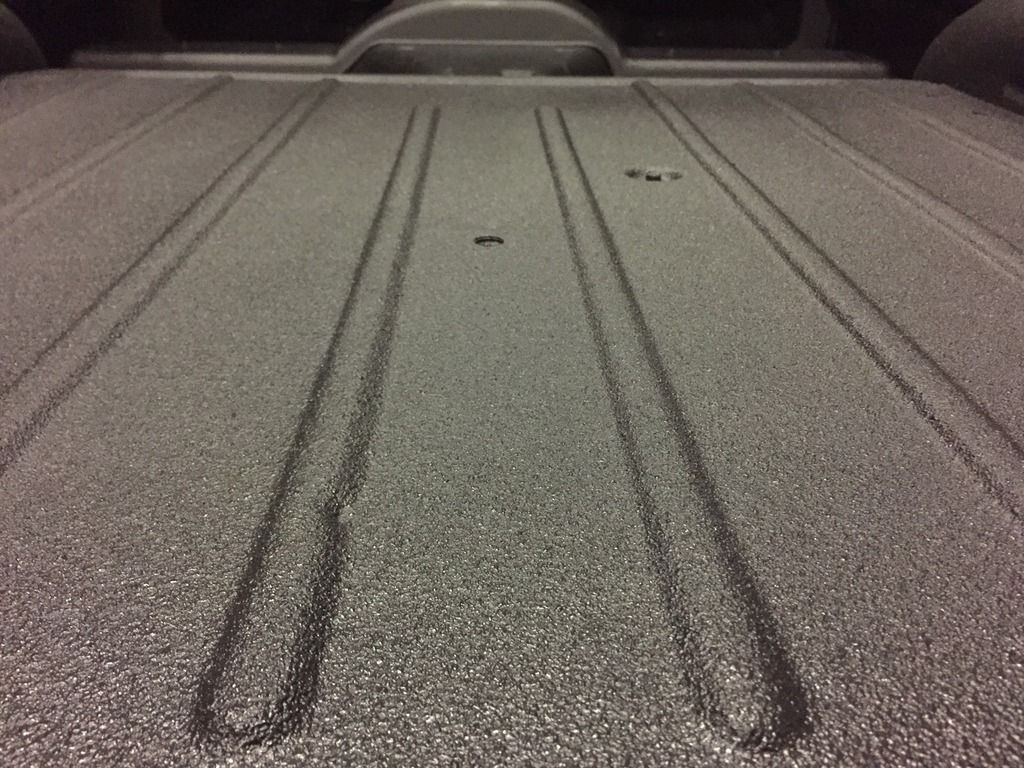
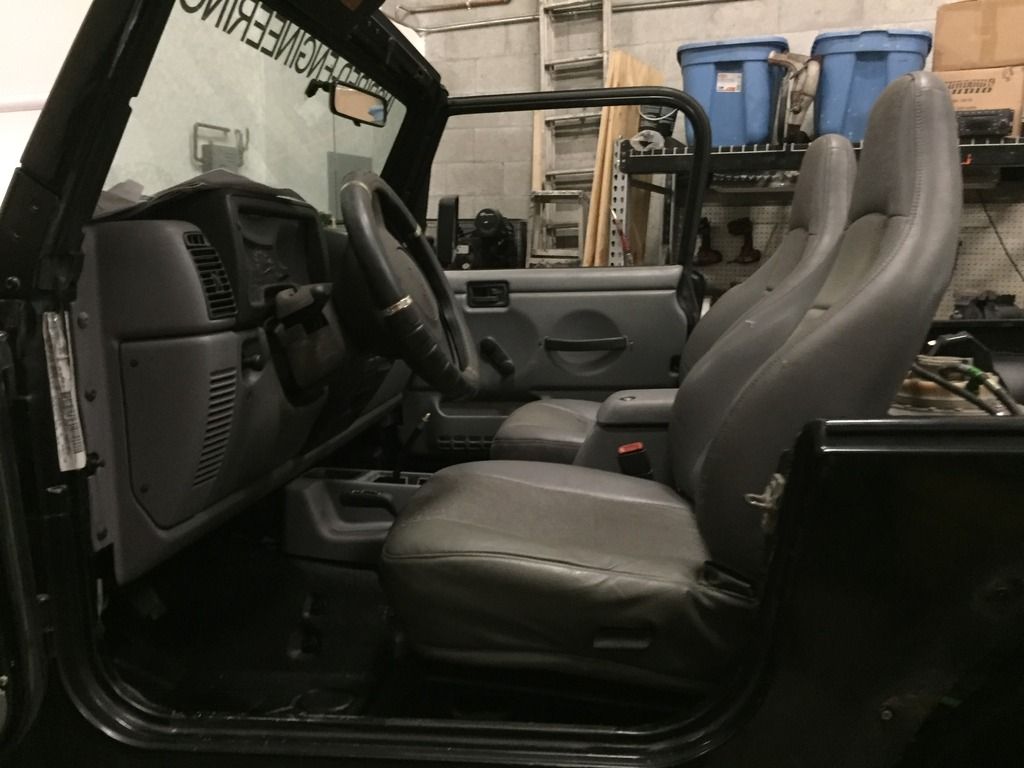
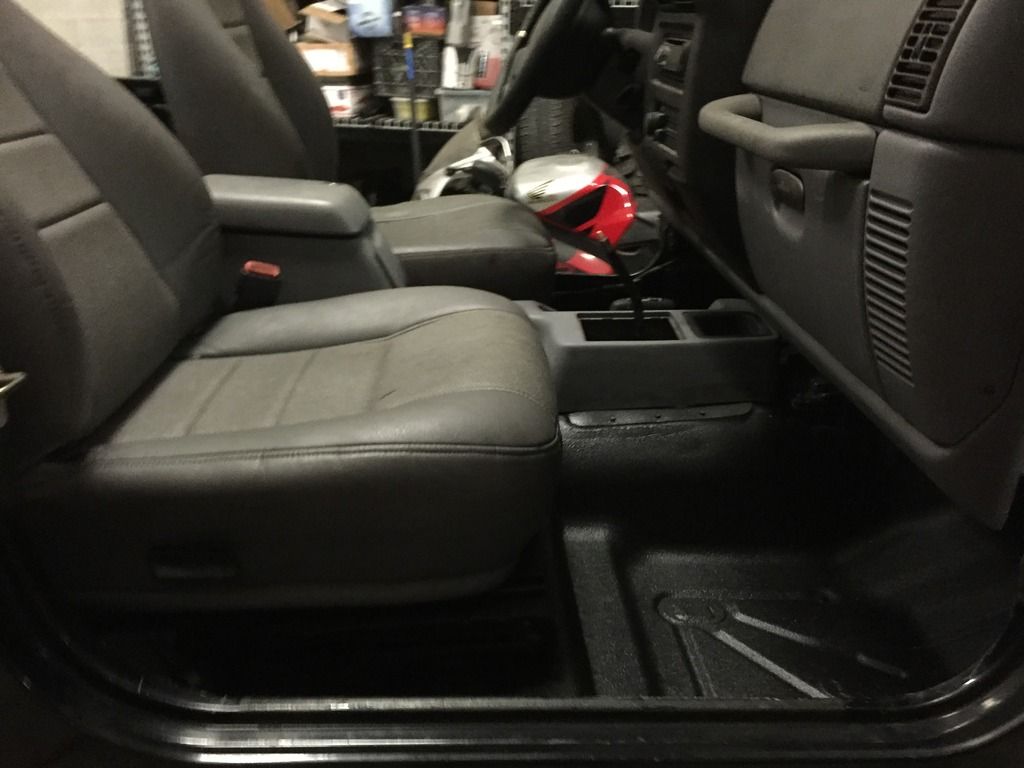
We got the interior sanded down and sprayed some Raptor liner to seal it all up

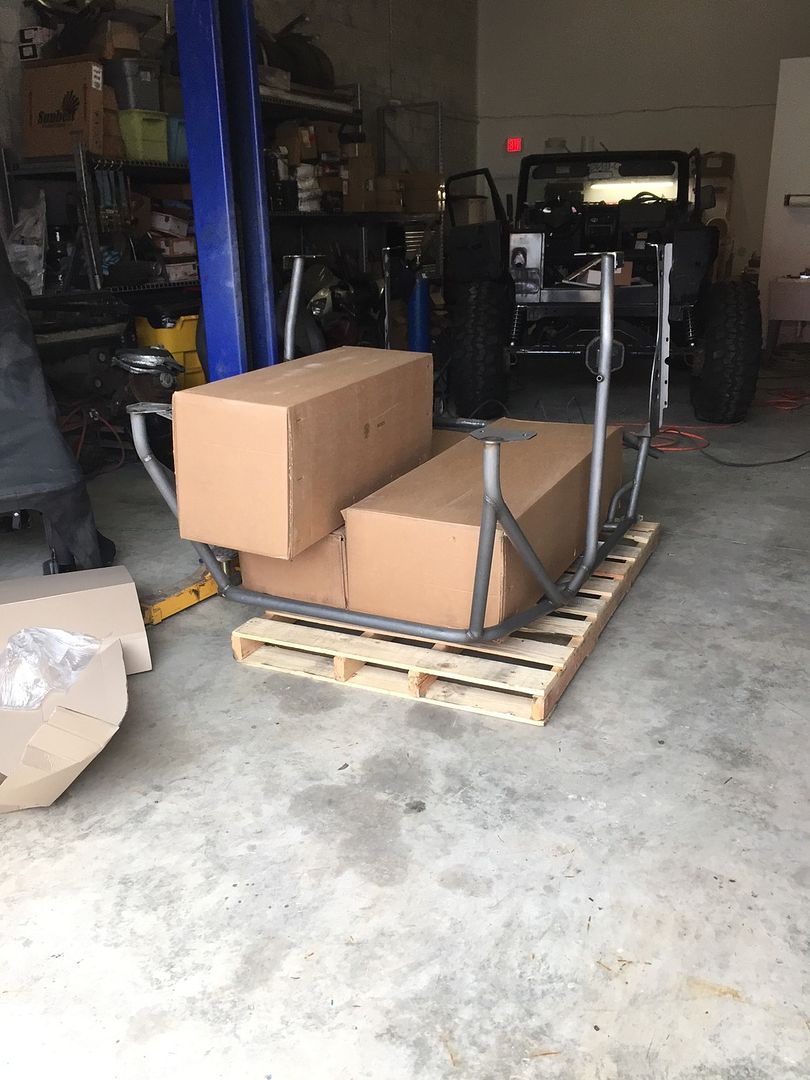
Also a special delivery came in
We mounted the RCI fuel cell, using Artec Industries brackets
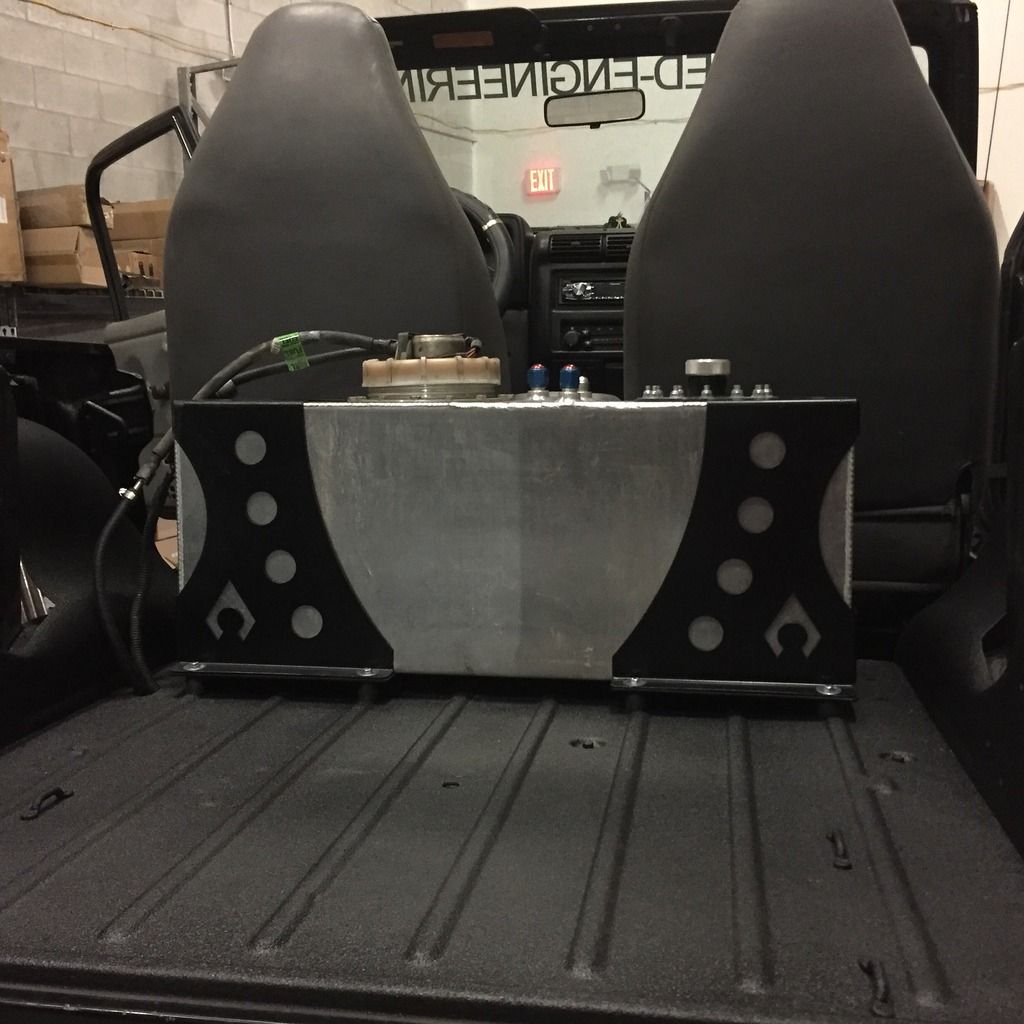
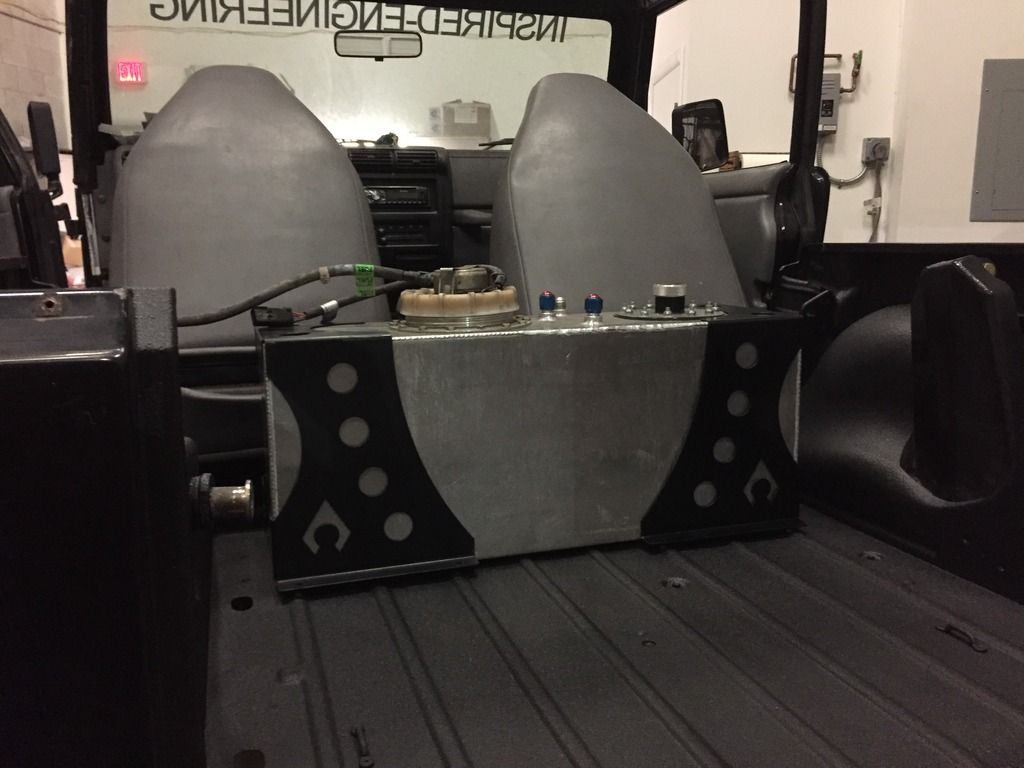
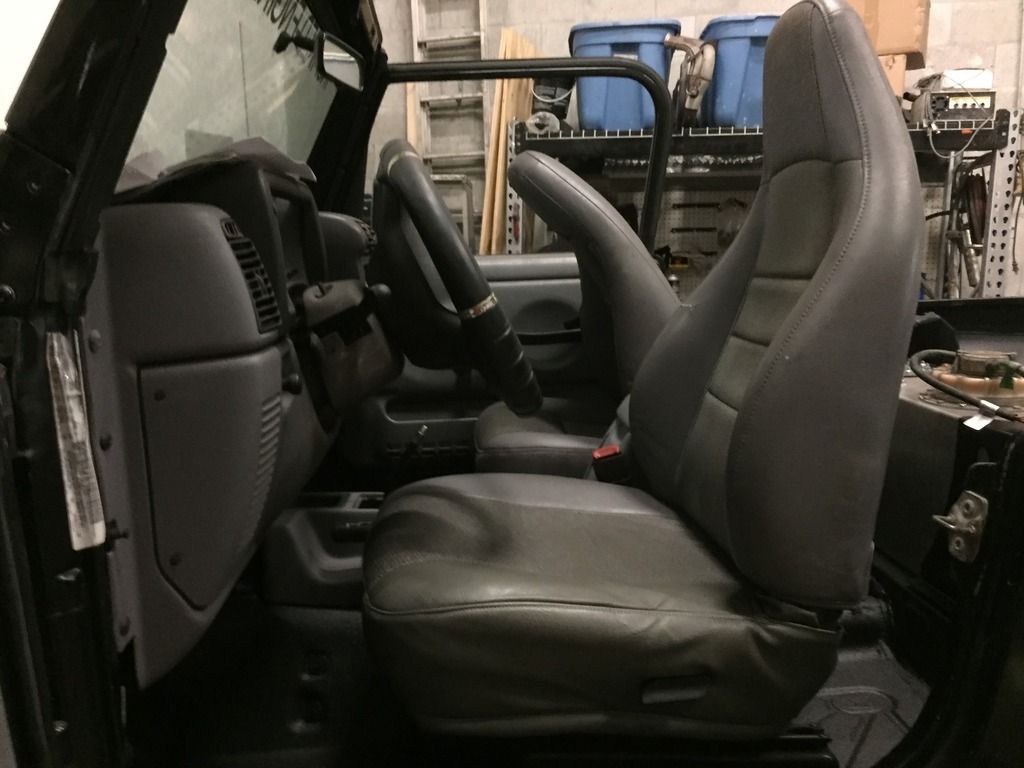
Also mounted the seats
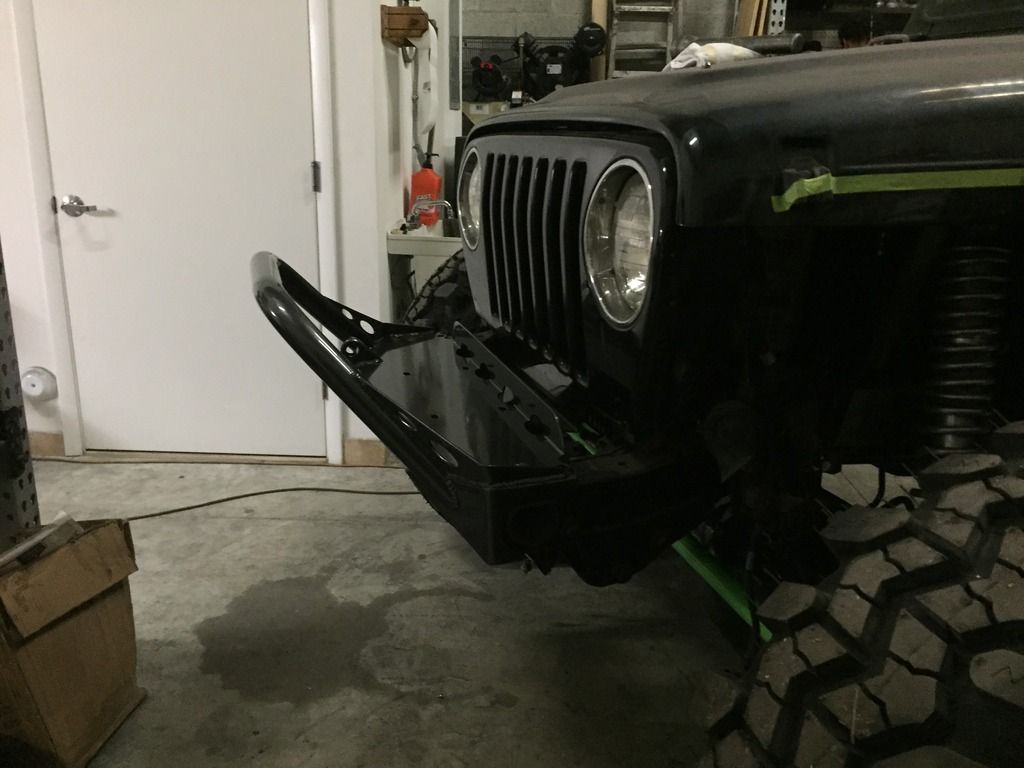
Front Poison Spyder BFH front bumper with Brawler bar
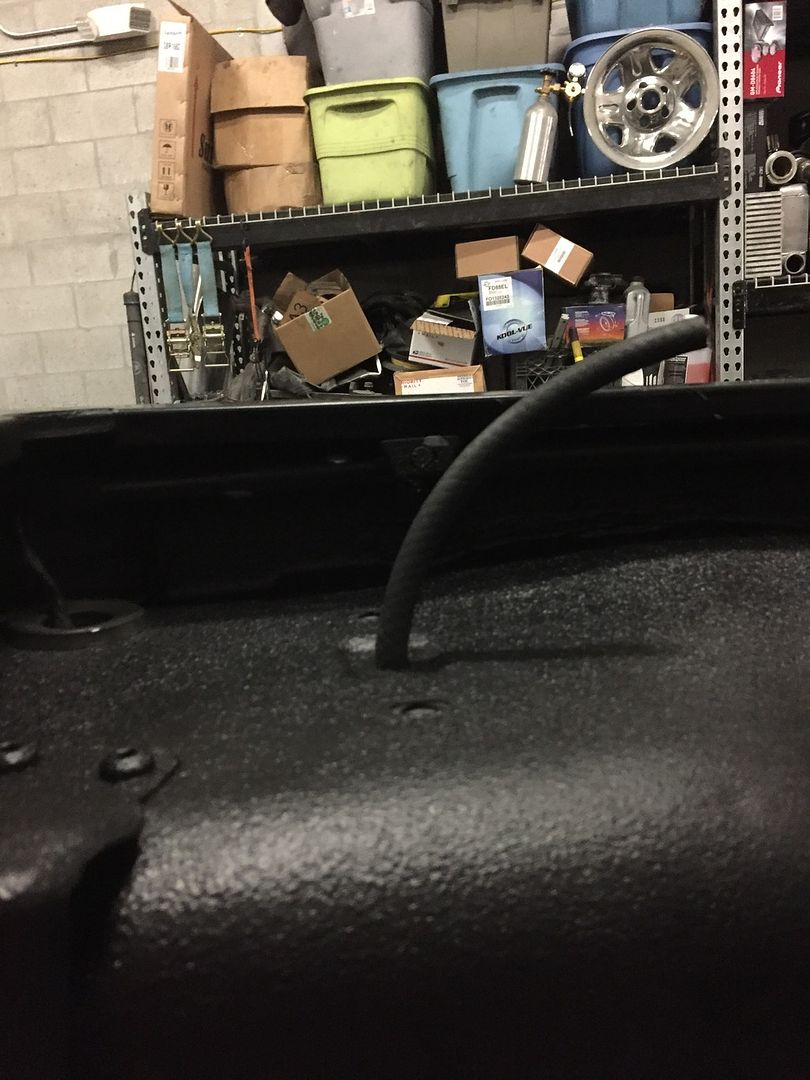
We installed the breather lines for the rear diff
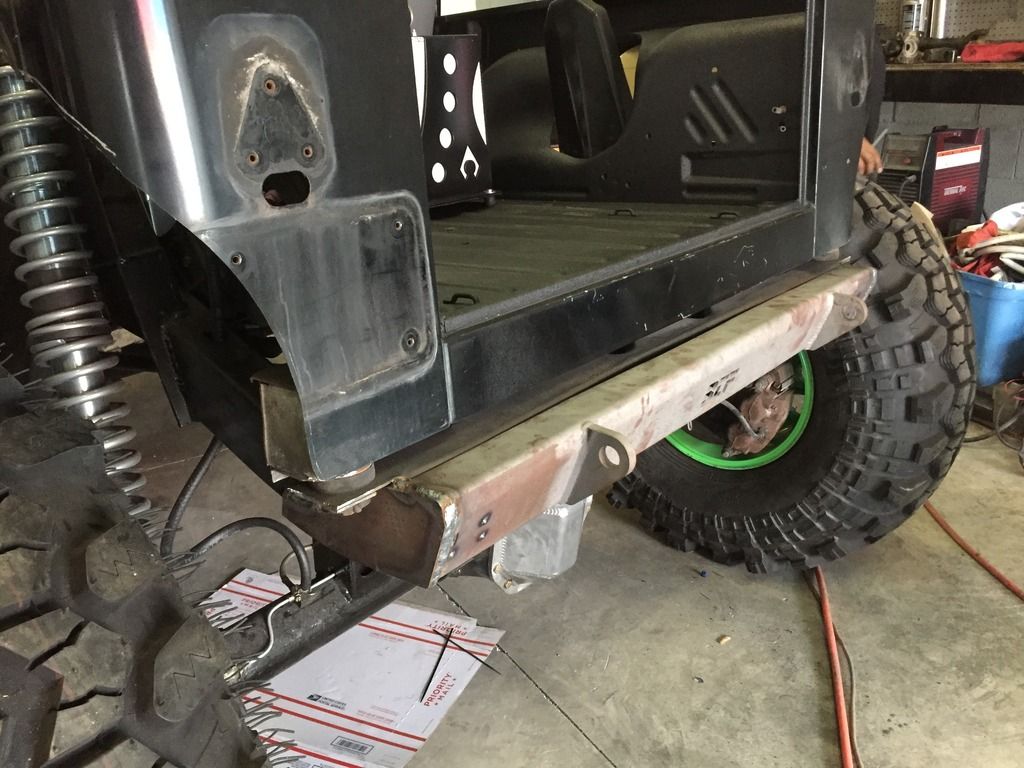
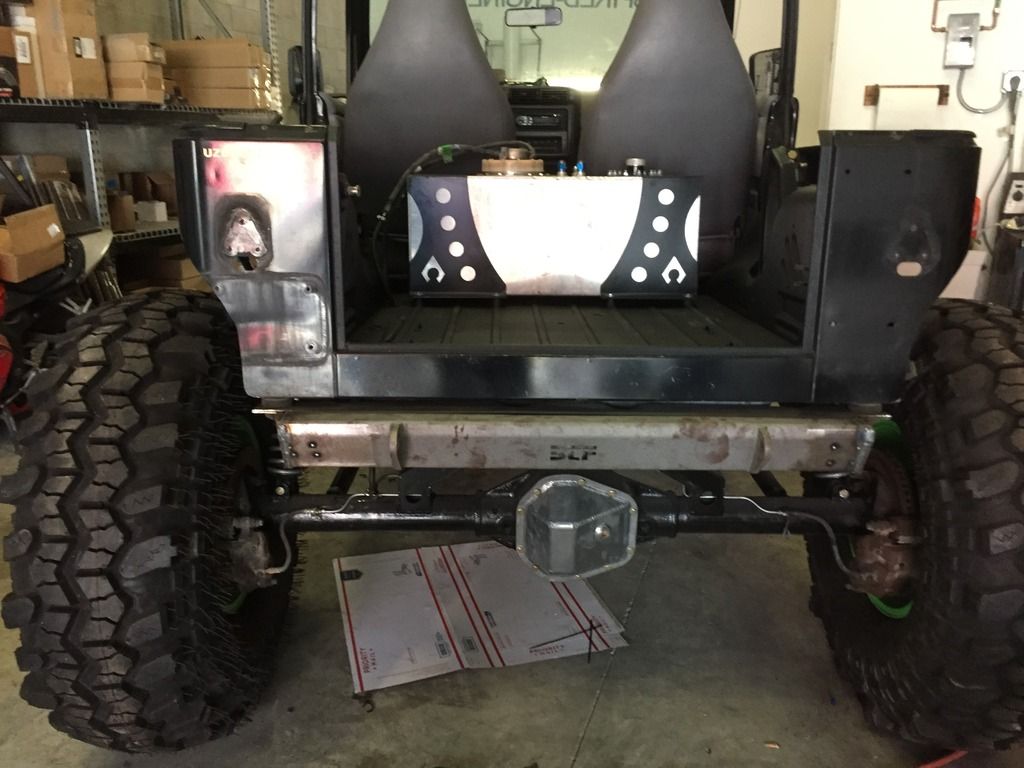
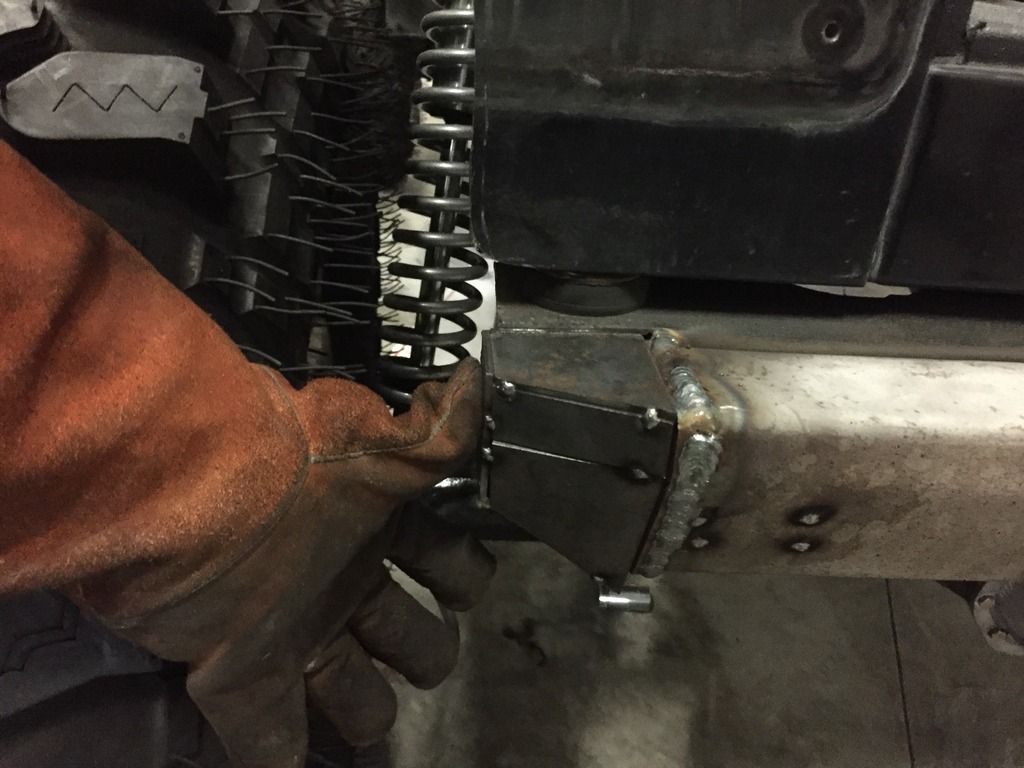
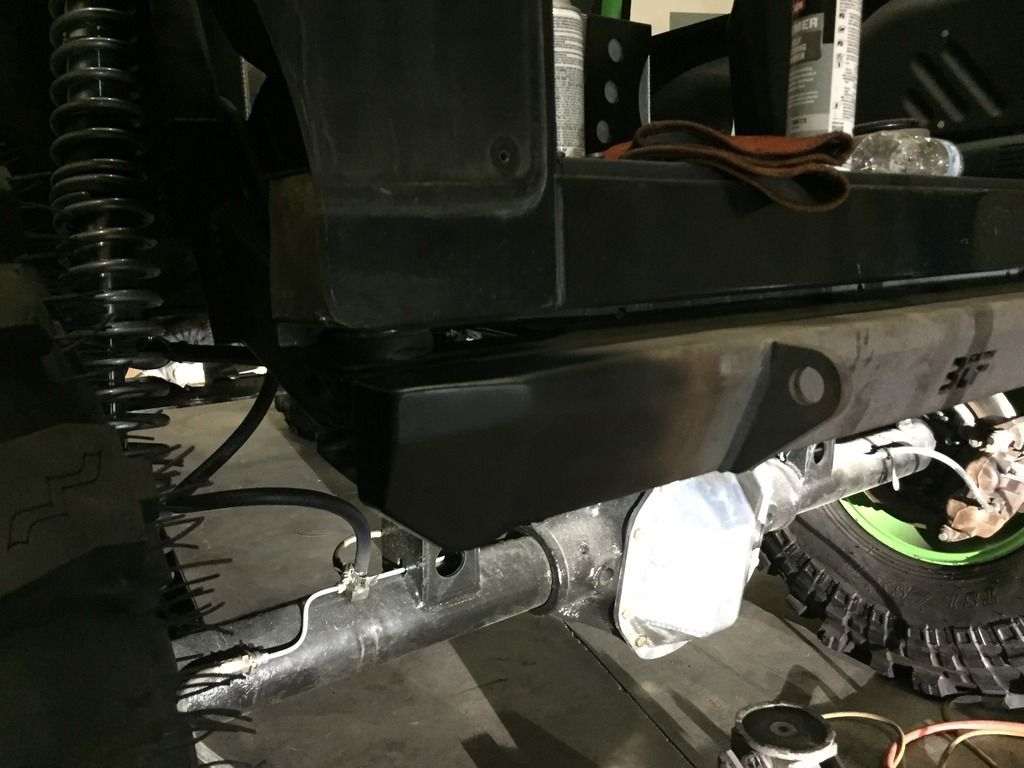
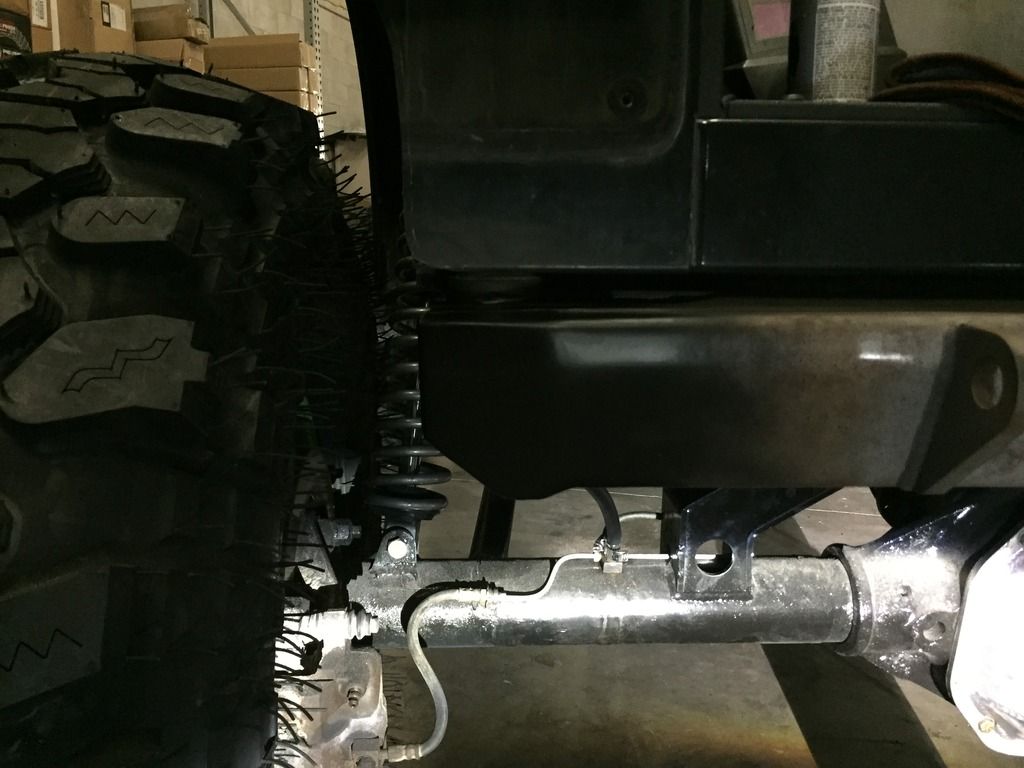
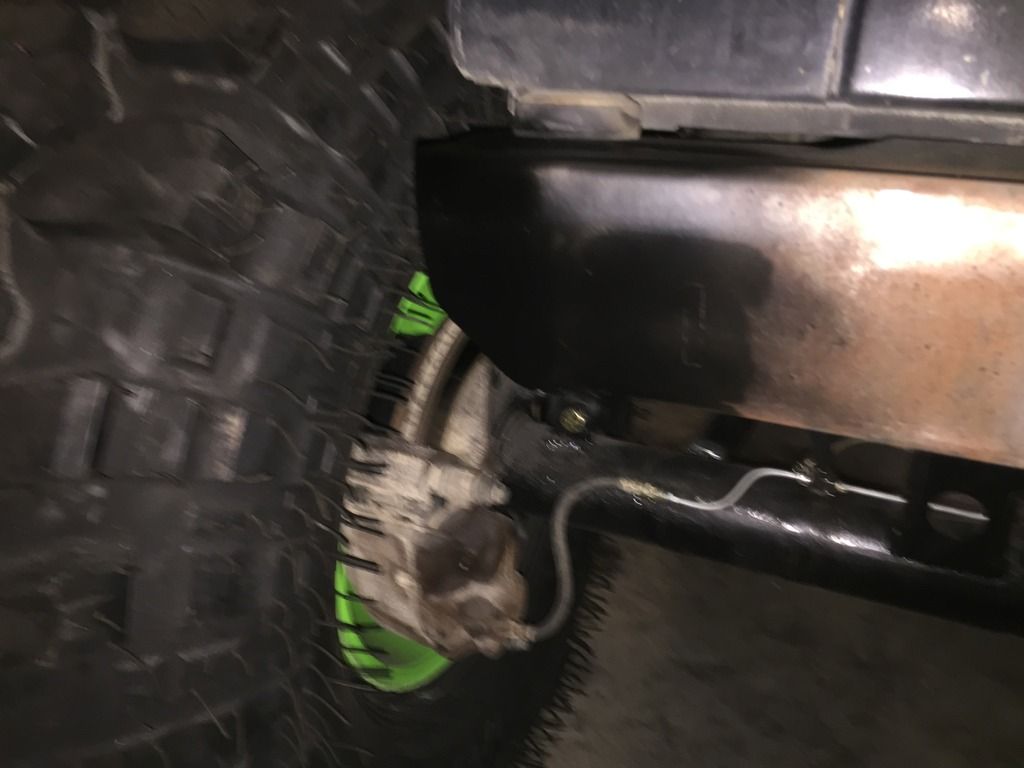
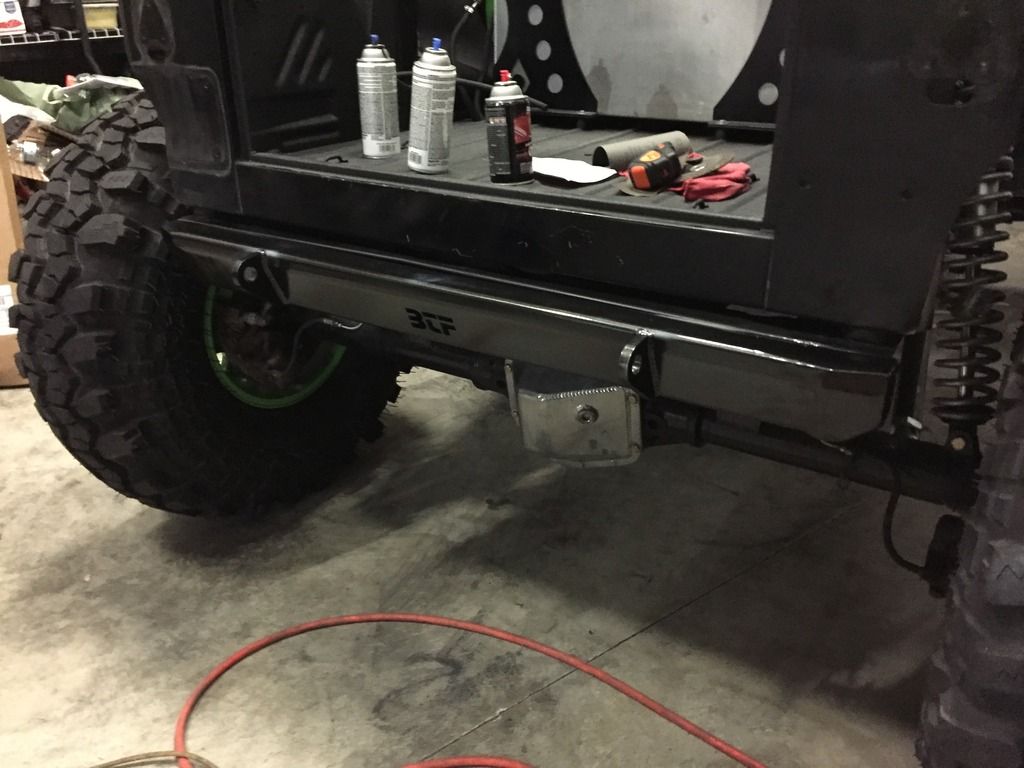
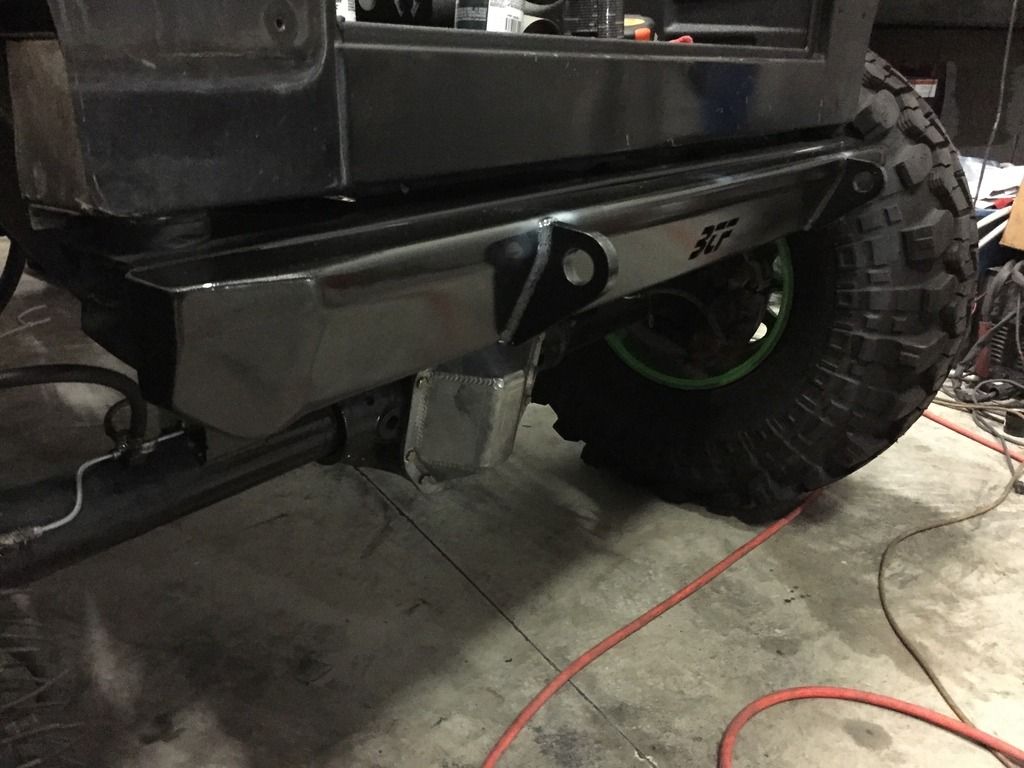
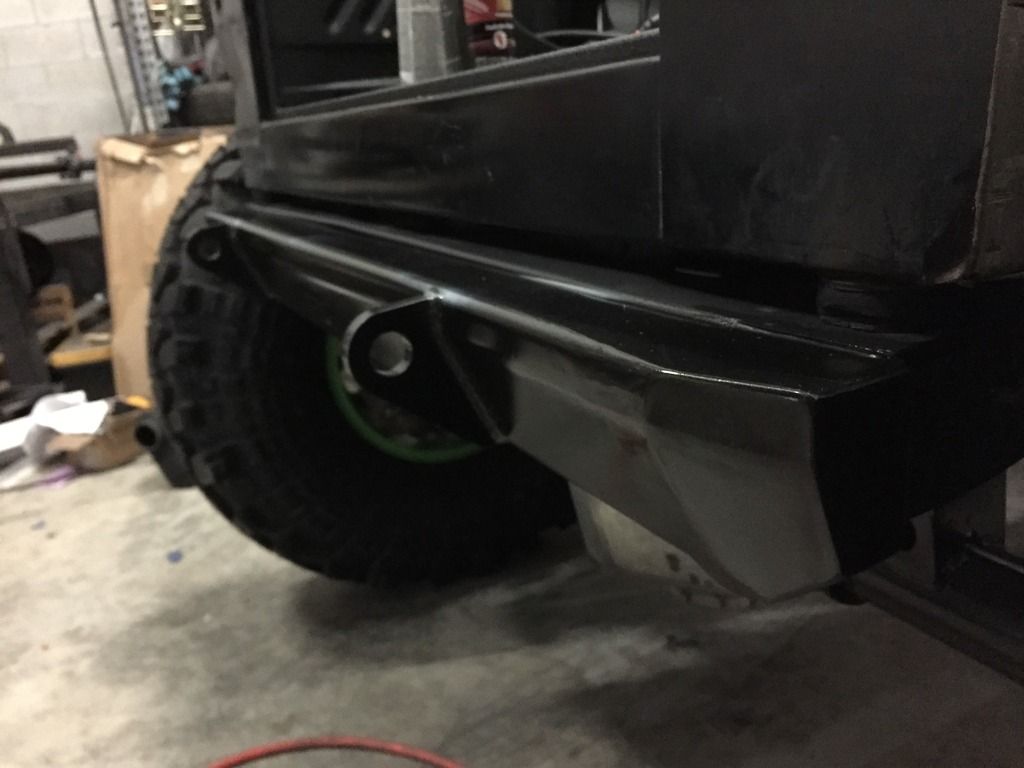
One thing that has been bothering us for a while is the rear bumper selection. All we were able to find was either frame or fill width. Nothing mid width to fit our armor. So we went with something custom.
We ordered up a BTF YJ/TJ rear stretch kit. Cut off the shackle mounts, and added end caps to bring it to the width we needed. I personally love it, and it is one of those small touches most will never notice, but I will smile about for a while.
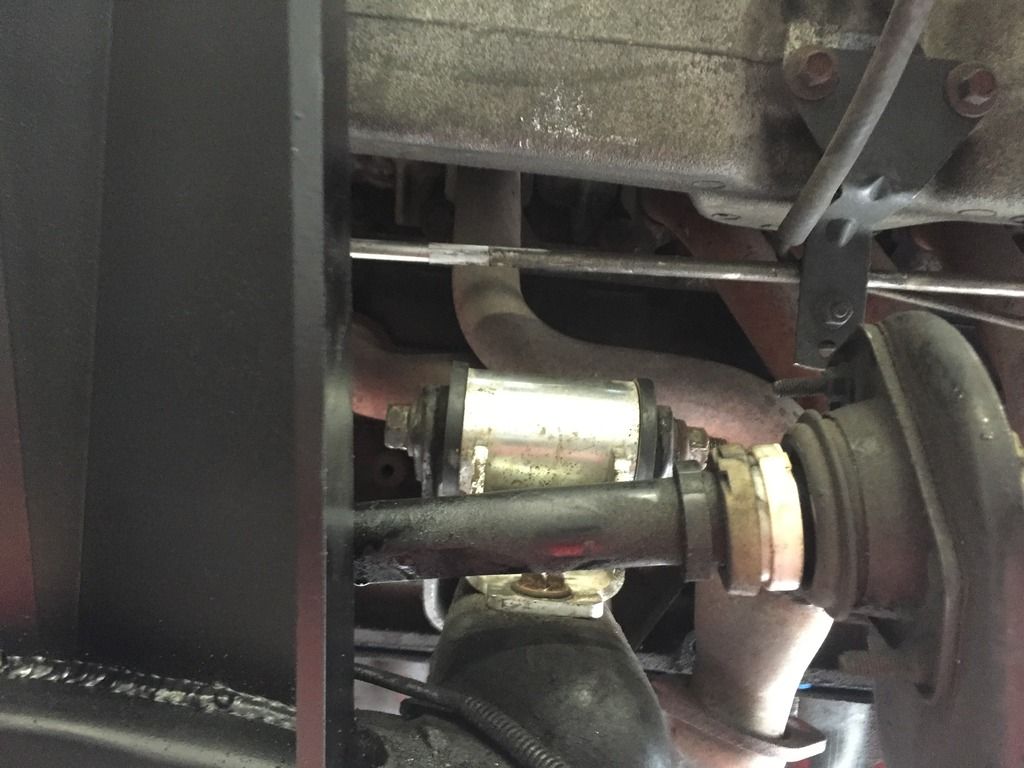
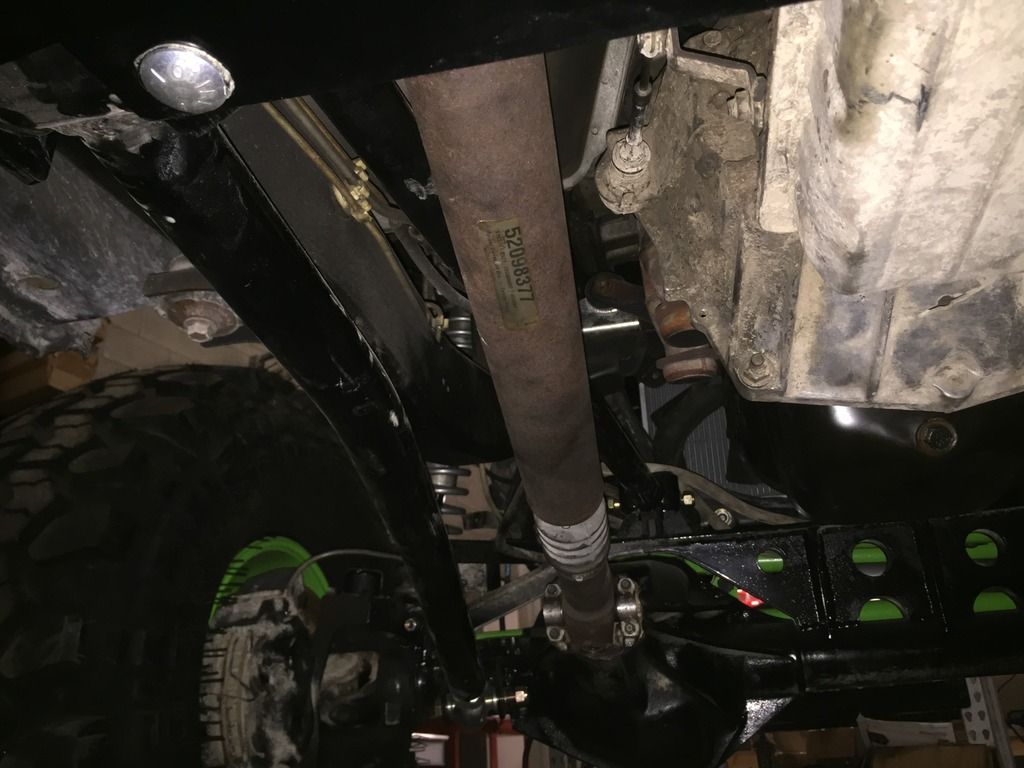
We also got our Rear driveshaft in from our buddies over at Tom woods driveshafts. We converted the 231 rear yoke to a flange and are running 1350 joints all across the shaft
Front drive shaft and rear brake lines installed
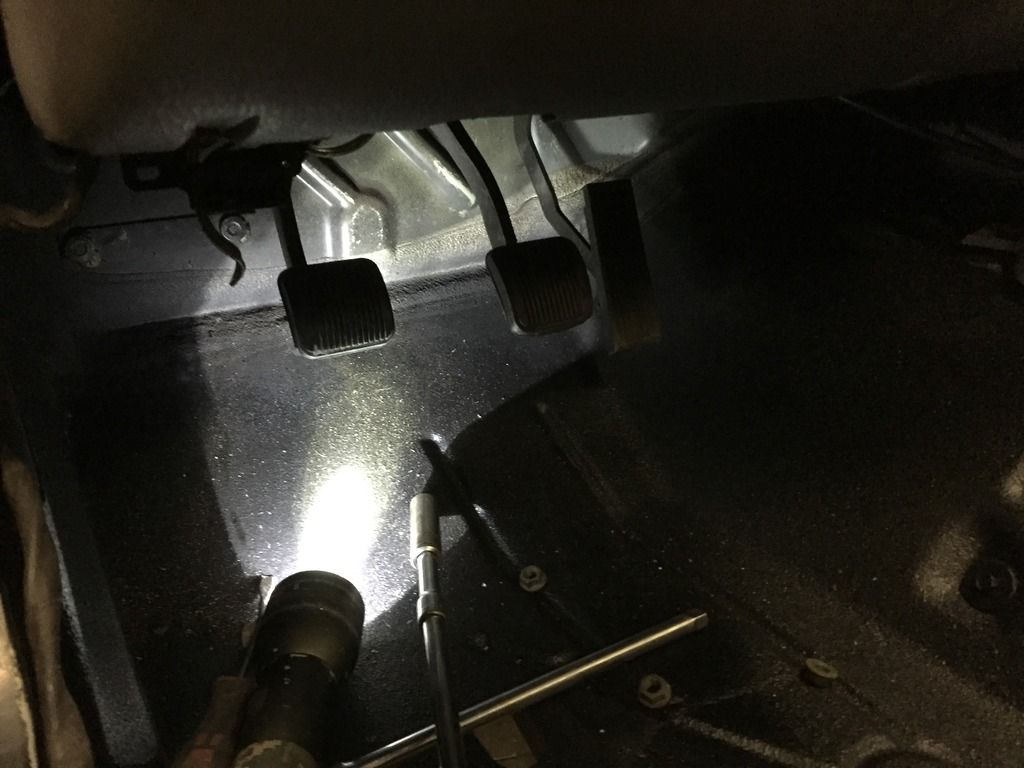
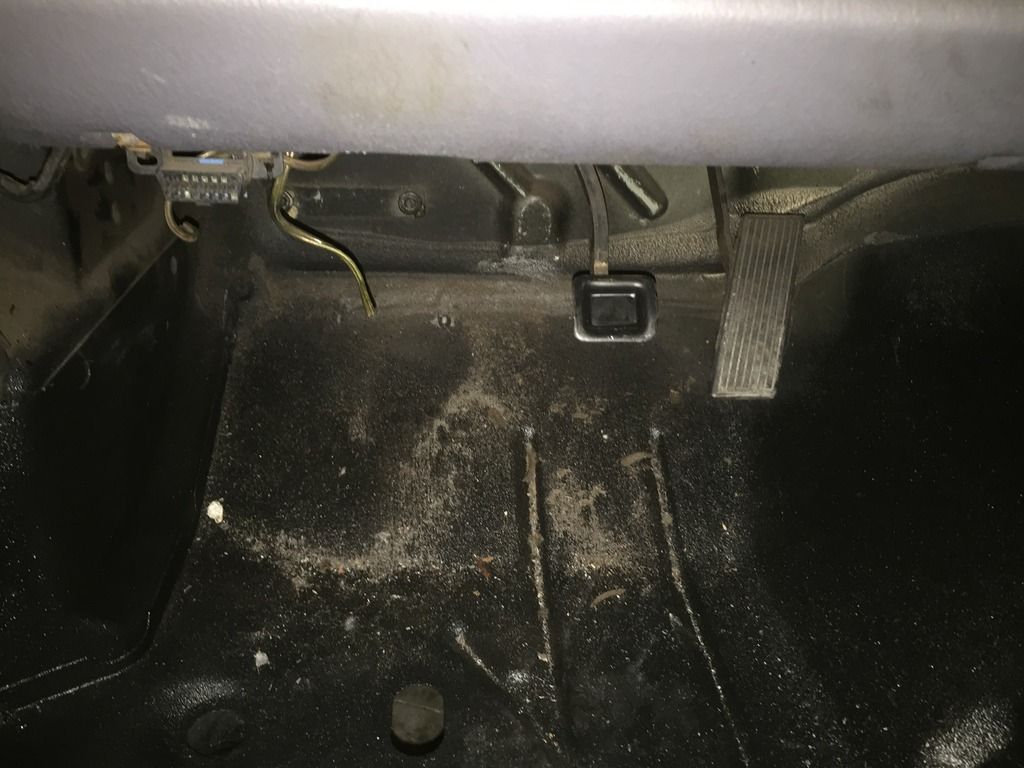
At first there was 2, now there are 1
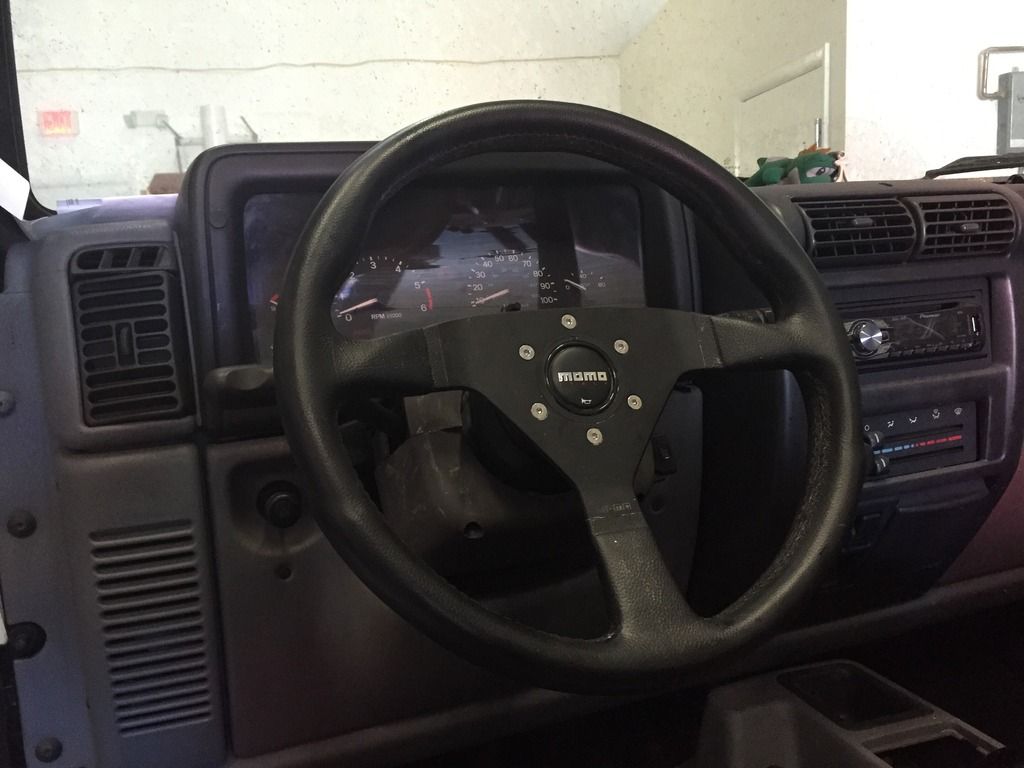
Some more interior goodies, got a Momo Steering wheel installed
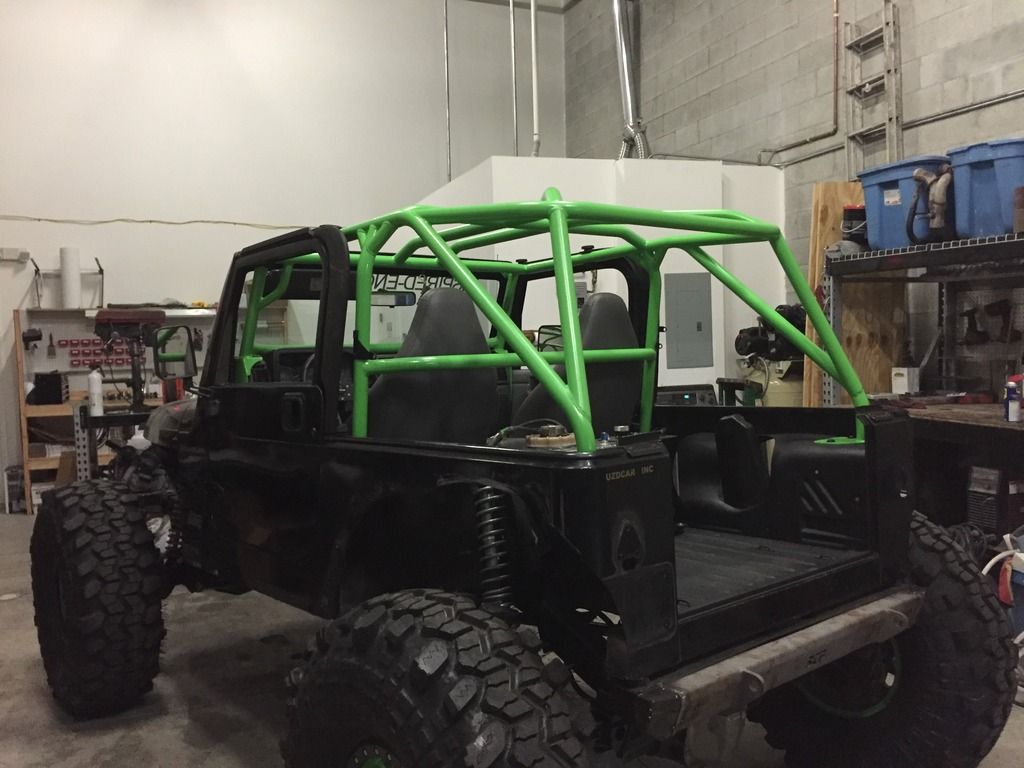
Poison Spyder cage installed
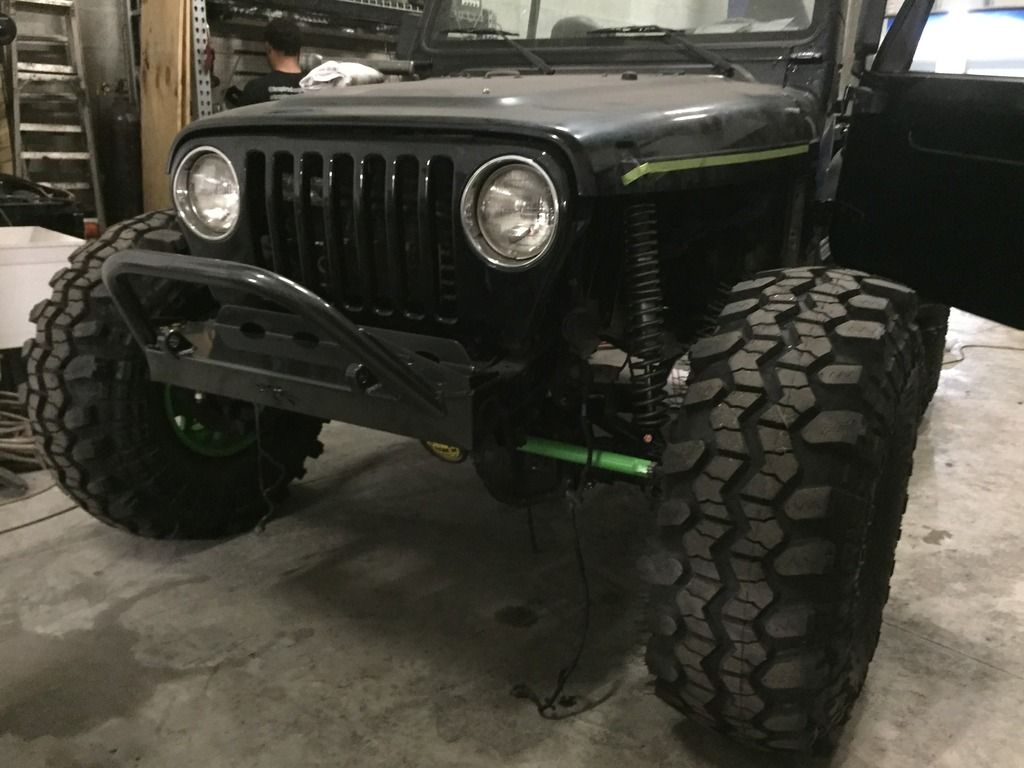
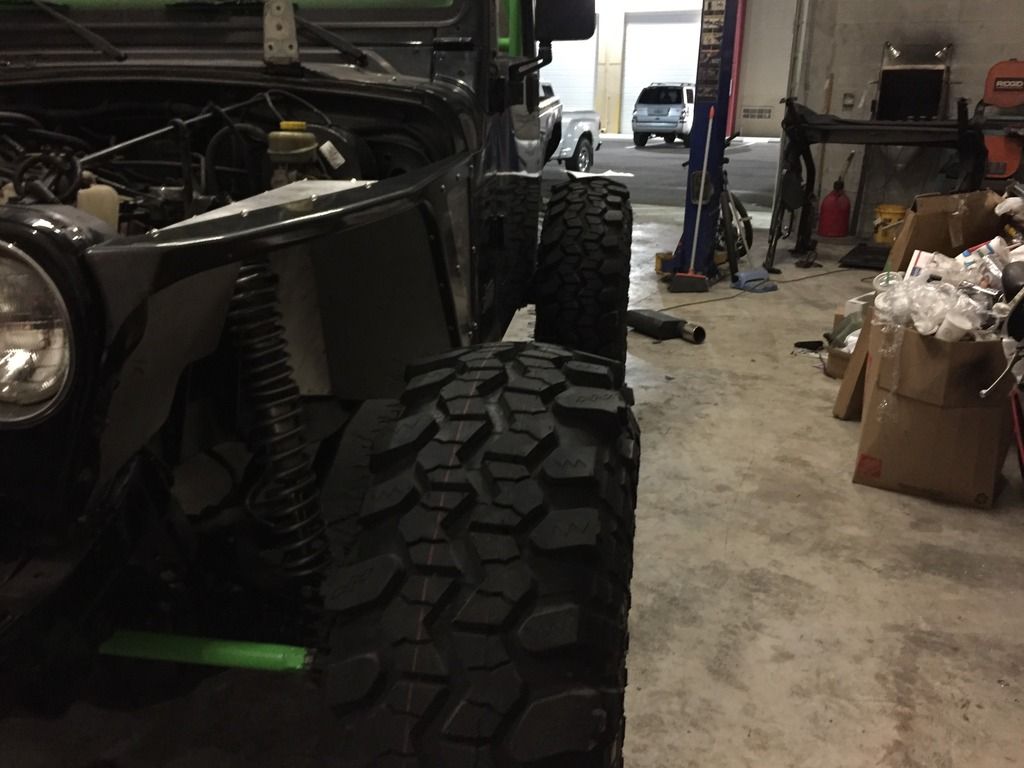
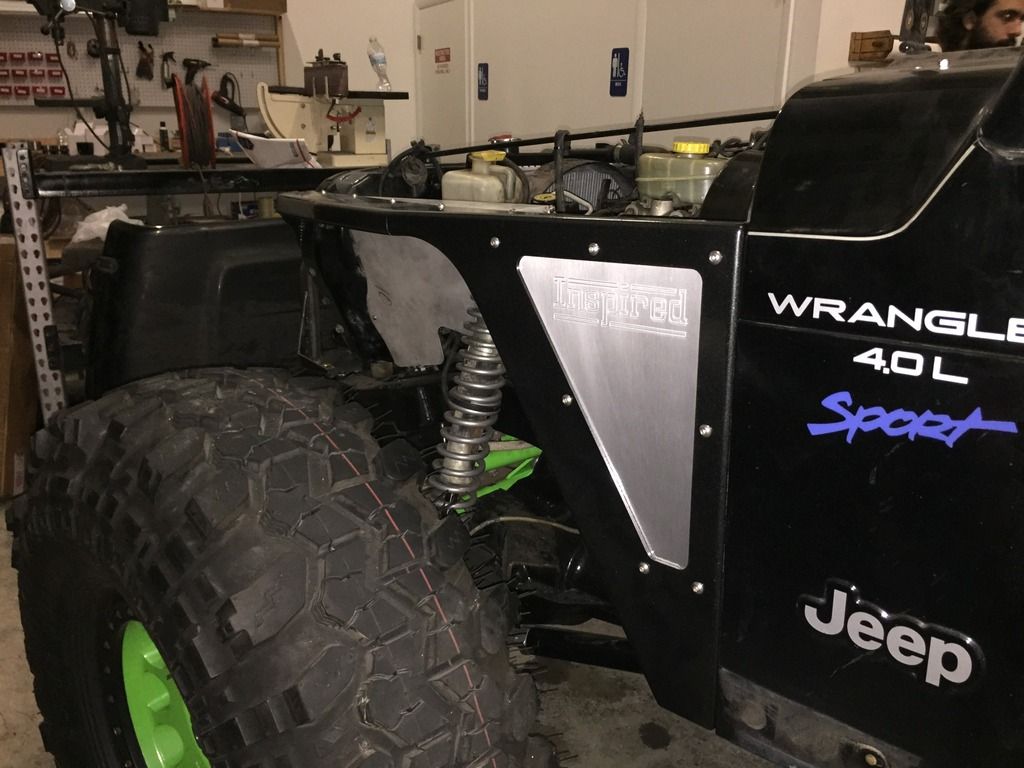
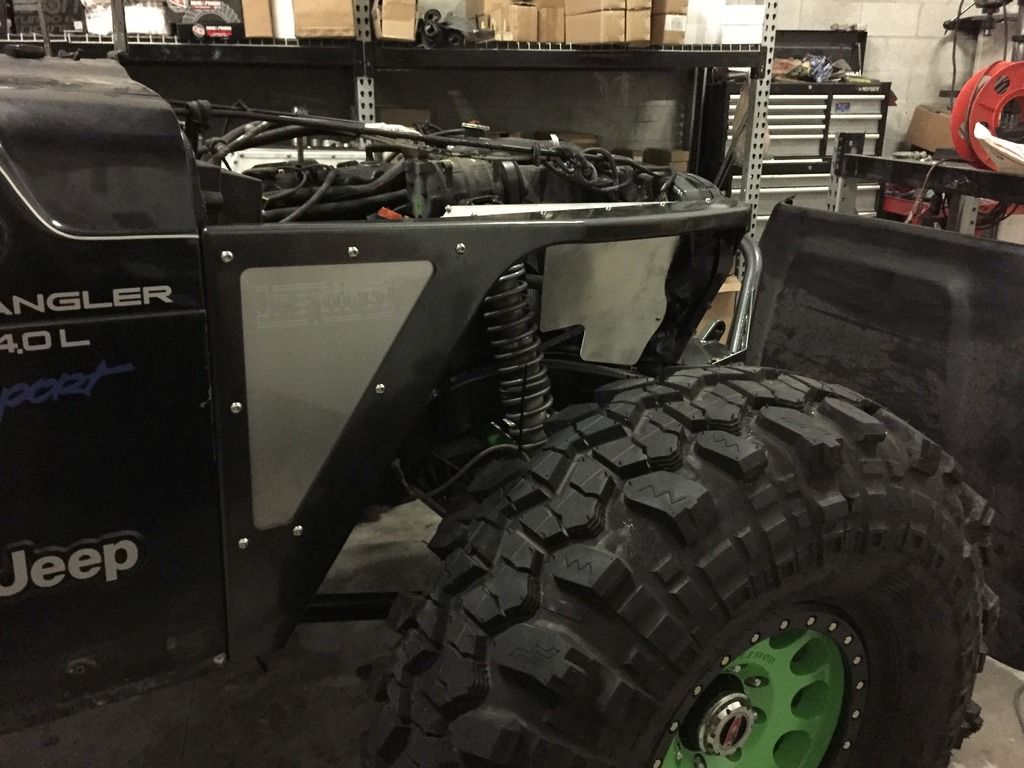
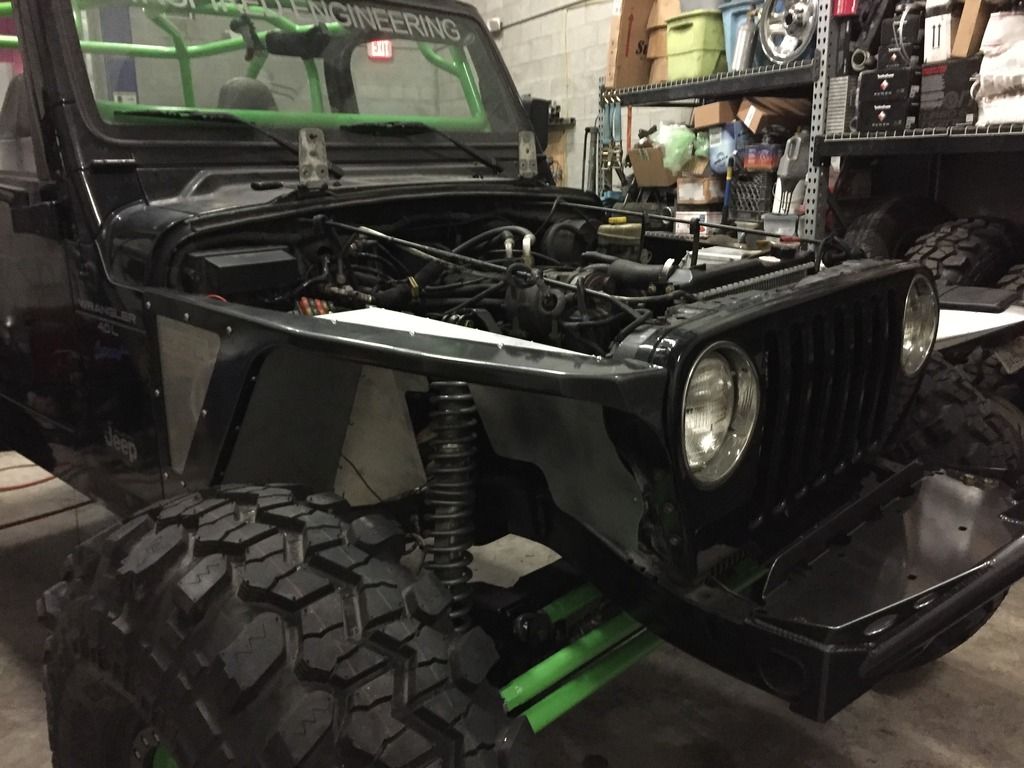
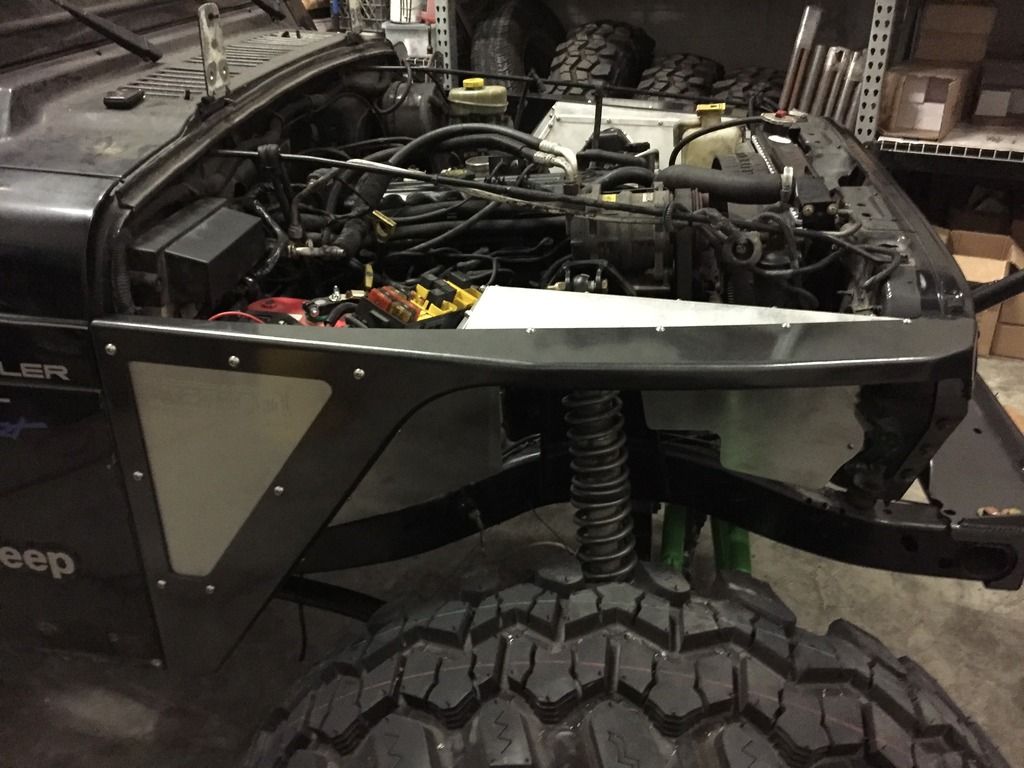
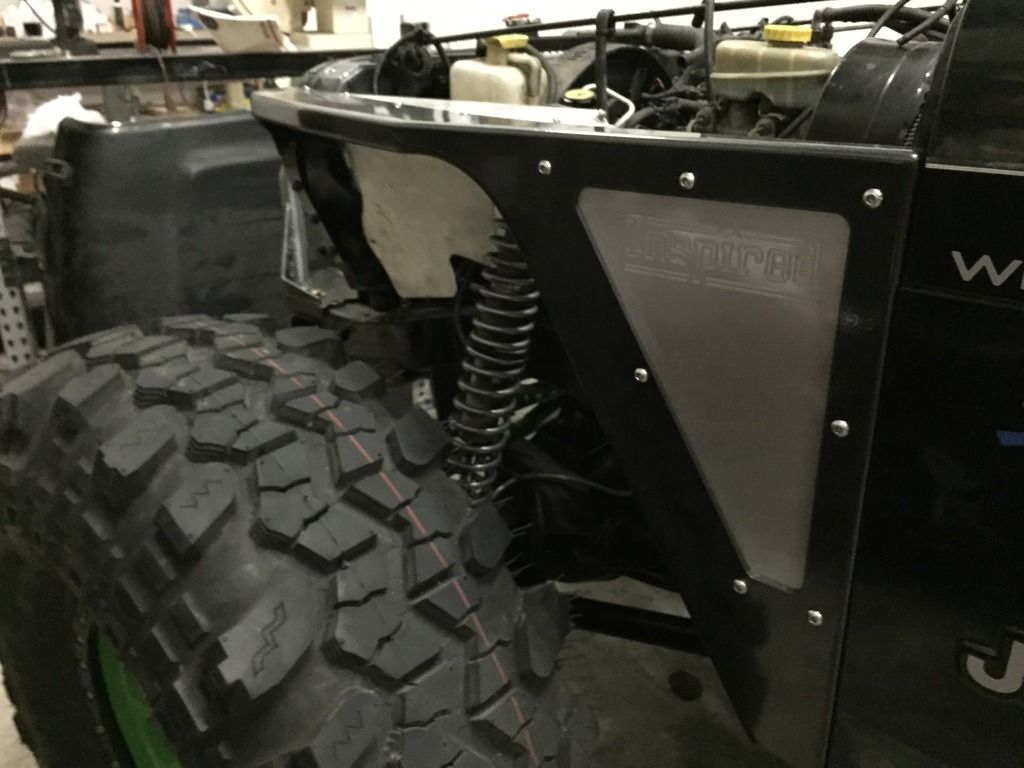
We also got the front Poison Spyder Defender with negative flare installed along with the inner fenders. Did I mention something trick earlier?
We are also working on some big things today so stay tuned.
We got the interior sanded down and sprayed some Raptor liner to seal it all up


Also a special delivery came in


We mounted the RCI fuel cell, using Artec Industries brackets


Also mounted the seats


Front Poison Spyder BFH front bumper with Brawler bar


We installed the breather lines for the rear diff


One thing that has been bothering us for a while is the rear bumper selection. All we were able to find was either frame or fill width. Nothing mid width to fit our armor. So we went with something custom.
We ordered up a BTF YJ/TJ rear stretch kit. Cut off the shackle mounts, and added end caps to bring it to the width we needed. I personally love it, and it is one of those small touches most will never notice, but I will smile about for a while.


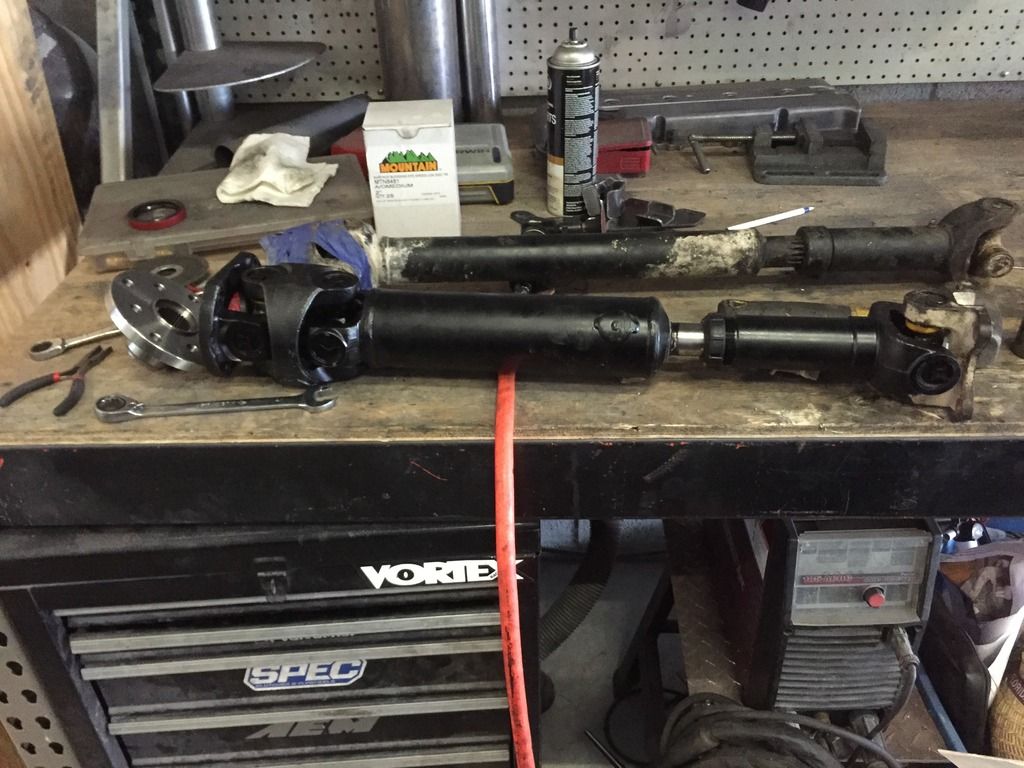
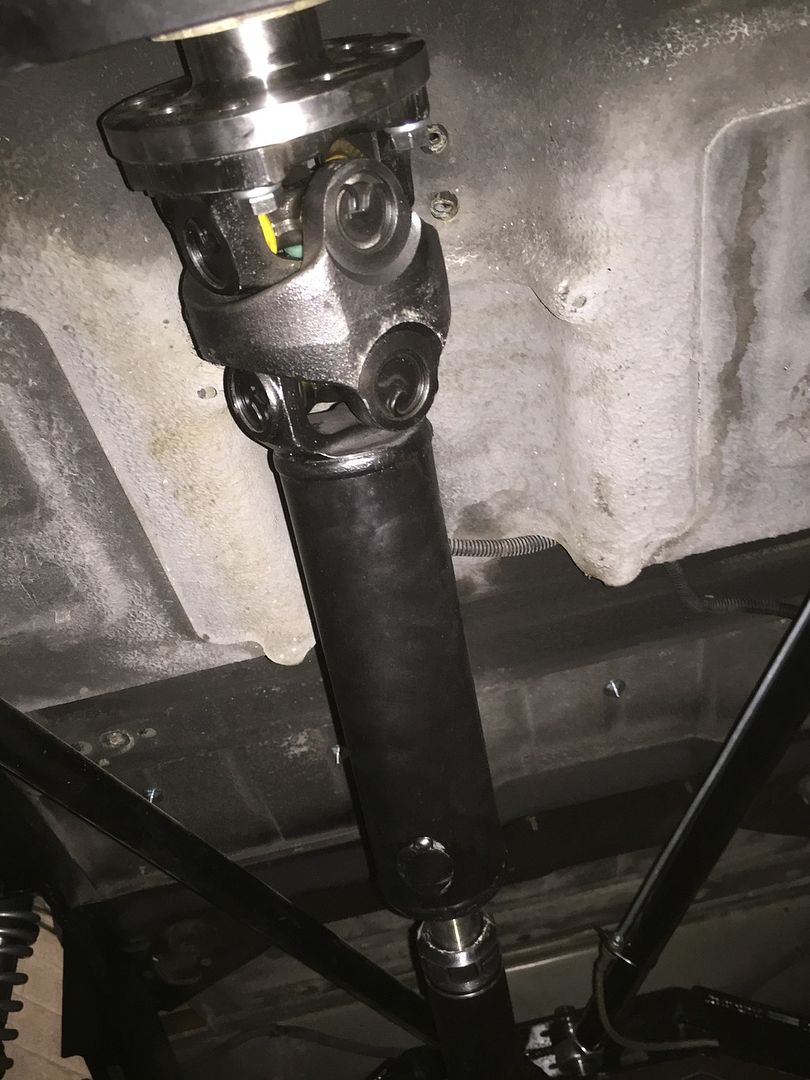
We also got our Rear driveshaft in from our buddies over at Tom woods driveshafts. We converted the 231 rear yoke to a flange and are running 1350 joints all across the shaft


Front drive shaft and rear brake lines installed


At first there was 2, now there are 1


Some more interior goodies, got a Momo Steering wheel installed

Poison Spyder cage installed

We also got the front Poison Spyder Defender with negative flare installed along with the inner fenders. Did I mention something trick earlier?


We are also working on some big things today so stay tuned.
