Jeep Wrangler JK: How to Install Backup Camera
A backup camera can help you navigate through tight spaces, and is especially helpful if you use a trailer. This article will show you how to install an aftermarket backup camera.
This article applies to the Jeep Wrangler JK (2007-Present).
The backup camera is one of the most useful safety features to come to modern vehicles. Unfortunately, Jeep doesn't offer it as a feature for the Wrangler. Thankfully, there are plenty of aftermarket options available. Before you purchase a backup camera, make sure that it uses a compatible harness for your head unit. Some head units may need to be reprogrammed before the backup camera can be used.

Materials Needed
- Backup camera
- Head unit with backup camera functionality
- Wiring harness
- Ratchet with socket set
- Phillips screwdriver
- Splice connectors
- Electrical tape
- Hole saw
This article assumes you already have a compatible head unit installed.
Step 1 – Install backup camera
The most important step is deciding where to install the camera. It needs to be at the center of the Jeep. Some people install it to their spare tire hub, while others install either at the bumper or the trailer hitch. When you decide where to install it, use a hole saw to drill a hole just large enough for the camera.
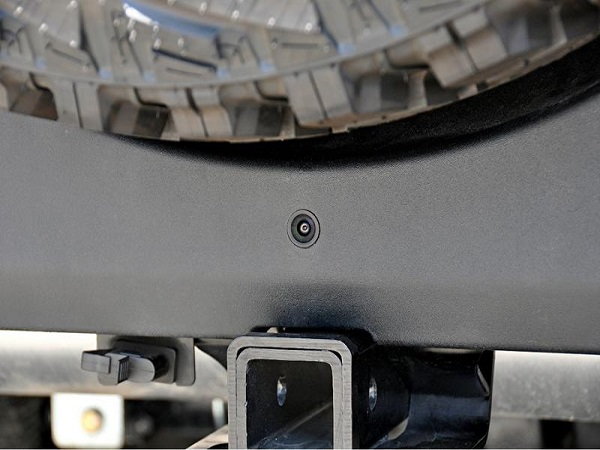
Figure 1. Backup camera on bumper. 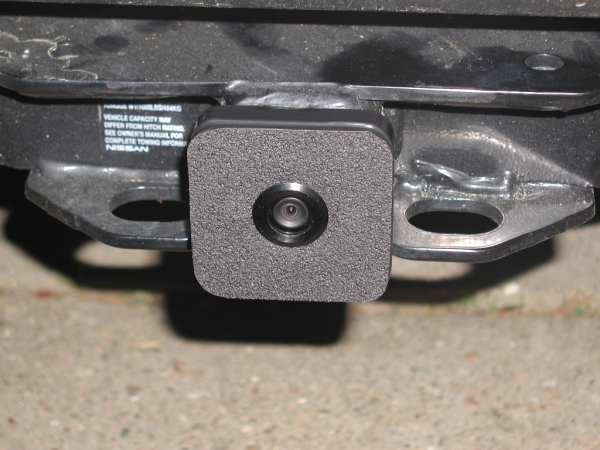
Figure 2. Backup camera on trailer hitch. 
Figure 3. Backup camera on spare hub.
Step 2 – Connect camera to reverse light wires
Route your camera harness wires to the back corner on the passenger's side of the trunk. Remove the tail light housing by unscrewing the two Phillips screws and pull the housing out. pull the signal wire and the ground wire of your camera harness through the grommet. The reverse light wire should be white and grey. Use a splice connector to crimp your camera signal wire to the reverse light wire. Then use another splice connector to crimp your camera's ground wire to the black tail light ground wire.
Pro Tip
If you want to be able to access the backup camera at any time, you will need to find a power source that's on whenever the car is on to connect to the signal wire.
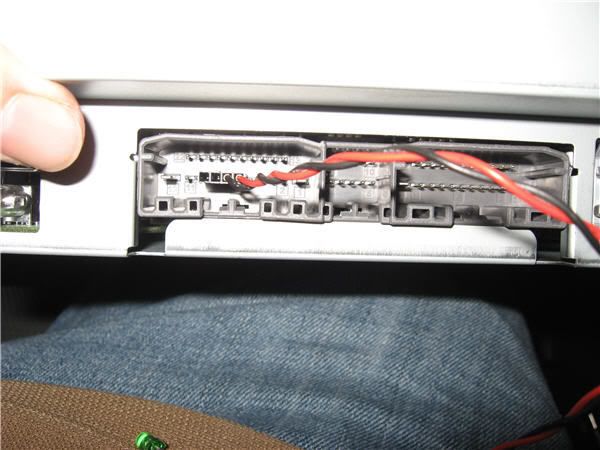
Step 3 – Connect camera to head unit
Route the rest of the camera wiring harness to the front of the car where your head unit sits. If you haven't already, take the head unit out so you can see the wires. Connect the A/V wires from the camera harness to the head unit's wiring harness. Look in your head unit's manual to identify the correct pins for connecting the wires. Connect the wires and make sure they are properly seated to the harness. Reinsert the head unit. To test the camera, start the Jeep and put it in reverse. If everything was installed correctly, the head unit should display the camera view once the Jeep is in reverse.
Pro Tip
If you get a blank screen that says "please check your surroundings," double check the pins on the wiring harness. They are probably not properly seated.
Related Discussions
- Mopar Backup Camera Installed on Jeep Mygig - JK-Forum.com
- Aftermarket Back Up Camera Wiring Help Needed - JK-Forum.com
- Rear/Back Up Camera Suggestions - JK-Forum.com