Jeep Wrangler JK: How to Install LED Dash Lights That Dim
Add LED lighting to give your vehicle's interior a brighter feel.
This article applies to the Jeep Wrangler JK (2007-Present).
More light is always a useful feature for any vehicle to have. There are several different purposes and areas on vehicles where LEDs can be installed. Often, direct plug and play applications for many interior bulbs. Besides the various types of bulbs available today, the aftermarket automotive interior lighting options have given way for "LED strips." They are often called "ribbon" lights because like ribbons, they are flexible and long (varying length). The ribbon is a series of electrical diodes which emit light.

Materials Needed
- Flat tip screwdriver
- Phillips screwdriver
- Wire splicer
- Electrical tape
- Wire connectors
- Clear double-sided tape
- Test light, multimeter or probe
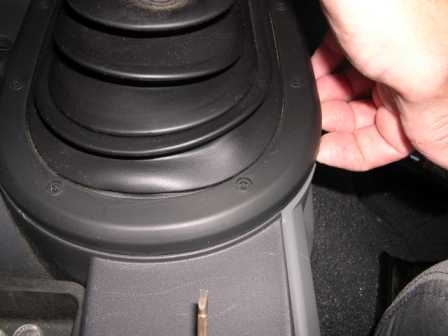
Step 1 – Remove gear shift boot
The shift boot will be in the way of accessing the wiring and the area in which you intend to install the LED strip.
- Using the Phillips screwdriver, remove the bolts around the boot.
- Using the flat tip screwdriver, pry around the boot.
- Lift up and remove the shift boot.
Step 2 – Remove dash trim
In order to access the harness you will use to wire in the LED strips, you'll need to remove the trim to expose the harness.
- Use a flat tip screwdriver to pry the plastic piece gently.
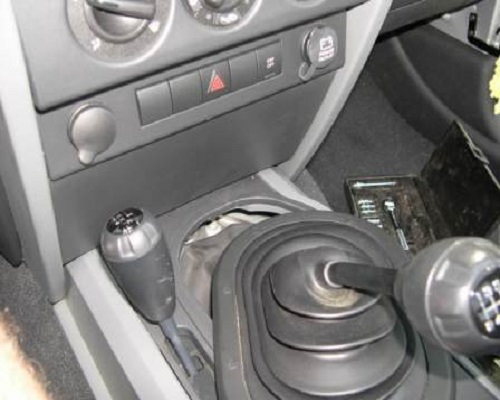
Figure 2. Pop off lower center stack trim. 
Figure 3. Remove screws holding trim panel in place.
Step 3 – Locate harness
Now that the dash trim is removed, there is wiring exposed that you can tap into for power and ground sources.
- Locate the orange/grey wire and black power wire within the HVAC harness.
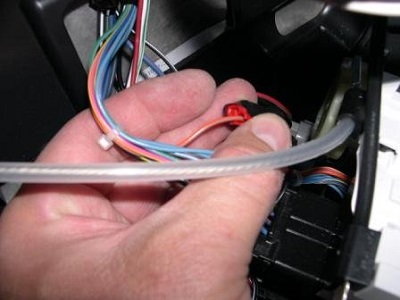
Figure 4. Orange wire. 
Figure 5. Black wire.
Step 4 – Mount and wire LED strip
Now that you have located the wiring from the HVAC harness, we can splice into it to connect the new LED strip.
- Splice orange/grey wire to connection on LED strip.
- Splice black power wire to connection on LED strip.
- Use test light, multimeter or probe to check continuity.
- Wrap connections in electrical tape.
- Mount the LED strip into the crevice between dash trim and HVAC controls using double-sided clear tape.
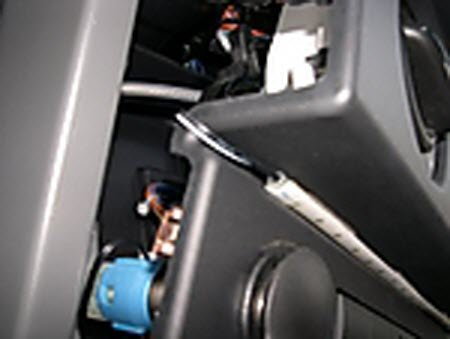
Figure 6. Routing wiring behind center stack. 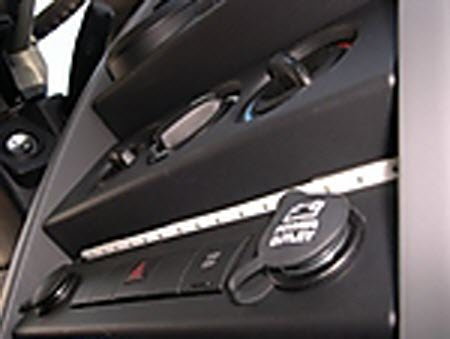
Figure 7. LED strip mounted.
Step 5 – Test your connections
Now that everything is wired up and mounted, you'll want to test it all out.
- Turn the key to accessory mode.
- Turn the headlight switch on. The LED strip will light up with the rest of the interior lights.
- Use the dimmer switch on your headlight stalk to adjust brightness.
- If everything works appropriately, reinstall dash trim and shift boot.

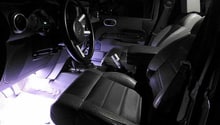
Figure 8. Success! 
Figure 9. Night view.
Related Discussion
- JK-Forum: LED Dash Strip - JK-Forum.com