Jeep Wrangler JK: How to Install Mobile Phone Dash Mount
Looking for an easier way to mount a camera and catch some off-road footage? Maybe a phone dash mount is just the product for you! All you need to know is how to install it.
This article applies to the Jeep Wrangler JK (2007-present).
There are some things on a car you need and some things you want. A phone dock fits in between a want and a need, as you generally won't see the need until its installed in your Jeep! Besides providing a chance to charge your phone while securely mounted on the dashboard, phone docks also offer additional features, such as extra protection when the Jeep is being driven off-road or a way to record any driving activities. Installing a dock is a fairly simple process and takes less than ten minutes to do at home.

Materials Needed
- 1/4" ratchet
- 7mm deep socket
- Phone mount
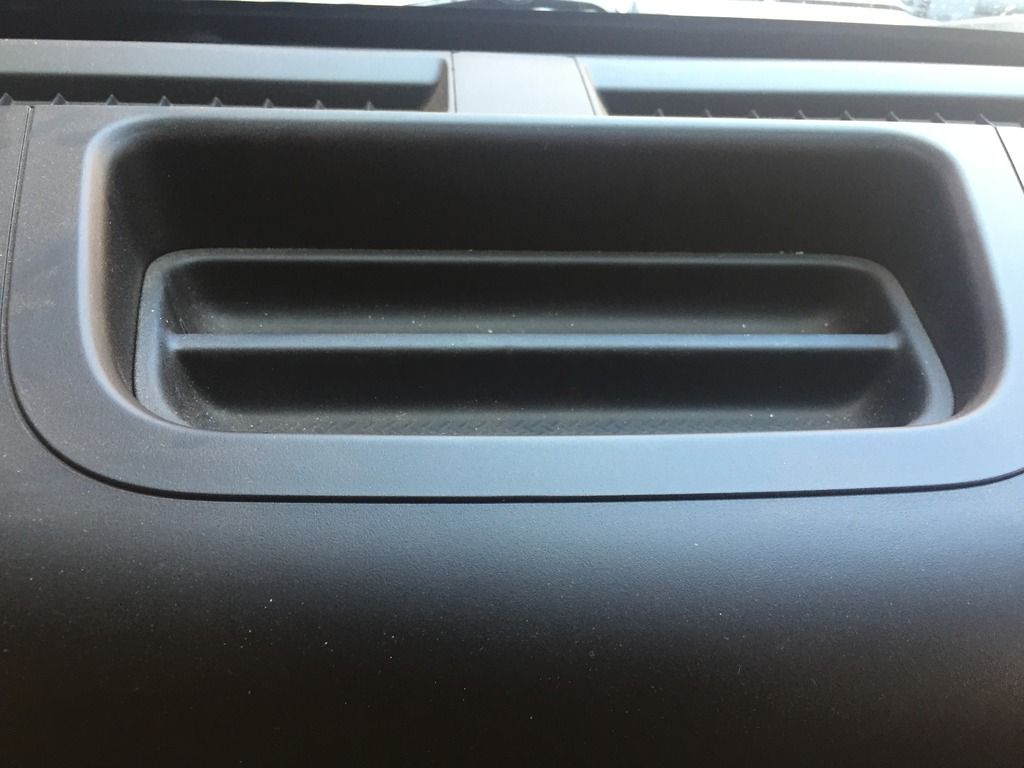
Step 1 – Remove the rubber tray
Look on top of the dashboard. You will see a rubber tray laying under the two center vents. Just pick it up with your hands and lift it out.
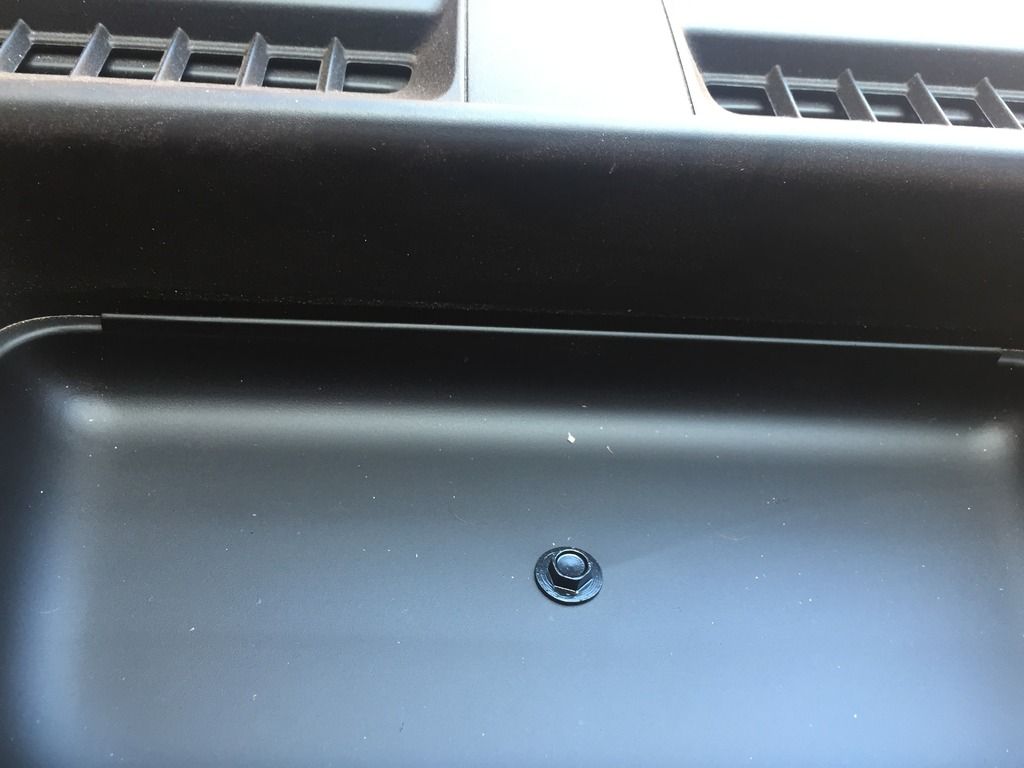
Step 2 – Remove the 7mm bolt
Right under the mat there is a small 7mm bolt. Loosen and remove the bolt, then carefully place it aside.
Step 3 – Install the phone mount base
There are three steps involved in mounting the base:
- Take the hooks from the rear of the accessory mount and slide them into the vents behind the center console.
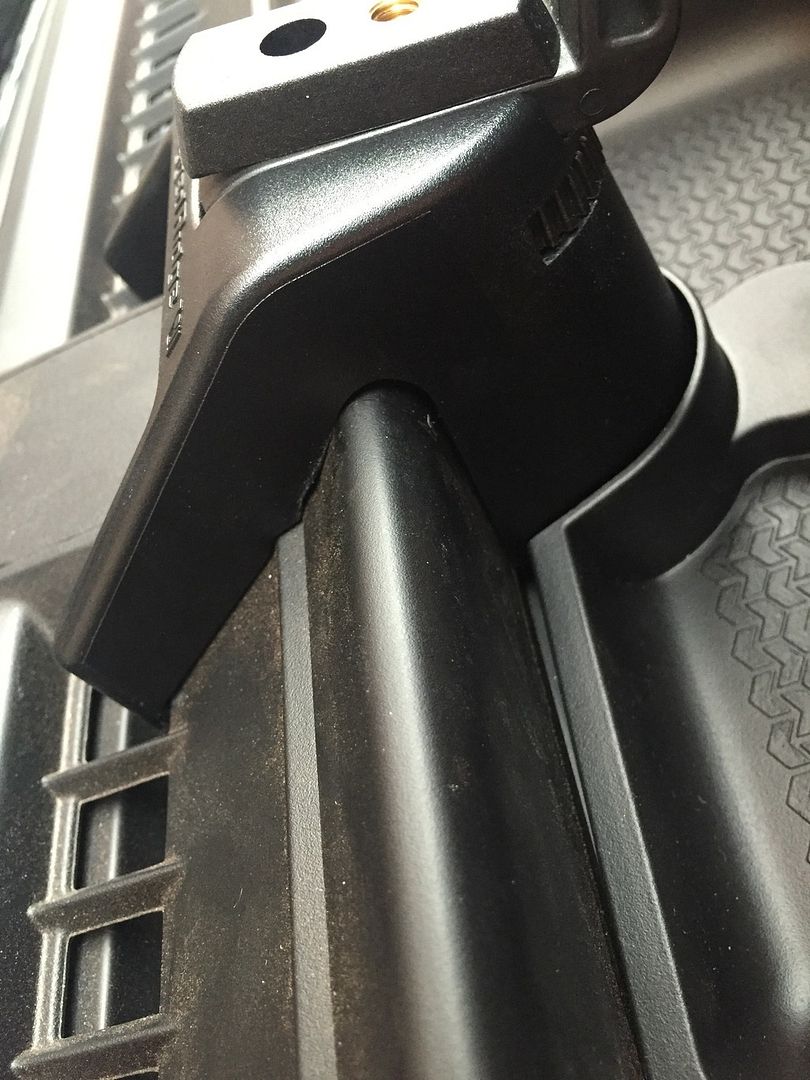
- Remember the 7mm bolt you removed? Take it and install into the mounting hole in the front of the dash mount assembly.
- Then, take the rubber tray that came with the phone mount (it's specially cut to fit around the mount) and lay it on top of the 7mm screw.
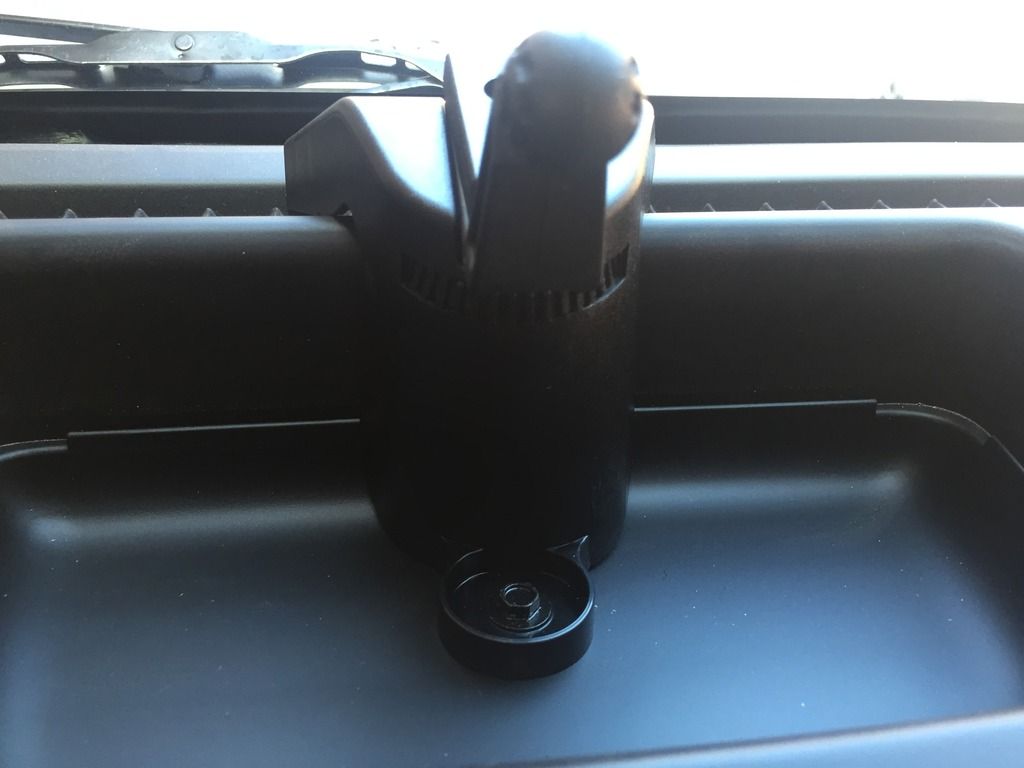
Figure 4. Tighten the 7mm bolt in place. 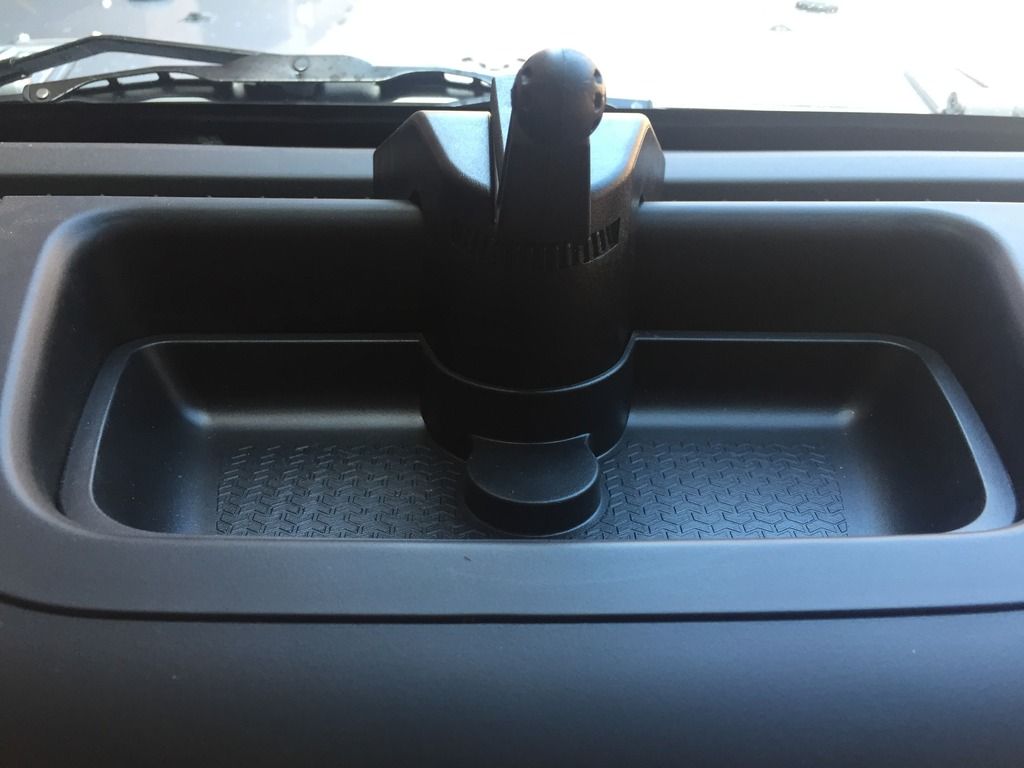
Figure 5. Install the new rubber mat.
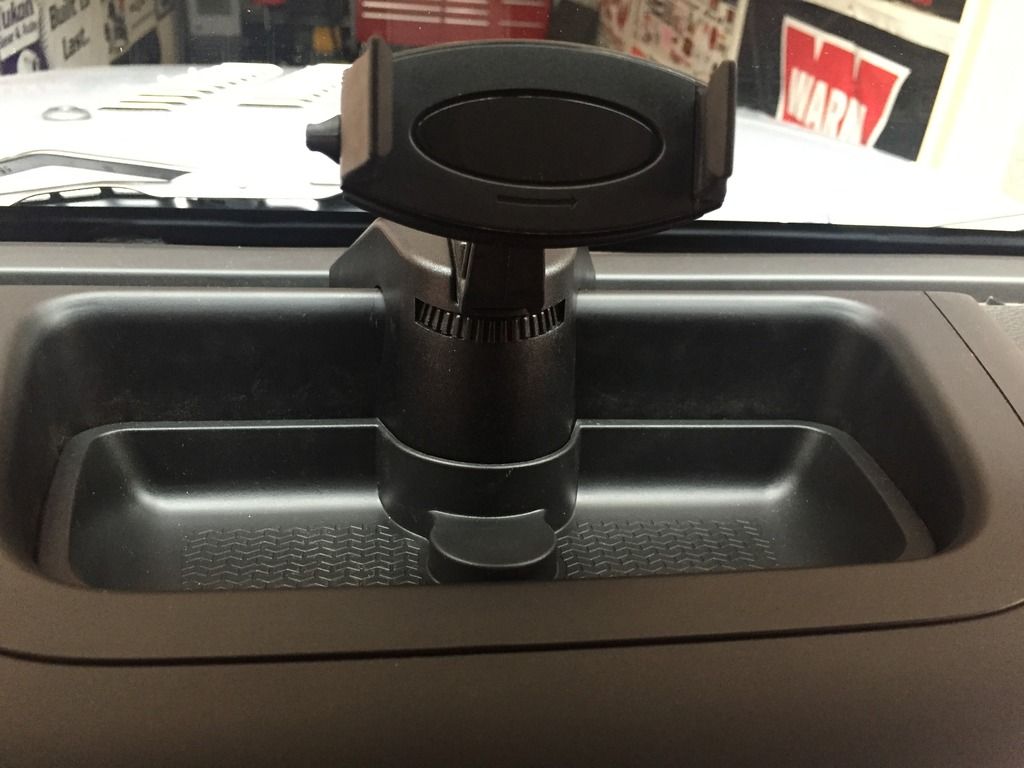
Step 4 – Assemble the phone mount
- Take the large plastic nut and place it upside down, over the ball mount.
- Slide the nut down to its threads.

- Take the phone mount and push it into the ball mount until you hear it click into place.
- Tighten the plastic nut.
Related Discussion
- Rugged Ridge Dash Multi-Mount Phone Kit Write-Up - Jk-forum.com