Jeep Wrangler JK: How to Install Radar Detector
If you’re thinking of adding a radar detector to your Jeep Wrangler, there are two bits of good news—one is that they’re incredibly effective at picking up signals from radar guns, and the other is that they’re simple to install. To learn how to do it yourself, read on.
This article applies to the Jeep Wrangler JK (2007-present).
While just about all police officers will argue against installing a radar detector in your Jeep Wrangler, at the end of the day, it could be an investment that will wind up saving you hundreds, or in some cases, thousands of dollars down the road. These handy detectors are designed to scan the road ahead of you for radar guns. When a signal is picked up, it’ll notify you, at which point you can check your speed against the speed limit, and slow down if need be before you get clocked for going too fast. If an officer sees one in your car, you can get in some extra trouble beyond a speeding ticket, so we don’t necessarily advocate for this add-on to your Wrangler. At the same time, a majority of drivers out there think this device is worth the risk. If you fall into this crowd and have purchased a radar detector, follow these super simple instructions on how to install the system into your Wrangler.

Materials Needed
- Radar detector
- Flathead screwdriver or pry tool
- Splicing knife (if necessary)
- Heat shrink torch (if necessary)
- Electrical tape (if necessary)
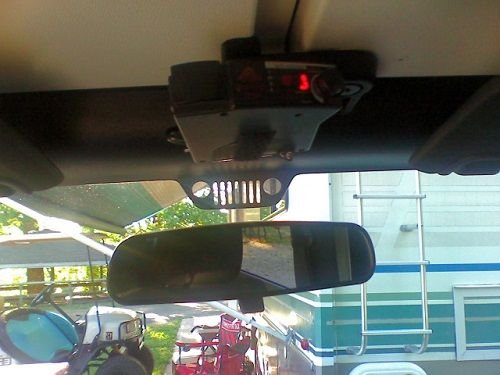
Step 1 – Place the radar detector
Ideally, you want the radar detector up high to get a better scan of the road ahead of you. As such, most Wrangler owners prefer to place their detector above the rearview mirror, right below the freedom top release handle. Most detectors will clip with either a piece of stick-on Velcro, or a suction cup.
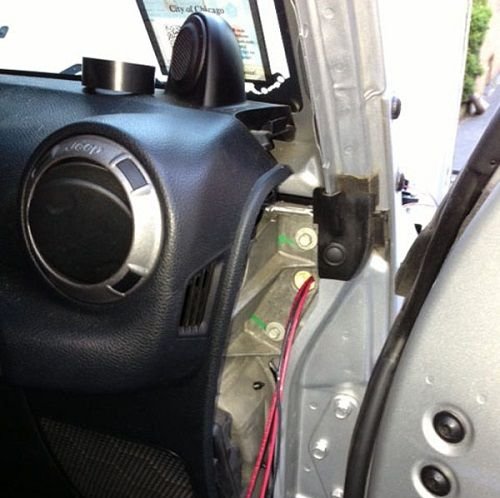
Step 2 – Run the wire down to the floor of the car
Obviously, you don’t want to have a wire hanging from the top of your car down to the cigarette lighter, so what you need to do is run the detector’s cord along the windshield/roof line to the passenger side of the vehicle, down through the pillar behind the glove box. Remove the pillar trim with a flathead screwdriver or pry tool to accomplish this.
Step 3 – Power up the detector
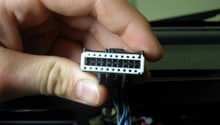
There are two options at this point—either you can plug the detector into the cigarette lighter, or hard-wire it into the vehicle.
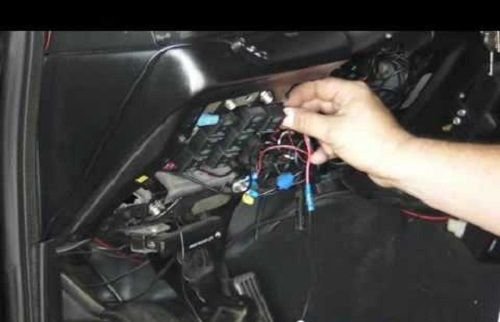
If you are going with the latter, disconnect your vehicle’s battery and splice the detector’s wire into the positive and negative sides of the lighter. Heat shrink wire, and wrap with electrical tape. Doing this turns the detector on only when the key is in or the car is otherwise turned on (that way it’s not on all the time). Reconnect the battery and confirm the detector turns on.
Related Discussions
- Radar Detector - Jk-forum.com
- Radar Detector Help - Jk-forum.com
- Hard-wired Radar Detector GPS - Jk-forum.com