Jeep Wrangler JK: How to Replace Front and Rear Driveshafts
Swapping out your front and rear driveshafts is a great job for the weekend DIYer.
This article applies to the Jeep Wrangler JK (2007-Present).
If your JK is starting to make a clunking noise when you shift from reverse to drive, or you have noticed a strong vibration or squeaking noise when you are driving, these are signs that your driveshaft may need to be replaced. Besides the OEM driveshafts, there are numerous aftermarket brands that you can use. Just be sure to get the correct fitment for your Jeep and give yourself plenty of time for the job. It is not too difficult to do on your own, but you will need some specialized tools to do the job. Many specialized tools can be rented or borrowed from your local auto parts store. While this job is easy enough for a novice DIYer, it can be a real bear to execute because of pieces that don't want to come apart. You will definitely want to have some PB Blaster or WD-40 on hand and plenty of it. Bring along a bucket of patience and give yourself plenty of time, so you can save yourself a considerable amount of cash from having a professional do this job for you.

Materials Needed
- 3/8 or 1/2 inch drive ratchet and 8mm socket, plus a large sized assortment
- Torque wrench
- Large hammer (preferably a rubber mallet)
- Silicon
- Locktite
- Jack and jack stands or lift
- PB Blaster or WD-40
Steps 2 to 8 illustrate the process for removing and installing the front driveshaft, while 9 to 12 are for the rear driveshaft replacement.
Step 1 – Jack up your Jeep
Make sure you are parking on a flat, level surface and jack up your Jeep. Starting from either end, use a hydraulic floor jack and raise it high enough to place a couple of jack stands in the proper positions. Repeat for the other end. Always makes sure you are using the approved lifting as well as jack stand points, and never work under your Jeep without using jack stands if you do not have access to a lift.

Step 2 – Remove transfer case skid plate
There are four bolts that hold the skid plate onto the frame. Remove the four bolts, and make sure to have control of the plate when you are removing the last bolt to prevent the skid plate from dropping and getting damaged.
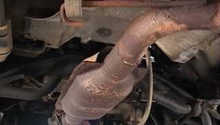
Step 3 – Remove forward driveshaft from flange
Remove the eight 8mm bolts that hold the driveshaft to the flange. You'll probably only be able to remove four or five of them at first, and then move the Jeep forward or backward to turn the driveshaft in order to get easier access to the remaining bolts.

Step 4 – Remove driveshaft from axle flange
Once you have removed the eight bolts from the driveshaft and flange, move to the opposite end of the shaft. There are four bolts holding the shaft to the flange on this end, married up to the axle. Remove these four bolts and get ready for some hard work.
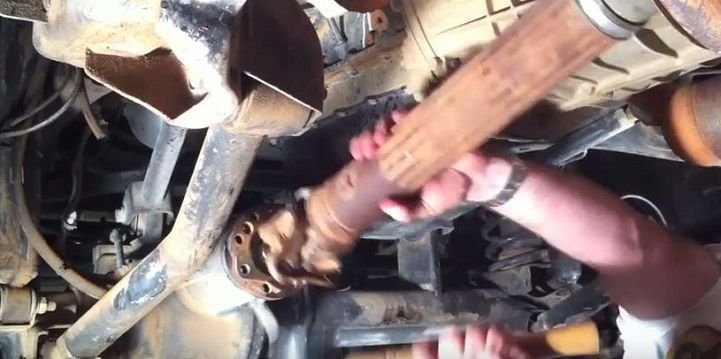
Step 5 – Beat the driveshaft into submission
This part of the process is the most difficult and for good reason. You will need to take the biggest hammer or mallet that you can get your hands on and beat the tar out of the end of the driveshaft at the flange. The transfer case end usually comes off much easier than the axle end. You may want to prep the shafts the night before your work with PB Blaster or WD-40 and let it soak overnight.
If you look at the backside of the flange, you'll see some smell, un-threaded holes. These holes allow for the entry of a strong punch and when inserted, beat the back end of it with your hammer. This is one method to get separation between the shaft and the flange. In the end, it is just going to take a lot of elbow grease and patience to get this thing off. Another method may be easier, but it does involve a special tool. You may be able to borrow or rent a driveshaft puller from your local auto parts store. Follow the directions with the tool or ask the counter person for help and, hopefully, your driveshaft will come out much easier. Many folks seem to prefer the brute force method of removing driveshafts.
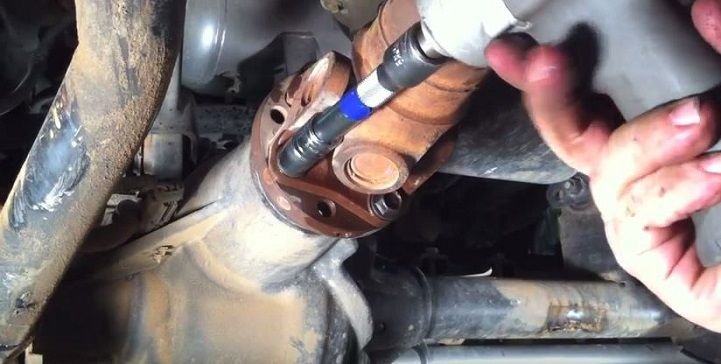
Step 6 – Remove the flange from either end
An air gun will greatly help in facilitating the removal of the center nut from each flange, otherwise, you will need to wrench on it pretty hard while keeping it stationary. Remove this center nut and the flange will come right off, but it may need some persuasion with your big hammer. The same process works on both the axle end and the transfer case end.

Figure 6. First remove the center nut from the axle flange. 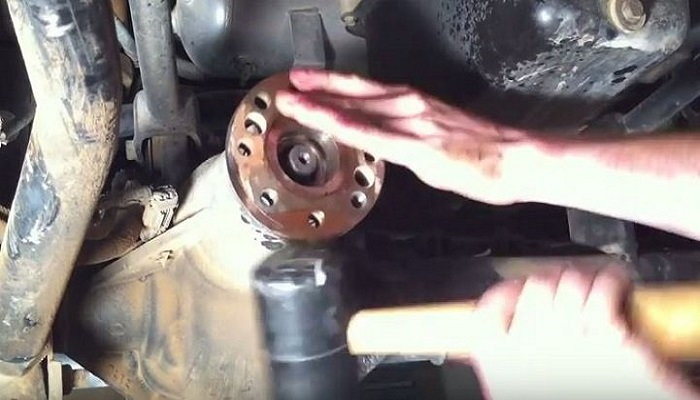
Figure 7. Beat on the axle flange a little to get it to pop off. 
Figure 8. Remove the center nut from the flange on the transfer case end as well. 
Figure 9. You may also have to put a beat down on the flange at this end as well.
Step 7 – Install the new flange on either end
You will want to use a generous amount of silicone on the splines inside the new flange before seating the flange back into position on the axle end. Apply some Loctite to the nut threads and install the center nut on the flange. Make sure you torque the nut to the specifications for the brand of driveshaft that you purchased. Repeat this process for the flange on the transfer case and torque the nut again to the manufacturer's specifications.
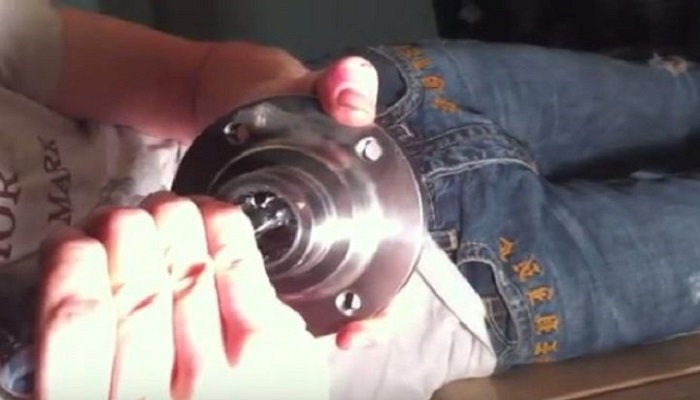
Figure 10. Apply some silicon to the teeth inside the flange before seating on the axle end. 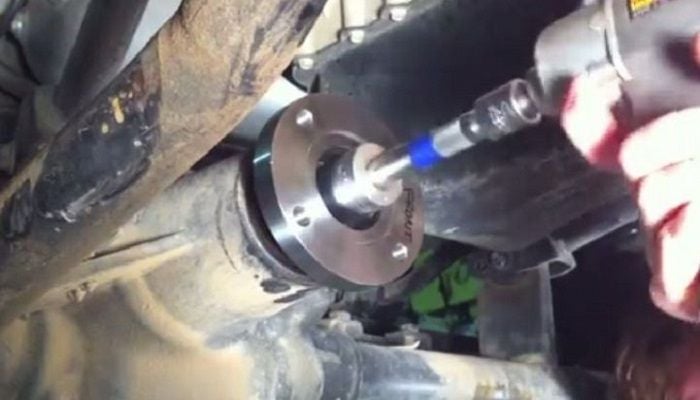
Figure 11. Apply some Loctite to the center nut and install on the flange. 
Figure 12. Torque the center flange nut to specification.

Figure 13. Apply silicon to the flange teeth as well as on the transfer case end. Pictured here is a flange specific to the Tom Woods brand driveshaft. 
Figure 14. Don't forget to add Loctite to this flange nut as well. 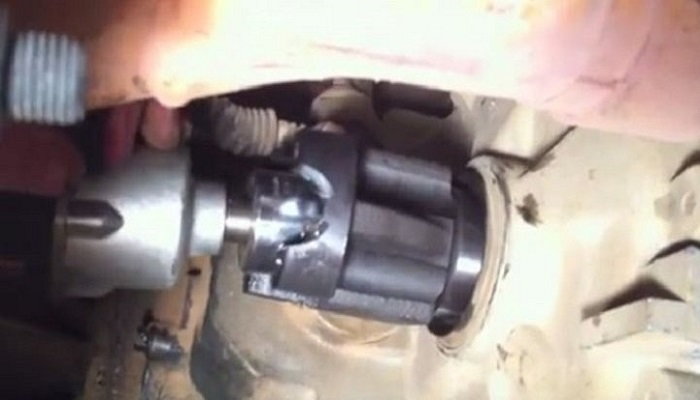
Figure 15. Install the flange nut on the transfer case flange and torque it to specification as well.
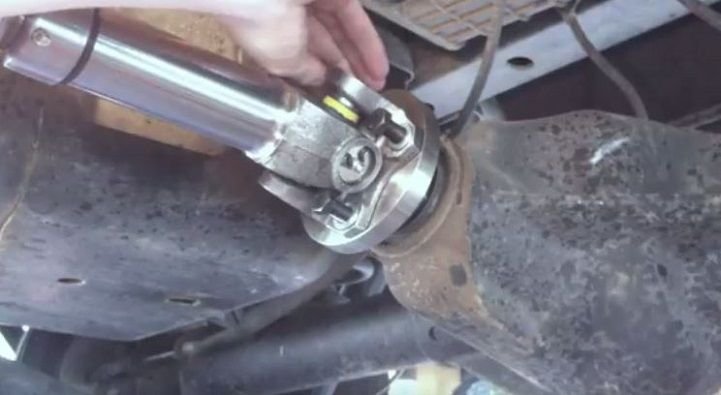
Step 8 – Reinstall the forward driveshaft to the flanges
Add some Loctite to the threads of the bolts before installing the driveshaft onto the flange and repeat with the bolts on the other collar. When installing these shafts, the bolts will need to be torqued according to the recommended settings of the driveshaft manufacturer. If you are using an OEM replacement, you will likely have the same eight 8mm bolts on the transfer case end and the four on the axle end. Depending upon the driveshaft you purchased, if the included flanges have less bolts, you may only need four at either end. In this example, the Tom Woods brand only uses four bolts on either flange. Be sure that you properly torque all of them.

Figure 16. Use Loctite on the driveshaft mounting bolts before installing to the flange. 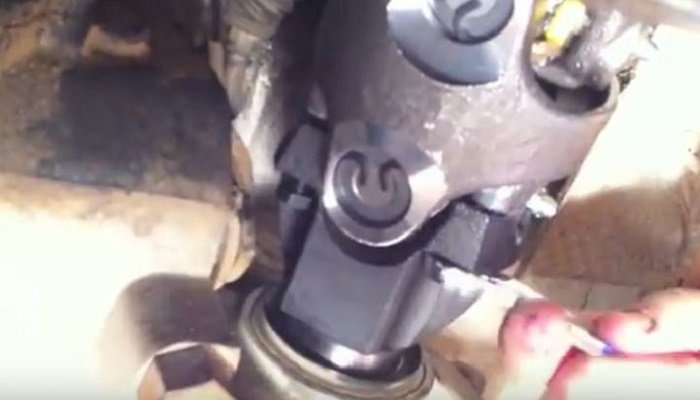
Figure 17. Tighten the driveshaft to to the axle end and torque the mounting bolts to recommended settings. 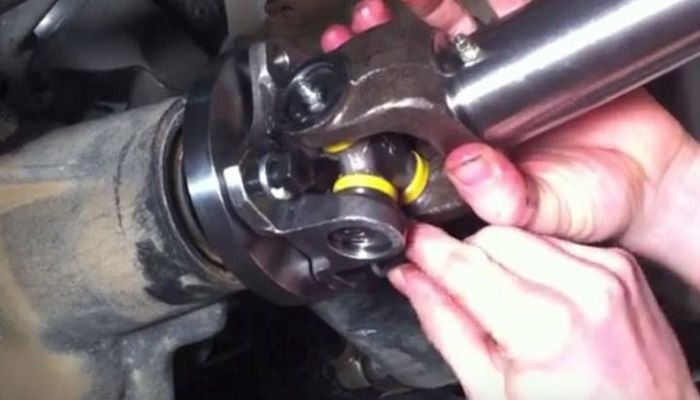
Figure 18. Repeat the process for the transfer case end of the driveshaft and be sure to torque these mounting bolts as well.
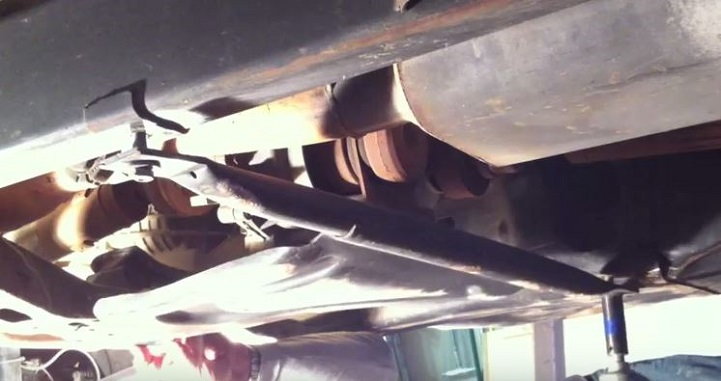
Step 9 – Remove rear driveshaft
Start with the eight 8mm bolts on the flange mounted to the transfer case. You will, again, likely have to turn the shaft in order to get to all eight bolts. For the rear driveshaft, there are also eight 8mm bolts on the differential end of the driveshaft. So you have a total of sixteen 8mm bolts to remove on either flange holding the rear driveshaft. Once all 16 bolts are removed, the rear driveshaft should pull right out; although, you will probably still need to hit it a few times to persuade it to comply.

Figure 19. Remove the eight 8mm bolts from the flange on the rear driveshaft on the transfer case end. 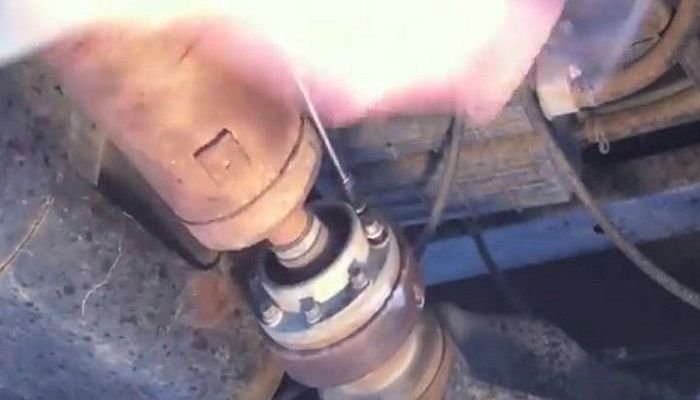
Figure 20. You will also have to remove another eight 8mm bolts on the flange attached to the differential. 
Figure 21. You may find that the rear driveshaft comes apart from the flanges much easier than the front, but you may still need to give it a few whacks.
Step 10 – Remove flange nuts
Again, on both ends of the driveshaft flanges, there are center mounting nuts that must be removed. Start from either end just as with the front shaft and remove these center nuts. An impact wrench really helps here.
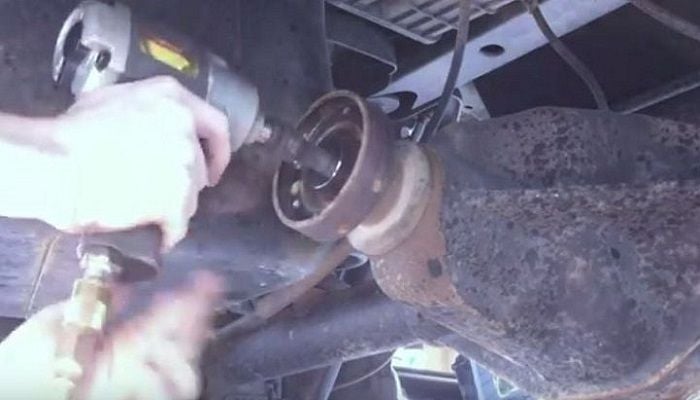
Figure 22. Remove the center mounting nut from the flange mounted to the differential. 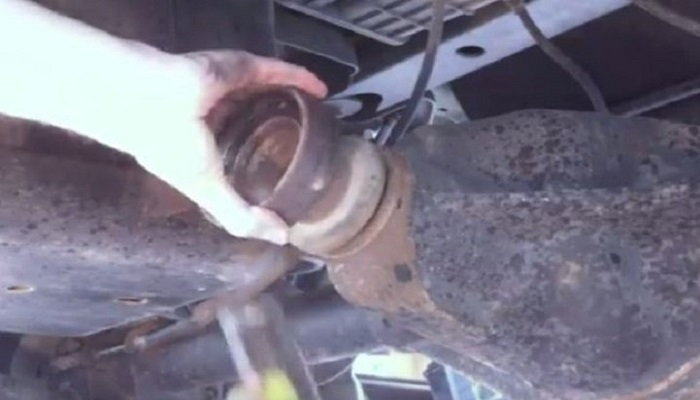
Figure 23. You may have to call upon your trusty mallet to convince the flange on the rear differential that it needs to come off. 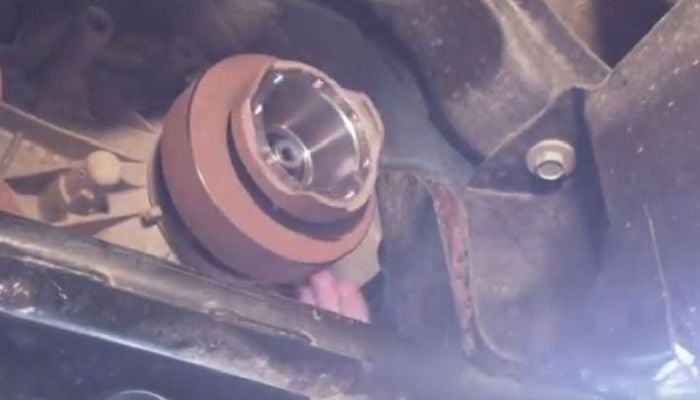
Figure 24. When removing the flange on the transfer case side, tap it with your mallet and turn the flange, then tap again and repeat until it pops off.
Step 11 – Install the new flanges for the rear shaft
Add more silicon to the teeth in both flanges for the rear just as you did for the forward driveshaft. Slide the flanges in place and, again, use Loctite on the center nut, then install as well as torque as previously outlined. With the rear flanges, there may be a washer or two supplied that needs to be installed before the center nut is installed. Make sure to read the instructions with your replacement driveshaft, so you don't leave out any needed parts.

Figure 25. Add silicon to the teeth inside the rear flanges as well. 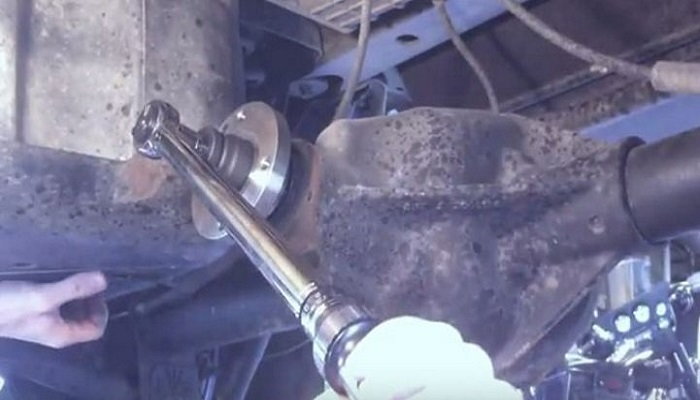
Figure 26. Make sure to properly torque the center nut on both rear flanges as recommended in your instructions. 
Figure 27. After you apply the silicon to the teeth and install the center nut with Loctite applied, torque down the flange on this end as well.
Step 12 – Install the new rear driveshaft
Just as with the front driveshaft, the brand you purchased may use a different amount of mounting bolts on the flange as you had with the OEM driveshaft. Apply some Locktite to the threads of these 8mm bolts and after tightening them, torque them to the recommended specifications with your driveshaft. You may need to move your Jeep back and forth to get the shaft to turn in order to get access to all of the mounting bolts. Don't forget to replace the transfer case skid plate before you drop your Jeep.
Step 13 – Drop your Jeep and take a test drive
When you have completed the install, be sure to take a test drive through various conditions and speeds to ensure that the issues you heard or felt before are now done. Depending upon the brand of driveshafts installed, you may have slightly different driving characteristics than you had with the OEM driveshaft. Enjoy your ride from a job well done.

Featured Video: Installing Tom Woods Driveshafts
Related Discussions
- Installing JE REEL 1350 Rear Driveshaft - JK-Forum.com
- Removal of Front Driveshaft Question - Please Help - JK-Forum.com
- Driveshaft Removal, Won't Free From Flange - JK-Forum.com
- Removing Rear Driveshaft - JK-Forum.com
- Need to Mark Driveshaft Before Replacing? - JK-Forum.com