2005 TJ Currie Enterprises Build
 04-10-2019, 12:03 AM
#1
JK Junkie
Thread Starter
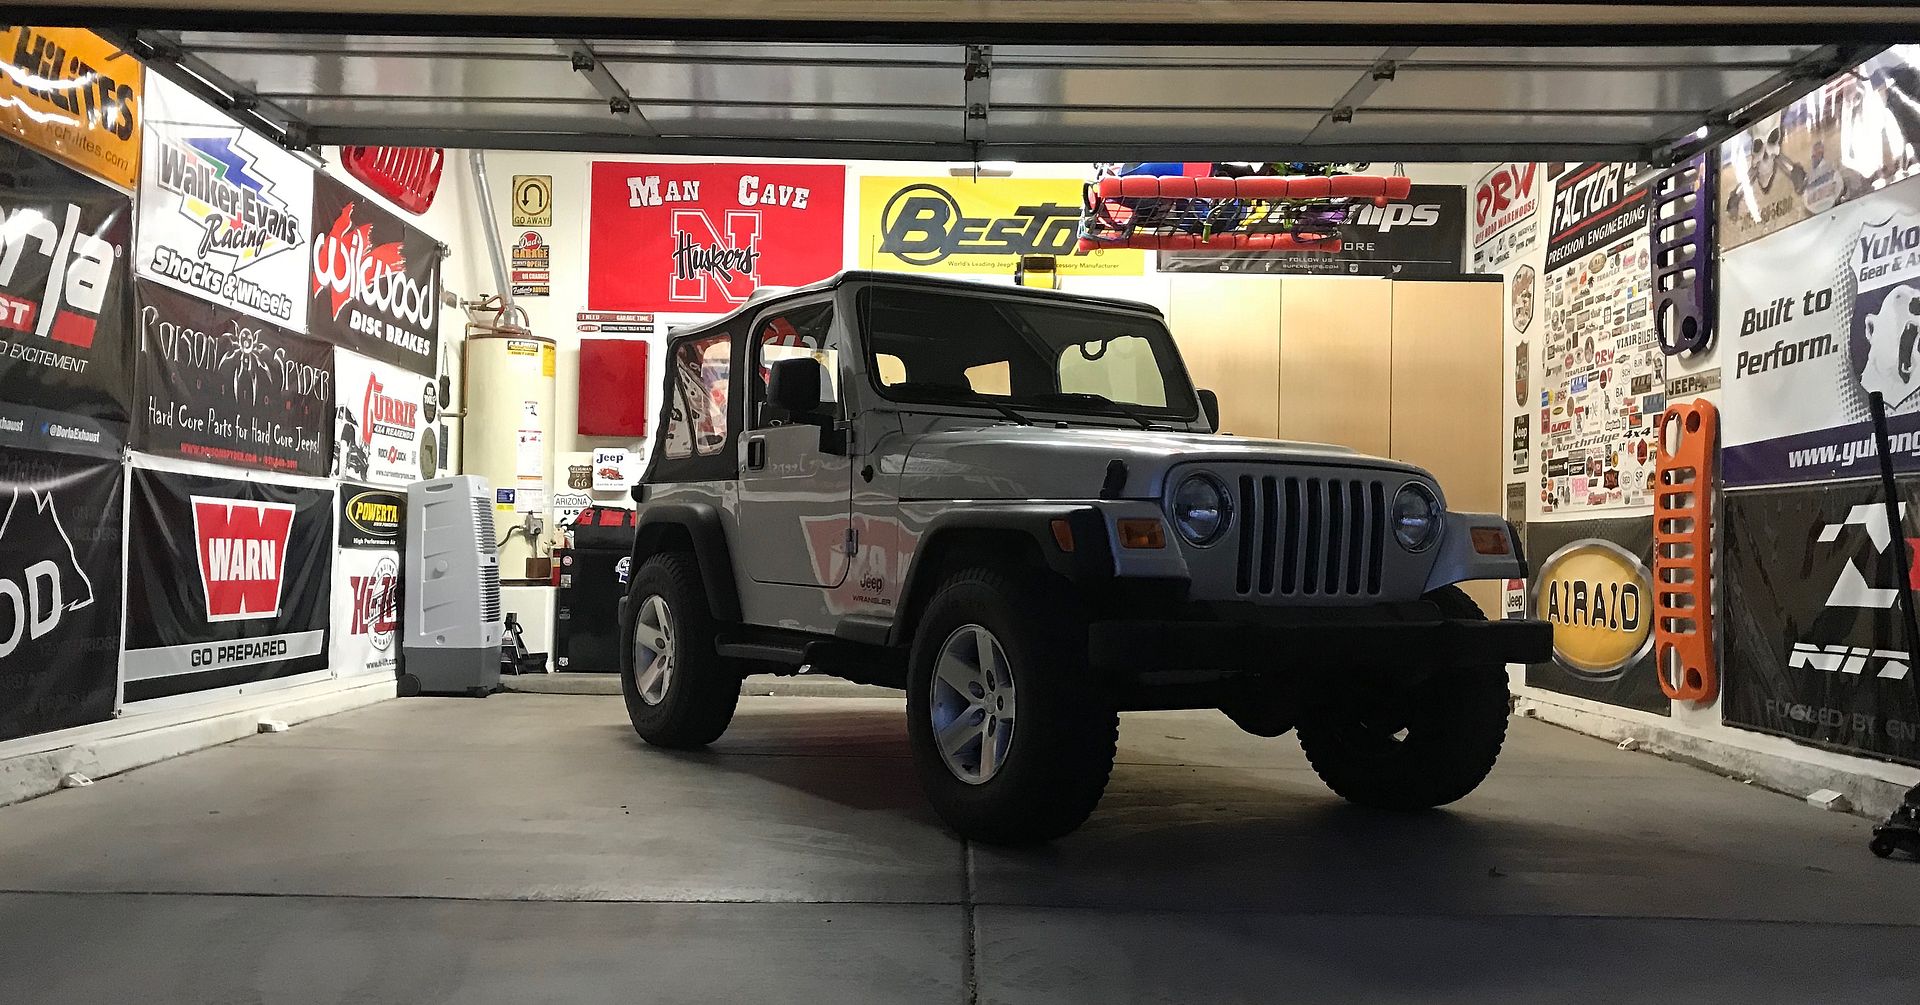
Above photo is the day I brought the TJ home
Throughout the past 8 years or so I have built 2 Jeep Wranglers. I started with a 2008 2dr and then a 2014 4dr. On both builds I ran Currie Enterprises so I knew when I got this 2005 TJ with 28k original miles it was a no brainer to run all Currie Enterprises again. I decided with the multiple write-ups I've done over the years to start a build thread which will mainly show the Currie Enterprises change over. To see other parts that I have put on Jeep or will be putting on, head over to my Instagram @husker4x4.
Currie Parts
RockJock 44 Front Axle (Yukon 4.88 Gears and Zip Locker)
RockJock 44 Rear Axle (Yukon 4.88 Gears and Zip Locker)
4" Full Suspension System
1" Body Lift
1" Raised Motor Mounts
Front Antirock Sway bars
Rear Antirock Sway Bars
Front Track Bar
Rear Track Bar
Currectlync Steering (Tierod & Draglink)
Rear Disc Brake Conversion
Other Parts For Lift
Falcon Shocks Series 3 Piggyback Shocks
TeraFlex Suspensions 9550 Steering Stabilizer
PowerStop Brakes Rotors, Calipers, and Pads
ORME Brothers Steel Braided Brake Lines
Lokar Performance Products Parking Brake Cables
Novak Conersions Transfer Case Cable
Adams Driveshafts Front and Rear 1310 Driveshafts
Advance Adapters SYE Kit

 04-15-2019, 12:21 AM
#3
JK Junkie
Thread Starter
Here are some of the photos of parts going on Jeep. As I open more boxes and prep for install I will update this specific posting.


Last edited by Hskr4x4; 04-30-2019 at 01:34 AM.

 04-15-2019, 01:45 AM
#5
JK Junkie
Thread Starter
My build process will be a little slower than I'd like; but this is just a hobby, so like many others I have to work and balance personal and family life around it. That being said I did get the front end stripped down this past weekend.
Note: This is how I tore the front end down and worked without issues. Some may say other parts may come off easier if they do them sooner in the tear down process. I have the Jeep prepped to remove both axles while others may choose to do one end at a time.
Jack up Jeep and place jack stands under desired area of the frame. (I would recommend putting your wheels under vehicle any time it is off the ground as an extra safety precaution.) Keep floor jack under axle housing you are working on with some pressure so some of the weight rests on it and also as a safety while removing everything so axle doesn't fall to ground. Will also help from bolts being strained when removing.

***Removing sway bar would've been the step I did first but they were already removed months prior to this.***
Remove shocks


Remove driveshaft (I removed just the axle side at time of main tear down to get axles out) I used a bungee cord to hold it out of the way.


Remove brake calipers and rotors (Hang calipers out of the way so there is no stress on brake lines or in the way of tear down)


Remove axle shafts (This is only needed if you're putting on new steering knuckles)


Remove steering knuckles (Once castle nuts are removed it will take some force with a small sledge to knock off the knuckles. There is a 1" or so flat area straight down center if looking directly at knuckle)


Remove track bar


Remove draglink and tierod (Lower would've been removed on passenger side during knuckle removal)


Remove upper arms. (These can have some spring in them so be careful when removing if you remove axle side first)


Lower jack so axle is pretty low to the ground and remove the coils and the lower arms (I removed the axle side lower arms first so I could pull out axle first)


That is pretty much all it takes to remove a front axle! If you are following this as a "How To" - congrats on removing your front axle and steering!
Note: This is how I tore the front end down and worked without issues. Some may say other parts may come off easier if they do them sooner in the tear down process. I have the Jeep prepped to remove both axles while others may choose to do one end at a time.
Jack up Jeep and place jack stands under desired area of the frame. (I would recommend putting your wheels under vehicle any time it is off the ground as an extra safety precaution.) Keep floor jack under axle housing you are working on with some pressure so some of the weight rests on it and also as a safety while removing everything so axle doesn't fall to ground. Will also help from bolts being strained when removing.
***Removing sway bar would've been the step I did first but they were already removed months prior to this.***
Remove shocks
Remove driveshaft (I removed just the axle side at time of main tear down to get axles out) I used a bungee cord to hold it out of the way.
Remove brake calipers and rotors (Hang calipers out of the way so there is no stress on brake lines or in the way of tear down)
Remove axle shafts (This is only needed if you're putting on new steering knuckles)
Remove steering knuckles (Once castle nuts are removed it will take some force with a small sledge to knock off the knuckles. There is a 1" or so flat area straight down center if looking directly at knuckle)
Remove track bar
Remove draglink and tierod (Lower would've been removed on passenger side during knuckle removal)
Remove upper arms. (These can have some spring in them so be careful when removing if you remove axle side first)
Lower jack so axle is pretty low to the ground and remove the coils and the lower arms (I removed the axle side lower arms first so I could pull out axle first)
That is pretty much all it takes to remove a front axle! If you are following this as a "How To" - congrats on removing your front axle and steering!
Last edited by Hskr4x4; 04-22-2019 at 02:19 AM.
04-22-2019, 03:06 AM
#6
JK Junkie
Thread Starter
The rear is even easier to take off since you're not worrying about removing the steering, castle nuts, cotter pins, knuckles, brakes, or bearing/hub assembly.
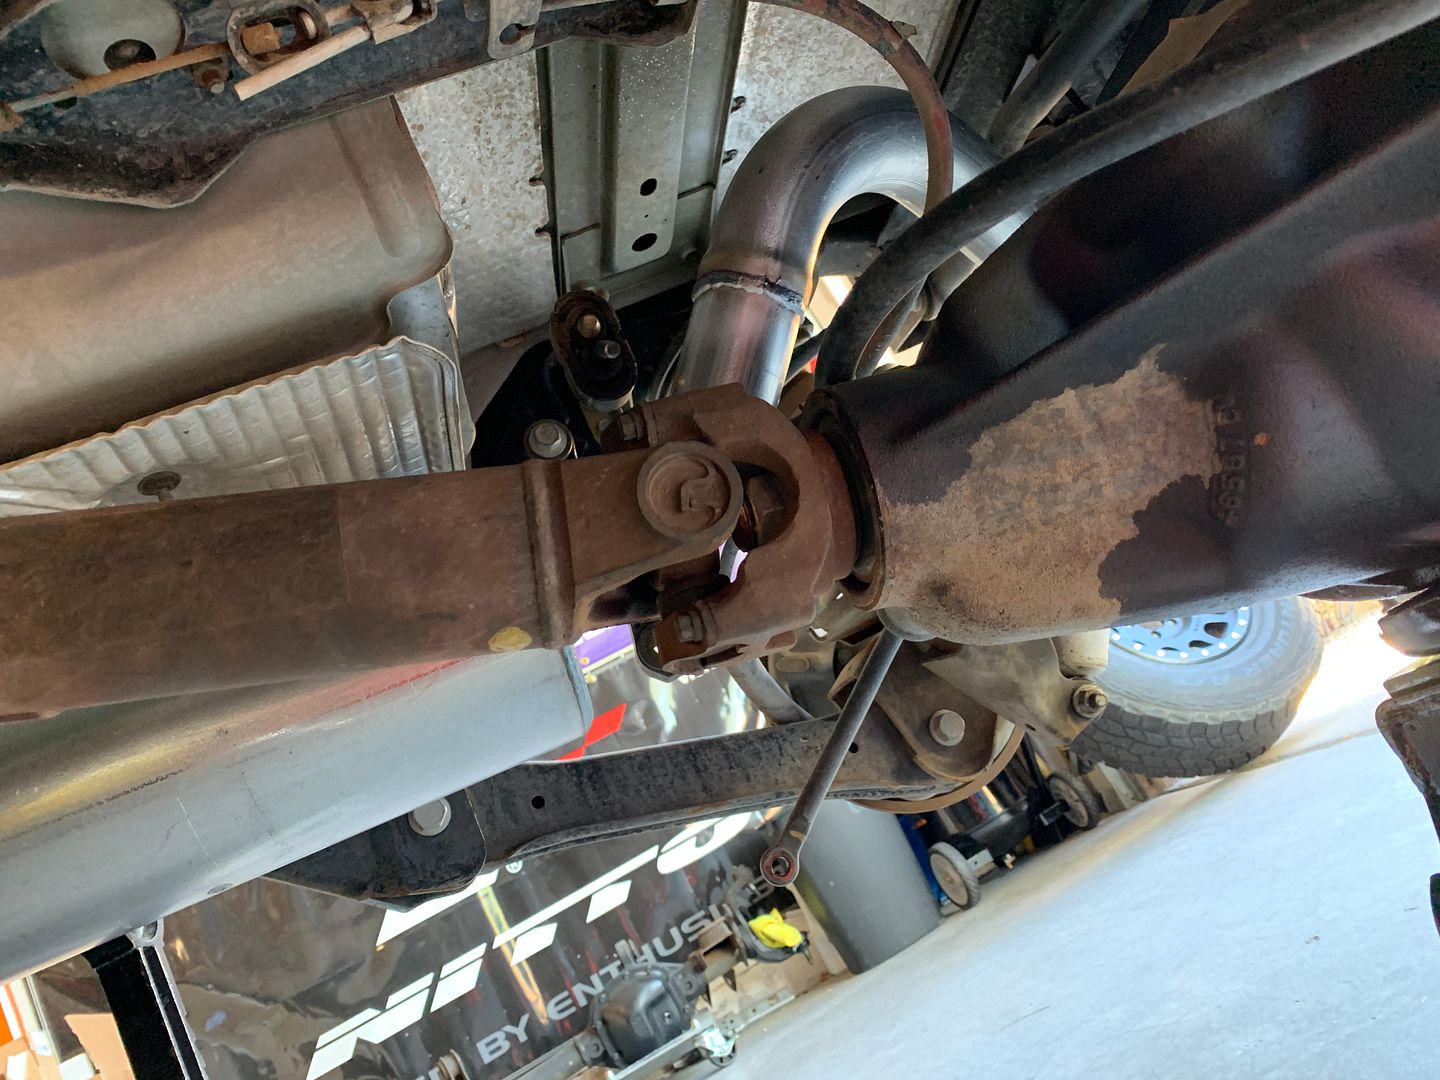
I started off by removing driveshaft first.
Remove rear sway bar bracket and links.


Remove frame side upper track bar on passenger side.

Remove shocks.


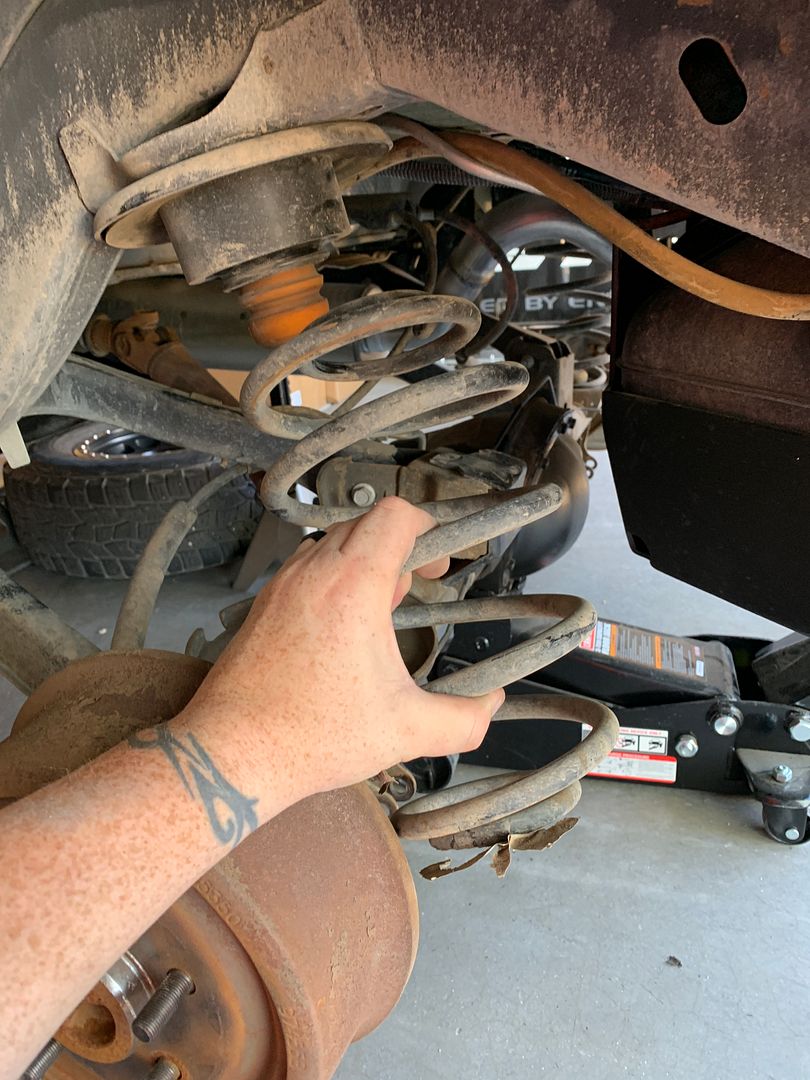
Slowly lower jack until rear coils are easy to remove but not binding on the brake lines and remove coils and lower track bar.


Remove brake lines from upper arms and detach brake line at attachment. (Due to my rear axle being drum brakes and not disc I needed to undo the brake line and plug on frame rail.)


Loosen parking brake cable and remove from bracket.


Remove breather hose.

Remove upper arms at axle.

Remove lower arms at frame.

Slowly lower floor jack making sure everything is removed from axle and it is free from Jeep.

Slide driveshaft out, remove lower arms from axle, and remove upper arms from frame.

Congratulations your rear axle is out!
I started off by removing driveshaft first.
Remove rear sway bar bracket and links.
Remove frame side upper track bar on passenger side.
Remove shocks.
Slowly lower jack until rear coils are easy to remove but not binding on the brake lines and remove coils and lower track bar.
Remove brake lines from upper arms and detach brake line at attachment. (Due to my rear axle being drum brakes and not disc I needed to undo the brake line and plug on frame rail.)
Loosen parking brake cable and remove from bracket.
Remove breather hose.
Remove upper arms at axle.
Remove lower arms at frame.
Slowly lower floor jack making sure everything is removed from axle and it is free from Jeep.
Slide driveshaft out, remove lower arms from axle, and remove upper arms from frame.
Congratulations your rear axle is out!
04-30-2019, 01:42 AM
#7
JK Junkie
Thread Starter
Installing all new suspension, steering, axles, and more!
With the help of a friend place the axles under front and rear of Jeep and install upper and lower control arms.


With the help of a friend place the axles under front and rear of Jeep and install upper and lower control arms.


Last edited by Hskr4x4; 04-30-2019 at 01:46 AM.
