
Hombres continuing 2012 build thread


Thread Starter
JK Enthusiast
Joined: Aug 2011
Posts: 335
Likes: 0
From: West Palm, Florida
I like the finish after the 2nd time I did it. Watch these videos and follow instructions: http://www.dipyourcar.com/
The first time I did it I painted like I always would with spray paint. About 12 or so inches away light coats. With this still use moderately light coats but spray 5-6 inches away. The issue is this stuff self settles but needs to be wet to do so. When you spray from further back it dries quickly without settling and you end up with a sandpaper finish.
Also it does peel off however it only really does if you have a thick enough finish. 5-6 coats is recommended. The areas where I did not get as thick of a finish I had to use WD40 to break it down and wipe it off as it would not peel.
Thread Starter
JK Enthusiast
Joined: Aug 2011
Posts: 335
Likes: 0
From: West Palm, Florida
Update!
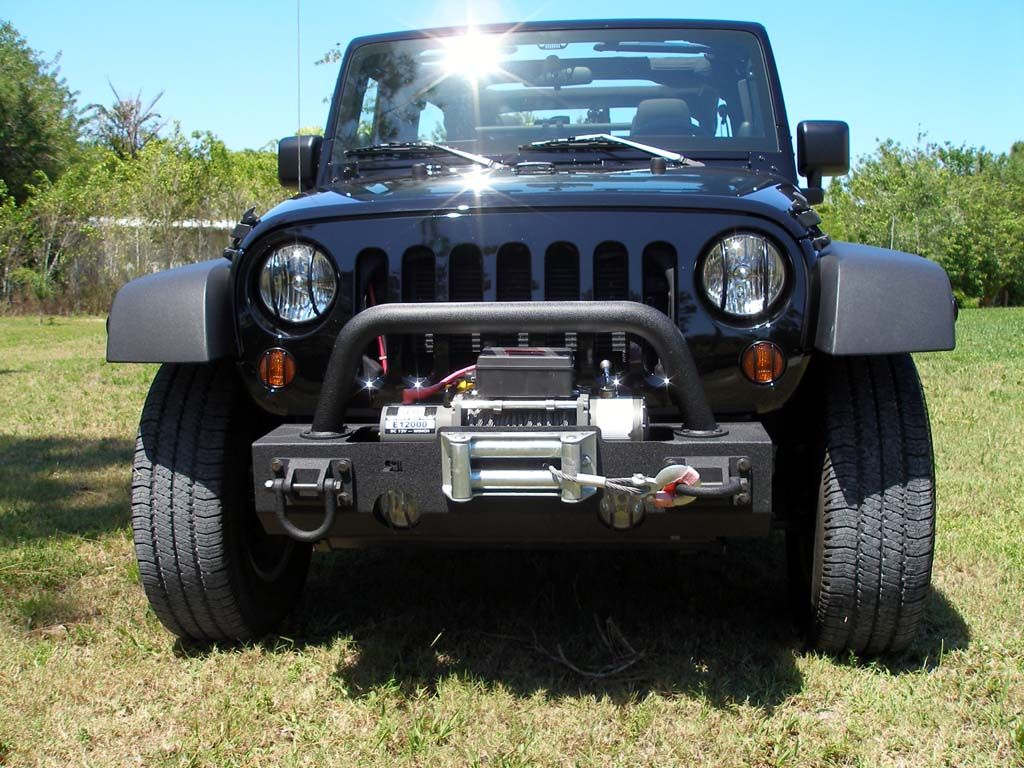
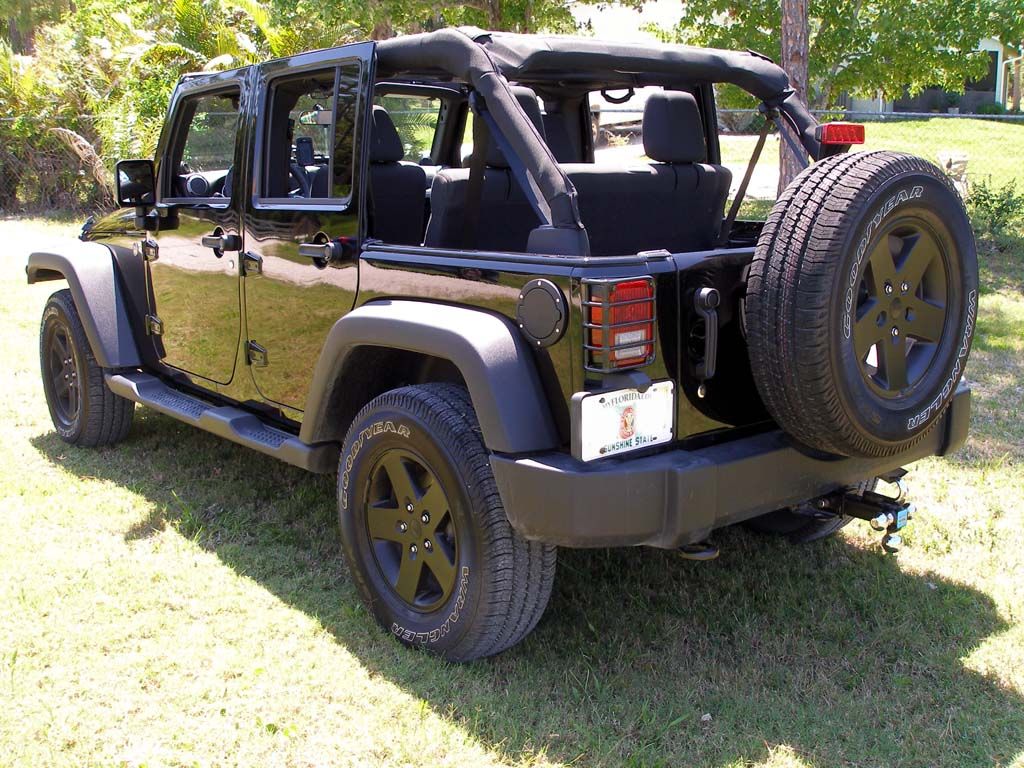
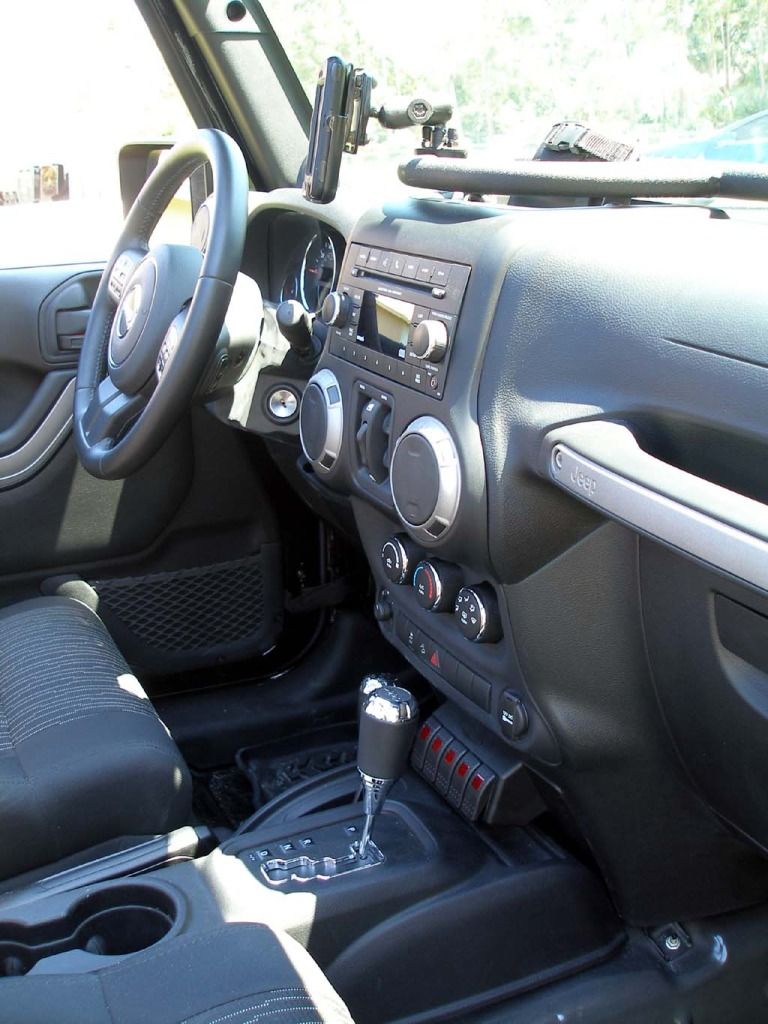
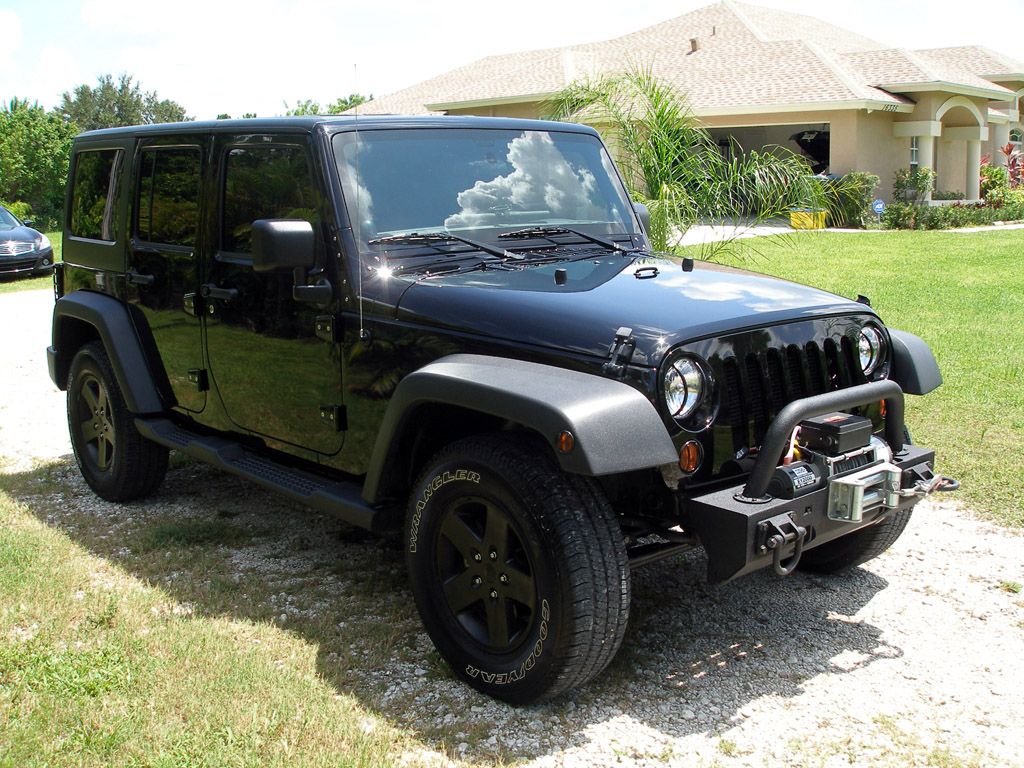
Just picked up next batch of small parts from the local 4wheelparts. The switches are a preemptive purchase which will be hooked to my (1) Radar Detector; (2) CB; (3) Rear 6" LED bars; (4) 6-12" Front bumper LED Bar; (5) Hood mounted LED bar (haven't figured out what size i need nor which mount to use yet.)
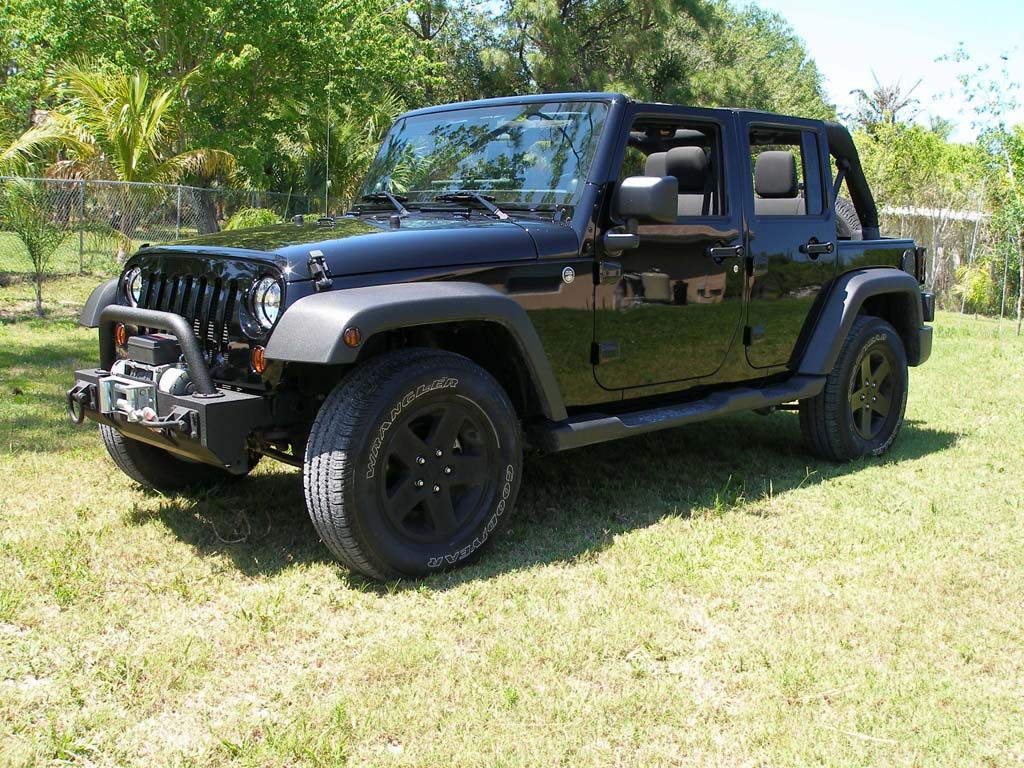
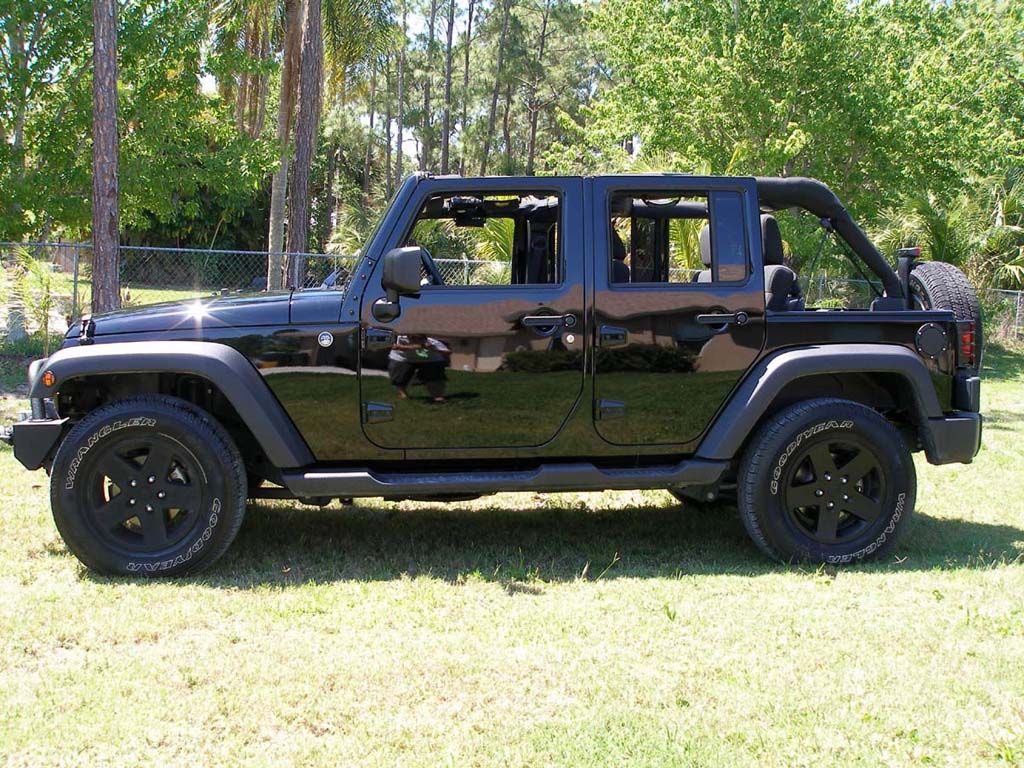
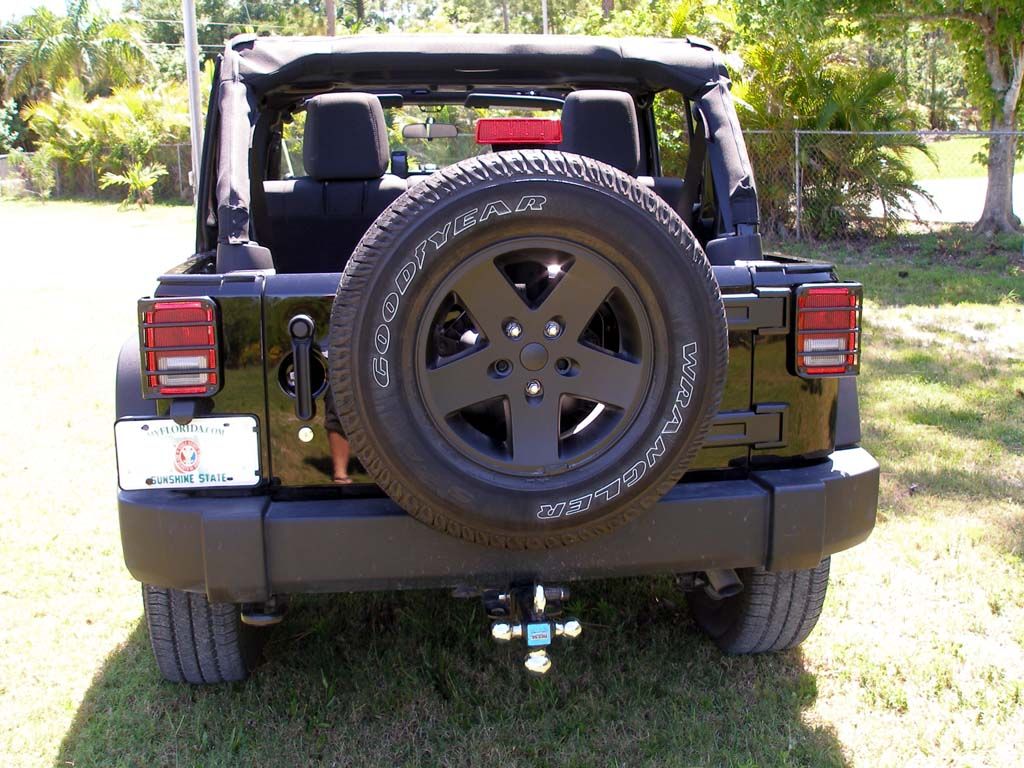
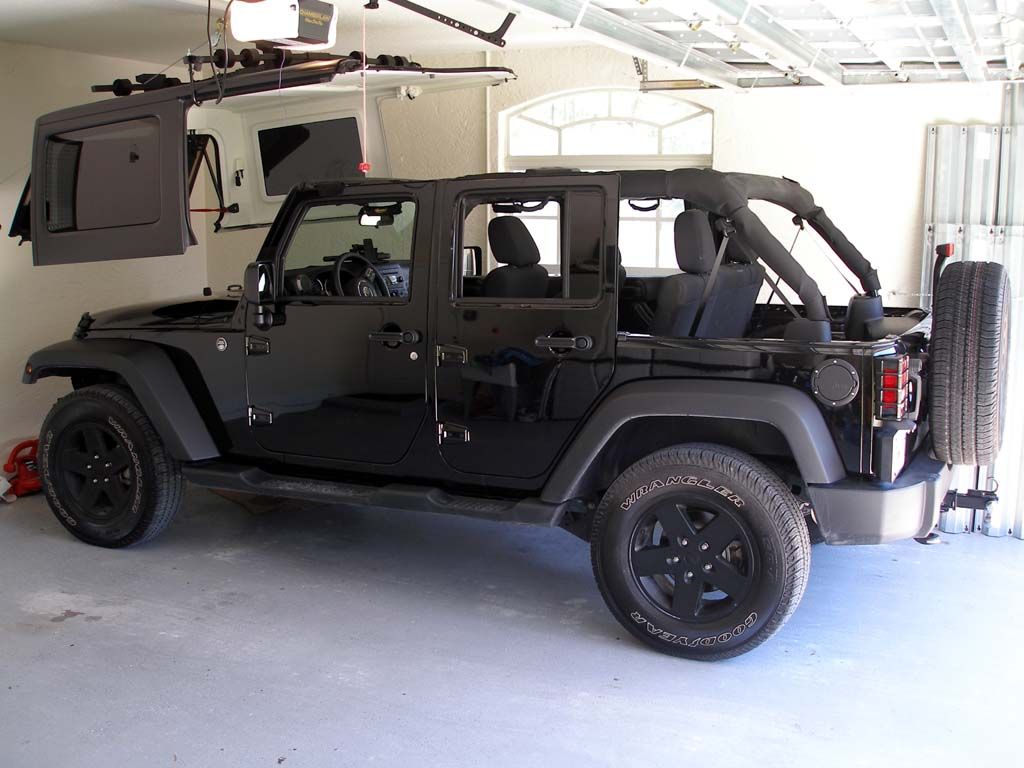
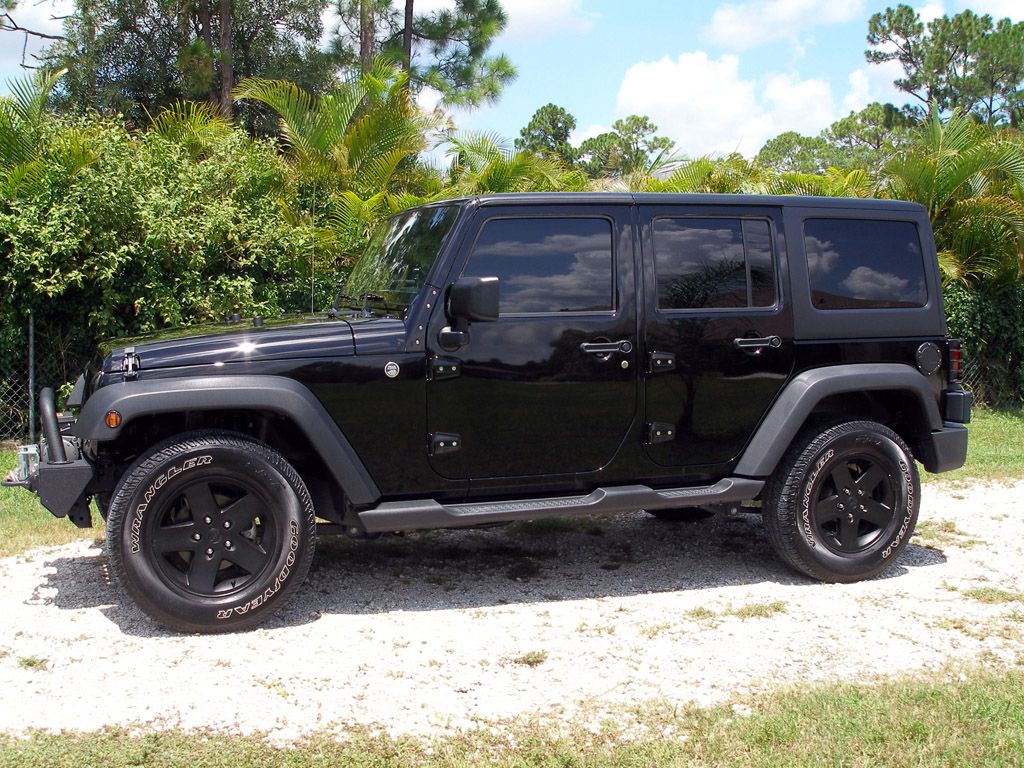
This is also the first full set of pics with the plasti dipped rims. Not thrilled with the first attempt as I sprayed too far away giving a sandpaper finish. I redid the Driver Side rear and the spare and they are nice and smooth. You can tell the difference between the Driver Front and Driver Rear in the pics. I will redo the other 3 wheels in time. Doesn't peel off as easy as advertised
Parts installed:
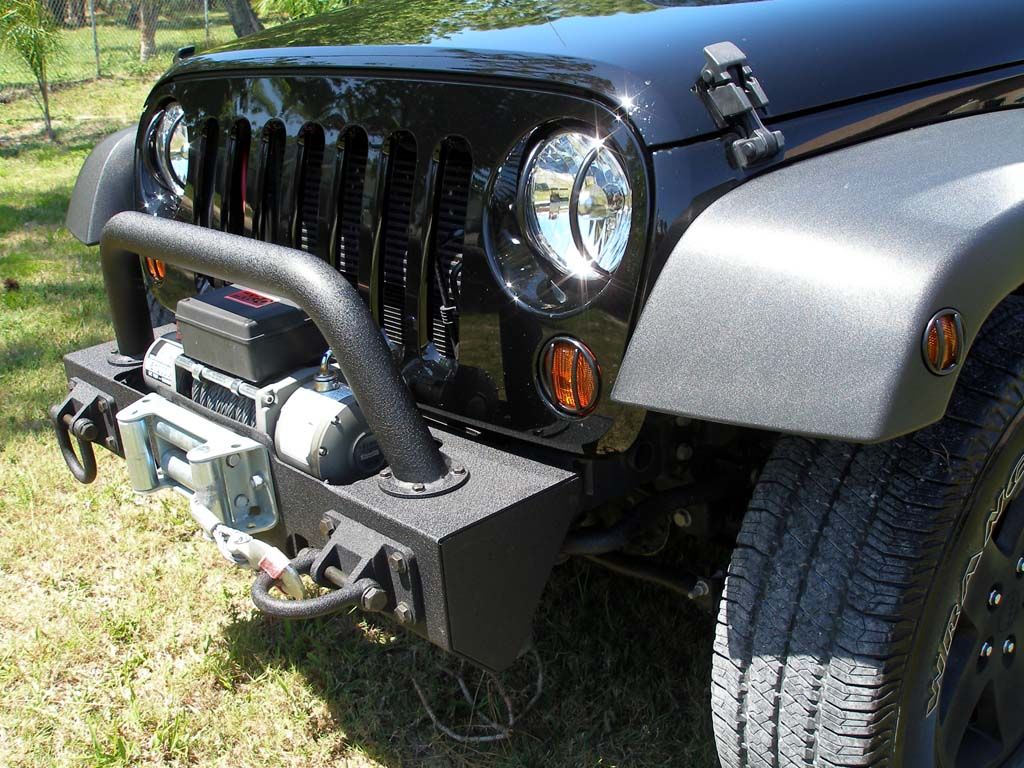
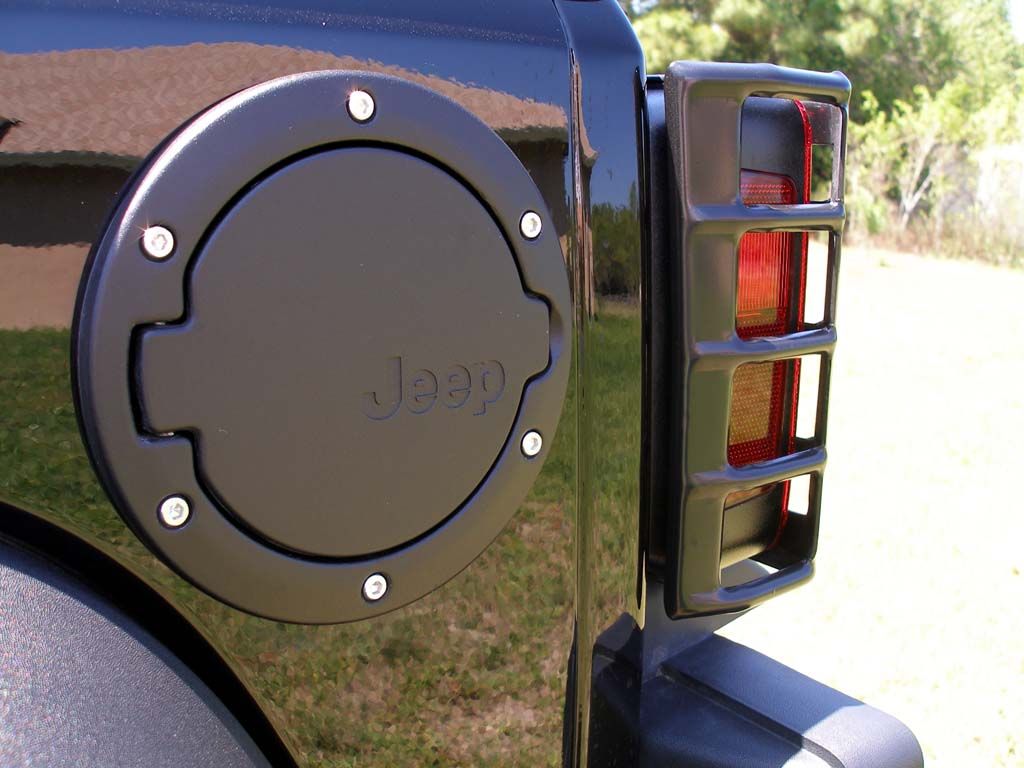
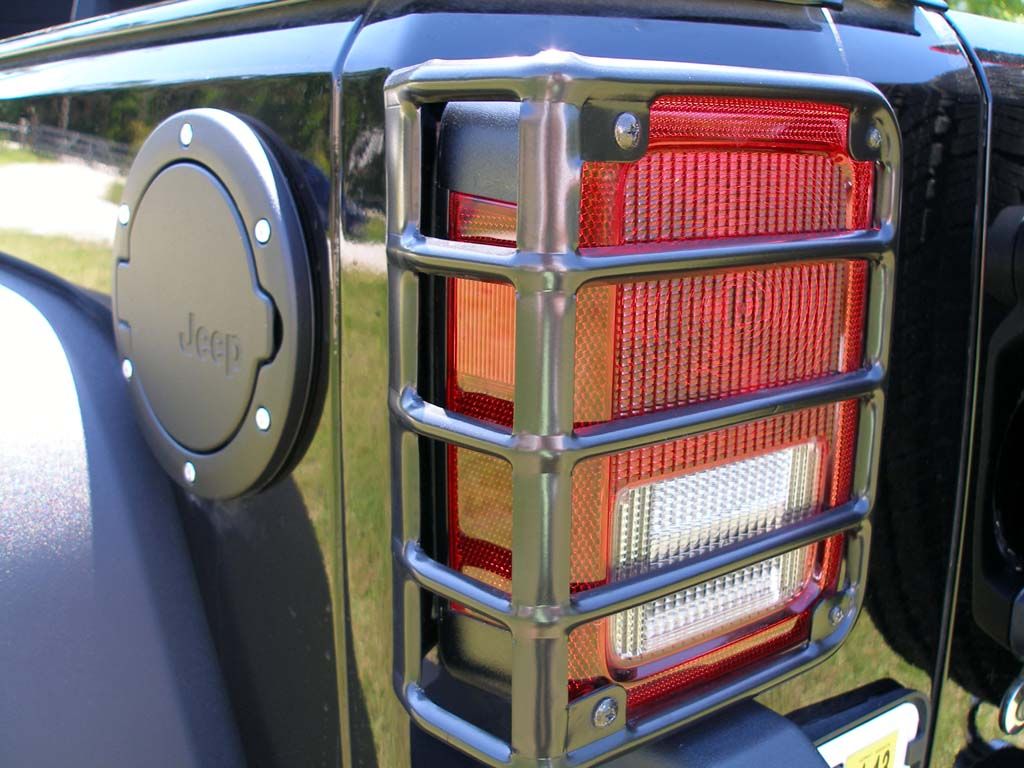
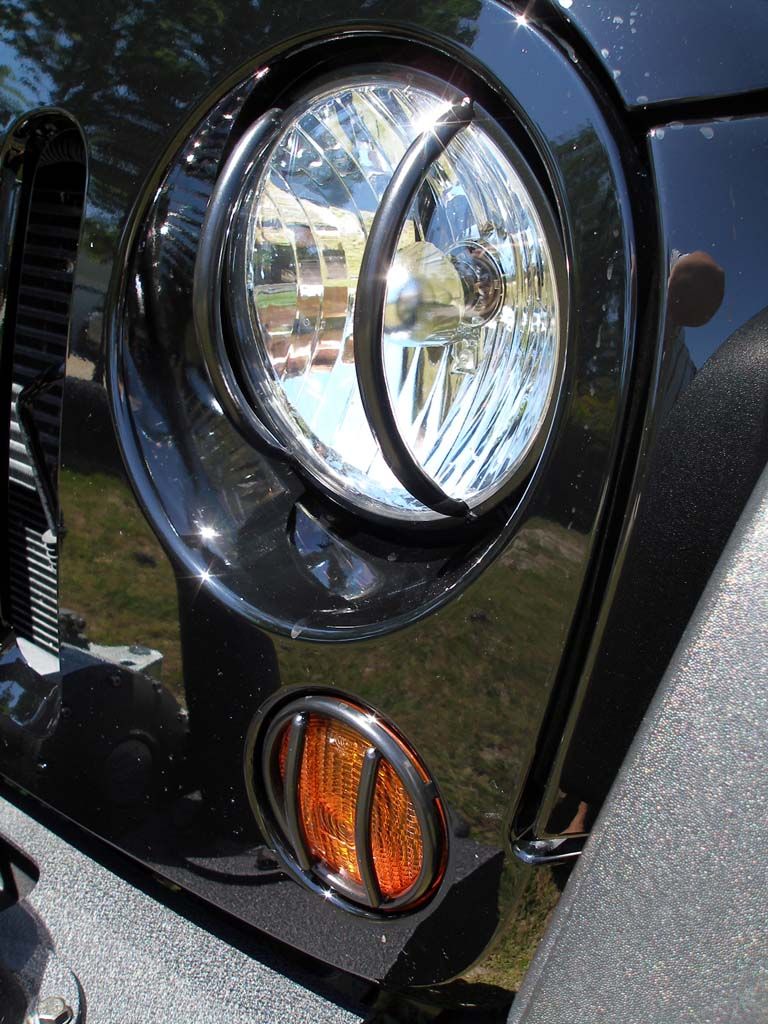
RR Headlight Guards
RR Turn Signal Guards
RR Side Markers
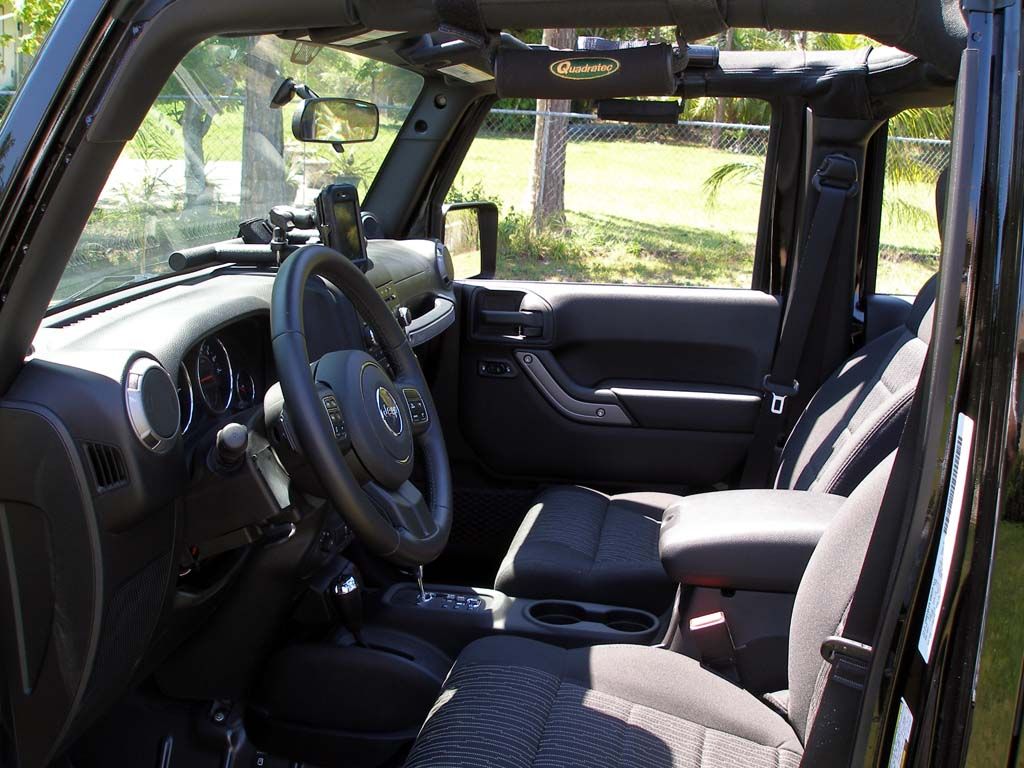
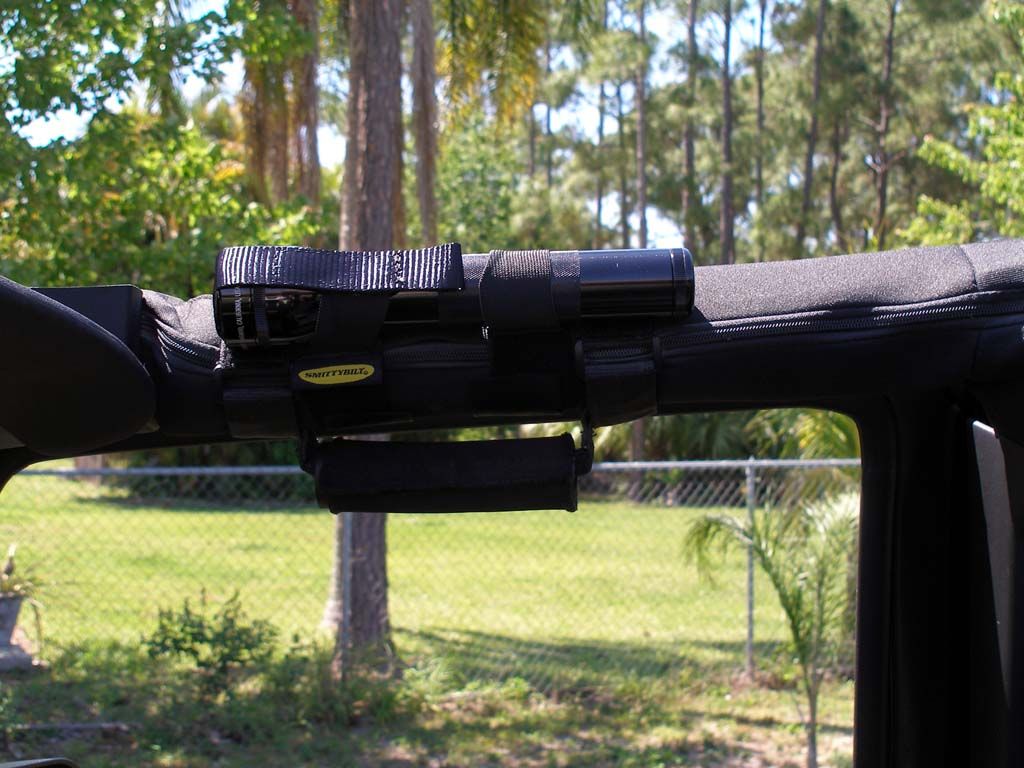
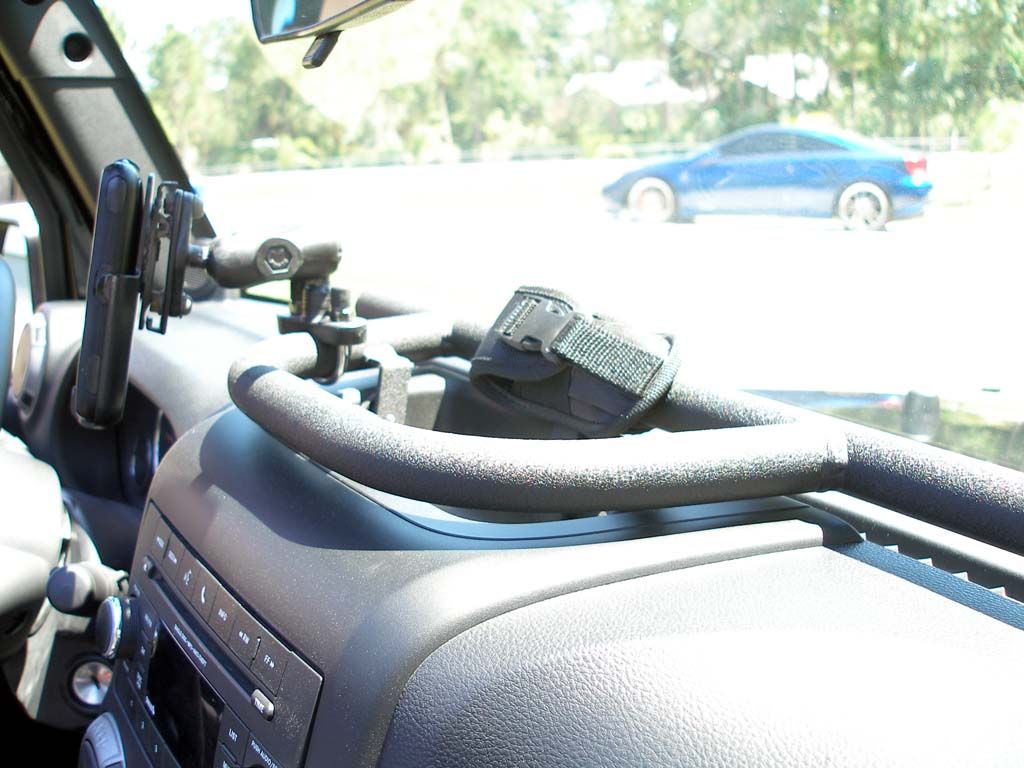
Smittybilt maglight holder
Daystar Switchplate
5 Daystar Switched
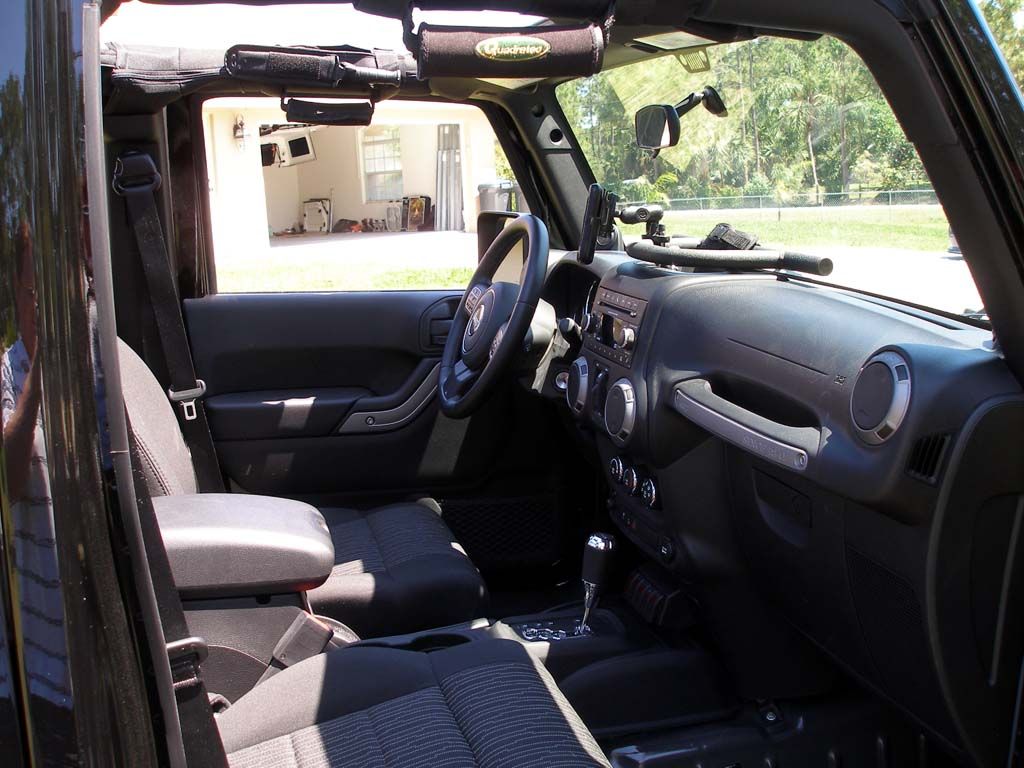

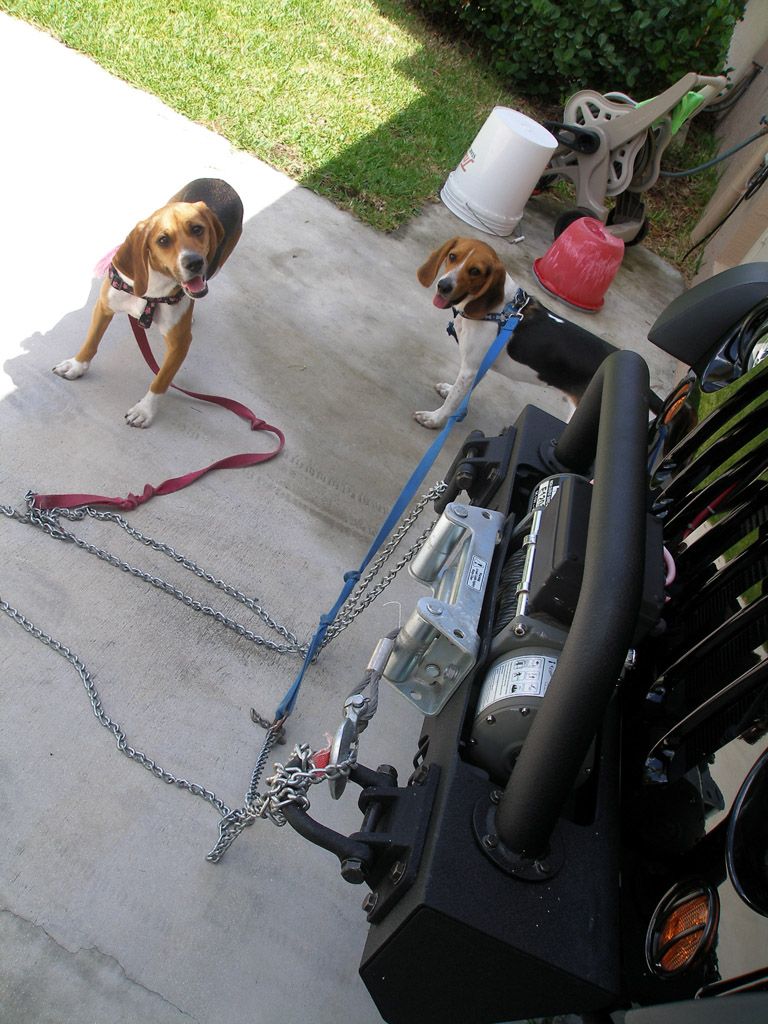
Tucked away for a brief stint in the garage
Just picked up next batch of small parts from the local 4wheelparts. The switches are a preemptive purchase which will be hooked to my (1) Radar Detector; (2) CB; (3) Rear 6" LED bars; (4) 6-12" Front bumper LED Bar; (5) Hood mounted LED bar (haven't figured out what size i need nor which mount to use yet.)
This is also the first full set of pics with the plasti dipped rims. Not thrilled with the first attempt as I sprayed too far away giving a sandpaper finish. I redid the Driver Side rear and the spare and they are nice and smooth. You can tell the difference between the Driver Front and Driver Rear in the pics. I will redo the other 3 wheels in time. Doesn't peel off as easy as advertised
Parts installed:
RR Headlight Guards
RR Turn Signal Guards
RR Side Markers
Smittybilt maglight holder
Daystar Switchplate
5 Daystar Switched
Tucked away for a brief stint in the garage
Thread Starter
JK Enthusiast
Joined: Aug 2011
Posts: 335
Likes: 0
From: West Palm, Florida
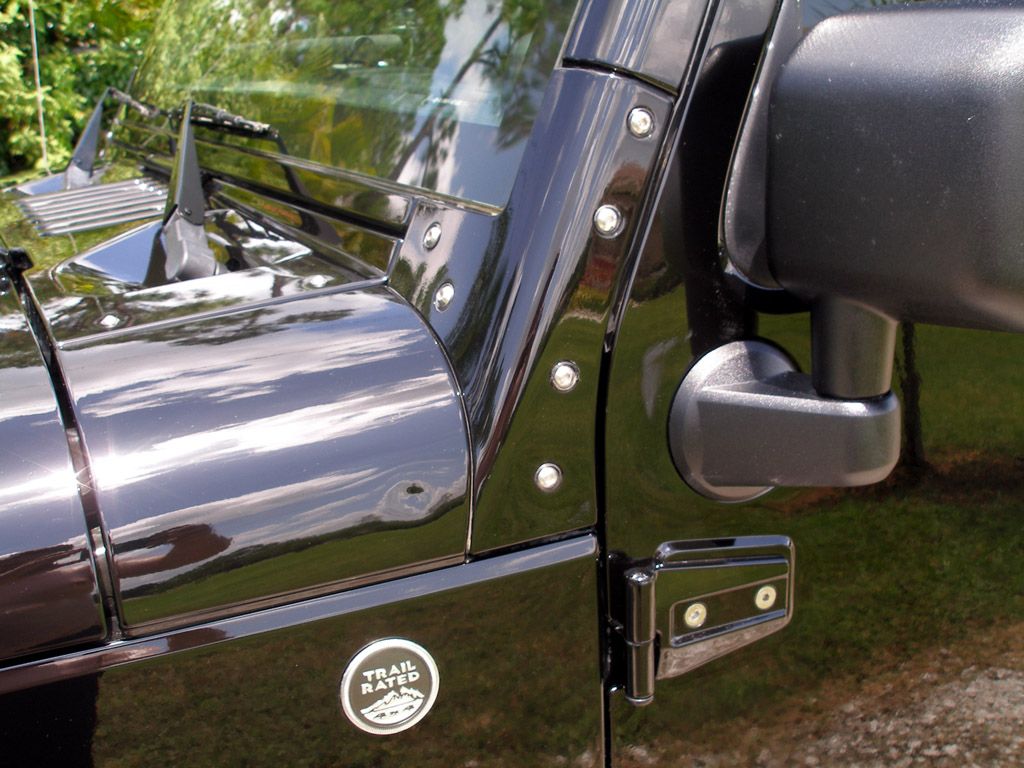
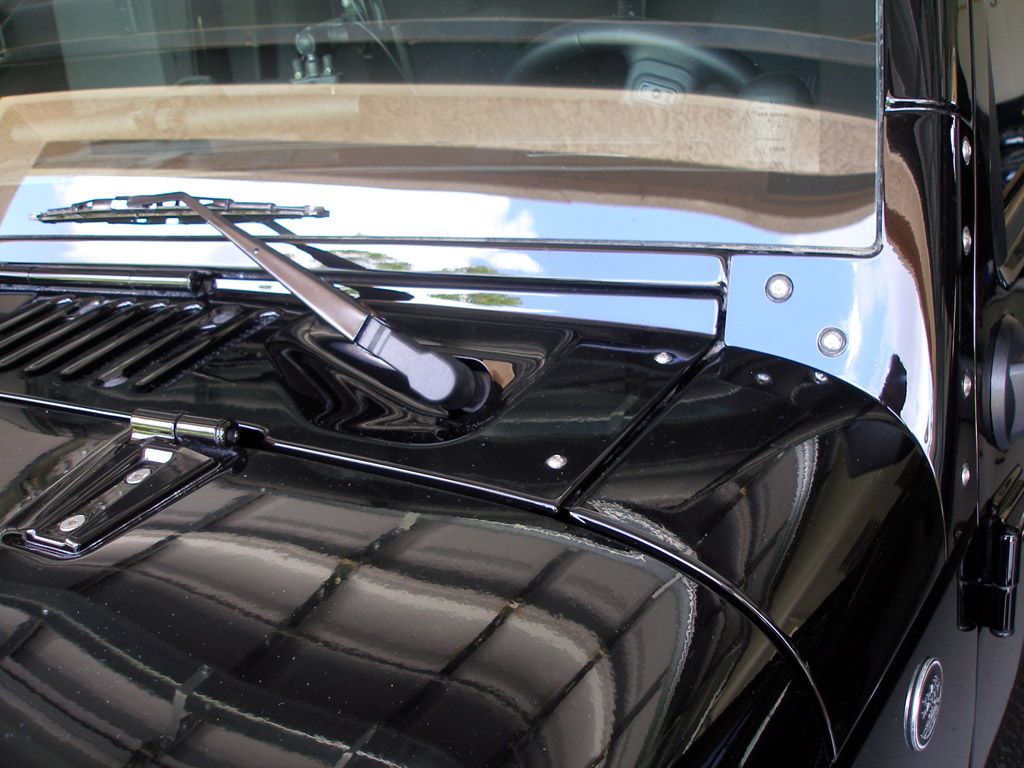
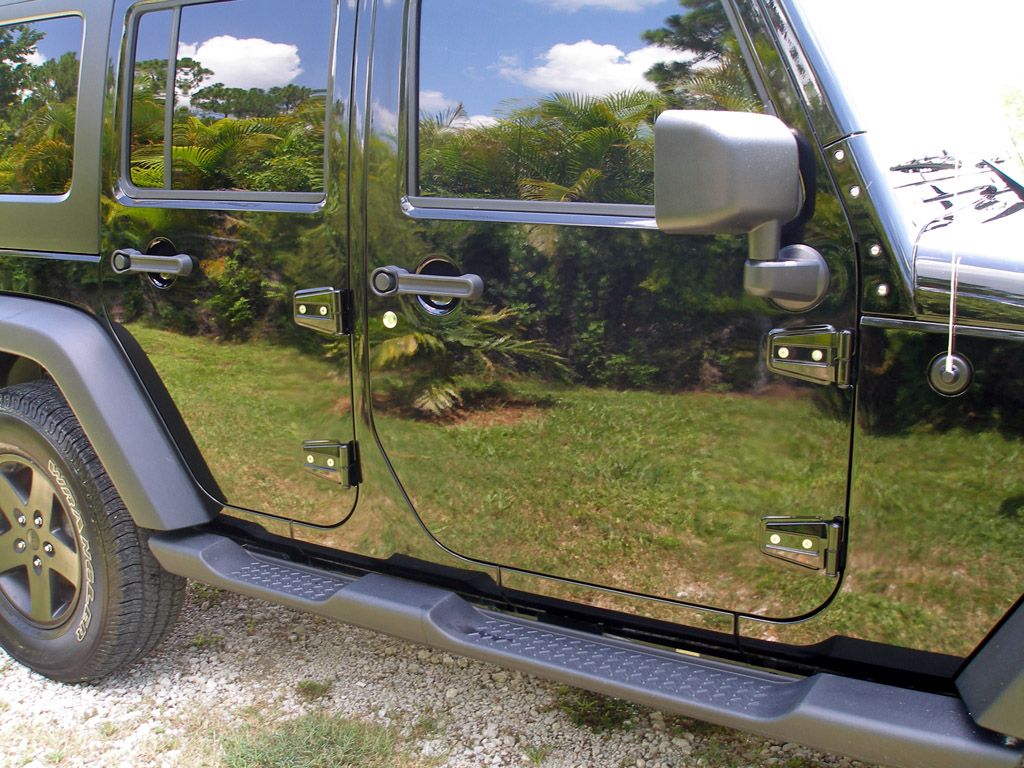
Small mod update. Thanks to cedo nulli for the inspiration and info. Swapped out 1/2 of my door hinge bolts to stainless. The moores ran out at 11. They said they will have the rest in a week. After removing the stock painted i deburred the paint and then used oem touchup to fill in the hole to prevent corrosion and act as adhesive. All in all i love the look. Ill snap better pics pf driver when i get the rest in
Thread Starter
JK Enthusiast
Joined: Aug 2011
Posts: 335
Likes: 0
From: West Palm, Florida
Nothing major to update. I finally finished swapping all of the remainder exterior painted bolts for stainless hex heads. I also cleaned and painted behind each bolt not only to prevent rusting to both to "glue" the bolt in place and make it water tight as the paint was fresh. Also it needed a good wash and wax due to caked mud for a few weeks. Unfortunately it ate into the paint and I had to use a paint cleaner 3 times to get marks off the hood. They are still there but very faint. Unfortunately they are a lot less faint on the front grill :(. Few more polishes and they should be gone.
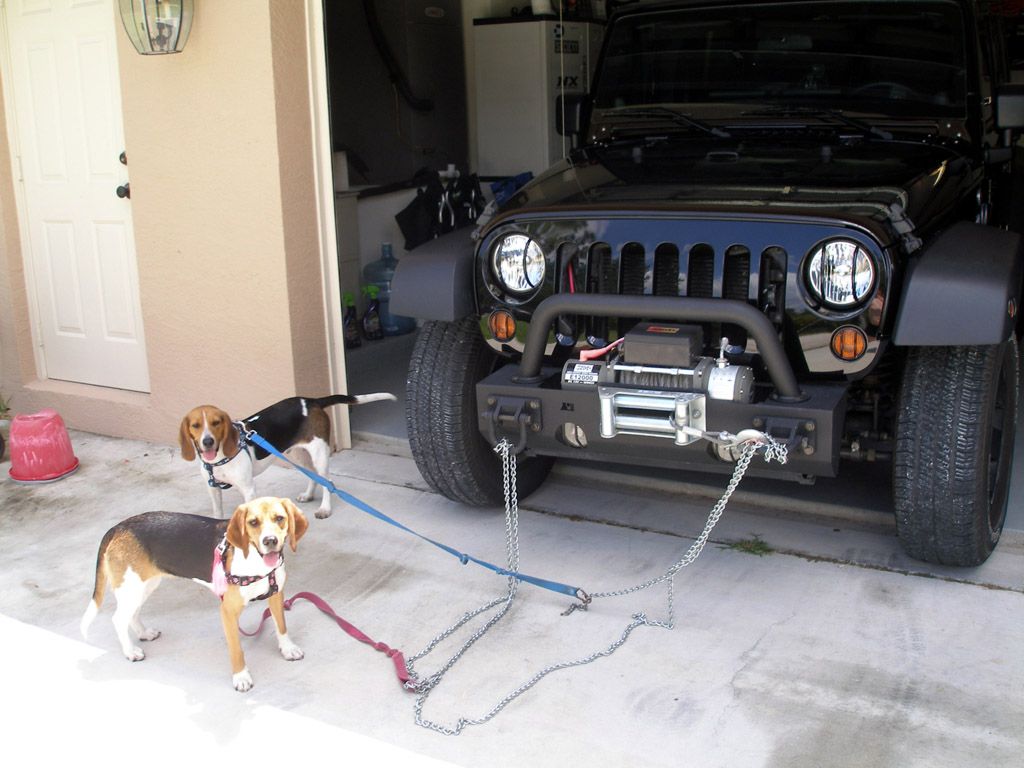
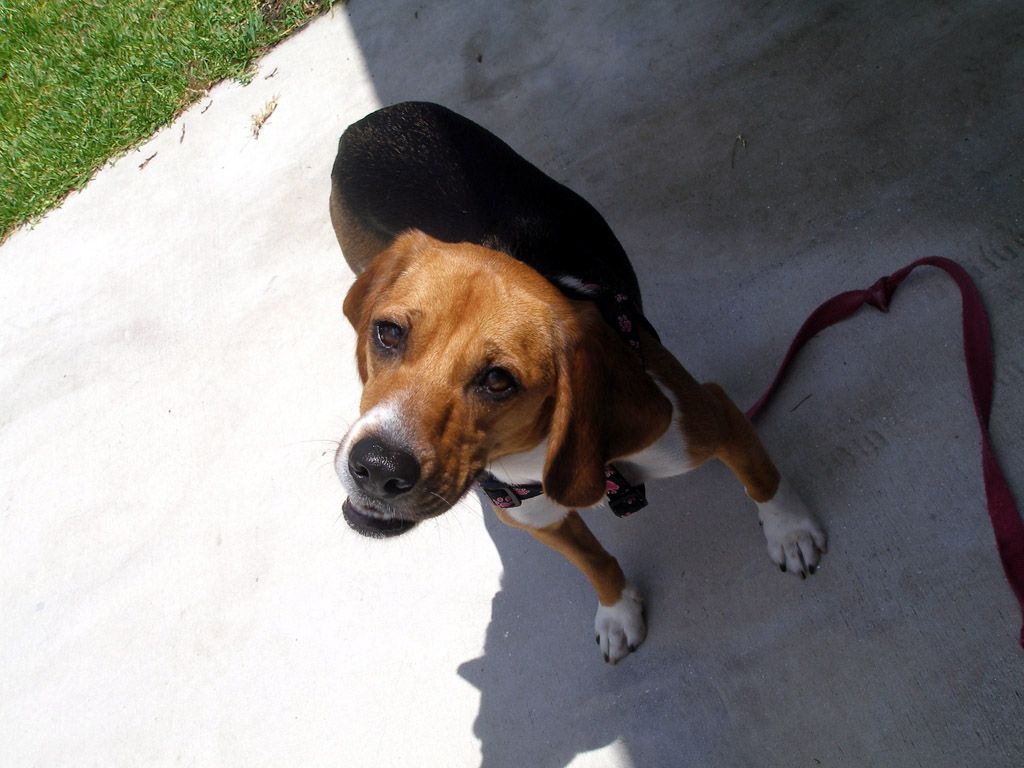
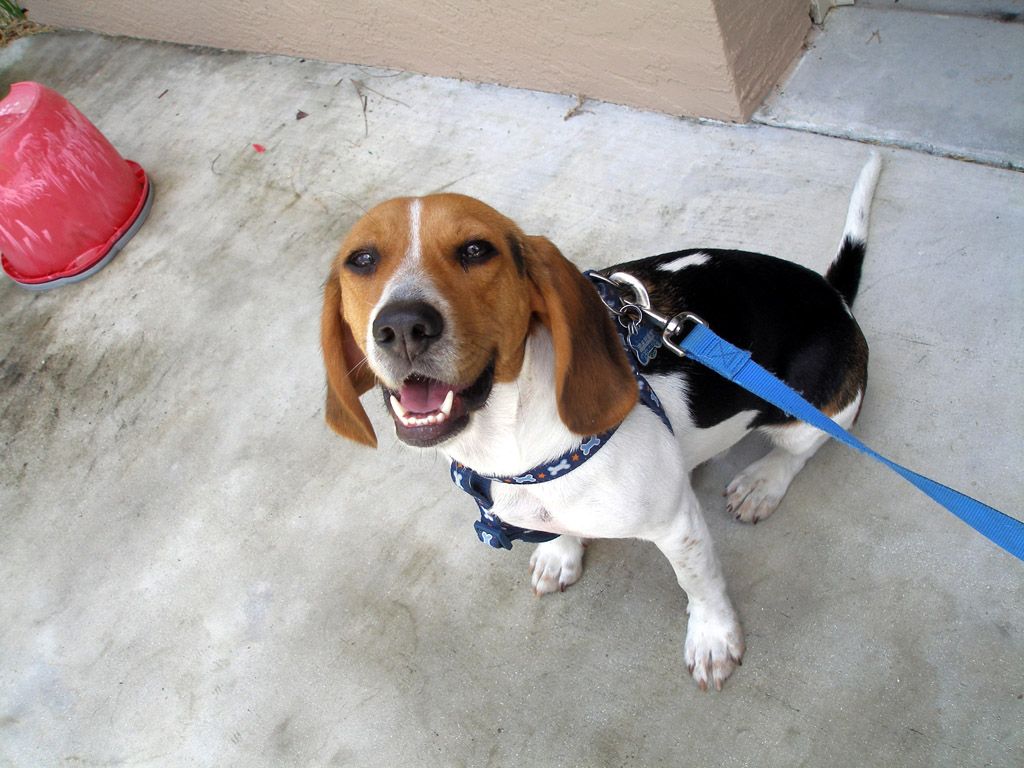
Of course first I must post shots of my twins trouble and trouble'et (Harry and Lola)
Now to the Jeep


Of course first I must post shots of my twins trouble and trouble'et (Harry and Lola)
Now to the Jeep