Replacing Rear Axle Seal Write up
 03-23-2009, 07:33 PM
#1
JK Freak
Thread Starter
Join Date: Jun 2008
Location: LAUREL,DE
Posts: 560
Likes: 0
Received 0 Likes
on
0 Posts
This is for the Rear Axle. Hopefully no one will have to do this, but should you have to I hope this will help. I had to do this when I changed my gears. Then I had to do it a week later due to the ring backing off the bearing. Because the Ring has to be replaced everytime a new bearing or axle seal is replaced. So now you can learn from my mistake. Warning: This is just for reference. It is not gospel. I am sure there are better ways to remove the bearing and ring from the axle shaft. Also a better way to remove the race from inside the axle tube.
The parts you will need:
Retainer #68008523AA $9.05 (This needs to be replaced everytime along with the nuts. The new nuts do not come with the retainer)
Axle Seal #68003270AA $40.85
Bearing #83503064 $64.25
Axle Ring #83503077 $20.90
Tools need:
5/16th wrench for Anti-lock brake sensor
18 mm box wrench for calipar bolts and retainer nuts
Cut-off wheel
A Hydraulic Press
Deadblow Hammer
Pry bar
Dremel with cutoff wheel
Gear oil
(At the time of the photos all old parts were removed from axle shaft. So I will do my best to explain how to do this from the begining.)
It goes without saying to jack your jeep and place jack stands under frame close to Rear. Depending on which side you are working on you will want to lift the side of the axle you are working on so that you do not lose any more gear oil or have it leaking out of axle tube while you are working on it. In this write up I was working on the driver side.
Once jeep is lifted remove rear tire. If you have not changed gears or removed your rotor before then you will want to remove the four retainers that hold the rotor to the axle. Then using the 18 mm box wrench remove the two bolts holding the calipar on. Secure the calipar out of the way. Then remove rotor.
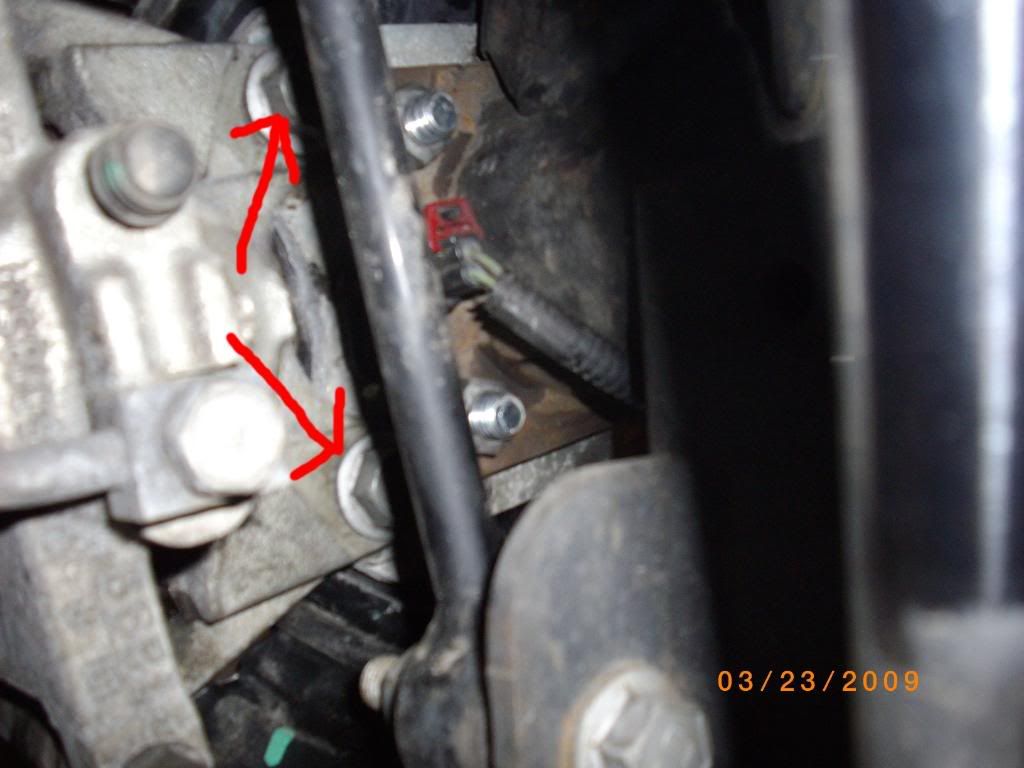
Then using the 5/16 wrench remove bolt holding the Anit-lock brake sensor. You will have to wiggle it out if you do not disconnect it but it is possible.
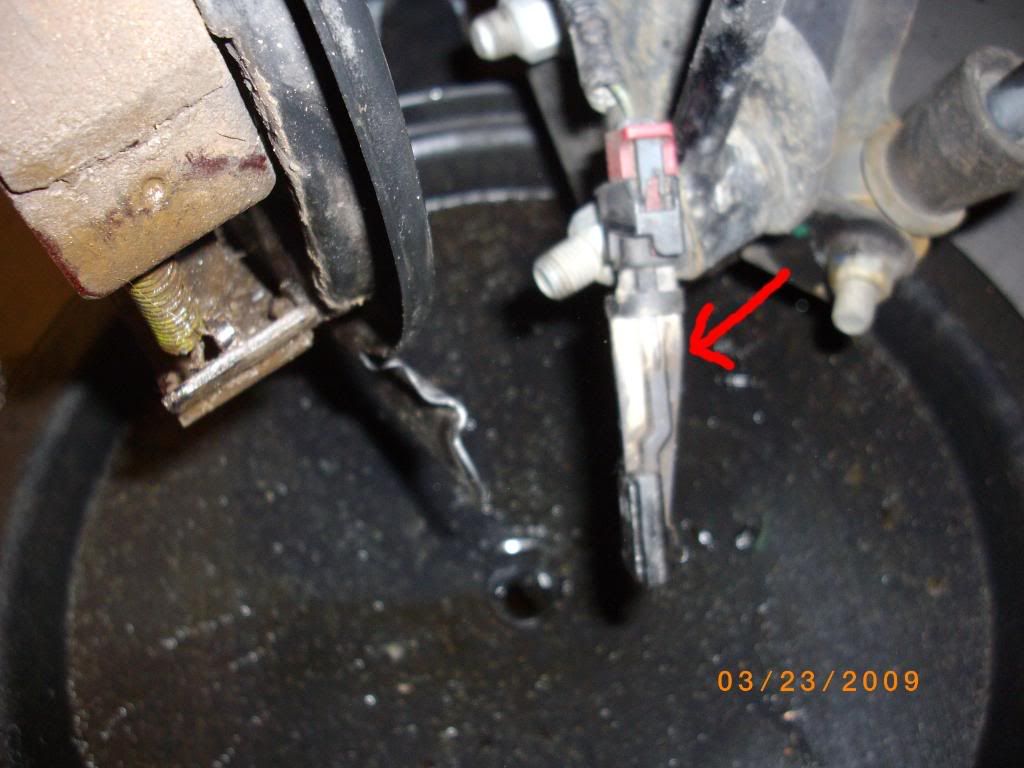
Then disconnect the emergency brake cable from the back.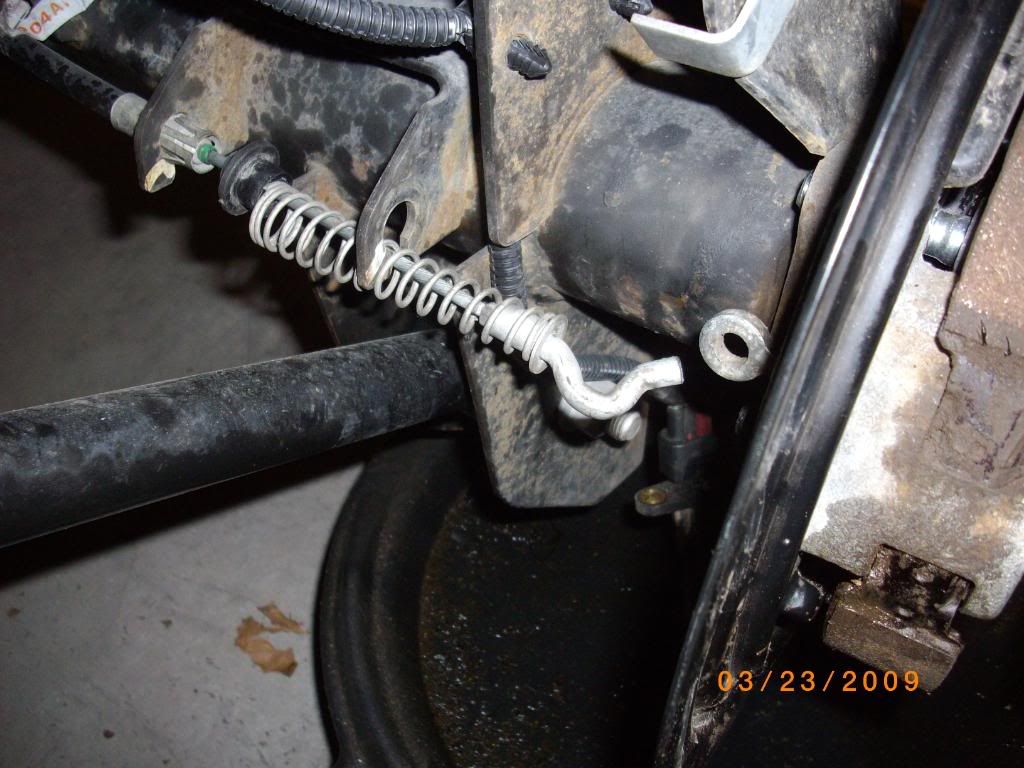
Using the 18mm wrench remove the four nuts the hold the Retainer in
place.
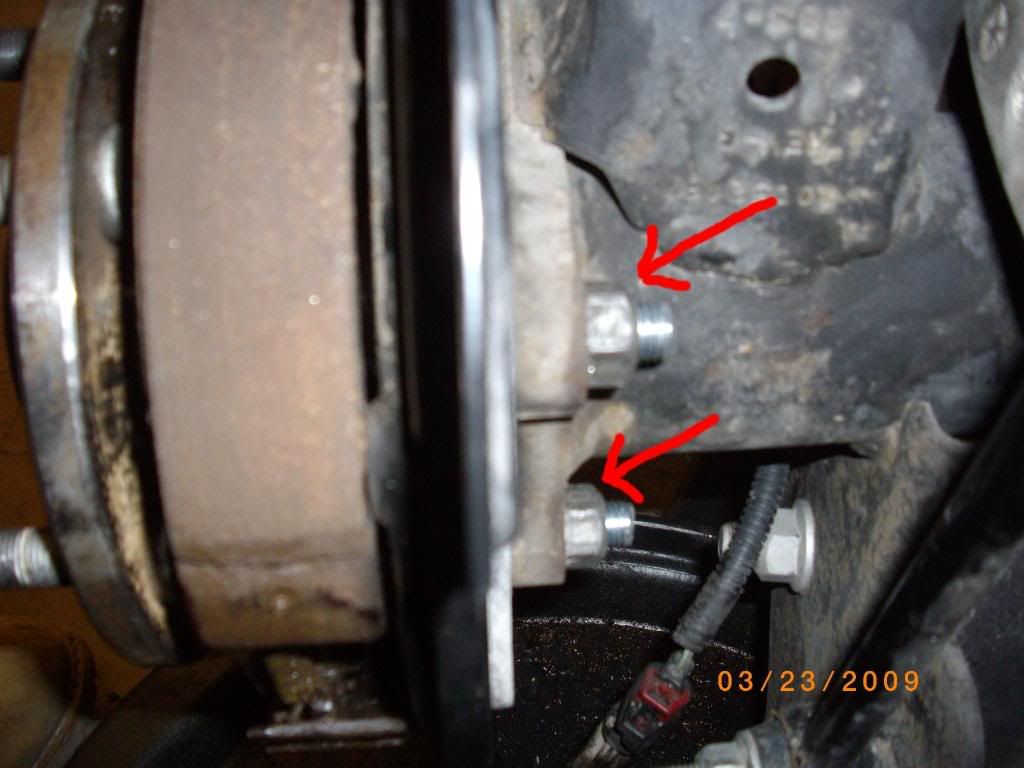
Now you will grab the axle and pull out toward you. Once the axle is removed you will see that the Race is still inplace in the axle tube. You can leave it in if you so choose, but I would just replace it. To get it out you will have to use a medium pry bar. Carefully work it to the outside edge of the axle tube. There you will have to become inventive. I used a dremel with a small cut off wheel and cut down very carefully to were I could break the Race. But that was just me. I am sure there is an easier way. Now to the axle.
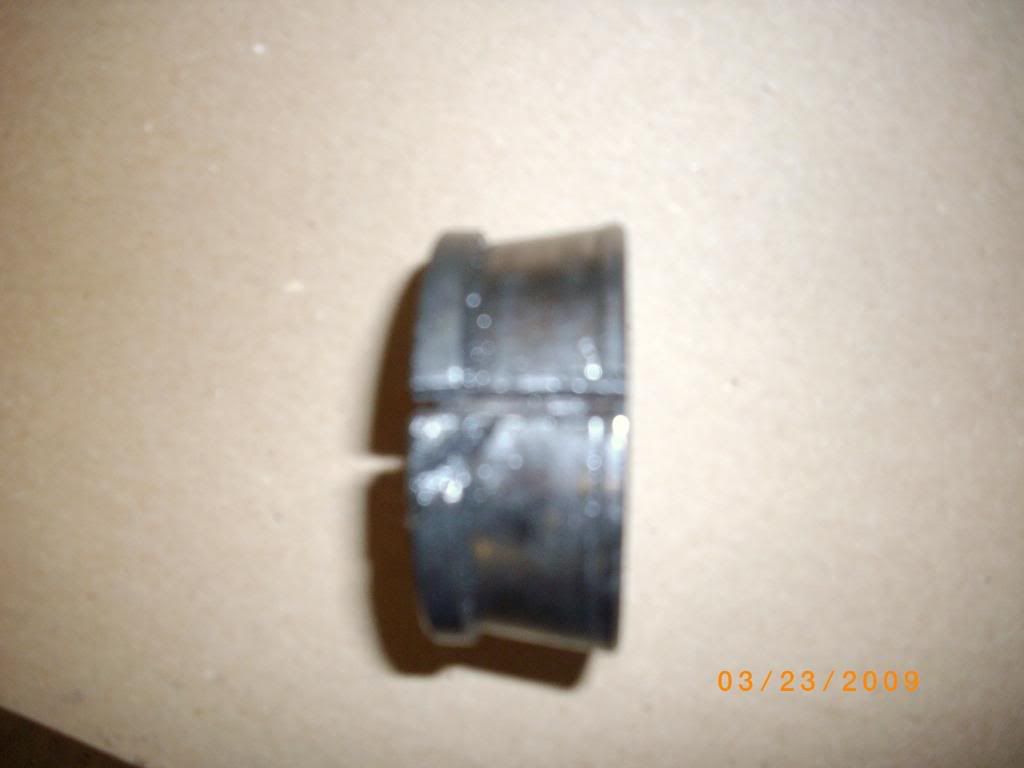
The Backing Plate/Emergency Brakes will slide off of the axle shaft. The Retainer is the only thing holding to the axle housing. To remove the the Ring and the Bearing you will have to use a Cut-off wheel. I cut through the Ring about half then used an Air Hammer to slide it down so it was loose enought to get off. Then I cut the Bearing with the cut off wheel. The out section of the Bearing will break off pretty easy. The center of the Bearing will be harder and you need to be really carefull not cut through to the axle shaft. TAKE YOUR TIME!! When I felt I was close I used a chisel and a hammer to crack the rest of the metal. Use the chisel or pry bar to spread the center part of the Bearing and a small pry bar to begin sliding it down. (Hear are pic of the Ring and the Bearing that I cut off)
RING
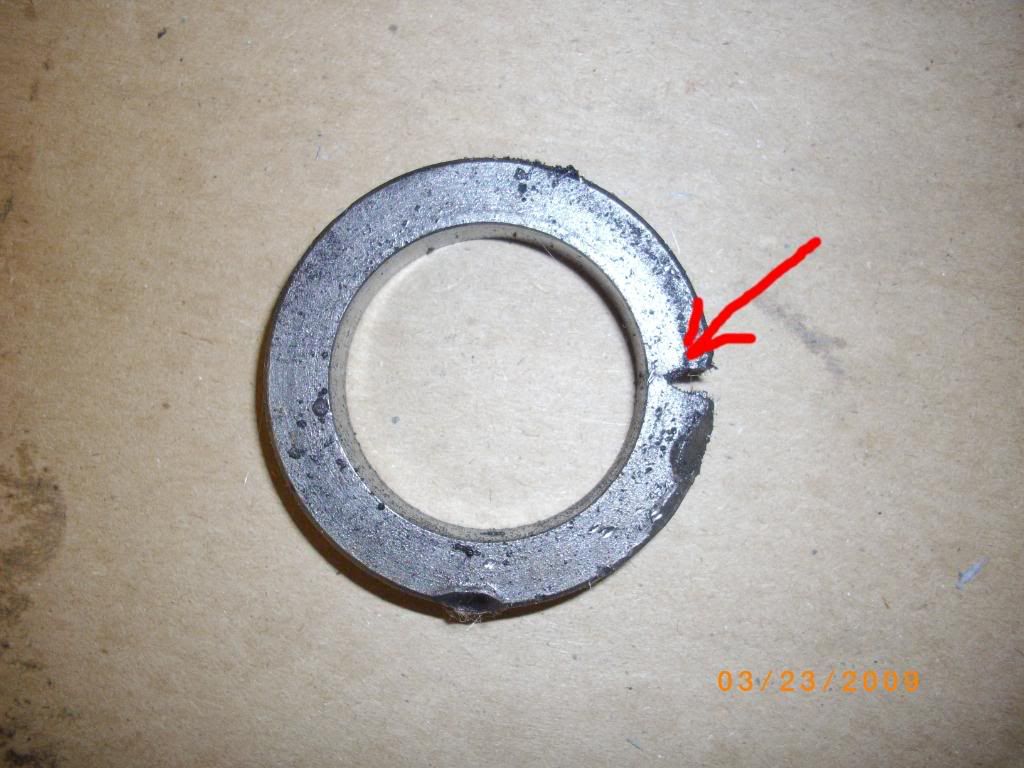
Center of Bearing
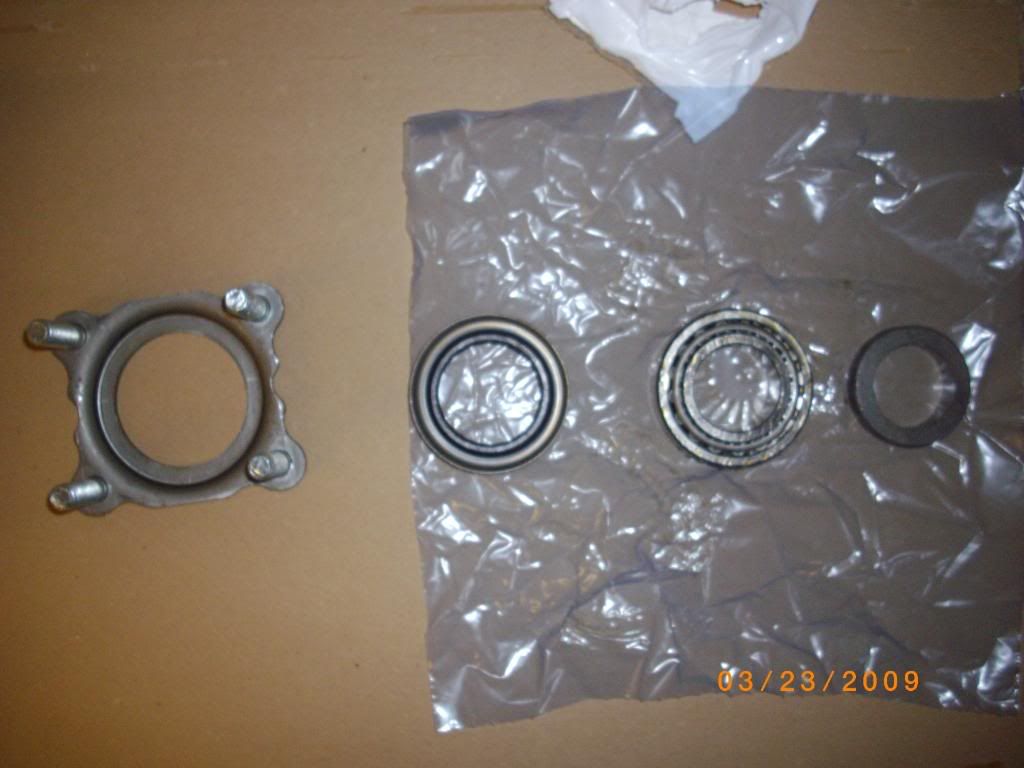
Once the ring and Bearing are removed the Axle seal and Retainer slide right off. Here is a Picture of the four new parts. From left to right Retainer, Axle Seal, Bearing, and Ring.
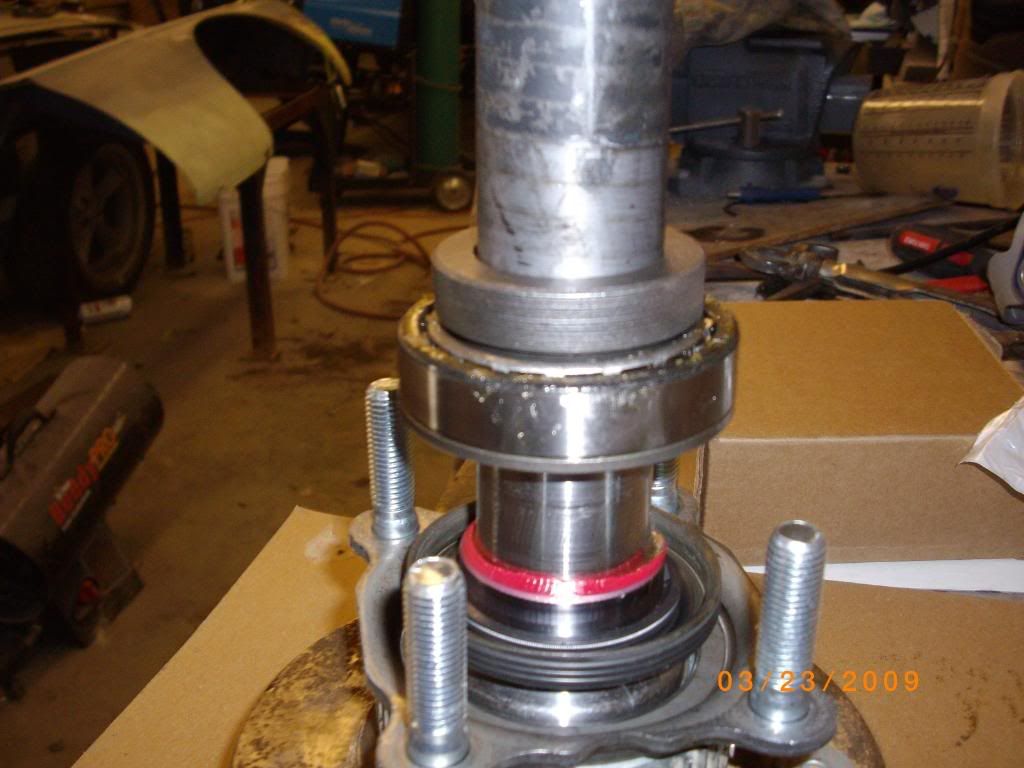
Now before placing new parts on clean the axle shaft. With the Axle standing straight up with the splines facing the ceiling place the Retainer on first then the Axle Seal. When you look at the picture you will see how the Axle Seal is to be placed on the shaft with the cuf facing up toward ceiling.
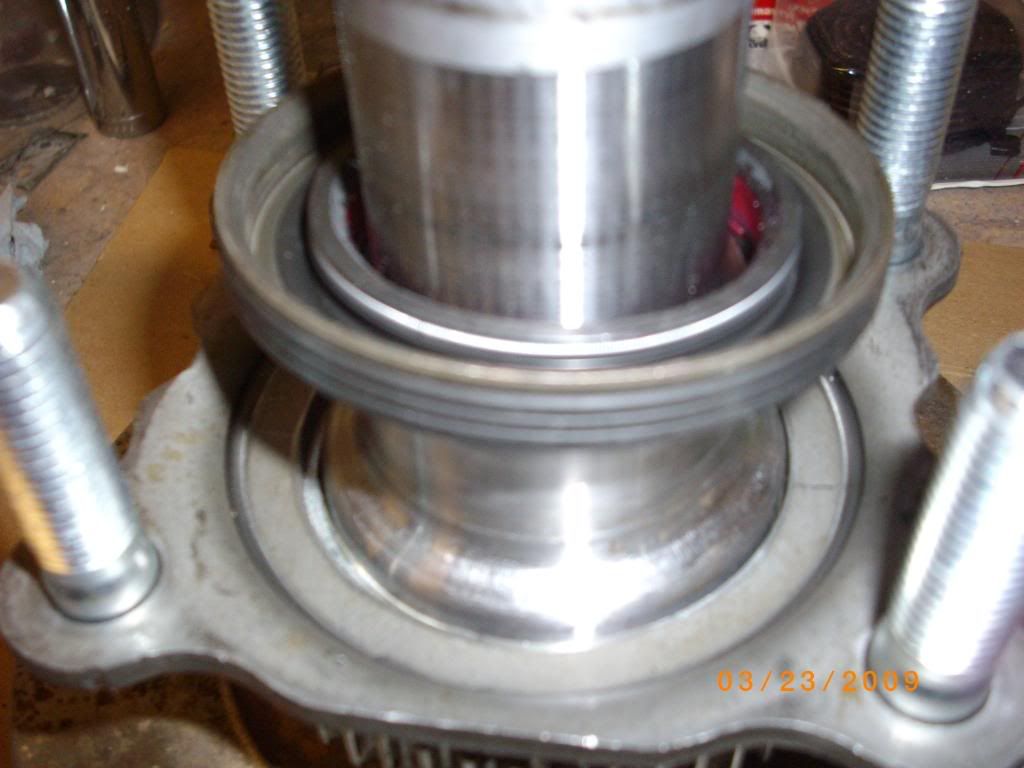
Next slide Axle Seal all the way down so it sits in retainer. This will help hold Retainer out of the way. Now slide bearing down axle shaft. Make sure that writing on race of bearing is facing toward ceiling. Next slide Ring down axle shaft. In the pic you will see how it should look at this point.
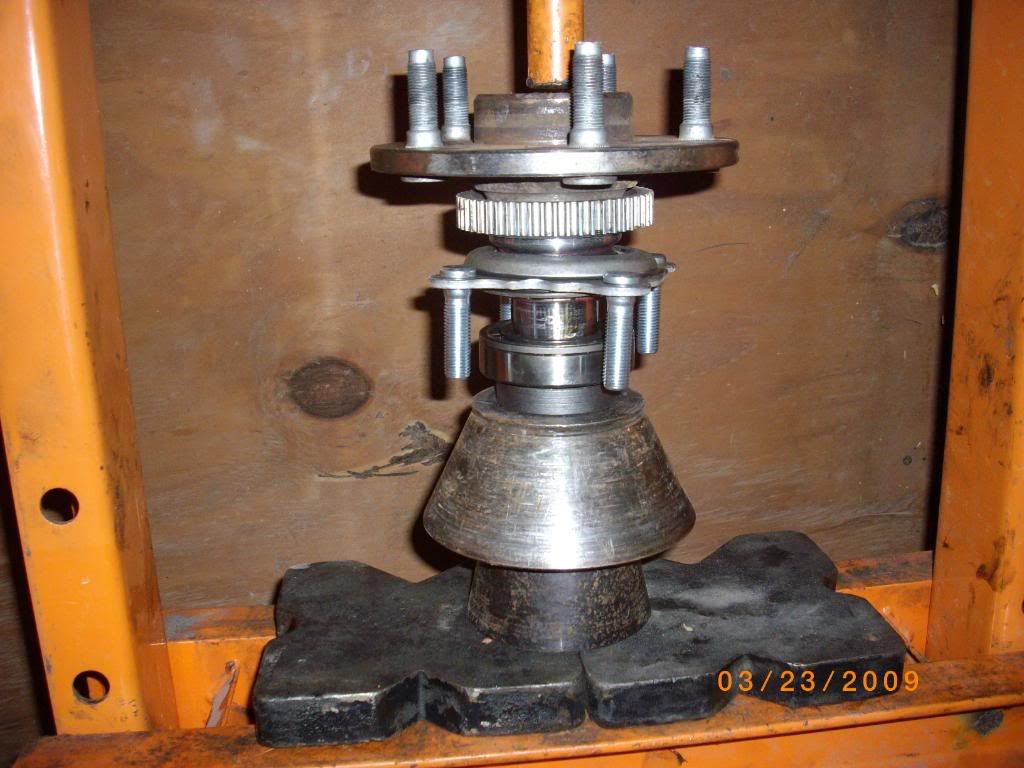
Now you have to take entire assembly to the press. This is were you need to find something to slide down the axle shaft and rest against the ring. You need something that is narrow enough to go between the bolts on the retainer. I used couplings from a wheel balancer. Once set up in the press press the Bearing and Ring as far as they will go. When you had all the parts off you notice there is a lip that the bearing sits against. Once it is pressed there it will not go any further.
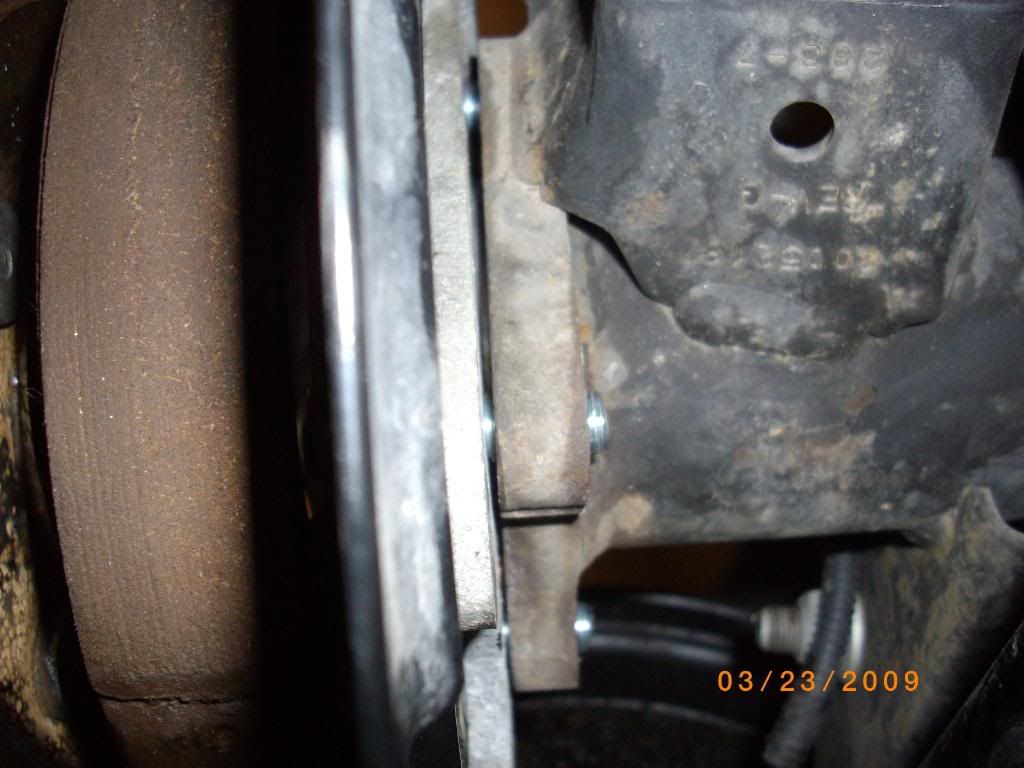
When everything is press together it is time for reassembly. Slide backing plate/Emergency Brake Plate down axle shaft and line Retainer bolts up with bolt holes in Backing Plate. Slide Axle back into Axle tube and feel for the splines engaging into carrier. Push Axle so that race of Bearing is started in axle tube opening. Using a Dead Blow hammer strike center of Axle to push axle further into axle tube to seat bearing into place. Once you can get bolts of Retainer through bolt holes of axle housing start threading nuts back on Retainer bolts. Then strike center of axle again before tightening nuts.
Now you can start to tighten nuts. Be sure to criss cross as you tighten them that way you pull it tight evenly. Once they are all tight place Anit-lock brake sensor back in and reinstall bolt. Slide rotor back on. Reconnect emergency brake cable to backside of backing plate. Reattach calipar. Then mount rear tire. I do suggest checking your gear oil level or even replacing it.
Like I said I hope no one has to do this unless they are upgrading there axles. If you can do a lift you can do this. Just take you time when cutting things off.
The parts you will need:
Retainer #68008523AA $9.05 (This needs to be replaced everytime along with the nuts. The new nuts do not come with the retainer)
Axle Seal #68003270AA $40.85
Bearing #83503064 $64.25
Axle Ring #83503077 $20.90
Tools need:
5/16th wrench for Anti-lock brake sensor
18 mm box wrench for calipar bolts and retainer nuts
Cut-off wheel
A Hydraulic Press
Deadblow Hammer
Pry bar
Dremel with cutoff wheel
Gear oil
(At the time of the photos all old parts were removed from axle shaft. So I will do my best to explain how to do this from the begining.)
It goes without saying to jack your jeep and place jack stands under frame close to Rear. Depending on which side you are working on you will want to lift the side of the axle you are working on so that you do not lose any more gear oil or have it leaking out of axle tube while you are working on it. In this write up I was working on the driver side.
Once jeep is lifted remove rear tire. If you have not changed gears or removed your rotor before then you will want to remove the four retainers that hold the rotor to the axle. Then using the 18 mm box wrench remove the two bolts holding the calipar on. Secure the calipar out of the way. Then remove rotor.
Then using the 5/16 wrench remove bolt holding the Anit-lock brake sensor. You will have to wiggle it out if you do not disconnect it but it is possible.
Then disconnect the emergency brake cable from the back.
Using the 18mm wrench remove the four nuts the hold the Retainer in
place.
Now you will grab the axle and pull out toward you. Once the axle is removed you will see that the Race is still inplace in the axle tube. You can leave it in if you so choose, but I would just replace it. To get it out you will have to use a medium pry bar. Carefully work it to the outside edge of the axle tube. There you will have to become inventive. I used a dremel with a small cut off wheel and cut down very carefully to were I could break the Race. But that was just me. I am sure there is an easier way. Now to the axle.
The Backing Plate/Emergency Brakes will slide off of the axle shaft. The Retainer is the only thing holding to the axle housing. To remove the the Ring and the Bearing you will have to use a Cut-off wheel. I cut through the Ring about half then used an Air Hammer to slide it down so it was loose enought to get off. Then I cut the Bearing with the cut off wheel. The out section of the Bearing will break off pretty easy. The center of the Bearing will be harder and you need to be really carefull not cut through to the axle shaft. TAKE YOUR TIME!! When I felt I was close I used a chisel and a hammer to crack the rest of the metal. Use the chisel or pry bar to spread the center part of the Bearing and a small pry bar to begin sliding it down. (Hear are pic of the Ring and the Bearing that I cut off)
RING
Center of Bearing
Once the ring and Bearing are removed the Axle seal and Retainer slide right off. Here is a Picture of the four new parts. From left to right Retainer, Axle Seal, Bearing, and Ring.
Now before placing new parts on clean the axle shaft. With the Axle standing straight up with the splines facing the ceiling place the Retainer on first then the Axle Seal. When you look at the picture you will see how the Axle Seal is to be placed on the shaft with the cuf facing up toward ceiling.
Next slide Axle Seal all the way down so it sits in retainer. This will help hold Retainer out of the way. Now slide bearing down axle shaft. Make sure that writing on race of bearing is facing toward ceiling. Next slide Ring down axle shaft. In the pic you will see how it should look at this point.
Now you have to take entire assembly to the press. This is were you need to find something to slide down the axle shaft and rest against the ring. You need something that is narrow enough to go between the bolts on the retainer. I used couplings from a wheel balancer. Once set up in the press press the Bearing and Ring as far as they will go. When you had all the parts off you notice there is a lip that the bearing sits against. Once it is pressed there it will not go any further.
When everything is press together it is time for reassembly. Slide backing plate/Emergency Brake Plate down axle shaft and line Retainer bolts up with bolt holes in Backing Plate. Slide Axle back into Axle tube and feel for the splines engaging into carrier. Push Axle so that race of Bearing is started in axle tube opening. Using a Dead Blow hammer strike center of Axle to push axle further into axle tube to seat bearing into place. Once you can get bolts of Retainer through bolt holes of axle housing start threading nuts back on Retainer bolts. Then strike center of axle again before tightening nuts.
Now you can start to tighten nuts. Be sure to criss cross as you tighten them that way you pull it tight evenly. Once they are all tight place Anit-lock brake sensor back in and reinstall bolt. Slide rotor back on. Reconnect emergency brake cable to backside of backing plate. Reattach calipar. Then mount rear tire. I do suggest checking your gear oil level or even replacing it.
Like I said I hope no one has to do this unless they are upgrading there axles. If you can do a lift you can do this. Just take you time when cutting things off.
Last edited by popo343; 03-24-2009 at 01:39 PM.

 03-24-2009, 01:34 PM
#3
JK Freak
Thread Starter
Join Date: Jun 2008
Location: LAUREL,DE
Posts: 560
Likes: 0
Received 0 Likes
on
0 Posts
Thanks. There are a few things that I forgot to mention that I am going to edit into the write up thanks to Ronjenx being my editor  . I will also say that cutting the bearing and ring off is the way I did it and probally not the best but got the job done for me.
. I will also say that cutting the bearing and ring off is the way I did it and probally not the best but got the job done for me.
11-01-2016, 10:24 AM
#4
JK-Forum Editor

Join Date: Jan 2016
Posts: 133
Likes: 0
Received 0 Likes
on
0 Posts
Excellent subject for this week's How-To Tuesday...
Jeep Wrangler JK 2007 to Present How to Replace Rear Axle Seals - Jk-Forum
Jeep Wrangler JK 2007 to Present How to Replace Rear Axle Seals - Jk-Forum
05-23-2017, 10:06 AM
#5
JK-Forum Editor
Join Date: Jan 2016
Posts: 133
Likes: 0
Received 0 Likes
on
0 Posts
perfect topic for today's how-to spotlight...
https://jk-forum.com/how-tos/a/jeep-...e-seals-408442
https://jk-forum.com/how-tos/a/jeep-...e-seals-408442
