
Roof Rack Write up on Hard Top

Thread Starter
JK Enthusiast
Joined: Feb 2007
Posts: 456
Likes: 0
From: Edison NJ
This is the first step I did. I will have the remaining parts of the thule rack this week and add more pics with the Rack Basket itself.
Once again Please note – This is what I did- You follow my steps and mess up, its on you- buy a lot of silicone and fiberglass.
Parts
Thule TB60 rails
2 – 10-24 x2.5 screws
2- 10-24 nylon lock nuts
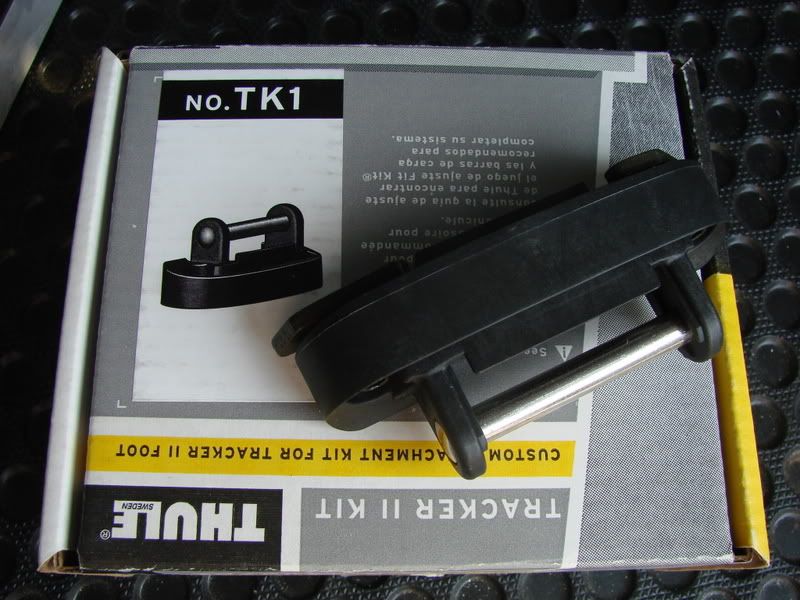
Thule TK1
Thule 430
Thule 58" bars
Total cost around $350
Regular size drill bits 3” 1/8 and 7/32 – the bits they give are to short
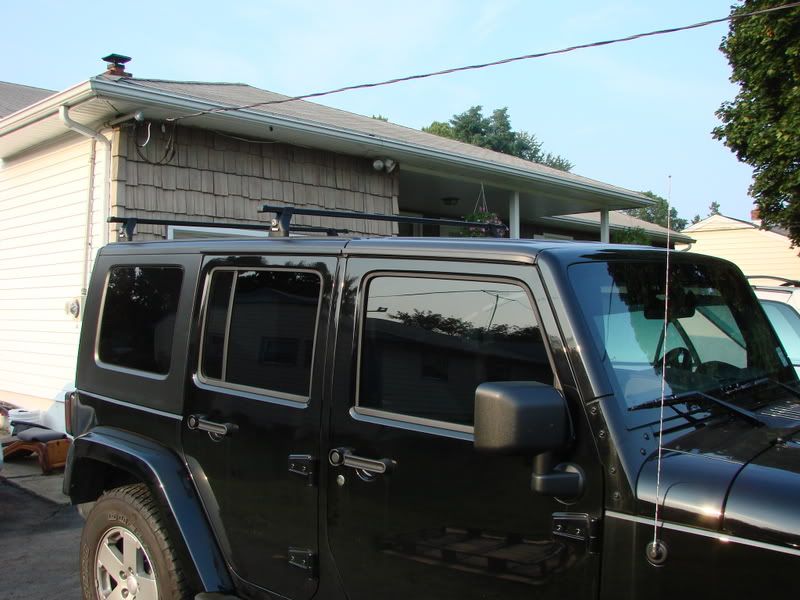
First I took the rails apart and lined them together against the last hard top hump. I placed the metal rail against the hardtop and bottom rail I lined up and Blue taped. Measured twice and tape then Drill.
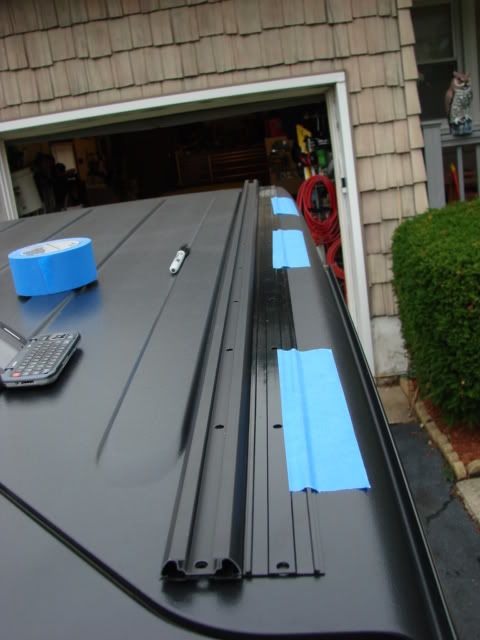

First I used the 1/8th bit as a pilot for all 12 holes then the 7/32 for the main hole. Let the bit do the work, don’t push down to hard, otherwise the fiberglass inside will break spread.
Remember, where I have the rail placed. I went through the strongest part of the top that’s 2x reinforced, so when I drilled through the top I kept it going through the 2nd support beam.
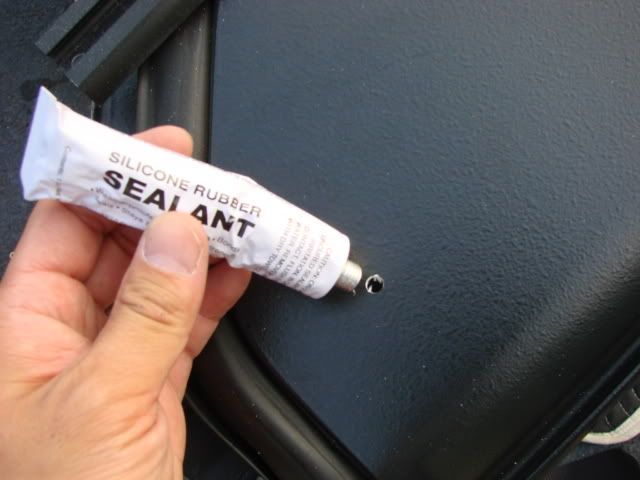
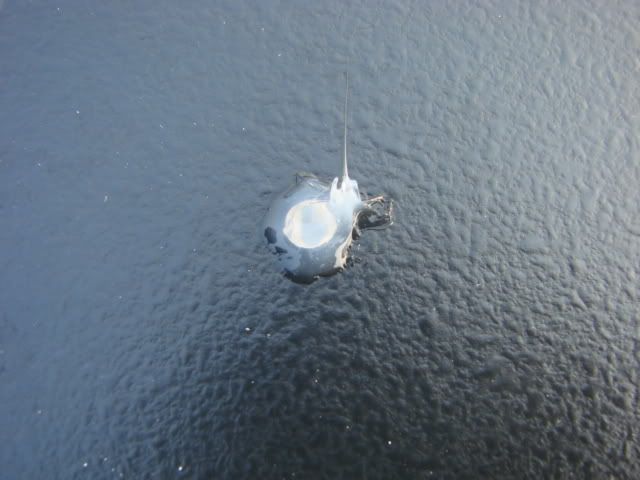
Now I used the provided silicone and silicone the hole putting more towards the outer edge.
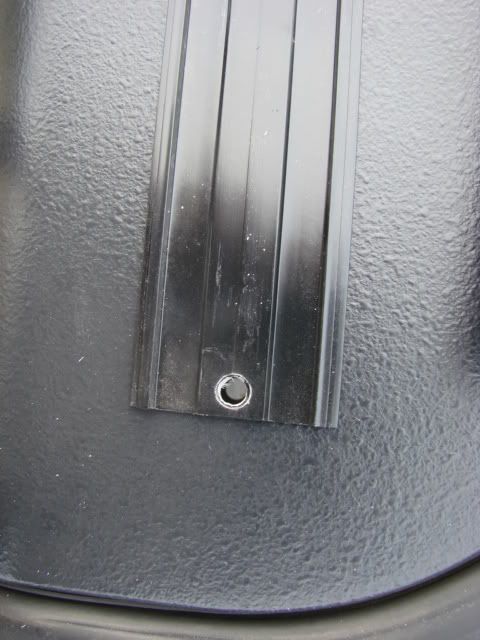
Then put the 10x24 screw in the front b/c that part of the top is thicker. And one screw in the rear to keep it lined up.
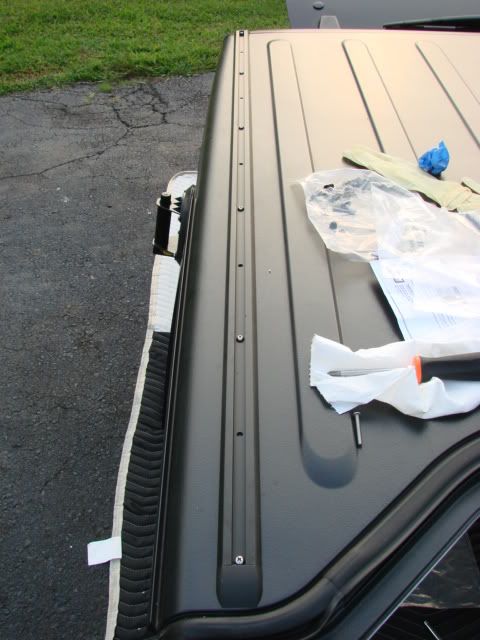
Then finished putting in all the other screws with washer and nuts.
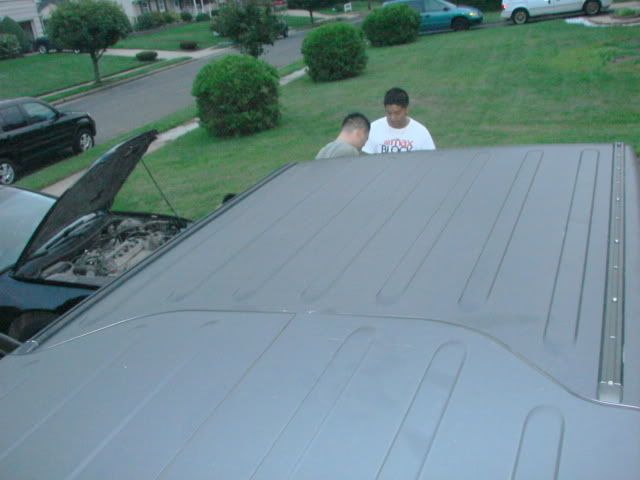
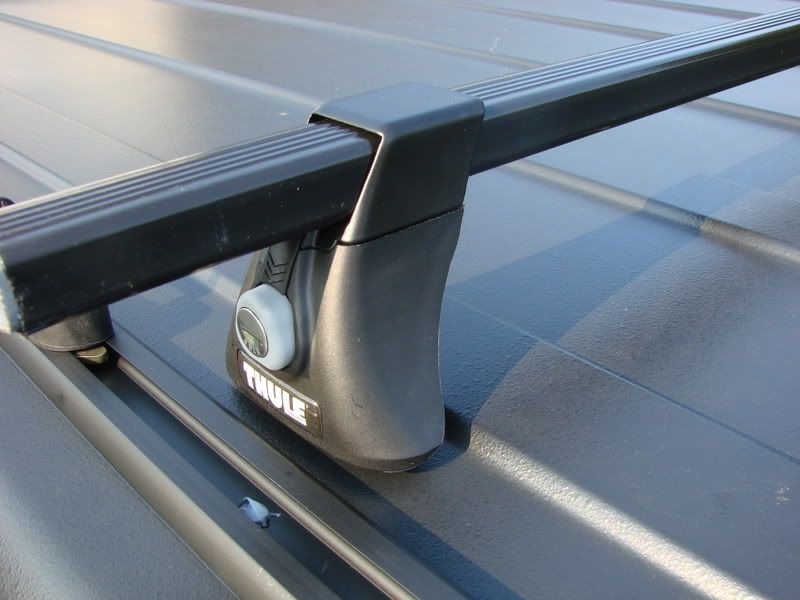
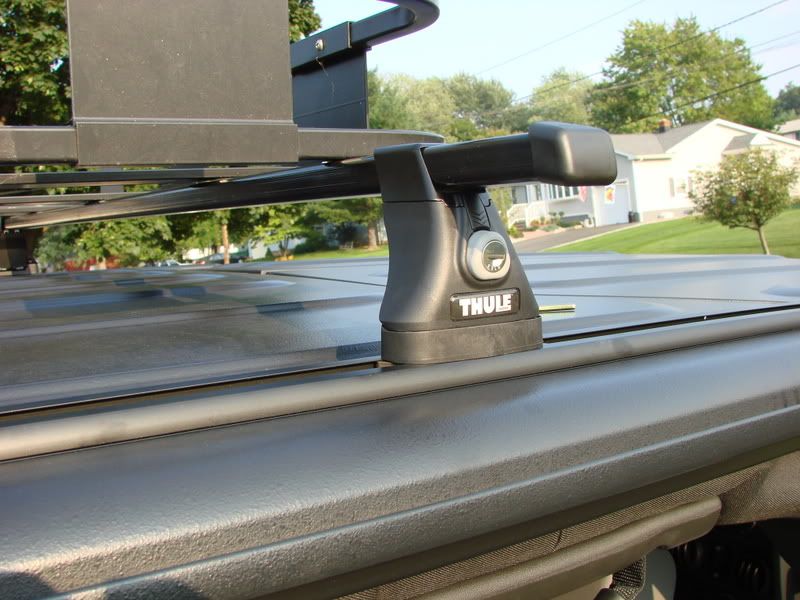
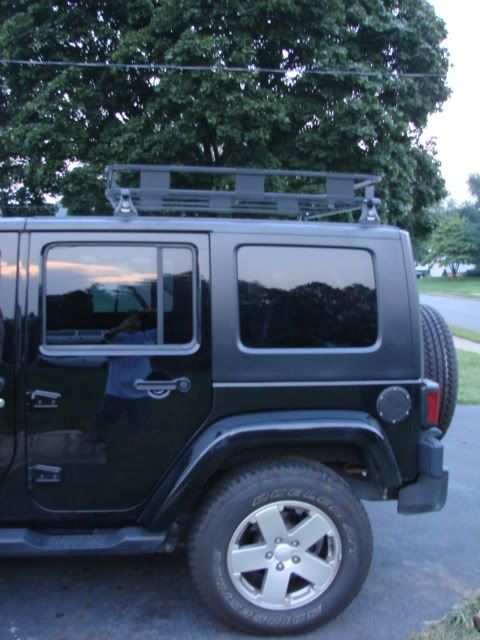
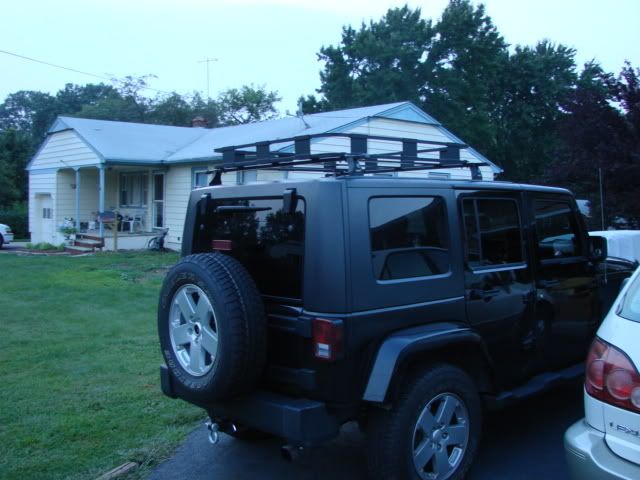
Final look:

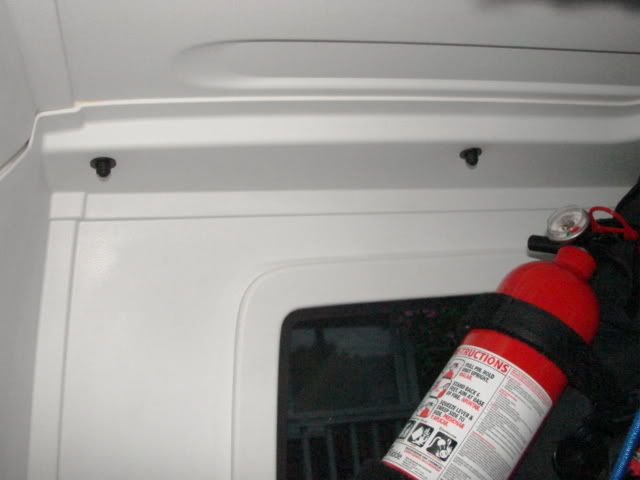
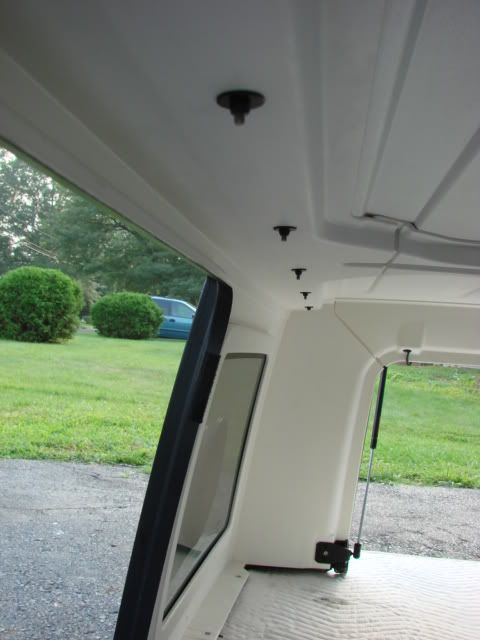
From inside the back rear, I think I’m going to fabricate a support bar (this last picture) going from the last screw to the bottom ledge behind the roll bar going straight down.
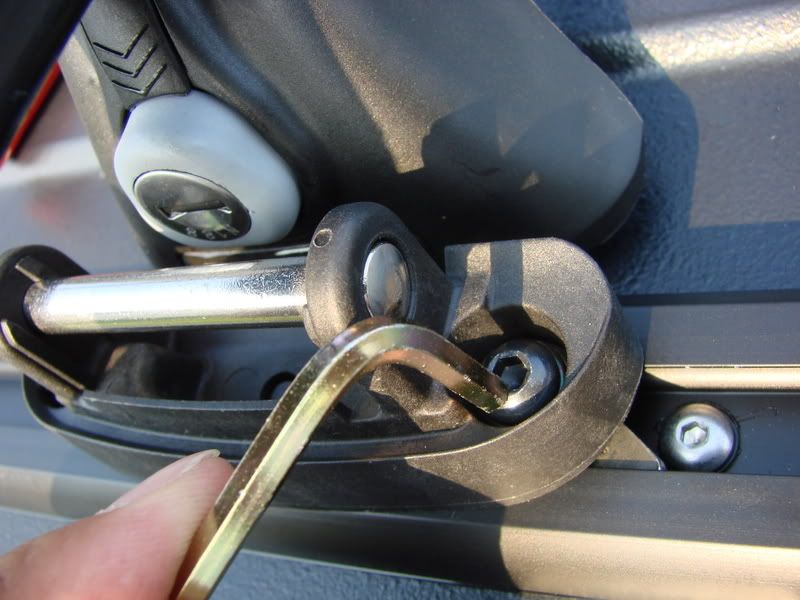
Take the TK1 Bracket and Bar line it up


Place the basket on the bar and square it all up
Tighten everything down
Bolt up the basket and Im done
Once again Please note – This is what I did- You follow my steps and mess up, its on you- buy a lot of silicone and fiberglass.
Parts
Thule TB60 rails
2 – 10-24 x2.5 screws
2- 10-24 nylon lock nuts
Thule TK1
Thule 430
Thule 58" bars
Total cost around $350
Regular size drill bits 3” 1/8 and 7/32 – the bits they give are to short
First I took the rails apart and lined them together against the last hard top hump. I placed the metal rail against the hardtop and bottom rail I lined up and Blue taped. Measured twice and tape then Drill.
First I used the 1/8th bit as a pilot for all 12 holes then the 7/32 for the main hole. Let the bit do the work, don’t push down to hard, otherwise the fiberglass inside will break spread.
Remember, where I have the rail placed. I went through the strongest part of the top that’s 2x reinforced, so when I drilled through the top I kept it going through the 2nd support beam.
Now I used the provided silicone and silicone the hole putting more towards the outer edge.
Then put the 10x24 screw in the front b/c that part of the top is thicker. And one screw in the rear to keep it lined up.
Then finished putting in all the other screws with washer and nuts.
Final look:
From inside the back rear, I think I’m going to fabricate a support bar (this last picture) going from the last screw to the bottom ledge behind the roll bar going straight down.
Take the TK1 Bracket and Bar line it up
Place the basket on the bar and square it all up
Tighten everything down
Bolt up the basket and Im done
Last edited by DBB888; Aug 25, 2007 at 03:36 PM.
Thread Starter
JK Enthusiast
Joined: Feb 2007
Posts: 456
Likes: 0
From: Edison NJ
Finished- Drove around- went highway speeds 80mph no noise. Going to add the front deflector for little gas savings. Rack is strong and will be doing tests to see how much the racl can handle.
Mike
Mike
JK Enthusiast
Joined: Aug 2007
Posts: 457
Likes: 3
From: Myrtle Beach, SC
Great write-up!
questions:
The doubled wall feels strong. Is it hollow in-between?
Is there a need for expanding foam, etc???
I'm wanting to run my "clam shell" for luggage, when taking the dogs on trips. My only concern is the wind lifting the topper, and stressing the bolted holes.
The rail with multiple bolt holes seems a better answer, than rails with just two feet/contact points.
Thanks for documenting your projects. This is a great site, and you add alot to it...
Thread Starter
JK Enthusiast
Joined: Feb 2007
Posts: 456
Likes: 0
From: Edison NJ
Great write-up!
questions:
The doubled wall feels strong. Is it hollow in-between?
Is there a need for expanding foam, etc???
I'm wanting to run my "clam shell" for luggage, when taking the dogs on trips. My only concern is the wind lifting the topper, and stressing the bolted holes.
The rail with multiple bolt holes seems a better answer, than rails with just two feet/contact points.
Thanks for documenting your projects. This is a great site, and you add alot to it...
questions:
The doubled wall feels strong. Is it hollow in-between?
Is there a need for expanding foam, etc???
I'm wanting to run my "clam shell" for luggage, when taking the dogs on trips. My only concern is the wind lifting the topper, and stressing the bolted holes.
The rail with multiple bolt holes seems a better answer, than rails with just two feet/contact points.
Thanks for documenting your projects. This is a great site, and you add alot to it...
It is hollow in between and although I dont think its nessasary, I would recommend it. To do this, extra holes have to be drilled in the inside rail and filled.
With the Lift issue, I ordered the Thule 873 $55 wind deflector for the front of the basket that will keep the basket from lifting and have less drag.
JK Enthusiast
Joined: Oct 2006
Posts: 399
Likes: 0
From: Northern California
DBB888, I always look forward to your write-ups! Great job and well documented as always.  I'm just waiting for you to create some sort of door stops using small gas shocks similar to that of the tailgate shock mod (hint hint)
I'm just waiting for you to create some sort of door stops using small gas shocks similar to that of the tailgate shock mod (hint hint)
Thread Starter
JK Enthusiast
Joined: Feb 2007
Posts: 456
Likes: 0
From: Edison NJ
Door stop huh?!? Interesting- give me a few weekends on this.
As far as taking the top on and off, it adds about 22-25lbs. no to bad. I have the heavy duty suction cup handles and a few nephews and cousins always around to help me.
I might make a rig that I back up into and hoist it off. Just a thought- maybe next summer on that.
Let me think about this door shock stop thingy... I'll be in Vegas this weekend for a bachelor party 4 days 3 nites
 :toung:


CRAZY WEEKEND-
Wife not to happy but what to do
As far as taking the top on and off, it adds about 22-25lbs. no to bad. I have the heavy duty suction cup handles and a few nephews and cousins always around to help me.
I might make a rig that I back up into and hoist it off. Just a thought- maybe next summer on that.
Let me think about this door shock stop thingy... I'll be in Vegas this weekend for a bachelor party 4 days 3 nites
:toung: CRAZY WEEKEND-
Wife not to happy but what to do
