
Bushwacker Flat Flares Install PITA

JK Jedi
Joined: Oct 2010
Posts: 5,192
Likes: 3
From: REDONDO BEACH, CA
I agree they are a PITA. I only did the fronts in 3 1/2 hours. We took off the tires to make things easier. It was dark by time we finished, so I decided to wait another day to finish & do the rears.


JK Newbie
Joined: Sep 2011
Posts: 33
Likes: 0
From: Albuquerque, NM
Sure, it was a pain in the ass, but they turn out nice.... Go slow, leave extra on the fenderwells to trim off after mocking them up. The first one took the longest, but don't rush the rear fenderwells as they are cut differently than the front.... Drink a cold one when your done and the next weekend you can flex the crap out of it without worry of eating your flares!
JK Freak
Joined: Jun 2010
Posts: 621
Likes: 1
From: Tyler, Texas
I'm slow...
I did the front fenders one saturday (all day saturday!)
Did the rears the following saturday.
I had a chance to talk to one of the Bushwacker reps. He told me it's not hard, but very time consuming. I'm glad I listened and started early!
It's worth it though...
I did the front fenders one saturday (all day saturday!)
Did the rears the following saturday.
I had a chance to talk to one of the Bushwacker reps. He told me it's not hard, but very time consuming. I'm glad I listened and started early!
It's worth it though...

JK-Forum Founder
Joined: Jul 2006
Posts: 36,534
Likes: 16
From: Laguna Niguel, CA
So yesterday was a beautiful day out and I was trying to decide what mod still laying in my garage floor to do next. I though the flares would be good because it will be getting colder soon and as everyone knows plastic is harder to work with when cold. I wish I would have installed my JKS sway bar links instead. These Bushwacker flat flares have been the biggest pain in the ass I have ever done. I am not kidding, I have did engine swaps that have taken me less time and less effort! I know I have seen some of you post that you did it in 4 hours or whatever. If you really have you should get a job as a body technician at your local dealership or mod shop because you have some mad skill. I worked from 11:00 yesterday morning until 5:00 in the evening just taking my time doing each step as shown in the install manual along with using WOL's write up here on the forum and only have one done. The removal of the factory flares isn't bad. It's the trimming of the inner liners and then dealing with the nylon nuts that decide to seize up on me when installing the flat flare mount (the rest will be getting some oil applied before being installed). I won't have a chance to work on them again until this coming weekend and am dreading the hell out of it! Now that one front is done I am sure the pass side wont take as long now that I know what I am doing but then it's on to the rears  If anyone is close to WV and have installed these please come by the house Fri evening or Sat morning. I will have the beer waiting and would be more than willing to buy breakfast, lunch, and dinner! I should have just chopped my factory flares and been done with it.
If anyone is close to WV and have installed these please come by the house Fri evening or Sat morning. I will have the beer waiting and would be more than willing to buy breakfast, lunch, and dinner! I should have just chopped my factory flares and been done with it.JK Newbie
Joined: Jul 2010
Posts: 25
Likes: 0
From: PF, WI
I highly suggest picking up some quality nuts & bolts from somewhere. I kept having them only go on part way then couldnt get them off anymore. Either broke the bolts or had to cut them. At first I thought I may have cross threaded the first one but then it kept happening so I know it wasn't that. For cutting the flares I marked them carefully and used a cut off wheel on my grinder and zipped right through them.
JK Freak
Joined: Dec 2010
Posts: 876
Likes: 0
From: Duluth, MN
I got one of them done in about 3 hours one night, but that included finding all the tools in my garage, and watching TV. I got the other 3 on the next night. I kept the front lines in but ditched the rears. I will bedline them someday.
JK Enthusiast
Joined: Jun 2010
Posts: 137
Likes: 0
From: vancouver island, bc
i installed my bushwacker flat flares 2 weeks ago and it took me around 4 hours, all you need is a couple sockets and a ratchet, a knife, screwdriver, upholstery clip remover a couple drill bits for the plastic rivets, strippers and crimpers and a small torch for heat shrinking and a paint pen, a small air grinder and a file to clean up rough edges on inner wheel well covers. the first flare took me 2 hours and the 3 subsequent flares were a walk in the park once that first one was done... i should have documented and taken pictures of my install. don't over think it dude, be one with the tools grasshopper!
JK Freak
Joined: Jun 2011
Posts: 667
Likes: 1
From: WA
I did mine it took all weekend to do, the triming is the real PITA but so worth it my only sugestion is after a month or so check the LED strip and before you go through any water or mud and make sure its still tight after driving it around a little bit. I shorted out one after a little bit of mud seaping in and collecting on wireing. Still need to replace. 
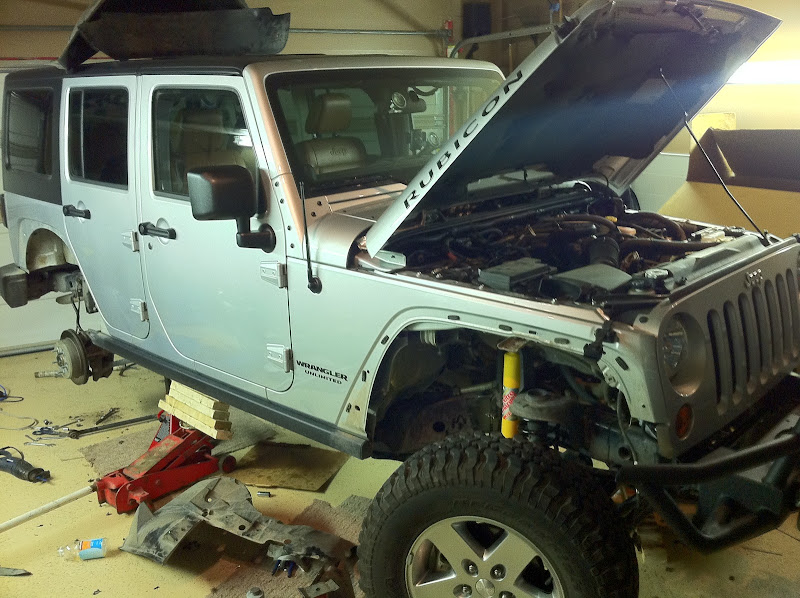
Attachment 225177Attachment 225178
Attachment 225177Attachment 225178
Thread Starter
JK Super Freak
Joined: Aug 2011
Posts: 1,262
Likes: 1
From: Mount Hope, WV
Glad to see I am not the only one who thought they are/were a pain. For those of you who didn't you can kiss my ass! J/K  The weather is expected to get cold this weekend too so I don't know if I will ever get them finished. I could have worked on them some this evening but I ended up just walking out there and kind of looked at them. said a few choice words
  and then jumped on the lawn mower with my cold one and mowed the grass for the last time this year. I'll get them done in due time I guess...
The weather is expected to get cold this weekend too so I don't know if I will ever get them finished. I could have worked on them some this evening but I ended up just walking out there and kind of looked at them. said a few choice words and then jumped on the lawn mower with my cold one and mowed the grass for the last time this year. I'll get them done in due time I guess...