Jeep Wrangler JK: How to Replace Brake Master Cylinder
The master cylinder in the Jeep Wrangler is the reservoir that holds the brake fluid. If something is wrong with it, the system loses pressure and the brakes lose effectiveness. Read on to learn how to replace it yourself.
This article applies to the Jeep Wrangler JK (2007-Present).
The master cylinder is also known as the brake reservoir. It is a pressurized container that displaces hydraulic pressure to the rest of the brake system. Over time, the master cylinder in the Jeep Wrangler can get faulty and lose pressure, which would result in a spongy brake pedal and a decrease in brake performance. Replacing the master cylinder is not a hard job; however, it requires you to bleed your brake system afterwards, which is also not a difficult job. In this guide, we will show you how you can replace the master cylinder in your Jeep Wrangler, bleed the brake system, and get back on the road or off the road.


Materials Needed
- Turkey baster
- Wrench
- Socket set
- Hose
- Bottle
- Brake fluid
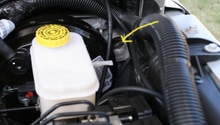
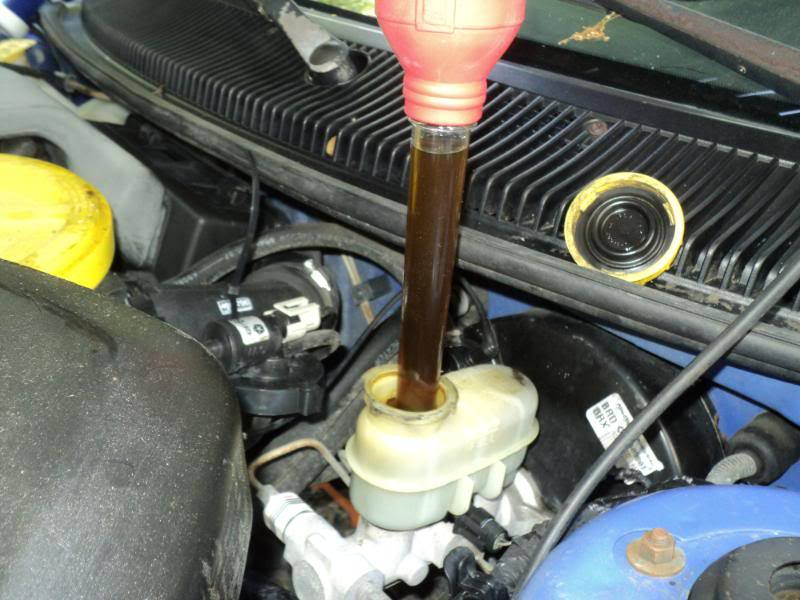
Step 1 – Siphon brake fluid
Before removing the master cylinder, siphon the brake fluid using your turkey baster from the brake fluid reservoir. Simply suck the fluid out and pour it into a container. Be very cautious not to get any of it on the paint. Place a towel under the master cylinder for when you remove it.
Step 2 – Remove master cylinder
Remove the brake lines attached to the master cylinder. You can either plug them or place them facing up to allow gravity to help you avoid spillage. Disconnect the electrical sensor by squeezing it and pulling it out. The master cylinder is held in place by two nuts attached to the brake booster's studs. Simply remove the two nuts, and slowly pull the master cylinder out. Be sure to wipe any fluid that drips on your car or its components.

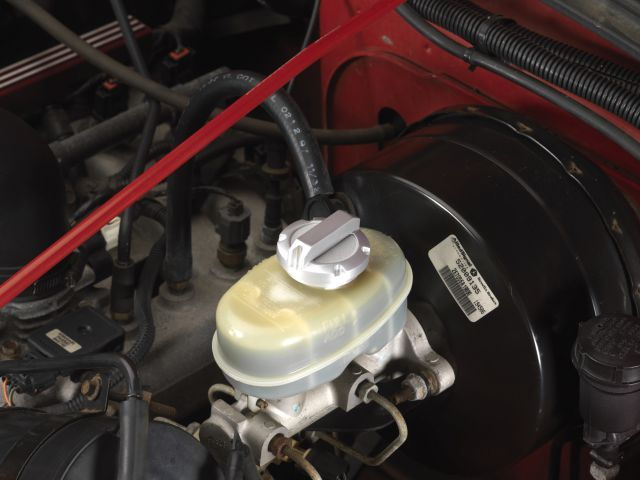
Step 3 – Install new master cylinder
Install the brake fluid reservoir on the new master cylinder and install it in place the same way you removed it. The two holes will go onto the two studs coming out of the brake booster, then install the two nuts over them. Connect the brake lines and the electrical harness, then fill it with brake fluid to the max line.
Step 4 – Bleed your brakes
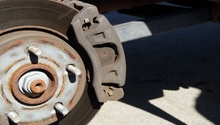
To bleed your brakes, you will need to start on the passenger's side rear, then the driver's rear side, the passenger's front and finally end on the driver's side. Locate the bleeder screw on each of the brake calipers, connect a hose to it and connect the other end of the hose to a bottle. Ask a friend to pump the brake pedal a few times, then keep it pressed down. Loosen the bleed screw for a few seconds and let the brake fluid flow out. Close the valve, have your willing assistant repeat the process of pumping the pedal, then holding it down, and then open the bleed valve. Repeat this process until clear, new fluid comes out of the caliper, free of all air bubbles.

Figure 5. Bleeder screw on brake caliper. 
Figure 6. Bleed your brakes.
Related Discussions
- Master Cylinder Kit Installed - JK-Forum.com
- Issues with Brake Master Cylinder - JK-Forum.com
- Clutch/Brake Master Cylinder Upgrade - JK-Forum.com