Jeep Wrangler JK: How to Replace Wheel Studs
The wheel studs is what your wheels bolt onto, so if they are stripped or broken, replacing them is necessary to ensure a safe drive in the Jeep Wrangler. This guide will show you how to do it.
This article applies to the Jeep Wrangler JK (2007-Present).
The Jeep Wrangler's wheels are held in place by wheel studs. The lug nuts go over the studs to hold the wheels in place when you're driving. Sometimes, these studs could get stripped, it could happen by over-tightening the lug nuts when you're replacing the tire. The more stripped they are, the less they hold the wheels in place. So whether you do a lot of off-roading or you simply drive exclusively on the road, having sturdy, threaded wheel studs is an absolute necessity in ensuring a safe drive. Read on to learn how you can replace them and install new ones in their place.
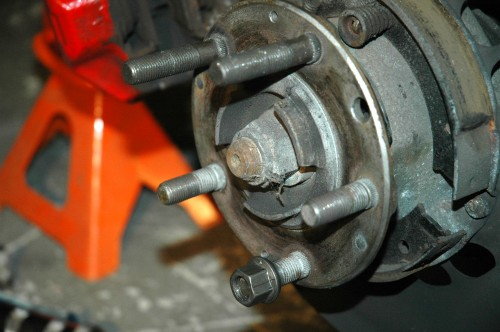

Materials Needed
- Jack and jack stands
- Tire iron
- Hammer
- New wheel studs
Step 1 – Raise car and remove wheel
Loosen the lug nuts on the wheel you will be working on, then raise the car. Secure your Jeep using your jack stands, then remove the lug nuts and wheel.
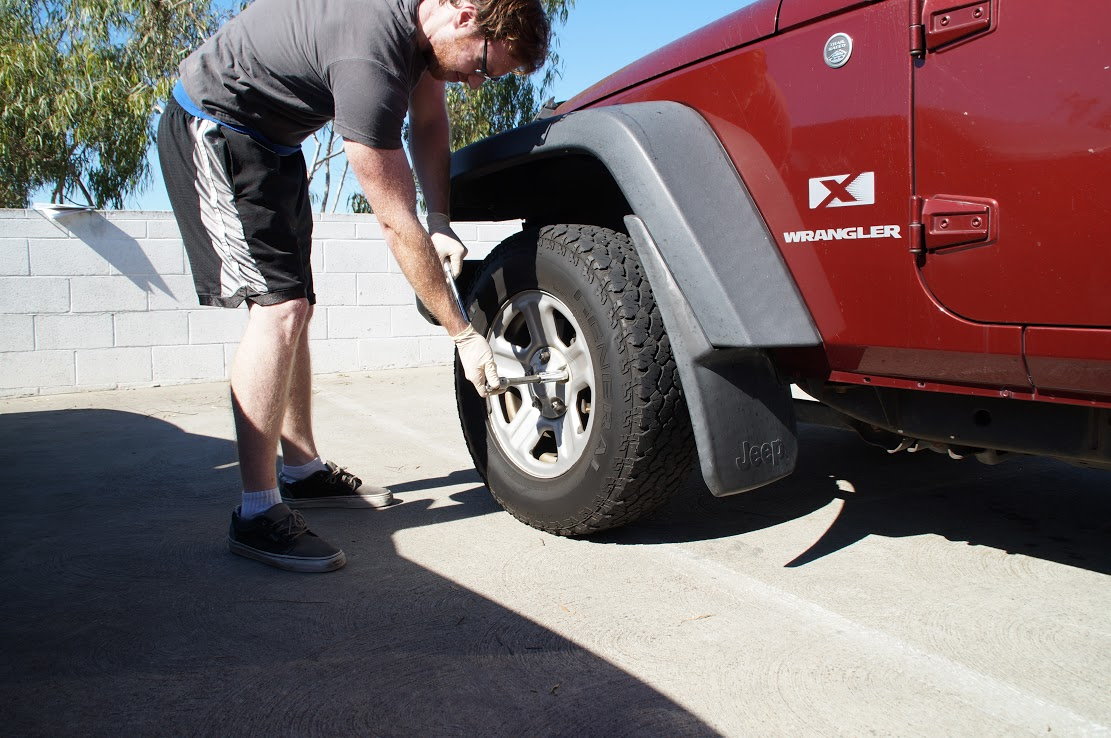
Figure 2. Loosen lug nuts. 
Figure 3. Raise Jeep and secure with jack stands.
Step 2 – Remove brake caliper
To remove the caliper, you will need to remove the two rear bolts holding it in place. Use your 18mm socket to remove the two caliper bolts, then remove the caliper. Make sure to not let it hang from the brake line; either set it somewhere safe or hang it from the coil spring using a wire hanger, or something similar.

Step 3 – Remove brake rotor
Before you remove the brake rotor, remove the rotor retainers. There are little washers that go on top of the studs. Finally, remove the rotor by pulling it out. If you're having a hard time doing so, tap it with a rubber mallet to get it loose, then pull it straight out.
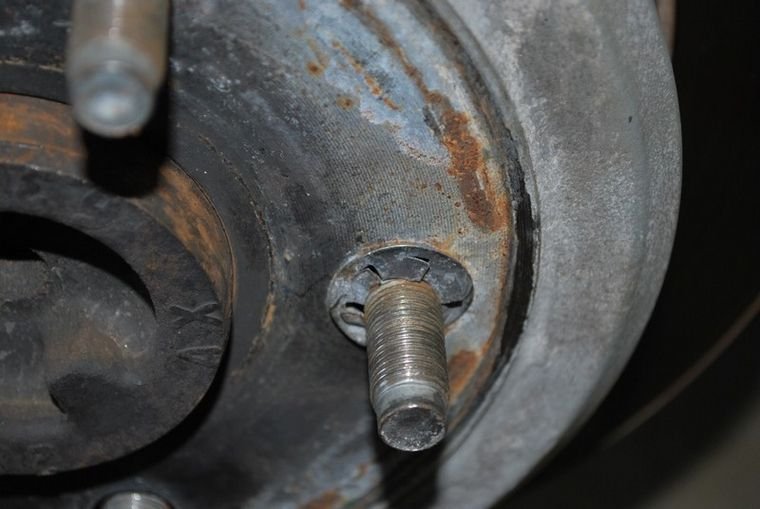
Figure 5. Rotor retainer. 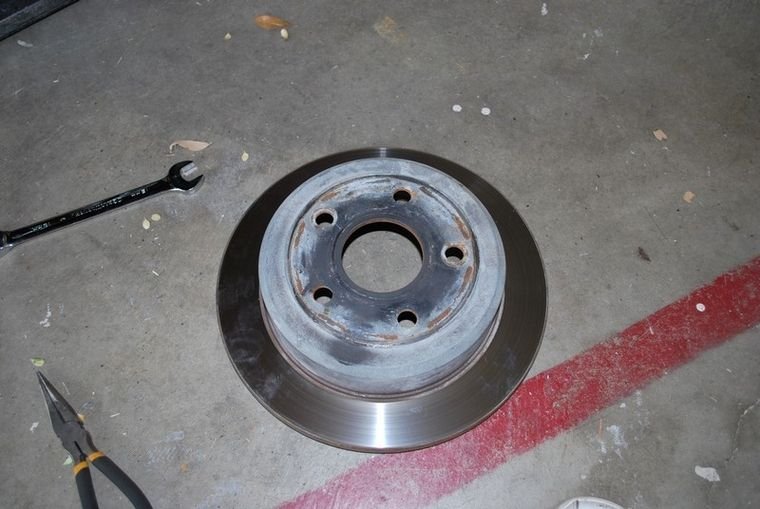
Figure 6. Remove brake rotor.
Step 4 – Hammer out old stud
Use your hammer to hammer out the old stud. Be sure to hit it straight back so it doesn't bend. Don't worry about ruining it, as long as you can get it all the way out.

Step 5 – Install new stud
Feed the new stud through, and as soon as it shows on the outside, use one of the lug nuts to help get it through. As you tighten the lug nut, the stud will come through more and more, so be sure it's going in straight.

Figure 8. Use lug nut to get stud through. 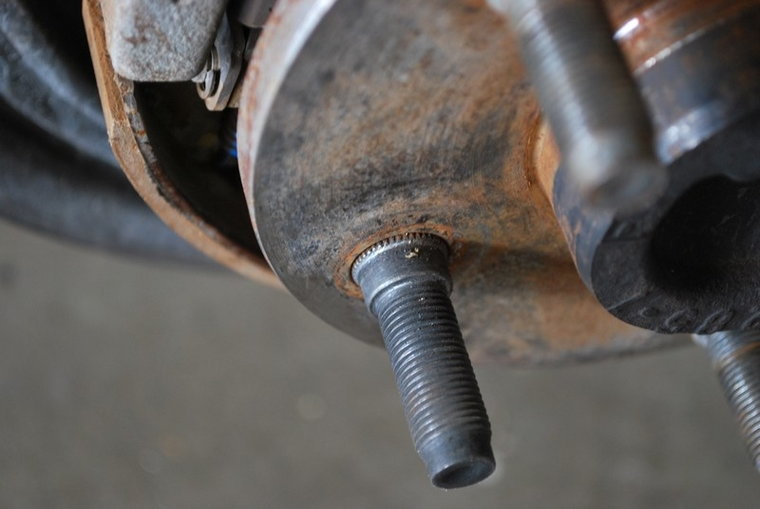
Figure 9. New stud in place.
Step 6 – Install components
Install the brake rotor in place, then install rotors retainers. Install the brake caliper on top of the rotor, then tighten the two rear bolts using your 18mm socket. Finally, put the wheel in place, hand-tighten the lug nuts, lower the car, and tighten the lug nuts in a star fashion.
Related Discussions
- Wheel Stud Replacement Procedure - JK-Forum.com
- Replacing Stripped Wheel Studs - JK-Forum.com
- Parts Needed for Wheel Stud Replacement - JK-Forum.com


