Jeep Wrangler JK: How to Wire Multiple Switches
Mods can add up quickly, but you'll still want to keep control of each accessory individually. This is where building a dedicated switch block can come in handy.
This article applies to the Jeep Wrangler JK (2007-present).
It's no secret that Jeep owners love to mod their Jeeps but don't want to keep tapping into the same circuits. So why not create new circuits and switches especially made for accessories like extra lighting? It'll allow you to keep modding your Jeep while maintaining a factory look and feel.

Materials Needed
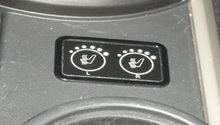
- Illuminated switches with switch block panel
- Weather proof fuse and relay block
- Weather proof circuit breaker
- 12 gauge and 8 gauge wire
- Female wire terminals
- Ring wire terminals
- Fuses and 5 pin relays
- Wire cutter
- Wire stripper
- Wire crimper
- Heat shrink tubing
- Wire loom
- Zip ties
- Drill
- Rotary tool
You can purchase aftermarket fuse box and switch combinations, such as the SPOD, which help to simplify much of the work.
Step 1 – Plan out your build
Figure out what you plan on adding to your Jeep and how many amps that will draw. Add a little extra to your calculations to plan for any future accessories. Purchase your fuses and relays according to what you need for each modification.
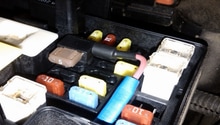
Plan out where you want to mount and install your accessory fuse block. Your fuse block should have one relay installed for your switches and an additional relay for every other accessory you plan on using. Pay attention to the pin numbers on your relays.
- Pin 85 is the pin where your switches will connect.
- Pin 86 will be for your ground wire.
- Pin 30 will always connect to a fuse, then pin 87 will always go to whatever you're powering.
- If you keep this in mind, the wiring step will be less confusing.
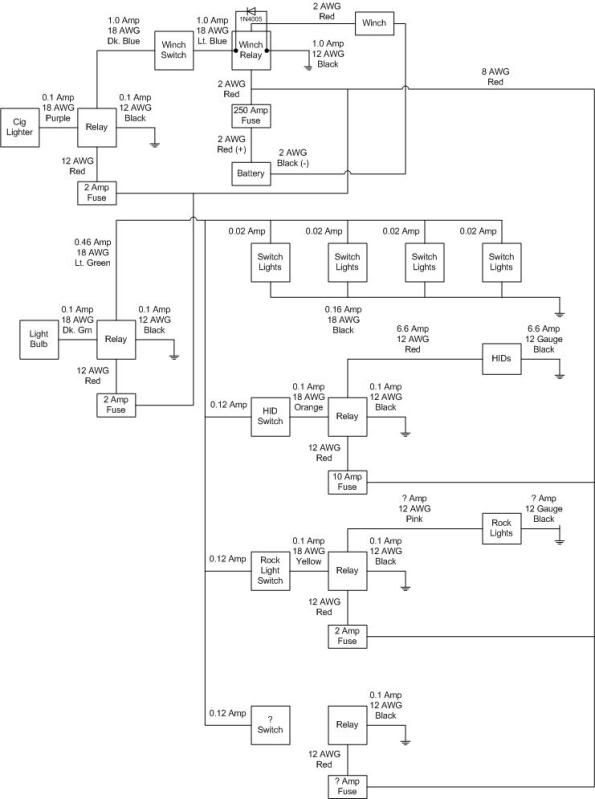
Your fuse box will be connected to the battery. For the switches, a single 5 amp fuse will suffice. For your accessory fuses, it will depend on the kind of amp draw you'll have from the accessory, but you should not need higher than a 30 amp fuse and a 50 amp relay. Write out a diagram of your planned circuit to follow as you work on it.
Step 2 – Install fuse box and switches
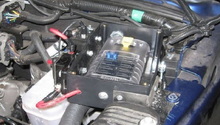
If you have everything planned out, the actual installation should be simple. Mount your fuse box somewhere in the engine compartment. Fasten it down with bolts or screws. Make sure that it's secure enough that it won't move.

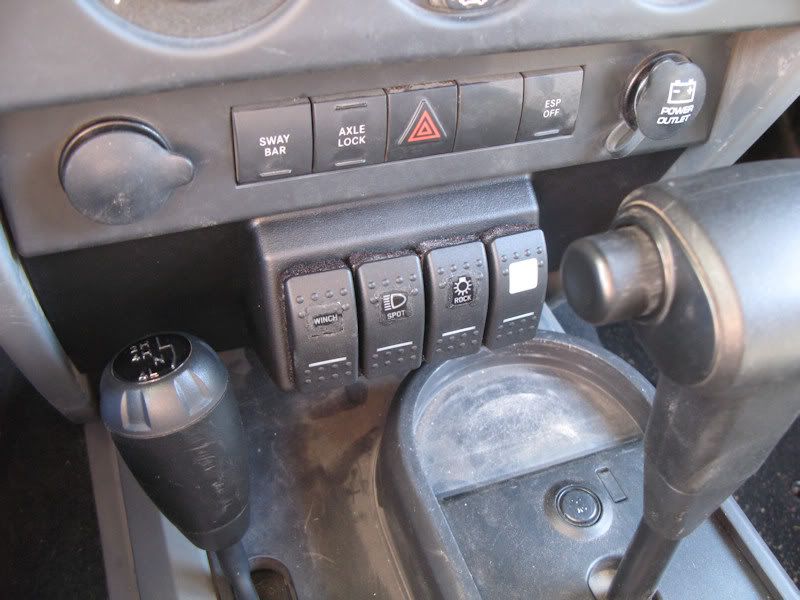
For the switches, you'll need to find a space that can hold all of the switches you need. Some good places for installing a switch block are on the center console below the HVAC controls, above the rear-view mirror, or even on the driver's side A-pillar. Once you have a spot picked, out drill a hole in the paneling large enough to fit your switch block. Clean out the opening with a rotary tool, then fit your switches to the opening.
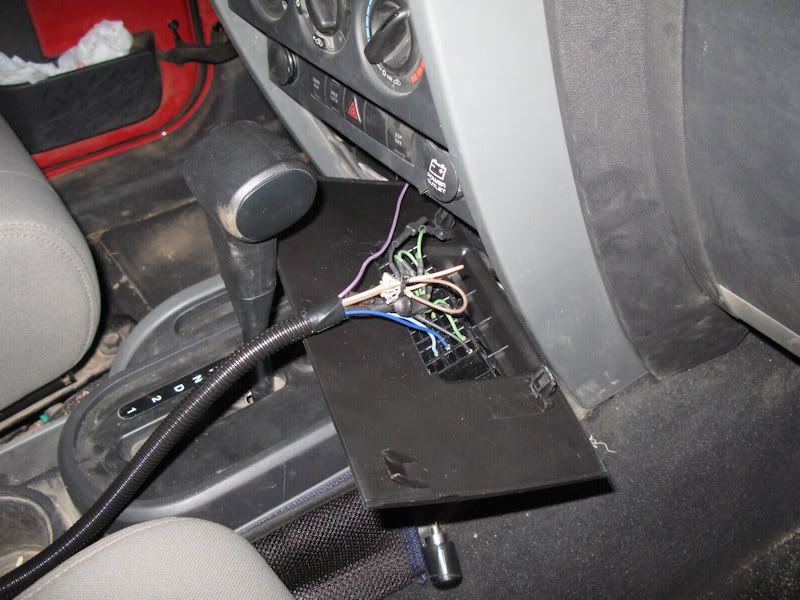
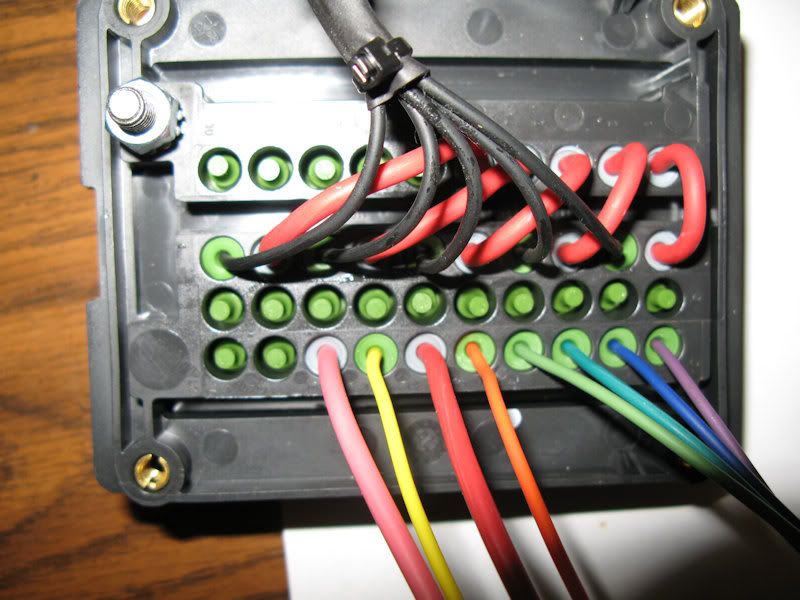
Step 3 – Wiring
This is the most confusing step, but if you can remember your circuit plan and remember what each pin on the relays are for, then it should be simple to figure out. Start by wiring the switches. Each switch should have three pins: two positive and one ground. You can connect all your switches to a single positive input wire which will connect to pin 87 on your switch relay. The switch relay's pin 86 will connect to a 12-volt power source that is only on when the car is on. The other two pins on the relay will connect to a fuse and a ground terminal.
Pro Tip
If you're not sure where to find a 12-volt source for the switch relay, try using a test light to see which circuits get power when the key is turned in the ignition.
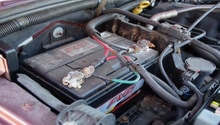
Each switch will have a positive output connecting to pin 86 of a relay. The ground wires will need to be crimped to a ring terminal which will attach to the Jeep's chassis. Once your accessories have all been wired and all the ground wires are firmly connected to the chassis, you're ready to add power from the battery. Connect your 8-gauge wire to a circuit breaker. Mount the circuit breaker somewhere in your engine compartment. Then, connect the circuit breaker to the battery with another ring terminal.
Related Discussions
- Relay box and wiring info needed for multiple lights - JK-Forum.com
- Multiple accessories to a single switched 12v source? - JK-Forum.com
- Auxiliary electrical hookup - JK-Forum.com