
HOW TO: Install Quadratec Automatic Mirror Movers W/O removing door panel.
 04-18-2015, 09:24 PM
#1
JK Enthusiast
Thread Starter
Wanted to share my technique for installing my mirror movers without removing my interior door panels. I've taken them off in the past to install my door cup LED's to illuminate the door handles, but didn't see the point to install the mirrors. With this technique you can easily reinstall factory mirrors should you ever want to.
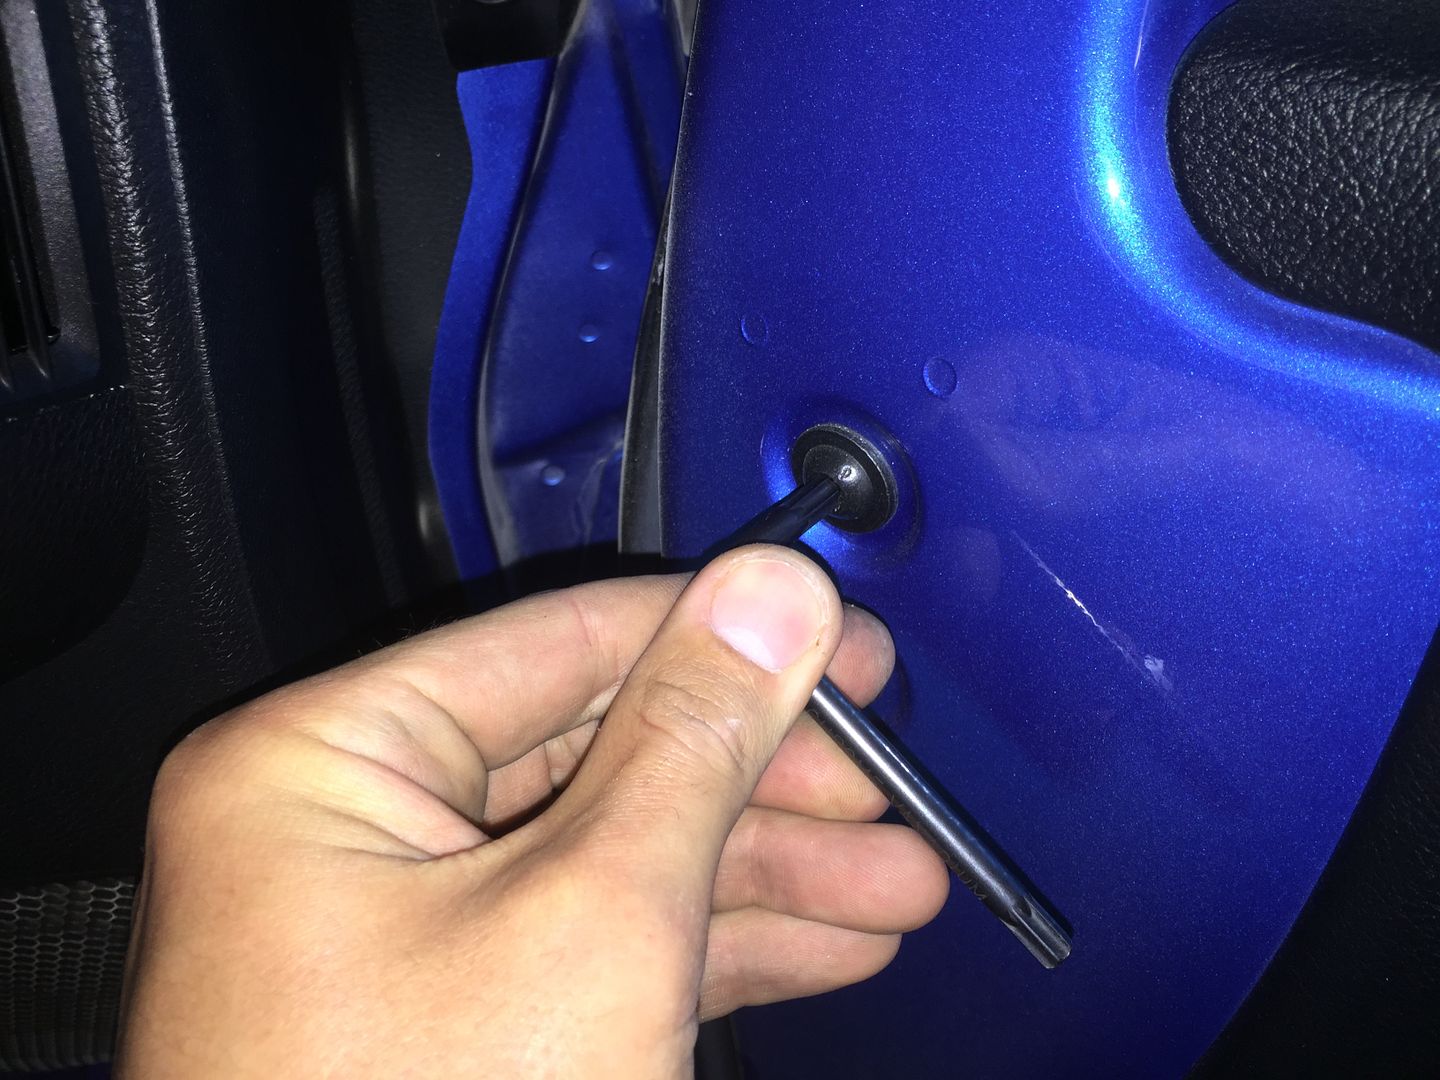
Step 1. Remove 3 screws holding the mirror cover to the motor mount. Push mirror inboard to reveal two torx screws, remove with T20.
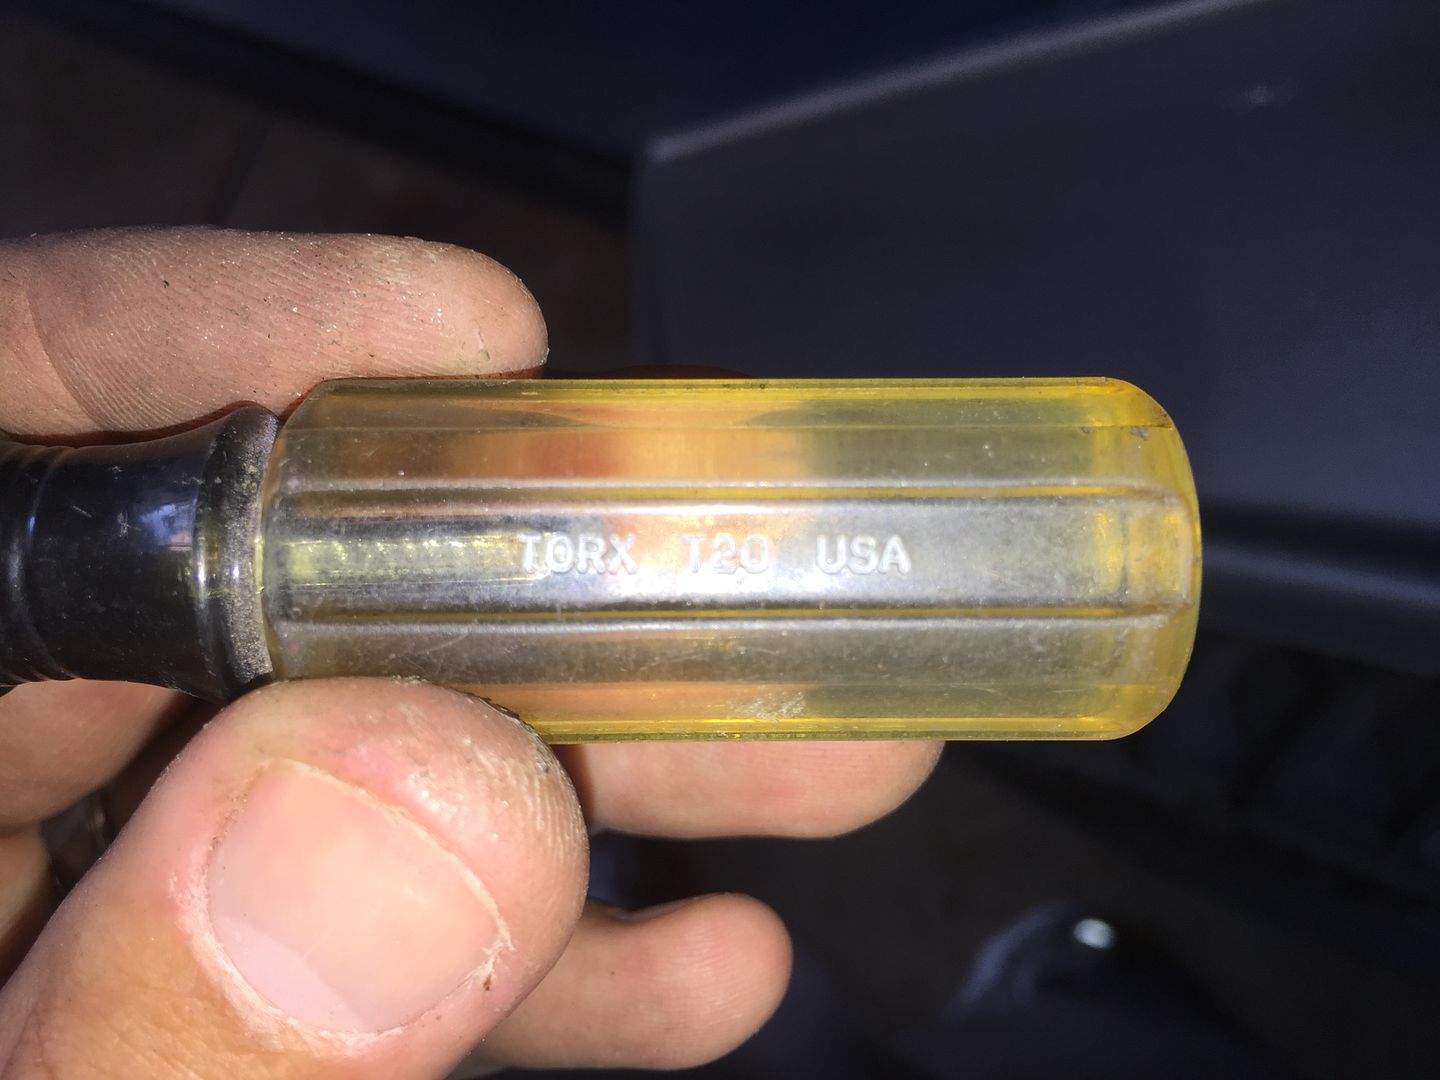
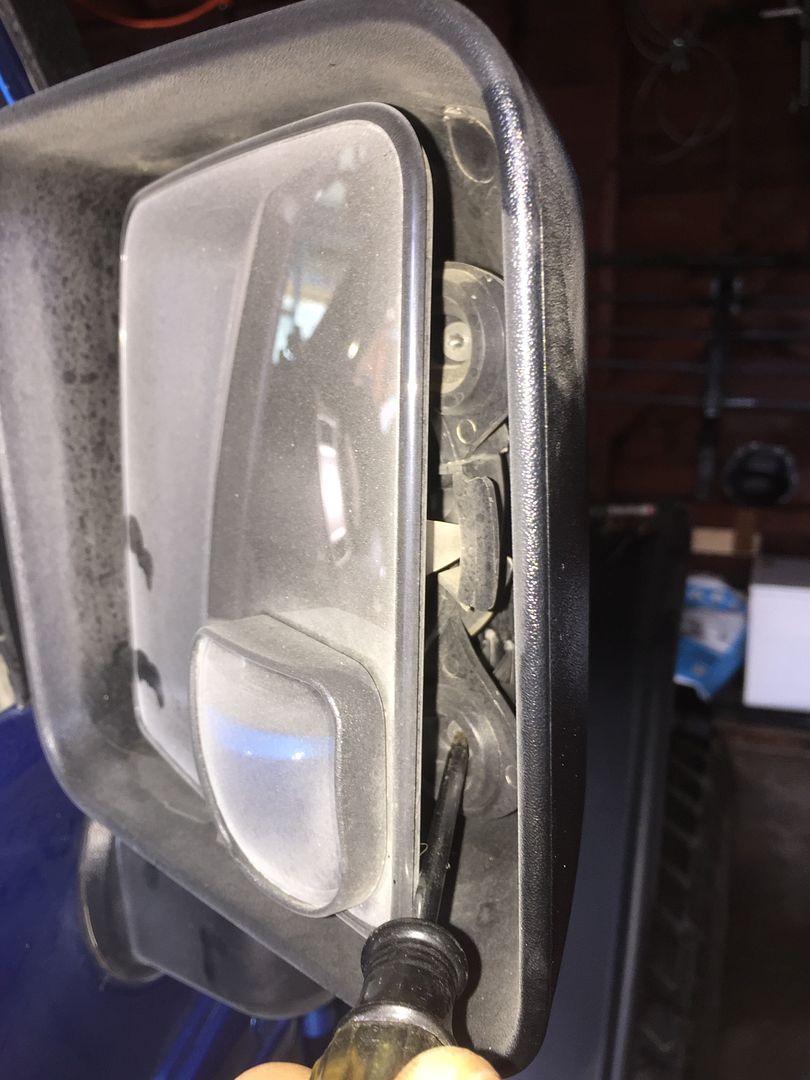
Step 2. Push mirror outboard to reveal one more torx screw, remove it too.
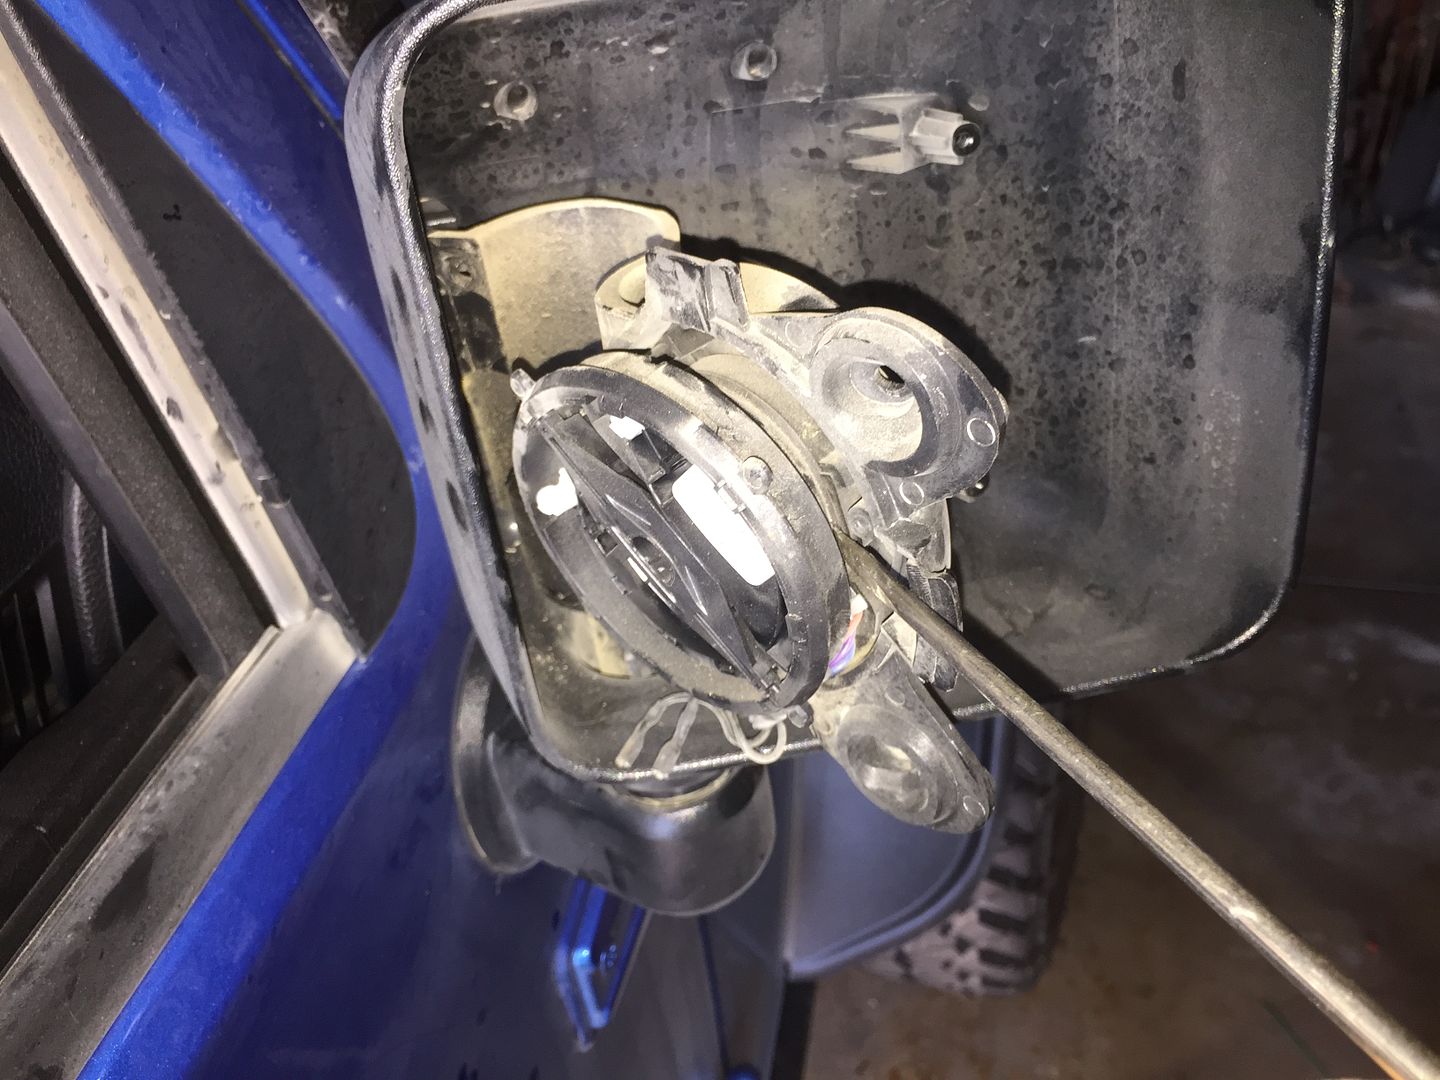
Step 3. Using supplied T40 torn wrench loosen factory mirror housing
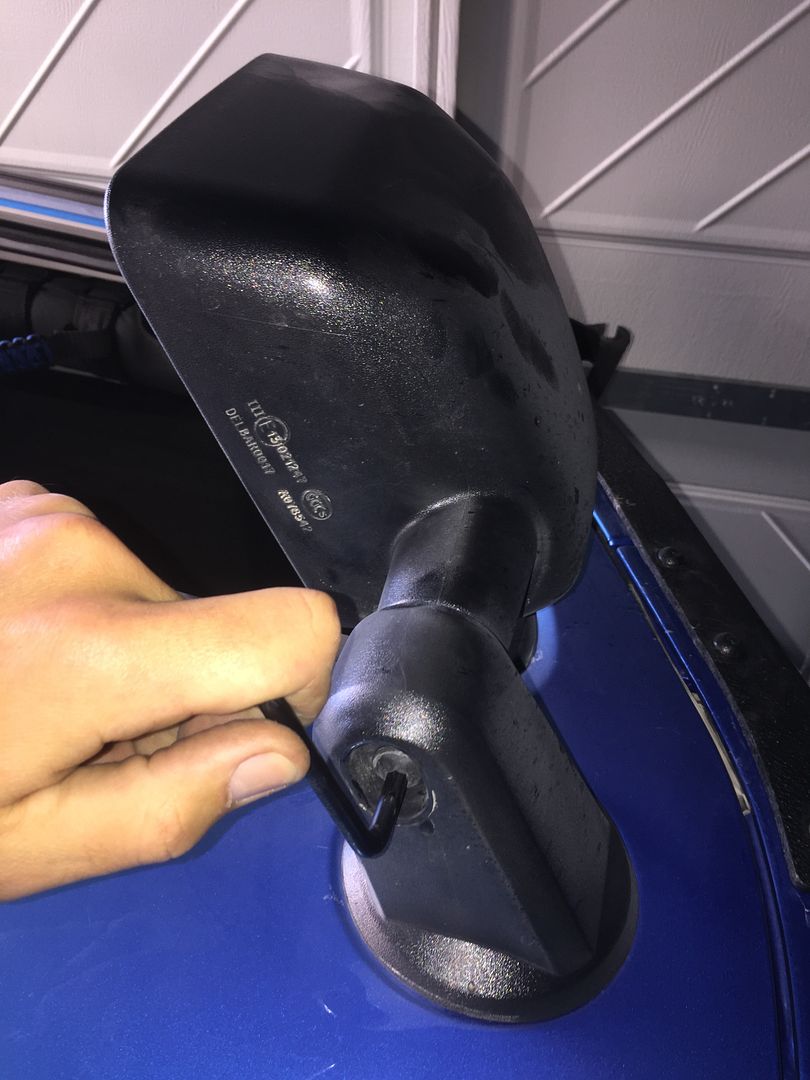
Step 4. Rotate mirror housing away from mirror motor, unplug heated mirror power wires.
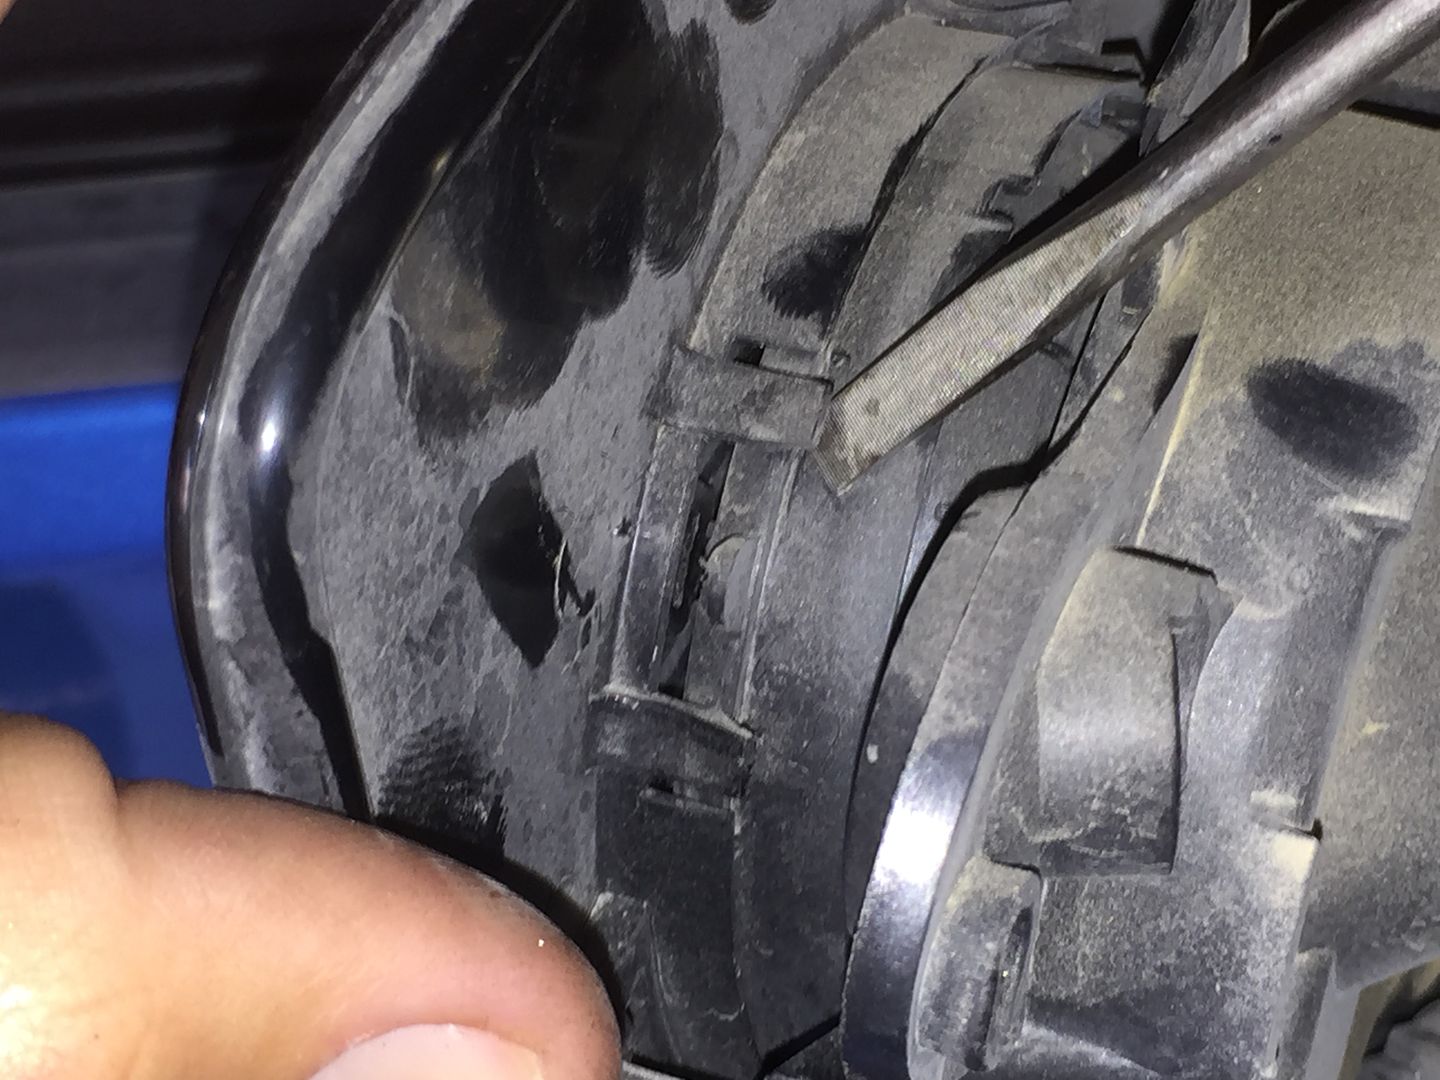
Step 5. Loosen tabs on back of mirror to separate it from mirror motor. To do this use a flat head to pry up tabs while applying gentle pulling force on mirror. Move around the motor from one clip to the next until the mirror separates from motor.
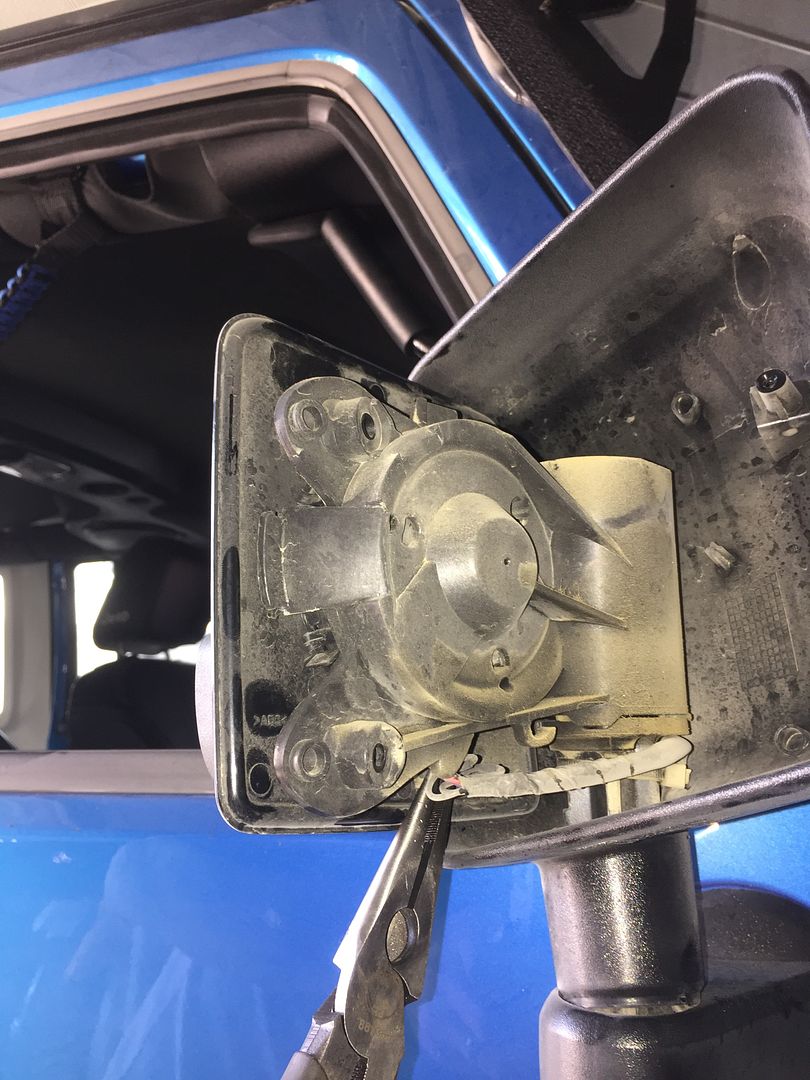
Step 6. Using T10 Torx remove screw in the middle of the mirror motor.

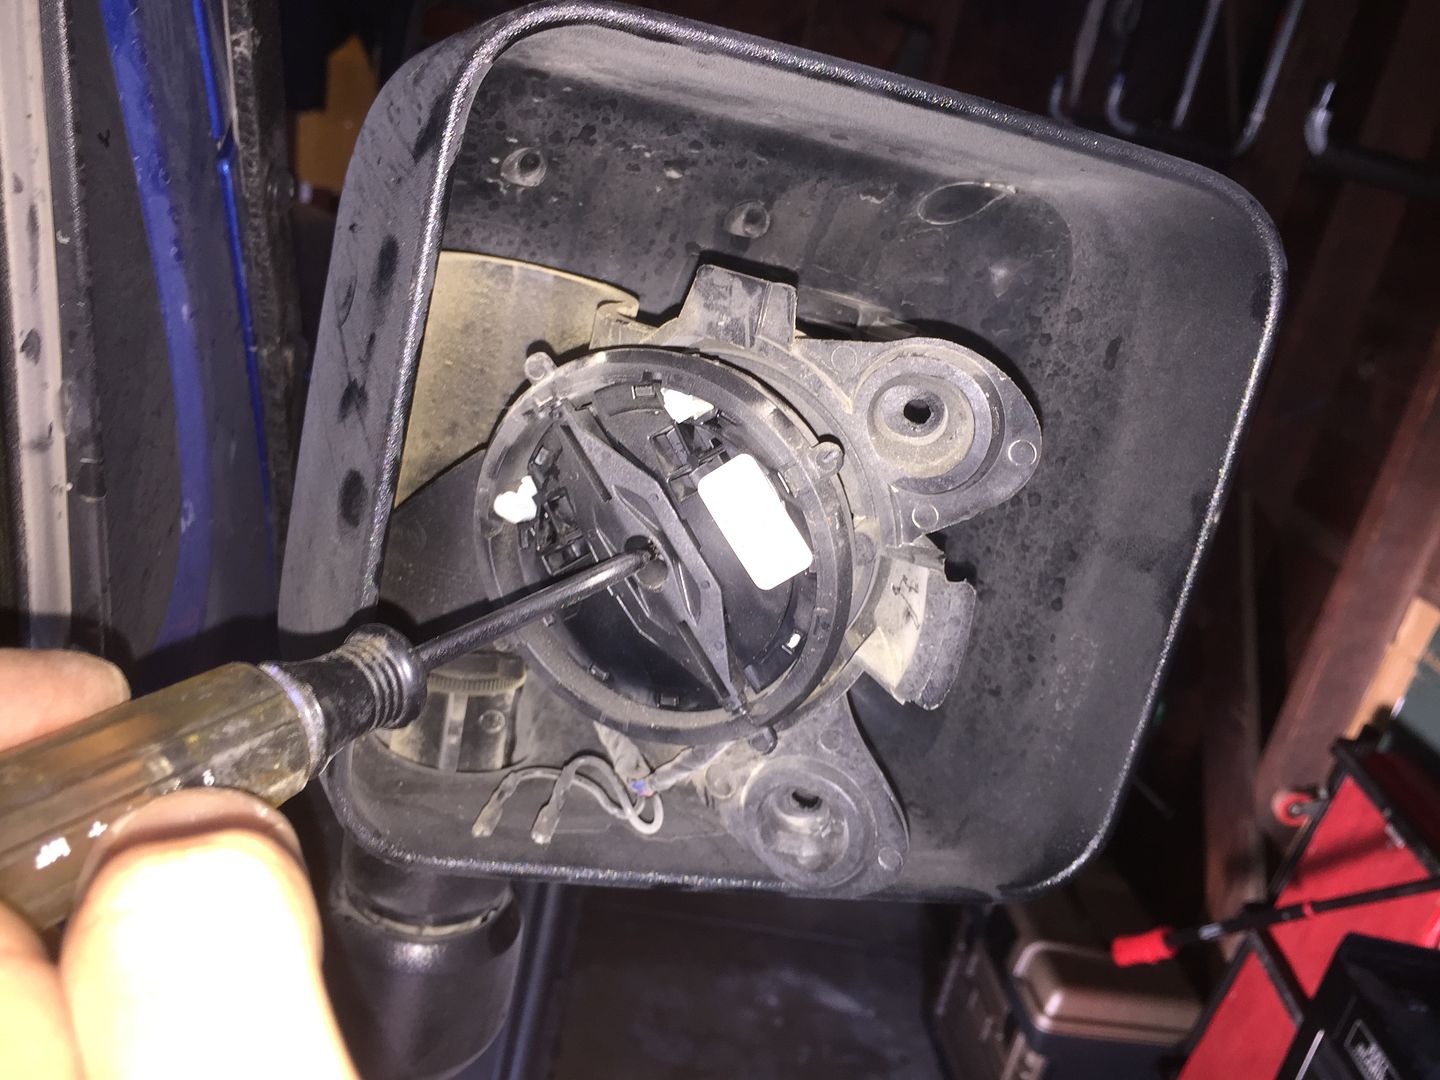
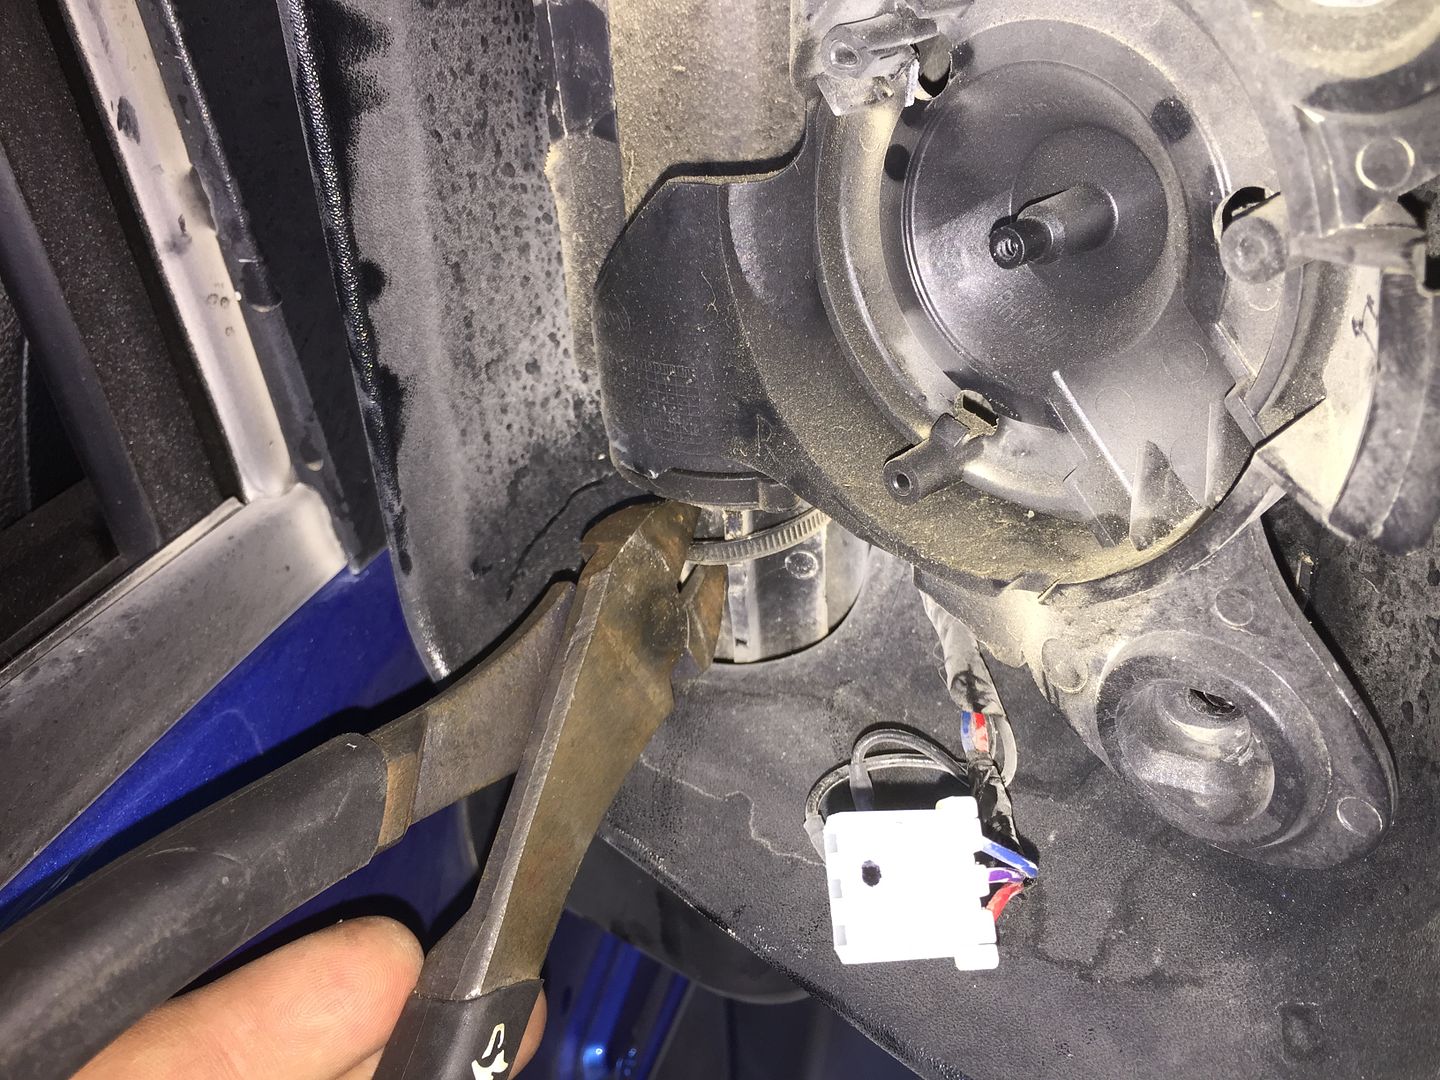
Step 7. Gently pry motor away from mirror motor mount.
Step 8. Unplug mirror motor.

Step 9. Cut zip tie.
Step 10. Use T40 and unbolt Mirror from door.
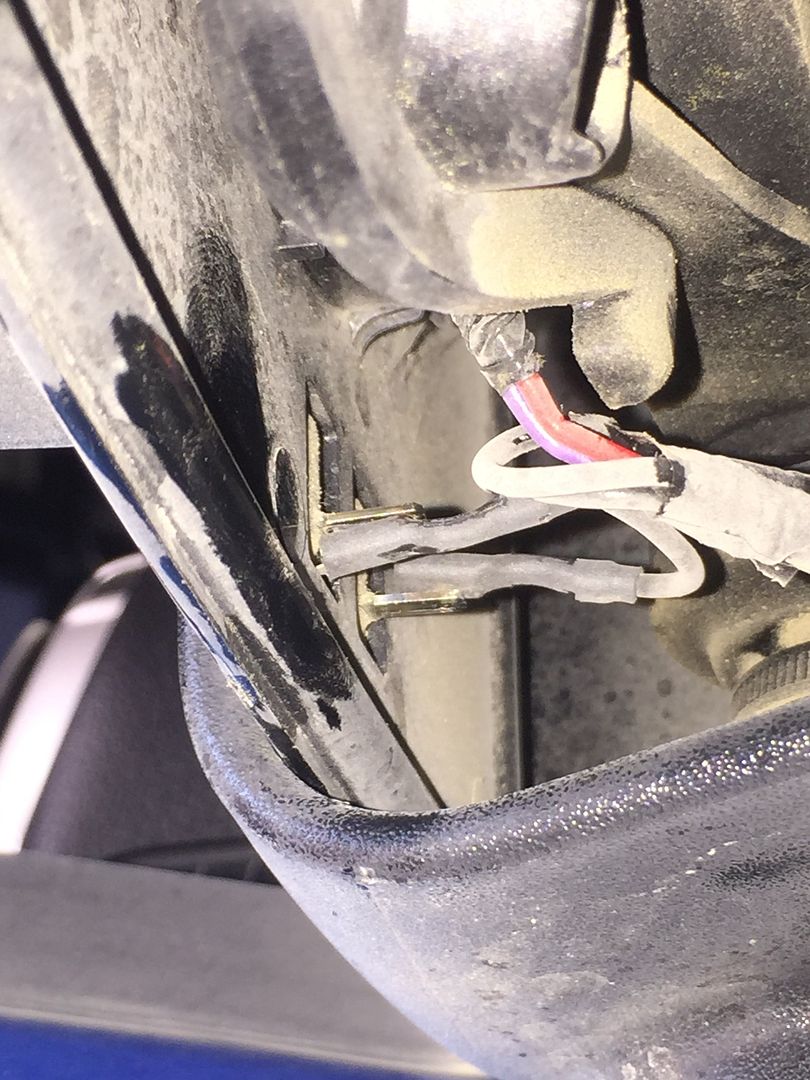
Step 11. Pull mirror off door. Carefully feed wire out of mirror assembly.
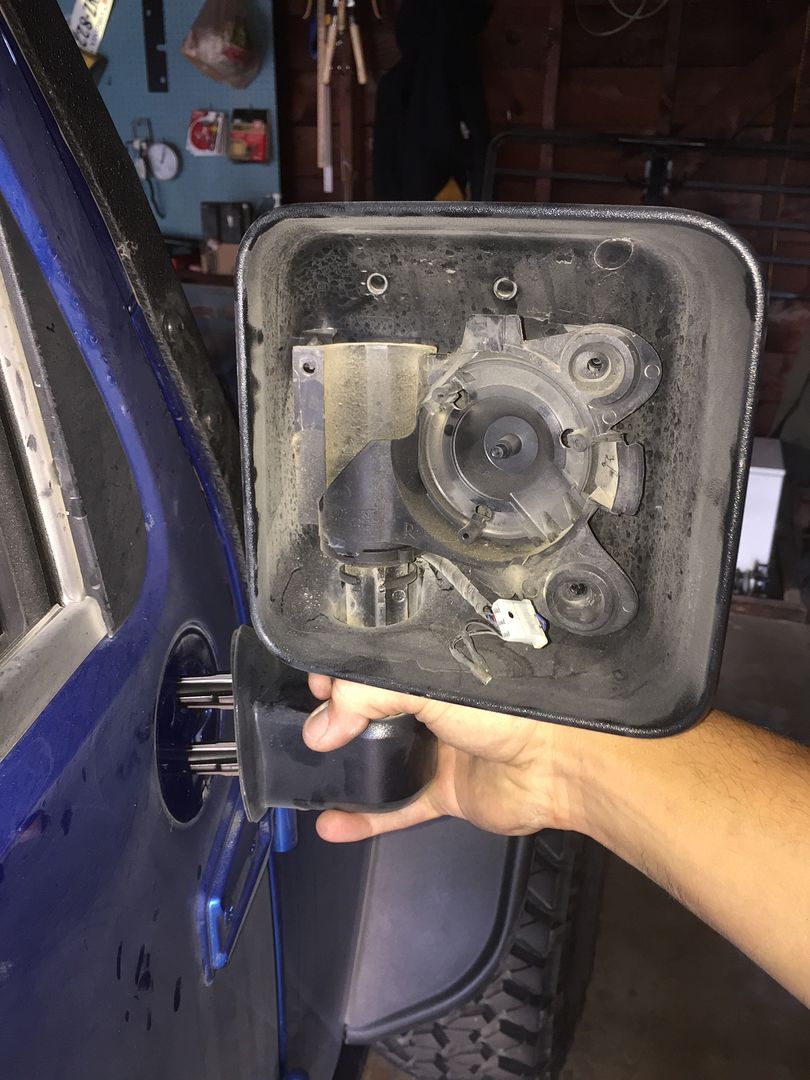
NOTE: My passenger motor mount wouldn't separate from my mirror mount. This kept me from pulling the wire out. If this happens to you, very loosely re-install the screw that goes in the bottom of the mirror mount and lightly tap it with a mallet until the parts separate.
Step 1. Remove 3 screws holding the mirror cover to the motor mount. Push mirror inboard to reveal two torx screws, remove with T20.


Step 2. Push mirror outboard to reveal one more torx screw, remove it too.
Step 3. Using supplied T40 torn wrench loosen factory mirror housing

Step 4. Rotate mirror housing away from mirror motor, unplug heated mirror power wires.


Step 5. Loosen tabs on back of mirror to separate it from mirror motor. To do this use a flat head to pry up tabs while applying gentle pulling force on mirror. Move around the motor from one clip to the next until the mirror separates from motor.

Step 6. Using T10 Torx remove screw in the middle of the mirror motor.


Step 7. Gently pry motor away from mirror motor mount.

Step 8. Unplug mirror motor.

Step 9. Cut zip tie.

Step 10. Use T40 and unbolt Mirror from door.

Step 11. Pull mirror off door. Carefully feed wire out of mirror assembly.

NOTE: My passenger motor mount wouldn't separate from my mirror mount. This kept me from pulling the wire out. If this happens to you, very loosely re-install the screw that goes in the bottom of the mirror mount and lightly tap it with a mallet until the parts separate.

 04-18-2015, 09:24 PM
#2
JK Enthusiast
Thread Starter
Step 12. Loop wire back on itself, wrap in electrical tape to form loop. wrap each mirror heater lead separately and cover mirror motor plug.
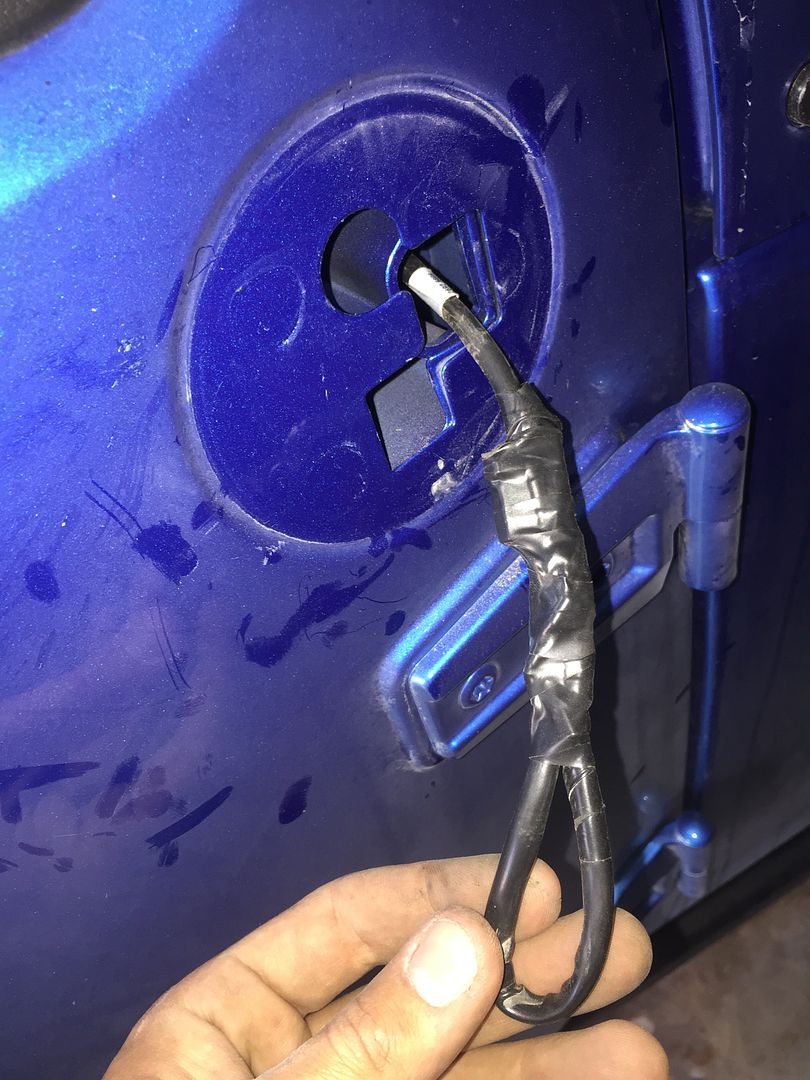
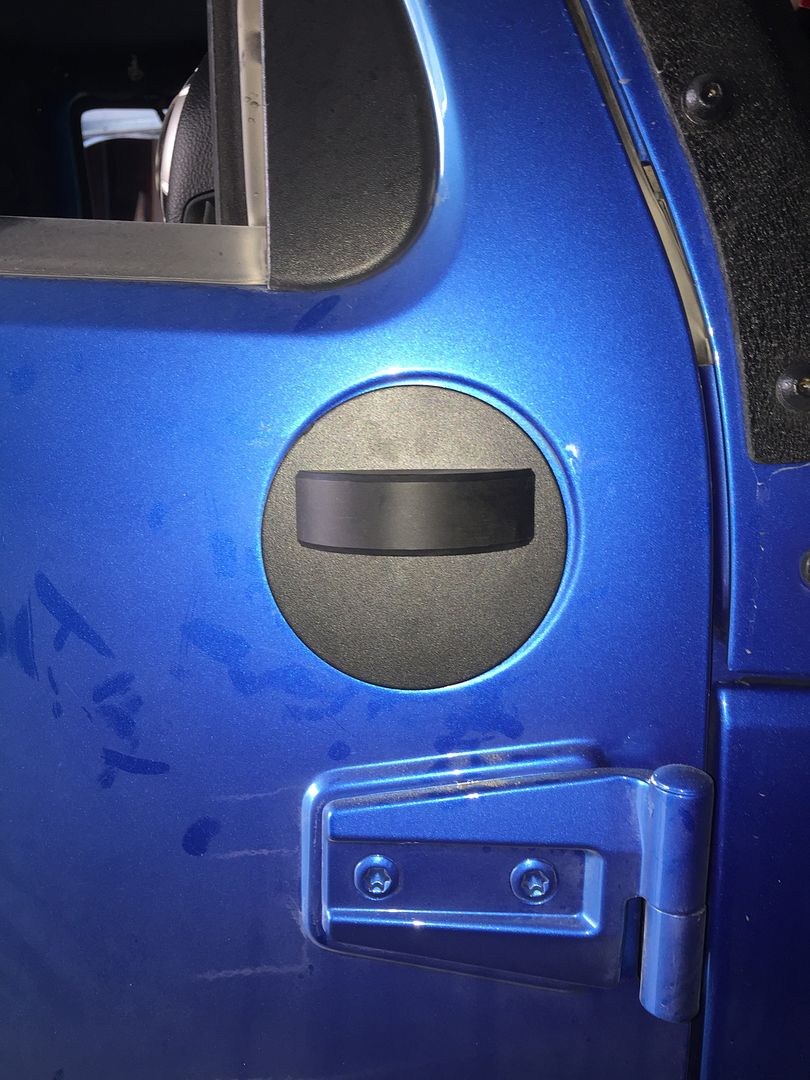
Step 13. Push loop back into door, aligning loop with the foot of your mirror mover mirror delete panel.
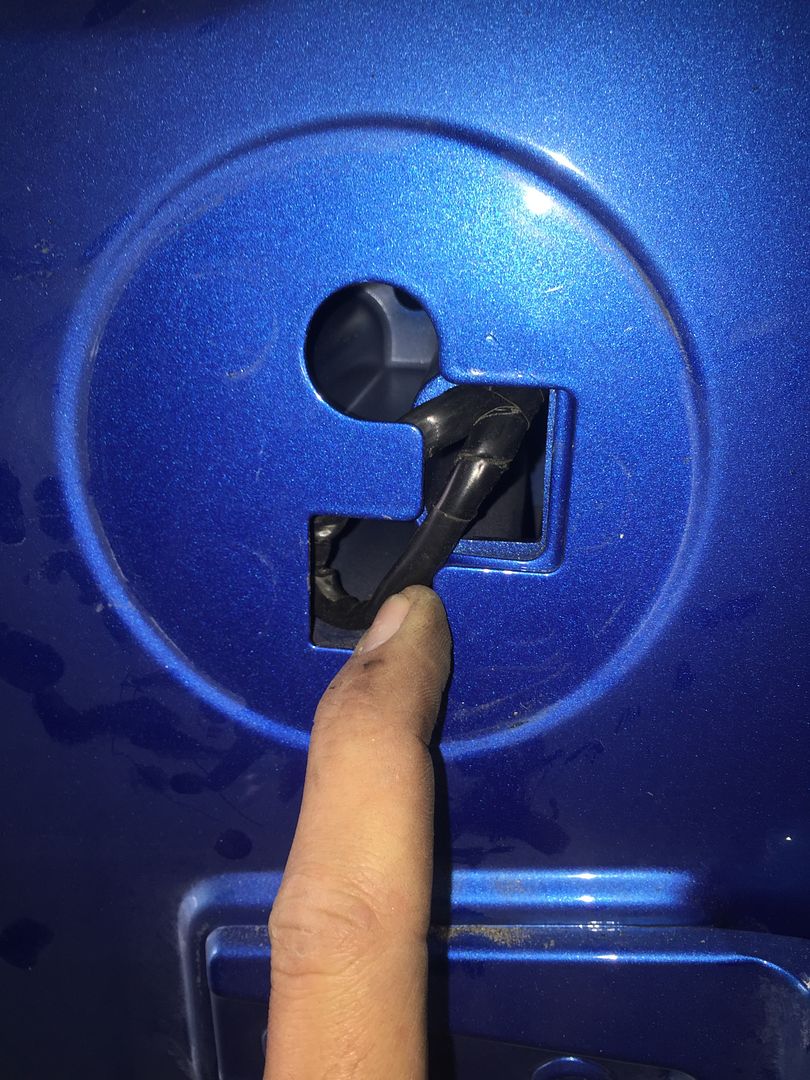
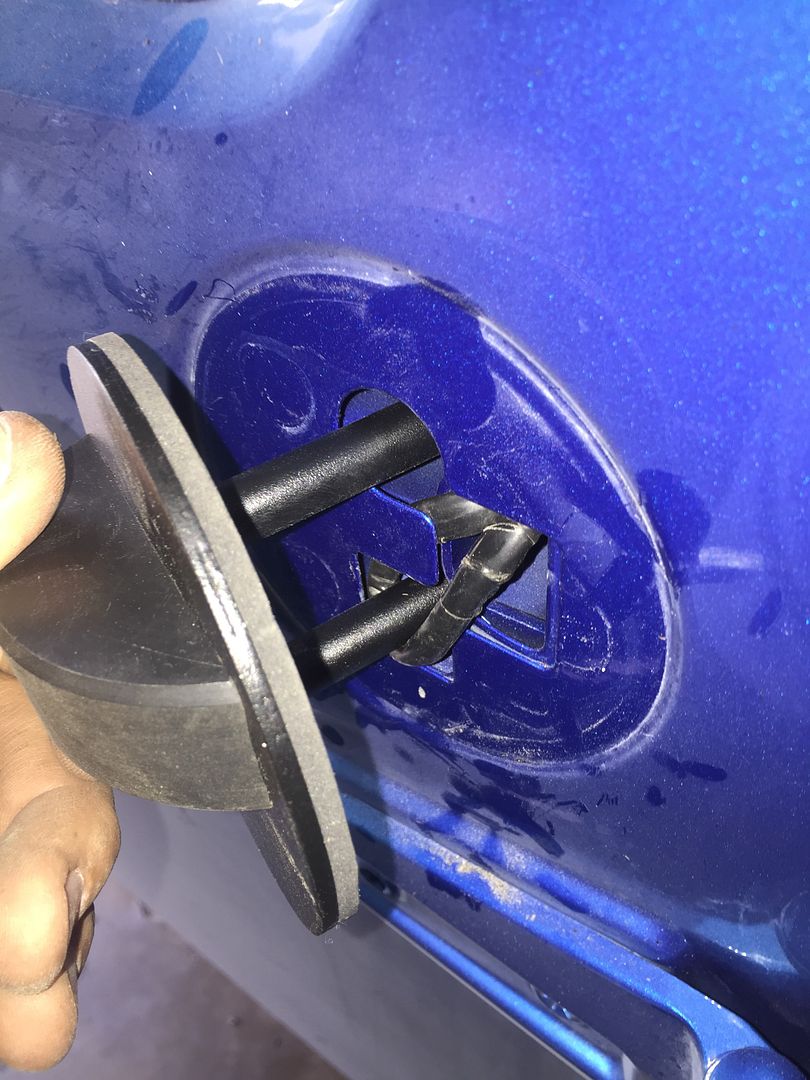
Step 14. Tighten bolts with T40 to finish installing mirror delete panel.
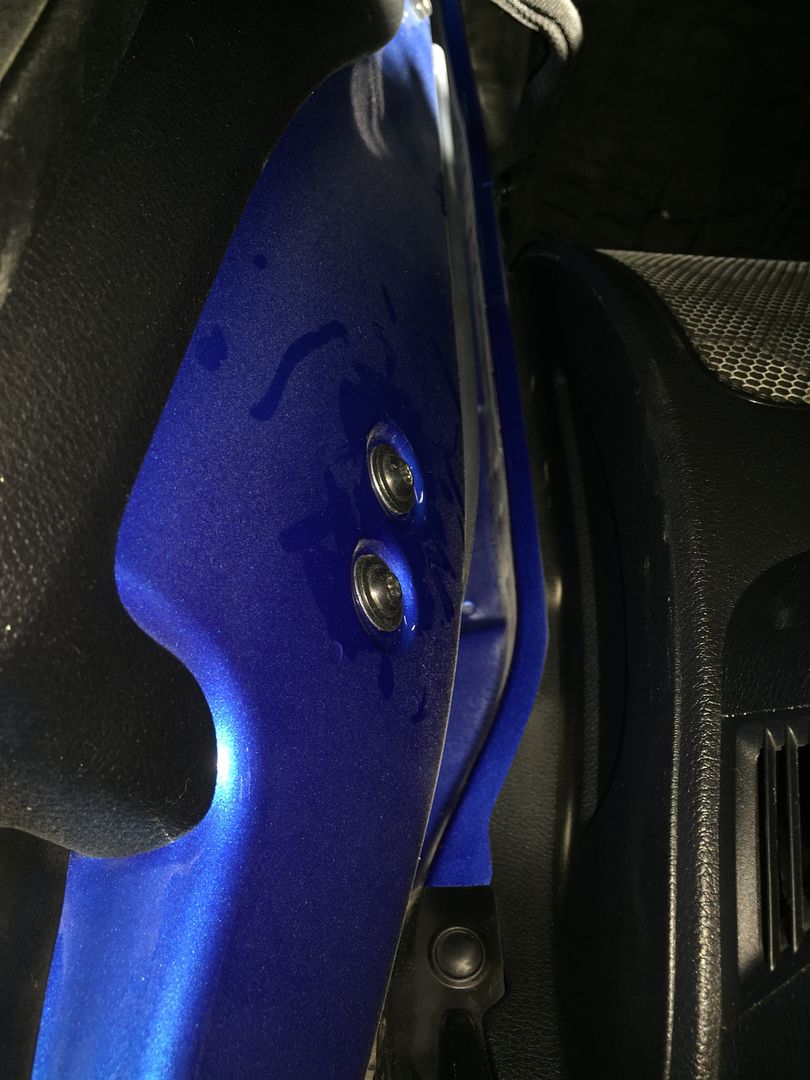
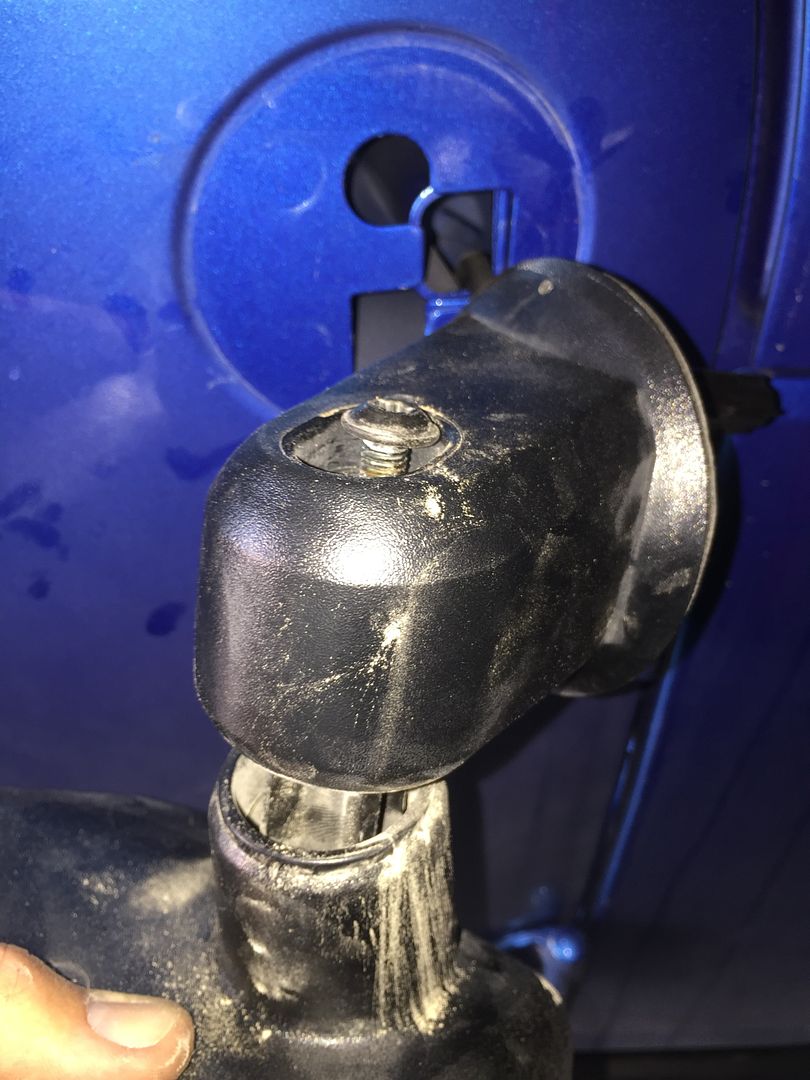
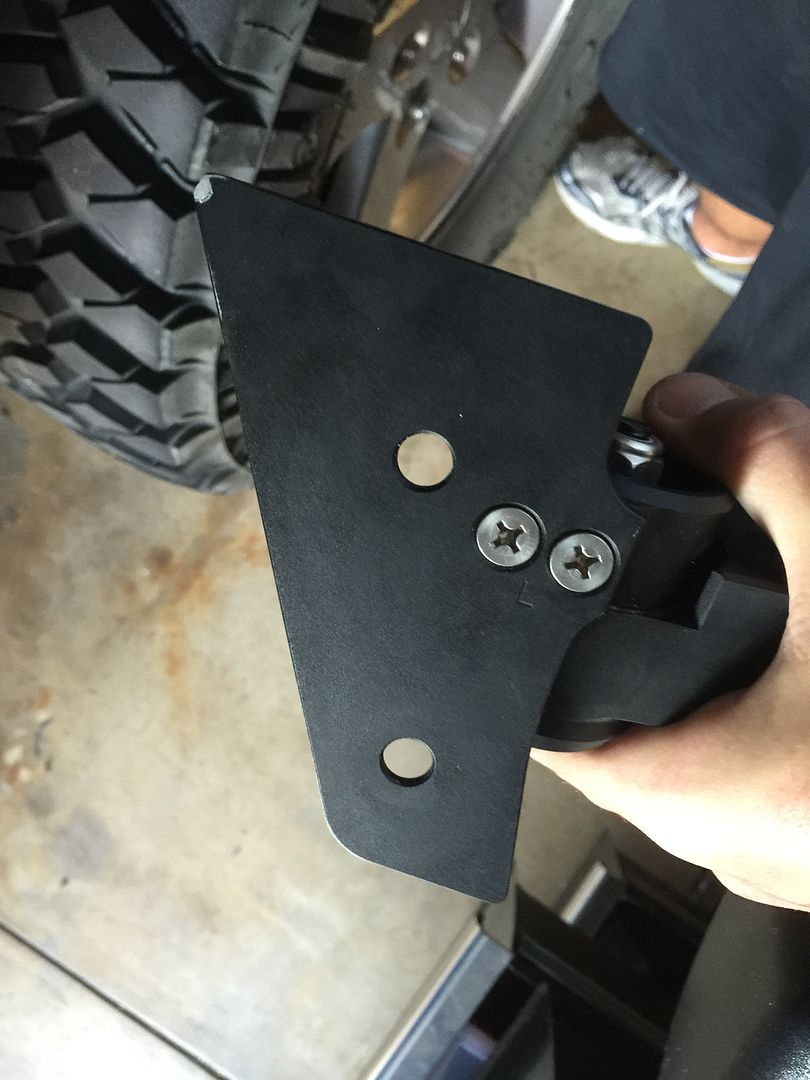
Step 15. My mirrors both were very loose when installed, this was caused by improperly torquing the 2 phillips head screws that attach the spring loaded mechanism to the Jeeps pillar. I recommend removing these screws, applying a liberal application of red locktite and reinstalling tightly. I also had burrs on each bracket that would cause major paint damage, as seen in photo, I removed them with a file.
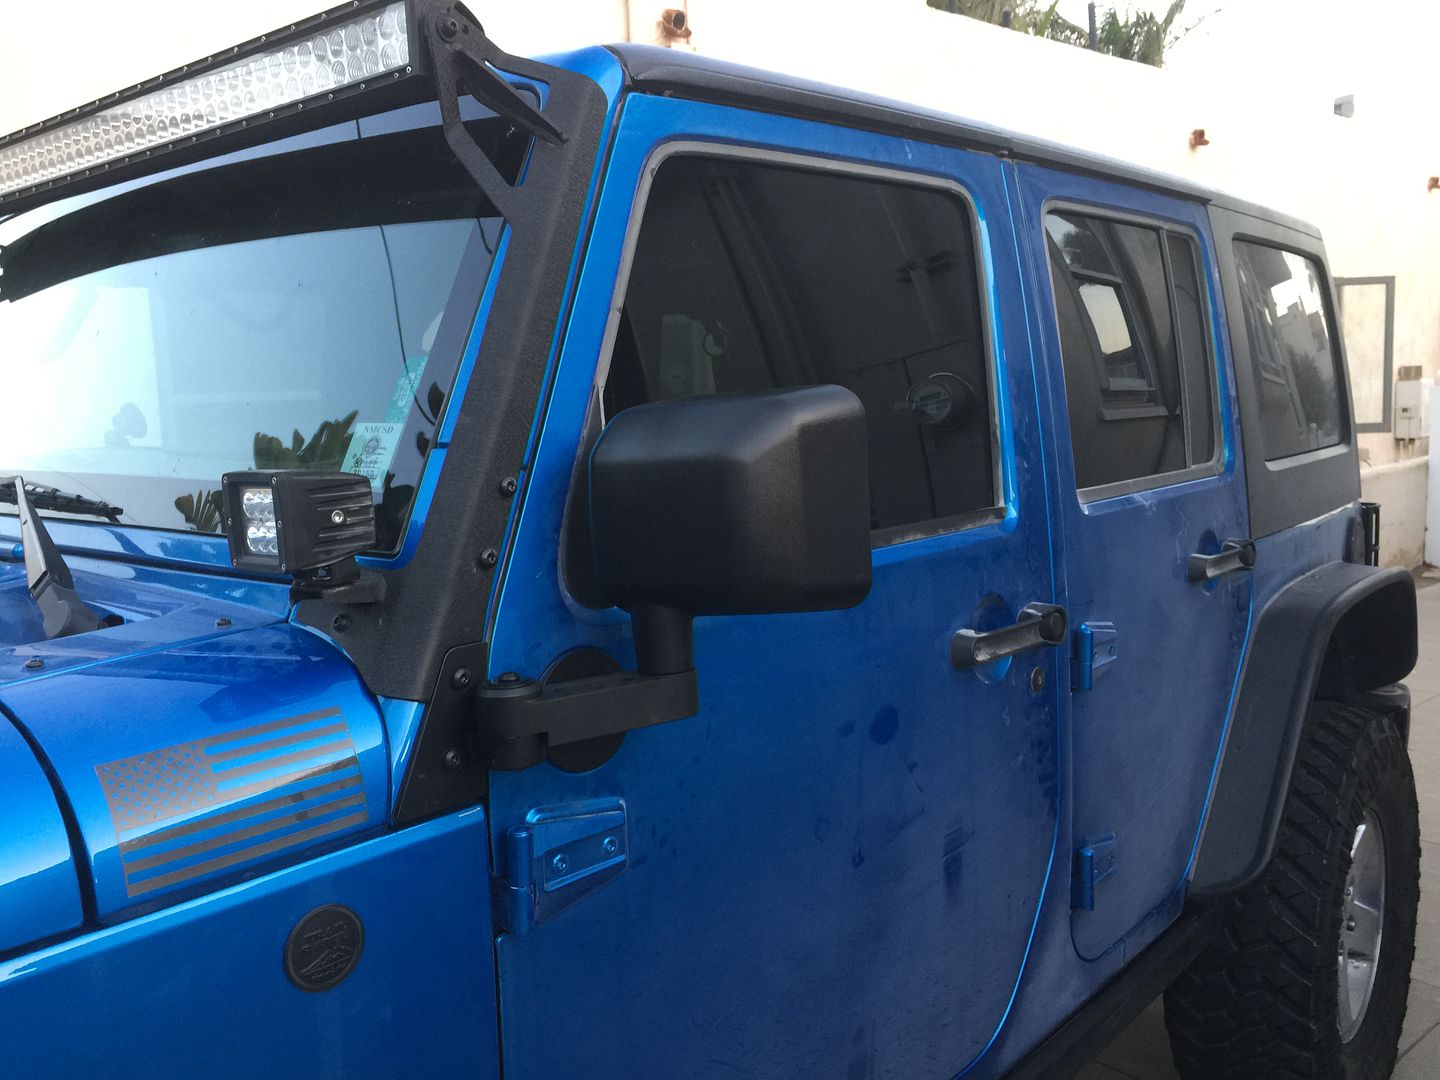
Step 16. Install quadratic mirror to pillar using T40 Torx to 15 ft./lbs. (I had to modify my light bar bracket)

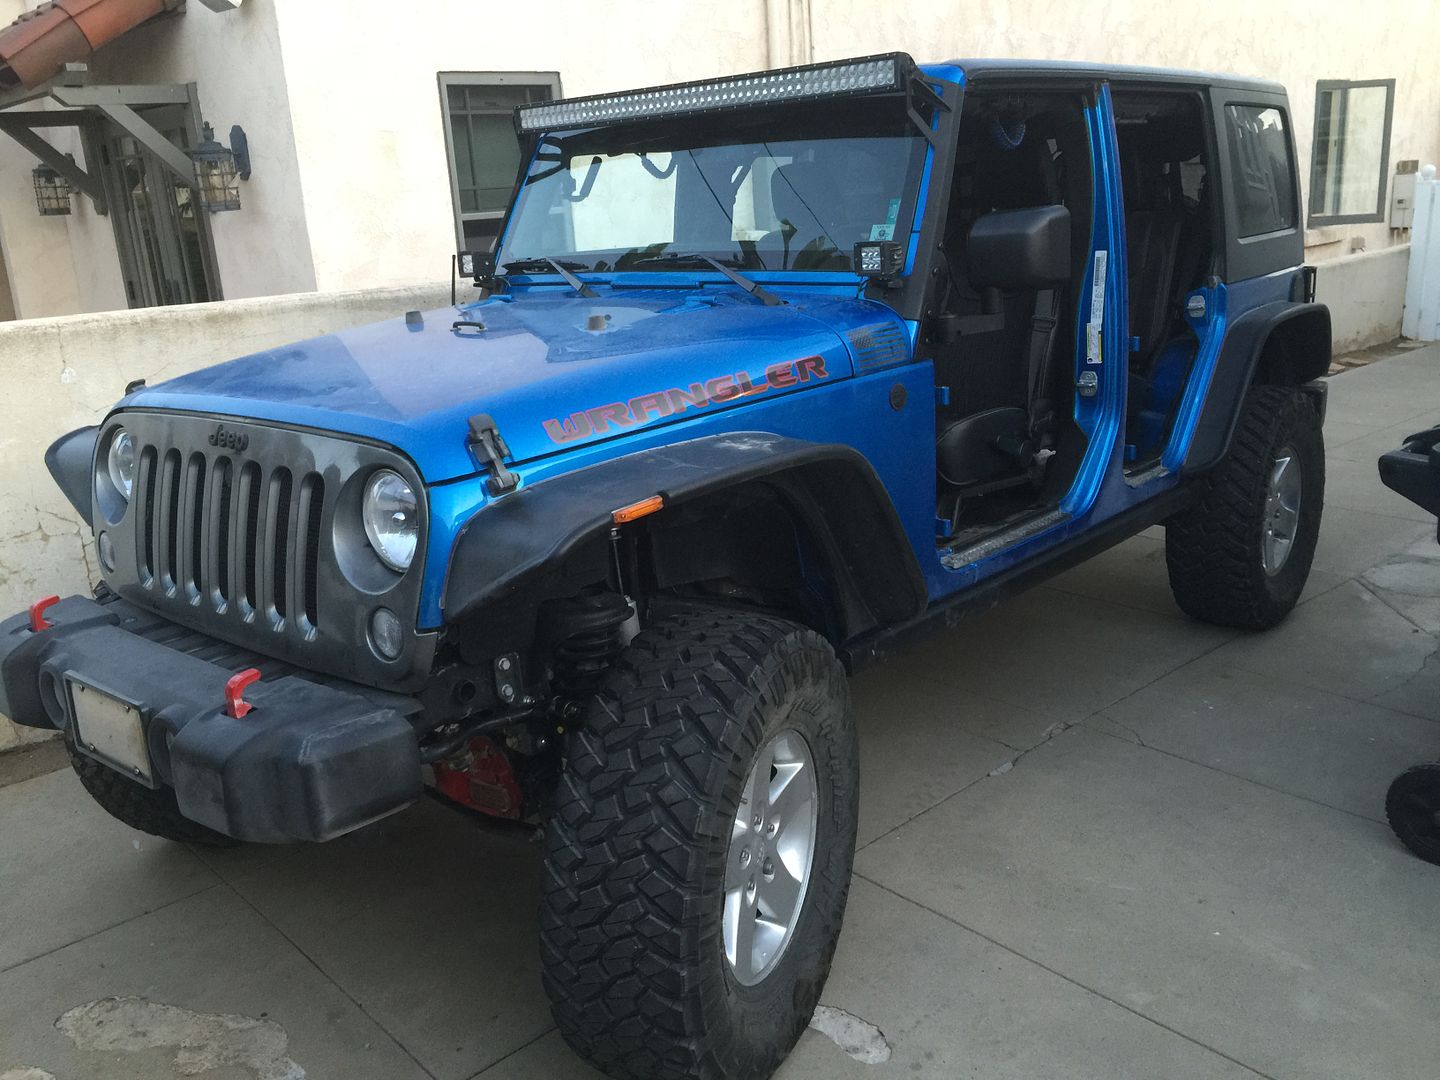
The view from the drivers seat.
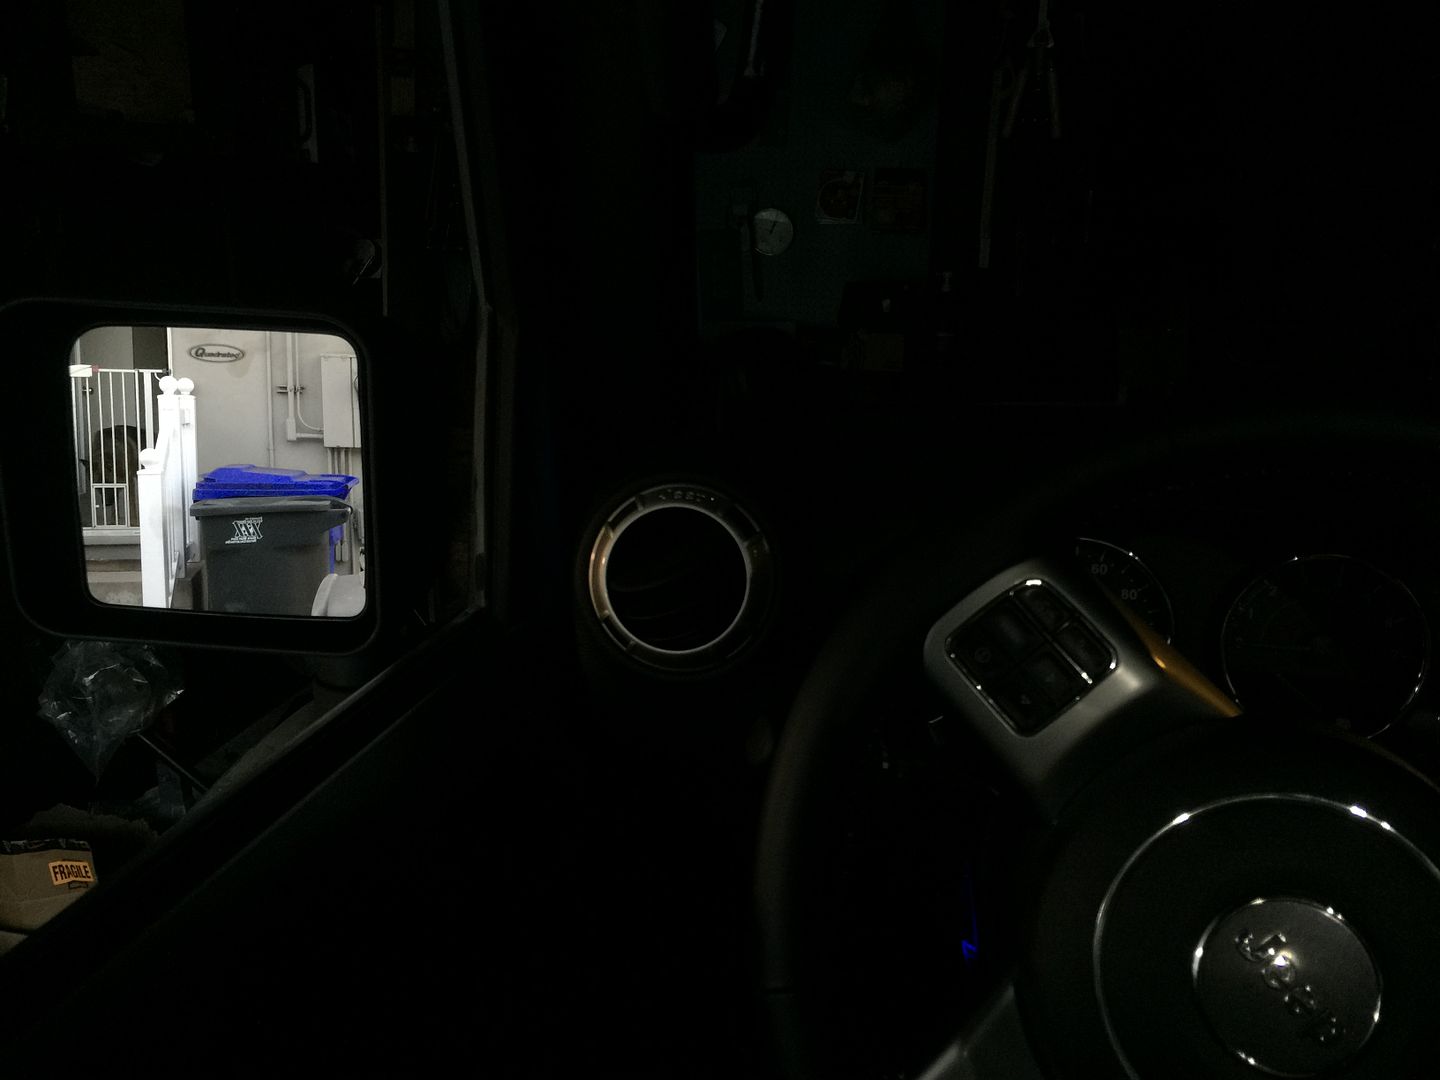
Hope this helps!

Step 13. Push loop back into door, aligning loop with the foot of your mirror mover mirror delete panel.


Step 14. Tighten bolts with T40 to finish installing mirror delete panel.


Step 15. My mirrors both were very loose when installed, this was caused by improperly torquing the 2 phillips head screws that attach the spring loaded mechanism to the Jeeps pillar. I recommend removing these screws, applying a liberal application of red locktite and reinstalling tightly. I also had burrs on each bracket that would cause major paint damage, as seen in photo, I removed them with a file.

Step 16. Install quadratic mirror to pillar using T40 Torx to 15 ft./lbs. (I had to modify my light bar bracket)


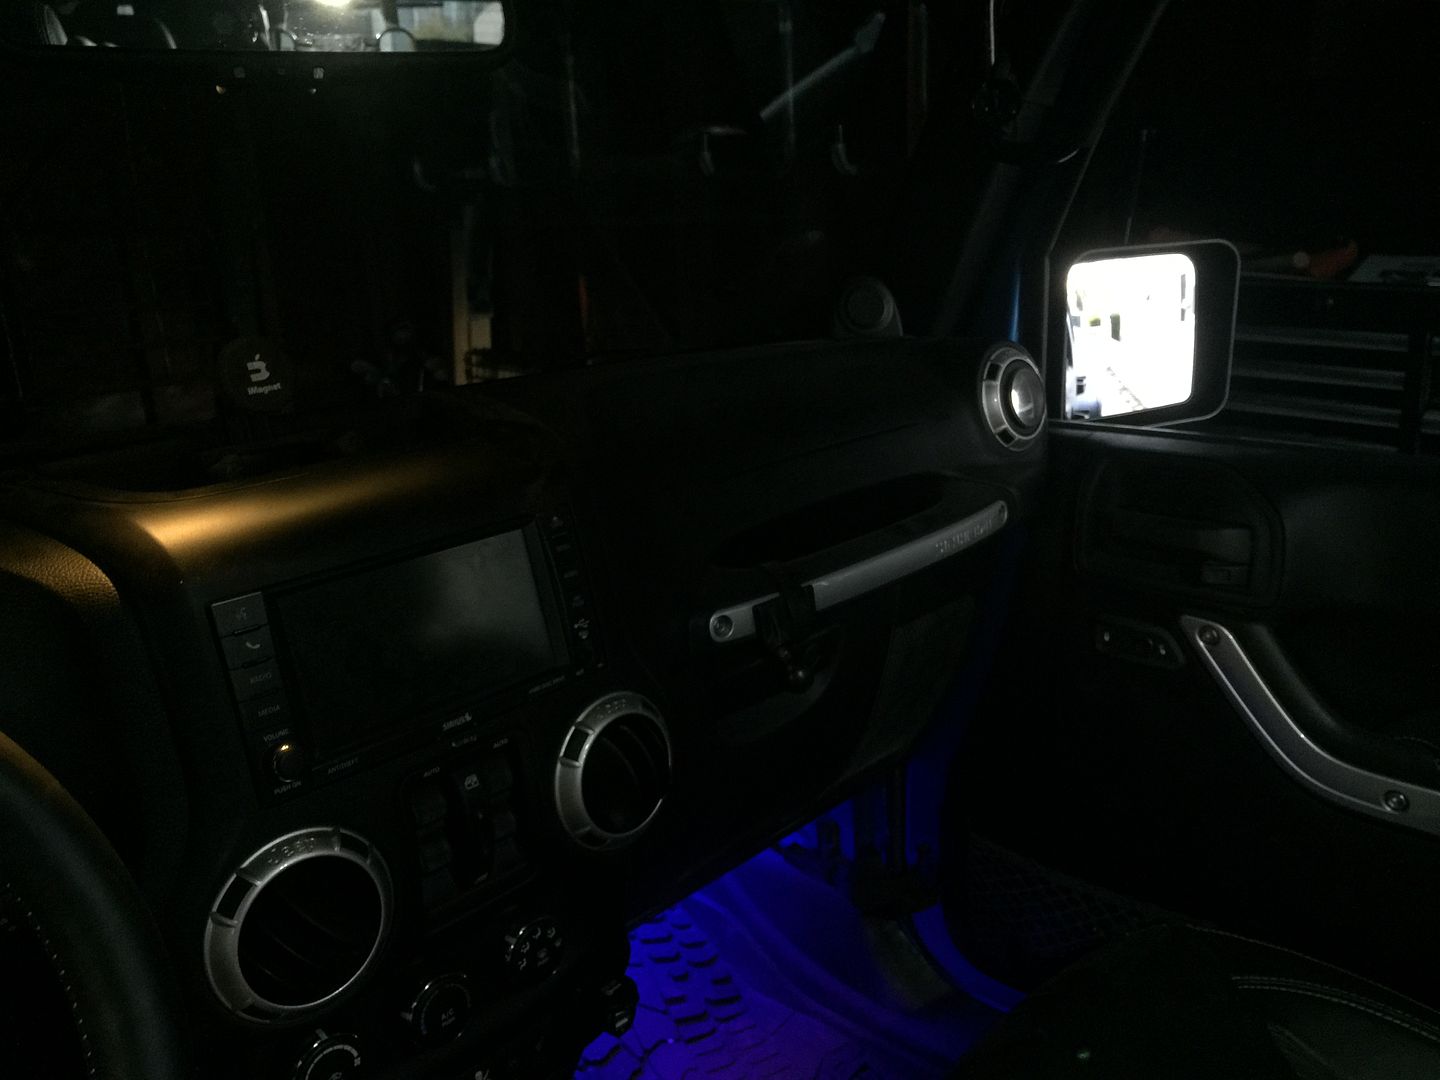
The view from the drivers seat.


Hope this helps!
 04-19-2015, 02:38 PM
#4
JK Newbie

Join Date: Apr 2015
Location: Greenville,TX
Posts: 21
Likes: 0
Received 0 Likes
on
0 Posts
Man I love that color blue!! One question I have is, why did you decide to go with the Quadratec mounts over the some of the other (much cheaper) options like the Rugged Ridge or Warrior Products? This will be my next mod as soon as these Spring Texas thunderstorms pass and I run doorless most of the Summer. Didnt like using the hokey motorcycle mirrors before and would much rather use the stock size mirrors.
Thanks!!
Thanks!!
04-20-2015, 12:00 PM
#7
JK Enthusiast
Thread Starter
Man I love that color blue!! One question I have is, why did you decide to go with the Quadratec mounts over the some of the other (much cheaper) options like the Rugged Ridge or Warrior Products? This will be my next mod as soon as these Spring Texas thunderstorms pass and I run doorless most of the Summer. Didnt like using the hokey motorcycle mirrors before and would much rather use the stock size mirrors.
Thanks!!
Thanks!!
These are the only ones that keep the mirros in the factory position. All other relocation set ups leave you with a mirror on the passenger side that you can't see out of without leaning over, it's basically there for looks. These are expensive, but they look and function like factory while never having to be removed.
Last edited by JCDriller; 04-20-2015 at 12:07 PM.
Trending Topics
 04-20-2015, 08:52 PM
#9
JK Enthusiast
I ordered and received a set of the Automatic Mirror Movers, but unfortunately I had to return them. They look amazing installed, and while it's a spring loaded mechanism, they appear to be motorized when returning to resting position which was cool. However the vibration at speed was not only annoying but distracting. The answer from Quadratec was that all aftermarket mirror movers vibrate, but I didn't encounter that with the Rugged Ridge set that I used. Also the added resistance on the door started bothering me the longer I had them installed.
In the end, I decided to go another route entirely. To their credit, Quadratec was amazing in handling the return and sending parts for an alternate mounting system.
In the end, I decided to go another route entirely. To their credit, Quadratec was amazing in handling the return and sending parts for an alternate mounting system.
04-21-2015, 05:59 AM
#10
JK Enthusiast
Thread Starter
I ordered and received a set of the Automatic Mirror Movers, but unfortunately I had to return them. They look amazing installed, and while it's a spring loaded mechanism, they appear to be motorized when returning to resting position which was cool. However the vibration at speed was not only annoying but distracting. The answer from Quadratec was that all aftermarket mirror movers vibrate, but I didn't encounter that with the Rugged Ridge set that I used. Also the added resistance on the door started bothering me the longer I had them installed.
In the end, I decided to go another route entirely. To their credit, Quadratec was amazing in handling the return and sending parts for an alternate mounting system.
In the end, I decided to go another route entirely. To their credit, Quadratec was amazing in handling the return and sending parts for an alternate mounting system.