Jeep Wrangler JK: How to Install Transmission Cooler
An auxiliary trans fluid cooler helps keep the temps at down. Here's how to install one in your Jeep Wrangler.
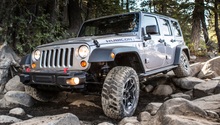
This article applies to the Jeep Wrangler JK (2007-present).
Your engine needs to be cooled to last and so does your automatic transmission. The factory runs the trans fluid through the radiator to cool it, but that does not always get the job done. You can perform a modification to your Jeep that will keep the transmission cool and make it last. An auxiliary transmission cooler is inexpensive and easy to install yourself. It will be one of the cheapest insurance policies you can get for your Jeep.

Materials Needed
- Automatic transmission cooler kit
- Two 3/8" to 3/8" barbed hose connectors
- Towels
- Vinyl gloves
- 1/4" drive ratchet and extensions
- 5/16" socket
- Flat head screwdrivers
- Phillips screwdriver
- Funnel for transmission fluid
- 1 quart of appropriate transmission fluid
- Catch pan
If you have heard about a TSB (Technical Service Bulletin) about the HOT light for the transmission coming on, don't get too excited. The TSB calls for installation of a factory designed trans cooler, but it is strictly for Wranglers sold internationally.
Step 1 – Remove grille
Remove the six plastic retaining screw/clips from the top of the grille. Figure 1 shows a plastic grille screw used prior to 2008. Screw it out as you pry the inside out. Then pull the clip out.

Figure 2 shows the clip used in 2008s and newer. Slip a flat screwdriver in the tangs to pop the center up and then pry out.

There are a number of plastic clips that hold the grille on at the bottom. To unsnap them just grab the grille near the bottom and pull forward. They will unsnap and then the grille can be pulled out.

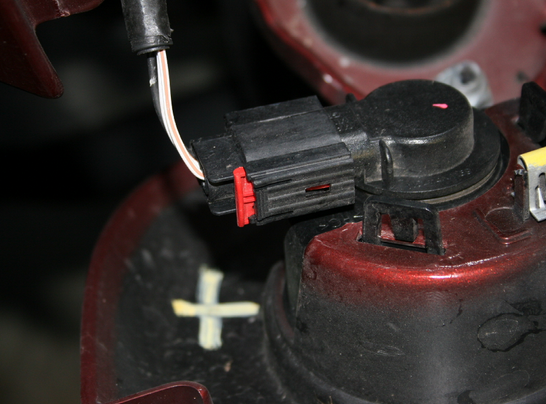
Before you remove the grille, remove the turn signal bulbs by holding the lock in and then twisting them counter-clockwise. Set the grille aside.
Pro Tip
You can buy a plastic fastener removal tool at your auto supply store.
Step 2 – Lay out trans cooler
There are a vast number of choices for trans coolers. The stacked plate design is what manufacturers use. Since B&M is a well-known brand, it's the example we will use.
Some are more specific to your application with the factory designed version being the best fit. It is two to four times as much money but should fit perfectly.
Be sure all of the parts are there before you start.
Pro Tip
Invest in quality parts so you will not have issues later.
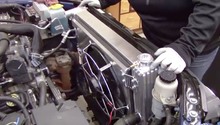
Step 3 – Attach mounts to cooler
Take the extra few minutes to mount the cooler correctly. Do it right the first time and you won't have to do it over.
The metal straps that bolt to the cooler to mount it to your Jeep are the way to go. By attaching one to each corner, the cooler will mount solidly. You can try to use existing holes in the Jeep but may need to drill a couple in the bottom grille brace. Allow an inch or so between the cooler and the radiator. Mock everything up before bolting anything on.
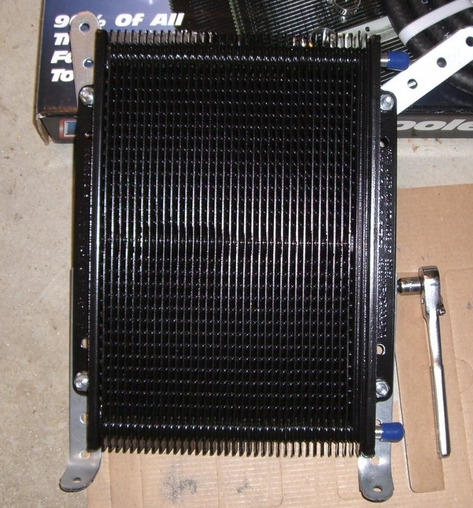
Figure 8. Cooler with brackets bolted on. 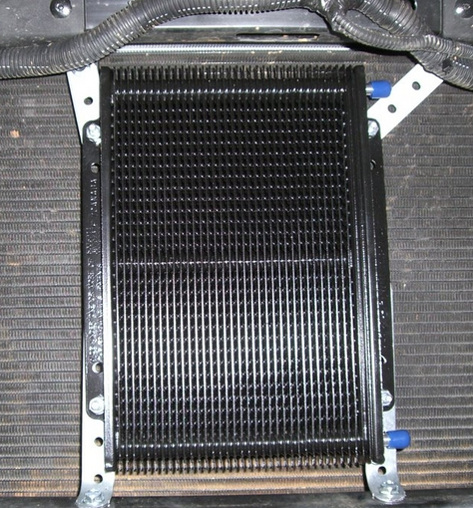
Figure 9. Cooler mounted on Jeep.
When you are satisfied, tighten everything down.
Pro Tip
Be sure nothing rubs on the radiator, or any hoses rub sharp edges.
Step 4 – Attach cooler hoses
Attach the ends of the supplied hose to the cooler with a hose clamp. Tighten with a 5/16" socket and ratchet. Run the hose under the bottom of the radiator or between the radiator and the grille support on the driver's side.
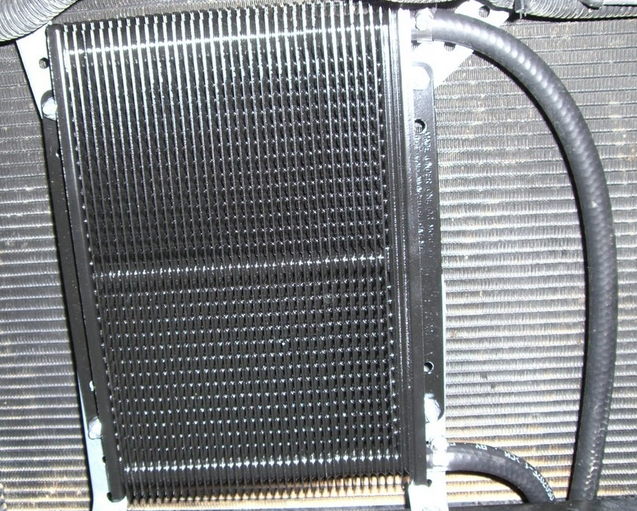
Figure 10. Cooler hoses run to bottom. 
Figure 11. Cooler hoses run to side.
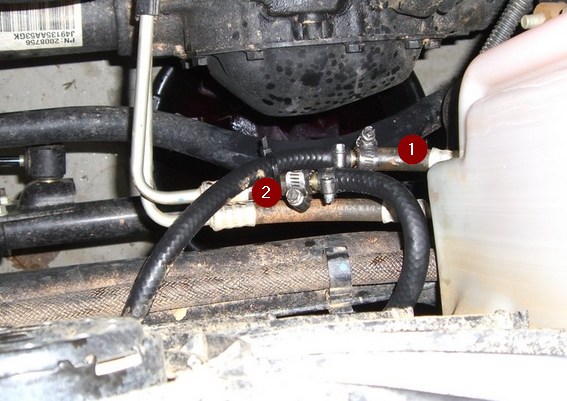
Find the rubber hose part of the top cooler line as shown in Figure 12 and cut it. Some trans fluid will leak.
Secure the hoses you ran from the cooler with wire ties so they are secure and away from harm. Cut the hose from the cooler so they have enough slack in them to hook up to the hose that was just cut per Figure 13. Attach the hose from the bottom of the cooler to the tube coming from the front of the Jeep (Number 1 in Figure 13). Attach the other hose from the cooler to the tube coming from the transmission (2 in Figure 13). Install clamps securely.
Pro Tip
Secure the rubber hoses well so they do not come loose or rub.
Step 5 – Check for leaks
Start your Jeep and let it get warm. Check for leaks at any point you spliced hose in. If there is a leak, snug the clamp up until it stops.
Step 6 – Add transmission fluid
Since some fluid was lost and the new cooler will need some, top off the transmission fluid.
Pro Tip
Check for leaks the following week in case anything pops up.
Step 7 – Replace grille
Replace the grille in the reverse that you took it off. Be sure to plug the turn signals back in.
Related Discussions
- Transmission Cooler - Jk-forum.com
- Mopar Transmission Cooler Kit - Jk-forum.com