When you click on links to various merchants on this site and make a purchase, this can result in this site earning a commission. Affiliate programs and affiliations include, but are not limited to, the eBay Partner Network.
Is there a benefit going to a new sprayer nozzle or are you doing duals like the 12+ has? You nailed it with the rear floor mats, they're a tough find but worth it.
Is there a benefit going to a new sprayer nozzle or are you doing duals like the 12+ has? You nailed it with the rear floor mats, they're a tough find but worth it.
Just replacing the single washer nozzle, the the benefit comes from having two openings on the single nozzle to spray instead of one. The coverage is much better from the 13+ nozzles. I will show the best difference that I can when I install!
Once again, life has continued to keep me busy and i have fallen waaaaay behind in updates for the Jeep again! So, to continue the timeline, I will try and update all of them in order!
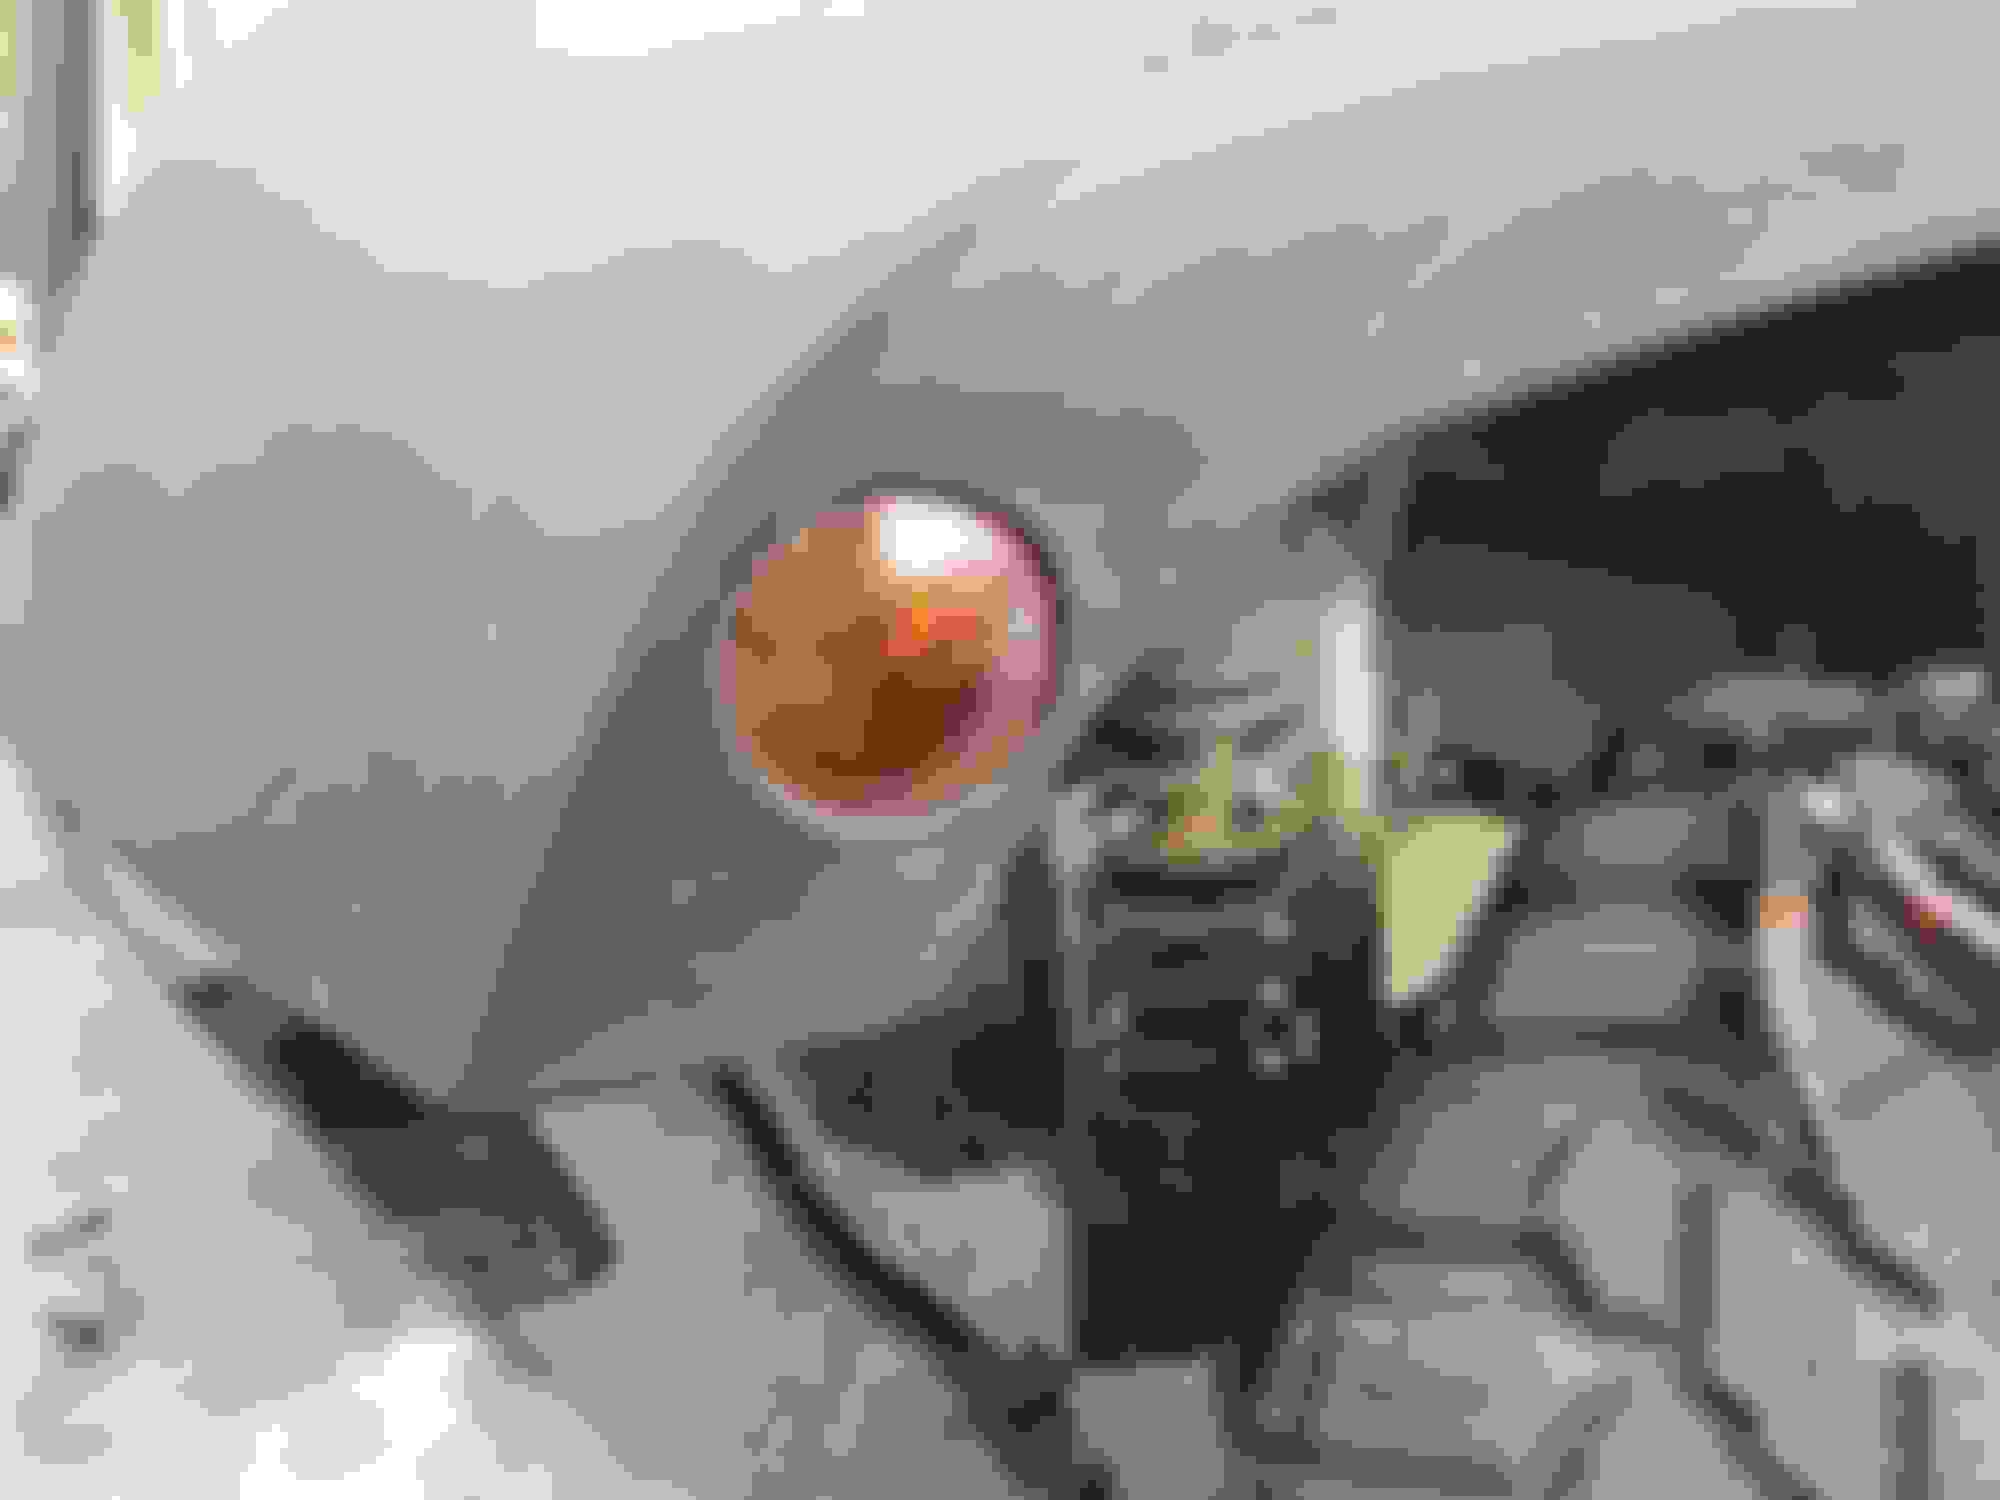
So back in October of 2018, I had a side marker light go out. Now those are one of few lights that were still halogen on the Jeep, but nonetheless, since I had replaced so many lights...I had spares that fit that bulb. So i reached under the fender, twisted the bulb socket out and attempted to remove the stock 194 halogen bulb. And of coarse, nothing is ever as easy as it should be! So have 45 minutes of struggling trying every method I could think of to remove this bulb...it shatters. Now I am stock with the base of this bulb still in the socket and no way to get it out. So I then went searching for a new socket, because after some further inspection, the socket itself seemed to have a lot of corrosion in it. But I could not find just the socket anywhere! I had to spend way too much for an entire marker light assembly just to get the socket. So after much looking, I gave up on the socket search and decided it would be way easier and cheaper to just replace the entire marker light assembly!
I did some looking, research, and contacted a few off road shops for my best way to proceed, and based on cost compared to others and reliability factors, I decided on the https://www.amazon.com/gp/product/B01AVPIAC8/ref=ppx_yo_dt_b_search_asin_title?ie=UTF8&psc=1!
Now, I ended up settling on these lights over most other options on the fact that they are extremely cheap at only $20 for the pair, and their quality may not be as good as other light Recon, but these work completely plug and play, and even if these break, I could buy 4 or 5 more sets of these before I would even hit the price of one of the Recon kits! Plus it seems the Xprite Customer Service is not too bad if anything does happen! And I was definitely hoping the Marker Light Turn Signal Mod that I did would still work with these! And once again, compared to some others as well, these had the proper connector for the Jeep and are completely plug and play!
I had most of the tools needed for this installation, as it was fairly simple, but the one tool i did not have was a https://www.amazon.com/gp/product/B01D1YO4GC/ref=ppx_yo_dt_b_search_asin_title?ie=UTF8&psc=1. This is needed as you will need to remove a few of the rivets holding the fender liner to the fender to peel the fender liner back to get to the marker light. Though, if you can be careful enough to remove the plastic rivets, you could then be able to reuse them, but I have broken enough bolts and clips, that for $25 with the tool and rivets, it was worth the piece of mind to be able to finish the job there and not worry about breaking the rivets.
That short length of harness would have been just as cheap to replace, but like you said-the LED goes with the rest of the Jeep. I probably have a small handful of those harnesses in my box from helping out with fender installs where they don't put in maker lights.
On to the plastic rivet tool. I've broken some fenders and replaced them many times. Pulled the outer liners from some and mixed them with my stock supports and inner liners. Cut down the guts and ended up with another set of flares. Point is, I've been in and all over the flares in every direction/ way possible. Get your smallest box end wrench and a pair of vice grips- now you have the plastic rivet tool and it's things you've already got in your box. The clips (fender, rivets, and Christmas tree style for the fenders) are something that I keep an abundance of in my box, again, because I've been through so many sets of flares.
With all the prep work done and all the parts and tools I needed, I dove in. The installation took about an hour and a half, mostly due to fighting plastic rivets, as well as the connectors on the marker lights, as the positions those are in, they get very corroded and dirty, so tried to clean those up a bit too. Anyways...into the installation!
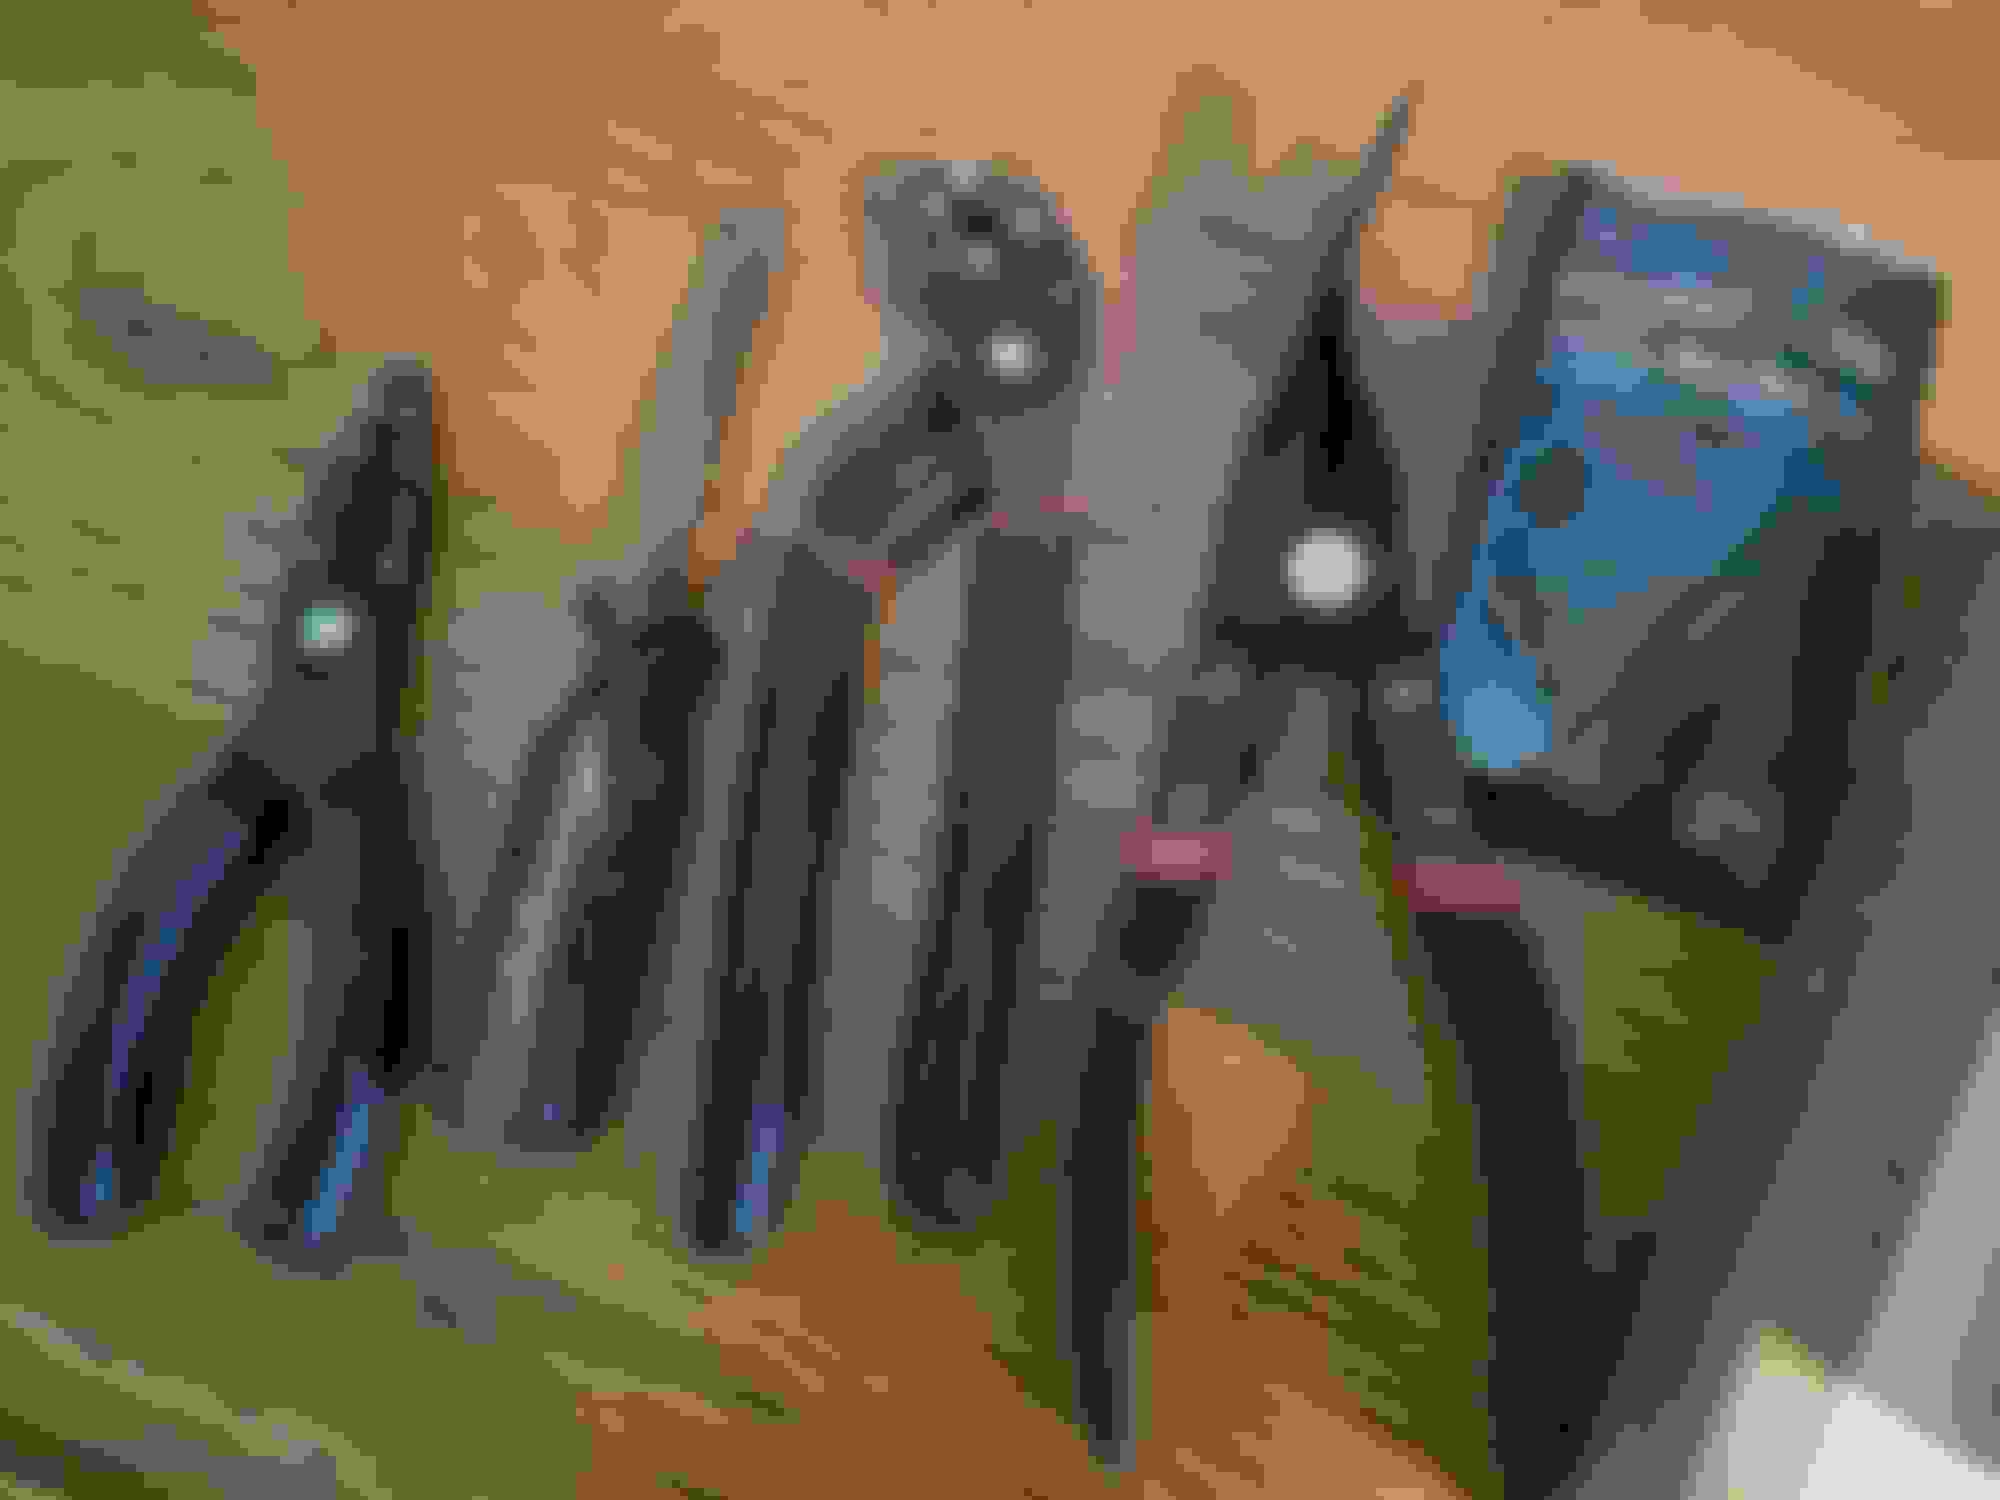
The Before Shot:
The passenger side marker was the light that was out, but as you can see, so the standard marker with the one, dim 194 bulb. The first step was to grab a properly sized allen wrench to fit through the middle of the plastic rivet some channel lock pliers. Line the allen wrench up on the outside of plastic rivet (to basically push the middle of the rivet through and then use your channel locks to drive that allen wrench through the middle of the rivet. This method worked well on most, but the directions that come with the Xprite marker lights are pretty nice and descriptive themselves. I ended up needing to remove three rivets a side starting from the front of the fender, and only the rivets securing the outside of the fender to the liner. I also ended up breaking 3 of 6, so...goo thing I brought the tool and more rivets!
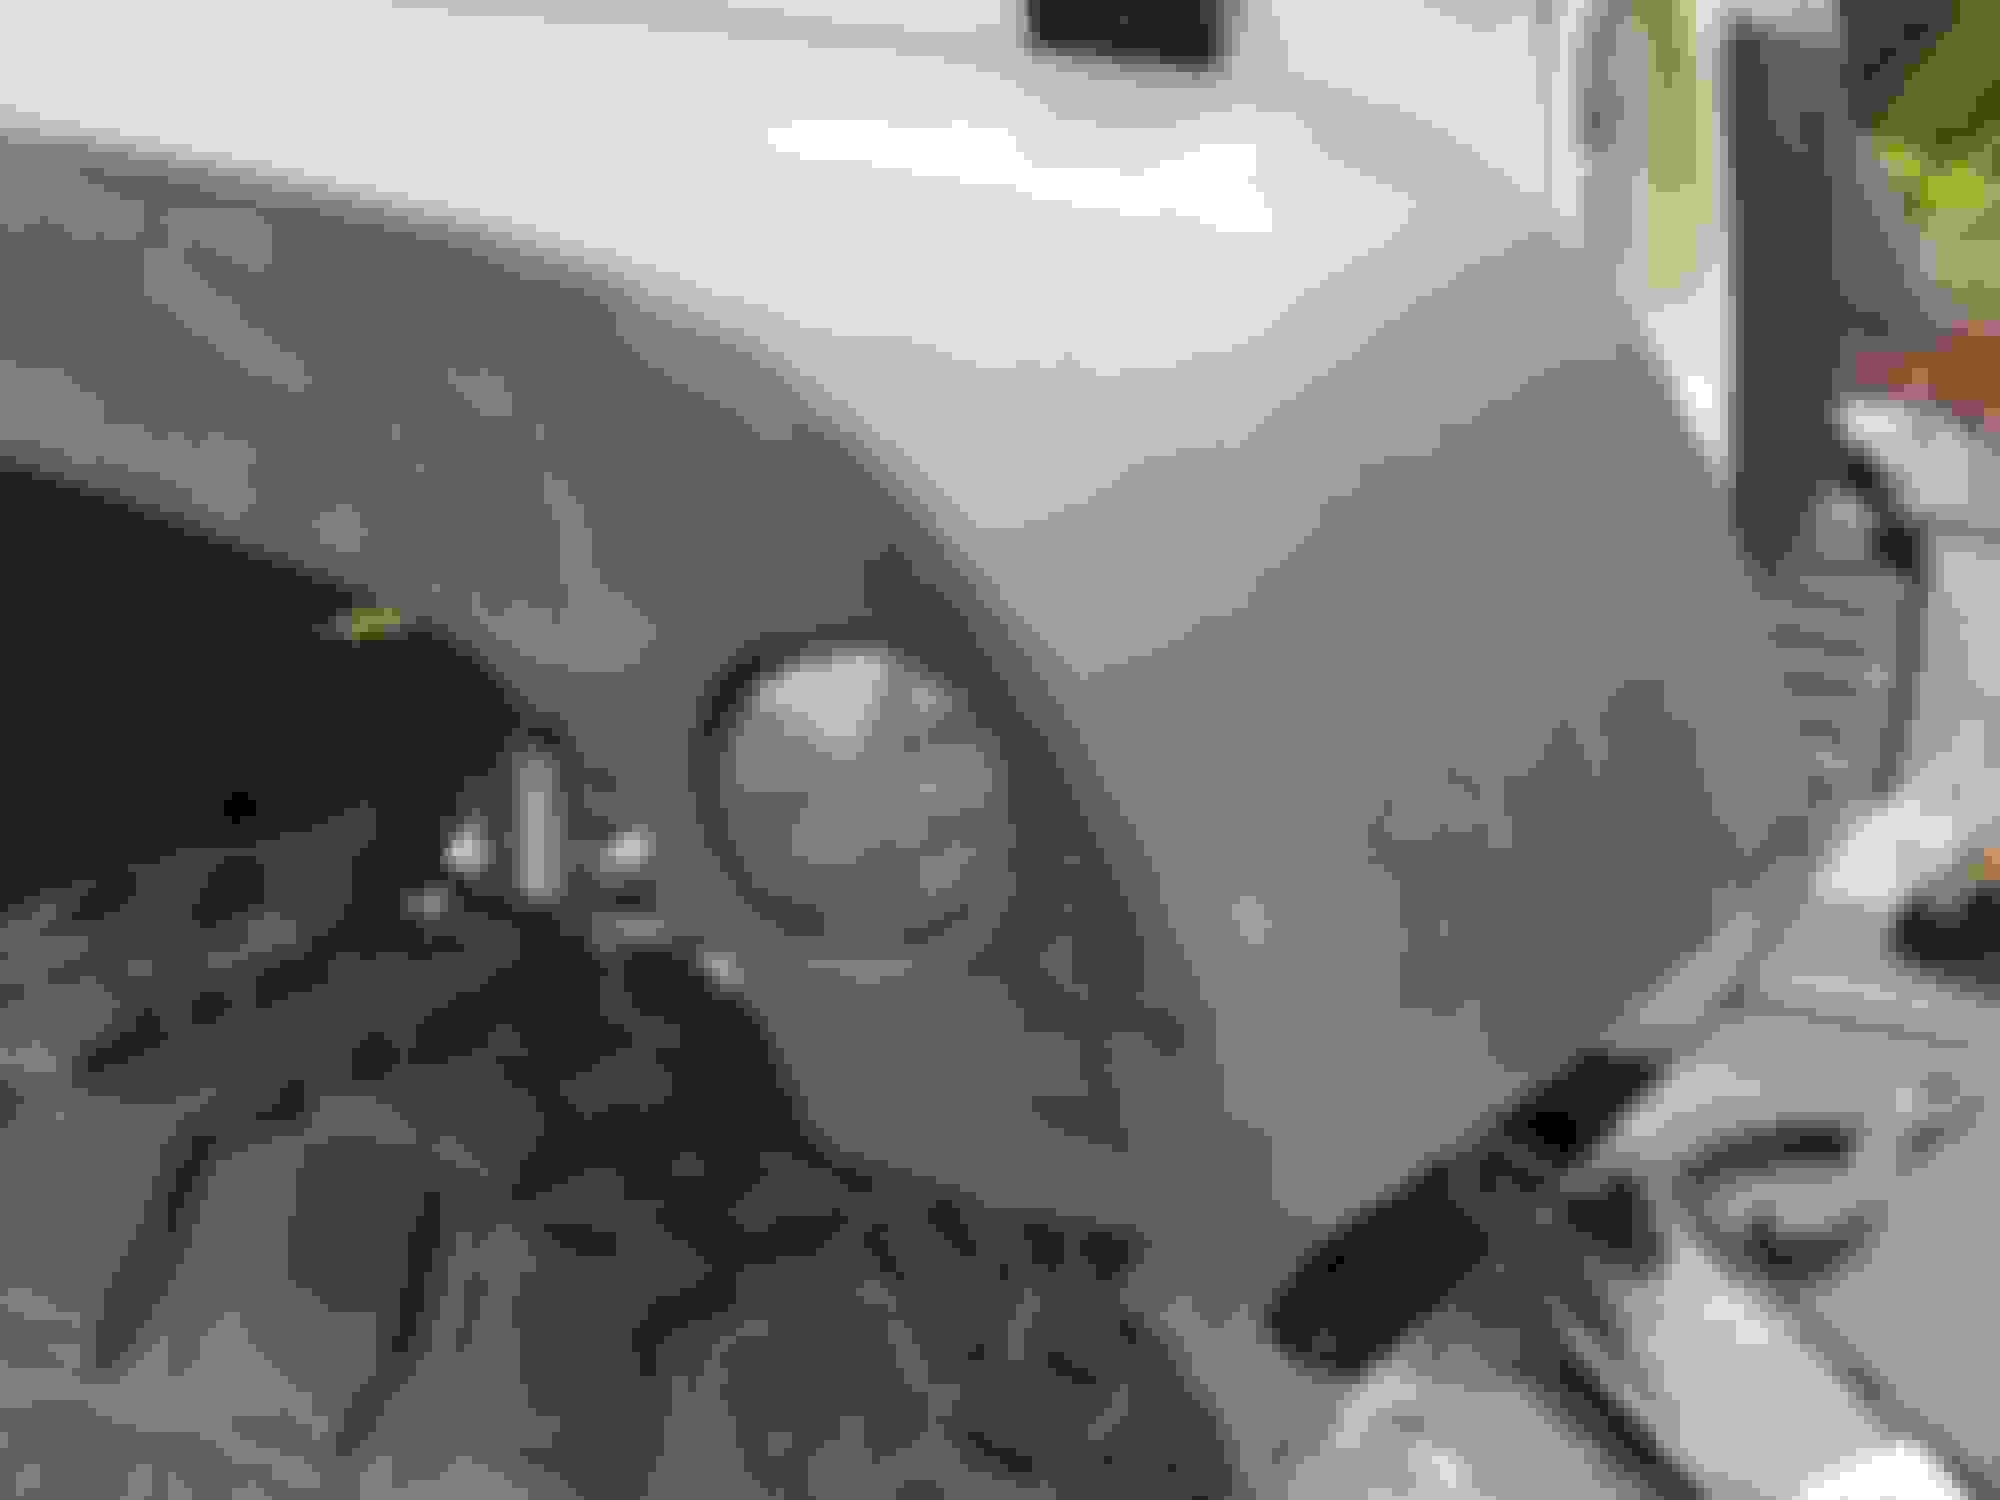
From here, your next step is to reach up and disconnect the connector from the light (I had to just give it some good pulls again, as these connectors were quite dirty and stuck together) and pull the liner and corner of the fender apart. Give it a good tug and it will flex, but you basically need to pop the clip out on top, and then slightly push the light up to release the clips on the bottom, and then slide the light out straight down! And pulling old lights out you can be less careful, but be careful when installing the new lights through this method to not scratch the lens of them. Once removed, the fender will look like this:
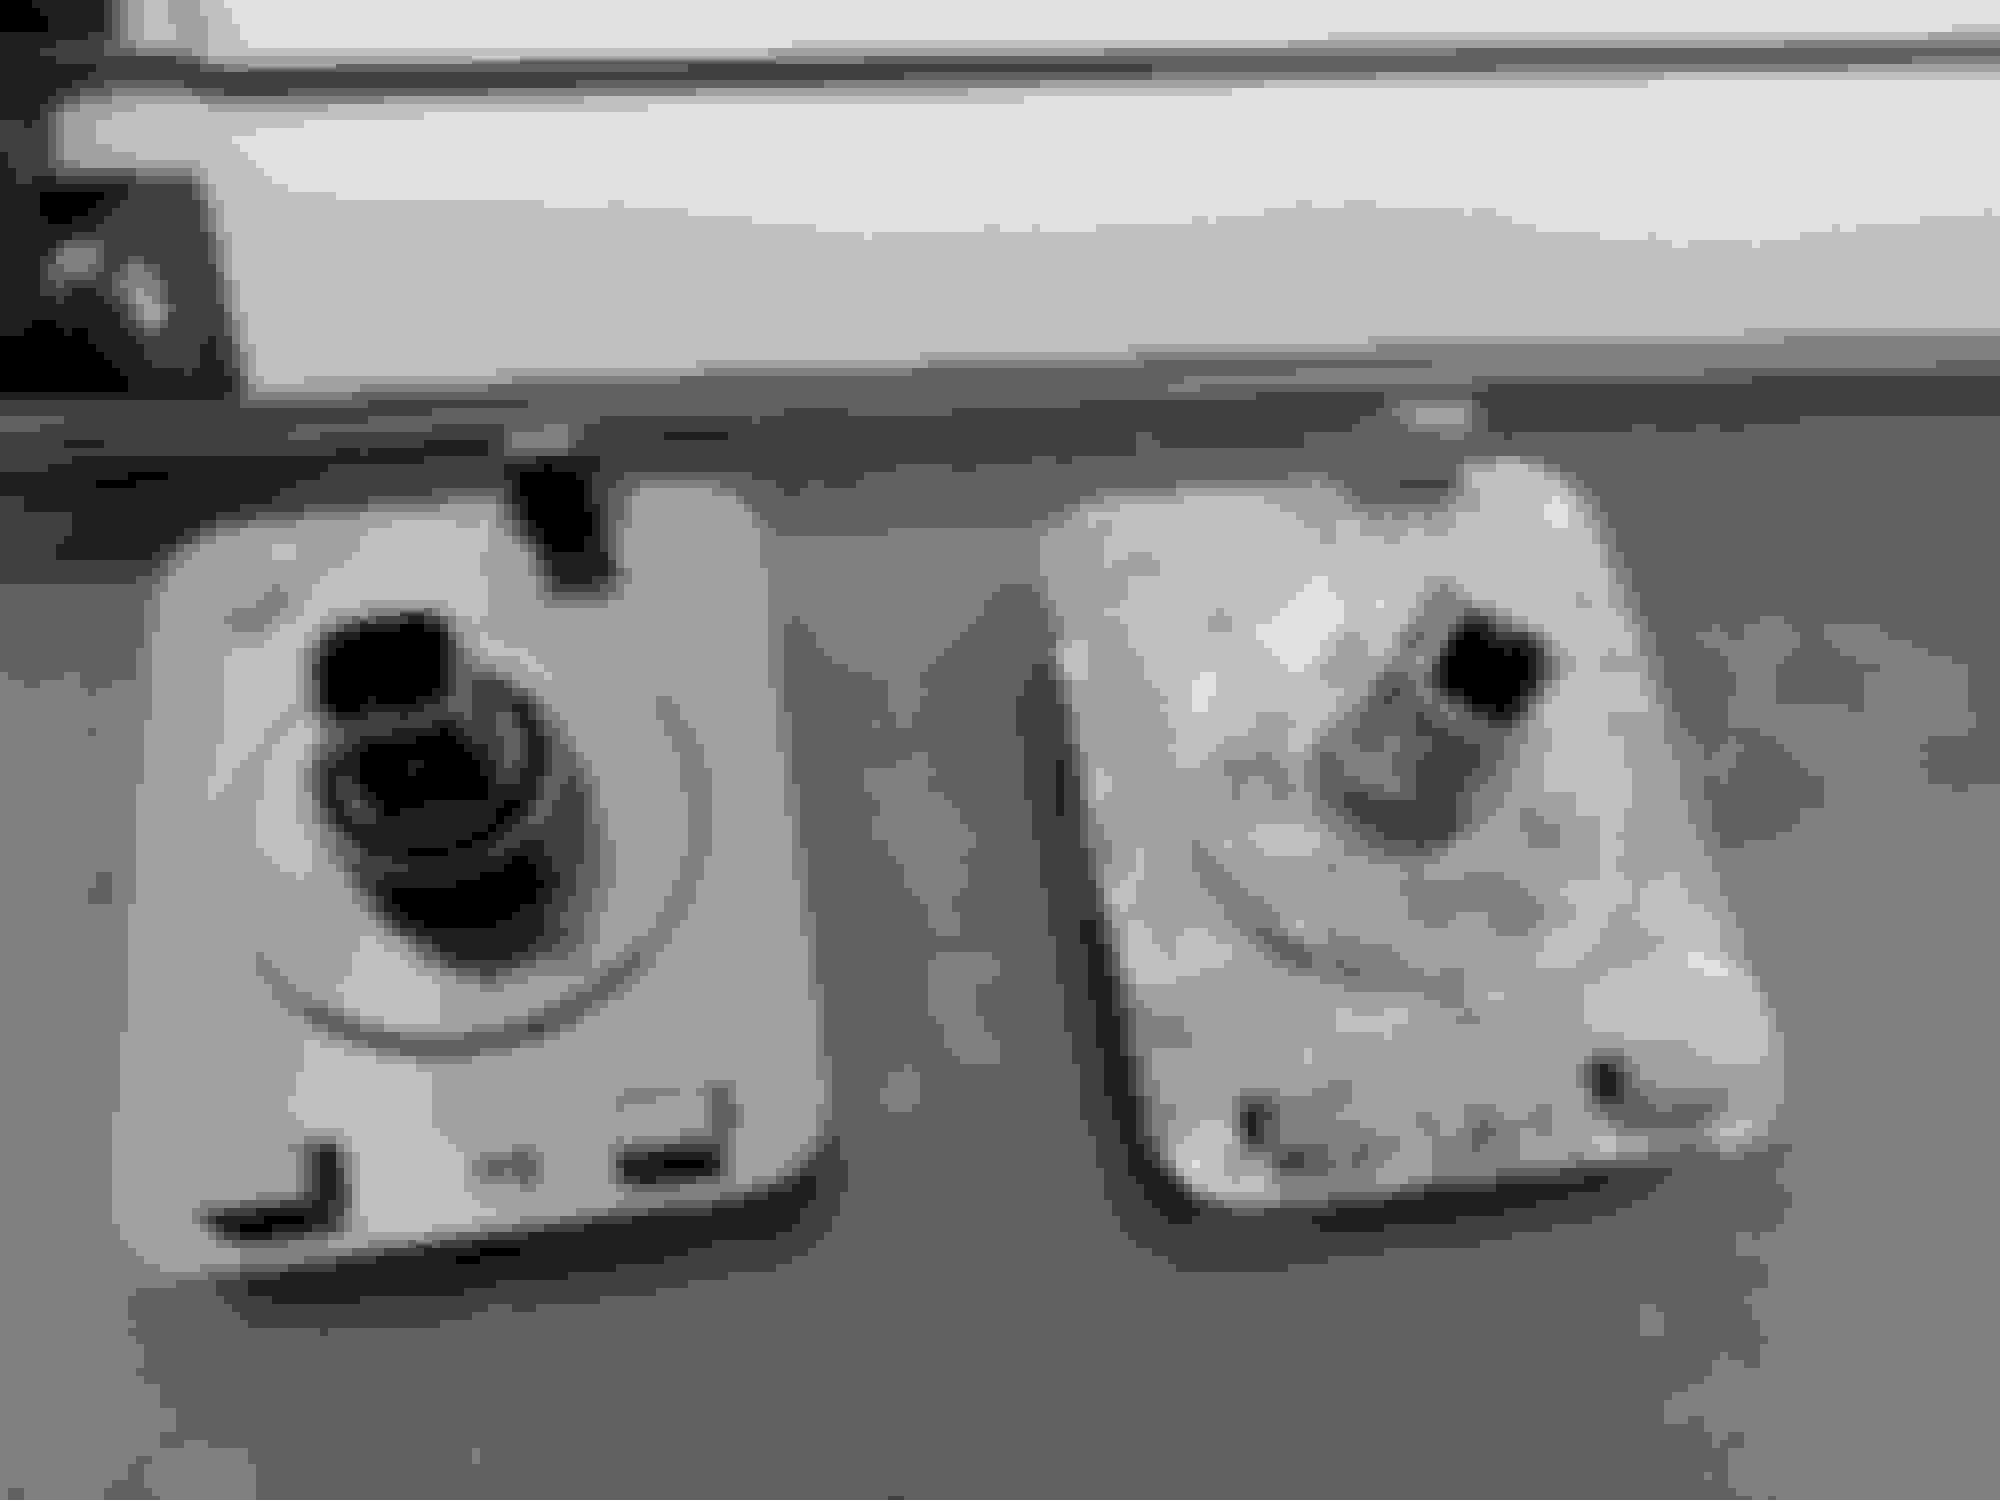
And here is a comparison for the OEM Marker light and the Xprite LED Marker light! Very similar in style for connectors and fitment which is exactly what I wanted to see!
From here, you just have to reverse the process now to reinstall the lights. The hardest part is to fish the back connector on the new light into the proper place, but it does actually twist off light the old light bulb socket, so you can twist it off and feed that piece through so you don't have to fight it as much if you would like. It definitely made it easier for me! Once the light is seated in the fender, go ahead and plug the connectors in. For me they were extremely tight and I actually had to use some pliers to squeeze them together, however the connection is definitely solid and no way anything else should be able to get in their now!
Lastly, go ahead and reinstall the the rivets in the fender. For the rivets you saved, just place the outer clip in the fender and then grab your pliers and squeeze the rivet back in. For those that you need to install new rivets, follow the instructions for how to use the plastic rivet tool, but it is super simple and worked as it should!
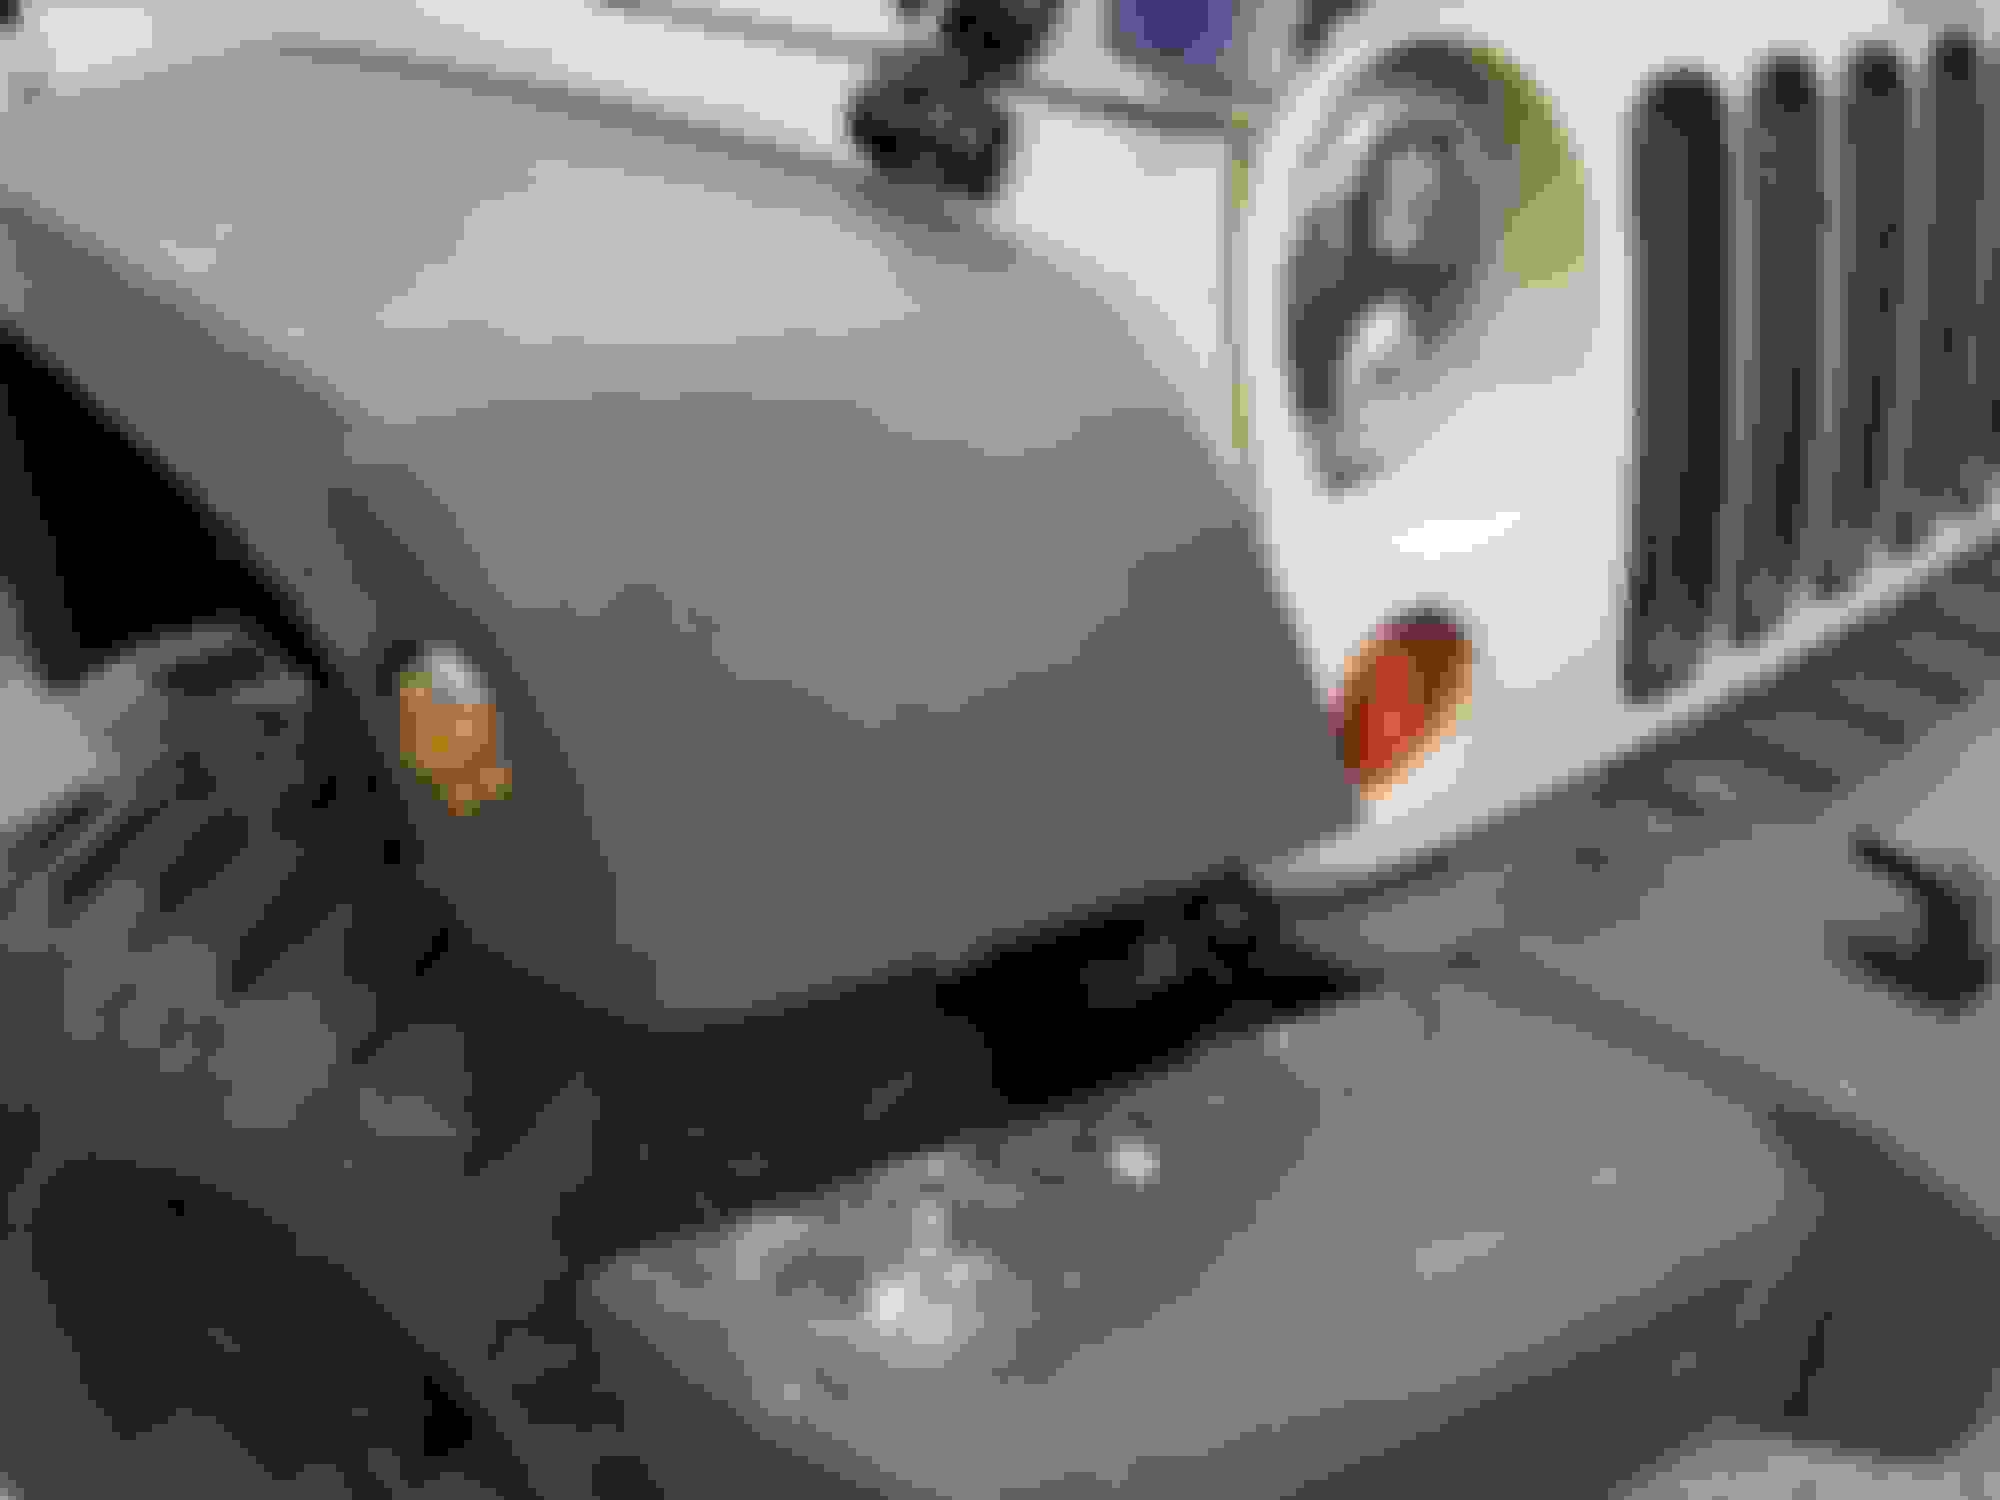
Overall, I love the look of these lights, they came out awesome! They are definitely much brighter, and even though the camera doesn't should it well, the amber color is very nice! And the best part...they still work perfectly with the marker light turn signal mod! I have no had these installed since October and I have had zero issues with them! So for the $20...I highly recommend these!
That short length of harness would have been just as cheap to replace, but like you said-the LED goes with the rest of the Jeep. I probably have a small handful of those harnesses in my box from helping out with fender installs where they don't put in maker lights.
On to the plastic rivet tool. I've broken some fenders and replaced them many times. Pulled the outer liners from some and mixed them with my stock supports and inner liners. Cut down the guts and ended up with another set of flares. Point is, I've been in and all over the flares in every direction/ way possible. Get your smallest box end wrench and a pair of vice grips- now you have the plastic rivet tool and it's things you've already got in your box. The clips (fender, rivets, and Christmas tree style for the fenders) are something that I keep an abundance of in my box, again, because I've been through so many sets of flares.
Any update on the spray pattern?
Yeah, I do agree that replacing that part of the harness would have been just as cheap, but i was definitely having issues locating just that piece of the harness without having to spend way more than I wanted to! Like $95+! Plus, I already was looking into some new fender lights and this kinda gave me the push to just go ahead and get what i want since I have to replace parts anyways! And at $20 for the lights, it was well worth it and I am very happy with the end product which is what matters most here! Haha!
As for the rivet tool, absolutely, many ways to accomplish the same task with what you already have, but again for as cheap as the tool itself was, and for the excuse to get a new tool and use it, I was just fine with going that way, and chances are I will use it again in the future! But absolutely, it was not needed for this install, just made it more easy and fun! Thanks for the input!
Next up was the washer nozzle swap for one from a later JK. One of the biggest benefits of this swap is that is actually has two trajectories of spray, not just one, just the upper and lower parts of the windshield both get sprayed nicely, and the spray from both locations is much wider to cover the outsides of the window better.
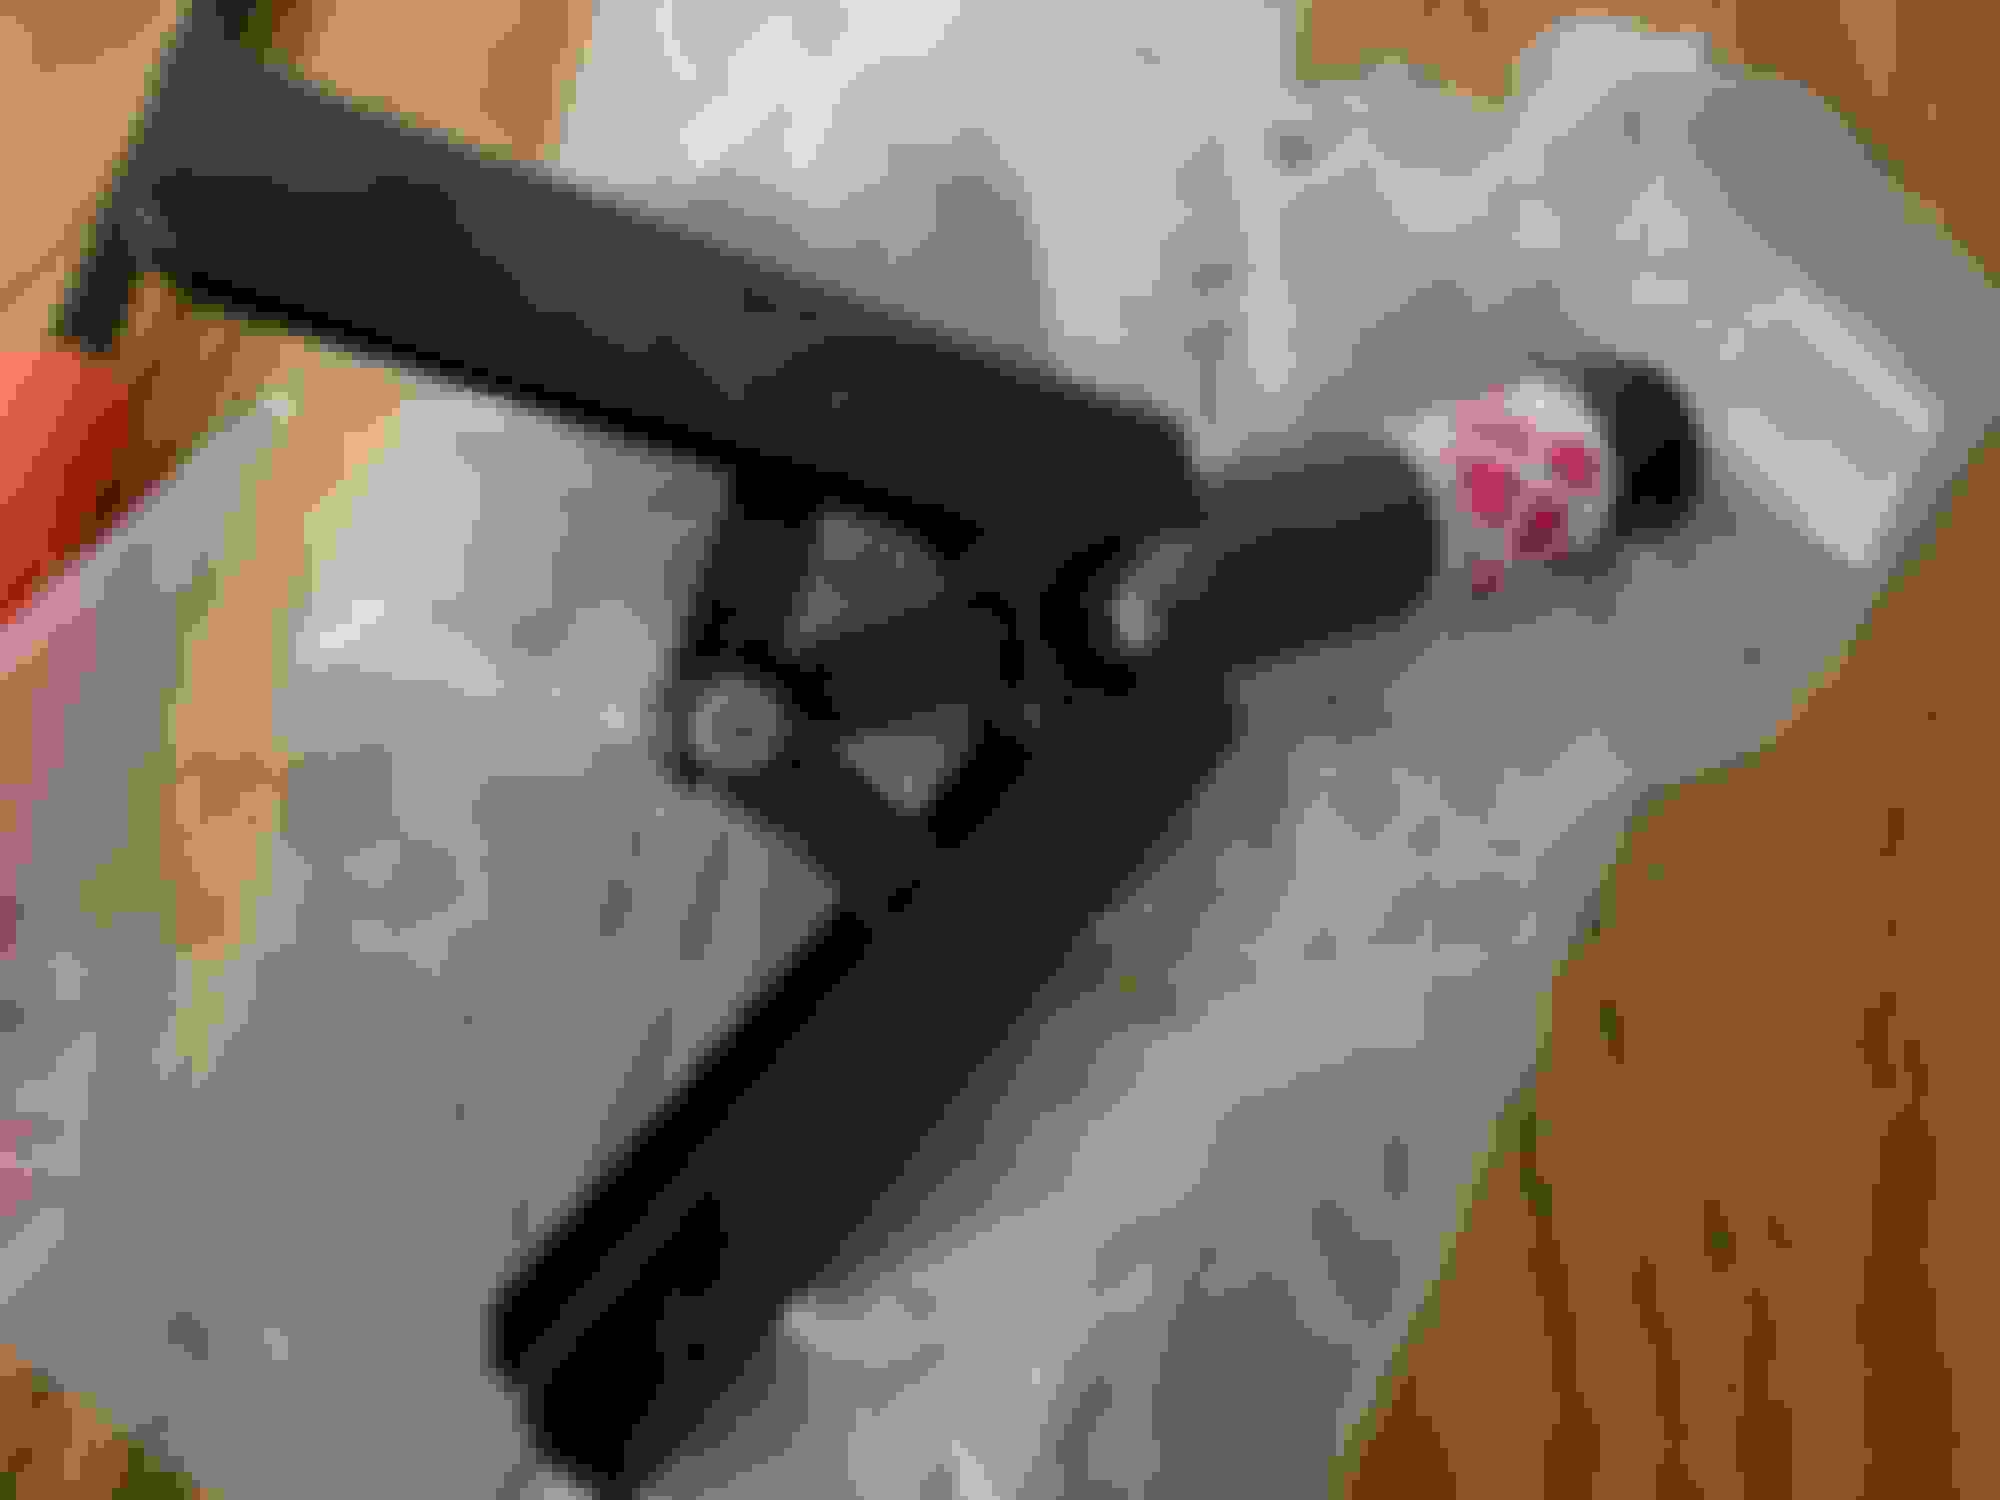
The part number that I used for the new sprayer nozzle is 68164356AB and it is a direct replacement to the pre-dual nozzle setup sprayers. All that is required is to disconnect the washer fluid hose from the old nozzle, press the nozzle through the top of the hood to release, then push the new one in and reconnect the hose! Also, the replacement nozzle as a 90 degree elbow that points towards the rear of the vehicle, while the old does not have the 90 degree elbow and just points straight down. There is just enough slack in the washer fluid line to be able to connect the new sprayer with no issues or struggles, and it is not actually tuck up out of the way a bit better.
Before:
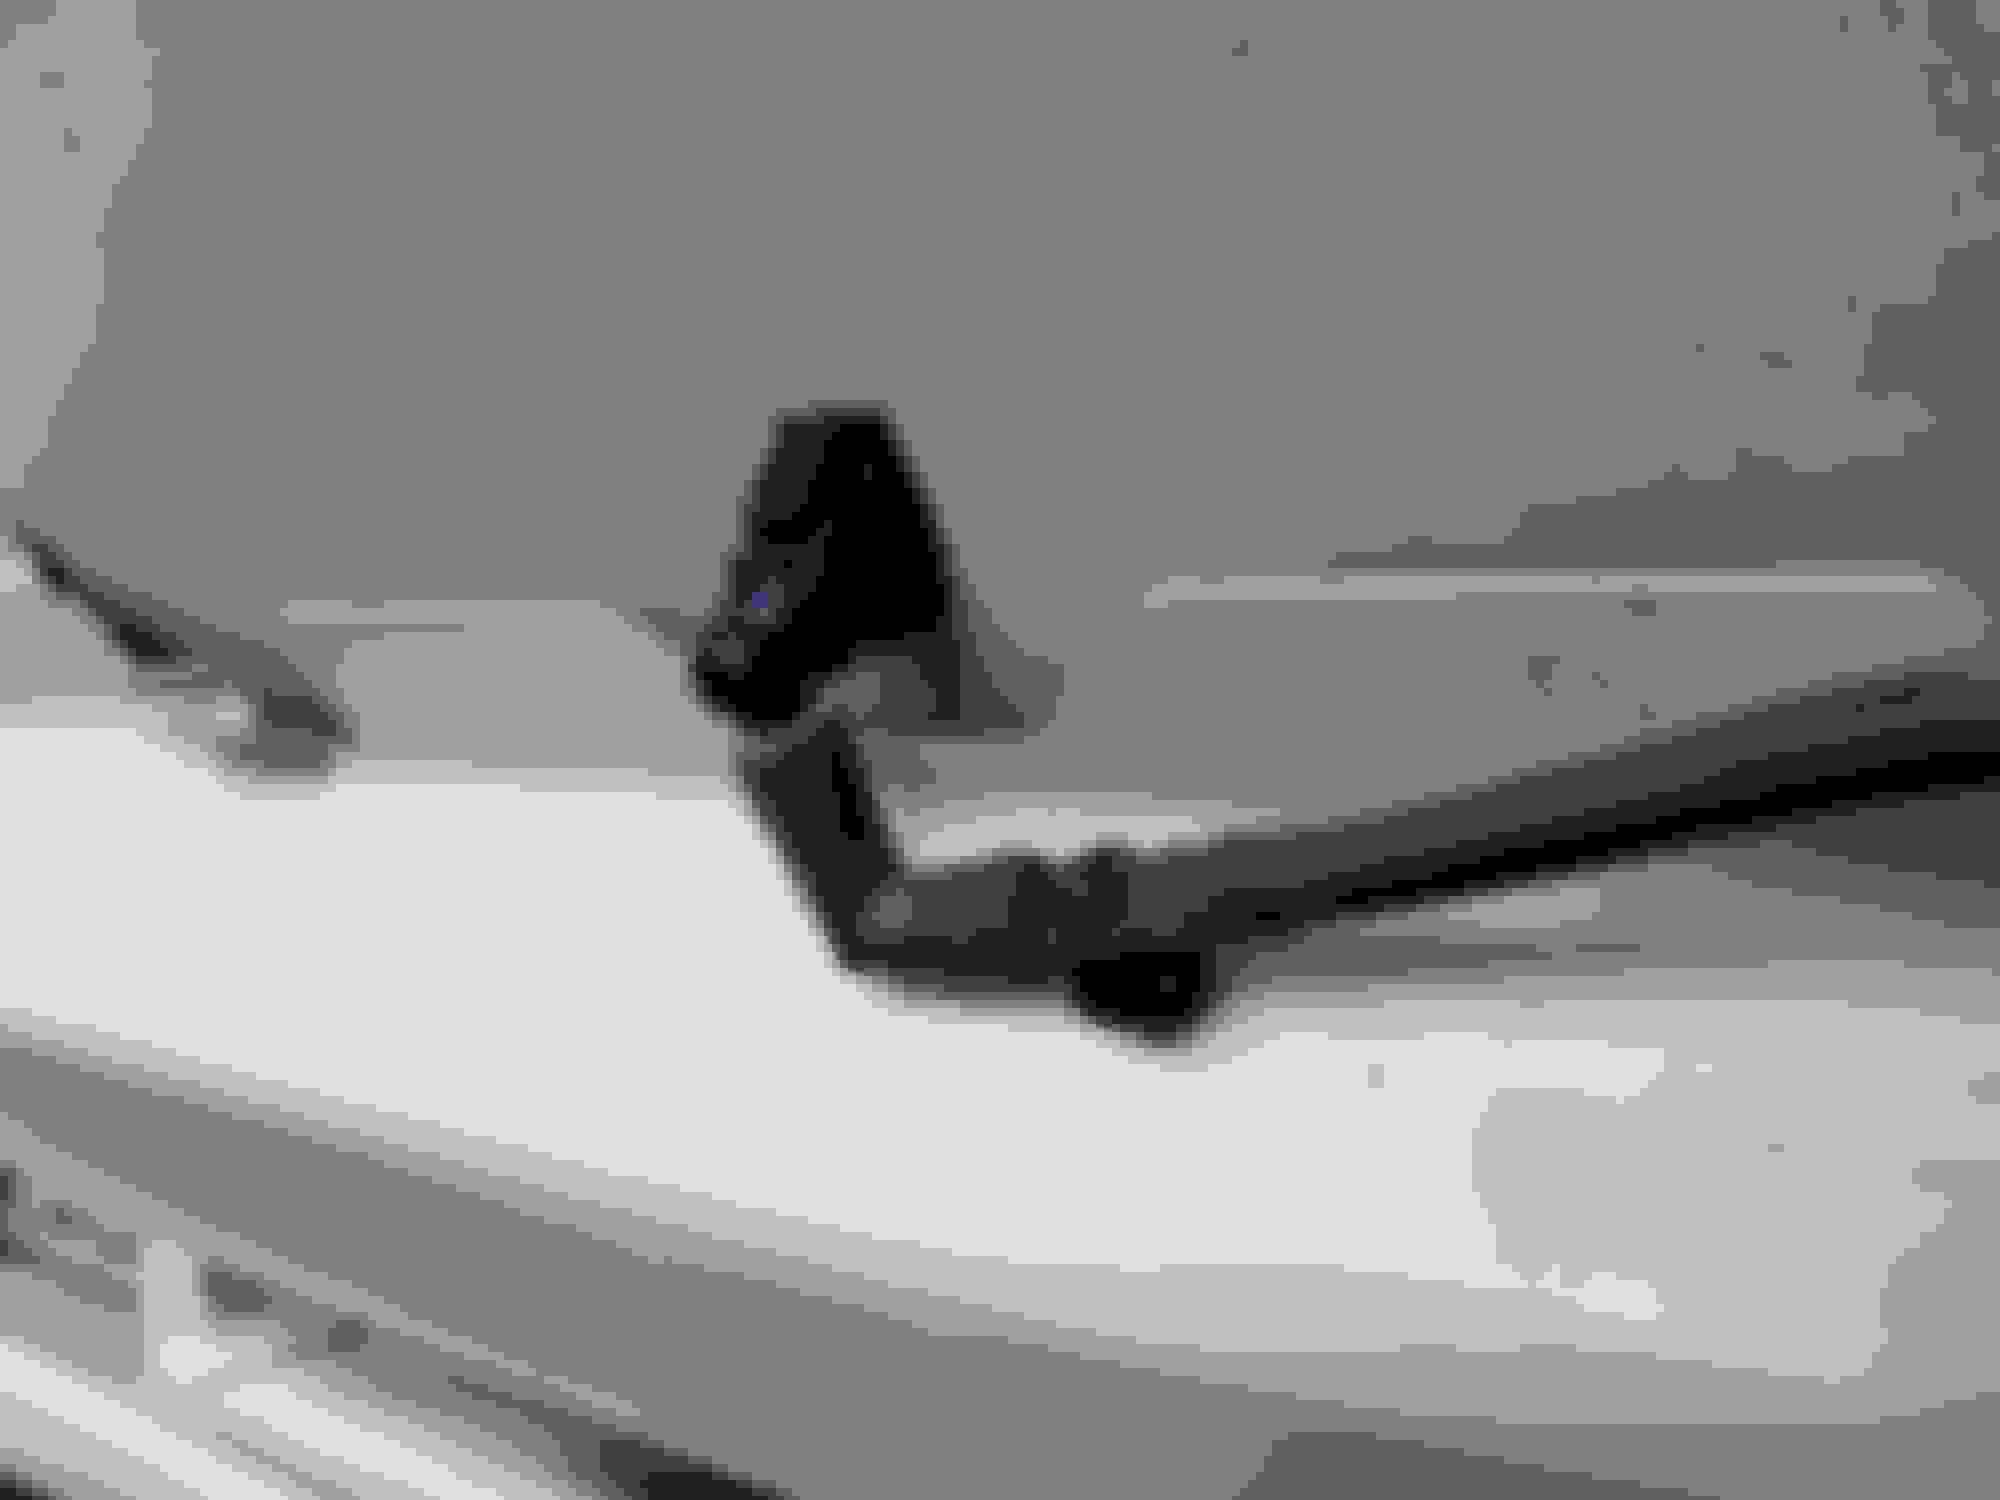
Comparison of Sprayer Nozzles (Old on left, new on right):
After:
Overall, I have noticed a much better coverage in washer fluid on the windshield, and this has been tested through Michigan winter where it was needed a lot! I was definitely able to actually use less spray because the coverage itself reached further on the windshield itself, and it definitely sprayed better at express speeds as well! Is this a needed mod? No. It is a cheap and easy mod though and does provide some nice benefits depending on how much you use your windshield washers! If you are on the fence about doing this, go right ahead with confidence it works!
Last edited by WxNerd2015; Apr 16, 2019 at 08:29 AM.
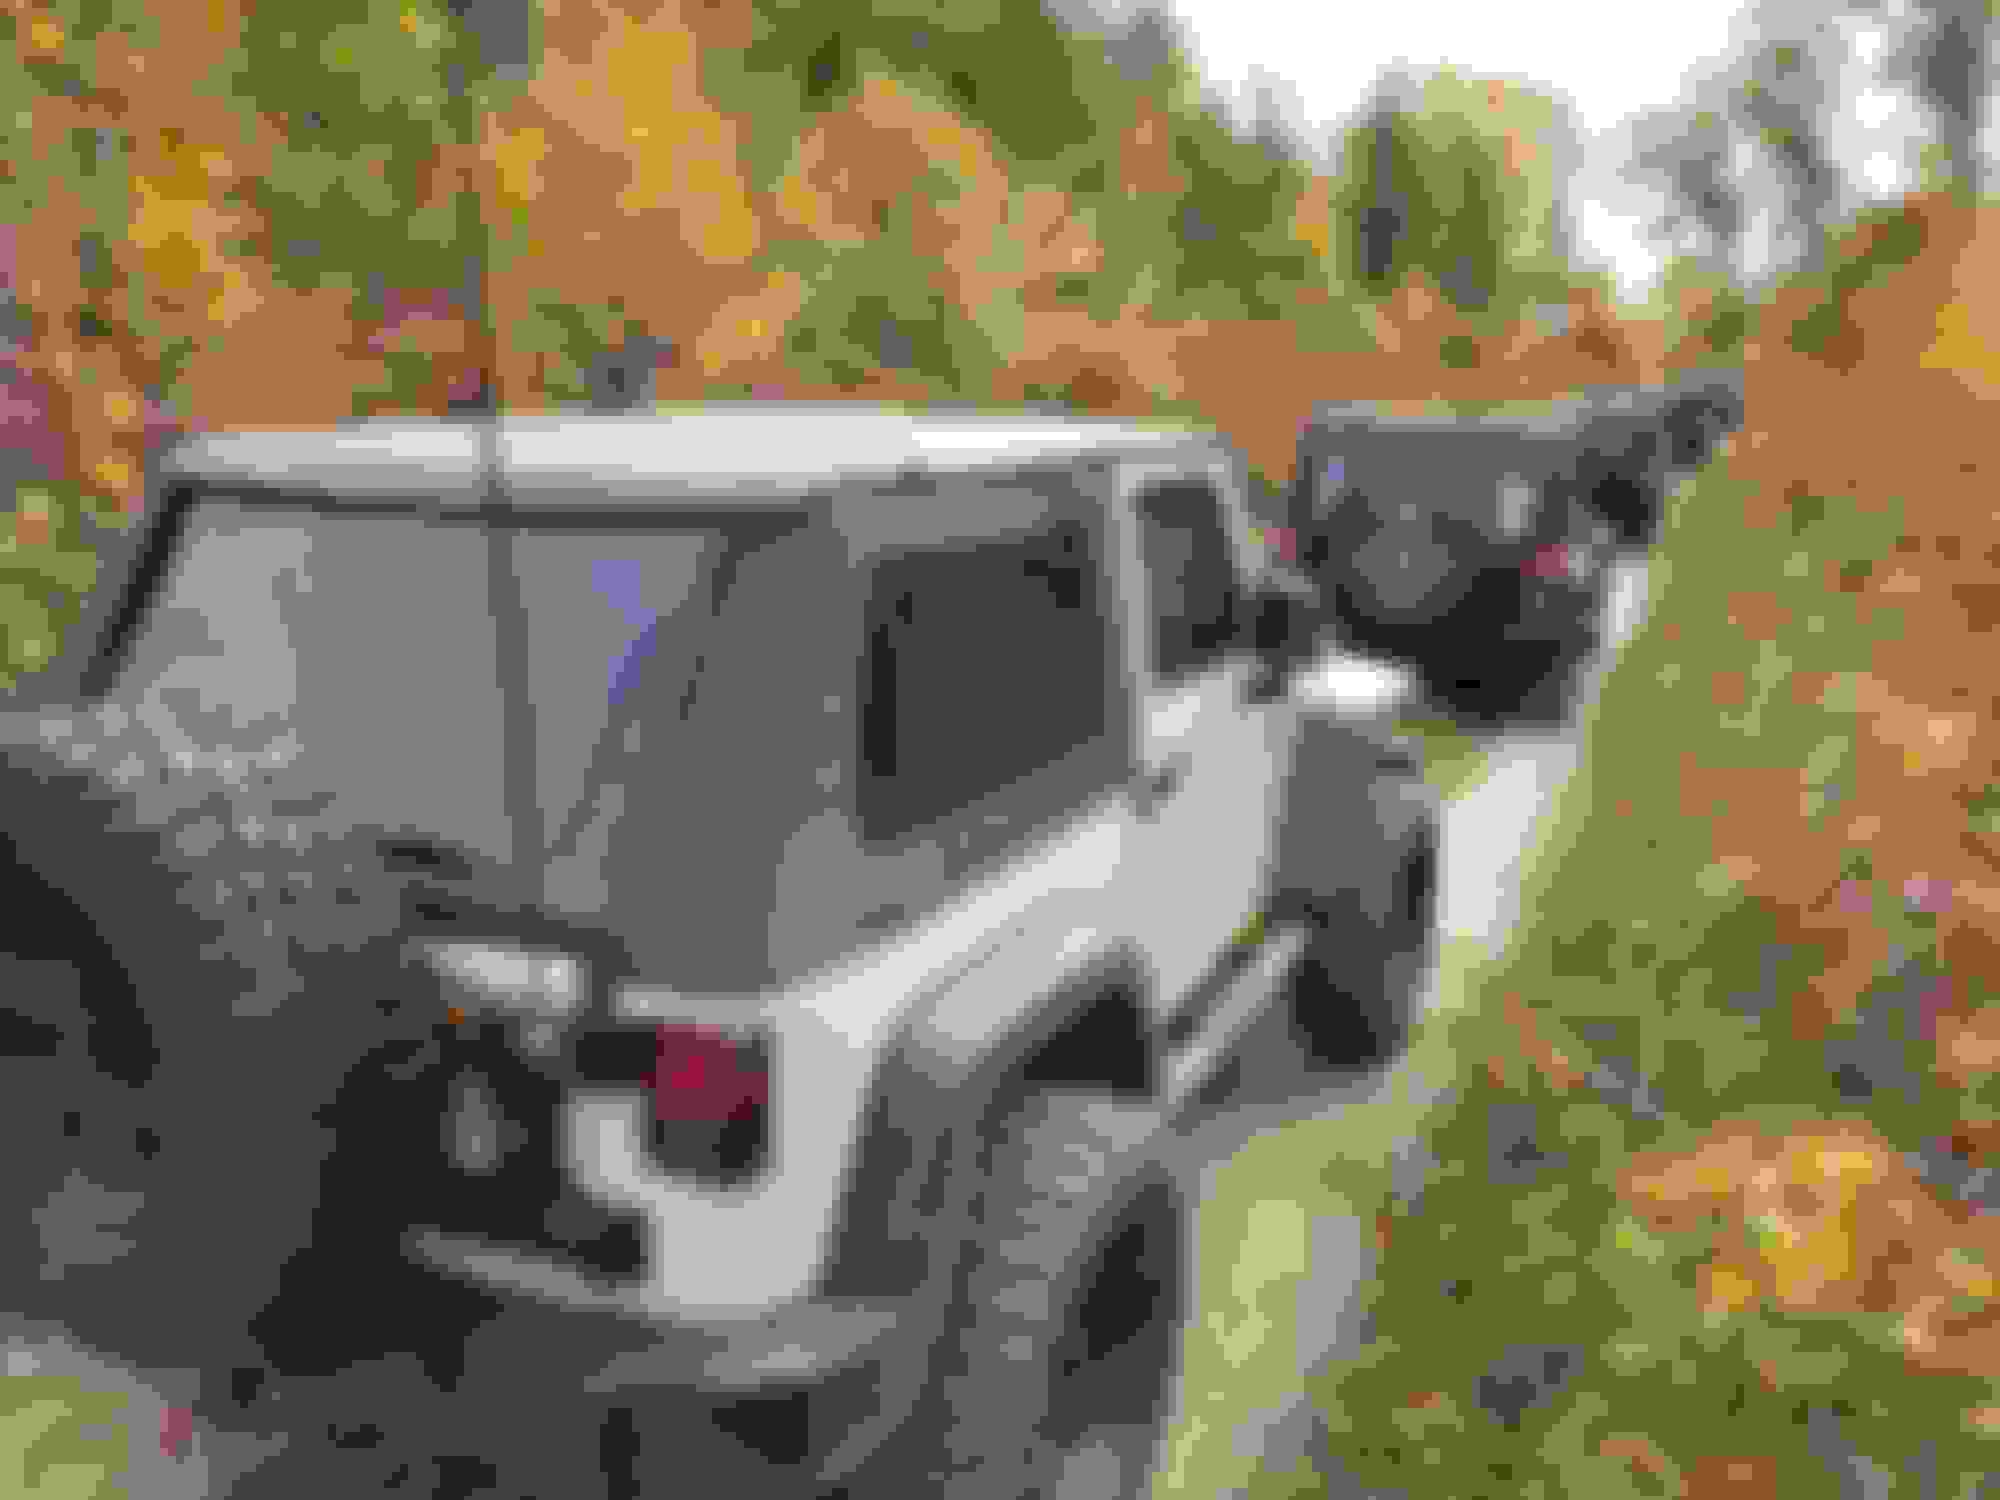
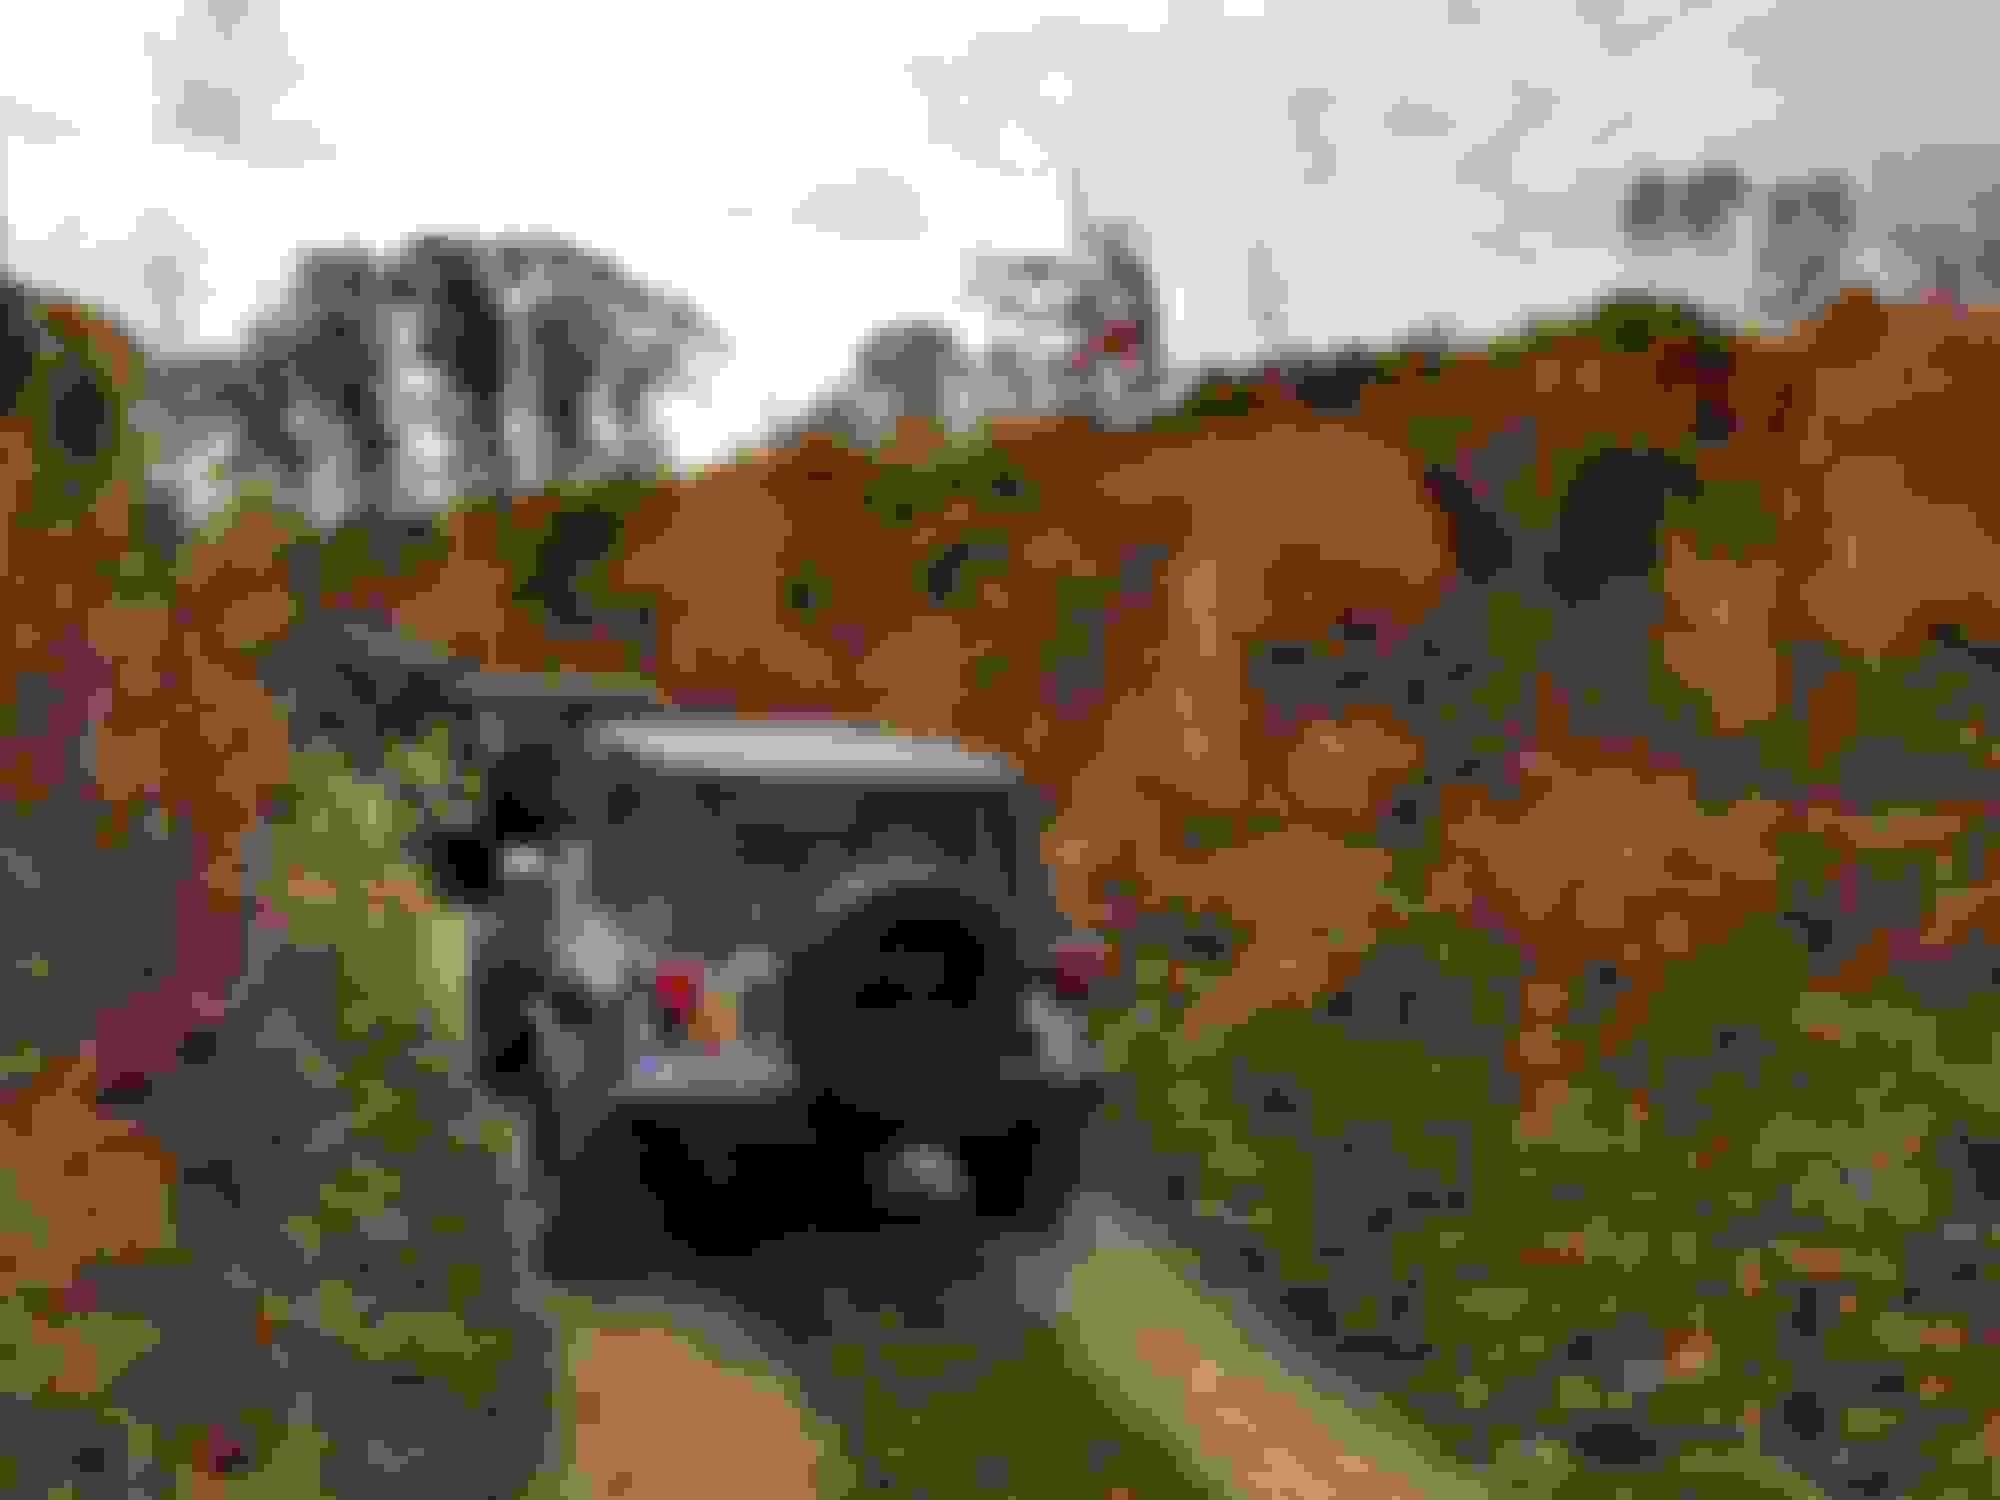
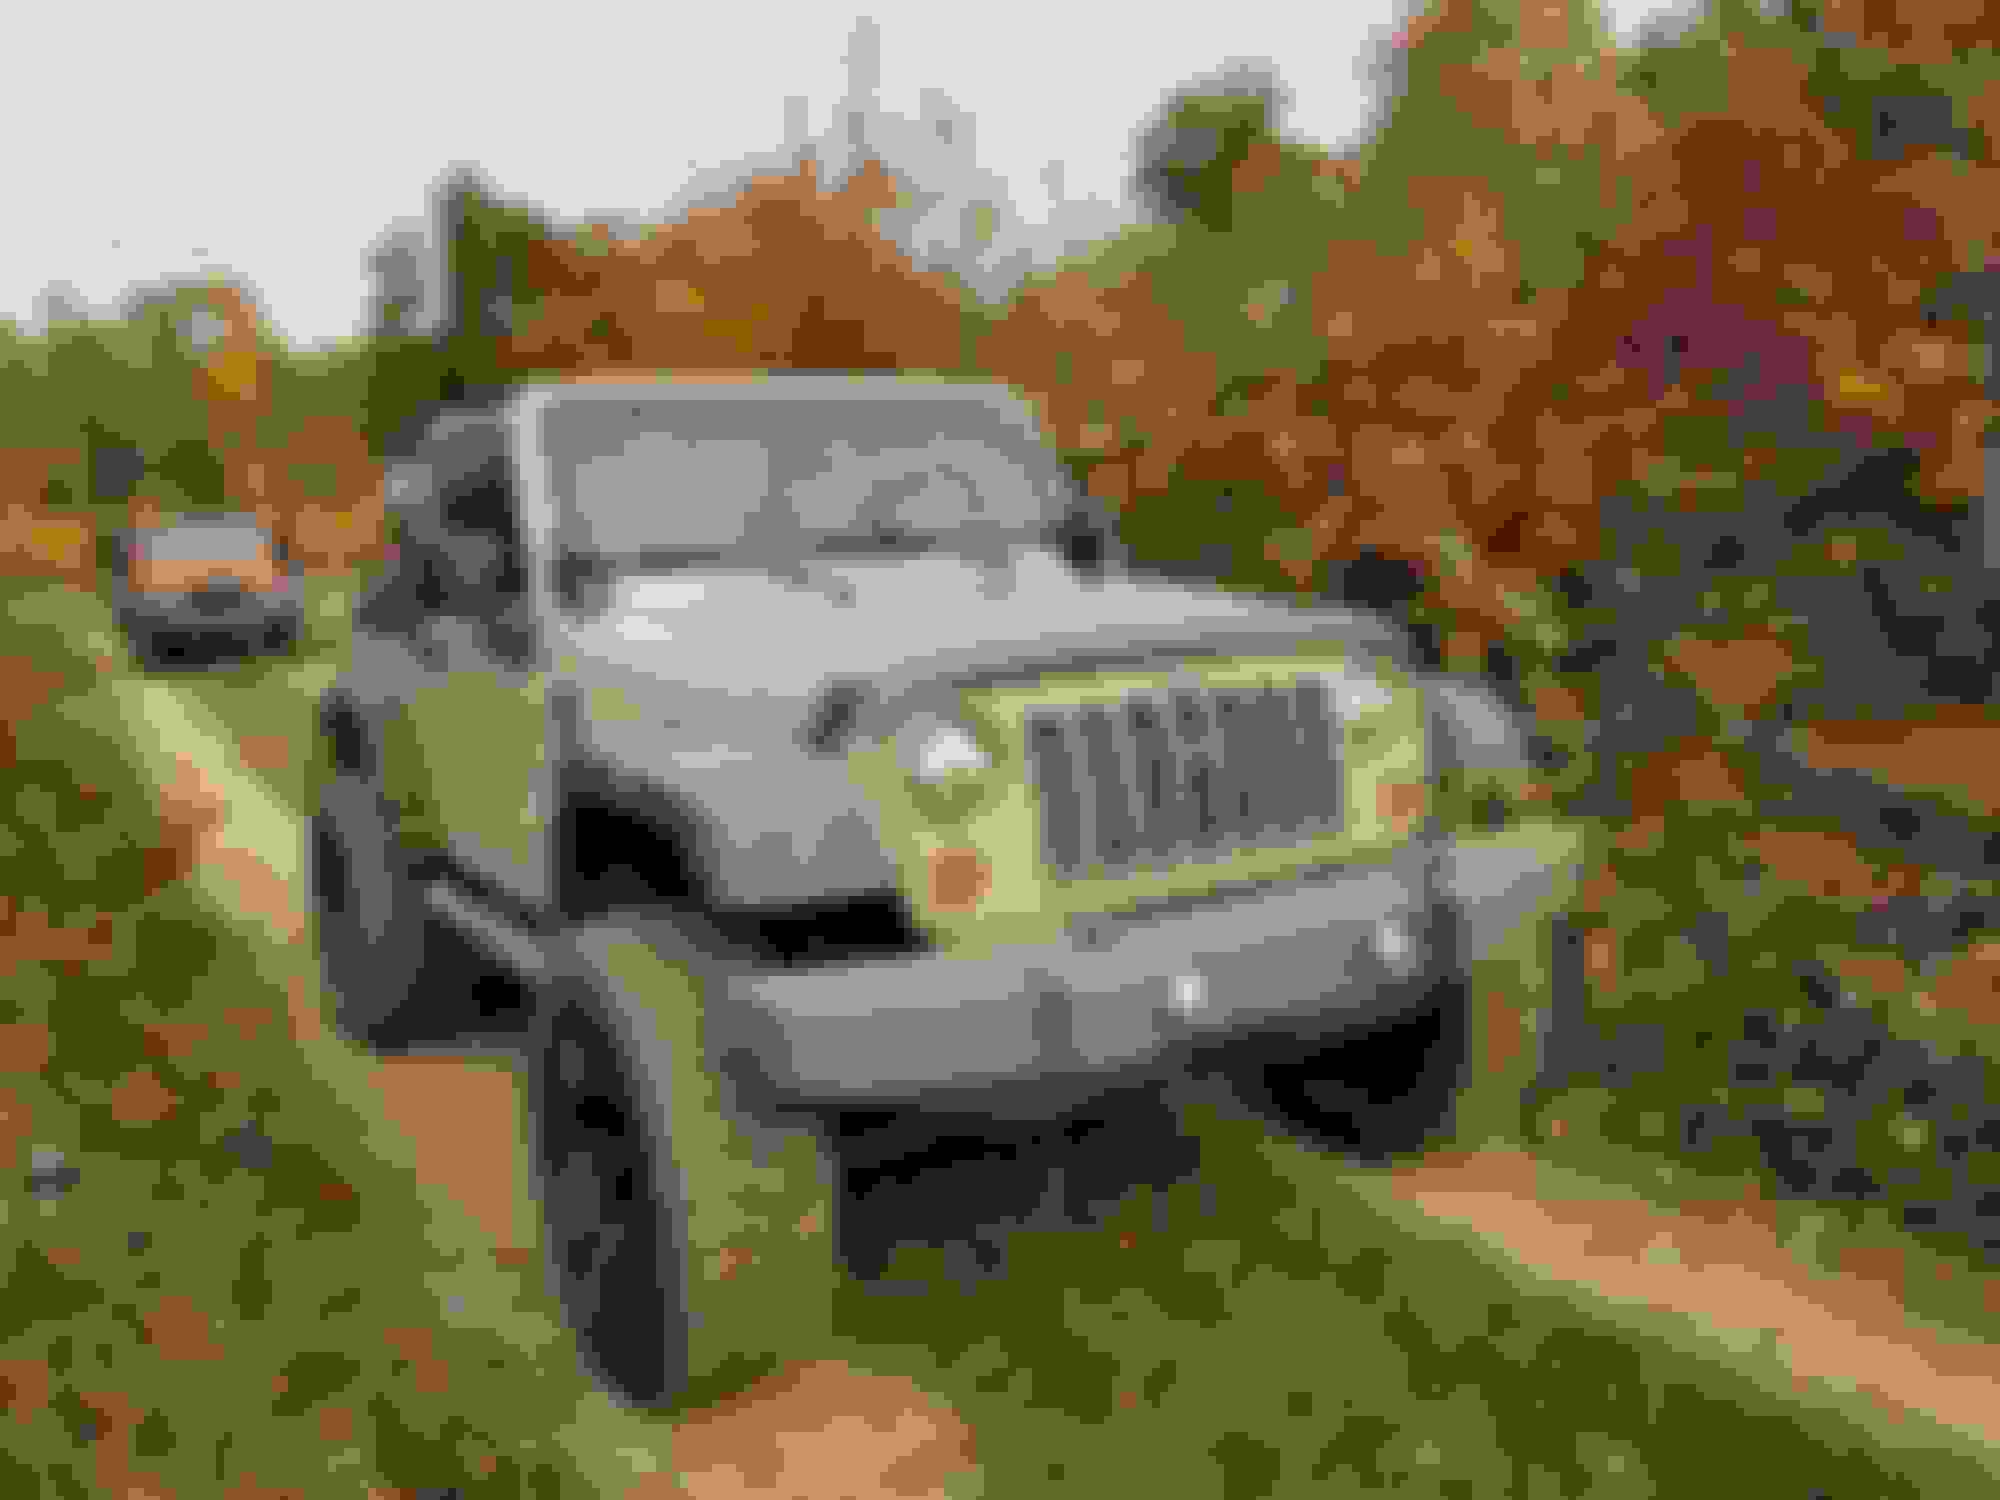
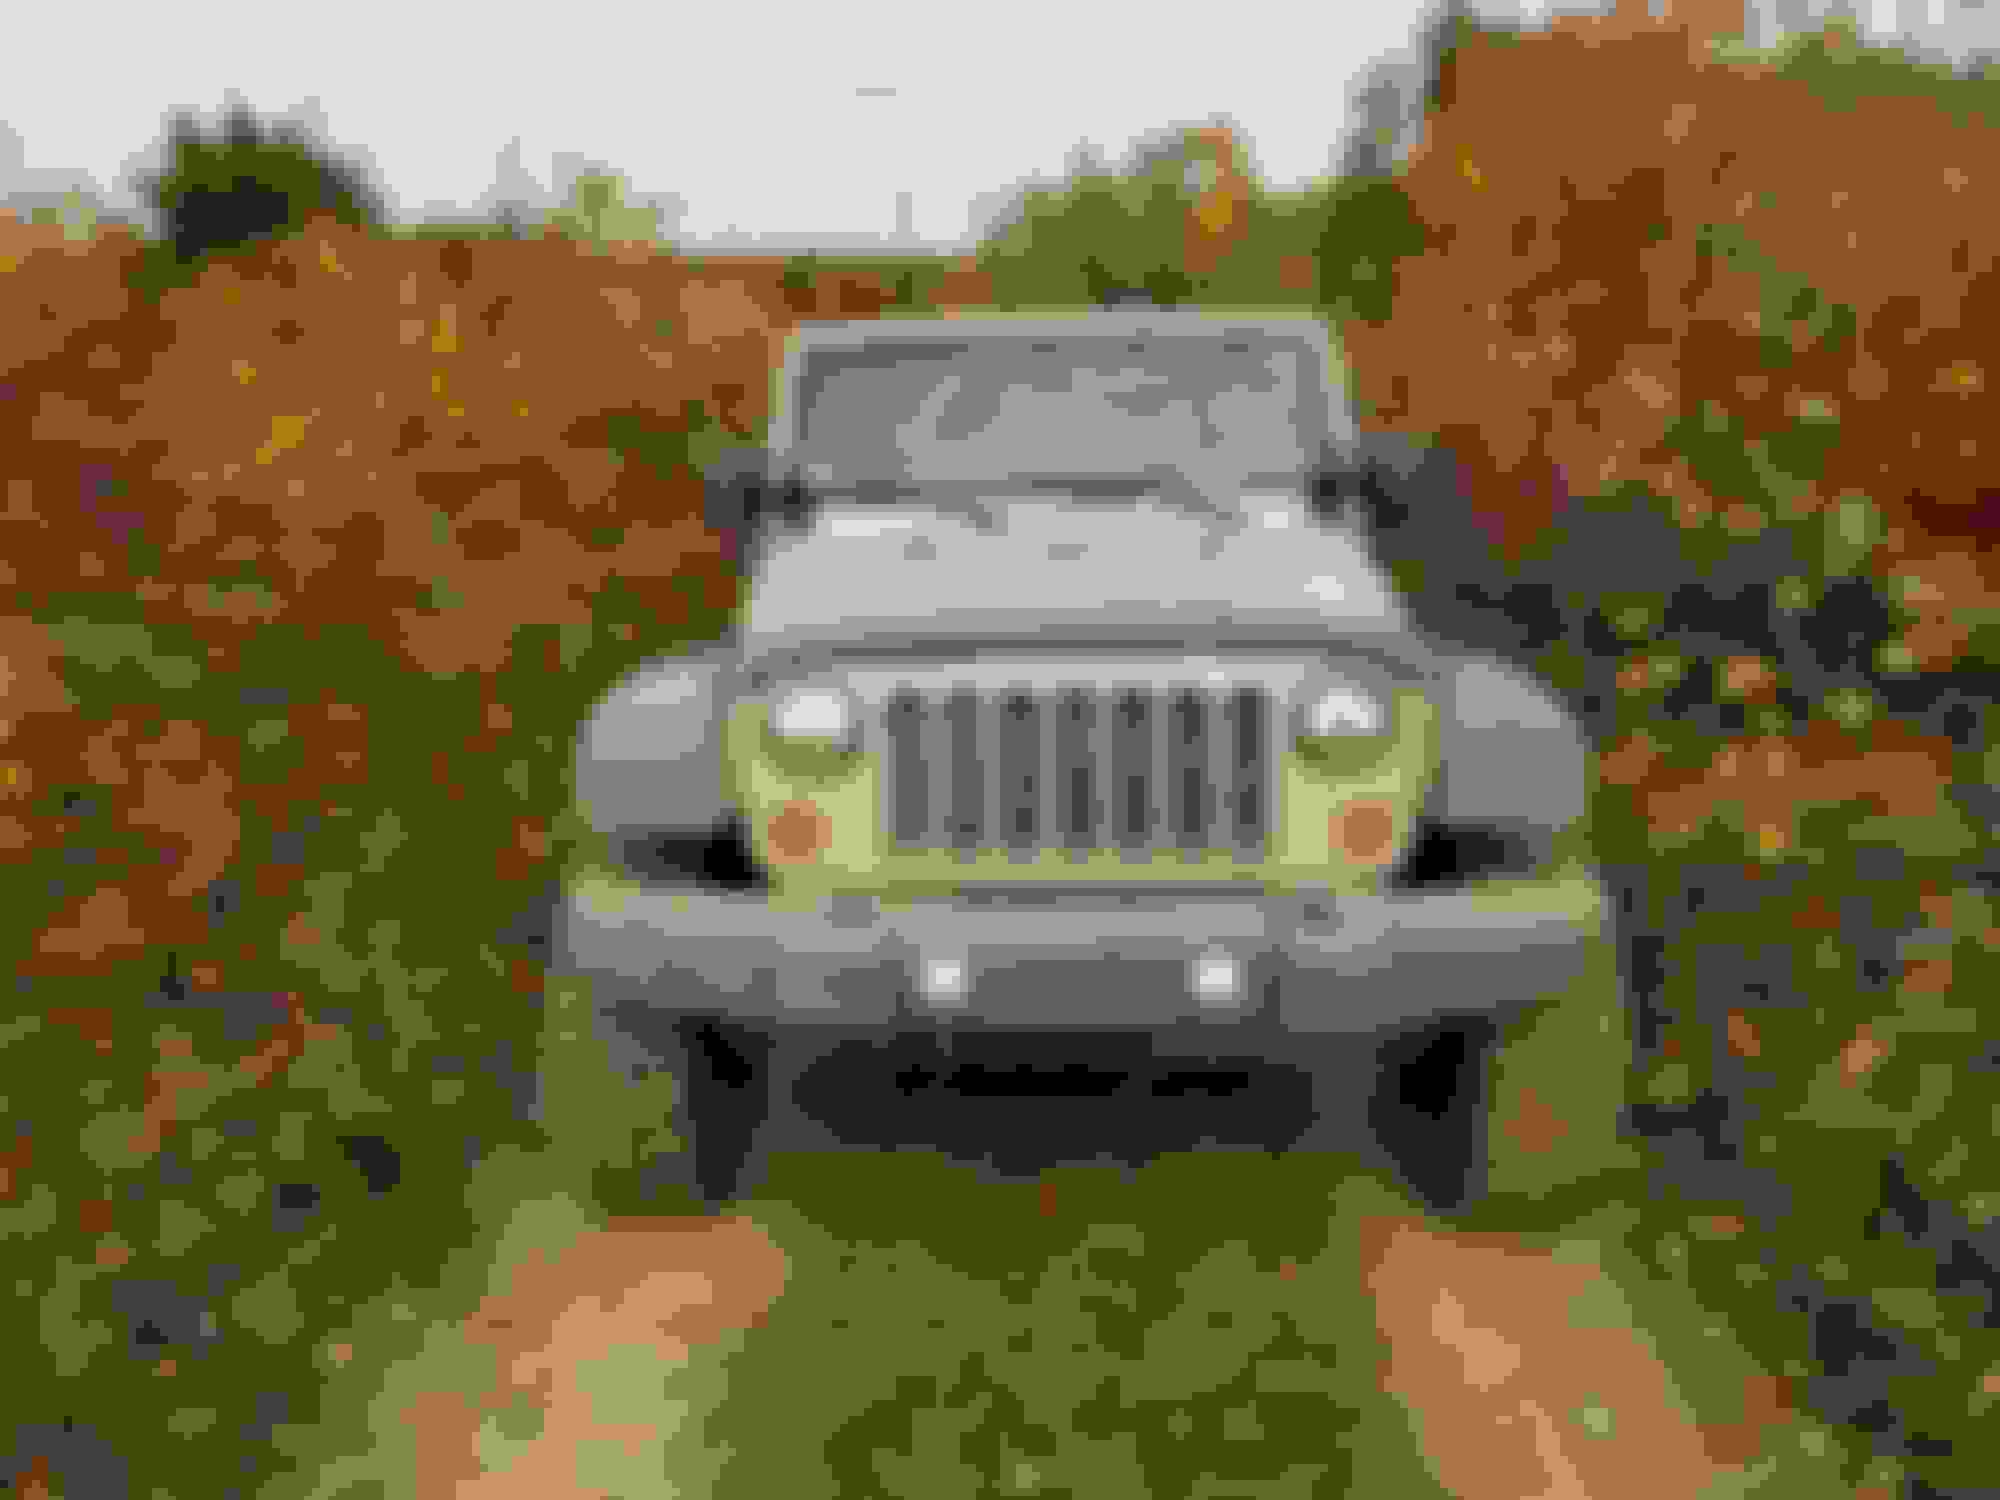
We then had a blast with the Jeep at the Fall Color Tour with the Wolverine Wheelers! We went up and saw some really beautiful fall colors in the northern lower peninsula around Grayling area along I-75. We also had some good times playing around on the back roads and ORV trails up there! We even got to take our new Jeep pup, Storm, on her first Jeep Trip, and she absolutely loved it! She wanted ever leaf that went past the window and loved when we took breaks to run around in the woods! I did in fact manage to get myself stuck though for the first time, as we were on and off of paved roads a bit, I did not air down much and did not disconnect the sway bar, and climbing a sandy hill, I hit a spot that the ruts got really deep and bottomed out a little, and just did not have anything left to get out! So I needed a little tug, and then I was good to go! It was bound to happen sometimes, but it was definitely the driver that got it stuck, not the Jeep!
It was a great trip though and had an awesome time with the club! Here's some pics from the trip!