
my retro fit projector


Thread Starter
JK Newbie
Joined: Jun 2009
Posts: 11
Likes: 0
From: providence
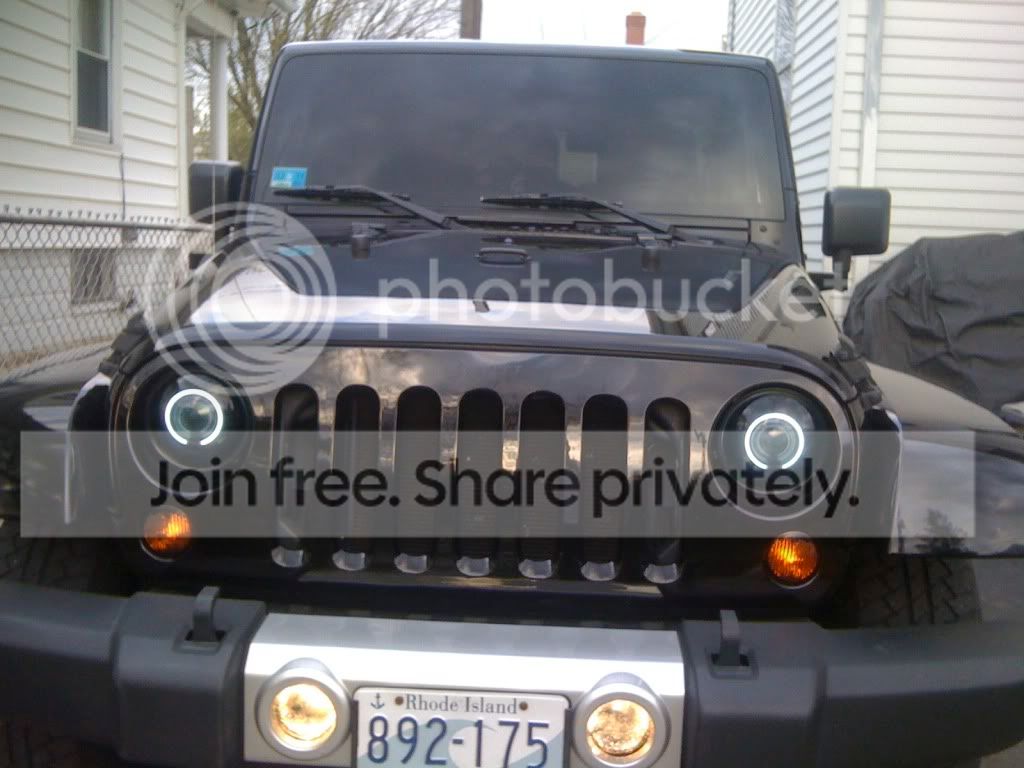
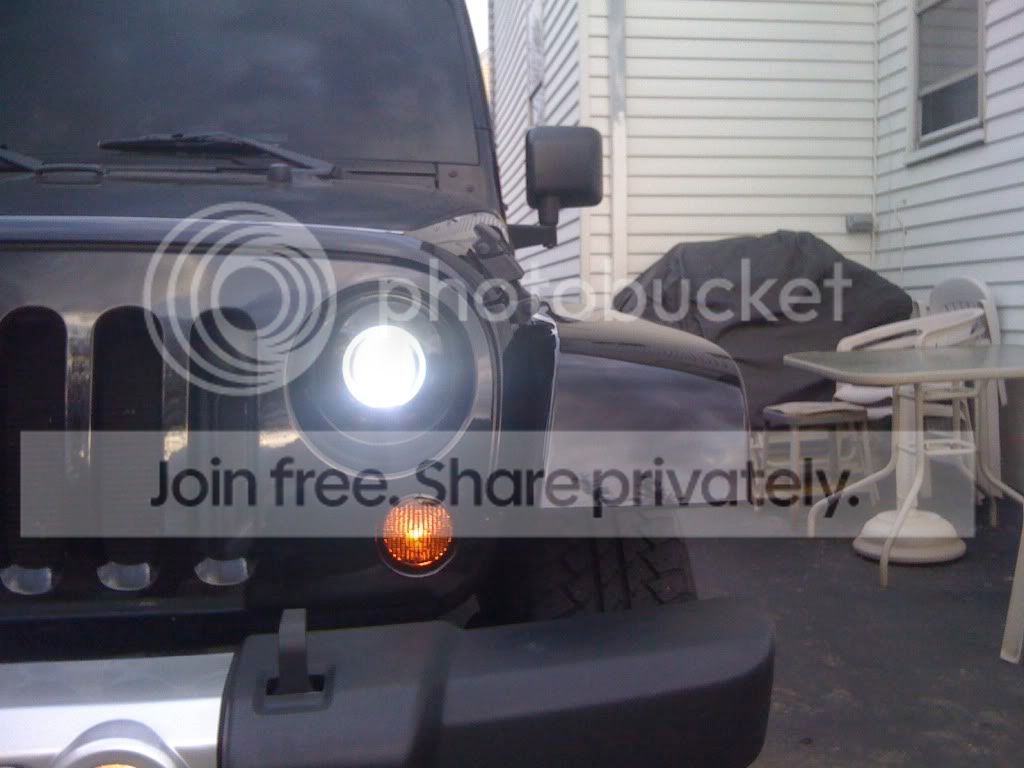
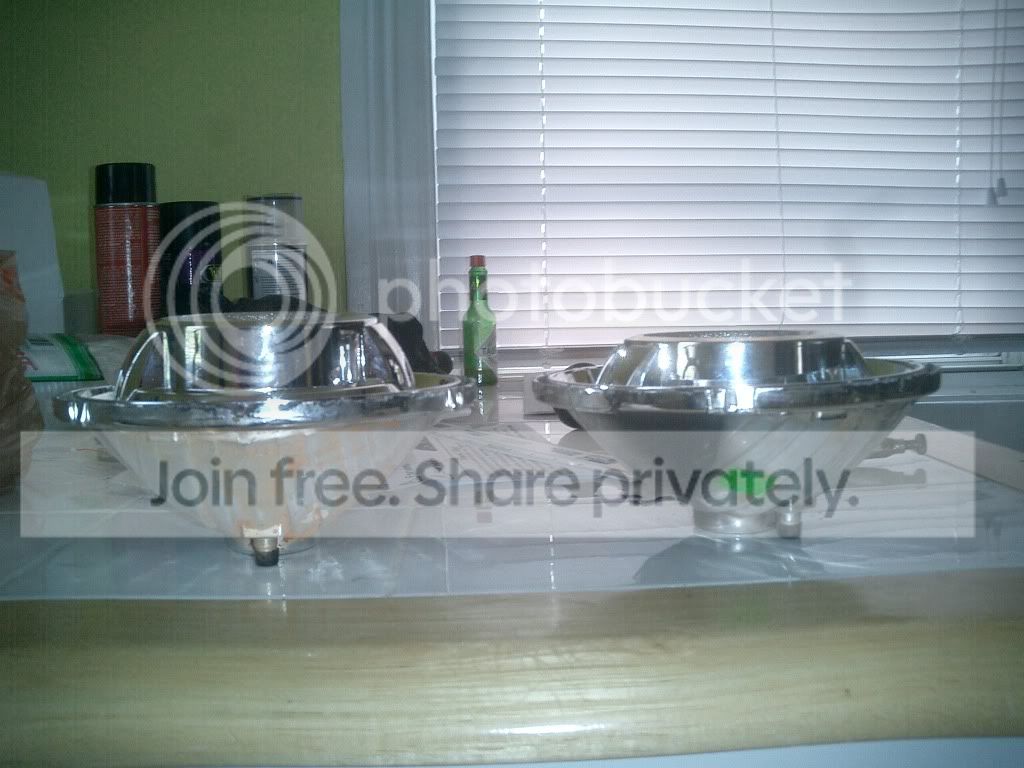
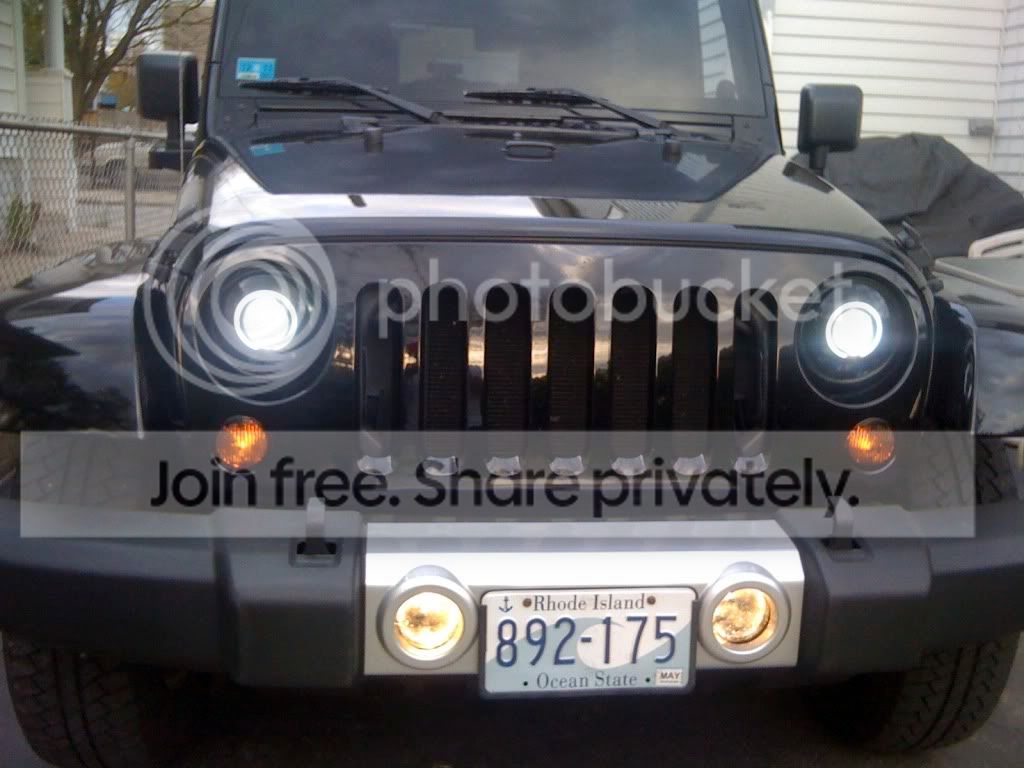
i will do a full write up once i get a little spare time. meanwhile here are some pics. the kit came with these halos,they were free so i figured i would stick them on. i know some of you may thinks its lame but to each is own. ps thanks again to hilldweller for his headlight donation
Last edited by sm_rubi; Apr 23, 2010 at 02:11 PM. Reason: pic help
Thread Starter
JK Newbie
Joined: Jun 2009
Posts: 11
Likes: 0
From: providence
ok so here is my head light write up. as mentioned before i had plenty of time to work on these because hilldweller donated his old head lights to me. the projectors were ordered at theretrofitsource.com i had the hit kit already,but you can buy one for pretty cheap at ddmtuning.com they got one for about 30$
1st step and probably the hardest was to bake the light at 270 for about 10 min to remove the lens
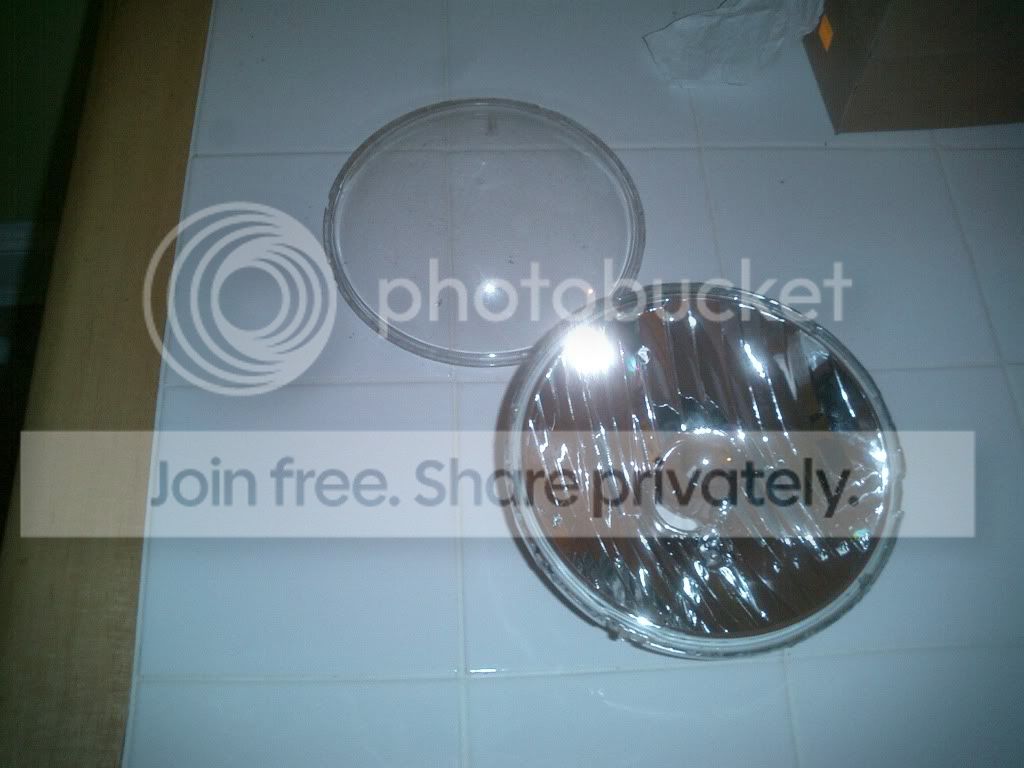
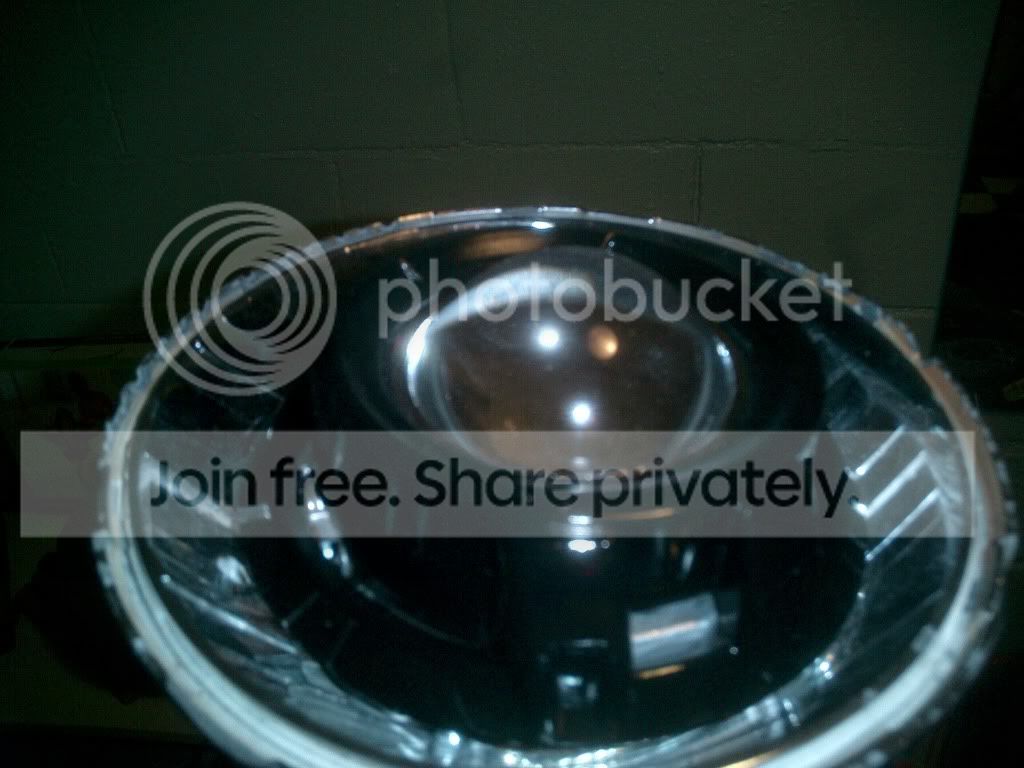
2nd step was to trim about an inch off the bezel aswell as under the bezel to give the projector a snug fit
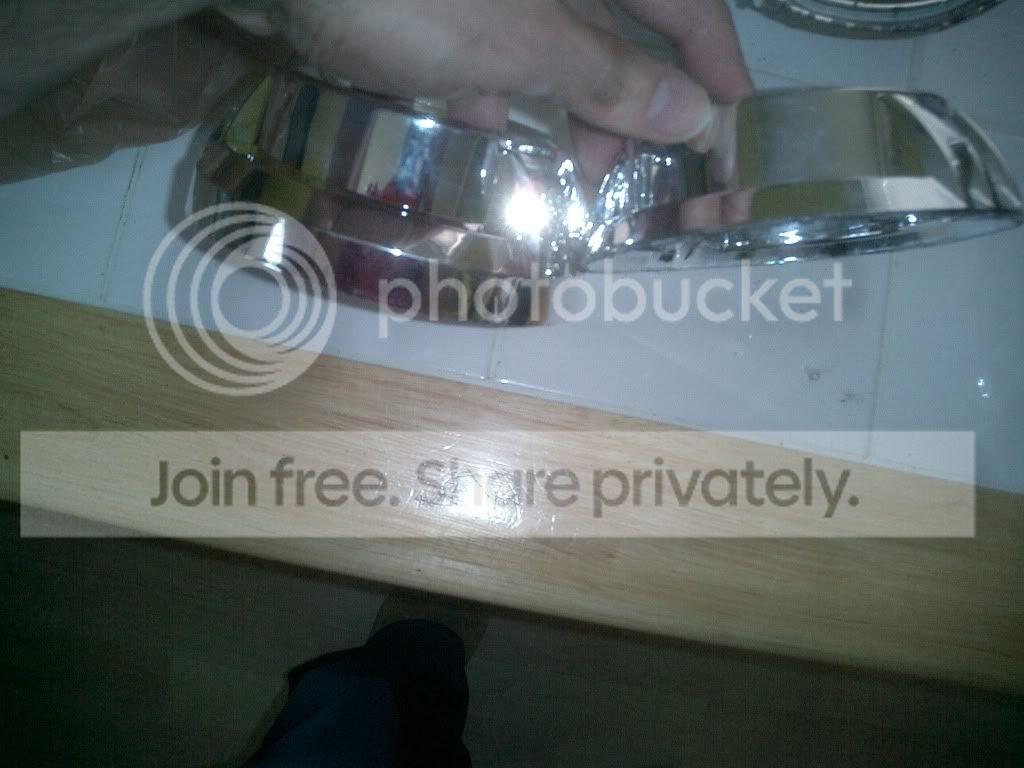
3rd i took a dremel and began to cut a hole. little at a time not to over do it
4th i secured the projector to the housing using 10/32 screws
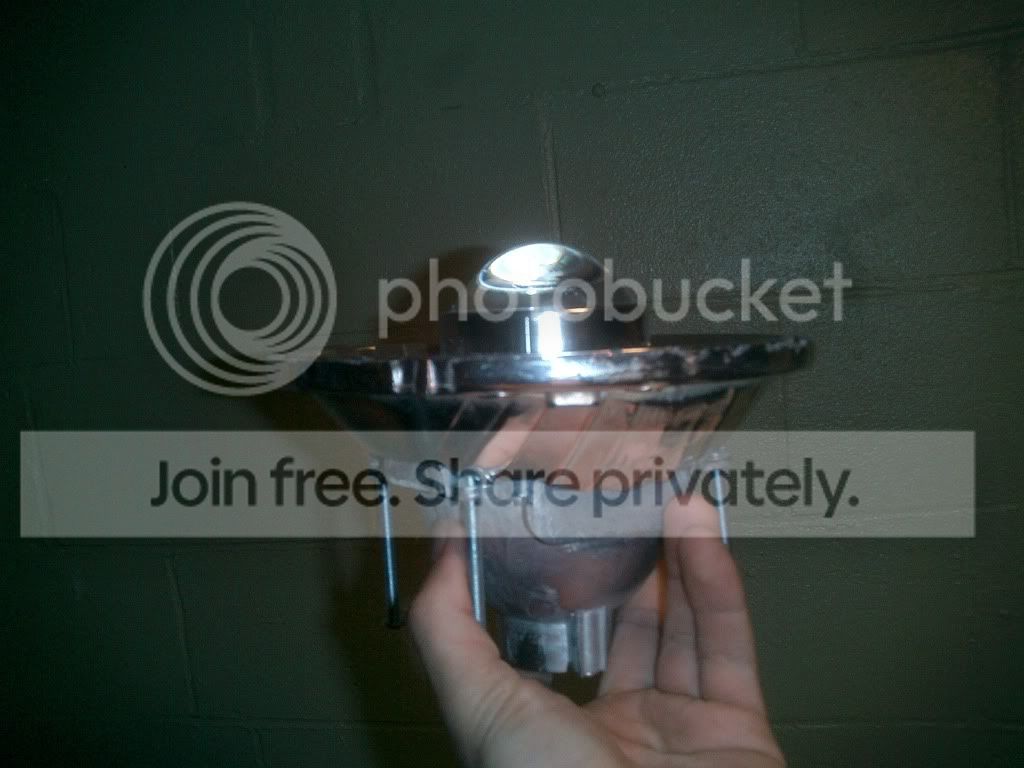
5th i sprayed the bezels black. i want nothing to do with chrome. then i glued on the halo ring
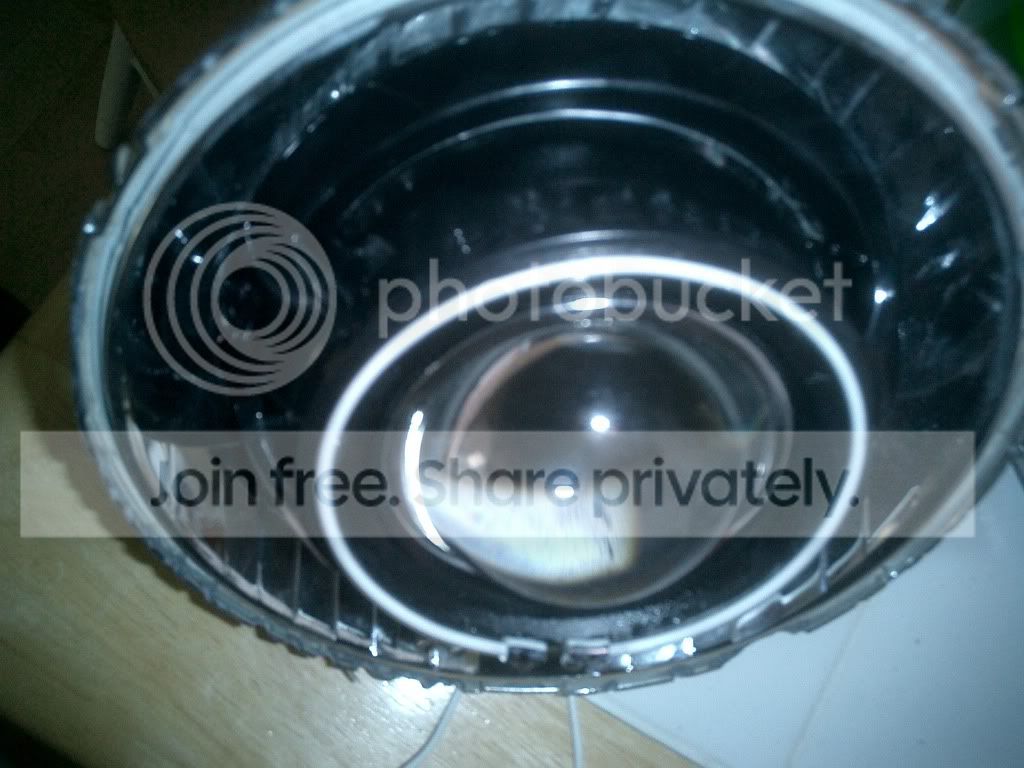
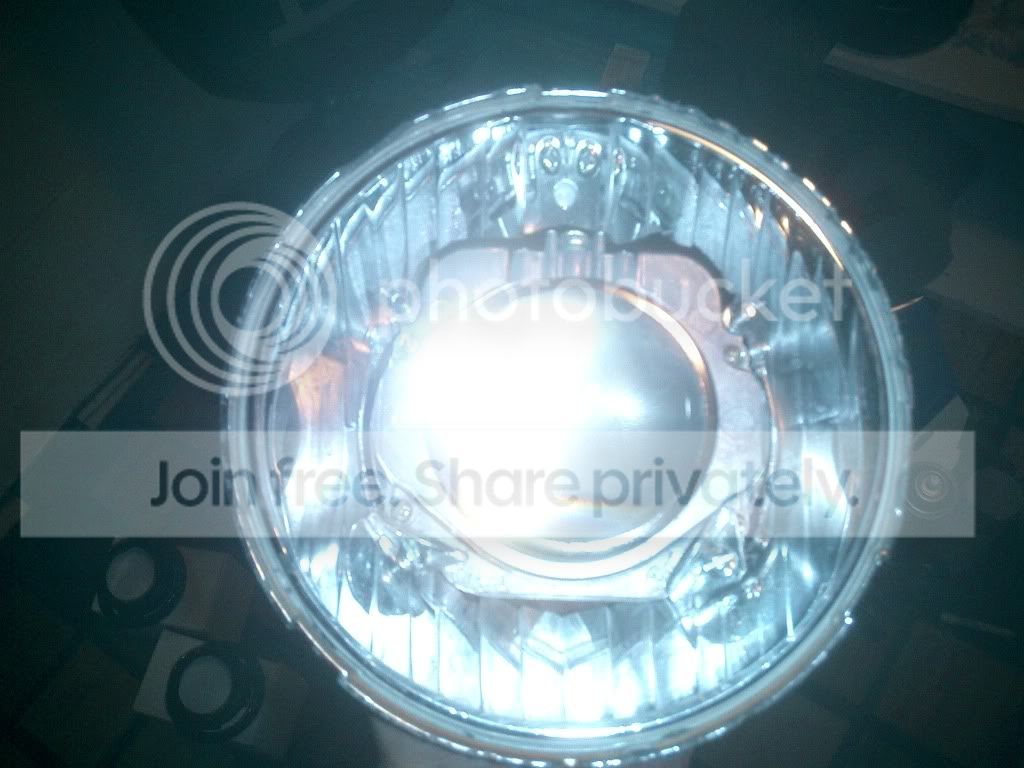
6th i then sprayed the inside of the lens with vht spray tint for the blackout look. sanded it down with 2000 grit for a smooth finish. i sealed the lens back wired it all down. i connected the halos to my blinkers
and there you have it. for a little under 280$ you can make custom projectors. any questions i will be happy to answer. check out my other threads for more builds.
1st step and probably the hardest was to bake the light at 270 for about 10 min to remove the lens
2nd step was to trim about an inch off the bezel aswell as under the bezel to give the projector a snug fit
3rd i took a dremel and began to cut a hole. little at a time not to over do it
4th i secured the projector to the housing using 10/32 screws
5th i sprayed the bezels black. i want nothing to do with chrome. then i glued on the halo ring
6th i then sprayed the inside of the lens with vht spray tint for the blackout look. sanded it down with 2000 grit for a smooth finish. i sealed the lens back wired it all down. i connected the halos to my blinkers
and there you have it. for a little under 280$ you can make custom projectors. any questions i will be happy to answer. check out my other threads for more builds.
Last edited by sm_rubi; Apr 23, 2010 at 03:06 PM. Reason: pic help
JK Junkie
Joined: Nov 2009
Posts: 2,737
Likes: 1
From: Rochester, NY
VERY NICE!!!!
I would love this setup! However, it is not clear on what you mean by cutting the bezels? And more clear pictures would be helpful. What projectors did you use from the retrofitsource? And how well did they aim? How did you ensure they were straight? How did you get the glass back in? How did you seal the moisture out, since it looks like it has an opening from the dremel cut? etc...
I would love this setup! However, it is not clear on what you mean by cutting the bezels? And more clear pictures would be helpful. What projectors did you use from the retrofitsource? And how well did they aim? How did you ensure they were straight? How did you get the glass back in? How did you seal the moisture out, since it looks like it has an opening from the dremel cut? etc...
Last edited by IcyFridge; Apr 23, 2010 at 03:08 PM.
JK Enthusiast
Joined: Aug 2009
Posts: 262
Likes: 0
From: San Diego
Nice work. i did a similar thing but I am not using any bezels. I'm still working on getting the capsules to fit with the projector housing though, since I am using non OEM wiring.
I still haven't aligned it, so it isn't completely JB welded in yet.

I still haven't aligned it, so it isn't completely JB welded in yet.
Thread Starter
JK Newbie
Joined: Jun 2009
Posts: 11
Likes: 0
From: providence
i bought the fx-r projectors since i already had an hid kit i bought the PNP Upgrade: Bi-xenon kit for 235. if you choose the value shrouds you only pay half price for them. i told him to throw in the halos. you have to get the d2s bulbs. these are the only kind that fit.
as far as assembling the light i bought 10/32 screws with the nuts. apply some locktight. then to fill in the gaps i used this epoxy putty i also used it to secure the shroud to the projector. i used super glue all temp to stick the halo on the shroud
for aiming dont seal the lens until u wire it up and aim the projector(do this at night). to seal it i used some rtv silicone adhesive sealant.i also put a heat gun to the light to use the original glue God bless
as far as assembling the light i bought 10/32 screws with the nuts. apply some locktight. then to fill in the gaps i used this epoxy putty i also used it to secure the shroud to the projector. i used super glue all temp to stick the halo on the shroud
for aiming dont seal the lens until u wire it up and aim the projector(do this at night). to seal it i used some rtv silicone adhesive sealant.i also put a heat gun to the light to use the original glue
God bless