Roof Rack Write up on Hard Top
 08-28-2007, 05:51 PM
#11
JK Enthusiast
Thread Starter
Join Date: Feb 2007
Location: Edison NJ
Posts: 456
Likes: 0
Received 0 Likes
on
0 Posts
 08-28-2007, 06:05 PM
#12
JK Enthusiast
08-29-2007, 03:27 AM
#13
JK Enthusiast
Thread Starter
Join Date: Feb 2007
Location: Edison NJ
Posts: 456
Likes: 0
Received 0 Likes
on
0 Posts
08-31-2007, 04:19 PM
#14
JK Enthusiast
09-02-2007, 03:34 PM
#15
JK Freak

Join Date: Jan 2007
Posts: 516
Likes: 0
Received 0 Likes
on
0 Posts
OK, im thinking about doing this mod, but i have a question. OK, here goes.
im wanting to put 4 off road lights up on the off road rack. How would i bring the wiring into the vehicle..?? is there space inside the hardtop to run wires??? I was thinking i could just follow the wires that attach to the rear wiper, put some quick disconnects or something that will allow me to detach the wires easily if i want to take the hard top off. Then I could just drill 2 small holes right below where the lights are going to go, run the wires through the hole and put a grommet there, that way i dont get any leaks...???
Think this will work??
The main thing is...is there room room to run wires in the hard top??
09-02-2007, 06:07 PM
#16
JK Enthusiast
im wanting to put 4 off road lights up on the off road rack. How would i bring the wiring into the vehicle..?? is there space inside the hardtop to run wires??? I was thinking i could just follow the wires that attach to the rear wiper, put some quick disconnects or something that will allow me to detach the wires easily if i want to take the hard top off. Then I could just drill 2 small holes right below where the lights are going to go, run the wires through the hole and put a grommet there, that way i dont get any leaks...???
Think this will work??
The main thing is...is there room room to run wires in the hard top??
Think this will work??
The main thing is...is there room room to run wires in the hard top??
But, I don't know if this is a straight run!?!
I filled mine with Great Stuff to make it more ridgid, so I didn't test to trace a run...
09-08-2007, 12:13 PM
#17
JK Enthusiast
Thread Starter
Join Date: Feb 2007
Location: Edison NJ
Posts: 456
Likes: 0
Received 0 Likes
on
0 Posts
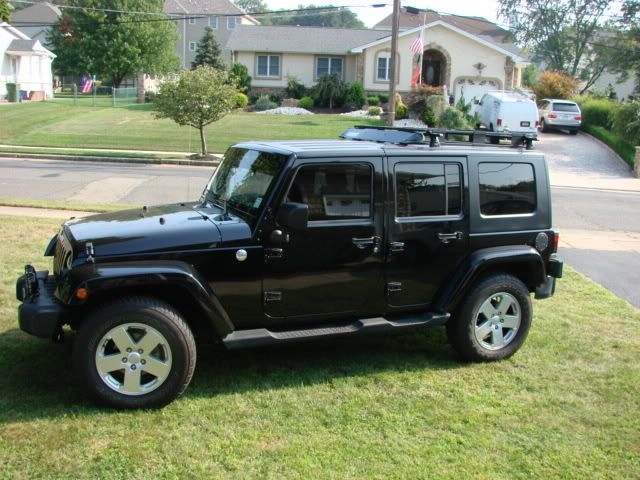
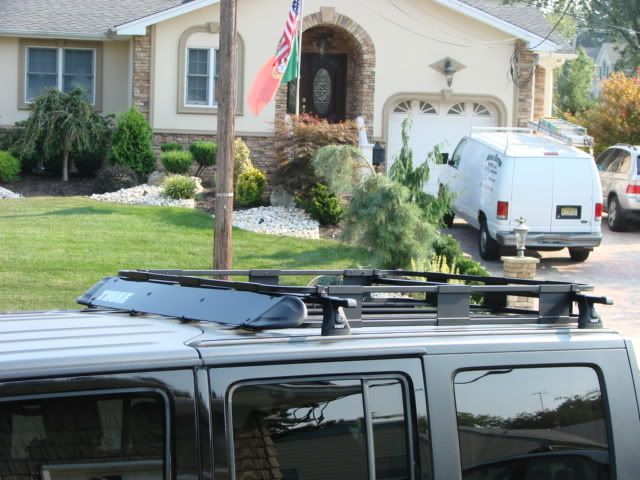
I lowered the rack and put on a wind deflector.
I had to make a spacer out of ABS Plastic to raise the rack b/c it was resting right on the roof- Lots of scratches now- oh well. but it looks alot better this way. Also bought weather strip to put under the rack so it doesn't flap when driving.
09-17-2007, 05:34 PM
#18
JK Enthusiast
DBB888, Thanks for the Thule tracks..
Got them on during the Labor Day weekend, but have been studying about the towers, and cross/load bars. I'll get the remaining hardware soon.
I did a few extra steps, but didn't take the time to snap any shots. I'm not as organized as the rest of you guys! I'll add a few after-shots later.
1. I shortened the tracks by one hole. This kept me from having to use the longer bolts towards the front. And the tracks aligned well with the ribs on the top.
2. I filled the "hollow" with expanding foam. After drilling the pilot and bolt holes through the top only, I slowly and carefully added foam to each hole. I think this will help stiffen up the fiberglass (remember, I'm wanting to use a "clam shell" topper.) I accidentally over filled the last two holes, so it took a while to cure. I also taped the seams of the underside, from fears of leakage, but this appeared unneccessary, as there was no foam on the tape upon removal.
3. I didn't read the directions well and drilled every available hole in the tracks. But this might have been a good mistake. I'm worried about the clam shell lifting and stressing the fiberglass, so the extra hold will help spread the weight/lift. I realized the mistake as I ran out of bolts after the first track, which caused a quick run for more stainless steel bolts.
I'll update with pictures and experience once the topper has been on the road...