
My OME DIY lift job (lots of pics)

Thread Starter
JK Enthusiast
Joined: Nov 2008
Posts: 176
Likes: 0
From: Sofia, Bulgaria
So finally I managed to lift my Wrangler! I am TOO happy! Some details:
What: OME 616/618 rear; bump-stops: RE 2� + OME; adjustable front JKS tb (great piece of equipment) + OME relo bracket at rear; adjustable arms: kept handy but not mounted yet (read after).
Some parts (like the lift kit) were bought second-hand, but still new and never mounted. Tires: 35s Cooper STT on AEV Pintlers, both waiting since some months now � now the wait is over
Who: a friend and myself, both mechanically able but not experts.
Time: a day and a half at a leisure pace.
Where: just in front of the garage, it was enough to have some level ground!
With what: basic tools (axle stands proved to be too low). Bought for the occasion a torque wrench (medium quality, but OK for non-pro jobs) and spring compressors (we ended up using them to compress a little the OME coils). All bolts and nuts came out and went in without much difficulty, luckily.
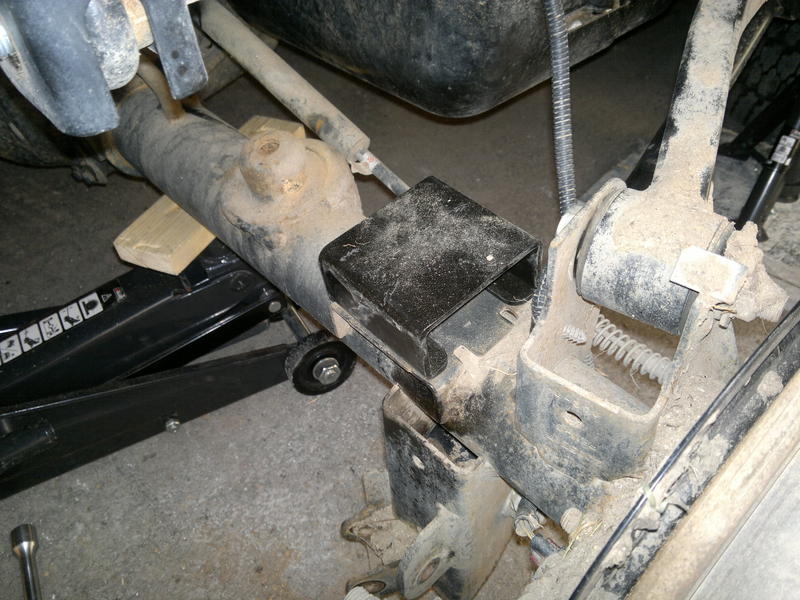
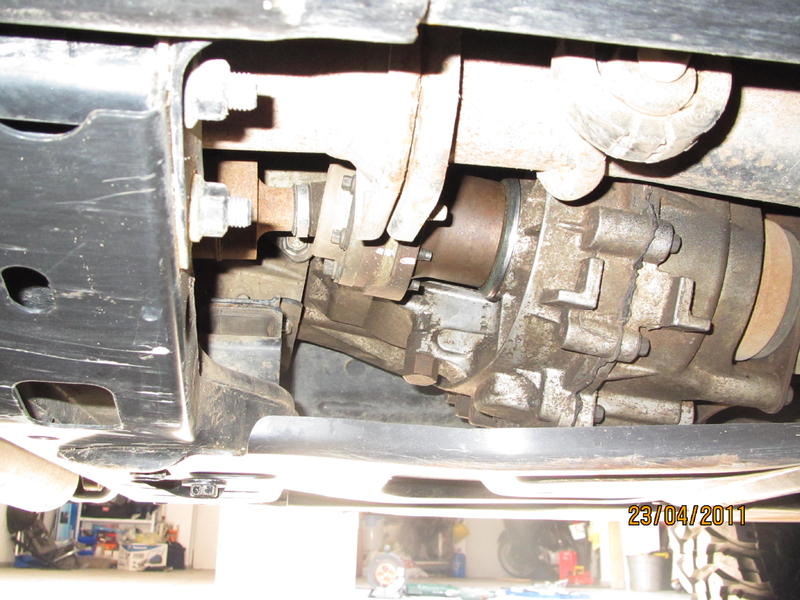
Most complicated part: to fit the bracket for the rear track bar relocator � what a PITA! Everything needed to be either hammered in place, or filed to fit, or else. Hopefully, it will be short-lived (planning on a rear adjustable sometime soon).
Best part: the satisfaction and looking at the vehicle once completed � it was a HUUUUGE improvement! And it became � big
Most useful tool: this forum and the write-ups from Project JK! Truly a GREAT help! At all times! I moved the wi-fi router to the balcony (live in a 3rd floor) so I could bring my partner�s laptop to the garage and access the write-ups at various stages of completion/adjustment �.
Alignment shop confirmed front axle correctly centered, toe-in, steering wheel re-centered (I made it first with WOL�s write-up), told the rear axle is about an inch to the driver�s side (no big deal), and the castor angle is ~2.5 deg.
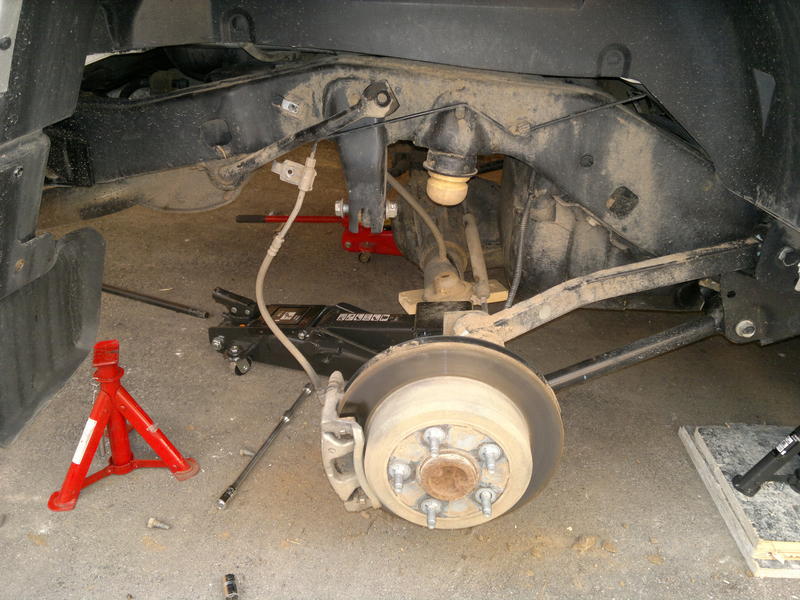
Flex results: the owner of the shop (has a lifted KJ) has a little mound outside the shop, he calls it �the place of truth�, we put the JK up there front and back, and there are no touching/rubbing issues. However, under full compression, the tires get very close (between 1/2" and 1") to the rear of the front bumper, the pinch seam and the rear bumper. I fear on the trail, with all the shaking, there will be some rubbing (I expected this). I was also advised not to mount the LCAs at this stage, unless I shave some plastic off the bumper.
I took it for a spin on Easter to visit some relatives (~250mi on asphalt, unfortunately). How it rides: really good! It keeps the road quite well and the level of comfort and steering precision is more than acceptable. The AEV ProCal allowed me to set a lower TPMS threshold, and set a new diameter for speedo etc. Checked against the GPS and is perfect, ~4km/h difference which is the standard tolerance to the best of my knowledge.
No shimmy, no DW, no bump-steer, so far.
I will try this w-e to replace the OEM SS with a TF (bought time ago), make some chalk tests (running the Coopers at ~29-30PSI set by the shop seems excessive), and check and tighten everything as per spec.
Couple of questions: I neglected to loose and re-torque the control arms, would you recommend to do so?
To minimize future rubbing (before changing bumpers), would you suggest I fit a BL or better some coil spacers? I left the coils set in the original rubber isolators, I do not wish to mount flat flares (know a lot of guys like them). I also plan to get DS sometime soon.
Enough talk, time for some pics! Let me know if anything looks awkward. Enjoy and T H A N K S !
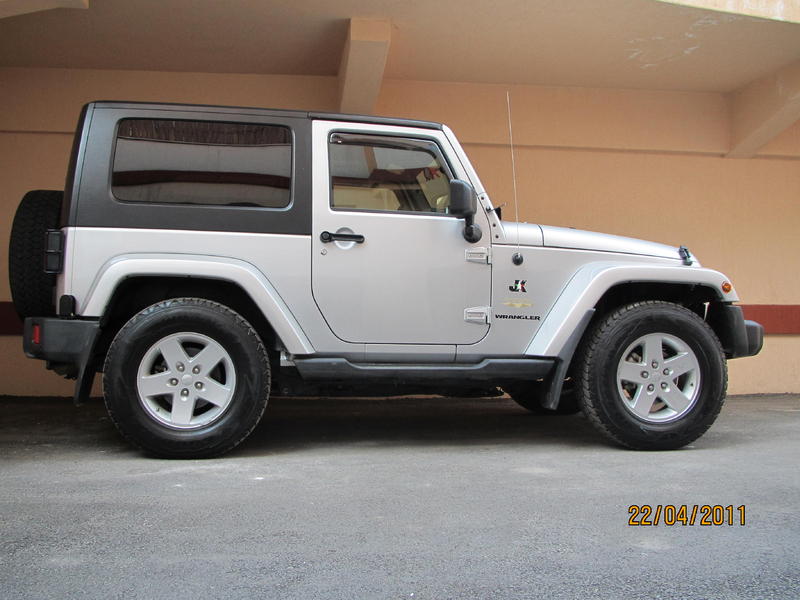
Starting point:
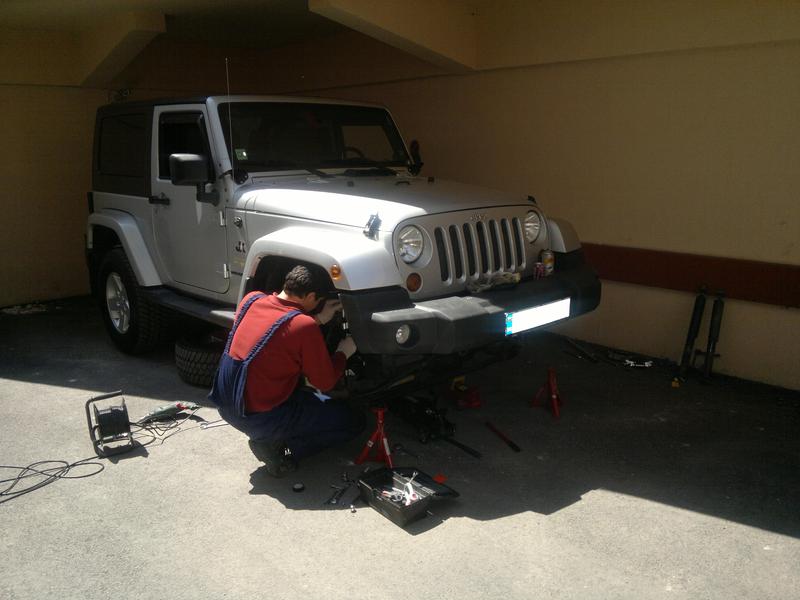
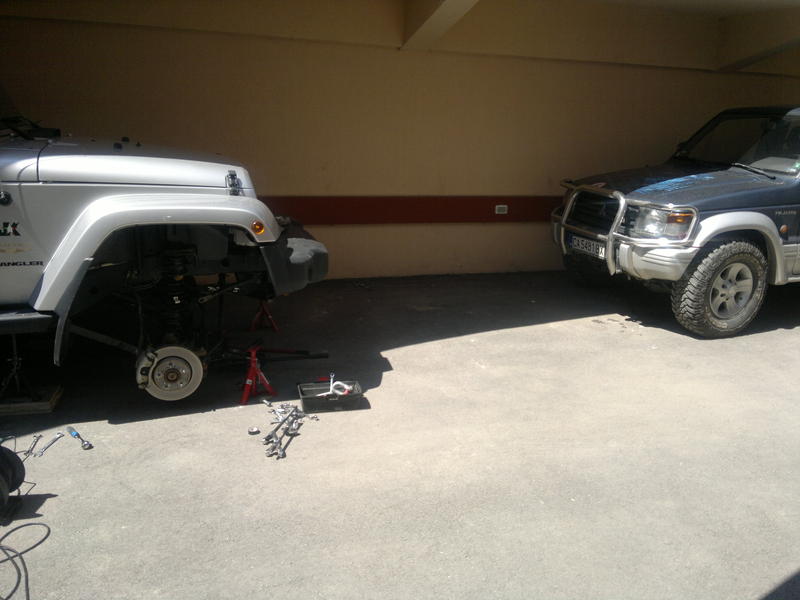
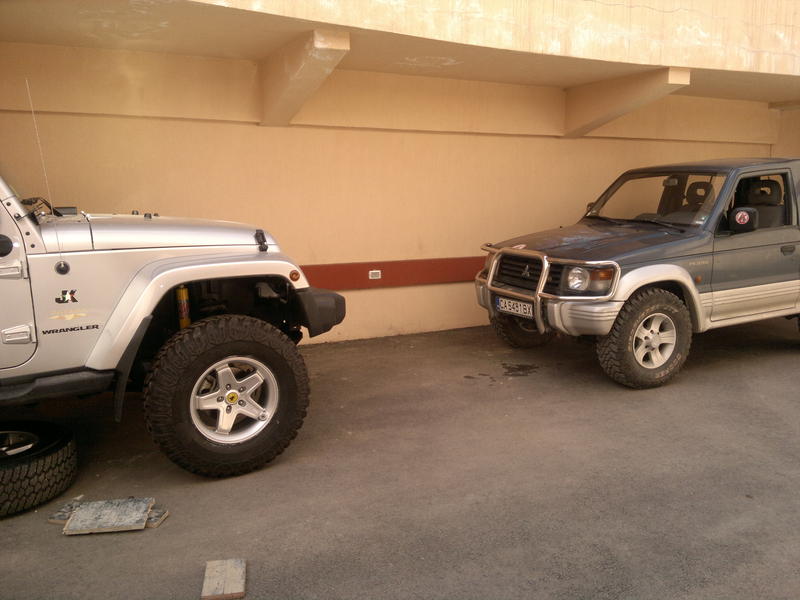
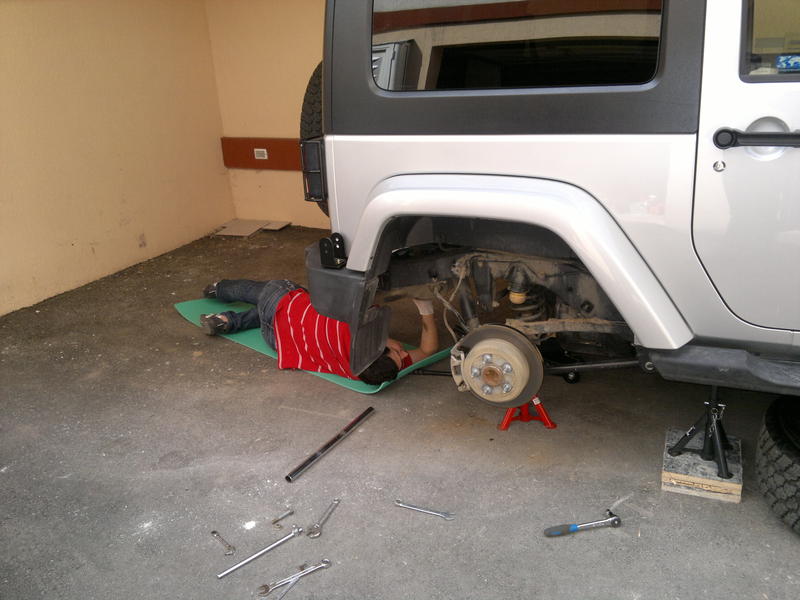
Work ongoing. Axle stands were a bit short, but ok. Me in the 1st picthe vehicle in the right is my friend's Mitsu Pajero:
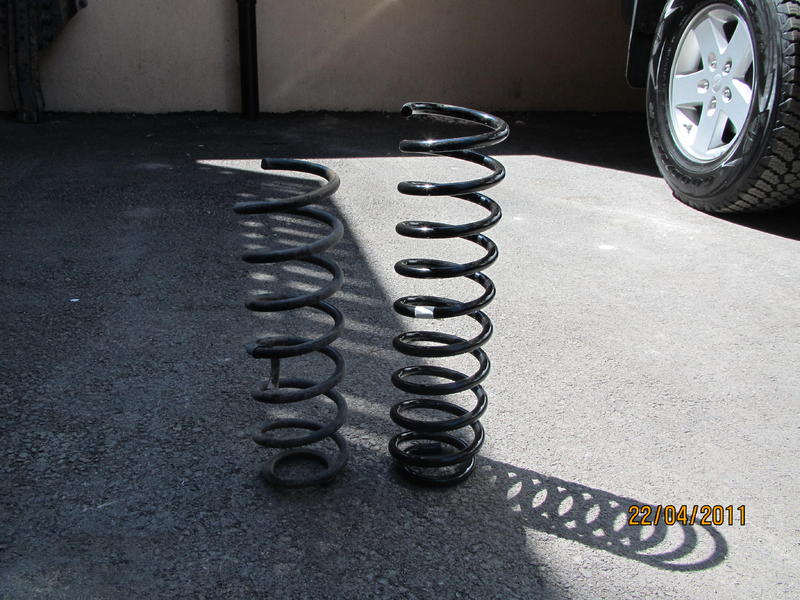
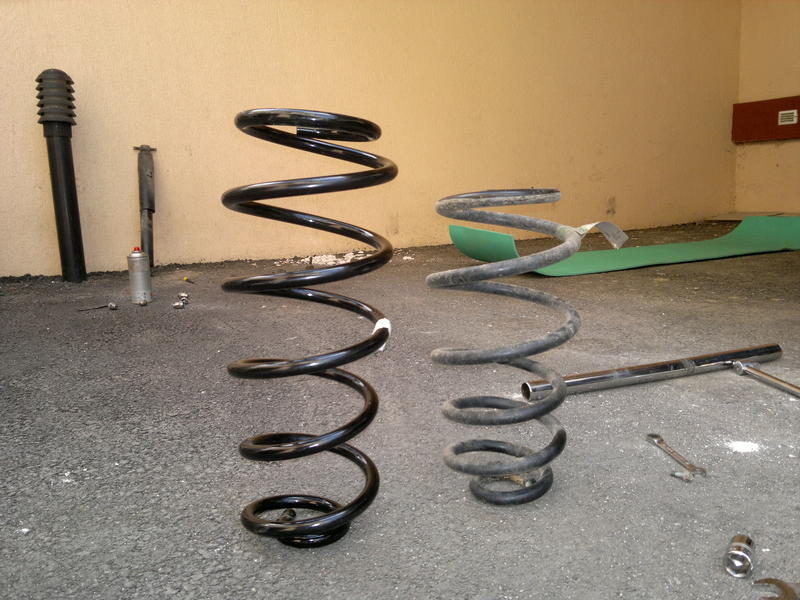
OME vs. OEM
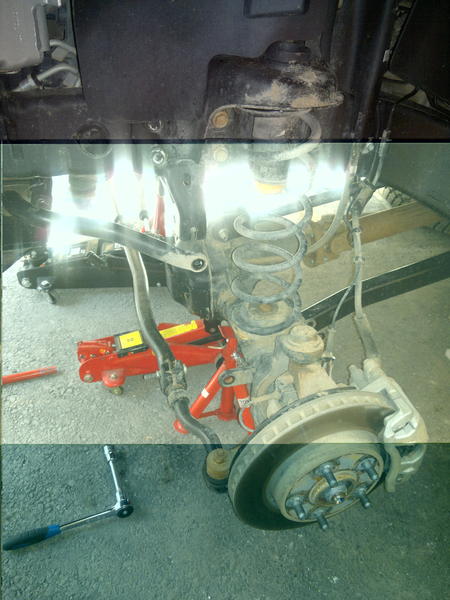
Had to drill to fit the RE bump-stops and 'doctored' the self-tapping bolt to stay in place. My friend doind the drilling, I could not bear myself to it:


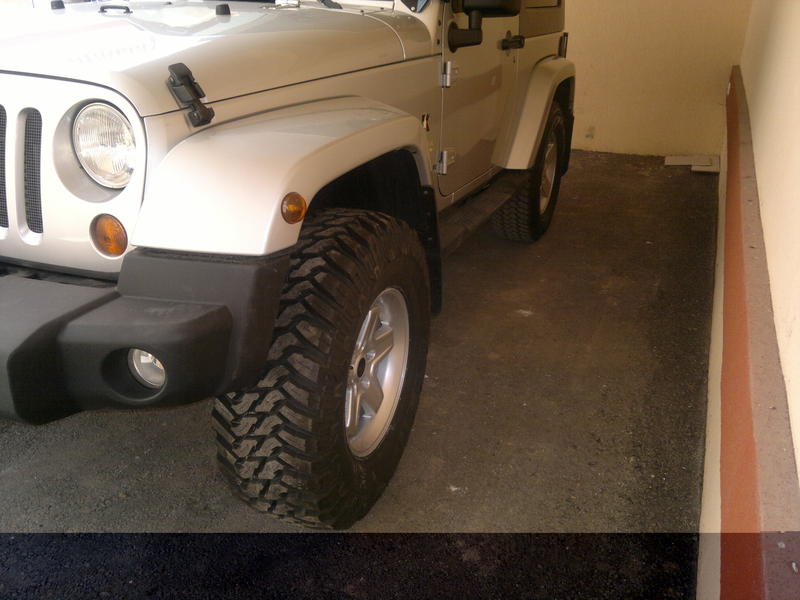
Front done! Here's a bizarre "before n' after". Impressive so far:

Now we're talking
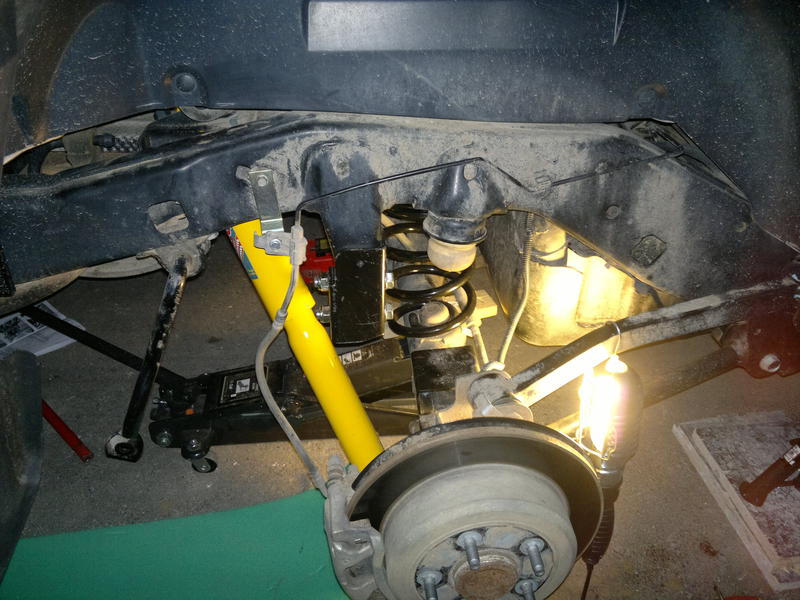
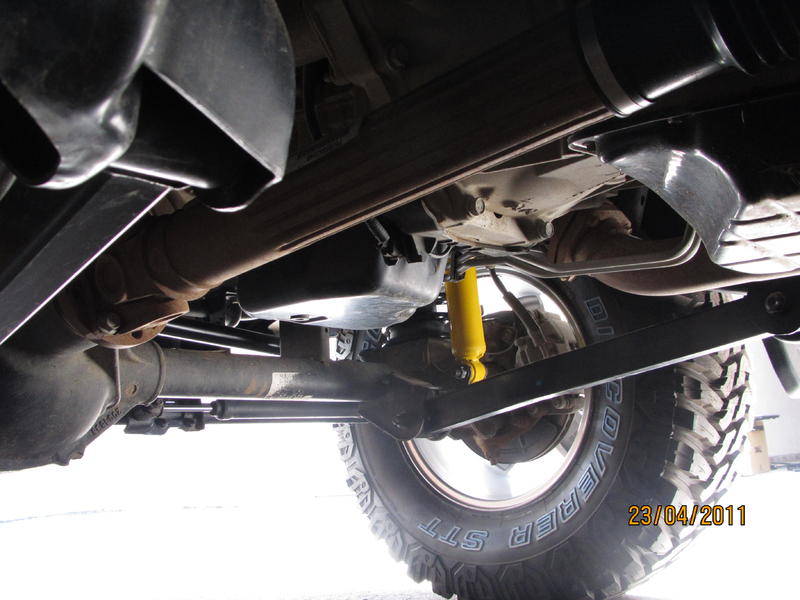
Working on the rear, yours truly gettin' dirty
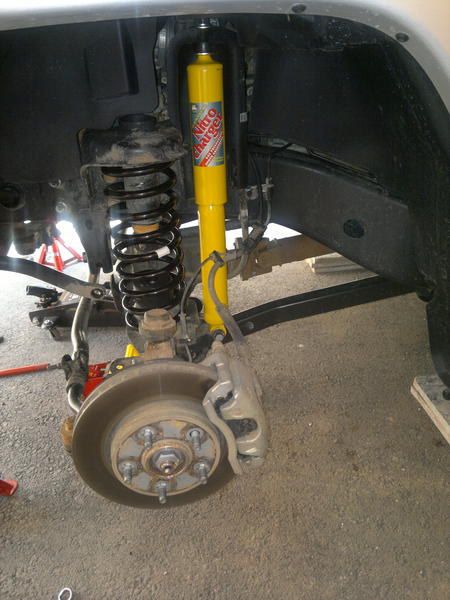
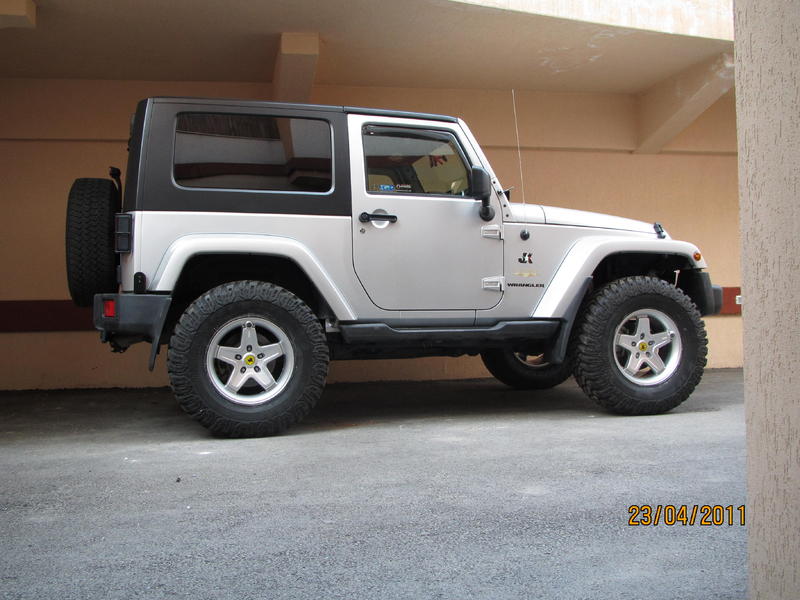
We finished in the dark so we left adjustments for the next day. Here's the result!
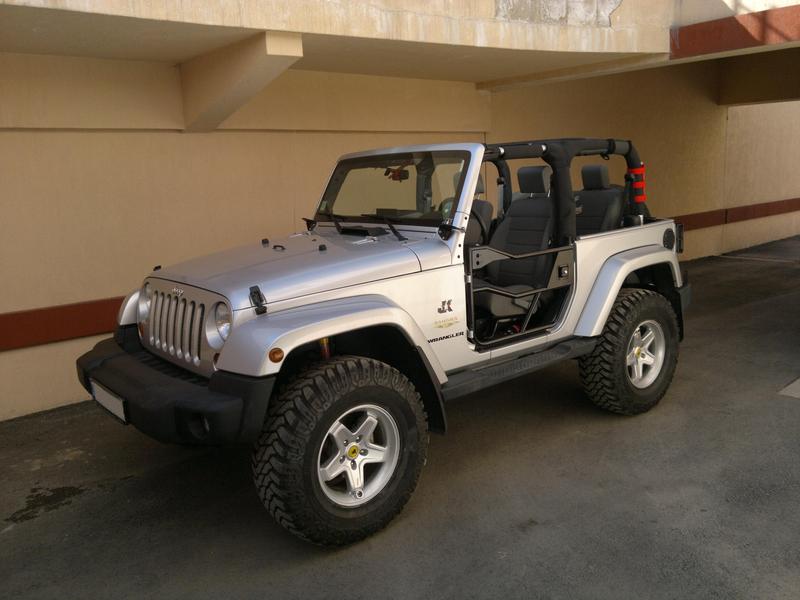
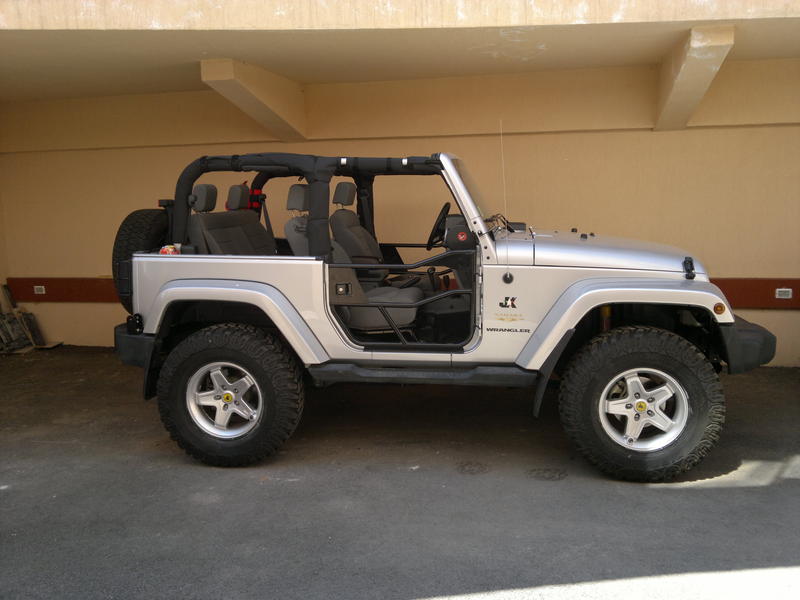
Since the day, was nice, we took the hard top and doors off, like it must be

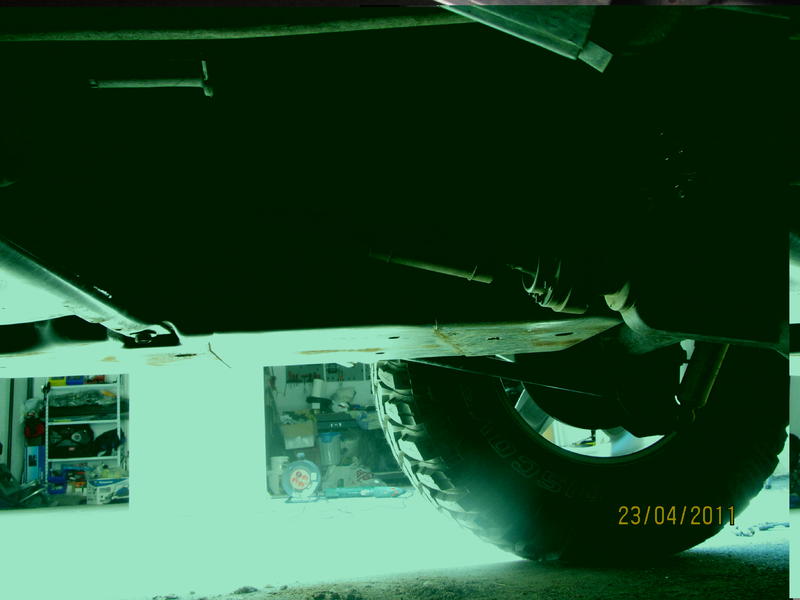
Some driveline angles for your comment:
Will try to make more pictures in a "real" dirt environment. Thanks for reading and watching!
What: OME 616/618 rear; bump-stops: RE 2� + OME; adjustable front JKS tb (great piece of equipment) + OME relo bracket at rear; adjustable arms: kept handy but not mounted yet (read after).
Some parts (like the lift kit) were bought second-hand, but still new and never mounted. Tires: 35s Cooper STT on AEV Pintlers, both waiting since some months now � now the wait is over
Who: a friend and myself, both mechanically able but not experts.
Time: a day and a half at a leisure pace.
Where: just in front of the garage, it was enough to have some level ground!
With what: basic tools (axle stands proved to be too low). Bought for the occasion a torque wrench (medium quality, but OK for non-pro jobs) and spring compressors (we ended up using them to compress a little the OME coils). All bolts and nuts came out and went in without much difficulty, luckily.
Most complicated part: to fit the bracket for the rear track bar relocator � what a PITA! Everything needed to be either hammered in place, or filed to fit, or else. Hopefully, it will be short-lived (planning on a rear adjustable sometime soon).
Best part: the satisfaction and looking at the vehicle once completed � it was a HUUUUGE improvement! And it became � big
Most useful tool: this forum and the write-ups from Project JK! Truly a GREAT help! At all times! I moved the wi-fi router to the balcony (live in a 3rd floor) so I could bring my partner�s laptop to the garage and access the write-ups at various stages of completion/adjustment �.
Alignment shop confirmed front axle correctly centered, toe-in, steering wheel re-centered (I made it first with WOL�s write-up), told the rear axle is about an inch to the driver�s side (no big deal), and the castor angle is ~2.5 deg.
Flex results: the owner of the shop (has a lifted KJ) has a little mound outside the shop, he calls it �the place of truth�, we put the JK up there front and back, and there are no touching/rubbing issues. However, under full compression, the tires get very close (between 1/2" and 1") to the rear of the front bumper, the pinch seam and the rear bumper. I fear on the trail, with all the shaking, there will be some rubbing (I expected this). I was also advised not to mount the LCAs at this stage, unless I shave some plastic off the bumper.
I took it for a spin on Easter to visit some relatives (~250mi on asphalt, unfortunately). How it rides: really good! It keeps the road quite well and the level of comfort and steering precision is more than acceptable. The AEV ProCal allowed me to set a lower TPMS threshold, and set a new diameter for speedo etc. Checked against the GPS and is perfect, ~4km/h difference which is the standard tolerance to the best of my knowledge.
No shimmy, no DW, no bump-steer, so far.
I will try this w-e to replace the OEM SS with a TF (bought time ago), make some chalk tests (running the Coopers at ~29-30PSI set by the shop seems excessive), and check and tighten everything as per spec.
Couple of questions: I neglected to loose and re-torque the control arms, would you recommend to do so?
To minimize future rubbing (before changing bumpers), would you suggest I fit a BL or better some coil spacers? I left the coils set in the original rubber isolators, I do not wish to mount flat flares (know a lot of guys like them). I also plan to get DS sometime soon.
Enough talk, time for some pics! Let me know if anything looks awkward. Enjoy and T H A N K S !
Starting point:
Work ongoing. Axle stands were a bit short, but ok. Me in the 1st pic
the vehicle in the right is my friend's Mitsu Pajero:OME vs. OEM
Had to drill to fit the RE bump-stops and 'doctored' the self-tapping bolt to stay in place. My friend doind the drilling, I could not bear myself to it
:Front done!
Here's a bizarre "before n' after". Impressive so far:Now we're talking
Working on the rear, yours truly gettin' dirty
We finished in the dark so we left adjustments for the next day. Here's the result!
Since the day, was nice, we took the hard top and doors off, like it must be
Some driveline angles for your comment:
Will try to make more pictures in a "real" dirt environment. Thanks for reading and watching!
