When you click on links to various merchants on this site and make a purchase, this can result in this site earning a commission. Affiliate programs and affiliations include, but are not limited to, the eBay Partner Network.
Stock JK TechBulletin board forum regarding issues with OE (original equipment) components of the Jeep JK Wrangler (Rubicon, Sahara, Unlimited and X) such as factory suspension parts, engine, transmission, body parts, interior fixtures and the on-board computer.
There is a ridge on the axle and that is as far to the right they will go. You can see the small ridge on the first pictures at the beginning of the post.
ALSO......mine have two plastic guides on each side pushed together. I almost didn't notice I still had one in one side of my axle.
That's good to know. I've been wondering how that would go when I change my ball joints.
I just did this today and the write up helped a lot. Some additional tips: I made an install tool using a 10" piece of 1/2-13 all-thread and some grade 8 nuts and washers. The end pushing on the seal is a 1 1/2" socket which fits the one piece seal perfectly. The other side is the largest oil seal installer disc from a Lisle Tool seal installer kit.
When installing the axle shafts, I pushed them in just enough to get through the oil seals. This ensured I wouldn't poke a seal out later putting them in blind. I was also able to wipe some sand off the shafts that they picked up on the way through the tubes. Then install the diff, and push the axles in all the way.
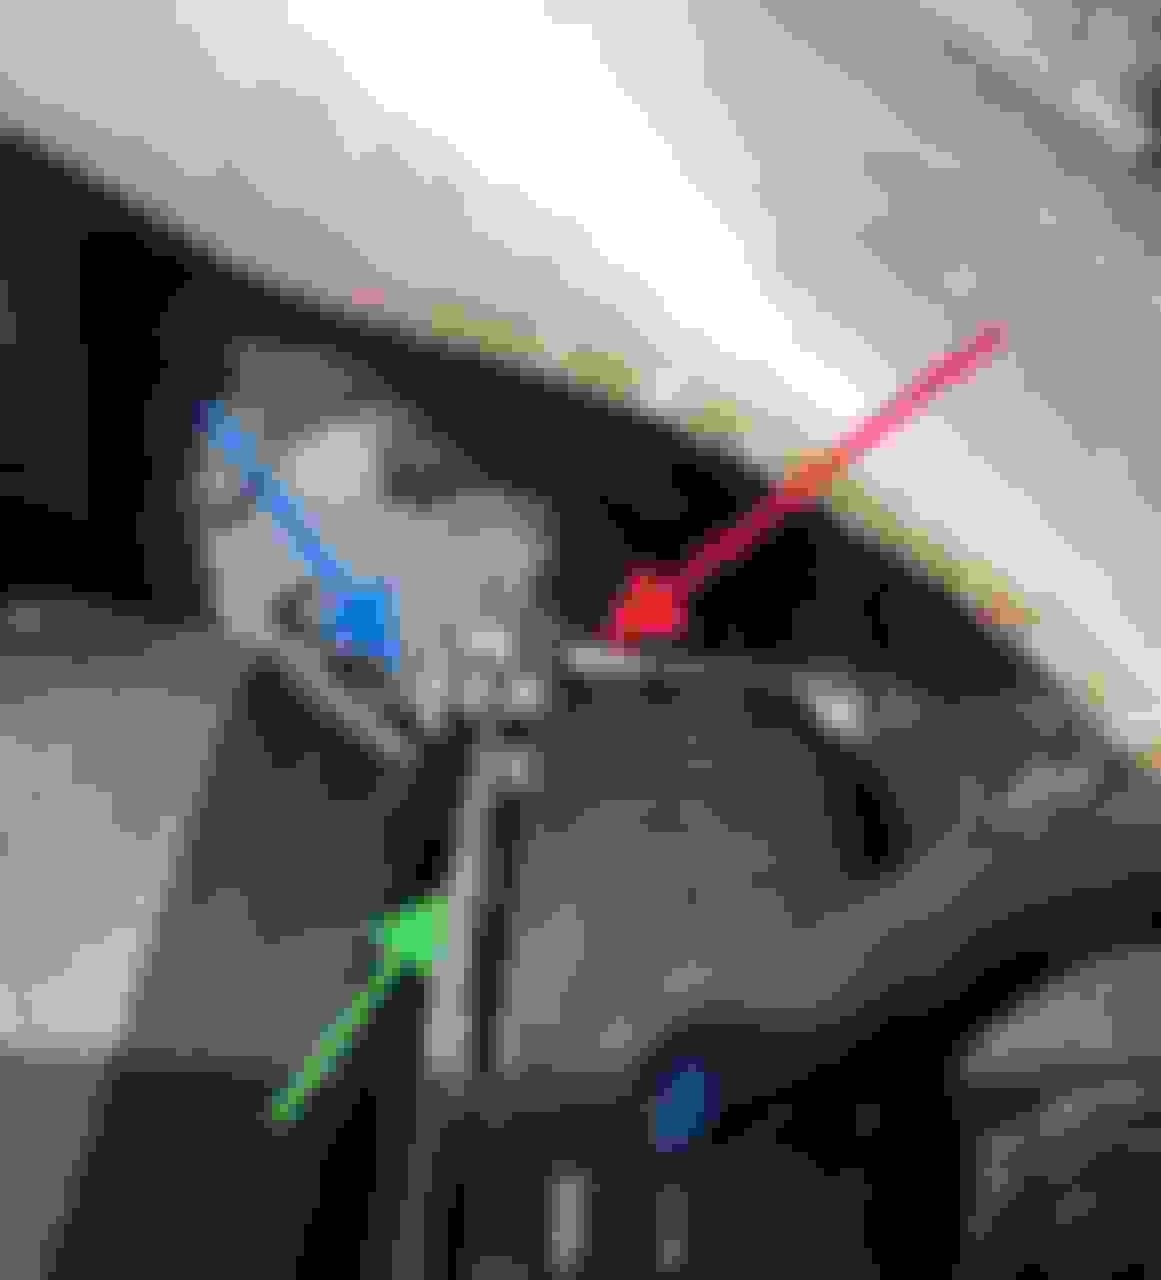
I also took a picture of the "toothpick trick" for the Rubicon Locker. The blue arrow is the plunger that needs to be held out. The red arrow is a cut-to-length tooth pick with a zip tie on it. The green arrow is the locker disc that needs be behind the plunger. Once the differential is in place, pull on the zip tie to remove the toothpick.
thanks for adding the pictures. we lost a lot of old pictures a few years back when photobucket changed their policy. those will surely help someone in the future.
That zip tie and toothpick trick will surely help someone out, I've heard it's a bear to get that locker back in. Some of us are "lucky" enough to have the ole open diffs and don't have to mess with that.
On those seals- the tool you made looks halfway decent. I picked up the pieces for it and started assembling then bought the factory tool and I think the DIY parts are still in my box.