Jeep Wrangler JK: How to Install Teraflex Hinged Tire Carrier
Find out how to install a Teraflex hinged spare tire carrier with the help of this article.
This article applies to the Jeep Wrangler JK (2007-Present).
The spare tire carrier in your Jeep does exactly what the name represents—carries the spare tire for that one unfortunate moment when you may need it. Due to wear and tear, your Jeep's stock tire carrier hinges may become worn out, loose, or simply rust if you happen to live in a coastal region or geographic area with snow or other harsh climates. The Teraflex hinged tire carrier allows you not only to swing the spare tire out of the way of the trunk, but it can also carry a much larger tire and wheel combination than the stock one, and is powder coated to last longer. Learn how to install a Teraflex hinged tire carrier with the following steps.

Materials Needed
- Ratchet wrench
- Torx T50 driver
- 13mm socket
- Rag
- Lug nut wrench
Step 1 – Remove spare tire and holder
In order to be able to access the bolts for the stock mount and hinge, you must first remove the spare tire. Follow these steps:
- Use the lug nut wrench to loosen the spare tire.
- Once the lug nuts are loose, remove them by hand.
- Pull the spare tire off.
- Use the ratchet wrench and 13mm socket to remove the tire holder.
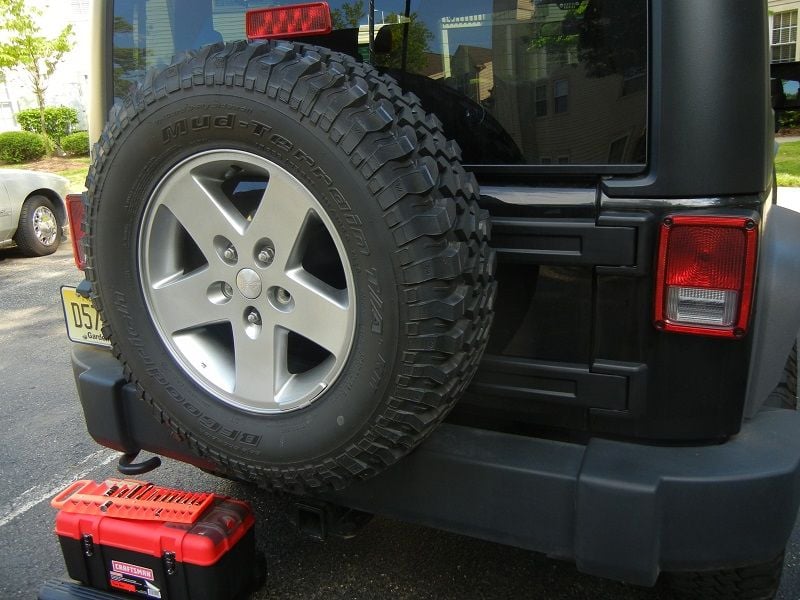
Figure 1. Remove spare tire. 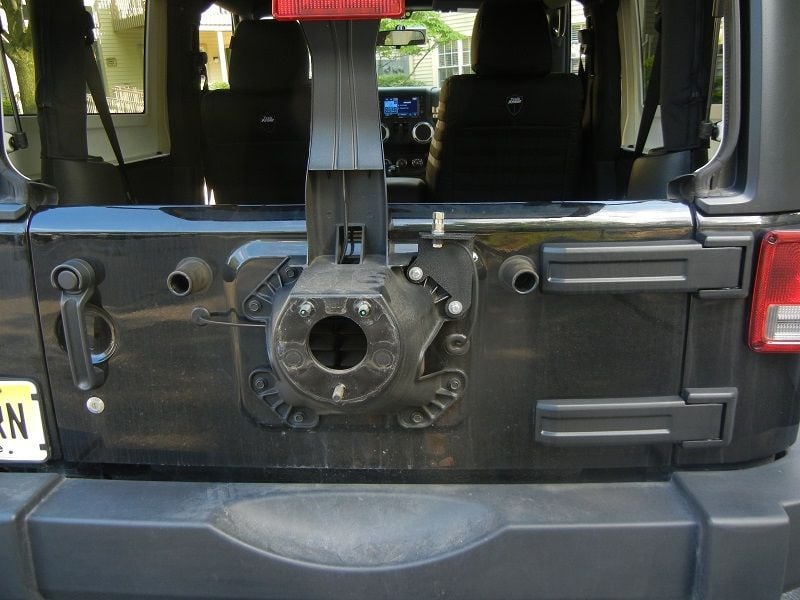
Figure 2. Tire removed. 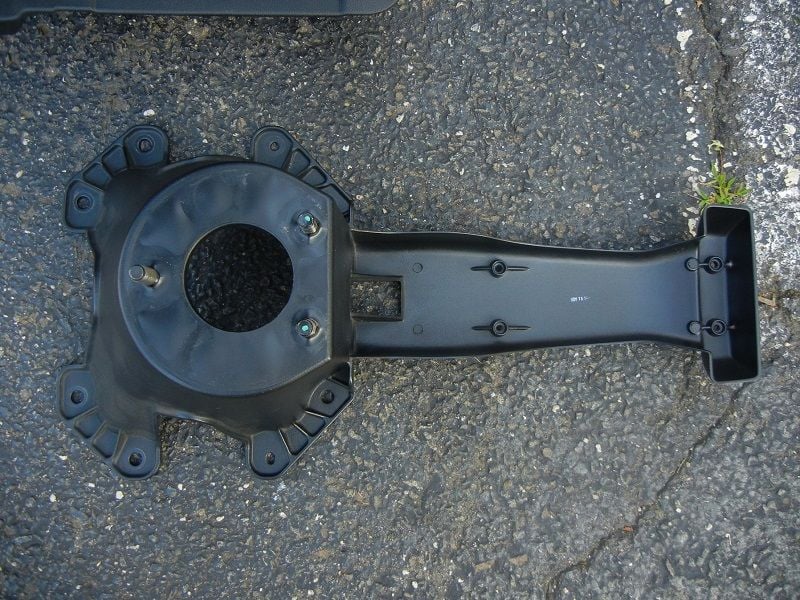
Figure 3. Removed holder.
Pro Tip
Be careful not to let the tire drop once the lug nuts are removed.
Step 2 – Remove gate hinges
With the spare tire and holder out of the way, it's time to remove the stock hinges that hold and allow the gate to swing open. Follow these steps:
- Use your hands to pop out the plastic covers that cover the hinges.
- Use the ratchet wrench and 13mm socket to remove the (inside) hinge bolts.
- Use the ratchet wrench and Torx T50 driver to remove the (outside) hinge bolts.
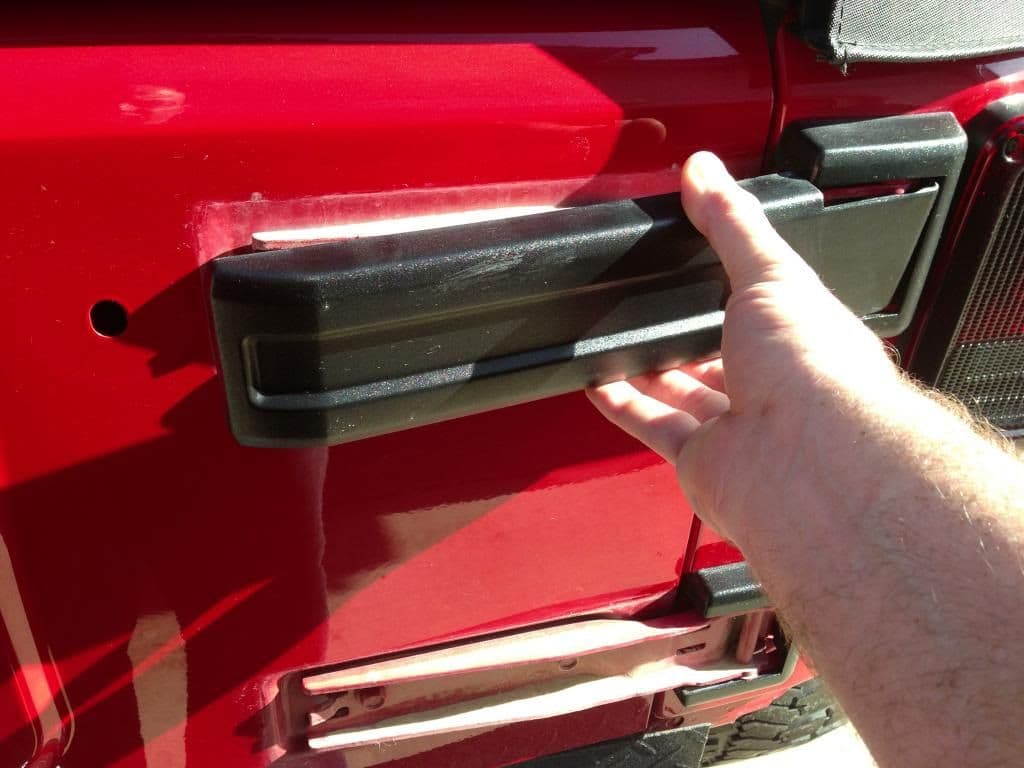
Figure 4. Pop hinge covers off. 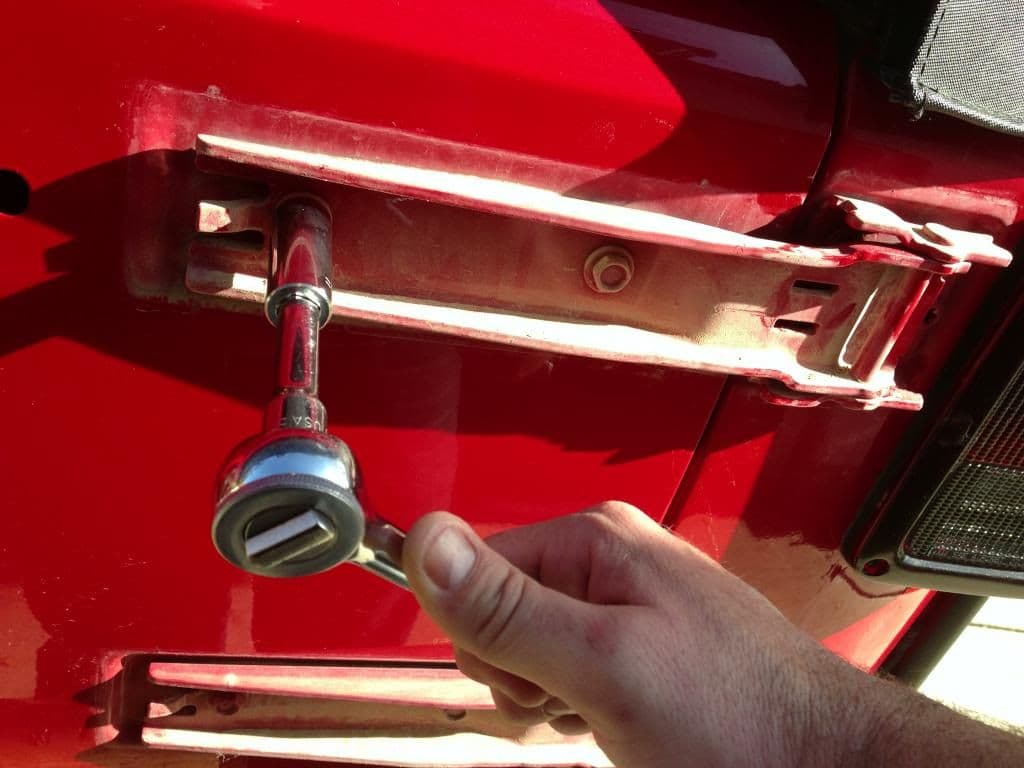
Figure 5. Remove interior hinge bolts. 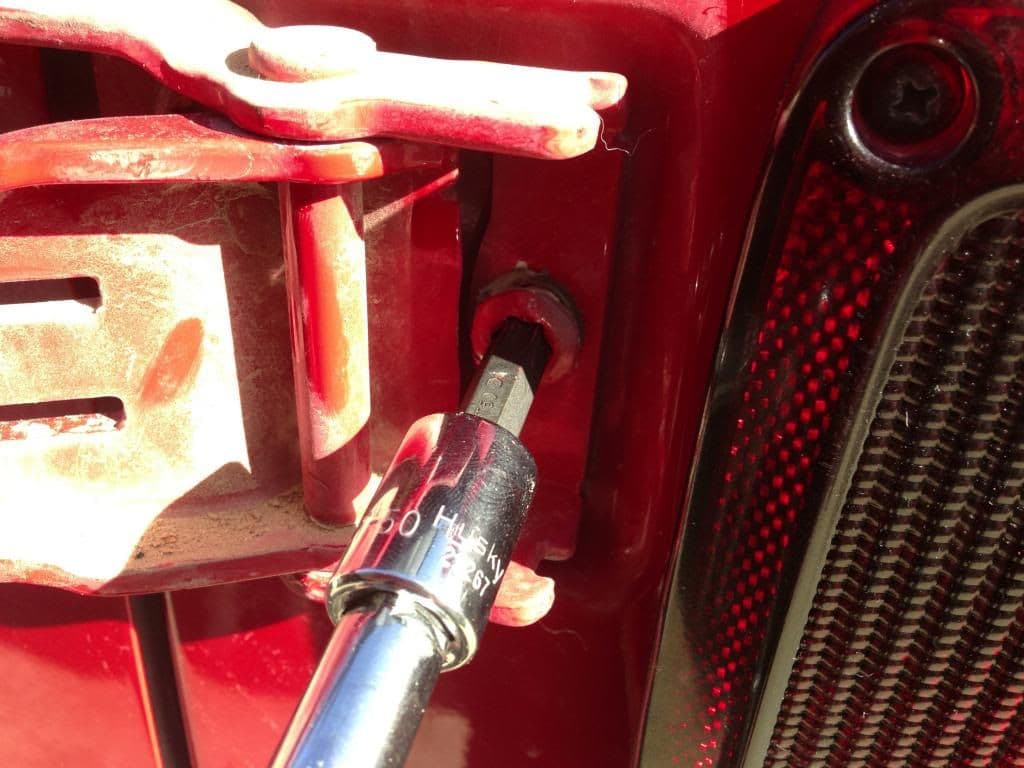
Figure 6. Remove exterior hinge bolts.
Pro Tip
Optional: While the hardware and tire is removed, you may want to take some time and clean the grime off all the parts while exposed.
Step 3 – Install Teraxlex carrier
Installing the new carrier is done in exact reverse order as removed. Follow these steps to make sure nothing is forgotten:
- Use the provided hardware to install hinges in the same spot as the stock setup.
- Tighten the interior and exterior hinge bolts.
- Mount the center tire holder.
- Remount the spare tire.
- Use the lug nut wrench to tighten the lug nuts.

Figure 7. Install new hinges. 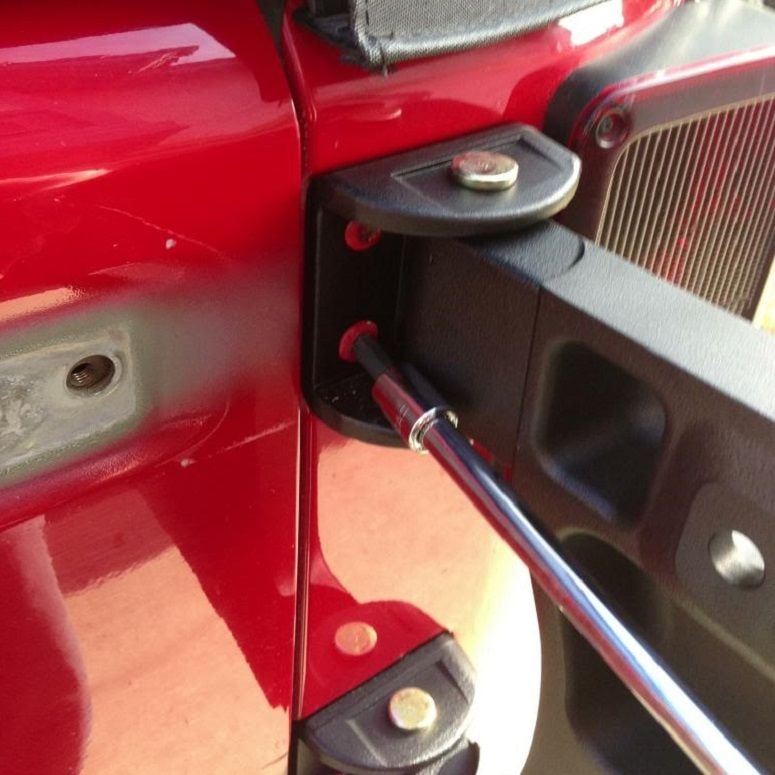
Figure 8. Tighten down hinge bolts. 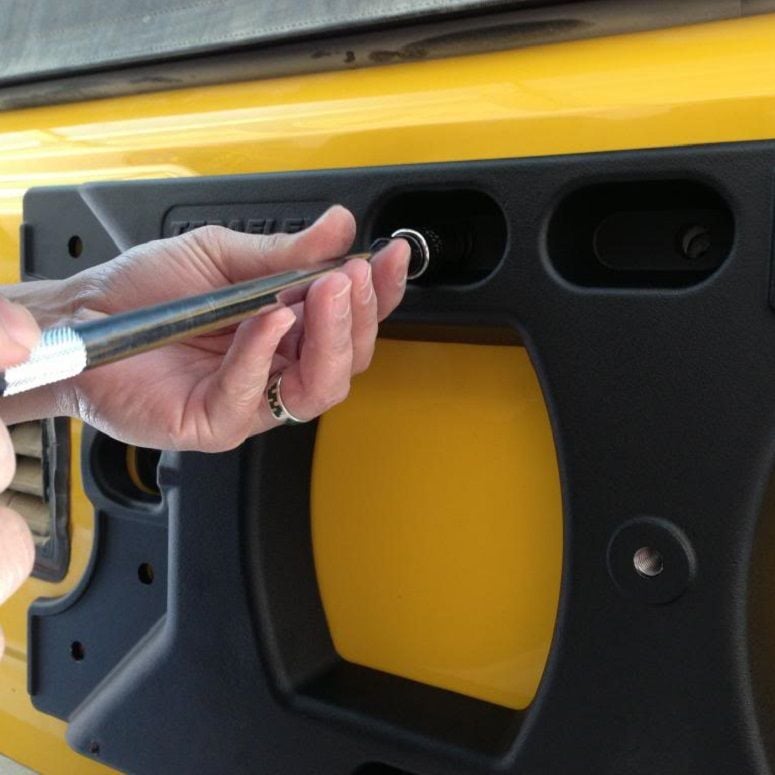
Figure 9. Install center tire holder. 
Figure 10. Finished product.
Related Discussions
- Teraflex Hinged Tire Carrier Install Photos - JK-Forums.com
- Teraflex Hinged Carrier Install DIY Guide - JK-Forums.com

