Jeep Wrangler JK: How to Remove/Replace Rear Wiper Assembly
This article breaks down the process for removing the entire rear wiper assembly, including the wiper motor.
This article applies to the Jeep Wrangler JK (2007-present).
There are a few different components that make up the entire rear wiper assembly. This includes the wiper arm and the motor that enables it to move. There are also a few plastic fittings that will need to be removed in the process. If you follow these instructions carefully, then you will be able to service these parts without an issue.

Materials Needed
- Flathead screwdriver
- Allen keys
- Assorted wrenches or socket wrench/assorted sockets
- Gear puller (recommended)
Step 1 – Remove the plastic housing
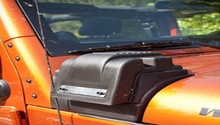
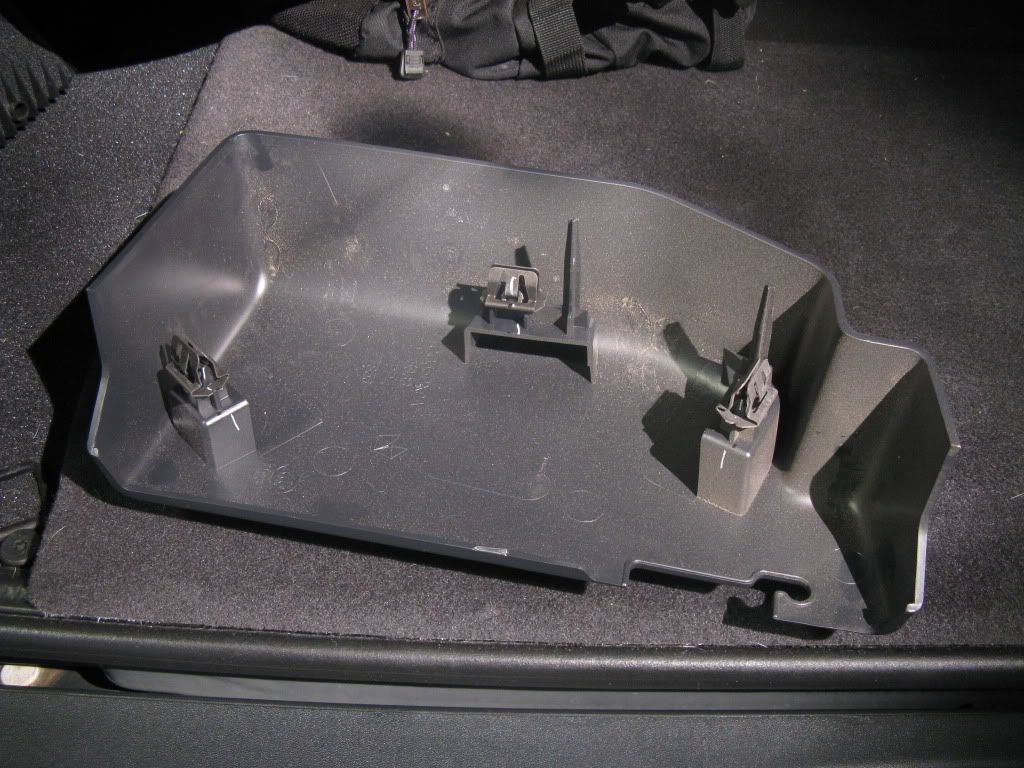
Locate the plastic housing that covers the wiper motor assembly. This part can be found on the inside of the rear window behind the rear wiper. The plastic cover will come right off with a gentle pull.
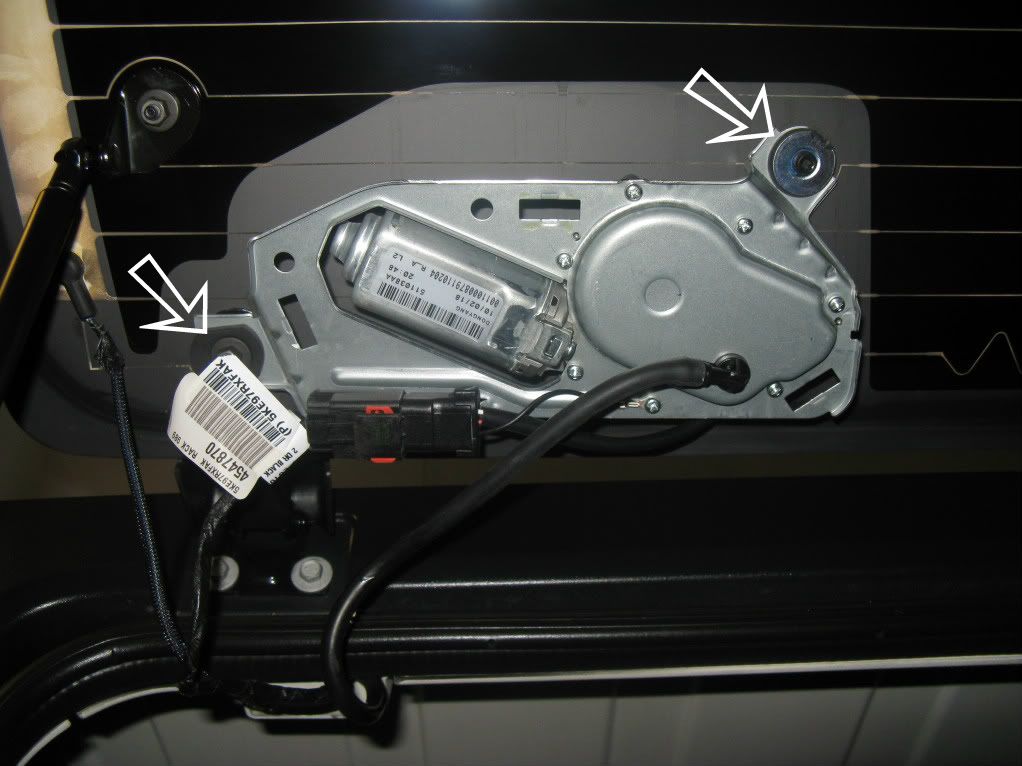
Step 2 – Begin to remove the motor housing from the rear window
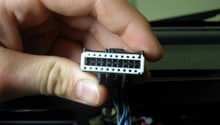
There is a nut on the left and a bolt on the right that need to be loosened but not fully removed. See Figure 2 for the location of these. Proceed to seperate the electrical connection on the bottom of the housing. There is also another hose that will need to be removed at the "L" fitting.
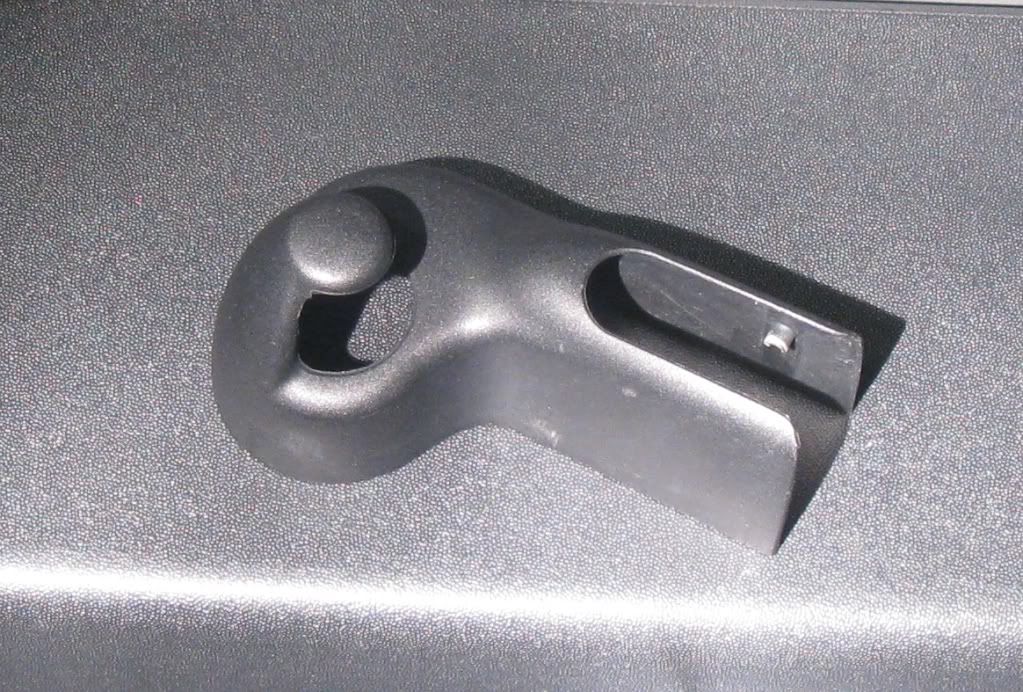
Step 3 – Remove the plastic housing on the wiper blade
Now you need to work on the wiper arm itself on the outside of the rear window. At the base of the wiper arm you will see a small plastic cover. This cover removes easily like the cover from the wiper motor. Simply pull this small piece off to reveal the nut.
Step 4 – Remove the nut and wiper arm
This step requires some patience and care. Once the nut is removed, this frees up the wiper arm. However, prying the arm off of the delicate nozzle underneath needs to be done carefuly. This is where the gear puller can help because attempting to pry this off with a flathead screwdriver can result in damaging some of the plastic pieces behind the arm. The wiper arm needs to be pulled directly toward you and off the nozzle underneath.

Step 5 – Loosen the nozzle to remove the entire assembly
Once you have removed the wiper arm, what you are left with is a small brass nozzle with a small plastic boot. Simply pull off that plastic boot to reveal the nut underneath. Once you remove this nut, the entire motor assembly will be ready to come off easily.
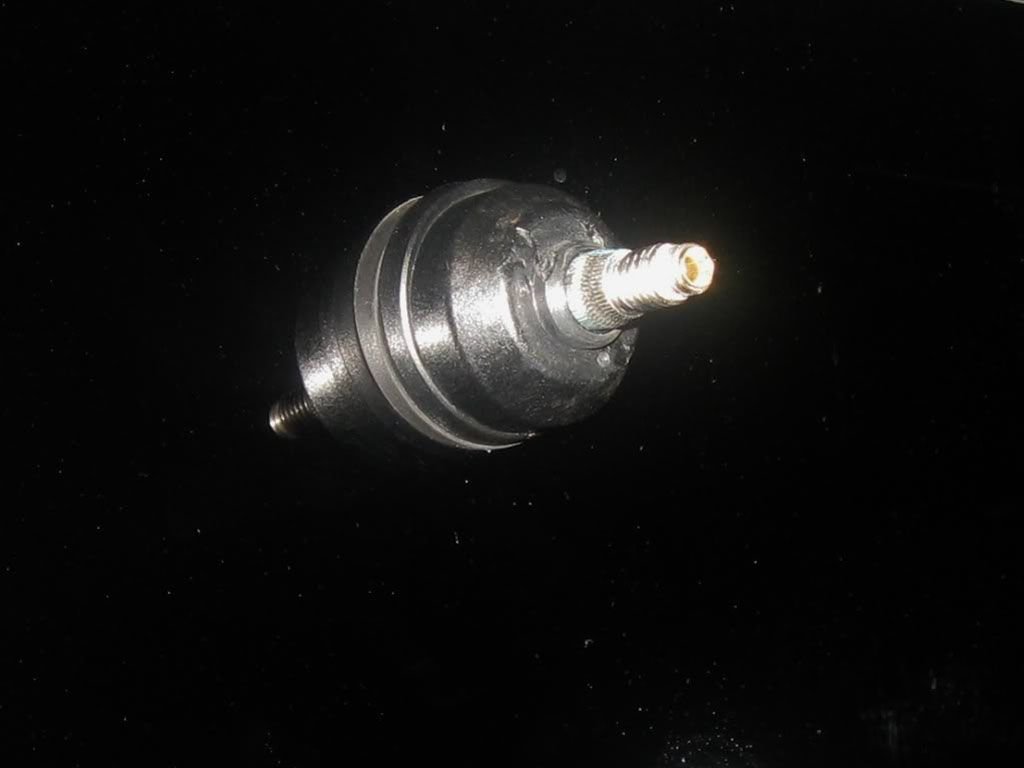
Figure 5. Brass nozzle. 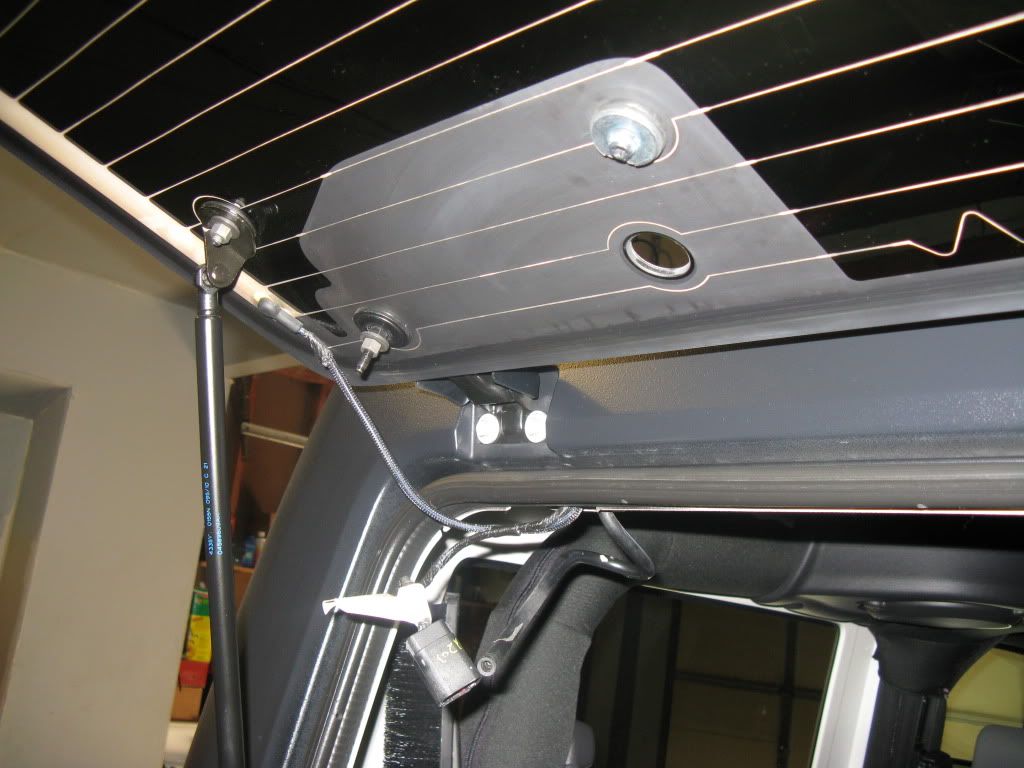
Figure 6. Wiper assembly fully removed.
Step 6 – Install the new motor assembly (if desired)
Follow these instructions in reverse order to re-install the new rear wiper assembly. However, some people wish to remove this part altogether. In this case, you can buy the appropriate sized plugs from your local autostore to fill the holes in the rear window.
Related Discussion
- Rear Wiper Assembly Removal - Jk-forum.com