
Bell Off Road/ Jonasson Motorsport YJ Build

Thread Starter
Sponsoring Manufacturer
Joined: Mar 2007
Posts: 518
Likes: 1
From: Waterbury, CT
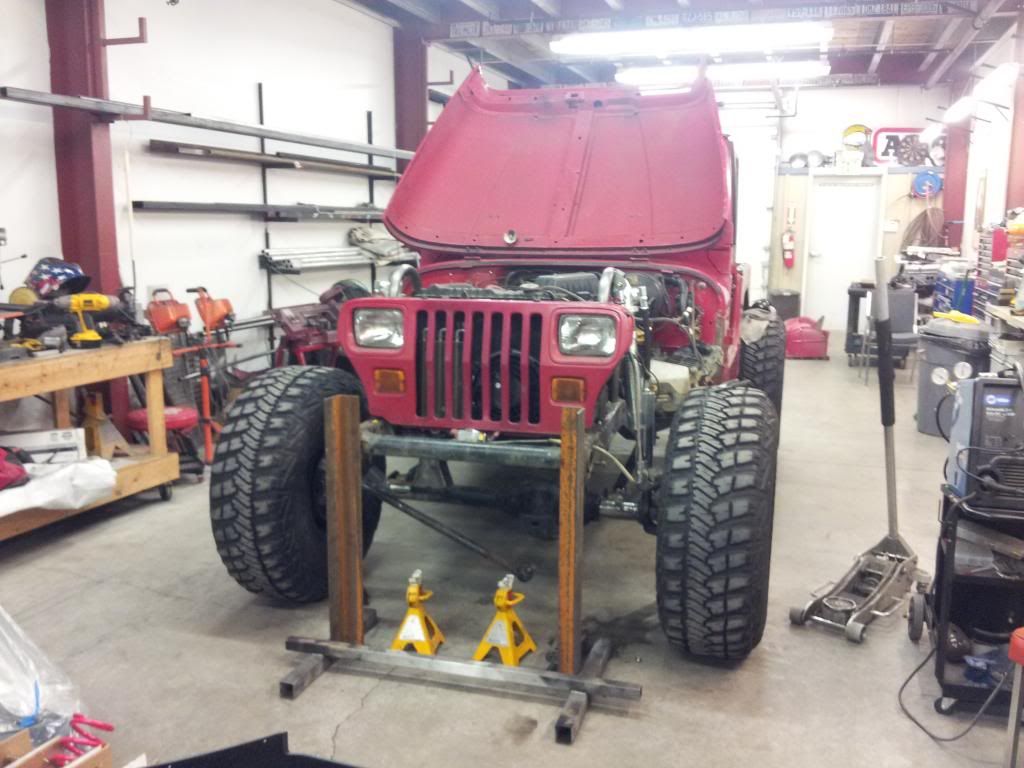
This is a build of my Jeep we did a few months back in a scramble for EJS. We are getting ready to tear it apart again, and prep it to build into a 4500 class KOH car.
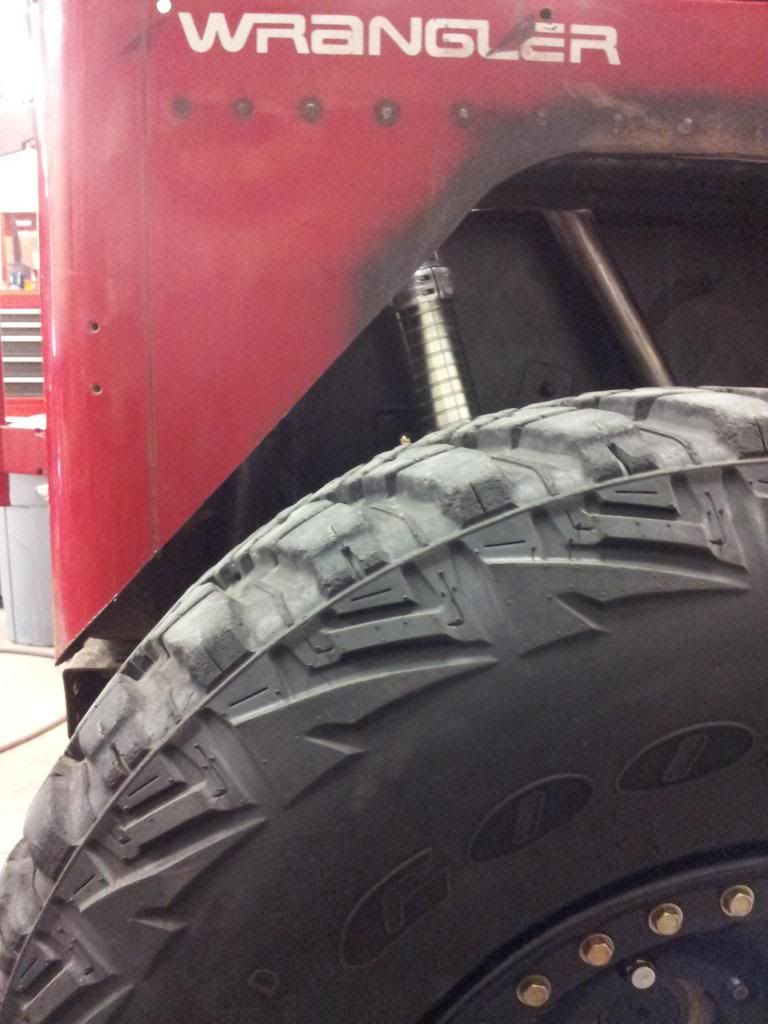
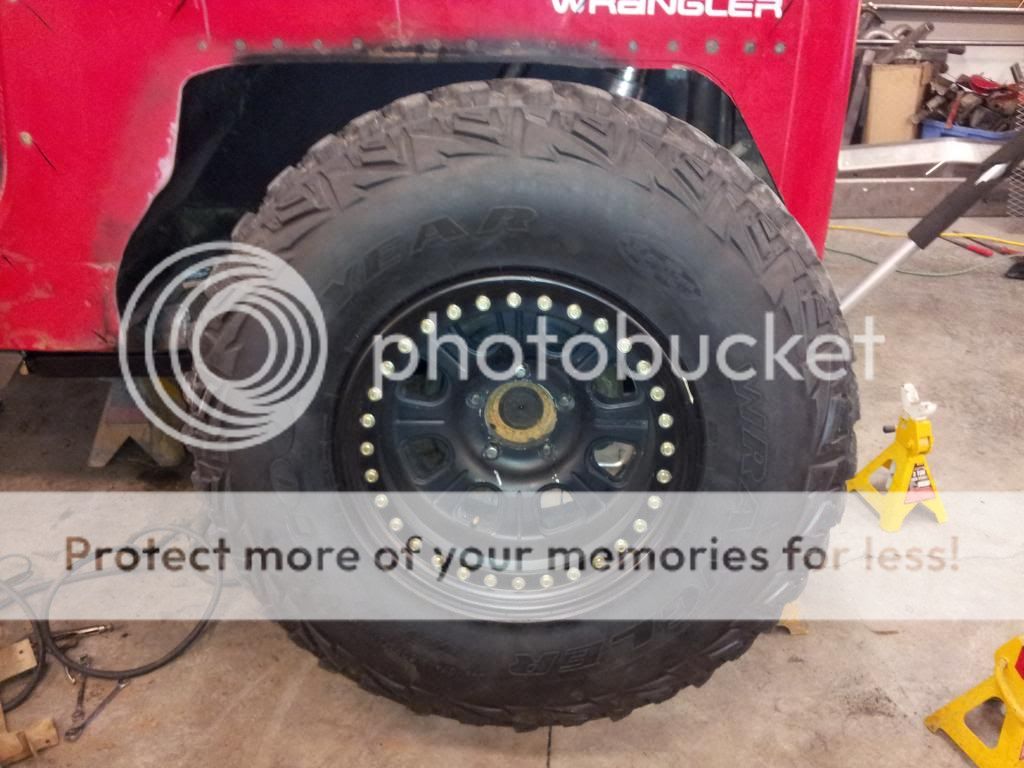
Here is what we started with:
Jonni (Jonasson Motorsports) John (Bell Off Road) and I put together a plan for what we wanted to do, build a trail capable YJ, but keep it as light as possible. We decided on coil overs F/R, tons of new armor, custom roll cage, and a good amount of front and rear stretch.
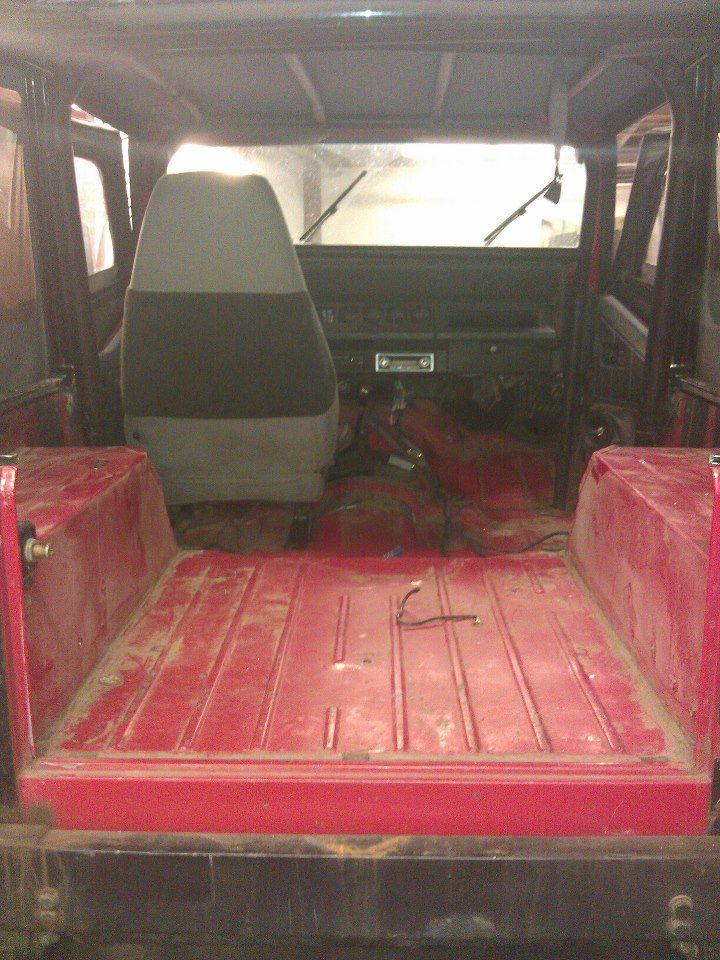
Since the eventual plan is to repaint the rig we started by stripping it and cleaning the tub, and removing all of the old wiring, alarm system, and sound mods that had been done:
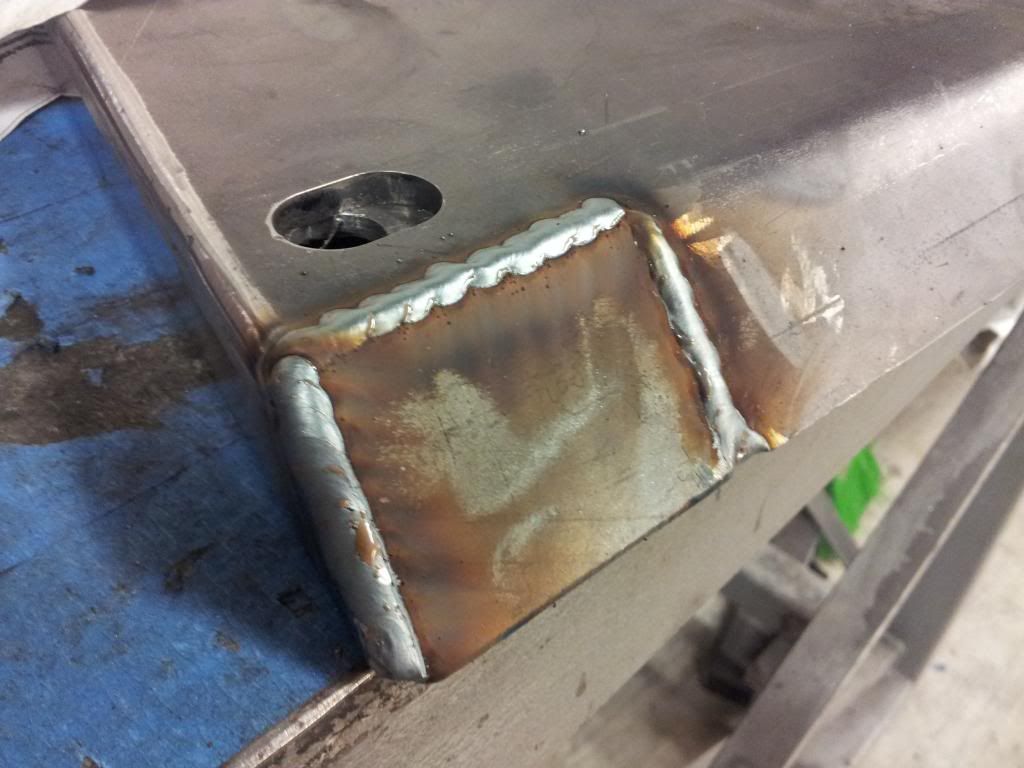
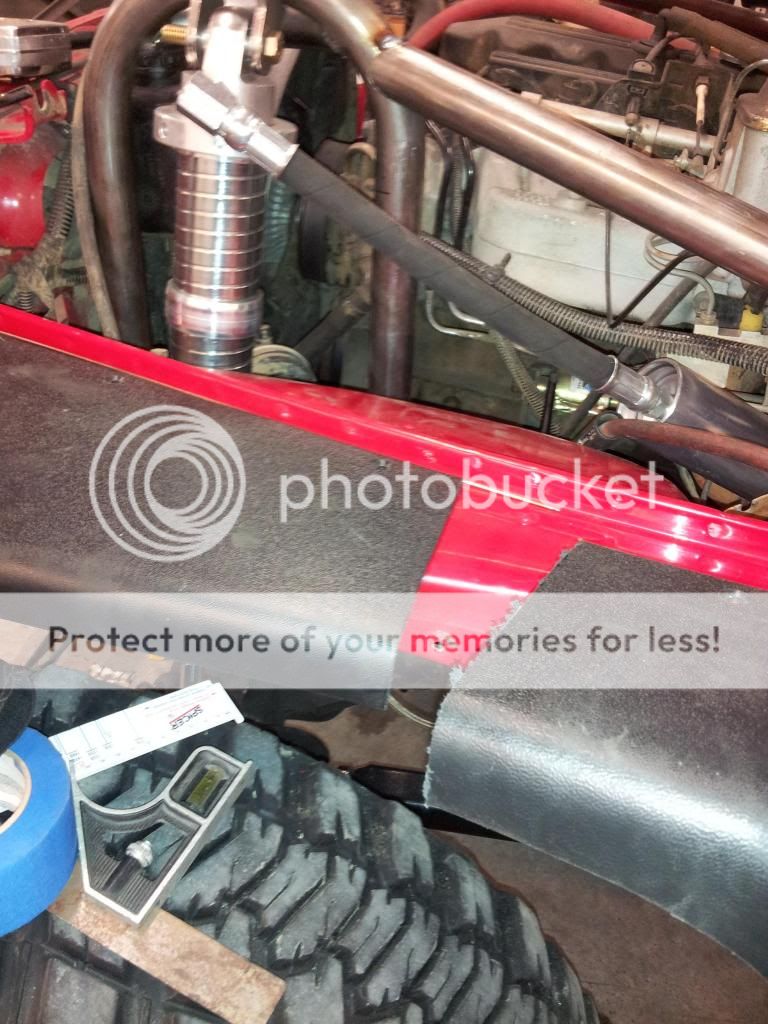
When we looked at the rear wheel wells we realized that when the corners were mounted the area was trimmed just a bit too much. Jonni built a bracket using some sheet metal and plug welded it back to the tub:

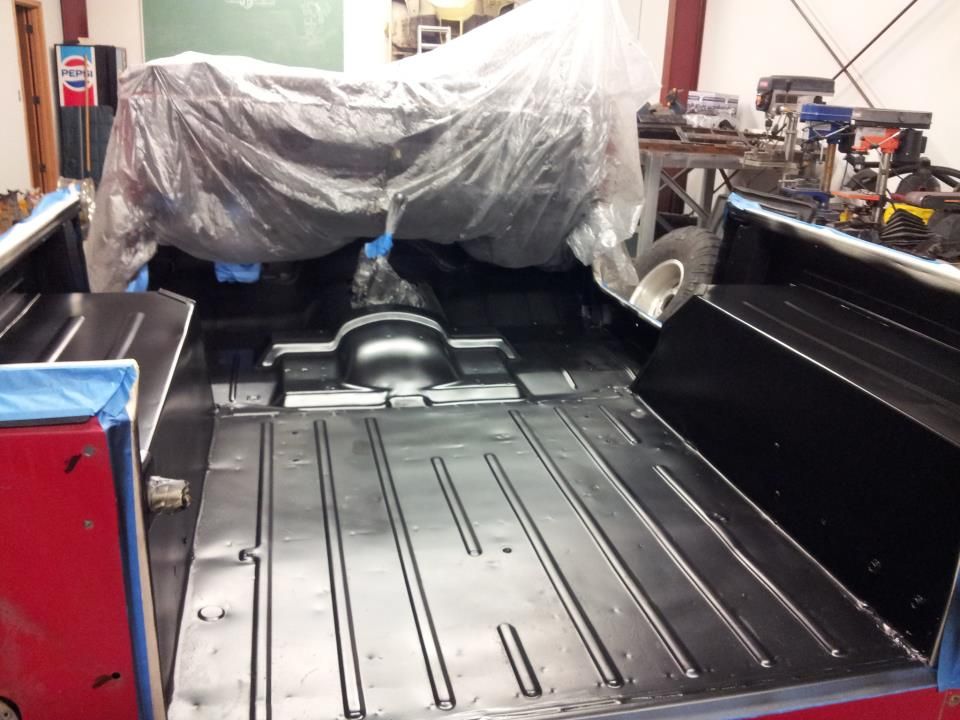
Jonni shot the tub black with an epoxy primer for now:
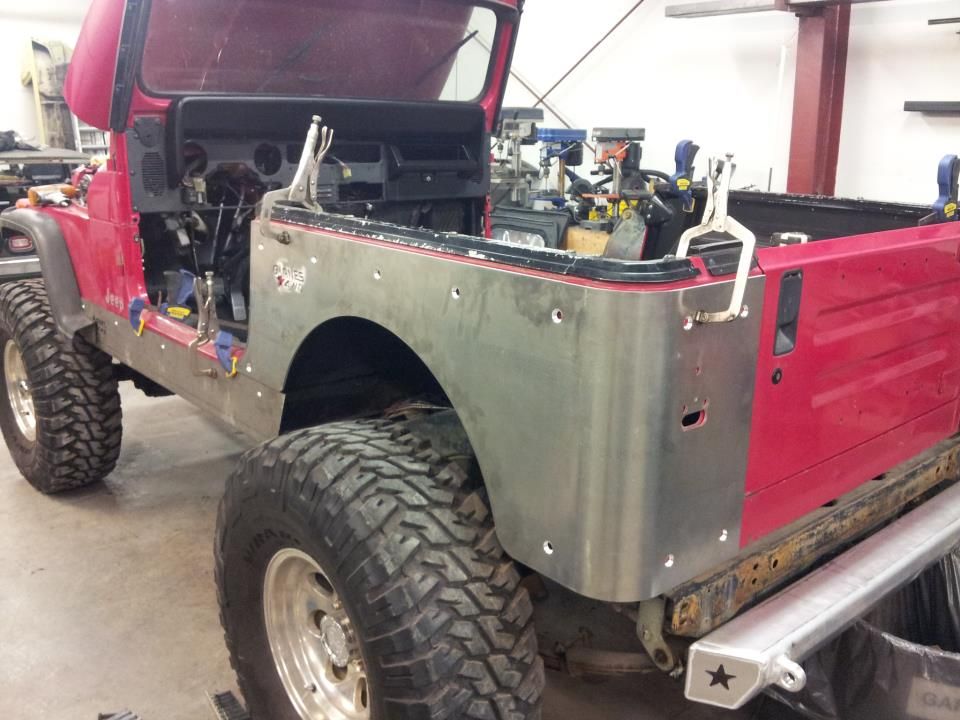
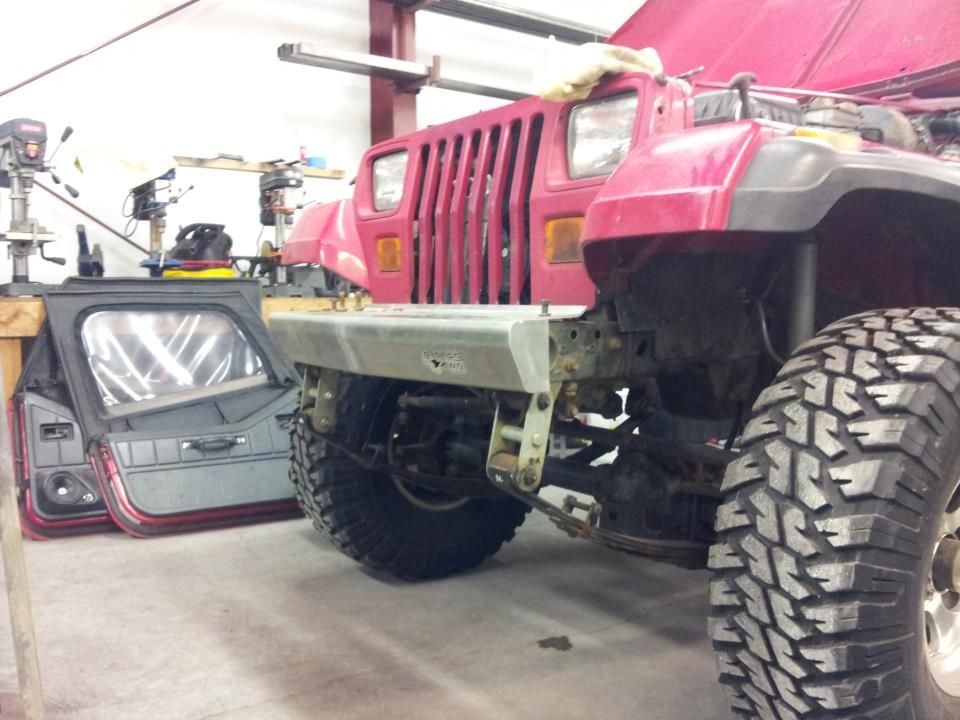
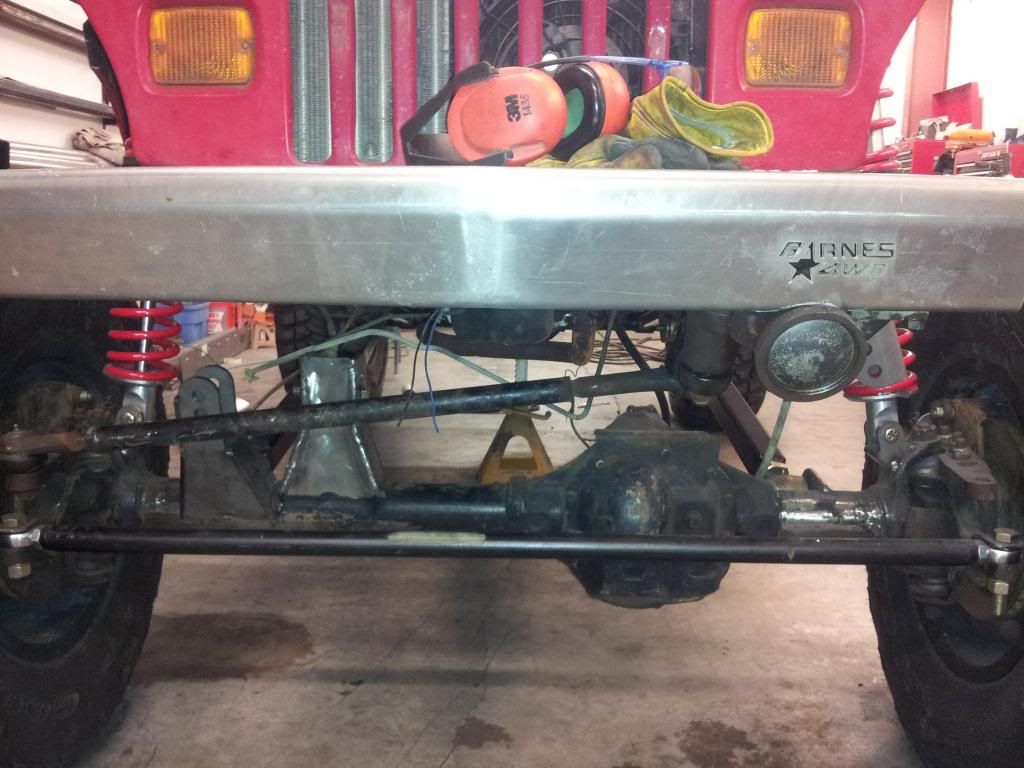
Our armor from Barnes 4wd came in, we will be using aluminum corners, F/R bumpers and steel rockers to help save weight where we can:
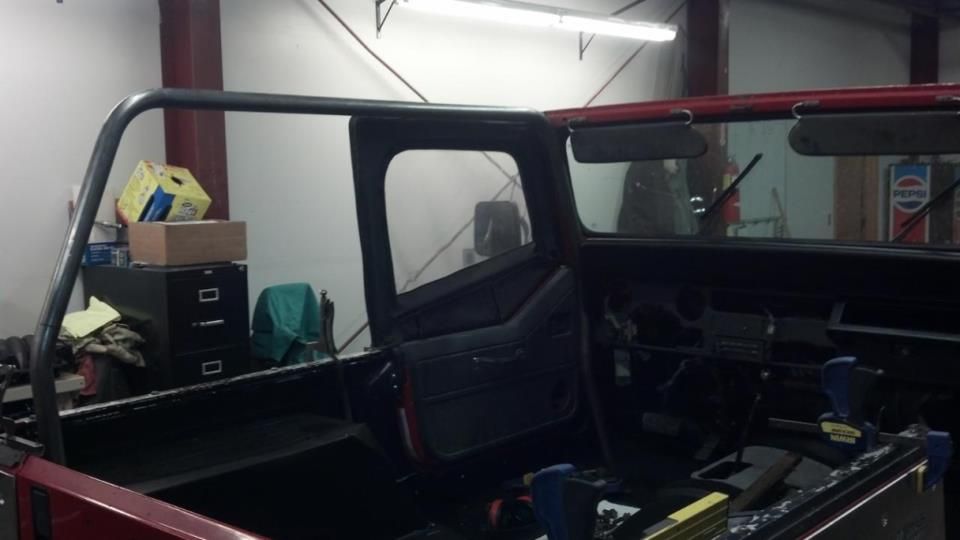
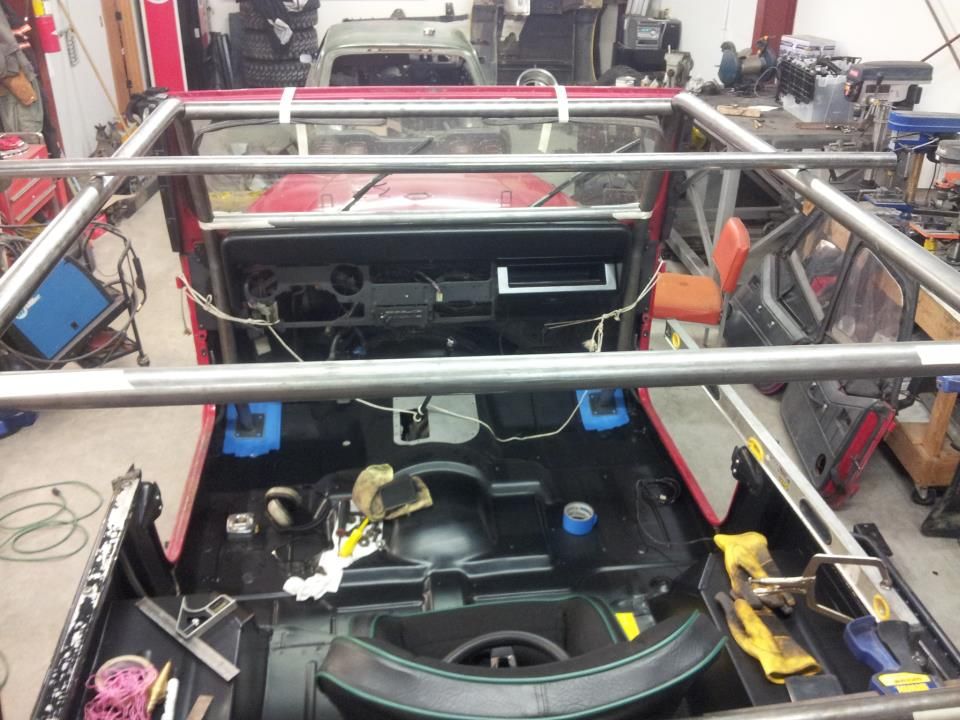
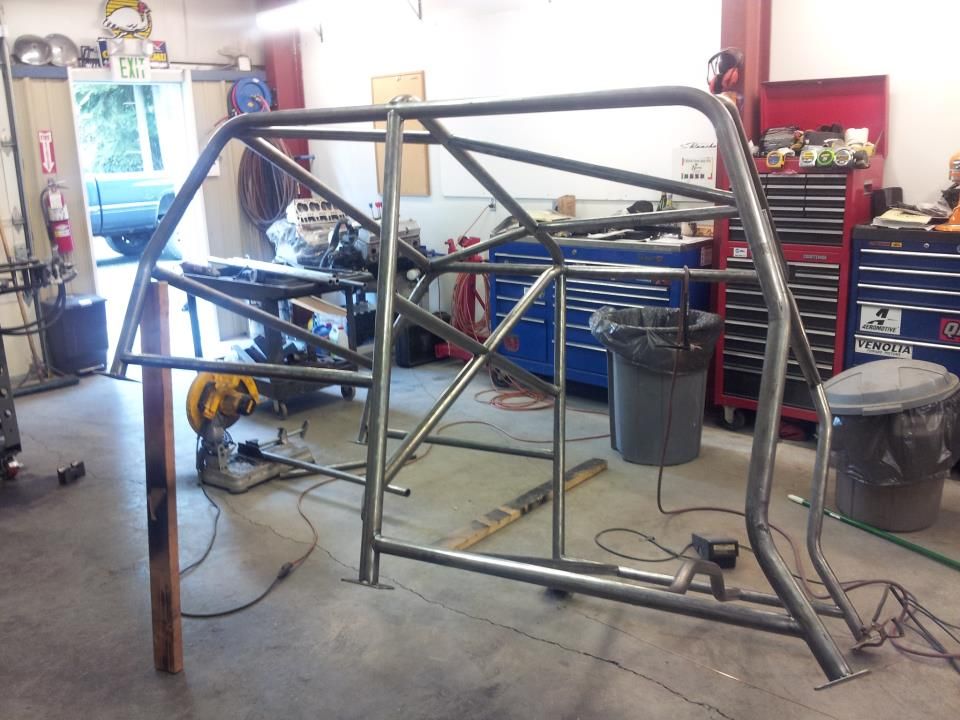
Jonni and I started bending tubes and messing with the angles on the cage:
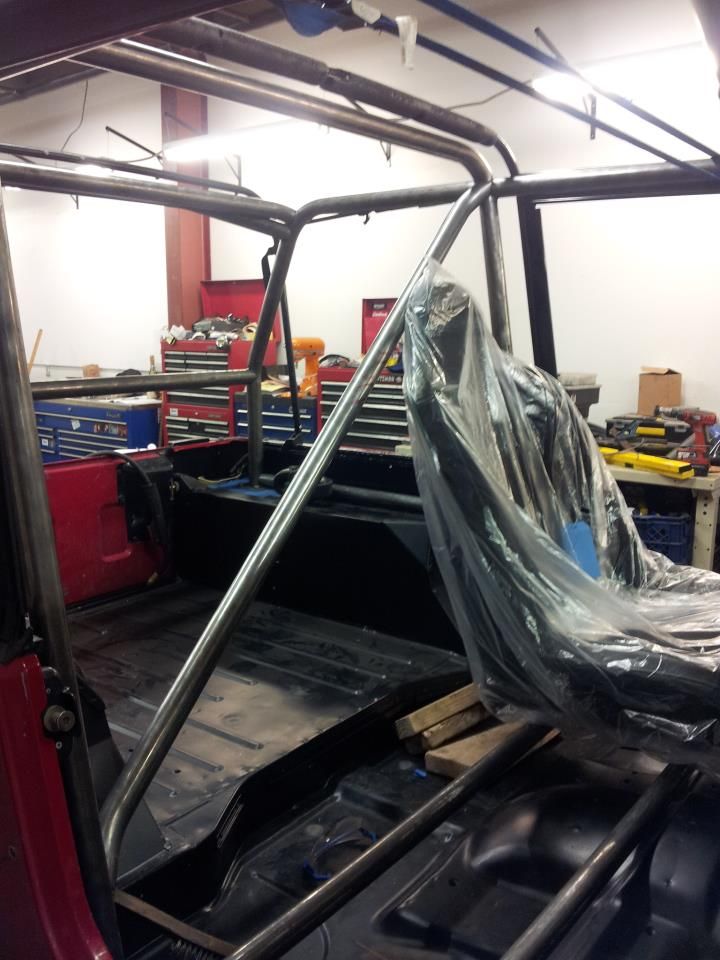
You can see the rear seat in this picture, since I had a spare PRP shorty bucket we will be using that along with a pair of PRP front Daily Drivers:
Alex
Marketing Director
Clayton Off Road
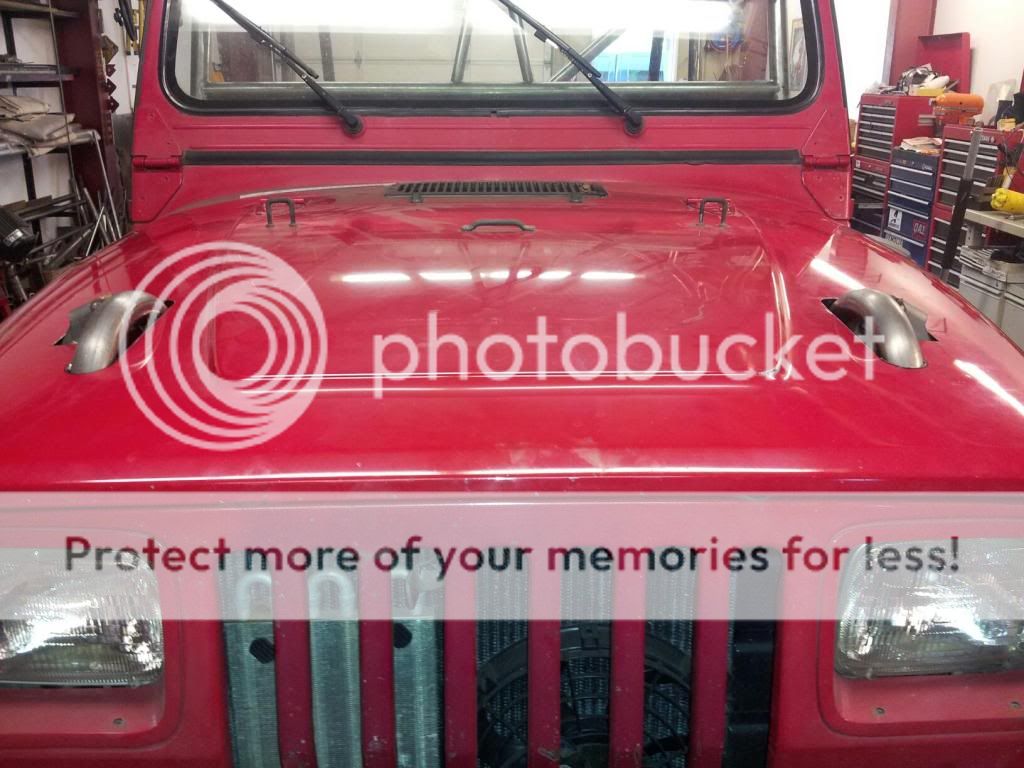
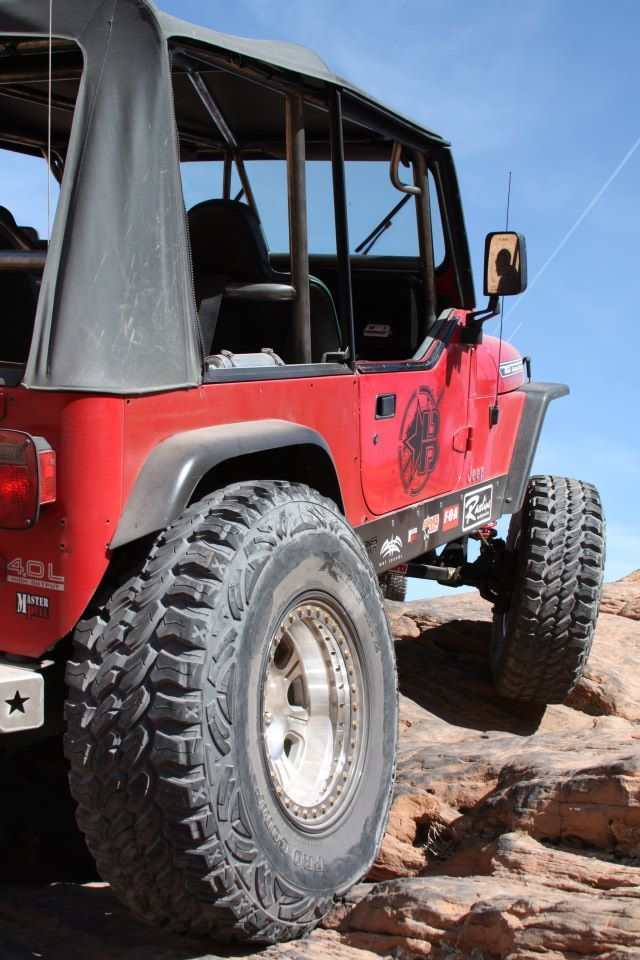
Here is what we started with:
92 Jeep Wrangler
4.0
AW4 auto out of XJ with over drive
NP231 with SYE/cv rear driveline and Tera 2LO kit, novak shifter
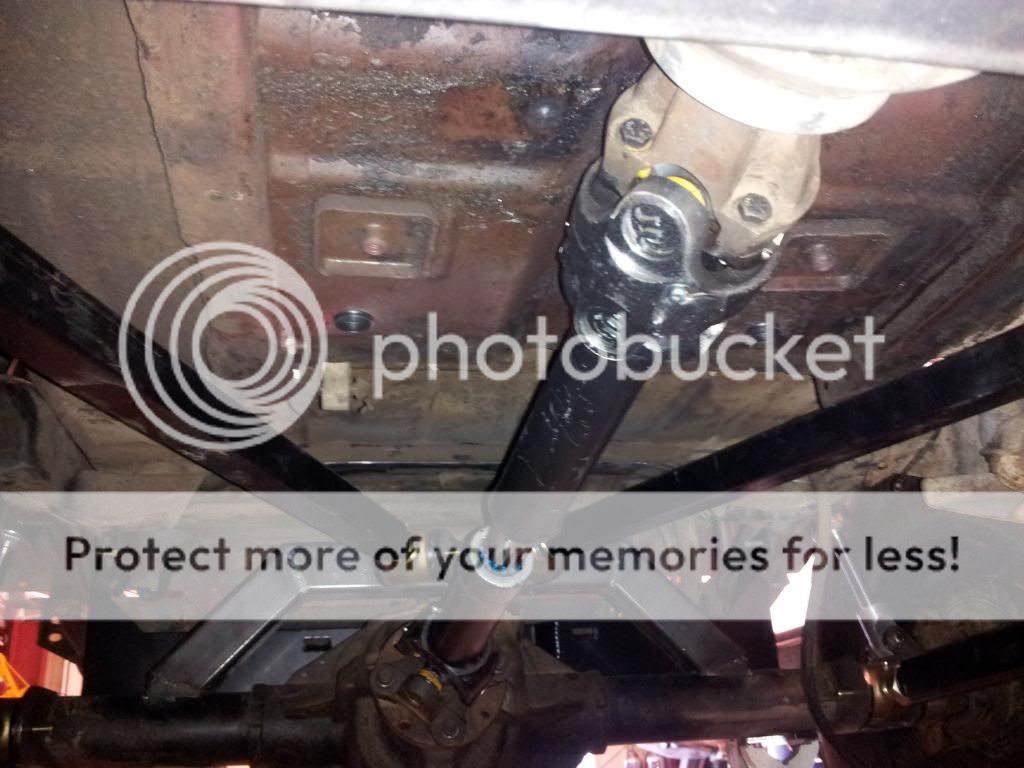
HP Dana 44 front axle narrowed to jeep width, 4.88 gears, detroit locker, superior axle shafts, ctm ujoints, diff cover guard, recent ball joints, seals, and grease
8.8 rear axle with super 8.8 kit installed, 4.88 gears and detroit locker, diff cover guard
Rubicon Express 4.5" Extreme Duty lift kit with shocks, stainless braided brake lines, ubolts flipped front and rear (rear with dynatrac kit)
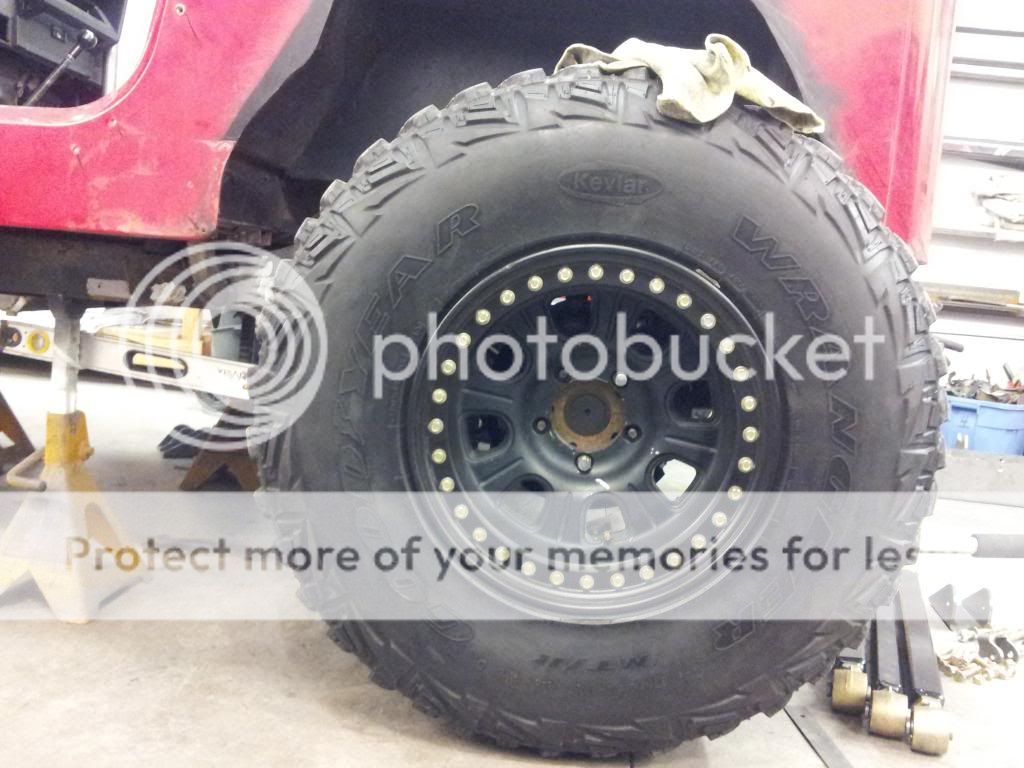
35" Goodyear MTR's on Procomp wheels with matching spare
Hi-Steer with all 1-ton tie rod ends and beefy tie rod and drag link
Genright rocker guards and rear corner guards with welded on 3" rear flare
Rear bumper with swing out tire carrier
Smitty built 8k winch on front
HID aux lights up front
cb radio
Aftermarket radio with speakers and subs
Softtop with tinted rear windows, bikini top, wind jammer, duster cover, safari top
Full roll cage (factory with aftermarket tube added on)
Probably more that I am forgetting
200k miles on Jeep. Engine/transmission/t-case were all removed 1,500 miles ago and all leaks were fixed so nothing leaks. Lift/axles/most aftermarket stuff has no more than 3,500 miles on it.
4.0
AW4 auto out of XJ with over drive
NP231 with SYE/cv rear driveline and Tera 2LO kit, novak shifter
HP Dana 44 front axle narrowed to jeep width, 4.88 gears, detroit locker, superior axle shafts, ctm ujoints, diff cover guard, recent ball joints, seals, and grease
8.8 rear axle with super 8.8 kit installed, 4.88 gears and detroit locker, diff cover guard
Rubicon Express 4.5" Extreme Duty lift kit with shocks, stainless braided brake lines, ubolts flipped front and rear (rear with dynatrac kit)
35" Goodyear MTR's on Procomp wheels with matching spare
Hi-Steer with all 1-ton tie rod ends and beefy tie rod and drag link
Genright rocker guards and rear corner guards with welded on 3" rear flare
Rear bumper with swing out tire carrier
Smitty built 8k winch on front
HID aux lights up front
cb radio
Aftermarket radio with speakers and subs
Softtop with tinted rear windows, bikini top, wind jammer, duster cover, safari top
Full roll cage (factory with aftermarket tube added on)
Probably more that I am forgetting
200k miles on Jeep. Engine/transmission/t-case were all removed 1,500 miles ago and all leaks were fixed so nothing leaks. Lift/axles/most aftermarket stuff has no more than 3,500 miles on it.
Since the eventual plan is to repaint the rig we started by stripping it and cleaning the tub, and removing all of the old wiring, alarm system, and sound mods that had been done:
When we looked at the rear wheel wells we realized that when the corners were mounted the area was trimmed just a bit too much. Jonni built a bracket using some sheet metal and plug welded it back to the tub:
Jonni shot the tub black with an epoxy primer for now:
Our armor from Barnes 4wd came in, we will be using aluminum corners, F/R bumpers and steel rockers to help save weight where we can:
Jonni and I started bending tubes and messing with the angles on the cage:
You can see the rear seat in this picture, since I had a spare PRP shorty bucket we will be using that along with a pair of PRP front Daily Drivers:
Alex
Marketing Director
Clayton Off Road
Thread Starter
Sponsoring Manufacturer
Joined: Mar 2007
Posts: 518
Likes: 1
From: Waterbury, CT
Jonni ended up building a new transmission mount today:
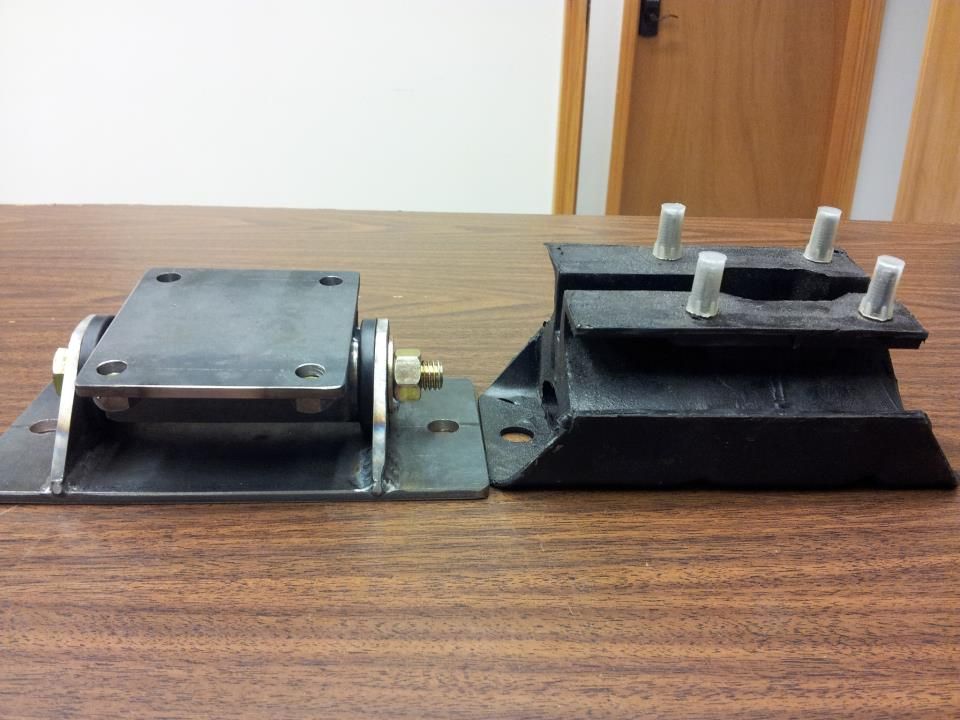
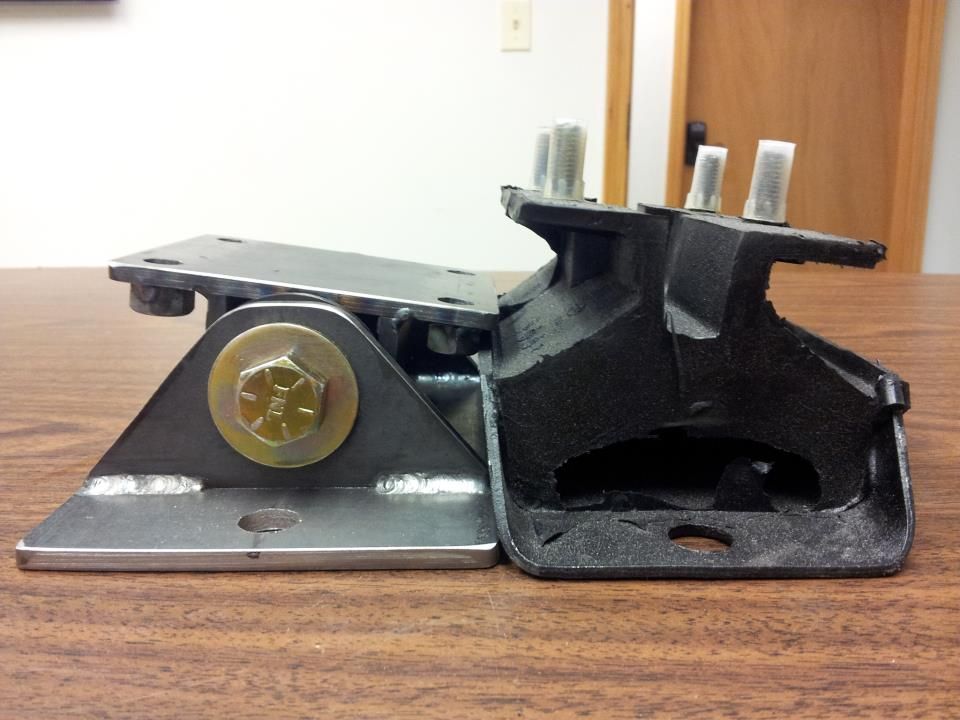
This one uses a larger bushing and will be able to adjust to the angle the transmission is at.
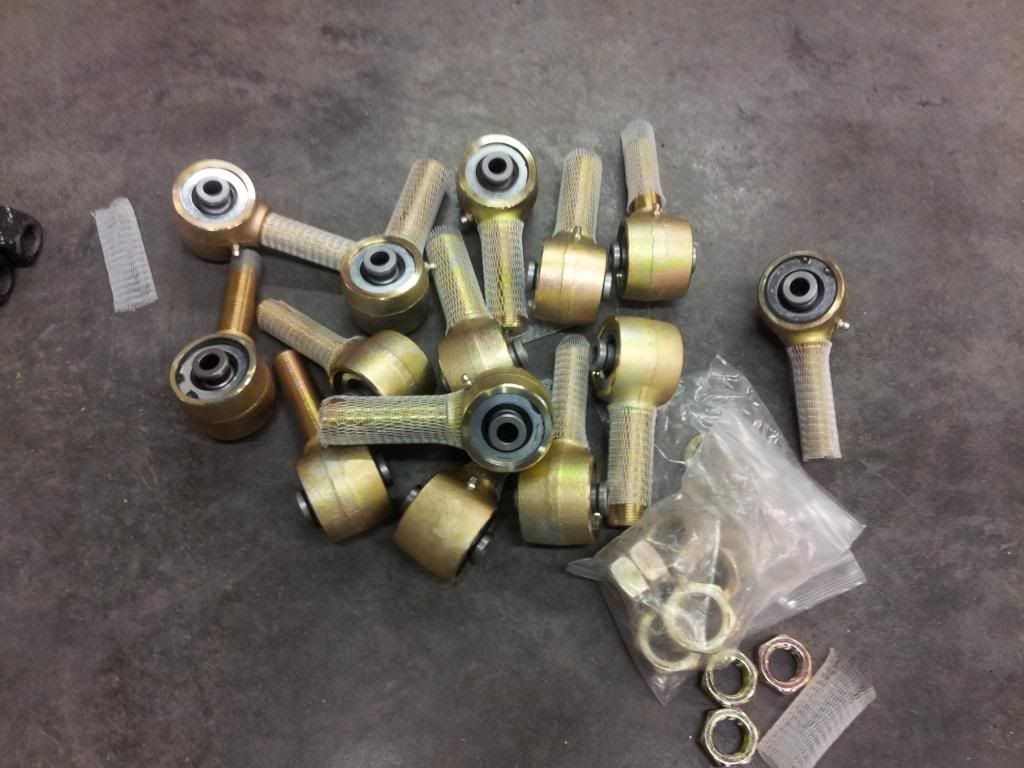
Clayton links, Currie Johnny Joints and Barnes 4wd brackets.
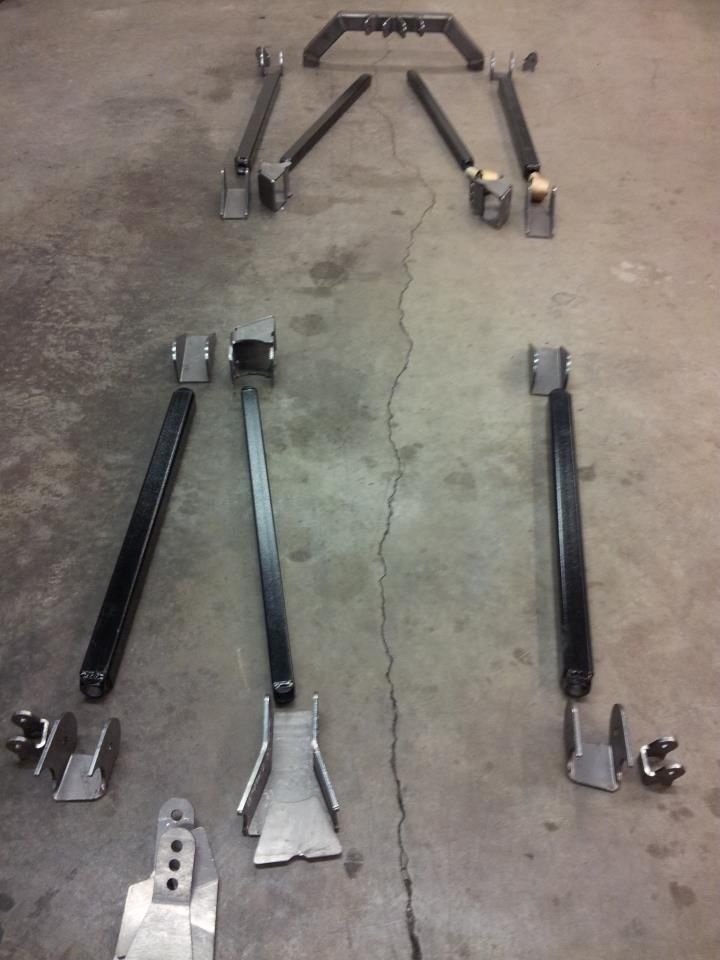
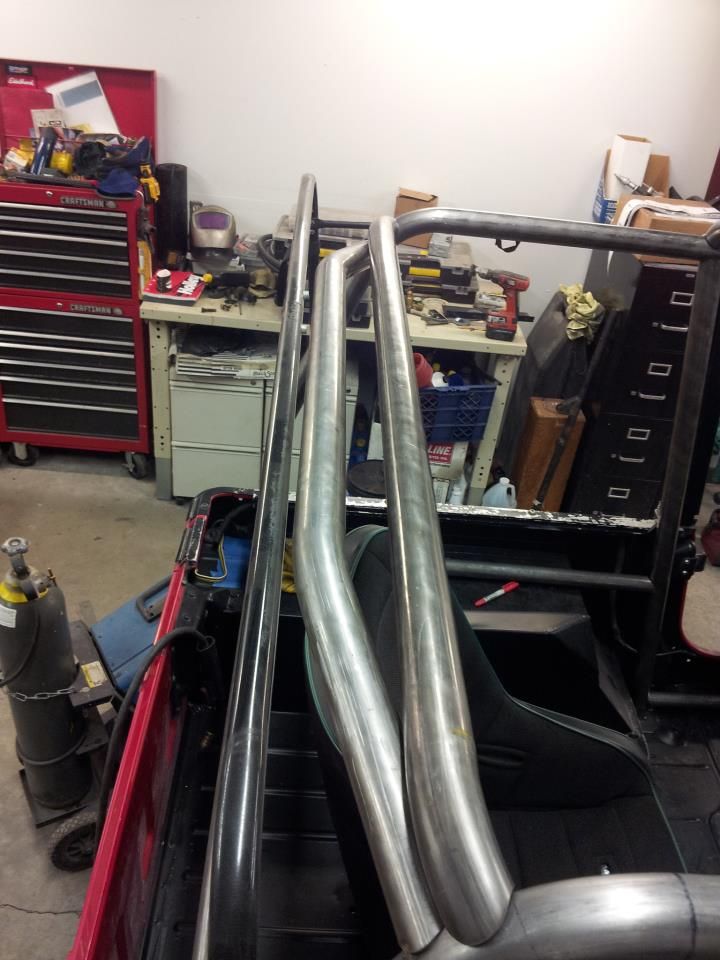
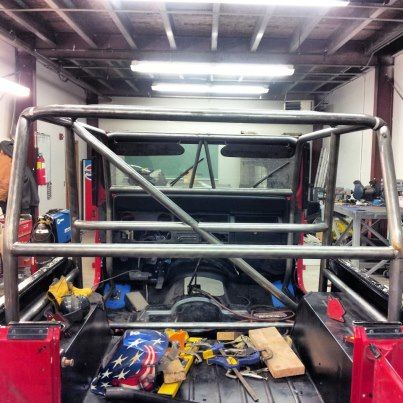
Jonni has been chipping away at the cage and a few other projects. He bent a few different rear bars so we could choose the one we liked the best:
Put the a PRP seat in there:
Then I practiced welding on part of the skid plate:
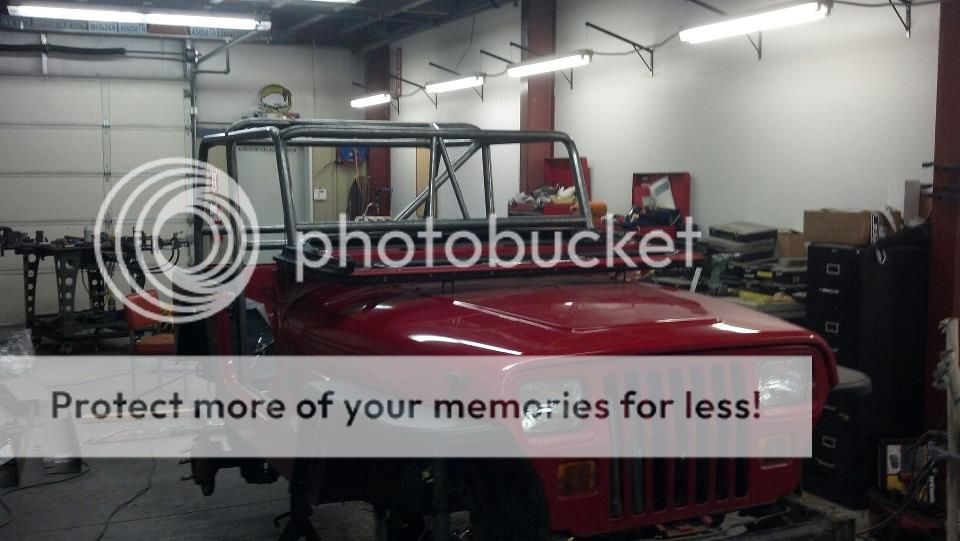
More cage progress:
Alex
Marketing Director
Clayton Off Road
This one uses a larger bushing and will be able to adjust to the angle the transmission is at.
Clayton links, Currie Johnny Joints and Barnes 4wd brackets.
Jonni has been chipping away at the cage and a few other projects. He bent a few different rear bars so we could choose the one we liked the best:
Put the a PRP seat in there:
Then I practiced welding on part of the skid plate:
More cage progress:
Alex
Marketing Director
Clayton Off Road
Thread Starter
Sponsoring Manufacturer
Joined: Mar 2007
Posts: 518
Likes: 1
From: Waterbury, CT
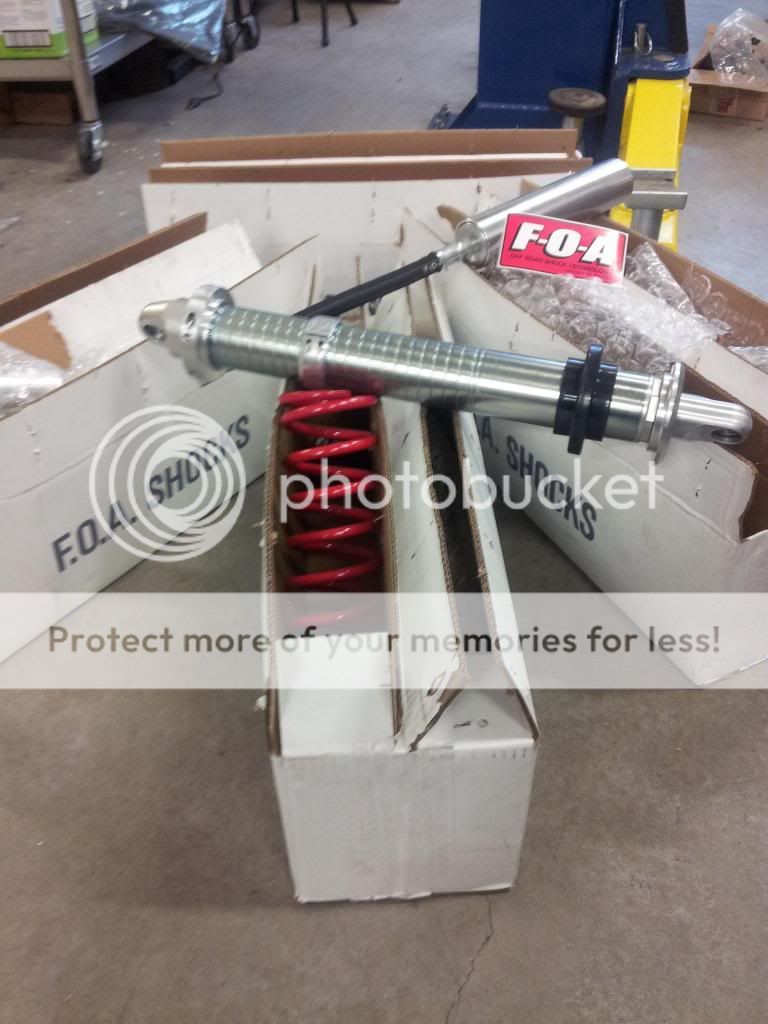
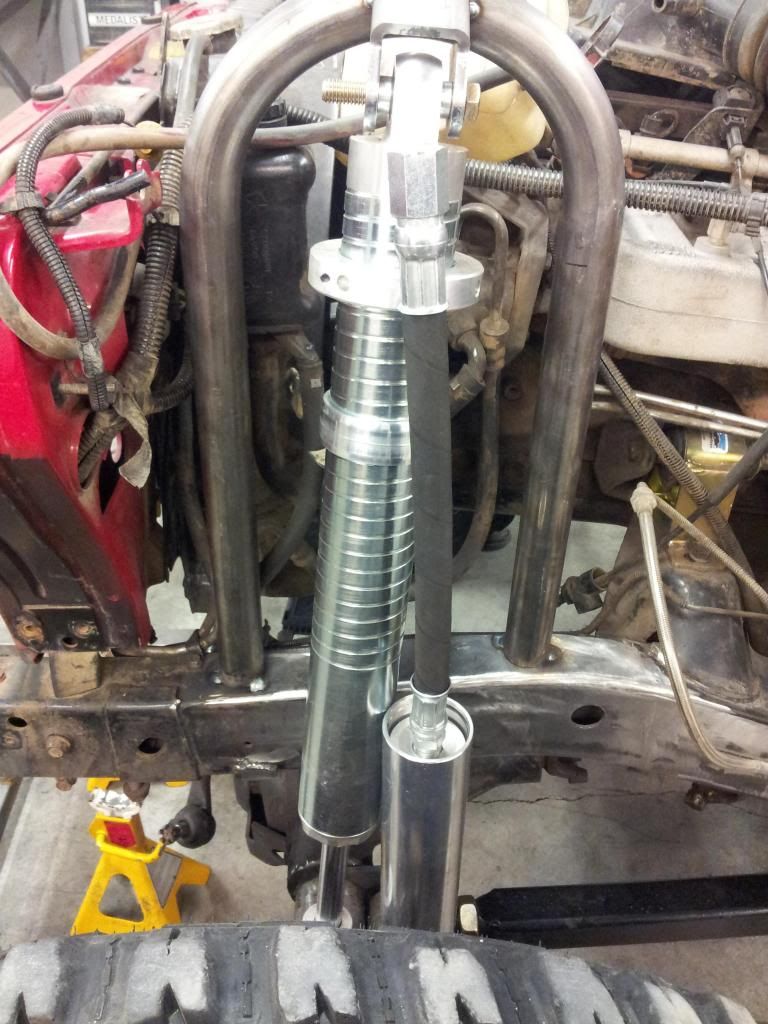
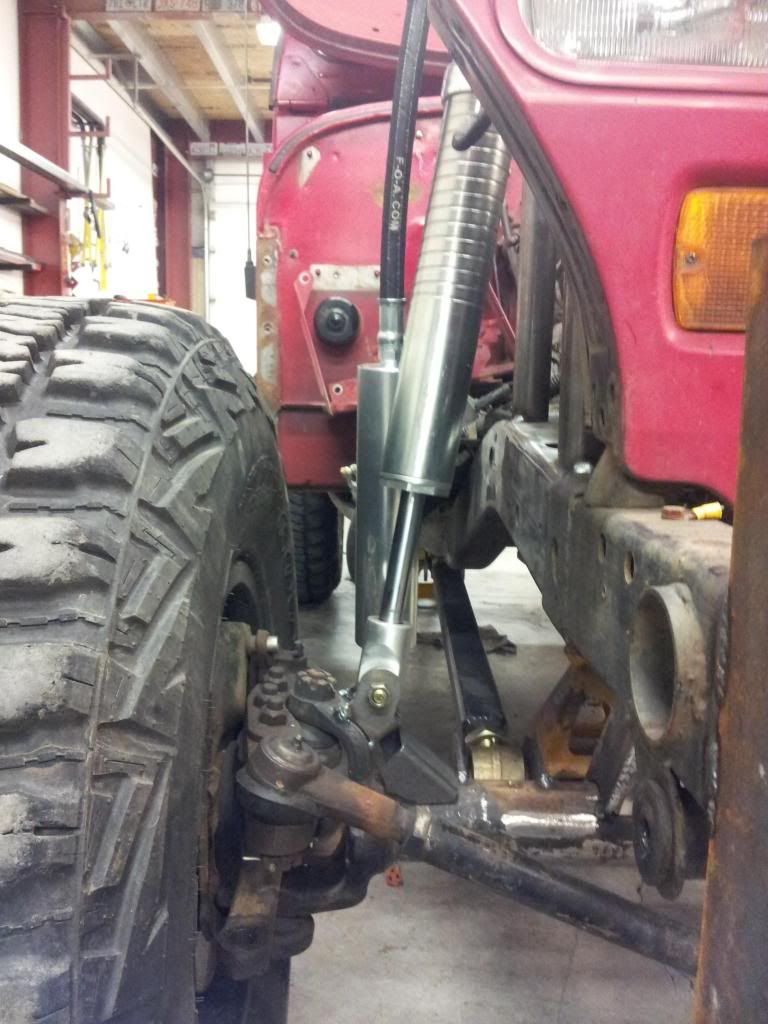
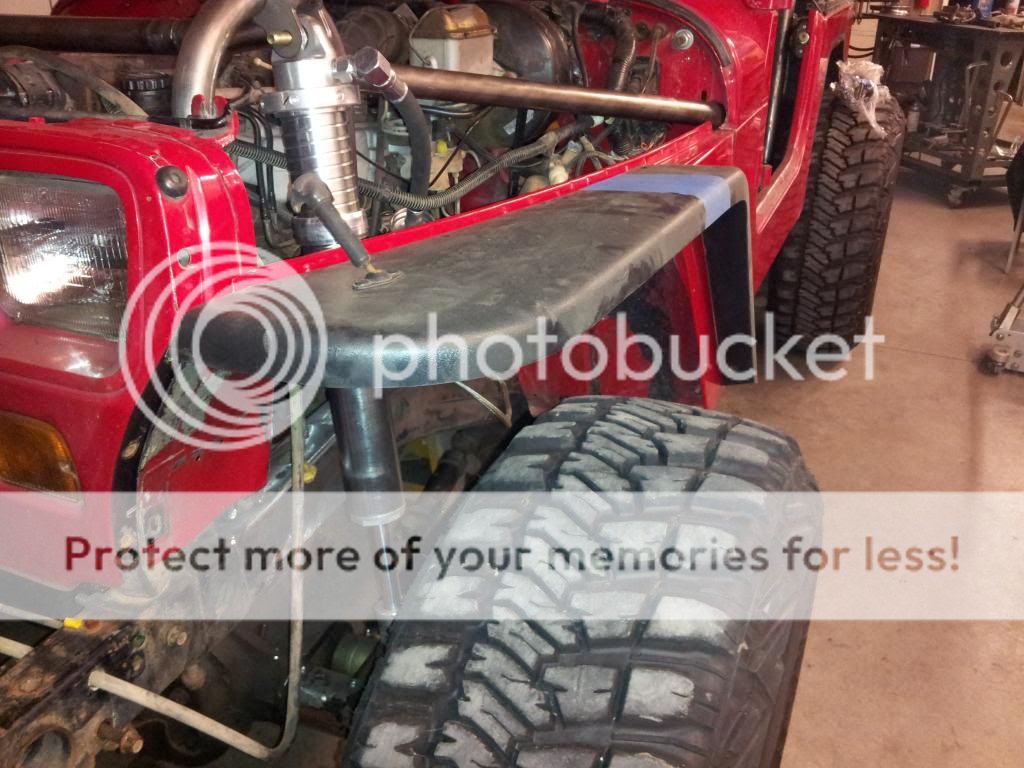
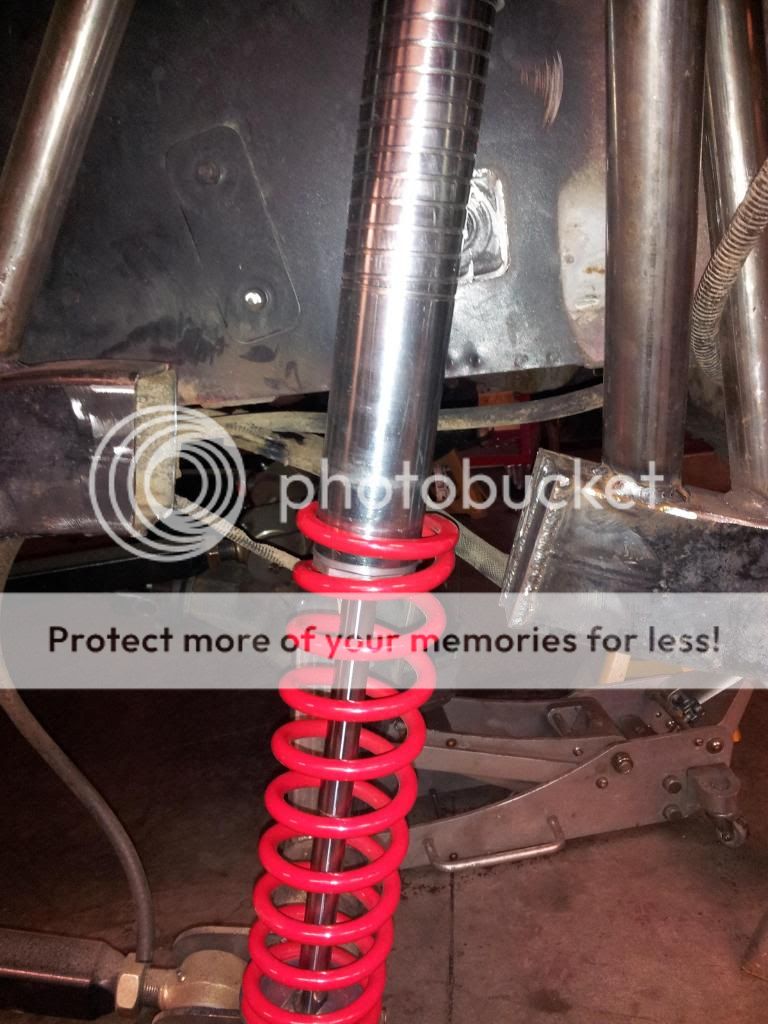
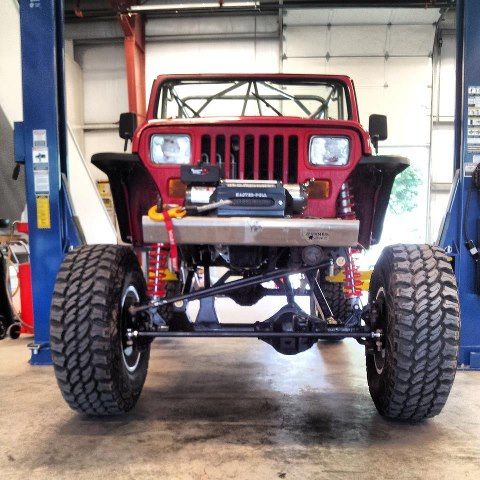
The FOA coilovers:
We puled apart the suspension and started to clean up the axles. The rear is looking like it will be around 6 inches of stretch once we are all said and done:
Unwrapped all my Johnny Joints to assemble the Clayton Off Road links:
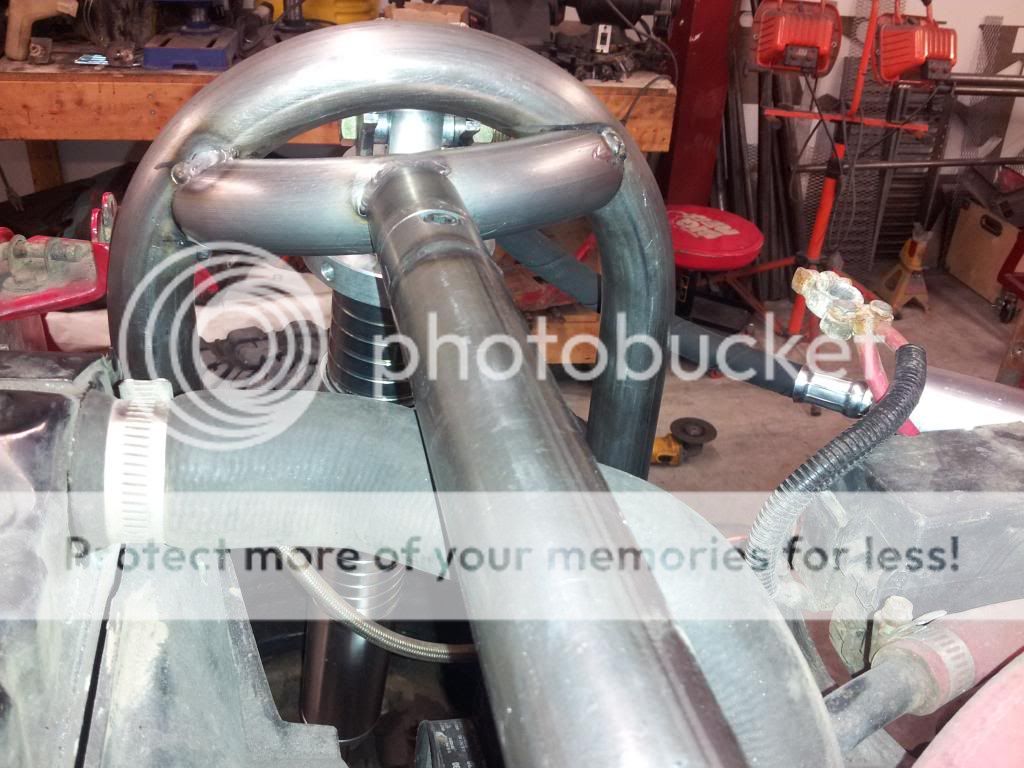
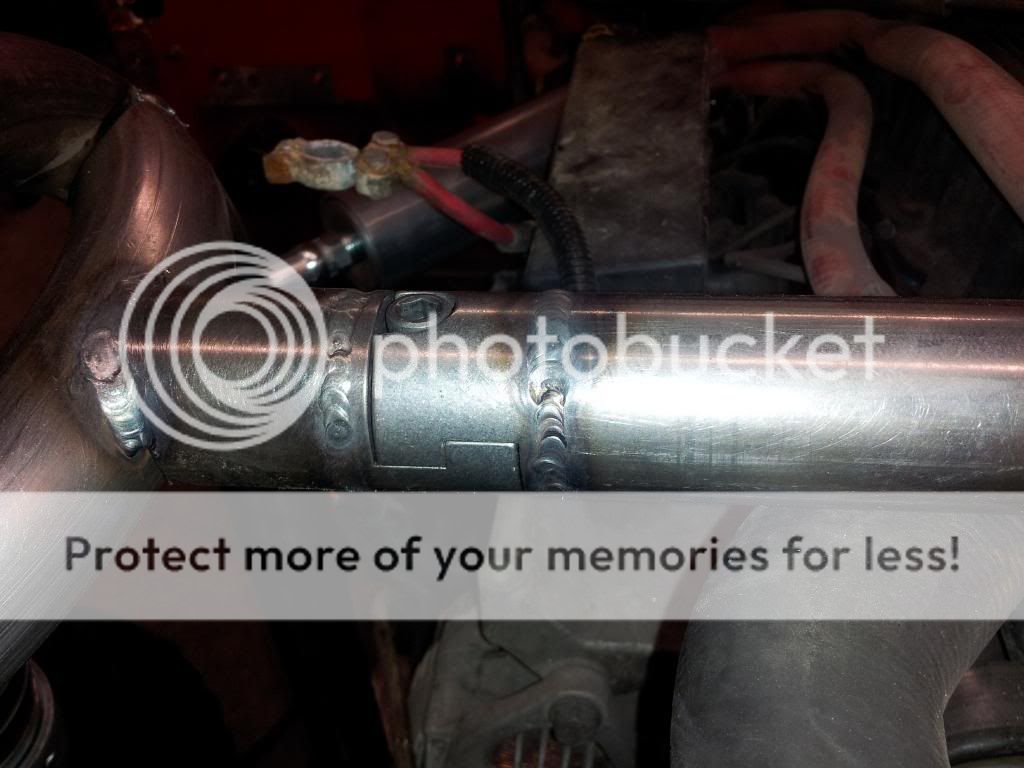
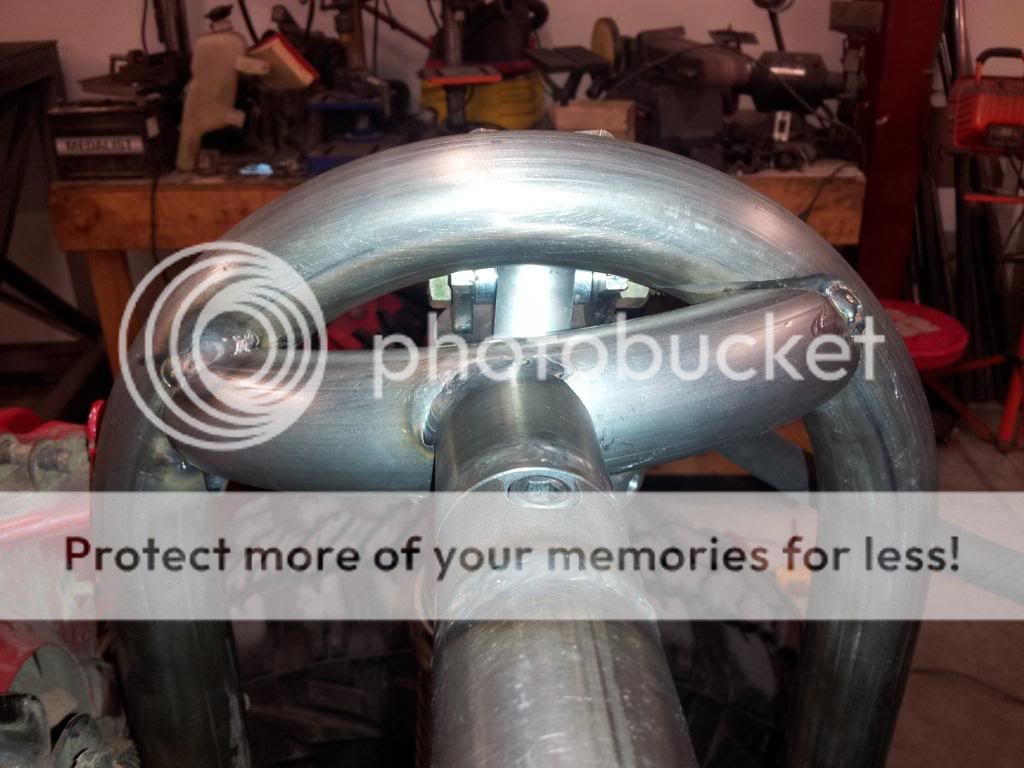
Jonni built these grab handles that are slightly angled, and also added a top gusset tube:

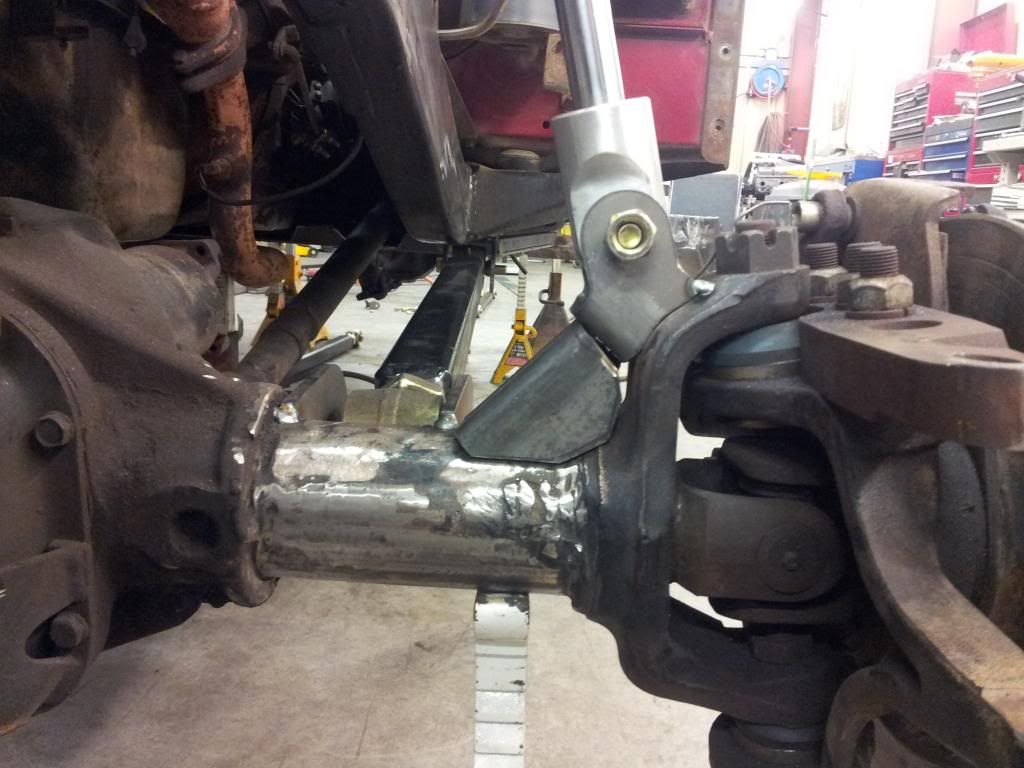
Started on the front end as well. Mini gusset to keep the knuckle intact:
Rear shock hoops:
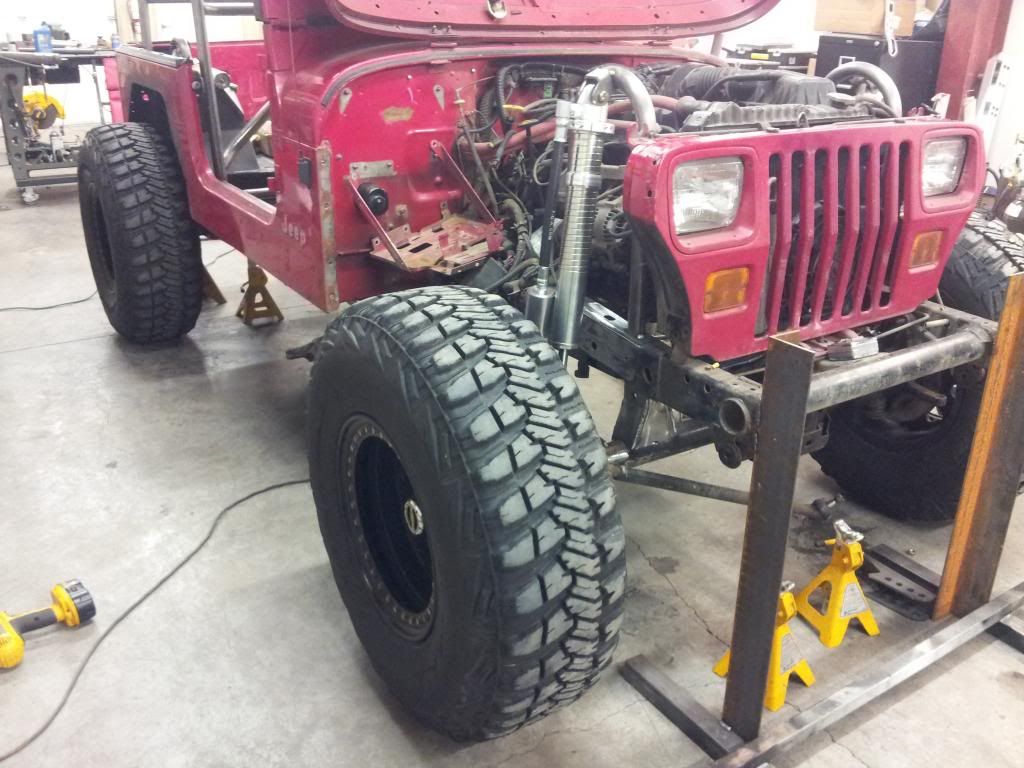
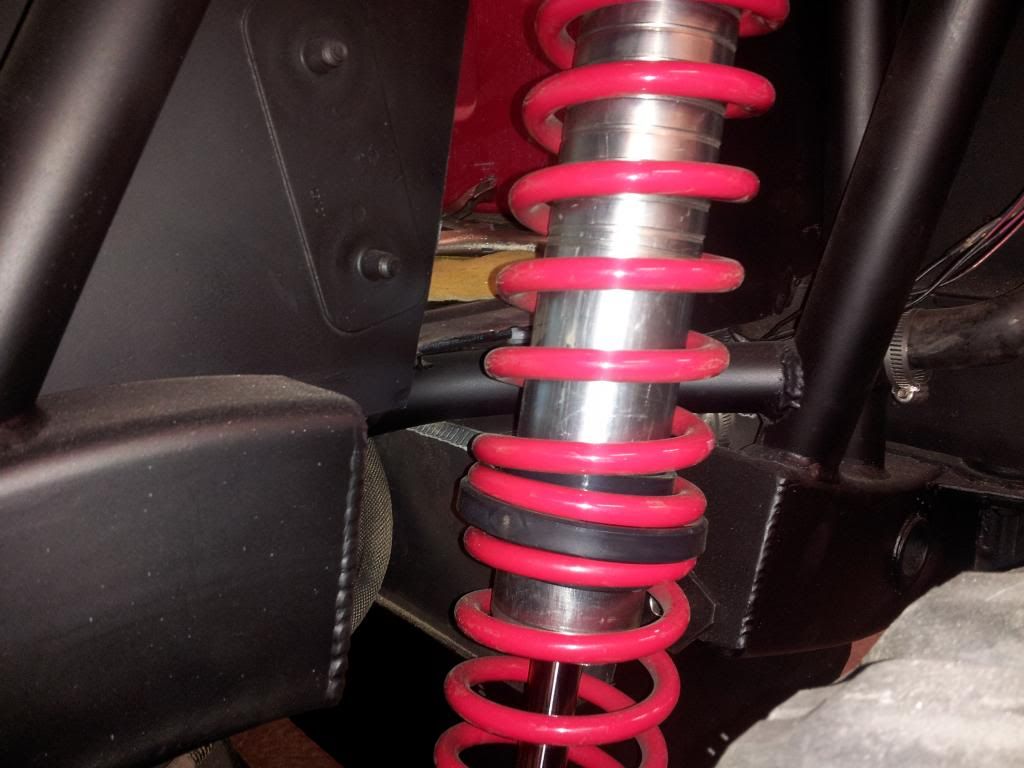
Got the rear coilovers in place today and bolted the tires on:
Time to do some more cutting on the rear fenders:
Alex
Marketing Director
Clayton Off Road
We puled apart the suspension and started to clean up the axles. The rear is looking like it will be around 6 inches of stretch once we are all said and done:
Unwrapped all my Johnny Joints to assemble the Clayton Off Road links:
Jonni built these grab handles that are slightly angled, and also added a top gusset tube:
Started on the front end as well. Mini gusset to keep the knuckle intact:
Rear shock hoops:
Got the rear coilovers in place today and bolted the tires on:
Time to do some more cutting on the rear fenders:
Alex
Marketing Director
Clayton Off Road
Thread Starter
Sponsoring Manufacturer
Joined: Mar 2007
Posts: 518
Likes: 1
From: Waterbury, CT
Onto the fronts:
Shot of the rear 4 link, need to do some trimming on the body to make sure the upper links clear during compression:
Jonni built the bracing for the coilover hoops:
Used these joints to make it removable, and Jonni did some tig welding to get them in there:
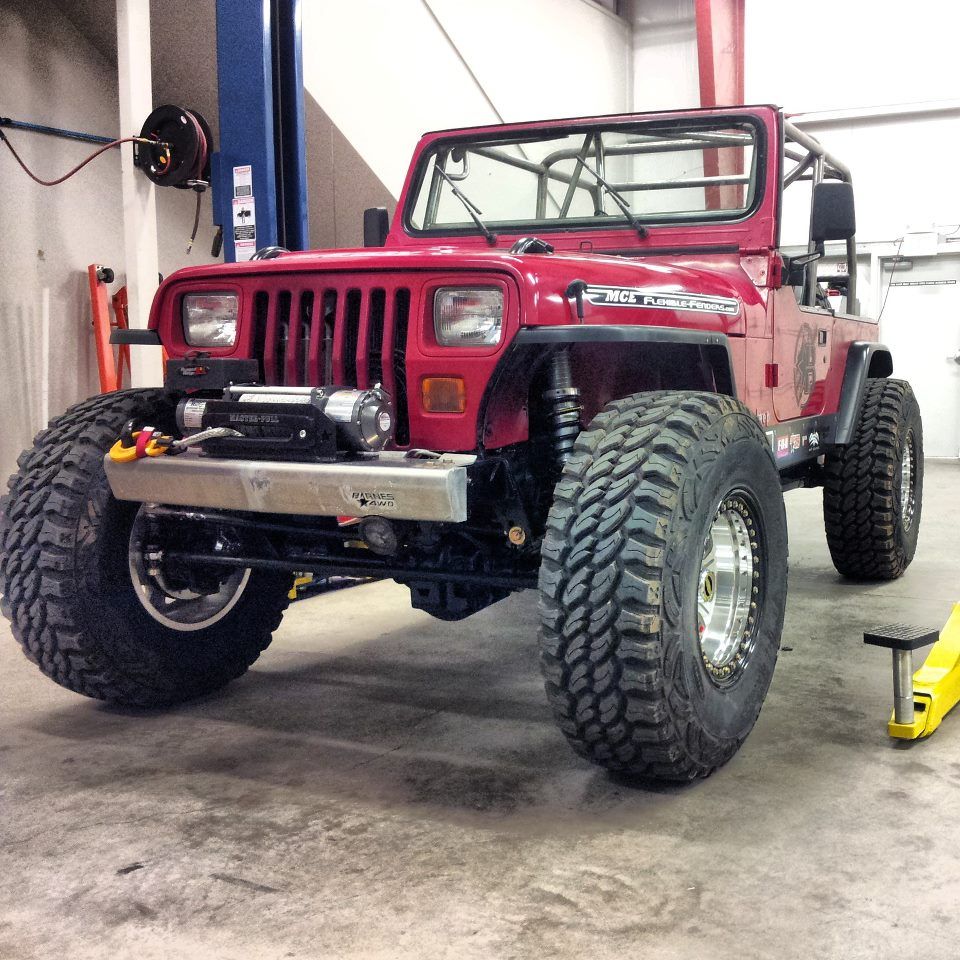
I trimmed the inner fenders and threw the MCE Flexible Fenders back on to check clearances:
Alex
Marketing Director
Clayton Off Road
Shot of the rear 4 link, need to do some trimming on the body to make sure the upper links clear during compression:
Jonni built the bracing for the coilover hoops:
Used these joints to make it removable, and Jonni did some tig welding to get them in there:
I trimmed the inner fenders and threw the MCE Flexible Fenders back on to check clearances:
Alex
Marketing Director
Clayton Off Road
Thread Starter
Sponsoring Manufacturer
Joined: Mar 2007
Posts: 518
Likes: 1
From: Waterbury, CT
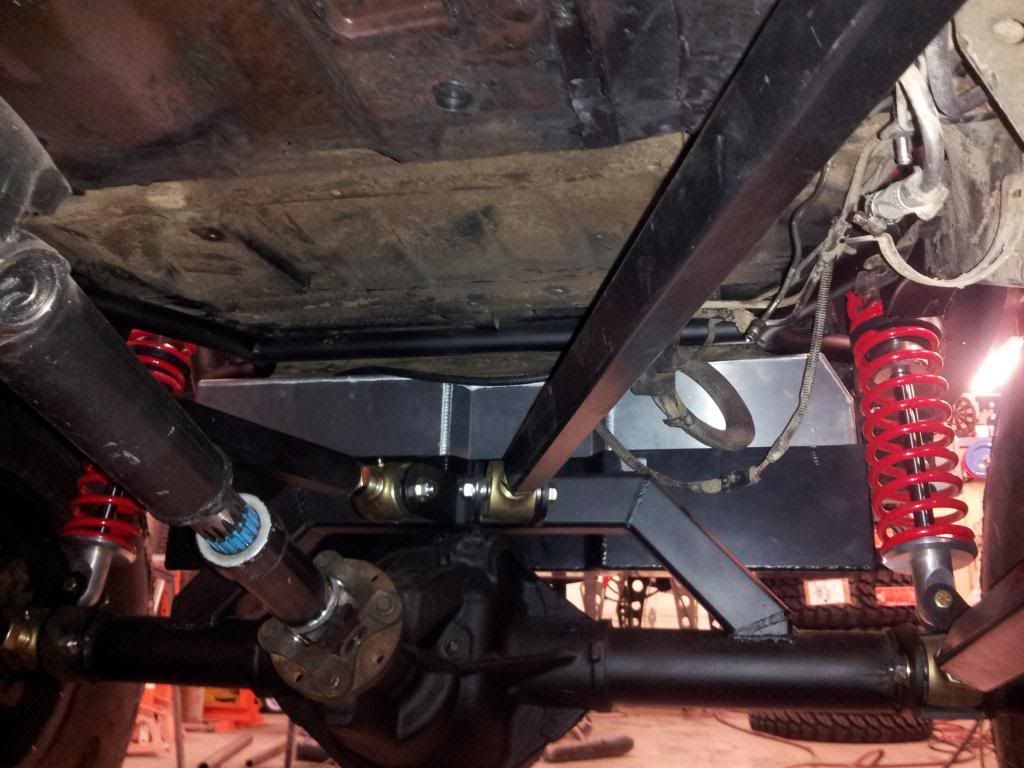
Started moving the rear suspension around and ended up cutting a bit of the frame:
Jonni then boxed it in, built a cross brace and added some more tube work.
Just about full bump:
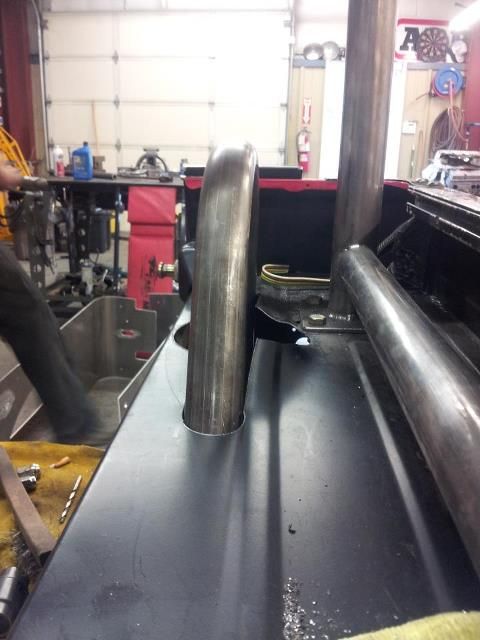
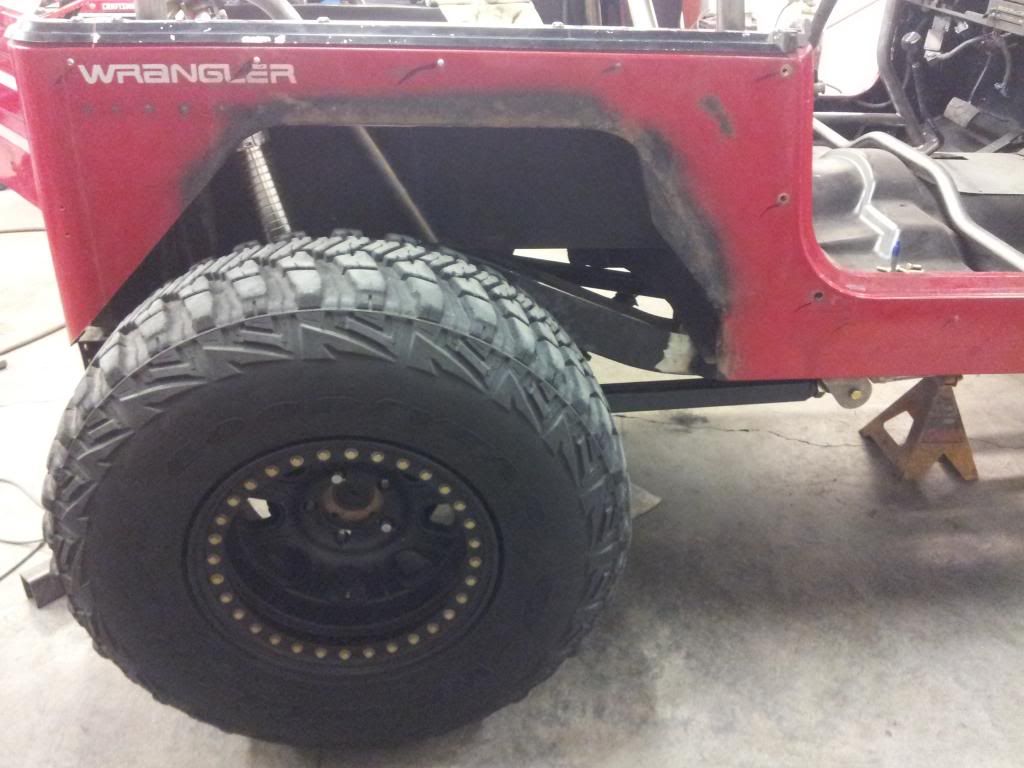
We will be using MCE Flexible Fenders on the front, but since we pushed the rear front so far I didn't like the huge gap between the fender and the tire so after talking with Jason and Mike I cut my brand new fenders:
Shortened vs original:
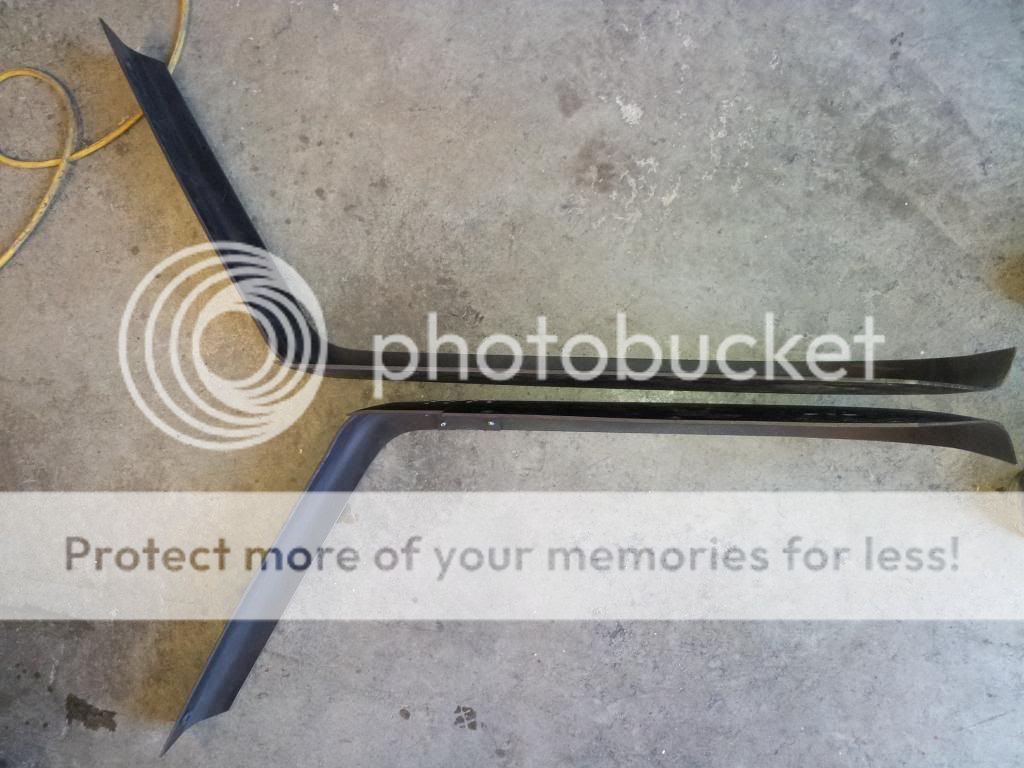
It's just about 3 inches but It looks better then having a huge gap between the tire and the fender.


Alex
Marketing Director
Clayton Off Road
Jonni then boxed it in, built a cross brace and added some more tube work.
Just about full bump:
We will be using MCE Flexible Fenders on the front, but since we pushed the rear front so far I didn't like the huge gap between the fender and the tire so after talking with Jason and Mike I cut my brand new fenders:
Shortened vs original:
It's just about 3 inches but It looks better then having a huge gap between the tire and the fender.
Alex
Marketing Director
Clayton Off Road
Thread Starter
Sponsoring Manufacturer
Joined: Mar 2007
Posts: 518
Likes: 1
From: Waterbury, CT
Shot of the rear Clayton 4 link all finished up and painted:
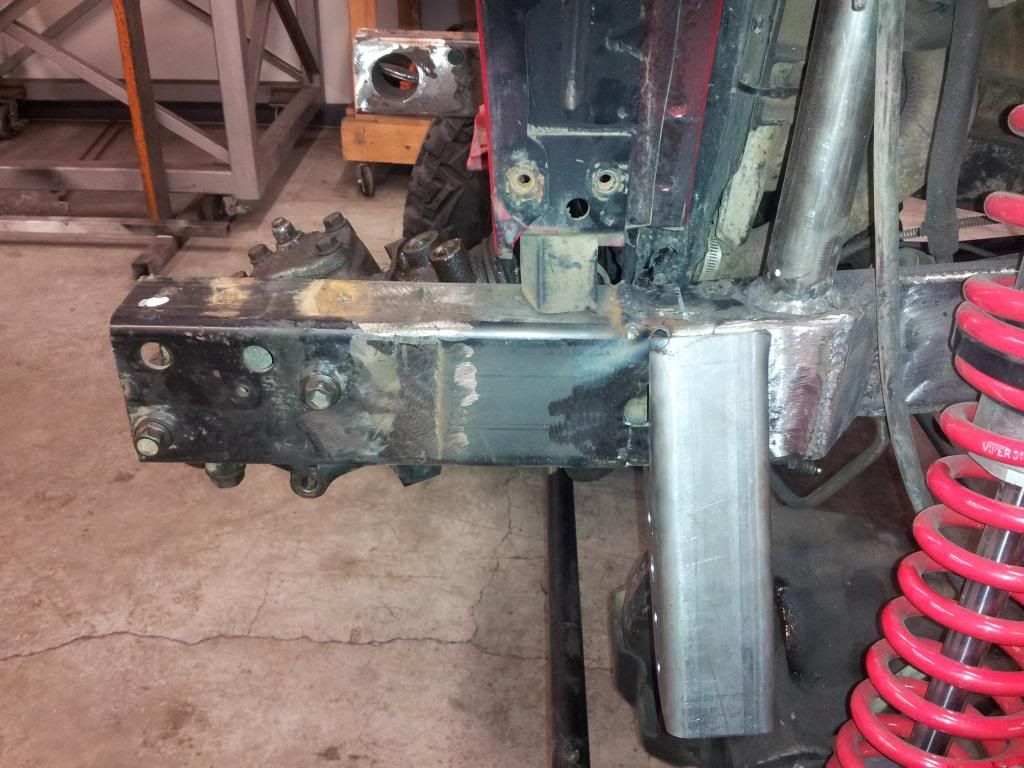
The frame cutouts and bracing behind them:
Jonni cut the frame and moved it about 4.5" forward:
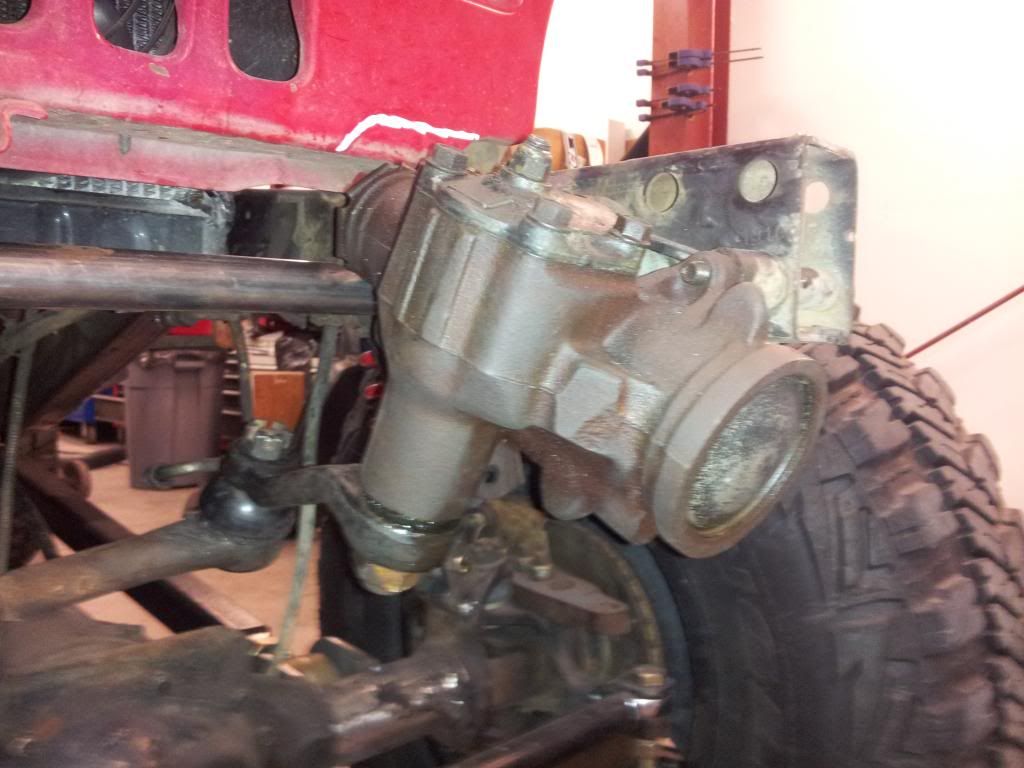
Steering box moved forward:
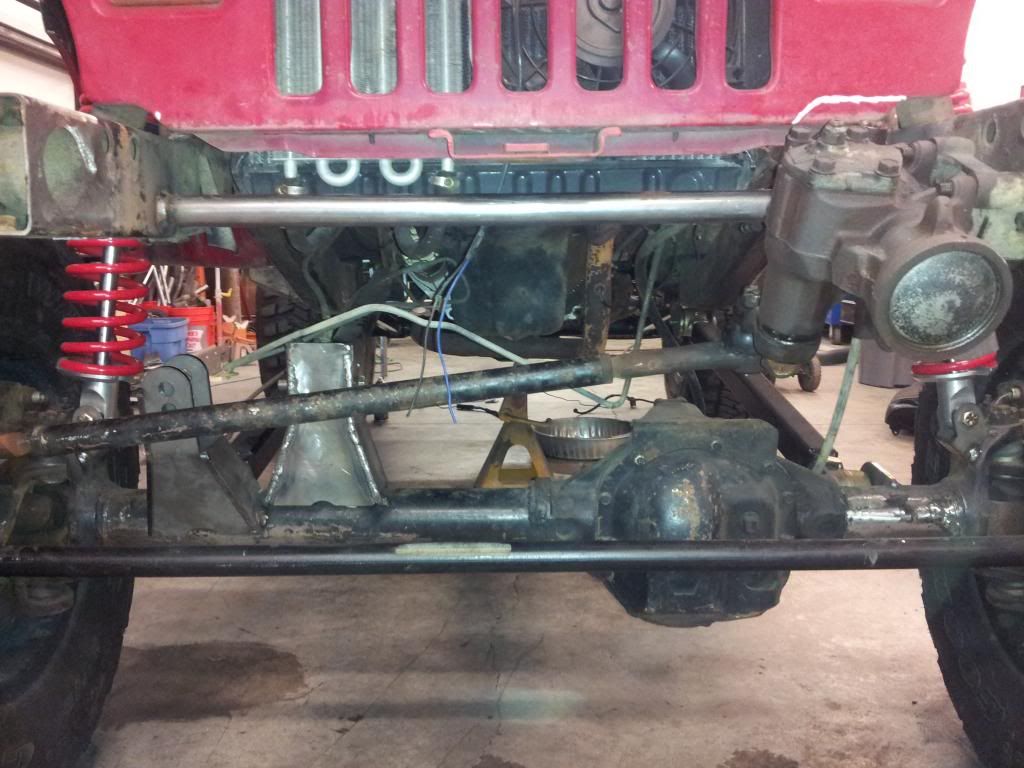
Cross brace installed:
Barnes 4wd winch bumper trimmed for the steering box:
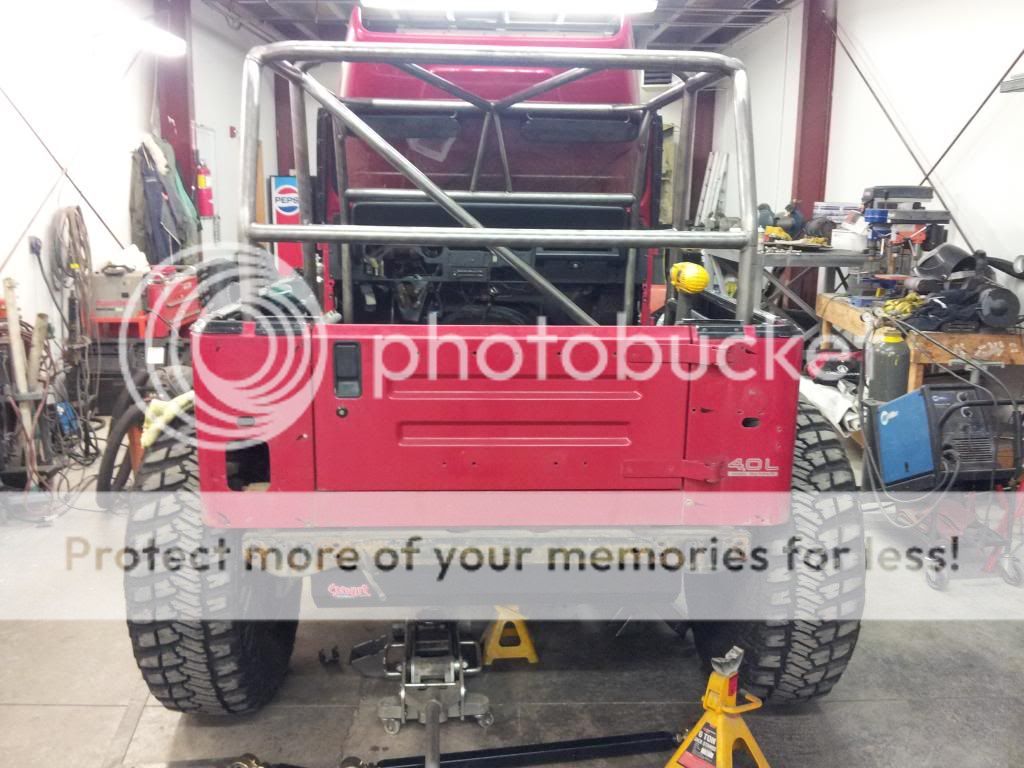
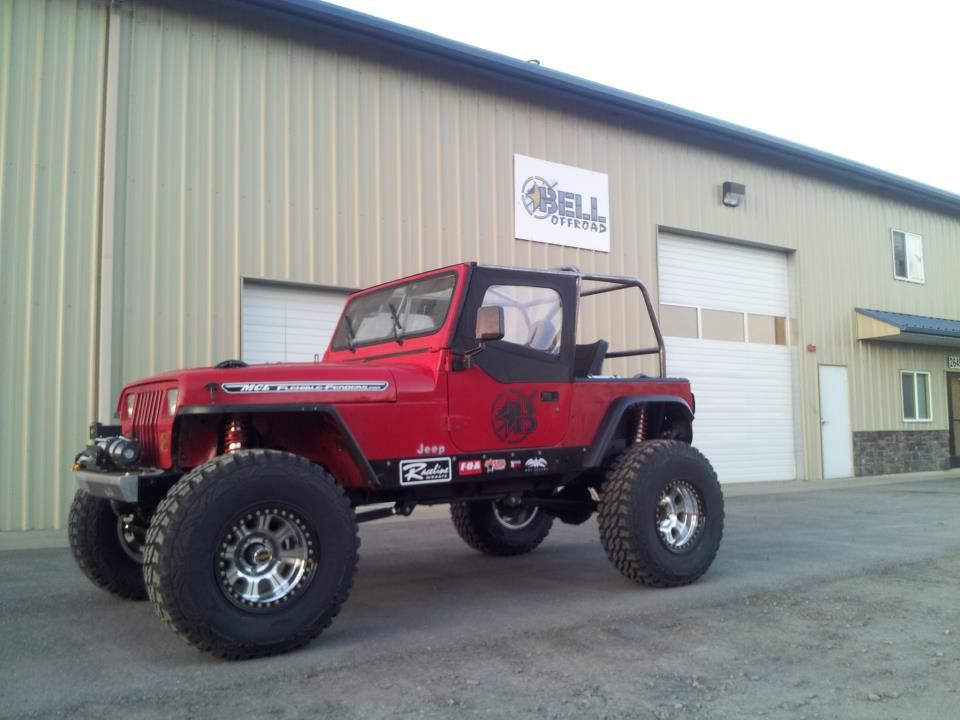
Right before we left for EJS:
Alex
Marketing Director
Clayton Off Road
The frame cutouts and bracing behind them:
Jonni cut the frame and moved it about 4.5" forward:
Steering box moved forward:
Cross brace installed:
Barnes 4wd winch bumper trimmed for the steering box:
Right before we left for EJS:
Alex
Marketing Director
Clayton Off Road
Thread Starter
Sponsoring Manufacturer
Joined: Mar 2007
Posts: 518
Likes: 1
From: Waterbury, CT
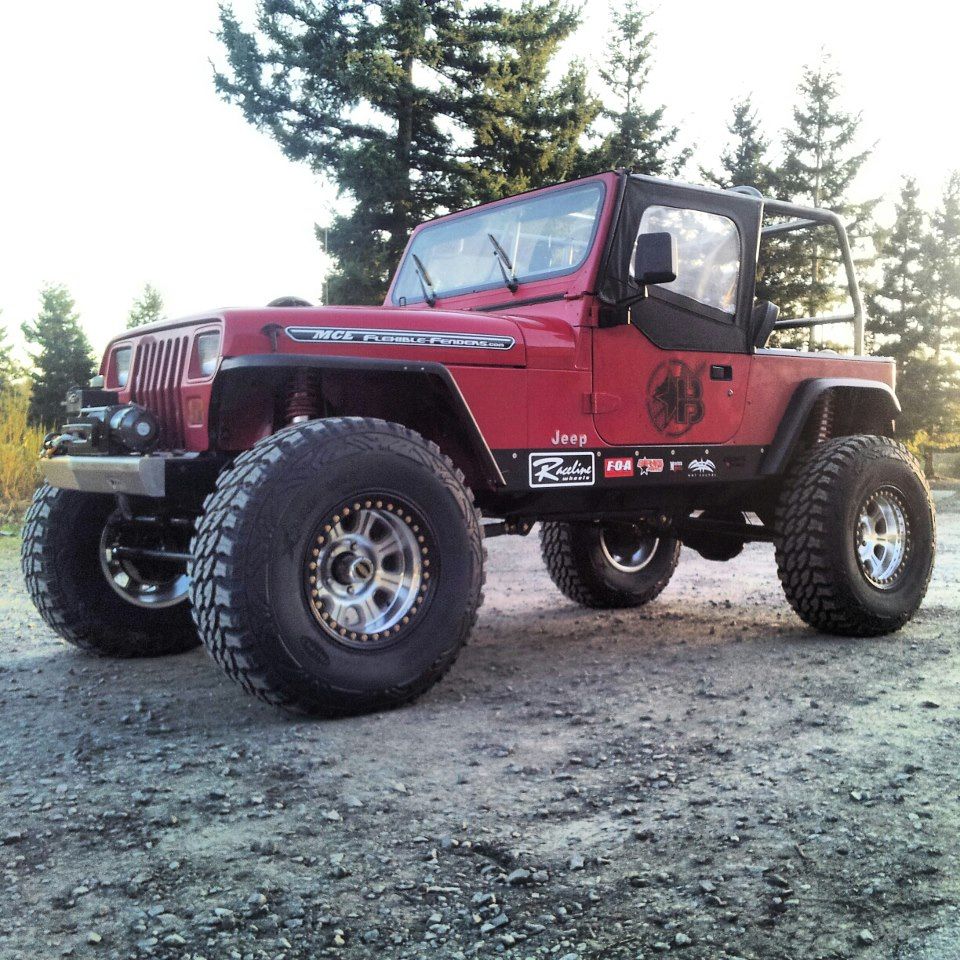
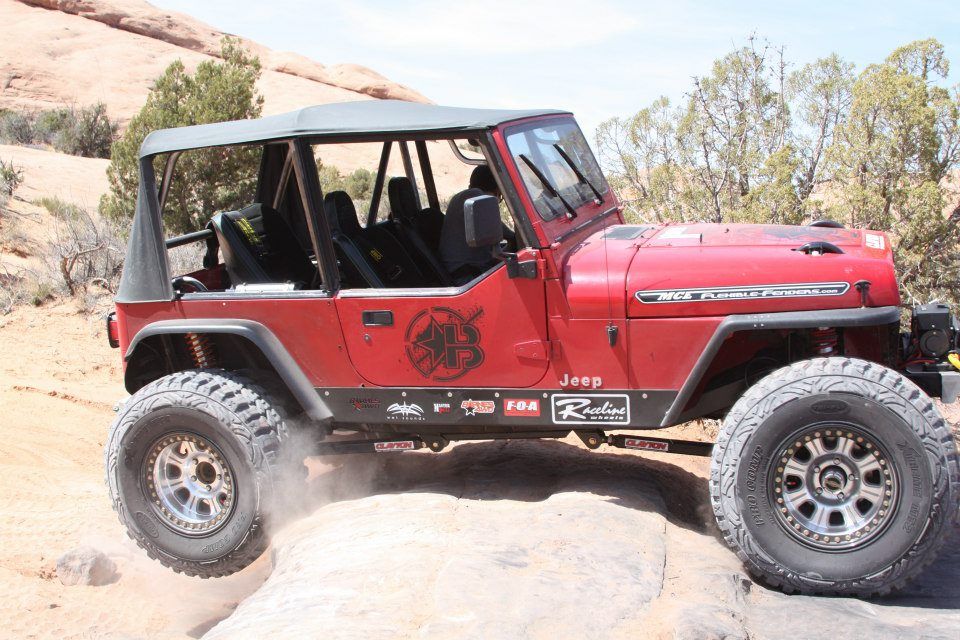
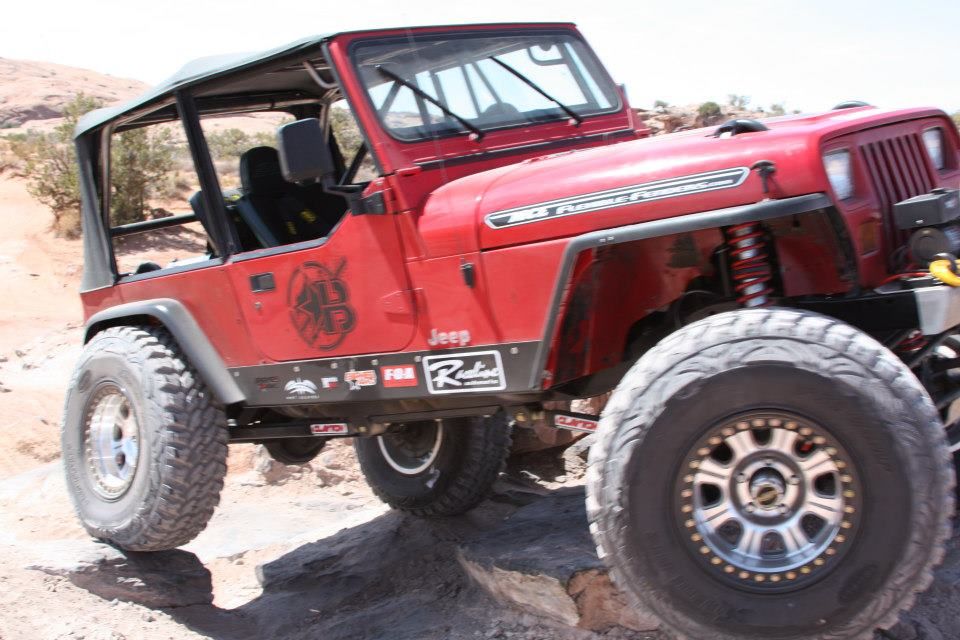
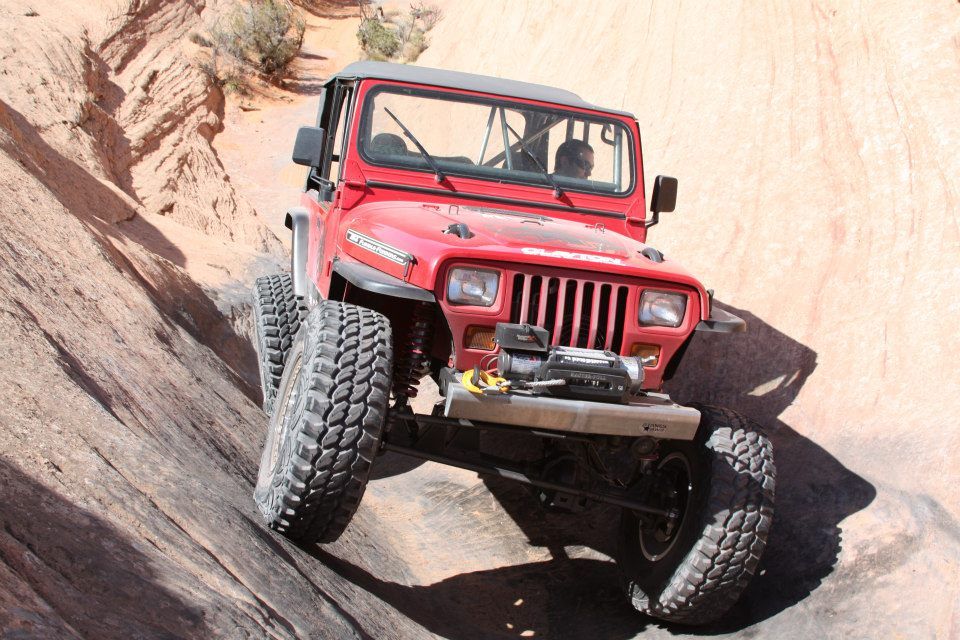
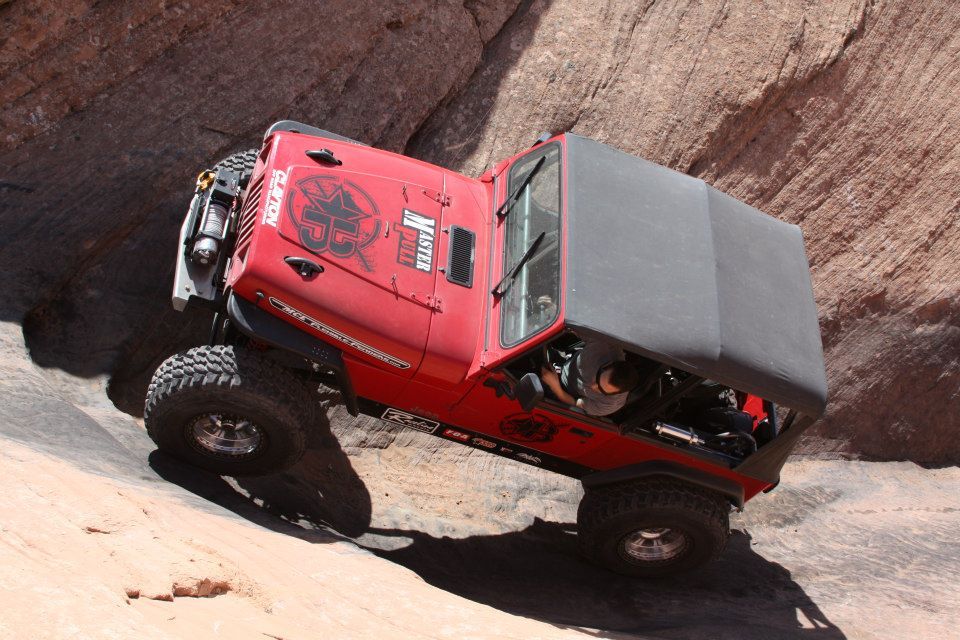
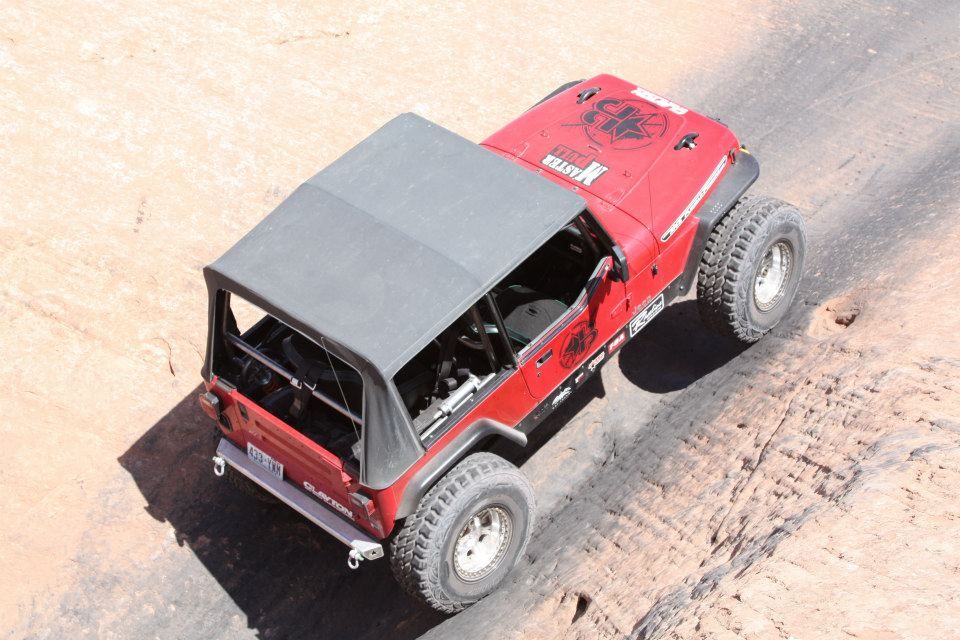
Couple action shots while we were down at EJS:

After it was finished for EJS we still have a lot to do. The short list includes:
-Get blank Barnes aluminum corners
-Build tire carrier
-Build seat sliders
-Install West Texas Off Road hydro assist
-Install FOA air bumps
-Tune shocks and spring rates
-Modify fuel fill and rear cage bars so the tires don't rub on them
-Countersink hardware on skid plate
-Build front steering box skid
-Build center console
-Install sway bars F/R
Right now the spring rates are 150/200 F/R with almost no preload on them. I know this was wrong but it was the only way to get the ride height we needed with the springs we had. I was thinking about going to 125/175 to get them same height with 2-3 inches of preload on the shocks. I need to get a better idea of my corner weights first and go from there.
Alex
Marketing Director
Clayton Off Road
Trending Topics
Thread Starter
Sponsoring Manufacturer
Joined: Mar 2007
Posts: 518
Likes: 1
From: Waterbury, CT
Finally got around to doing a little math and figuring out my corner weights so I can dial the spring rates in. Right now I am sitting at:
725 lbs D front
675 lbs P front
506 lbs D rear
487 lbs P rear
Full Droop:
Sitting with about 4 inches of uptravel left:
Alex
Marketing Director
Clayton Off Road
725 lbs D front
675 lbs P front
506 lbs D rear
487 lbs P rear
Full Droop:
Sitting with about 4 inches of uptravel left:
Alex
Marketing Director
Clayton Off Road
Thread Starter
Sponsoring Manufacturer
Joined: Mar 2007
Posts: 518
Likes: 1
From: Waterbury, CT
Jonni pulled it back into the shop and started seeing what it will take to get the Antirock up front and the airbumps all the way around:

Alex
Marketing Director
Clayton Off Road
Alex
Marketing Director
Clayton Off Road
Thread Starter
Sponsoring Manufacturer
Joined: Mar 2007
Posts: 518
Likes: 1
From: Waterbury, CT
Jonni has been back at it a bit between working on some other projects he has in the shop. He mounted the West Texas Off Road Redneck Ram box and added a piece of tube for the AntiRock:

Since the box is pushed so far forward the tube was notched a bit to clear the top of the box, the bar fits in fine and clears with no issues.
The AntiRock links had to be bent out to clear the coilovers and panhard mount:

He got started on the Redneck Ram mount for the axle side the other day, decided to use the diff cover to mount it:

And my new Clayton Off Road Brakelines:

Alex
Marketing Director
Clayton Off Road
Since the box is pushed so far forward the tube was notched a bit to clear the top of the box, the bar fits in fine and clears with no issues.
The AntiRock links had to be bent out to clear the coilovers and panhard mount:
He got started on the Redneck Ram mount for the axle side the other day, decided to use the diff cover to mount it:
And my new Clayton Off Road Brakelines:
Alex
Marketing Director
Clayton Off Road
Last edited by Clayton Off Road Mfg.; Aug 29, 2013 at 10:35 PM.