When you click on links to various merchants on this site and make a purchase, this can result in this site earning a commission. Affiliate programs and affiliations include, but are not limited to, the eBay Partner Network.
Am not sure what the Commander tranny is but I wouldn't mind betting the TCase is going to be further back due to clearances needed up front. In the Motech kit (for a Chev with 8/10 spd) we simply get a flat piece of 1/4" plate drilled for both the transmission mounting holes to the stock Jeep rear engine mount on the X-member. Means driveshafts are needed $$$$. My TCase is about 3" towards the rear which gives really nice angles on the front driveshaft as well as the rear.
If I ever need a new X-member I will build a custom one and adapt the mount further back and get rid of that plate with direct x-m to tranny mount.
I've double checked with Todd and he has confirmed that the stock drive shafts fit with his bolt in engine mounts and the trany adopter plates to locate the trany. I don't understand how this is possible when the trany will be moved. But it is a different one than the JK.
However things just work out some times. I was able to use the stock front dirve shaft in my TJ 5.9L magnum swap. I put in a Ford 8.8 in the back so that screwed up all the geometry. But I think since the front fit, the rear likely will have also.
So even though the shafts are suppose to fit, but now may not with the adopter I'm using is a possibility.
I won't seal the adopter for the test fit, just in case it doesn't work. Hate to ruin a 3rd seal. And driveshafts will be a heck of a lot more than another adopter. So disregard what I said earlier about going with this no matter what. Now I have that to worry about also
The commander trany is the 545-RFE, same as the one's in trucks.
Thanks for pointing out the drive shaft issue.
Last edited by Junkyard junkie; Aug 2, 2022 at 09:50 AM.
Engine and transmission are done and mated (they are expecting a little baby Hemi any day now).
Since I got the Commander Hemi, it already had the right timing cover and accessories. But if you get the truck Hemi, you'll need to get all that separately.
Quick note on using the stock engine mount bolts. The threaded hole in the block is 1" deep, the factory bolts are 3/4" inch and the JSS mounts are 3/16" thick, so that only leaves about 1/2" (math is not my thing) of thread engagement in the block. This should be ok, but I managed to break a bolt while tightening it. I'm pretty sure the spec is 70 ft/lb. 3 of the 4 torqued fine, but one just didn't feel right and sure enough it broke. Luckily it came out no problem. It was likely a preexisting weakness.
I think the better size to use is M10x1.50 x 25. Grade 10.9, flanged. This gives another 1/4" of thread engagement (approximately) and room to spare. I got some ordered and since this is all the time I'm going to have for a week, I can wait.
Next is the test fit to check for trany mount and T-case adopter fit and check to see how the stock Commander Y pipe is going to fit. I have no doubt it will not just go in, but hopefully I can work with it.
Last edited by Junkyard junkie; Aug 13, 2022 at 02:25 PM.
That tranny looks long. Have you measured it against the auto that came out as that engine will be as far back as you can get it for front accessory clearance to rad. Keep up the good work.
No, I didn't measure anything. This is suppose to be a bolt-in affair. All the thinking has already been done by Todd at JSS. In a way my 5.9L Magnum swap in my TJ was easier because there was no "blue print" to follow and I had to make things work once a problem was found. I did use the weld-in mounts by Advance Adopters for that and these mounts did have an alignment tab. I welded those in according to the tab and it all fell into place. I'm hoping for the same here.
This is why I'm concerned about the T-case adopter since the isolator mount (that fits the adopter) I'm using is different than the one he says to use. And yes, it is a big transmission.
I had some time today, but ended up spending it on a belt and tensioner replacement on my wife's Patriot. What a PITA, no room to work. And as an extra little slap in the face, it turns out it's a bad PS pump and not the tensioner as I thought.
I'll have the Hemi test fitted next week and will post back.
Thanks.
Last edited by Junkyard junkie; Aug 13, 2022 at 02:35 PM.
Made a a bonehead mistake and didn't look through all the stuff sent by JSS. The above mentioned block to engine mount fasteners are already included, but are grade 8.8, so I used the 10.9 ones. Also, they do fit but there's only a hair of clearance before they bottom out, so I just added a washer.
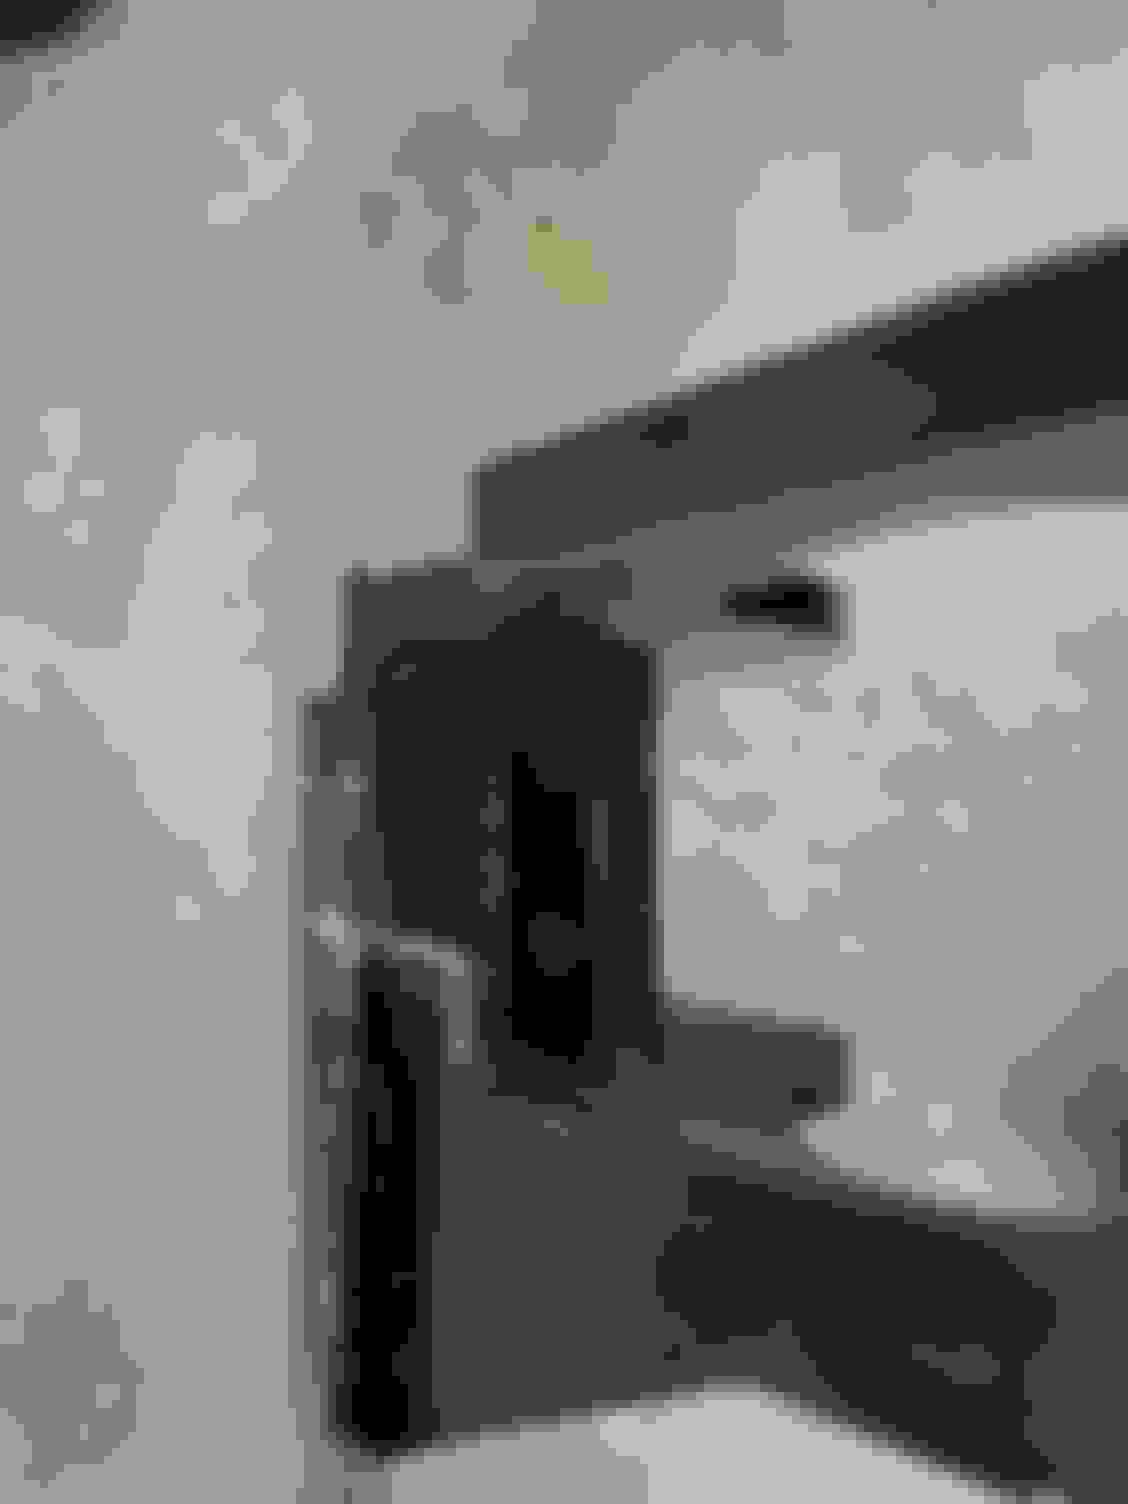
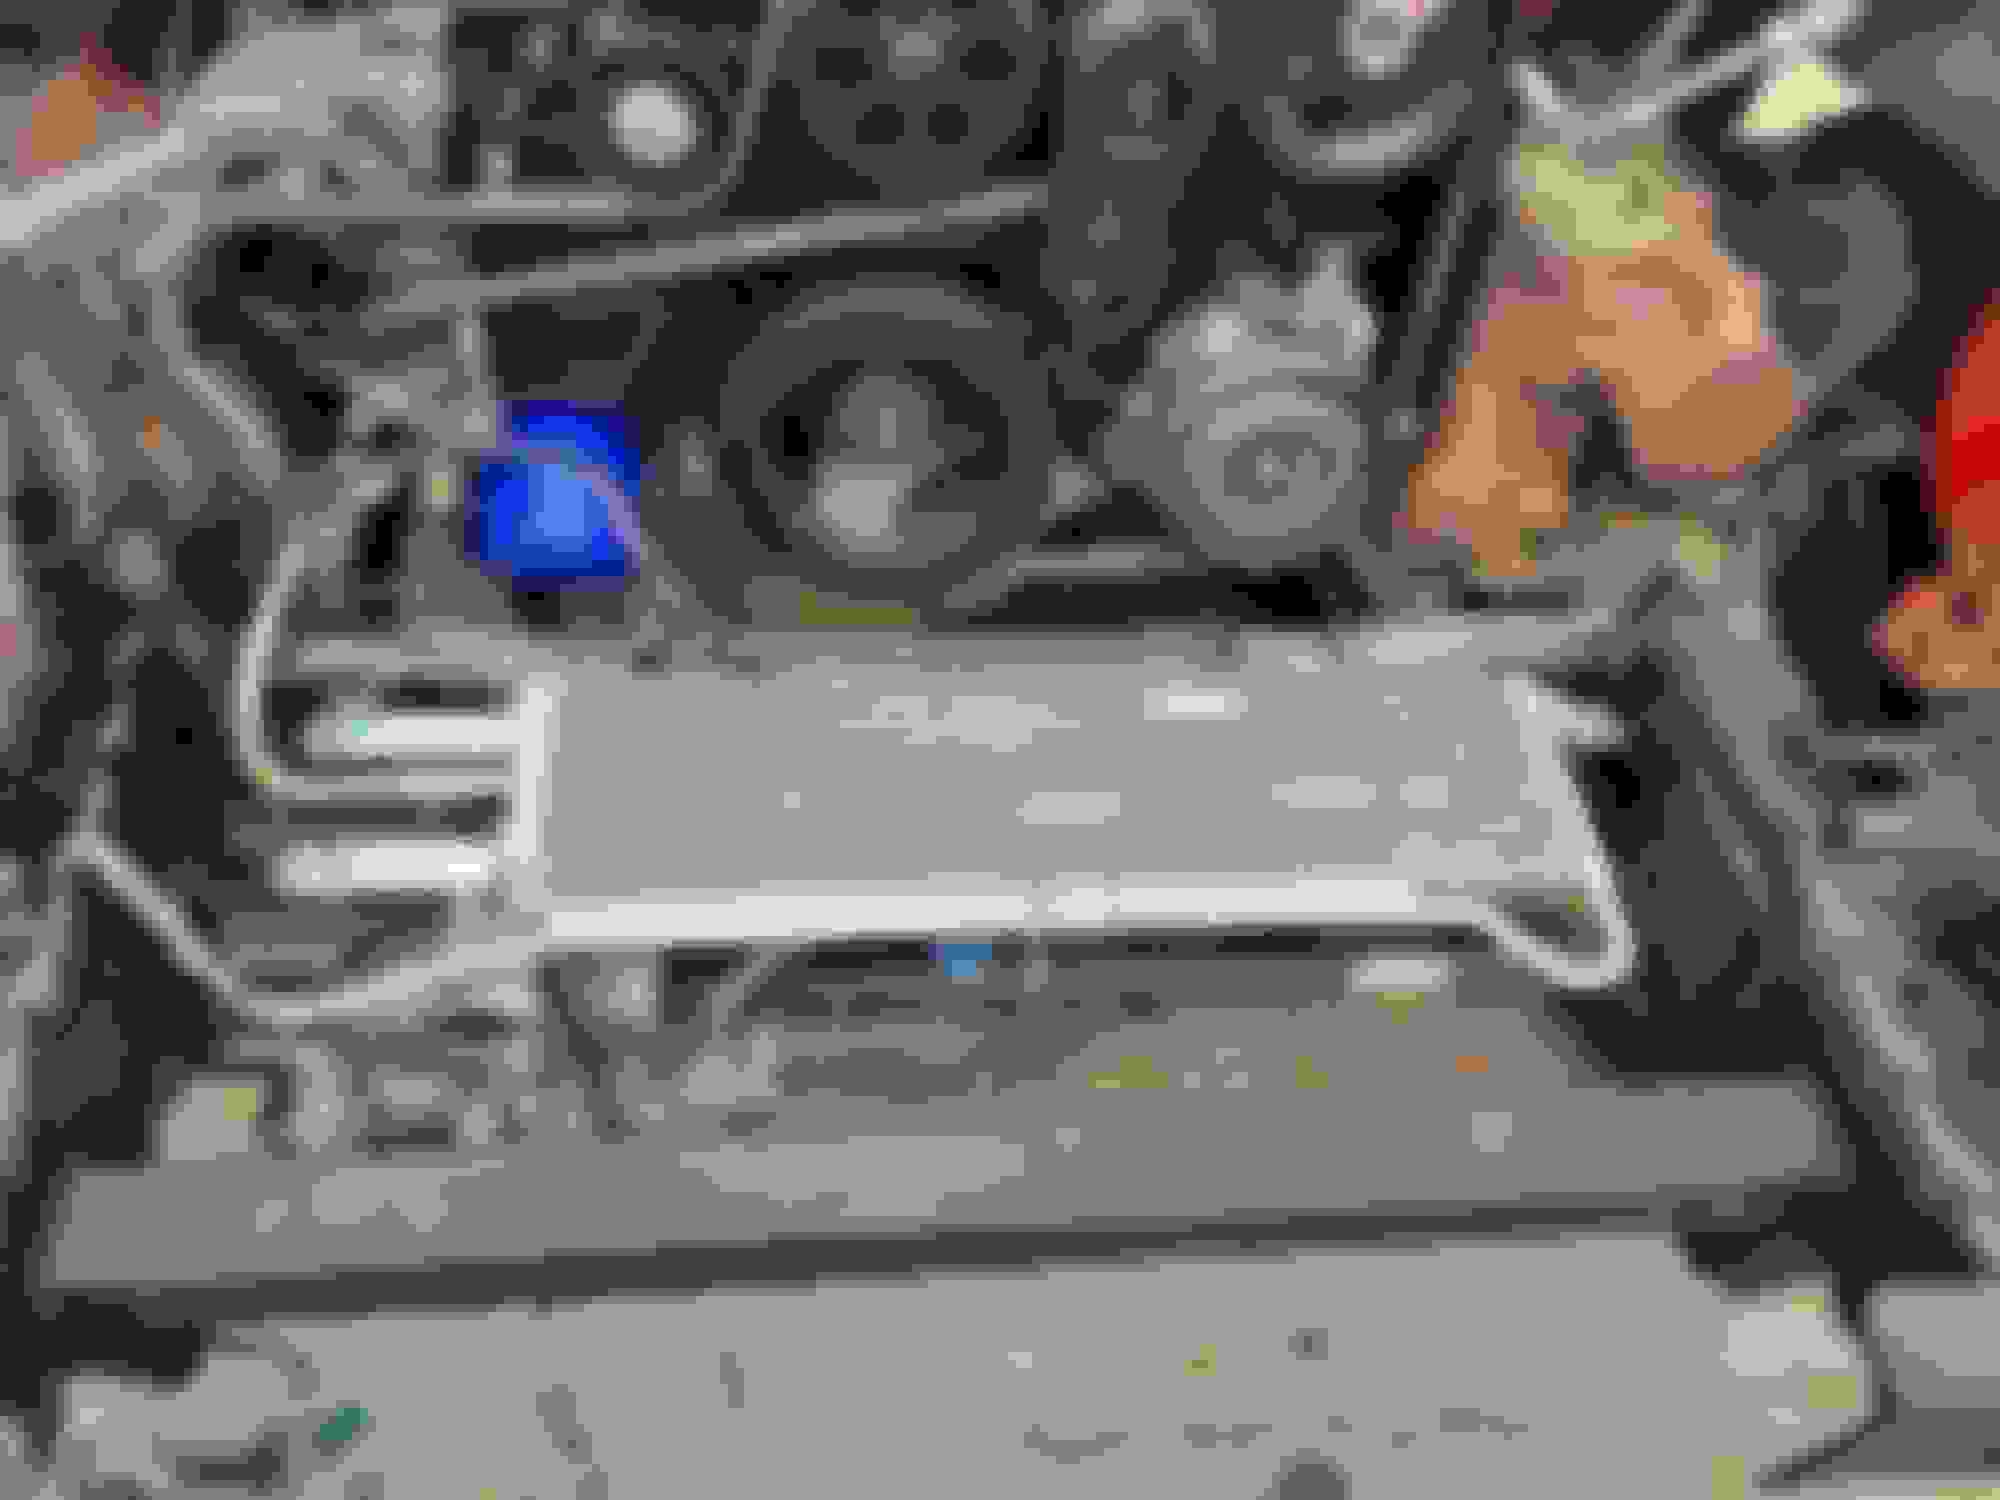
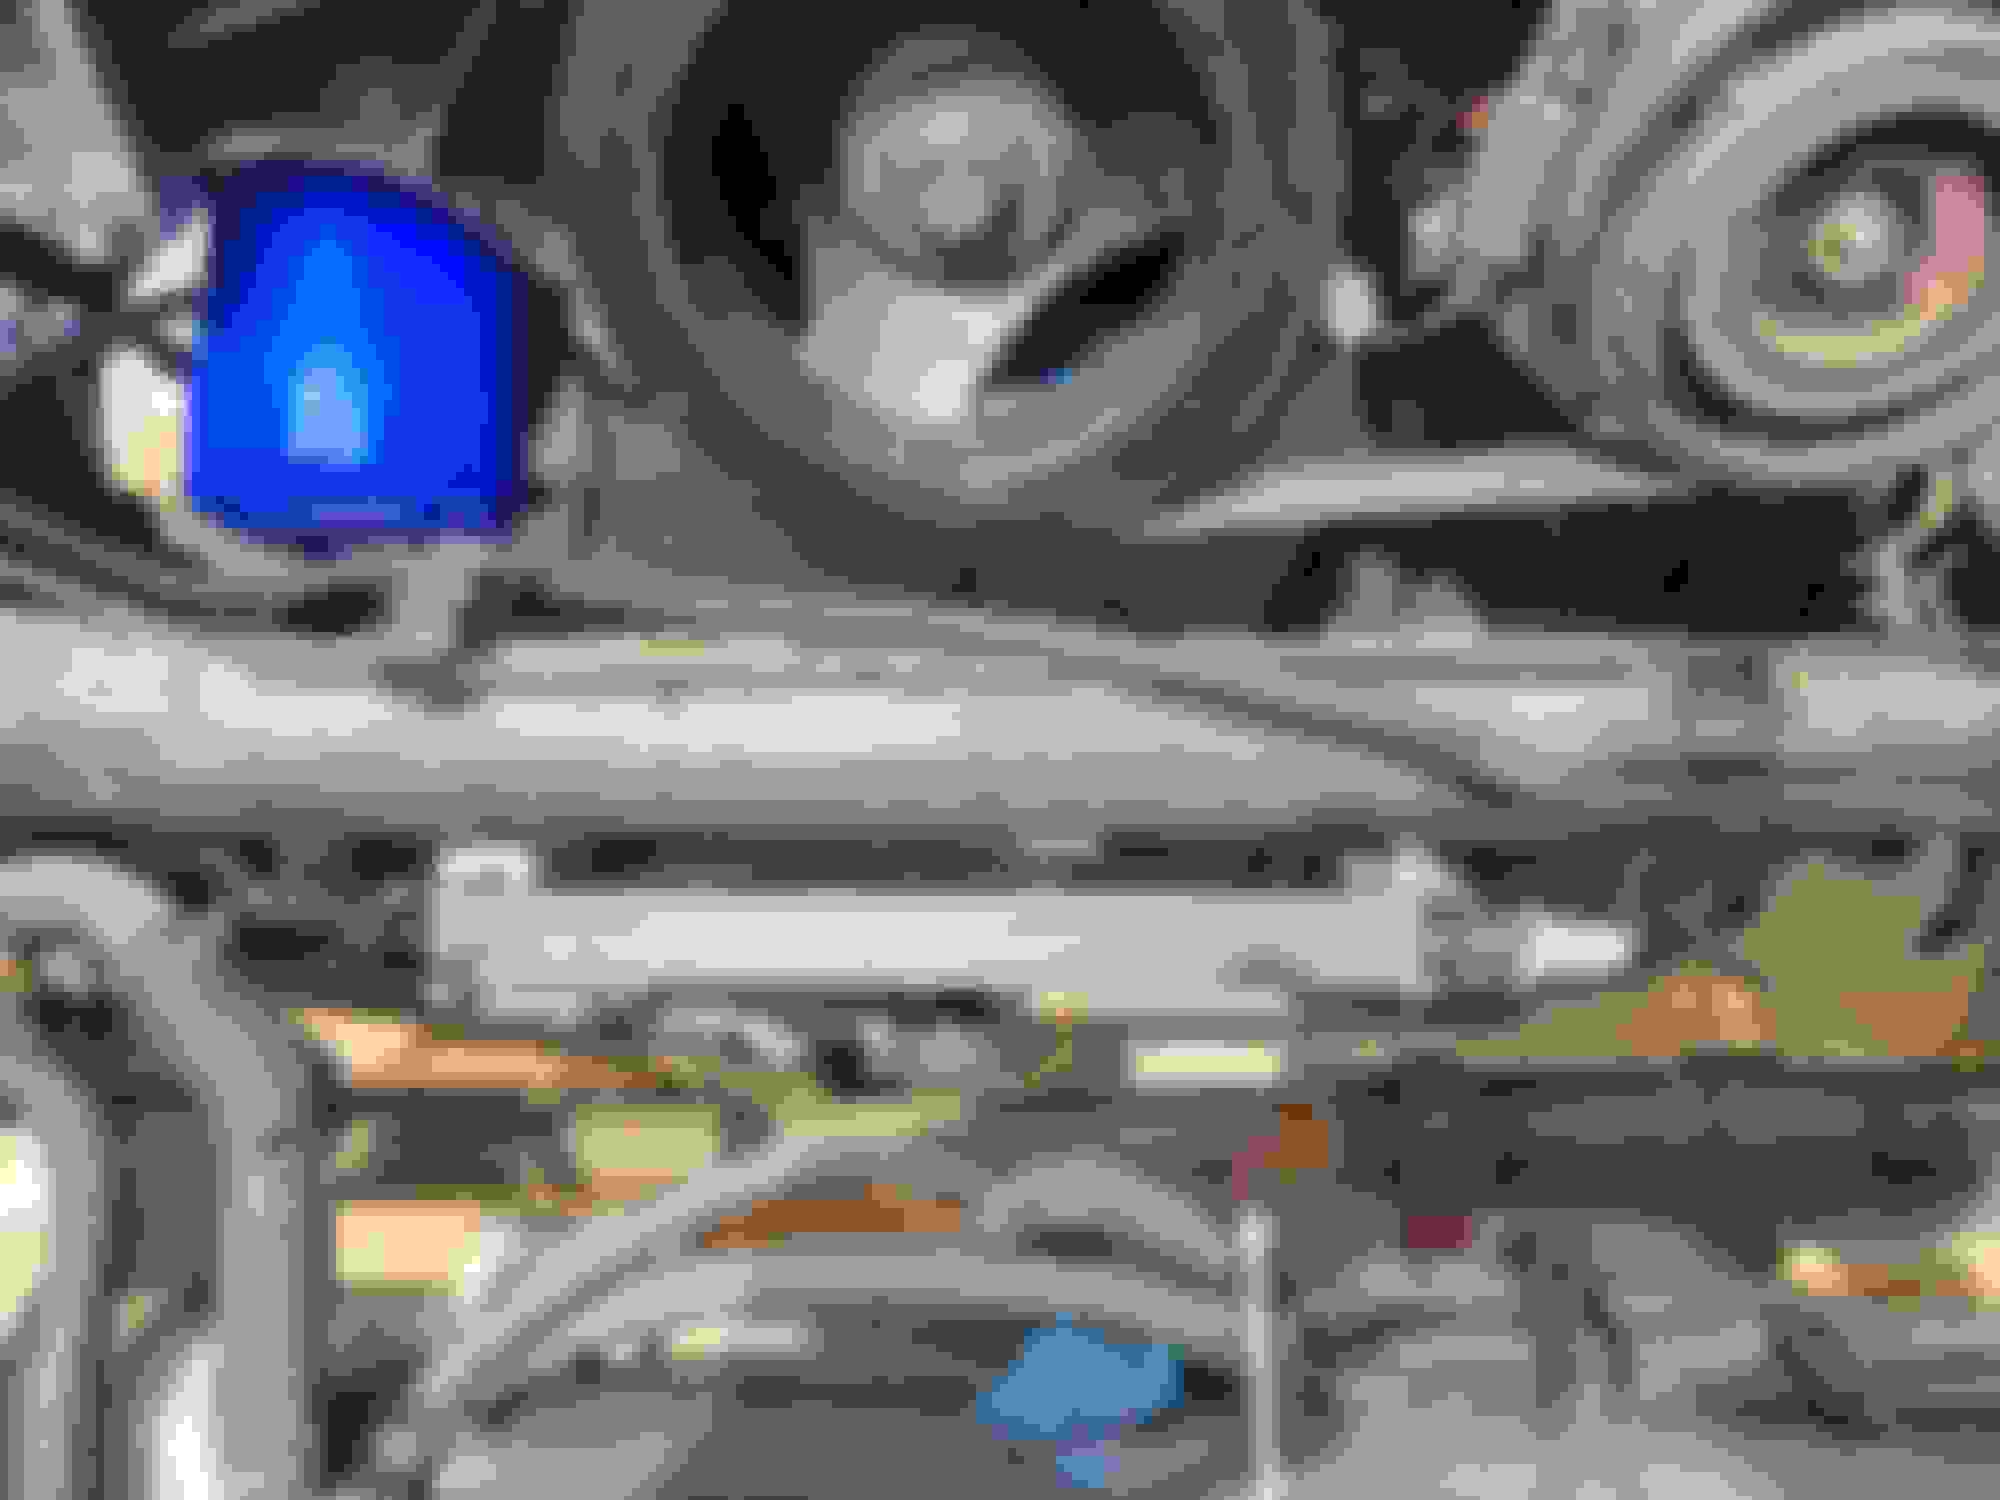
Second and most important is the driver side, JSS bolt in mount fastener access problem. It's the driver side top, rear one. It has a wired little cross-over piece of metal that you can not get past to get a wrench on the top rear bolt. I somehow managed to get it somewhat tightened, but then needed to remove the mount to get the manifold heat shield on. There was no way to get a wrench on it. I ended up cutting up a wrench into a little 2" stubby and chiseling out a corner of the mount to be able to turn the bolt.
I don't have a before picture, but here's a pic of what you should cut out to be able to get to the bolt much easier. This won't effect the structural integrity of the mount, you only have to remove a little bit. Also note the knock sensor behind the mount. This mount will need to be removed from the block if you ever have to replace the driver side knock sensor. I just got a new OEM sensor for this reason.
The pic probably won't make sense, but if you get these mounts and compare, you'll know.
Another very important thing I missed was the fact that JSS supplies the T-case adopter to isolator mounting bracket. So I did not need to buy an OEM one, but it looks like the OEM will place the trany about 1/4 to 3/8" lower so I'm going with that one first, just 'cause I have a 2.5" lift and this should bring the driveshafts back into better alignment. Either way the X-member will fit and along with that, the driveshafts should fit also. Tomorrow is the big day.
The engine goes in tomorrow for a test fit. This is the top rear bolt access with some metal removed. What needs to be removed.
Last edited by Junkyard junkie; Aug 18, 2022 at 07:50 PM.
Engine, transmission and transfer case are in. And the driveshafts fit.
I put the engine and trany in bolted together and it went smoothly. Pretty easy actually.
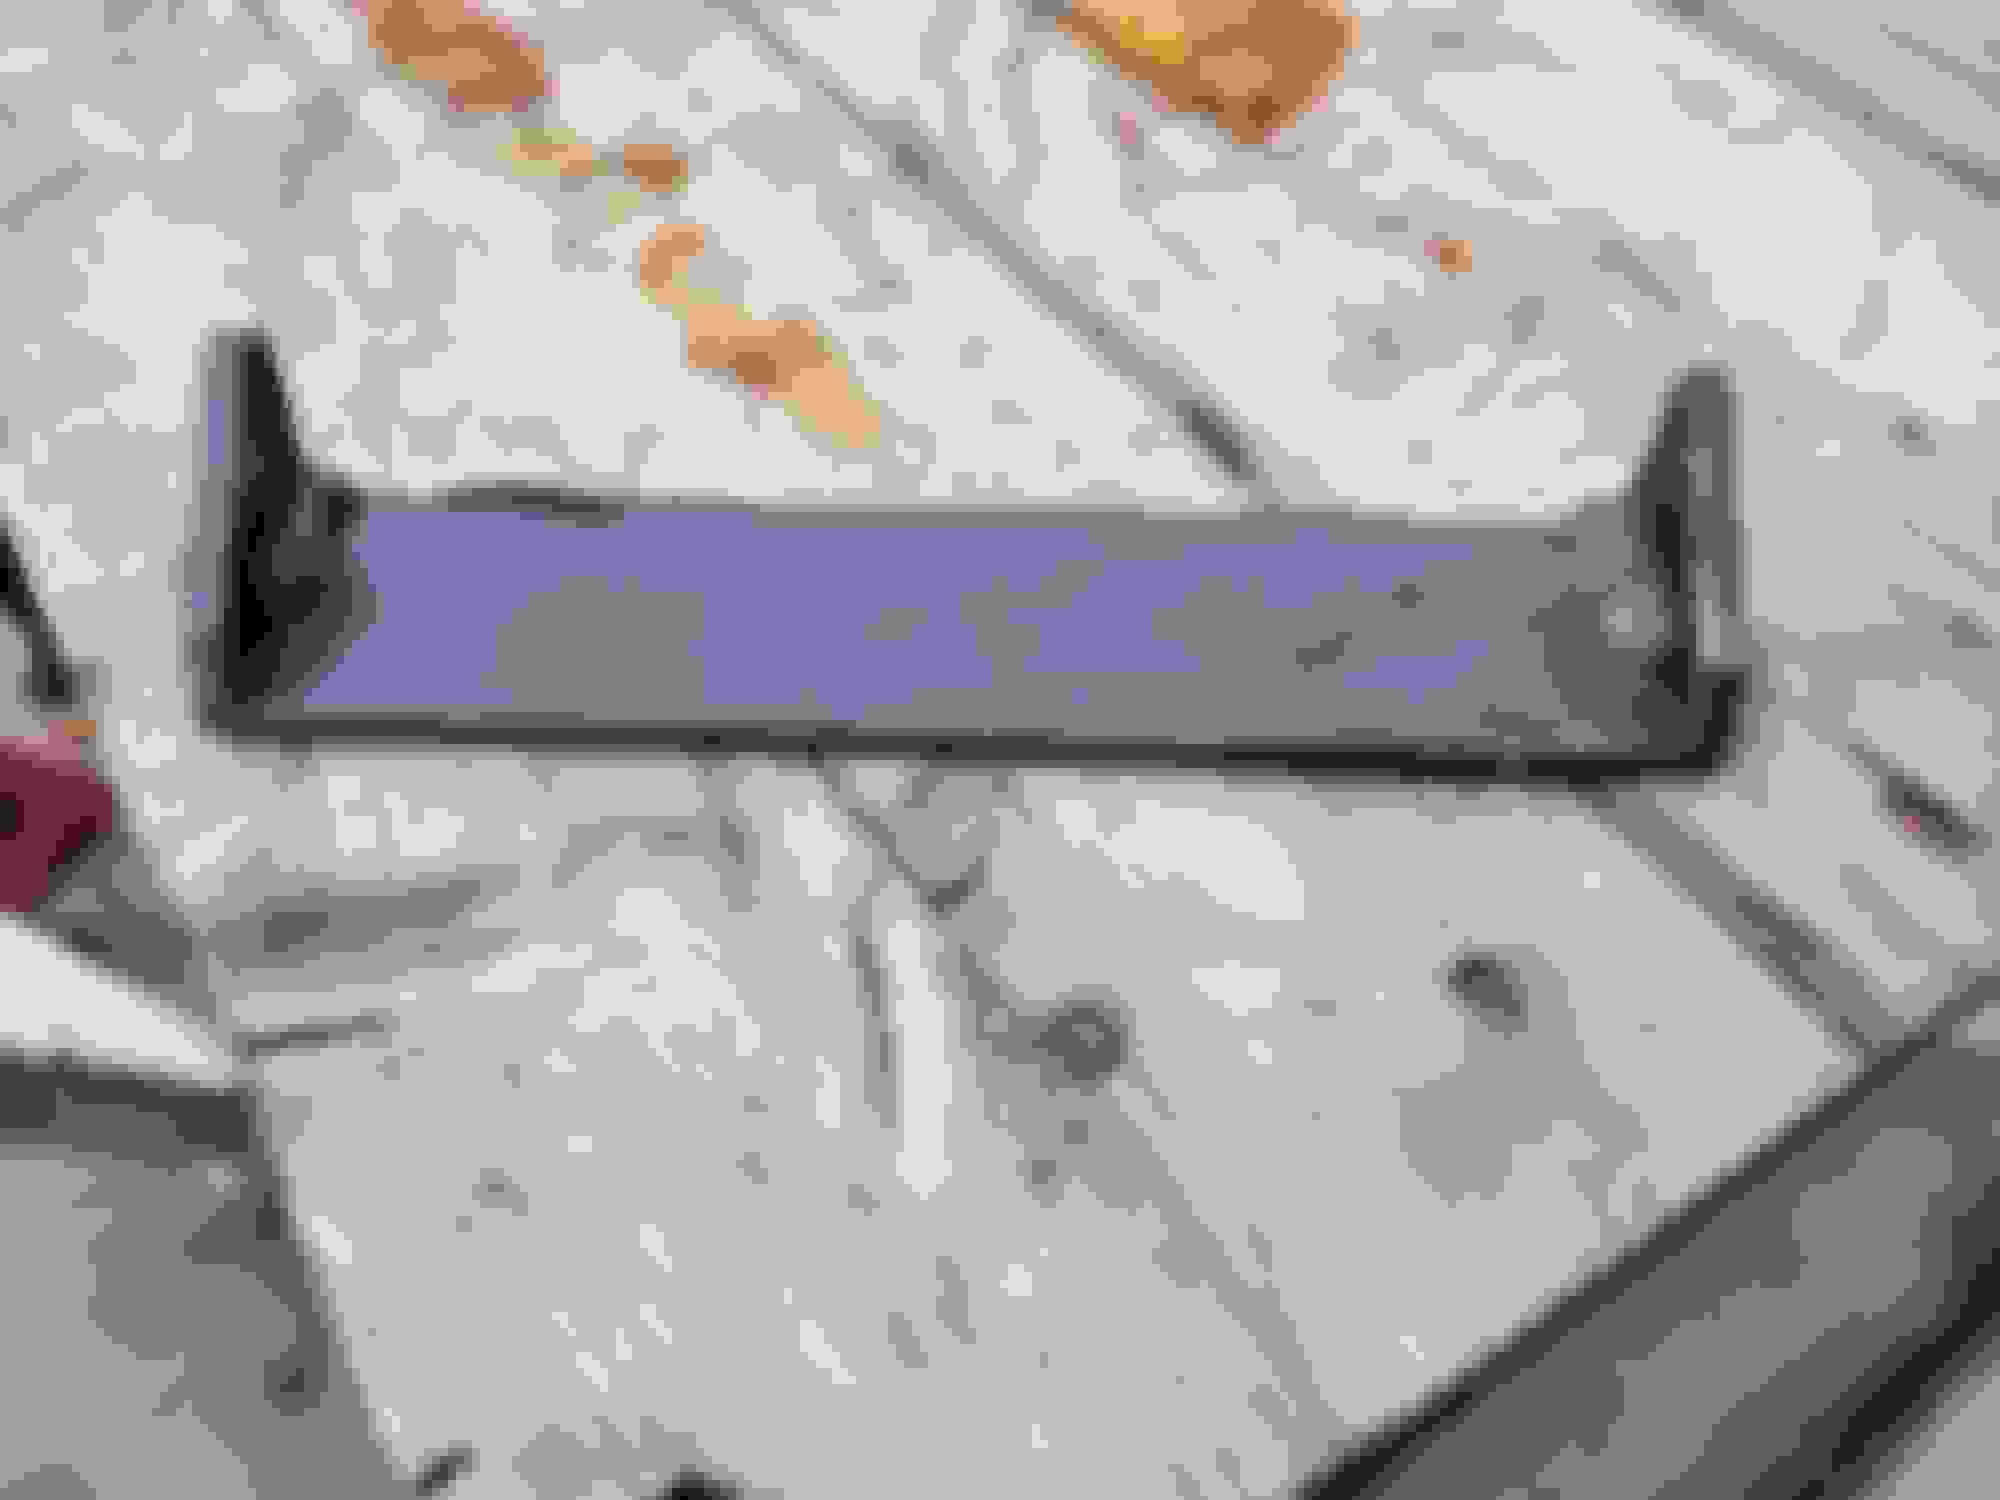
The transfer case was another story. I fought with that for about 2 hours and could not get it. Maybe if I had help it might have made a difference, but I'm use to working alone. Finally I cut off about 1 1/4" of the trailing edge of the box bracket and it slid right in, no problem. Again, I'll post a pic of what I cut off, but it won't make sense because there is no before pic. But do yourself a favor and cut off that edge and reweld the corners. That edge provides no structural support and only gets in the way of the transfer case. I'll still need to weld it, but that's for later.
Lessons learned are, the OEM trany isolator bracket I used did not fit the JSS trany plates. It would have worked but I didn't want to mess with it. And second there is no need to shave off the AC compressor bolt unless you have a big bore box, which I do not, so did that for no reason. I thought I had to, no matter what but that's not the case.
There is plenty of room for everything.
Cut off section of box bracket
Last edited by Junkyard junkie; Aug 19, 2022 at 01:57 PM.
Bit of an update, but sorry no pics, my phone is on the "hate" part of our relationship, so those will have to wait, till it stops hating me.
I have the AC lines, exhaust and transmission shifter done.
For the AC lines, I used the compressor side metal lines from the Commander, it's really tight there, but those fit perfectly. The Commander AC lines need to be joined with the stock JK lines, for this I used Beadlock crimp/compression and straight compression fittings. I bought a manual crimp tool for $100.
The Beadlock fittings needed are #12, 90 degree compression/crimp. #10, 90 degree compression/crimp. #12 to #12 straight compression adopter and a #10 to # 8 straight compression adopter. Plus a couple of feet of AC barrier hose sizes are #12 and #10. I'm not doing a step by step "how to" on this, but if you research it, you'll find it. Total cost of AC lines is about $200, this includes the price of the compression tool. So not considering the cost of the tool, you can make your own lines for $100!
The power steering, pressure side hose I used is a much shorter version of the stock JK one, It doesn't fit perfectly, but does work. It's made for a right hand drive JK, so search that and you'll find it.
The exhaust is 2.5" from the manifolds back. And since I don't have a bender or pipe expander, it did take about 3 days of work, but turned out pretty good. I got a universal exhaust kit, which includes 2 U's, 2 Y's, 2 90's and 4' sections of straight pipe. Also got 2 Cats, a cut-out and a resonator, plus a cat-back exhaust for the JK. It's all put together with V band clamps so the cats are independently replaceable without having to cut up the new Y pipe section. plus several other V-bands in the system to make install and future component replacement easier. I'll get some pics of that when I can. It should work well enough. Total cost of the exhaust is about $400.
The JK transmission cable fits, but I did have to use the Commander mounting bracket, that did fit the trany and the JK cable and lined up perfectly. I'm working on the T-case shifter cable now, haven't figured that out yet.
The bolt-in engine mounts for this swap are worth every penny and then some. The transmission mounting bracket is a fail. IMHO it's poorly designed. You have to fiddle and fumble with fasteners the whole time and can not reach one of the fasters without removing the T-case. Not worth it. I used the OEM bracket from a truck and it's isolator. This worked perfectly, as it should since it's factory. Just had to re-drill the isolator mounting bolt holes in the "upper" plate supplied by JSS. Now it works much better.
I know most of that doesn't make much sense without pictures, but if you have the parts in your hand, it would.
I'll post some pics later.
I should be getting my harness and computer in 2 or 3 weeks and then time for the first start.
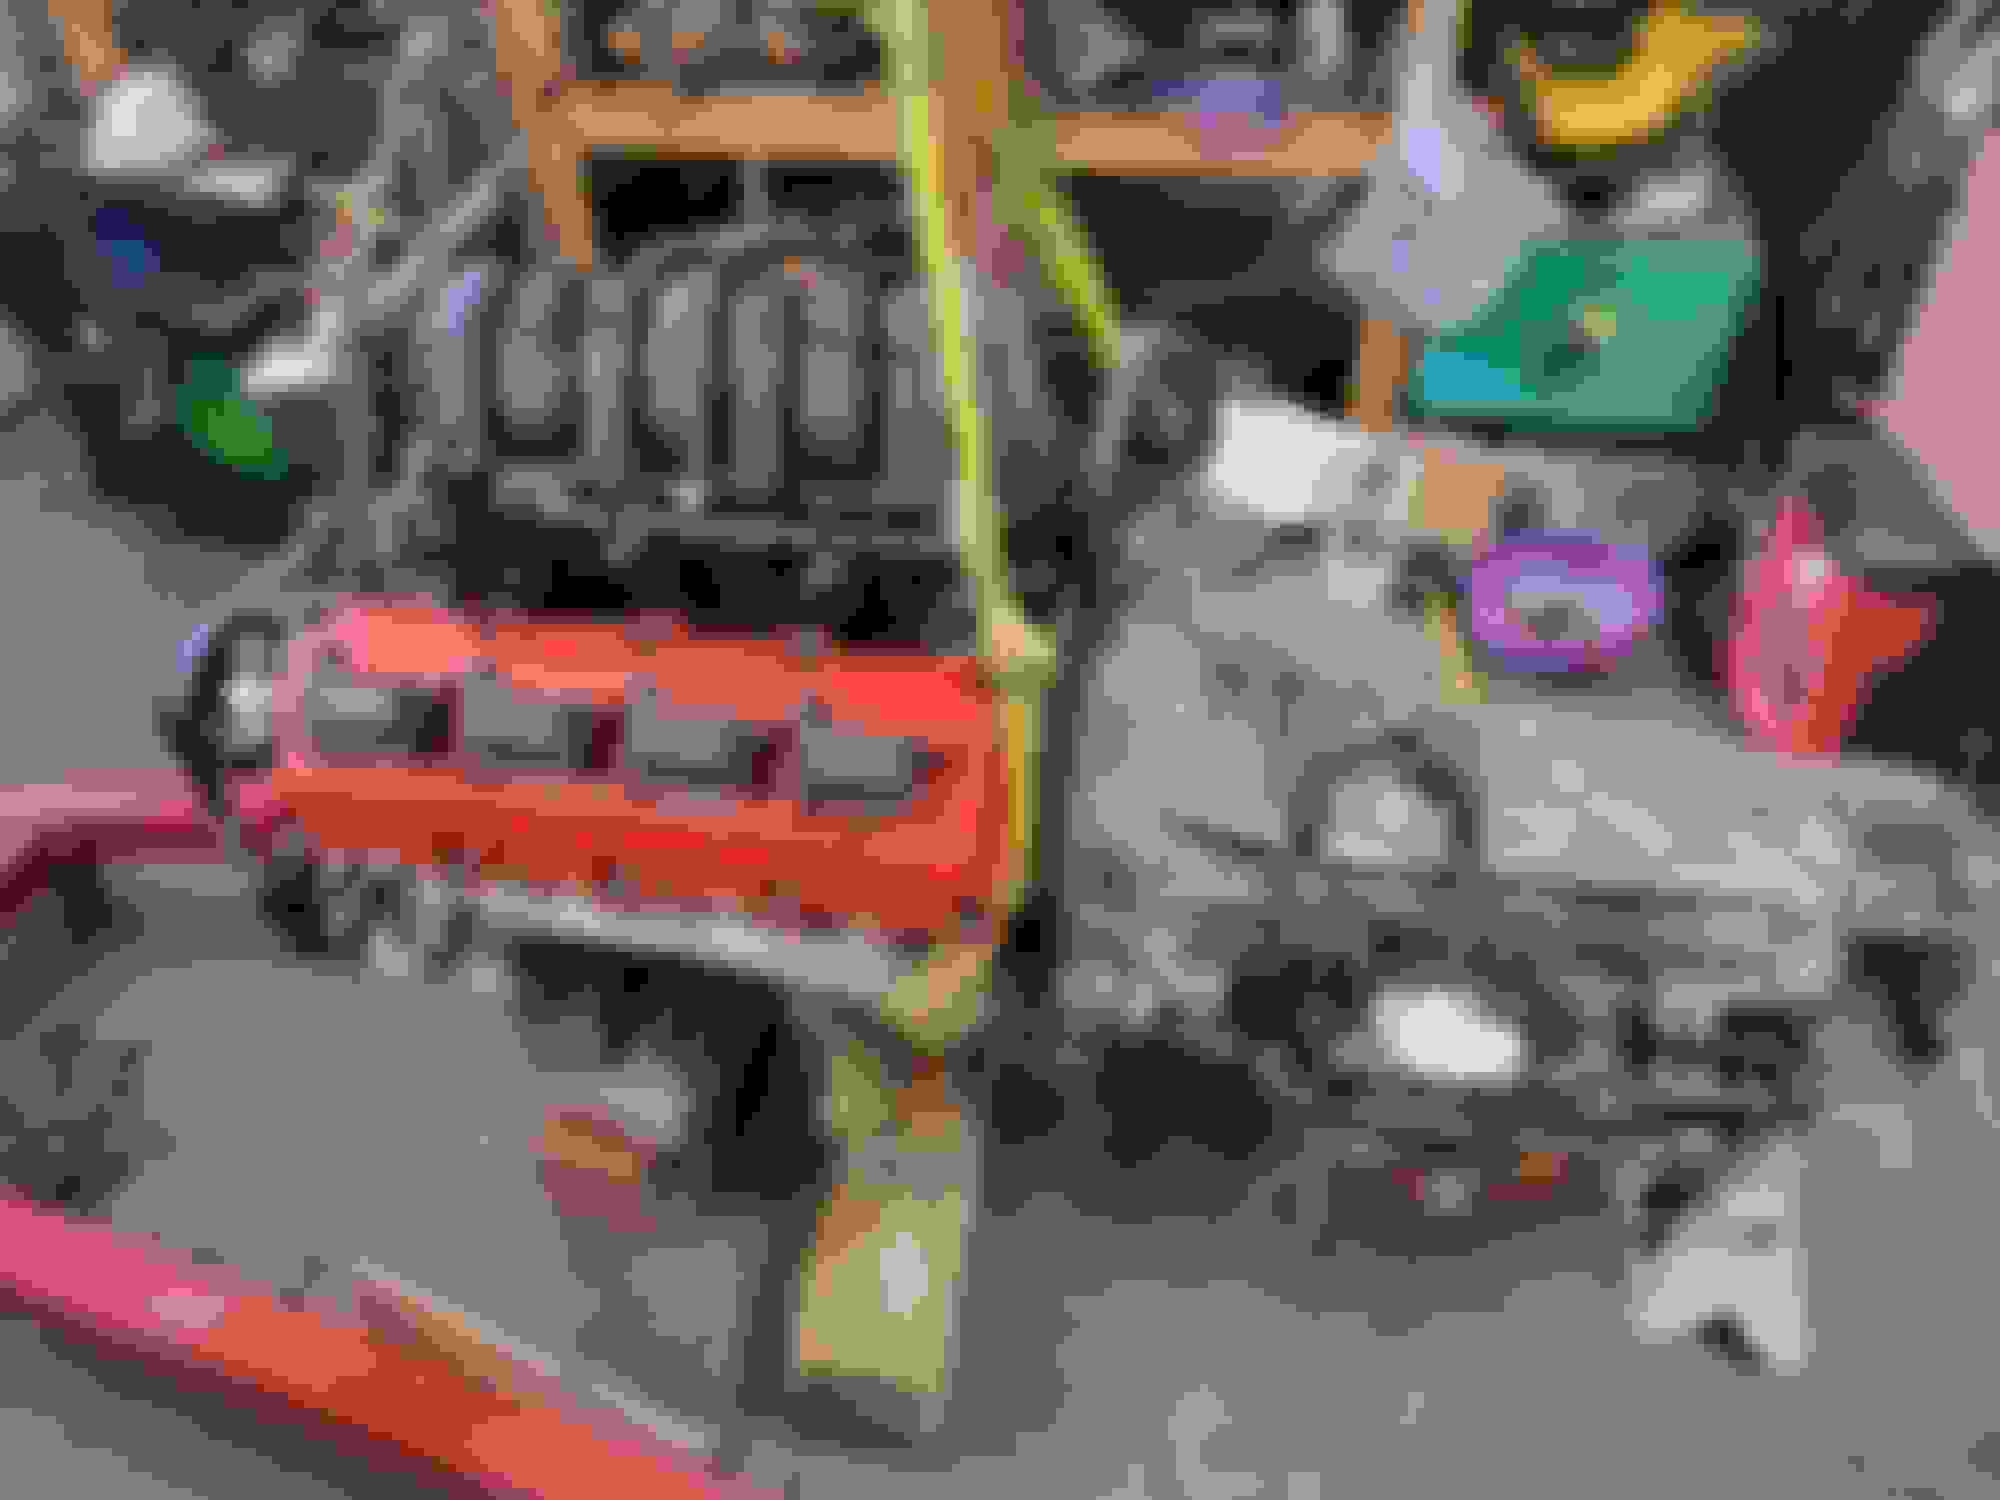
As you may have noticed, there are numerous parts needed from the donor vehicle for this and most other swaps (more, or less). This is why I try and get the complete donor vehicle, including engine and trany and scavenge off it as needed. Otherwise you have to go hunting for these little parts and it is a PITA.
Last edited by Junkyard junkie; Sep 8, 2022 at 04:11 AM.
I took several pictures of the exhaust but all are pointless. It's not really possible to get an overall shot of the exhaust with the Jeep on the ground, and I don't have a lift.
The Jeep is pretty much together and very close to done. The figuring things out part is over, just need to wait for the harness and computer, maybe another week or two. I should be all but finished with all the loose ends by then.
I put in a couple of trany coolers and a power steering cooler. I would have put in just one trany cooler, if there was a provision in the radiator for a water to oil cooler, but there isn't, so went with two air to fluid coolers. I put one horizontally (Yes, I do know the importance of air flow for these to work properly, but it's better than nothing) because I did not want to block up too much area in front of the radiator. I'm gonna do something to hide the mounting points for the vertical cooler. It's butt ugly.
These are Chrysler trany coolers. They're about $5.00 at the local yard. I really like them. I've used them in a few projects. They are big and have nice mounting tabs and lots of connection line to bend as necessary.
I'll take some pictures of the exhaust when I pull it out to wrap it. "bottom one" Don't laugh, I cut off one of the mounting tabs on the wrong one because they are the same, one has different angles on the lines. AC lines are done. Top is the Commander section and goes to the compressor. Right lower is the JK side and needs a #8 to #10 reducer. Trany mount. Picture taken from the back.
Last edited by Junkyard junkie; Sep 9, 2022 at 04:35 PM.


 ).
).