When you click on links to various merchants on this site and make a purchase, this can result in this site earning a commission. Affiliate programs and affiliations include, but are not limited to, the eBay Partner Network.
It's been a few weeks and I'm way behind where I wanted to be on this project right now. The good news here is that in light of not wrenching, I have been able to source most of the parts for my build. The biggest purchase came last Friday. I drove a few hours down to Georgia and picked up a set of mildly built Rubicon 44s from a Jeeper that stepped up his axles to go to 40s (believe he has a 2016 JK).
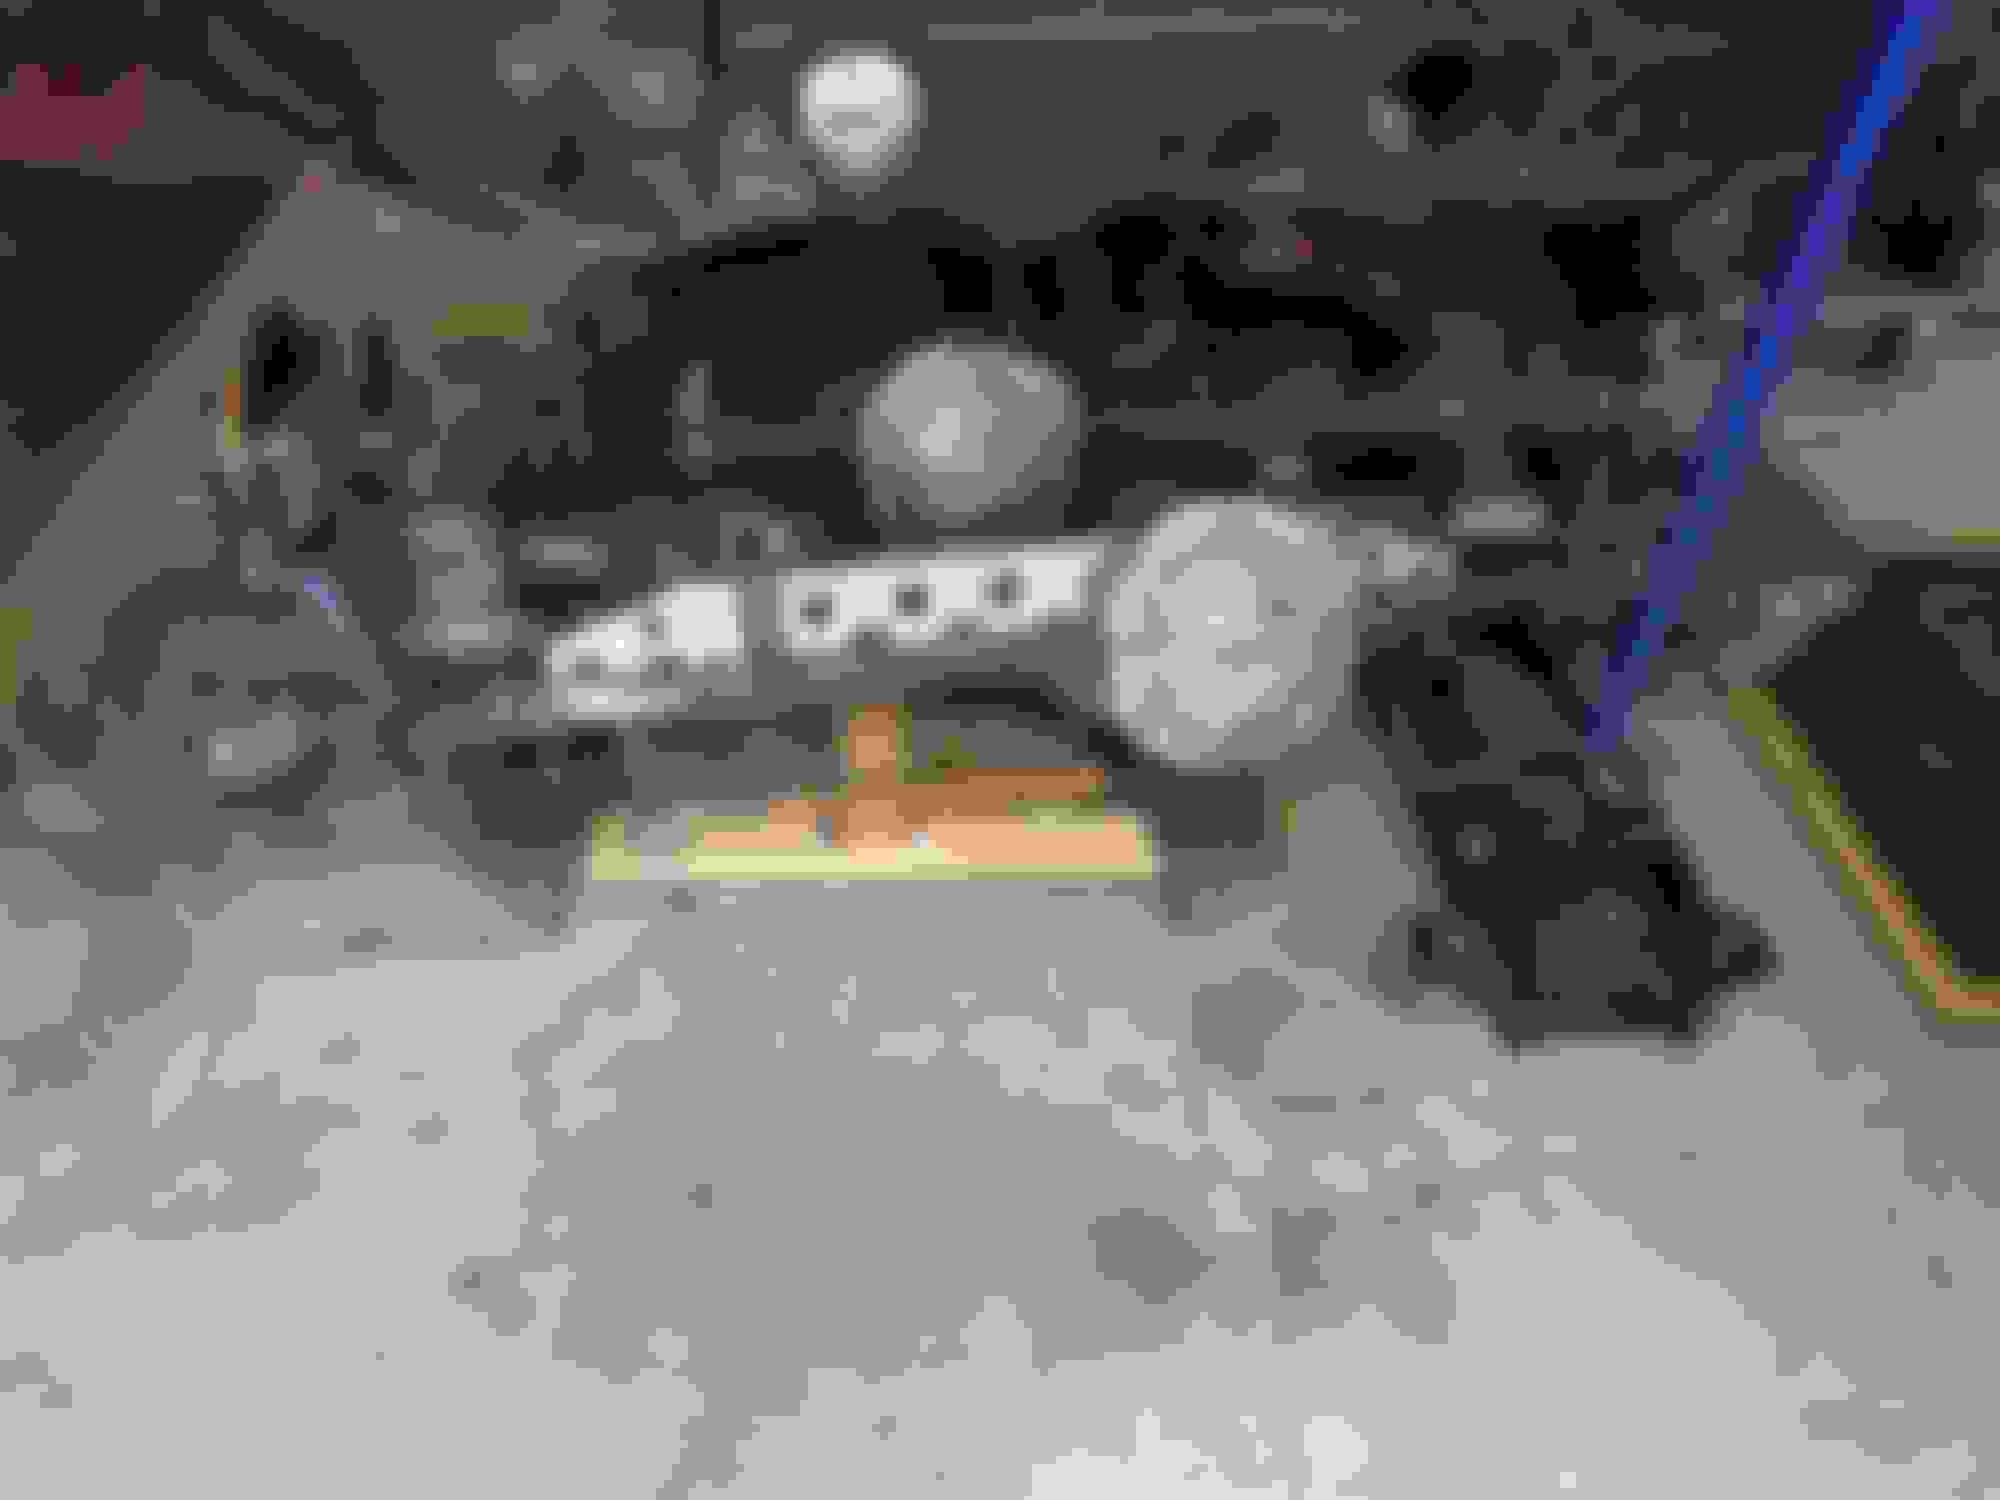
Mocking up Artec kit for front (truss and HD track bar bracket)
As for wrenching, I've only had time to pull the stock front axle. Next step is to install the Artec truss kit and HD track bar bracket. They are just mocked up on the front now. The plasma cutter made easy work of removing the old bracket, but my Dewalt grinder (2 yrs old) is giving me some grief. Argh...
Anyway, plan is to weld on Artec parts this week and finally install lift and axles this weekend. If this happens, it'll be the first time I will be able to test drive my JKU. Woohoo...well, I still have to figure out my engine issue...
Since it's a '14 if you haven't already check for the dreaded cracked oil filter housing. When looking at where you change out the filter on the top of the motor, look directly down behind it. You may need a flashlight. Oil seeps out of there, puddles up on top of the motor, then slowly drains down the back of the motor making it appear to be a rear mail seal leak.
I replaced one on a buddy's Jeep, not an overly complicated job but very time consuming.
Just to get ahead of things what years are these known to have this problem?
Replacement steering box and Rubi 44 front axle are finally installed. With work and family, it took me a few random hours to finish welding in the truss kit and then install all of the front suspension and gear box. The gear box was easy, just a few bolts on the frame; although, I'm not sure I aligned the pitman correctly. Guess I'll find out soon...
And don't judge me on my welds as I'm not a professional - they ain't pretty but they're solid.
The front end is a mix of parts - Metal Cloak drag link flip, artec truss and high steer bracket, teraflex adjustable track bar, stock tie-rod (may change this later), RC adjustable lower arms, rock krawler springs, fox shocks and soon to be Metal Cloak sway bar disconnects.
Now that the front end was back in, I was able to push it out of the garage. It had been on jack stands for the past few weeks, so there was a sense of accomplishment just getting it back outside under its own weight. It's good to have small victories, right? The Jeep won't stay there long, but it does allow me to clean out the garage a bit and makes my lady a little less crazy about the project taking up so much space.
Anyway, I started putting on the XRC fenders. I have the full set plus the side plates to install. I started with the front and noticed immediately that I'm missing some hardware parts. I went ahead and mocked-up the fronts to gauge the body line w/ my Fury hood. The lines are not good, so I know i have some adjustment ahead of me. We'll save that for another time, as I still have to swap in the Rubi D44 rear axle to match my front axle. Below is how she sits currently. Hopefully w/ the long holiday weekend, I can make a little more progress...
Still working on the '14 JKU when I can find a few hours in the garage. Since the last update I trussed the rear axle, installed it, put on the original wheels, removed the smashed oem front bumper and swapped over the front radiator assembly.
The rear axle as I've mentioned is a built Rubi D44. I purchased the Artec rear truss kit. Welding setup was same as the front, although easier second time around. My welds are still crappy looking but will hold. I had to remove the rear Metalcloak raised track bar bracket as it would not work with the truss without cutting notches into the truss. I wasn't thrilled about cutting into Artec's design, so I ordered a different aftermarket raised bracket that does not mount over top of the truss. On that note - anyone need a rear raised track bar bracket?
Bracky no worky...
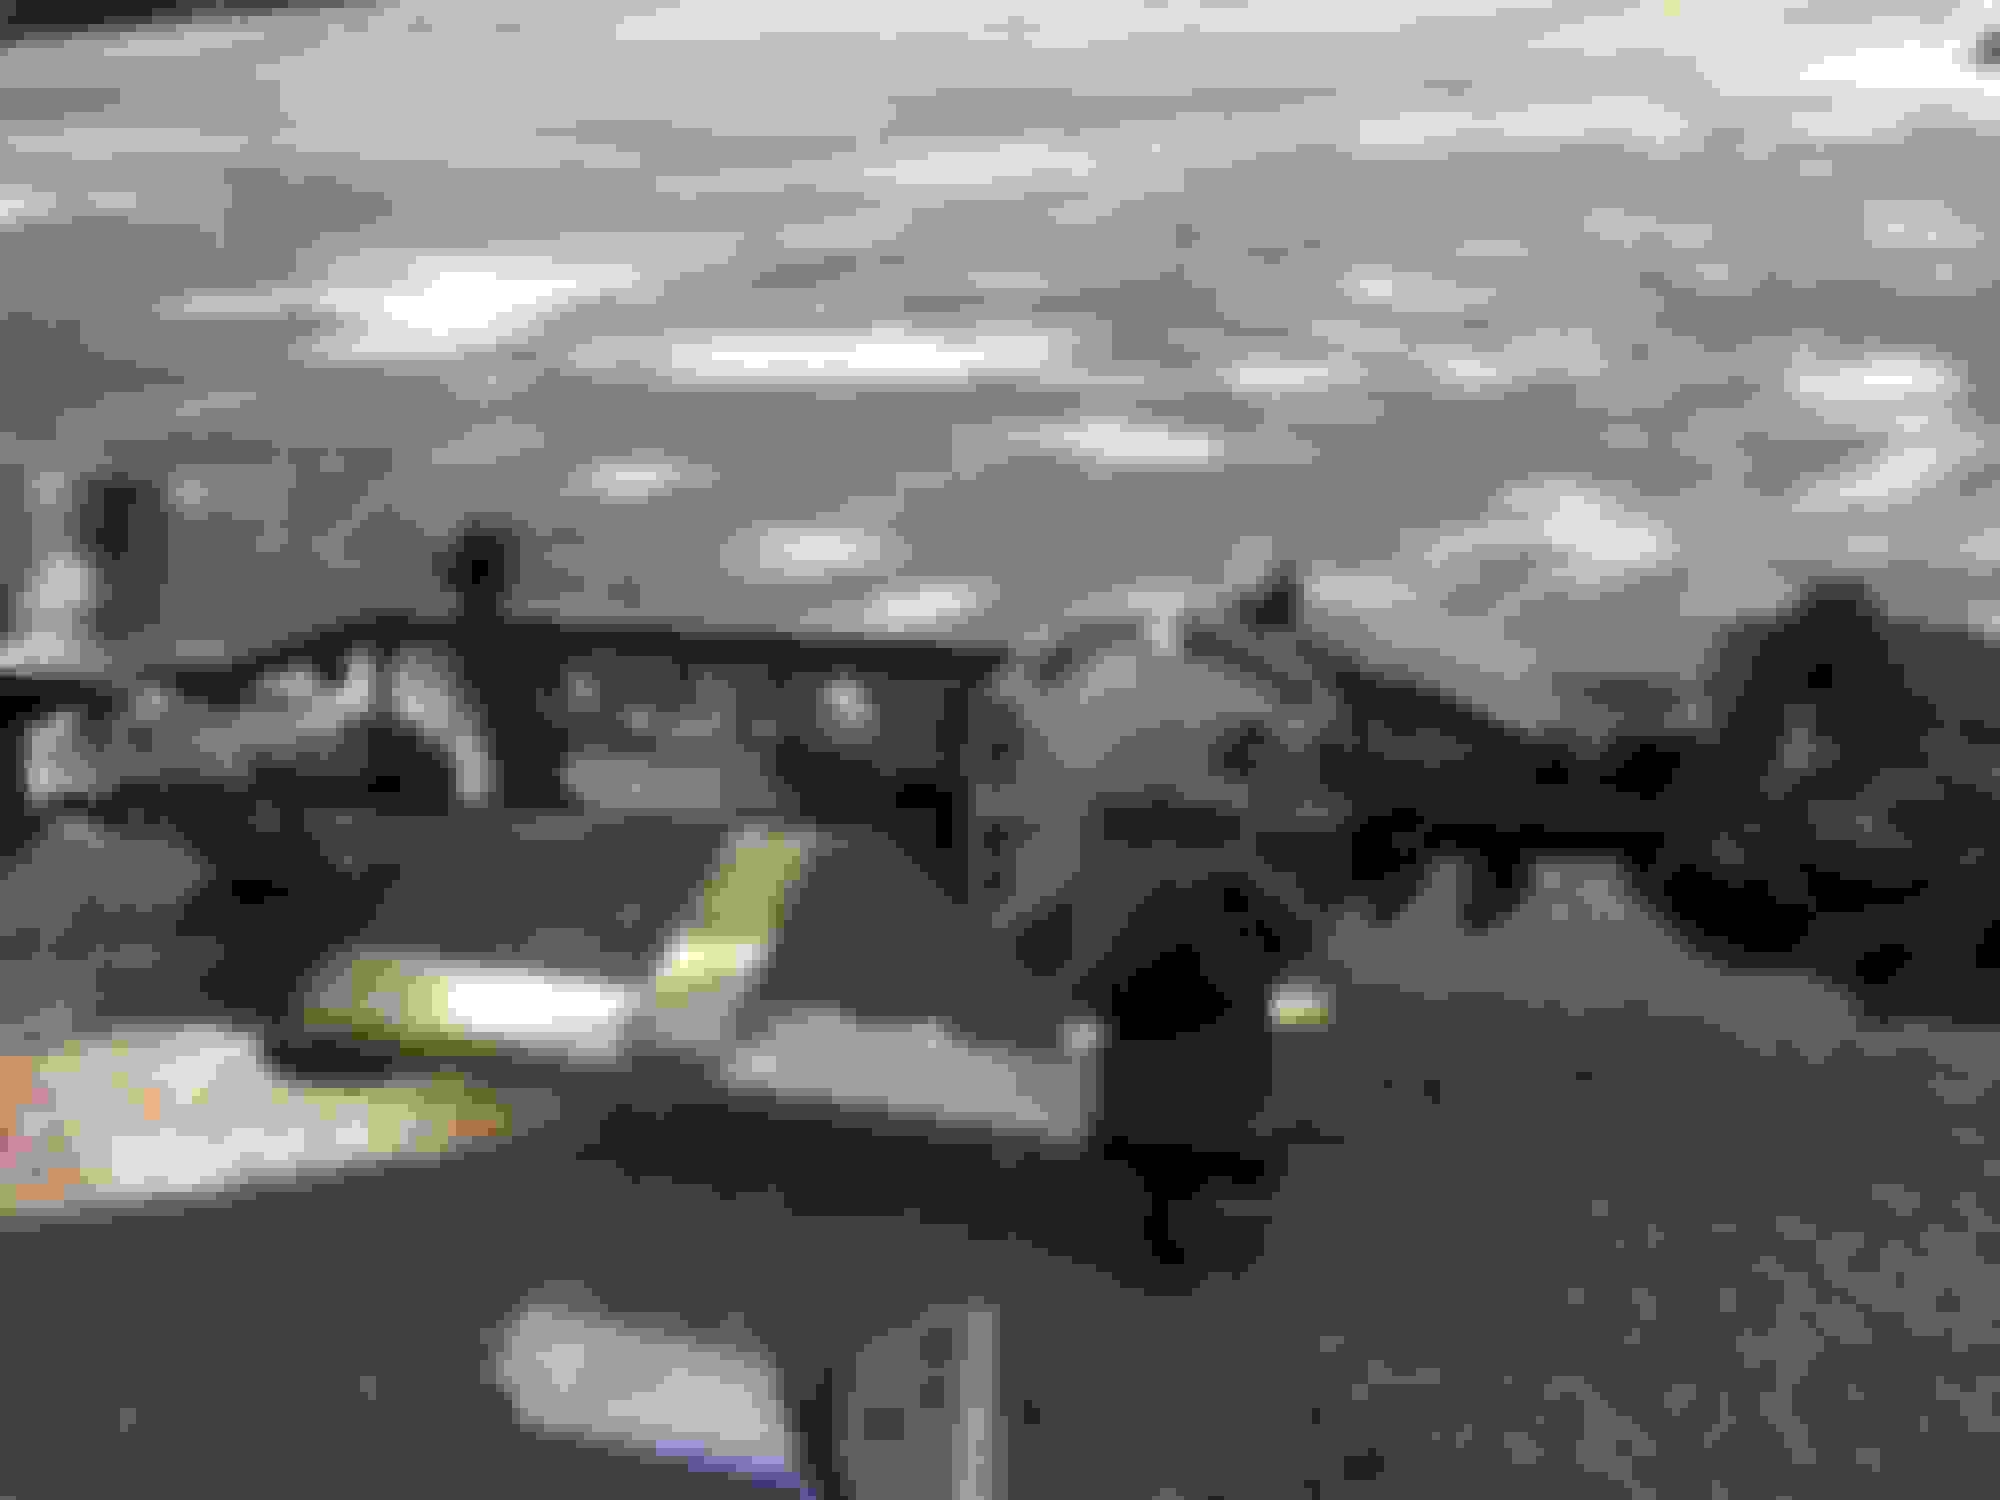
Now that both Rubi axles are in, I started messing with the front end again. The front bumper looked to be bent slightly on both ends, right around the mounting points, so I used a sawzall and cut off the plastic bumper to see this....how the airbags did not deploy on this wreck is beyond me. The top portion of metal bumper by the driver fog light was completely sheered. I used the plasma cutter to easily cut off the ends and middle then had access to the tow hook bolts.
Just a little bent...
Here's how she sits currently. I made a list of the remaining tasks to complete her and honestly, I wish I hadn't....way too much left to do and so much more $ (ouch) to spend to get her setup the way I envisioned. Oh, and the check engine light is back on again and issued a new code PO501. More fun.
The air bag deployment sensors are behind the headlight buckets. Without an impact to give them a trigger (while meeting other criteria) is why they didn't deploy. I think there are certain speed requirements or other input from the G sensor inside the vehicle, but I'm shaky on that.