When you click on links to various merchants on this site and make a purchase, this can result in this site earning a commission. Affiliate programs and affiliations include, but are not limited to, the eBay Partner Network.
I'm searching this part number, AB4B36, and not returning any results. Where did you buy it or is it specific to a particular year JK? Thank you, I'll be ordering soon.
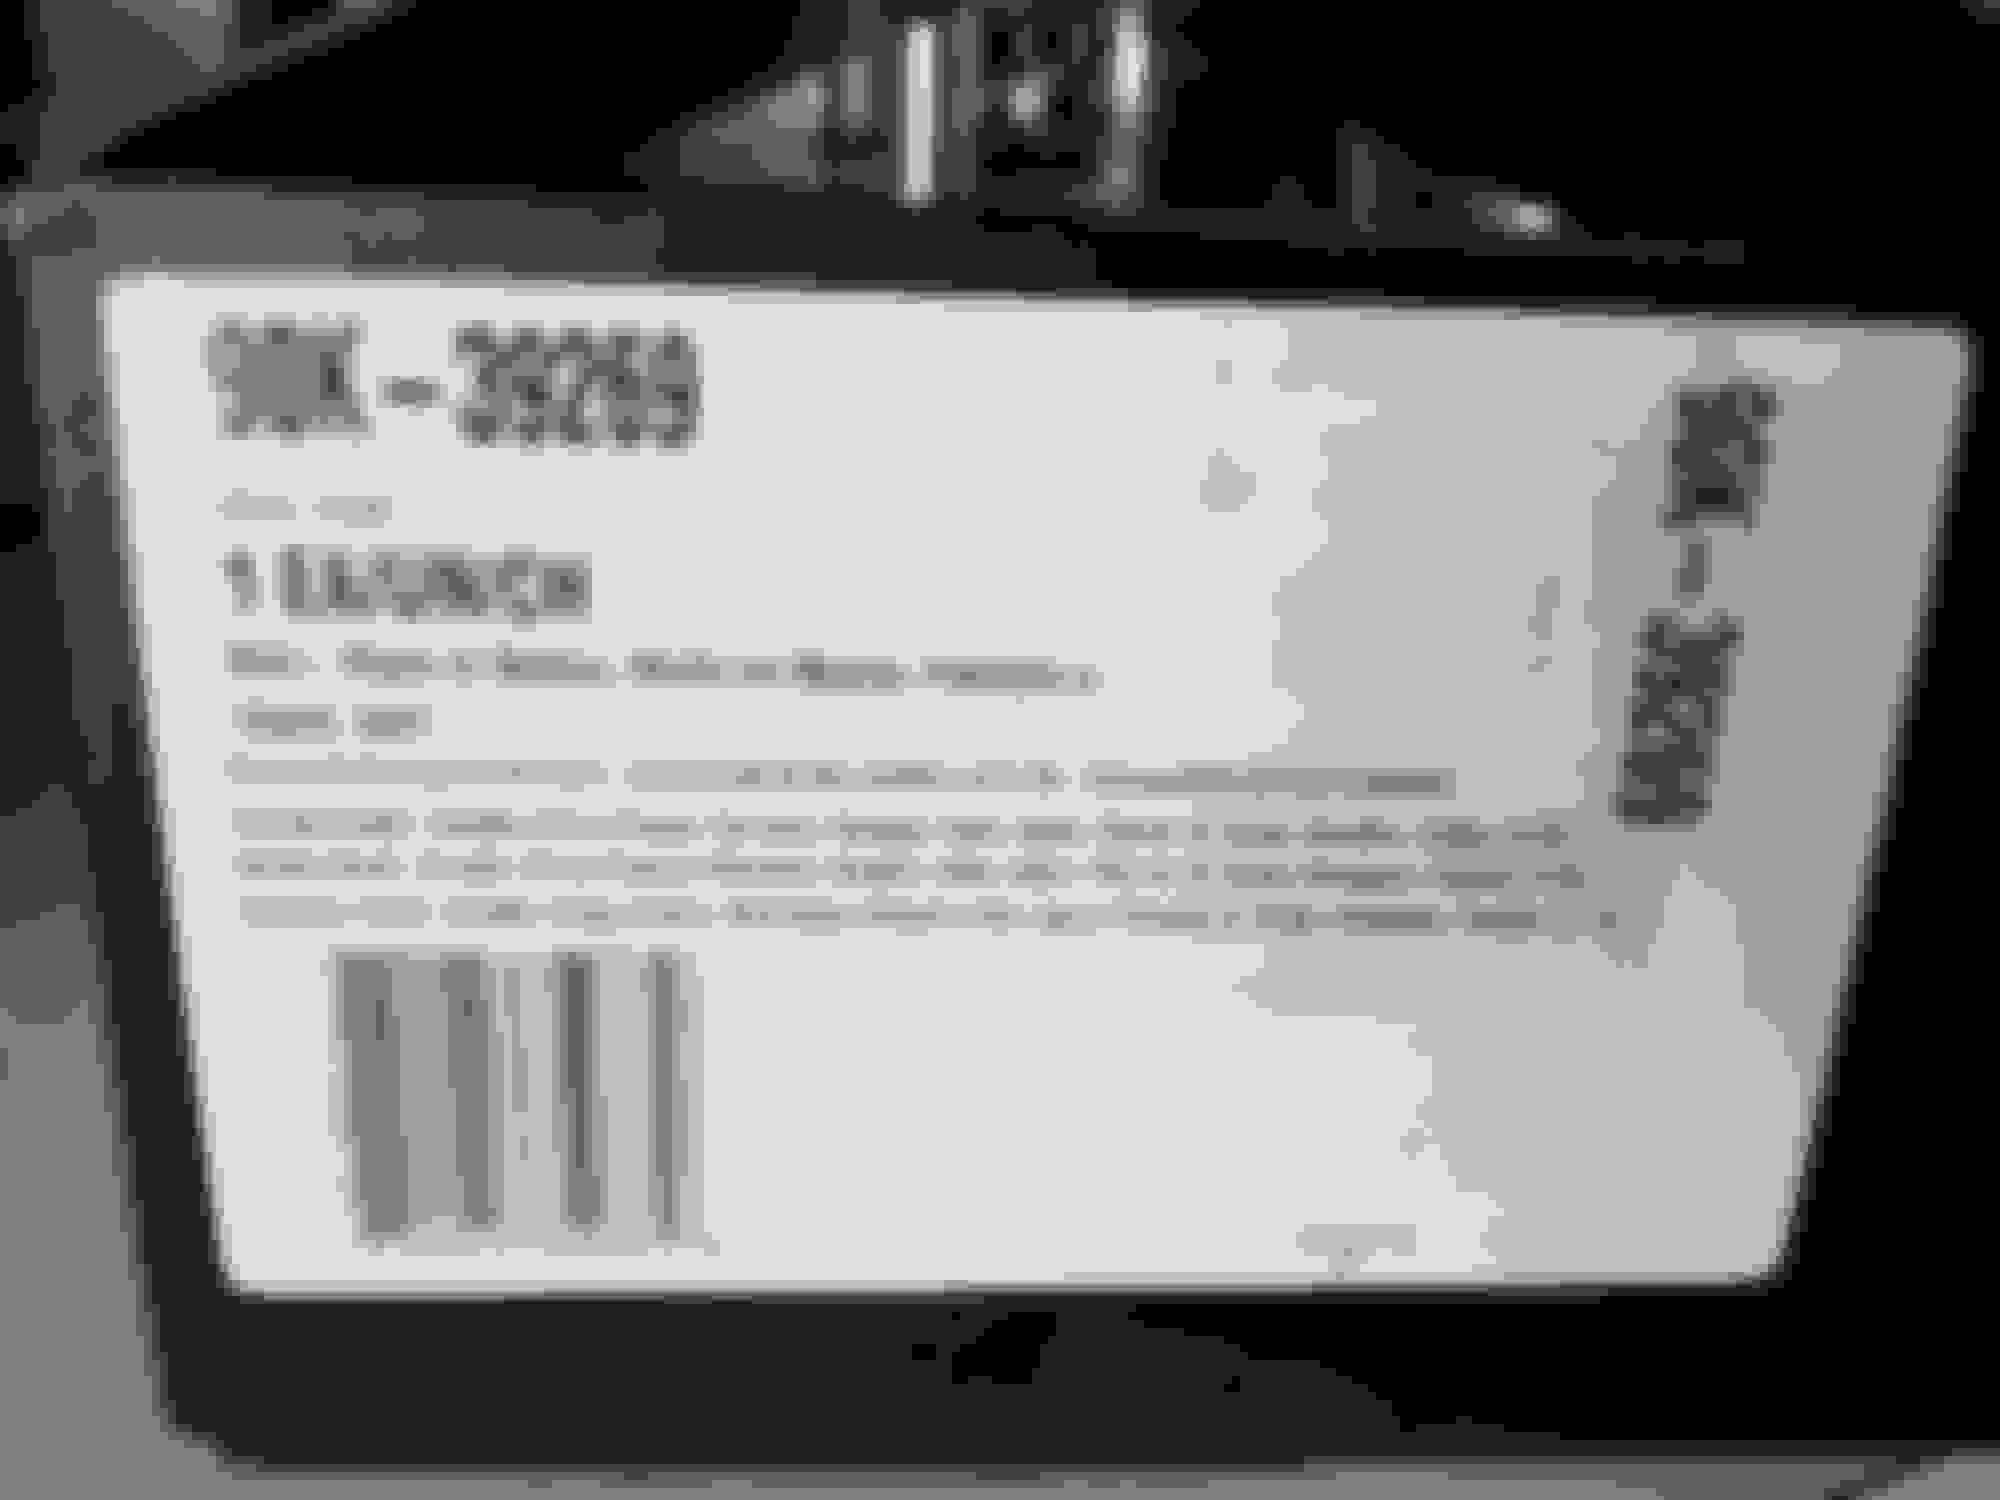
68164356AB- got it!
Last edited by karls10jk; Apr 16, 2019 at 08:03 AM.
Reason: Added part number
I'm searching this part number, AB4B36, and not returning any results. Where did you buy it or is it specific to a particular year JK? Thank you, I'll be ordering soon.
68164356AB- got it!
Glad you found it! You are correct! I didn't have the whole part number written out and it was back in the fall of 2018, so memory was a little rusty there! I will update the main post!
Also swapped out and updated some decals on the fenders! No representing the Wolverine Wheelers on there! Used a plastic scraper to carefully start to remove the decals and then just carefully and slowly pulled them off and cleaned up the entire surface again! Simple as that!
I got the piece ordered yesterday and it'll be here today. Now you post about the underhood lights, where'd I miss that parts list post? I don't get in there often but a little light like that would be nice. Thank you!
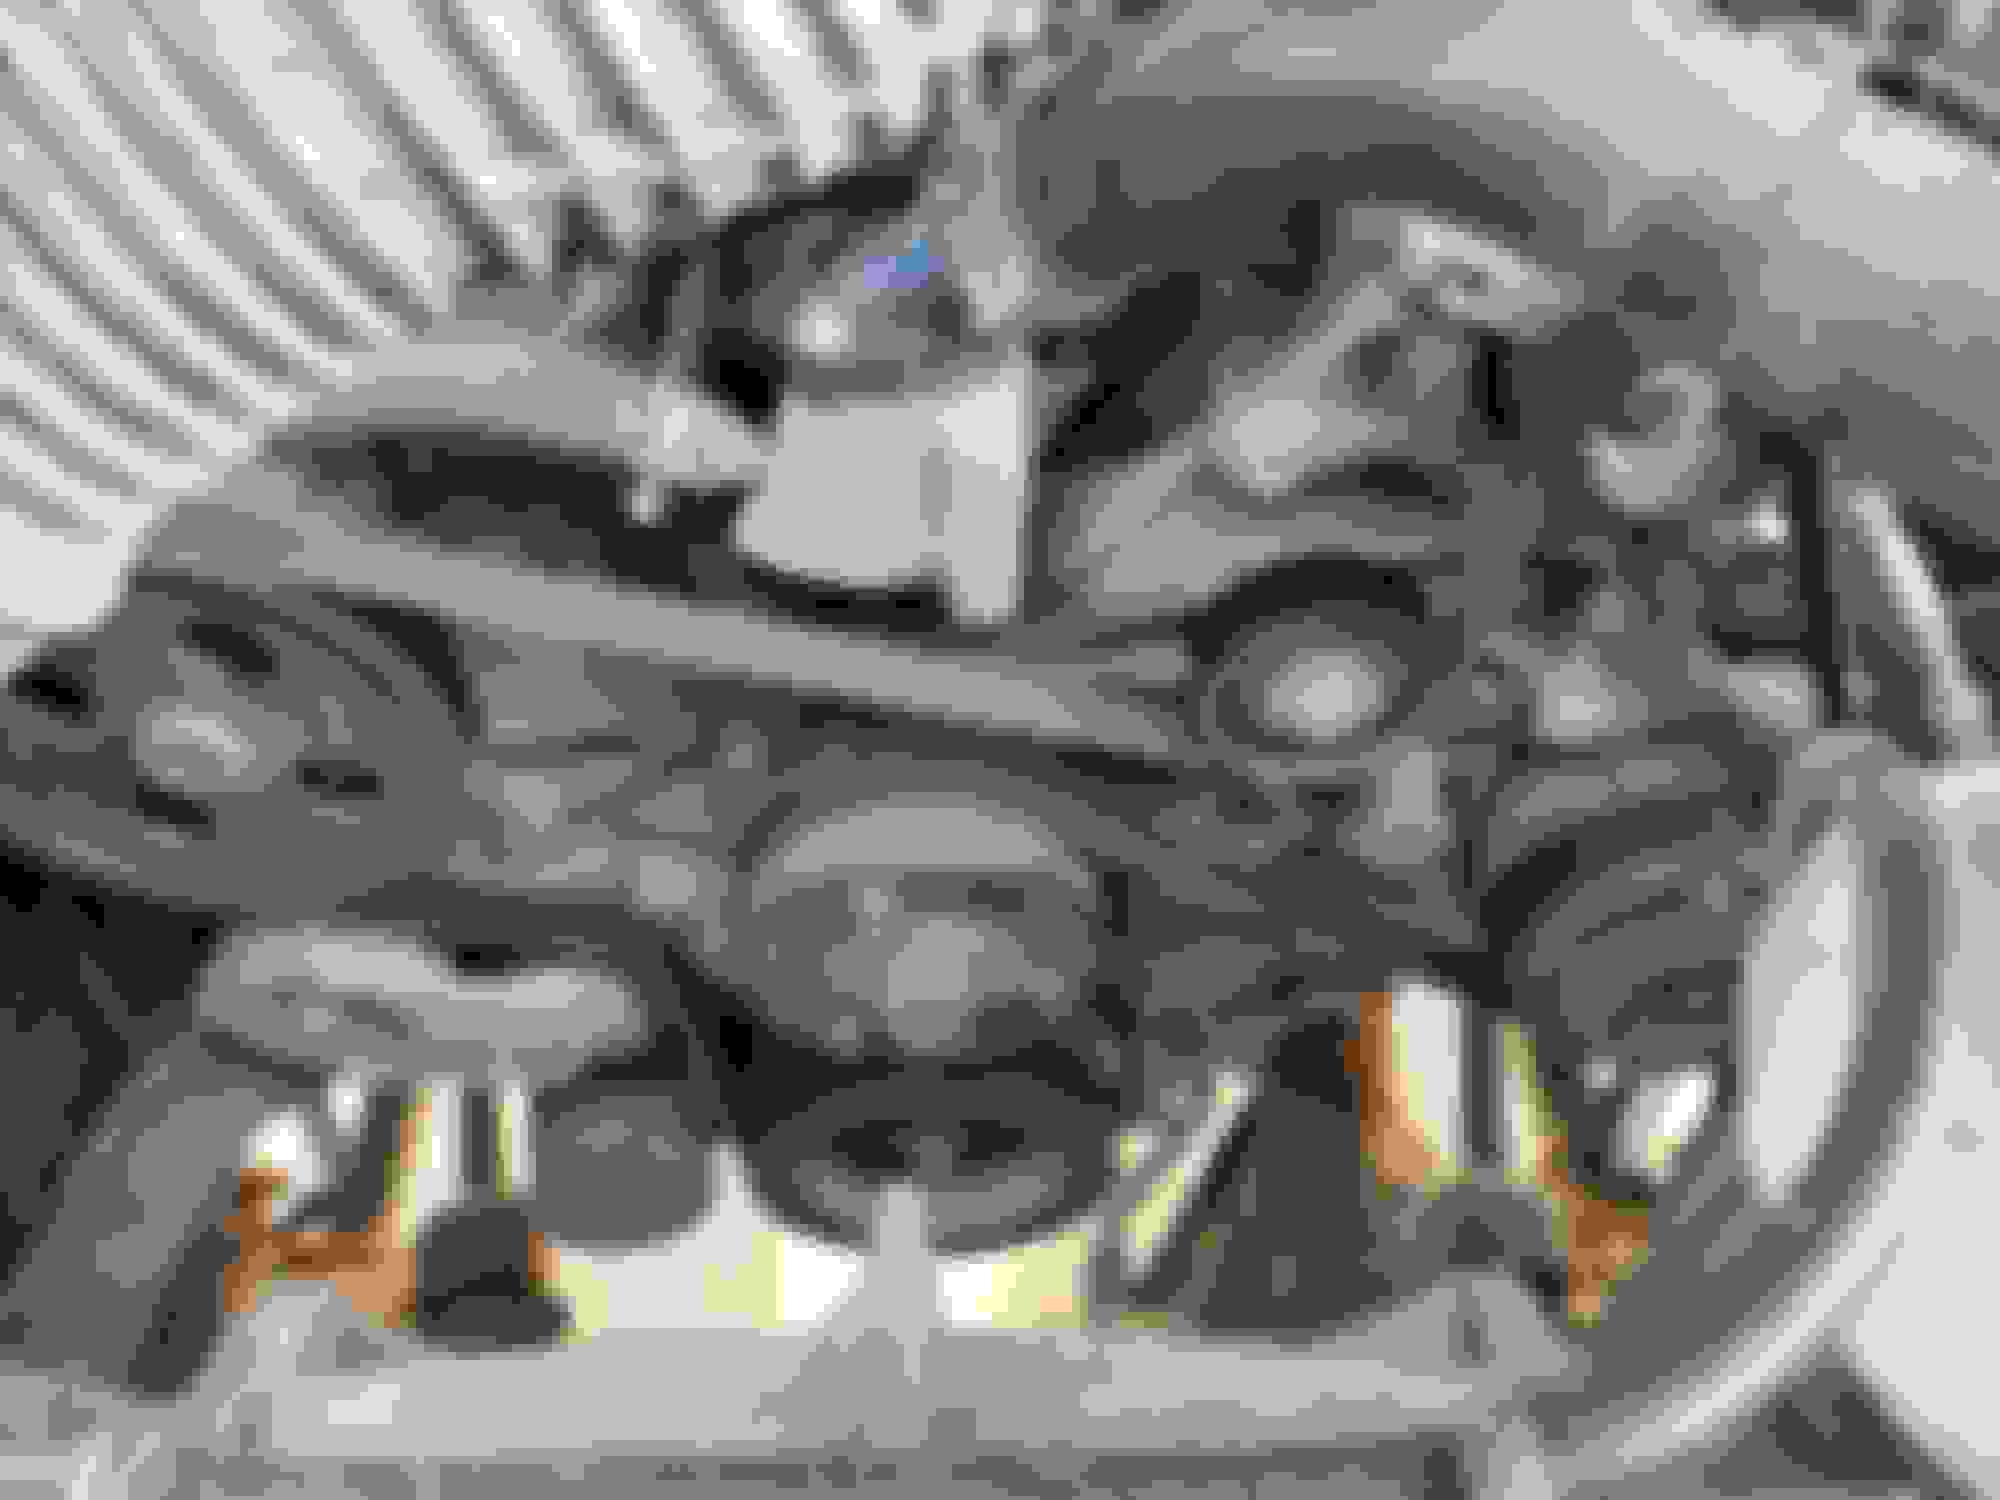
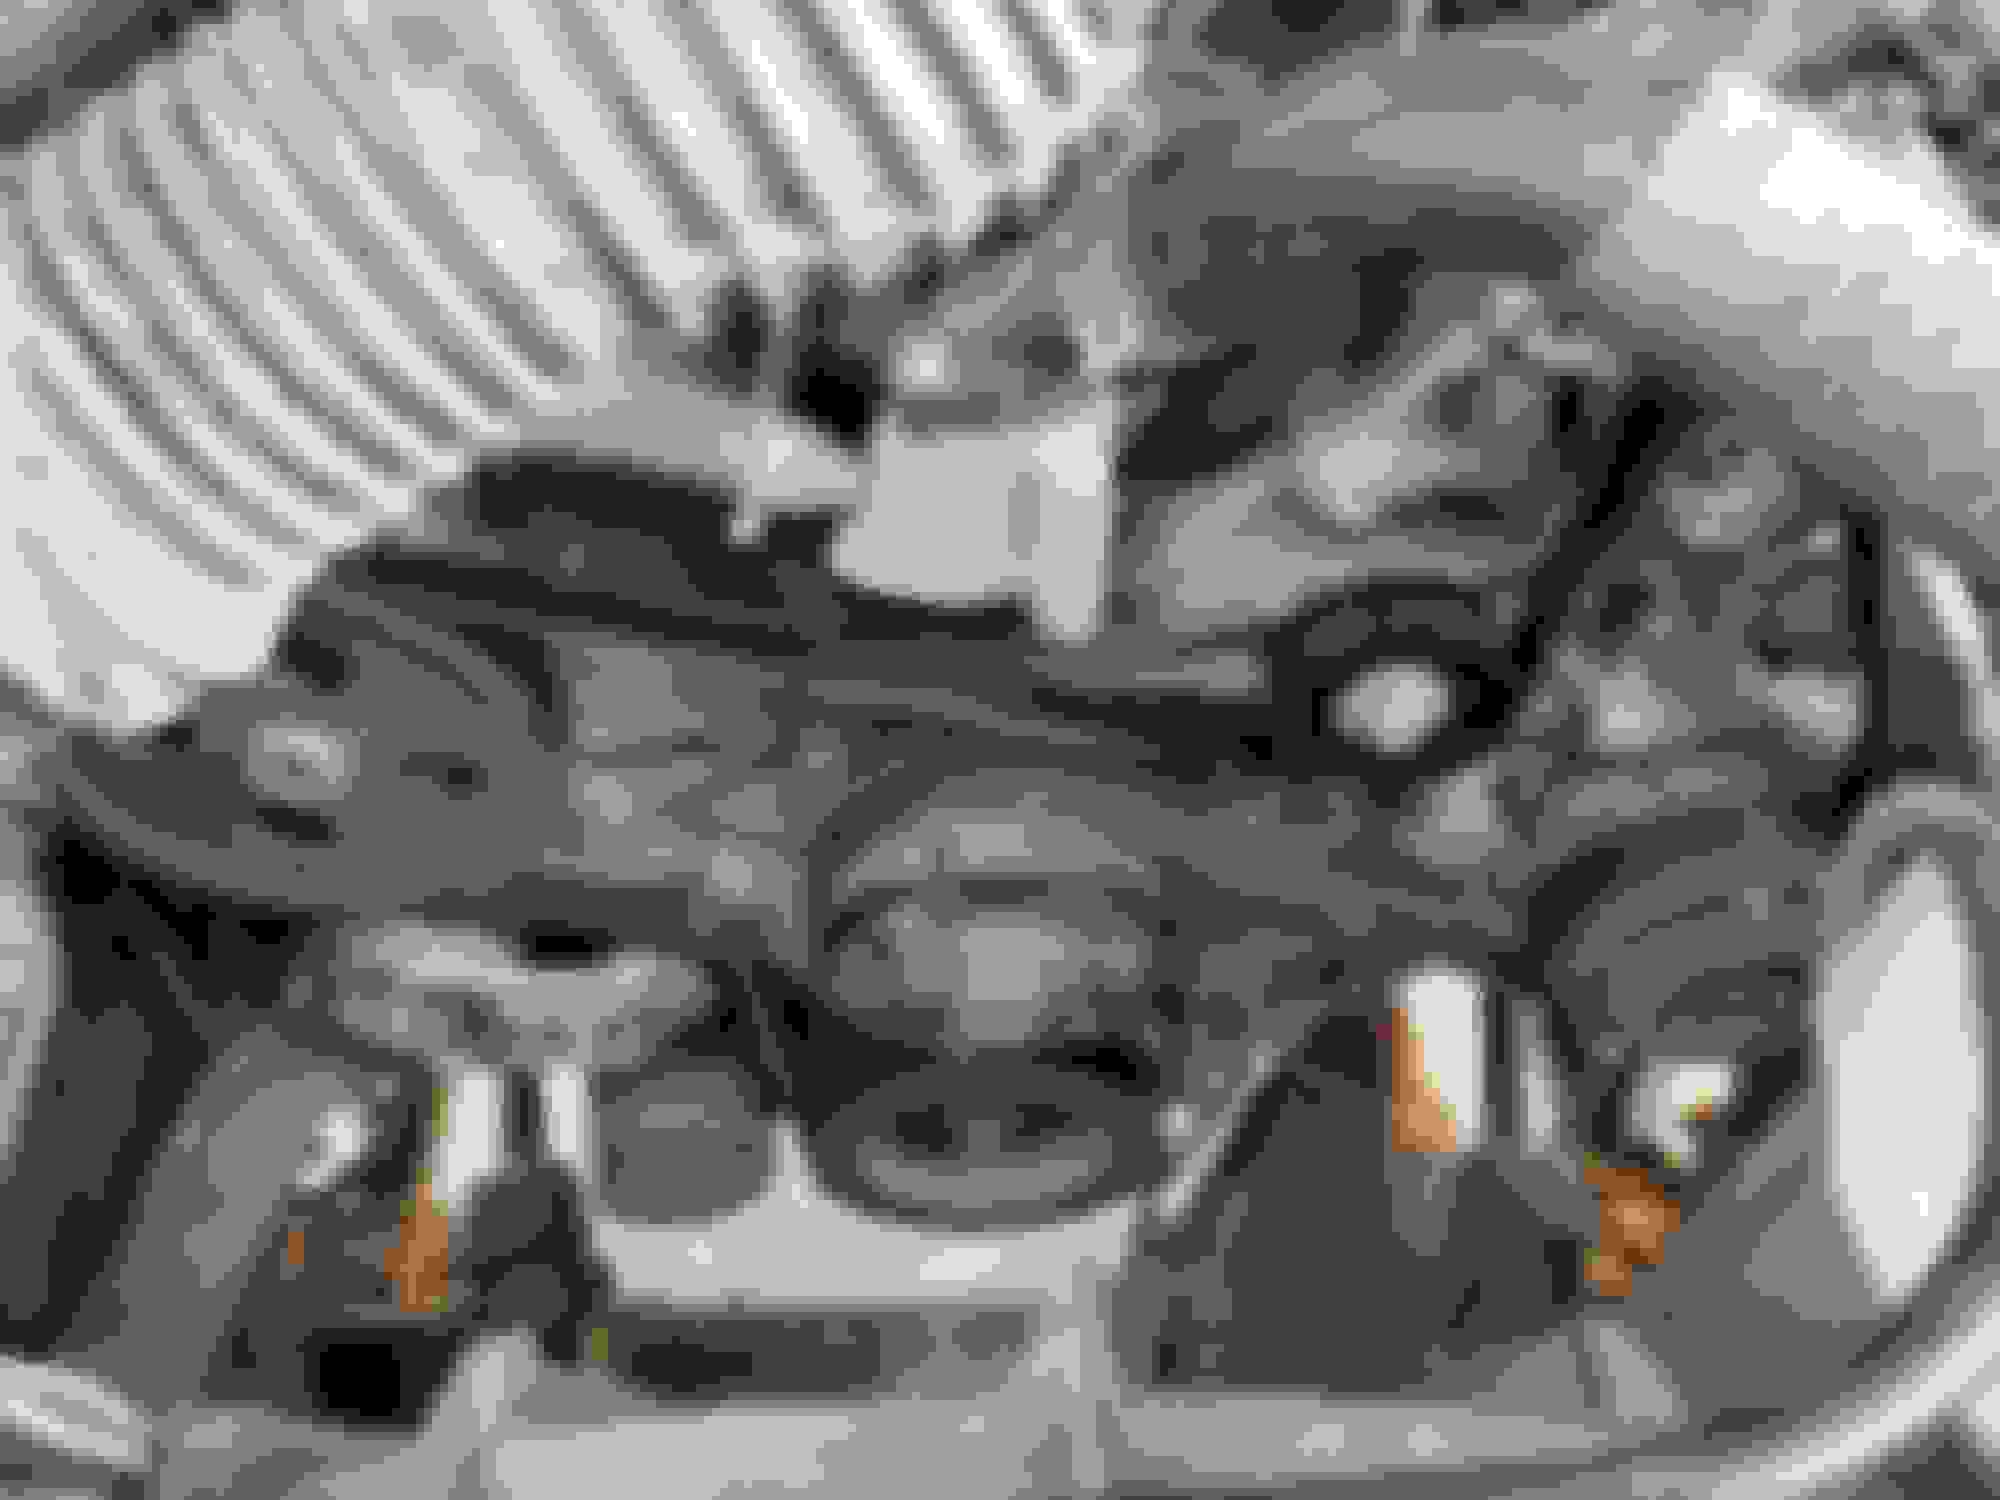
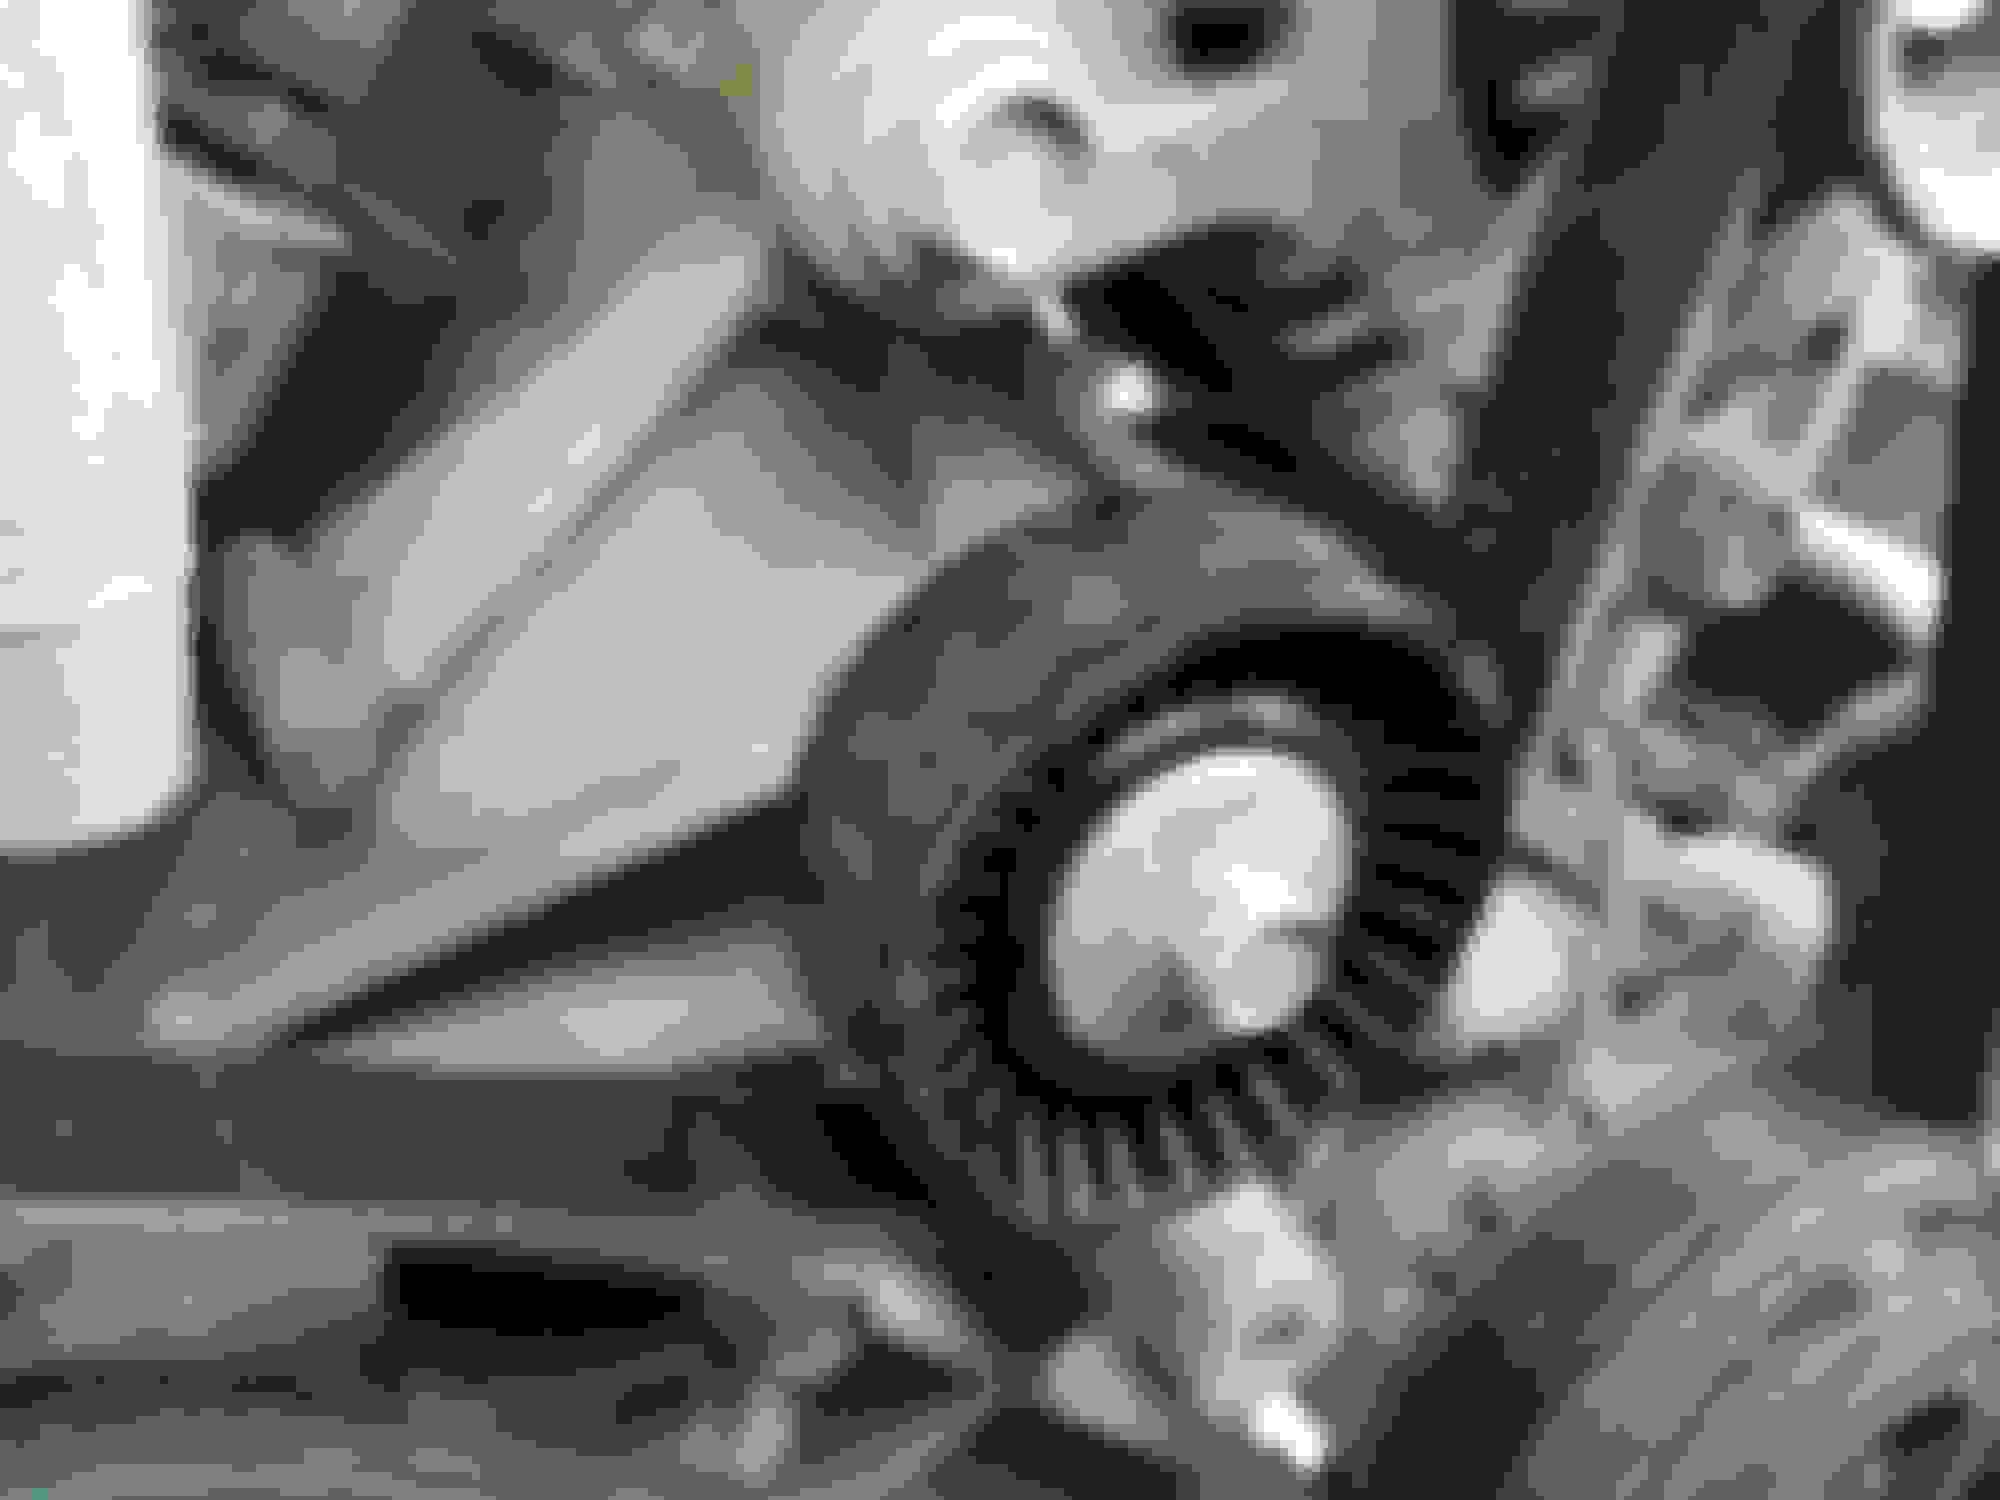
Next up, at the end of October 2018 I replaced the Idler and Tensioner Pulleys along with the serpentine belt on the Jeep. Idling was getting a bit rough, and I could visually see the tensioner moving. I also put a mechanics stethoscope on it, and the bearing did not sound good. I decided to go with the Gates Complete Serpentine Kit from RockAuto for $96. Gates is a good and quality brand that I trust, and for what many of the other components would have costed just separately, this was a great deal!
The installation was very straight forward, with removing the belt, unbolt the tensioner pulley, bolt up the complete new one, unbolt the idler pulley, bolt up the new one, make sure both are torqued to proper spec (~24 ft/lbs and ~16 ft/lbs respectively I believe were the correct number, but please verify yourself) and are in line, properly route and install the new belt, and your done! Simple as that! The Jeep definitely runs a good bit smoother after that, but I still thing the new plugs and wires will help as well to get it as smooth as possible! Either way though, here's some pics of everything throughout the process:
Gates Serpentine Kit Used:
Before shot of the engine bay:
After of the engine bay:
Up close of the new Tensioner, idler, and Belt installed:
I got the piece ordered yesterday and it'll be here today. Now you post about the underhood lights, where'd I miss that parts list post? I don't get in there often but a little light like that would be nice. Thank you!
Haha! As I said, I have a lot of catching up to do on posts! I am still only around the end of October/Beginning of November Time-frame! Working my way through everything done over the last 6-8 months!
Anyways, as you said, no matter how much you get under the hood, if you do, the extra light that these KC Cyclone Lights provide is awesome! As for a parts list, I got the lights back in post 227 and installed the lists in post 234. i believe a few of the sites such as Quadratec have a full underhood light kit with all wiring, harness, switch, hardware, etc. and you can get a kit with either a single LED or 2 LEDs. However, having the sPod already, I didn't want to pay for an entire kit when i already have switch and most wiring that I needed. So I just got the KC Cyclone light in Cool White with nothing else, and made my own harness to the sPod, and utilized self tapping machine screws, a few washers, and some rubber/foam washer for a little extra vibration resistance, and installed using that! It was a pretty simple and straight forward install!
Jumping a little out of line here, but super excited as I just registered for the Drummond Offroad Adventure (DOA) put on my Mud, Sweat, and Gears 4x4 club up on Drummond Island! Event is in August and that will be my first time up to Drummond! And I will making sure to check in to get my Badge of Honor for the South Marble Head Loop! But I will definitely make sure to grab plenty of pictures and videos from up there! I will be out with the Wolverine Wheelers in my group, but hope to see at least a few of the other Michiganders here! Here's a map of the trails up on Drummond from VVMapping. I also grabbed a Michigan ORV Atlas from VVMapping just for further exploration around the state! Plus, I just love having true paper maps in my hands! Just something good about it!
VVMapping has a lot of other options for both paper maps and downloadable maps and mapping files to add to GPS units as well as great mapping resources for both Michigan and Wisconsin! So if you are in either of those areas or need some off the beaten path maps for these areas, check em out!
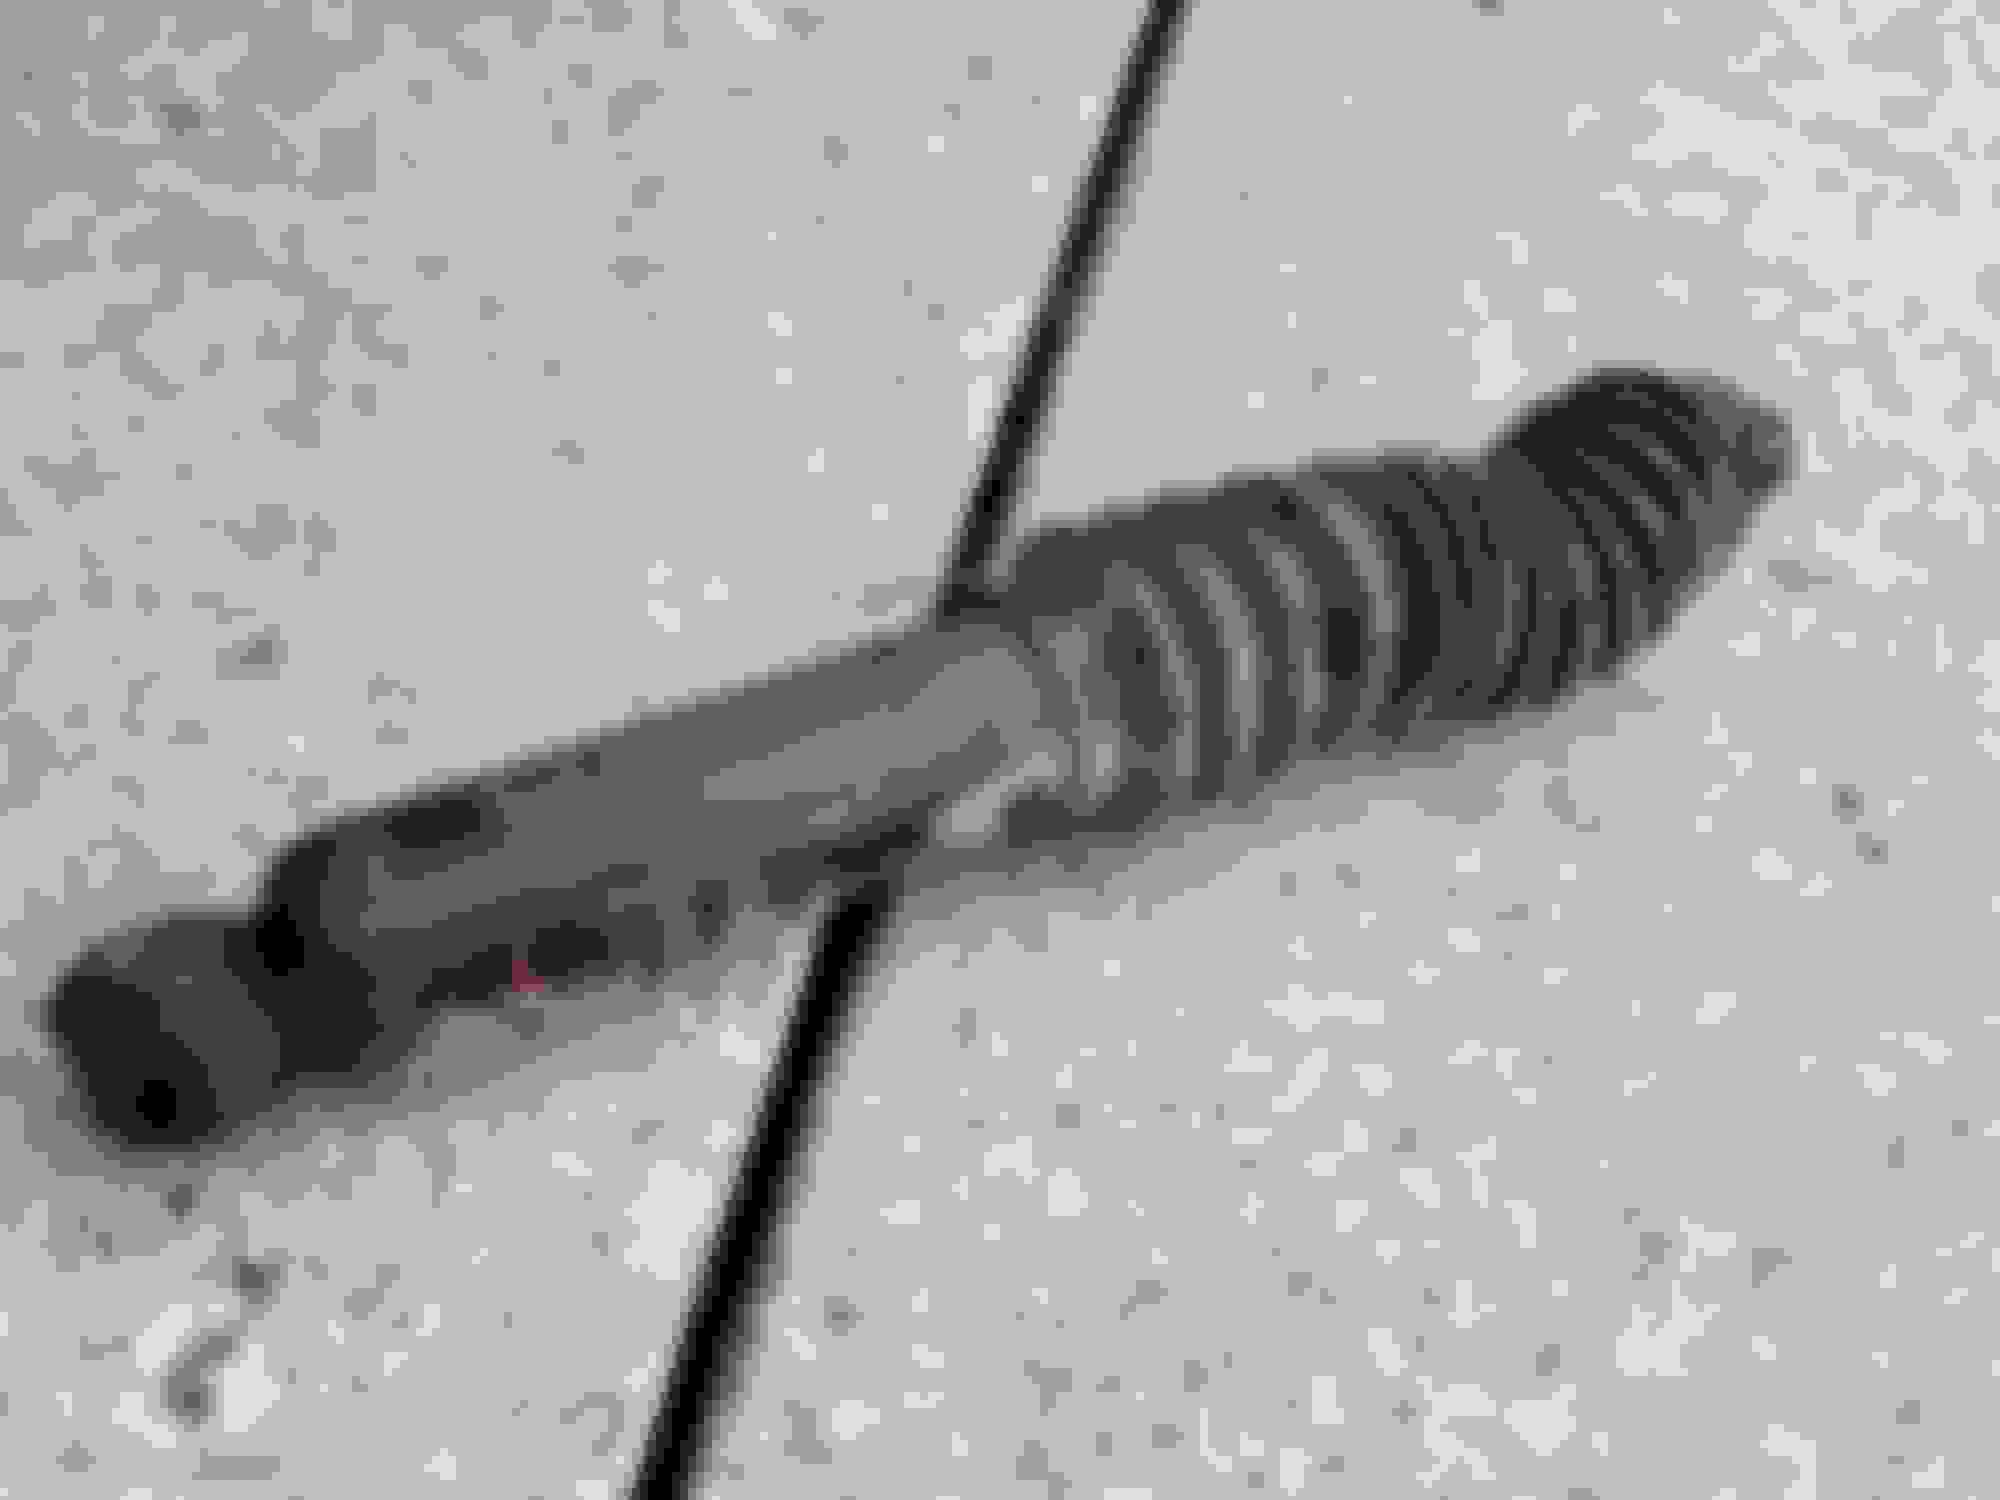
Back in October, I decided to swap out my steering stabilzer for a new one. Now, I was having a good bit of wobble and steering shake on the Jeep, so the I am sure this contributed to wearing the old stabilizer out even faster, but I wanted to get a new one on there to help with the shaking. And before anyone yells at me, I know the stabilizer is only a band aid and only covers up the true issues, so I additionally had the plan and parts purchased todo the ball joints and a new tie rod as well, but those write-ups are coming a bit later.
So I wanted to get a heavier duty stabilzer to handle my current setup, and while I know I am by no means extreme in my setup, I like to have a bit heavier equipment than required so that it will hold up even better to how I will use it! The issue with most of the HD stabilizers that I could find though was that on the 2 Dr JKs, they ended up causing a push or pull in teh steering to one side as most upgrades are gas chargd and not neutral. And on top of that, most of those options are also a good bit more expensive than just getting new OEM stabilizers. But I ended up talking with Steer Smarts and they had actually just come out with a new product called the JK HD-N Neutral Steering Stabilizer/Damper. This steering stabilizer was only $66, and built for a heavier duty application, and set to actually be a neutral position, equal pressure on both sides of the damper, to do what a steering stabilizer is supposed to do!
So anyways, installation was a breeze, with teh hardest part being installing the bushings into the ends yourself. I managed to install them carefully using a bench vice and a combo of metal plate scrap, wood scrap and sockets, and that worked well. i am sure their are much better methods than what i used, but i used what I had available, took my time, and all worked out well! As for the restof the install, remove the bolts on either end of the old steering stabilizer, remove the stabilizer, put the new one in, and fasten it up!
The old one removed:
The new one installed:
After driving with the SteerSmarts Stabilizer in there, it immeadiately felt a whole lot better, and the neutral pressure of the stabilizer was felt right away. No push in either direction! And after 6 more months of driving with this new stabilizer, it is still working great, with no unnecessary push or pull toward either direction of the rooad. Helps to keep the Jeep much smoother now! Though to get it back to full health, the ball jopints were definietly needed, but while I waited a bit to get some good days to work on those, the Stabilizer did help the steering be a bit more managable. I highly recommend this stabilizer for anyone looking for a stabilizer upgrade! Heavier Duty, Neutral Pressure, and much more cost effective!
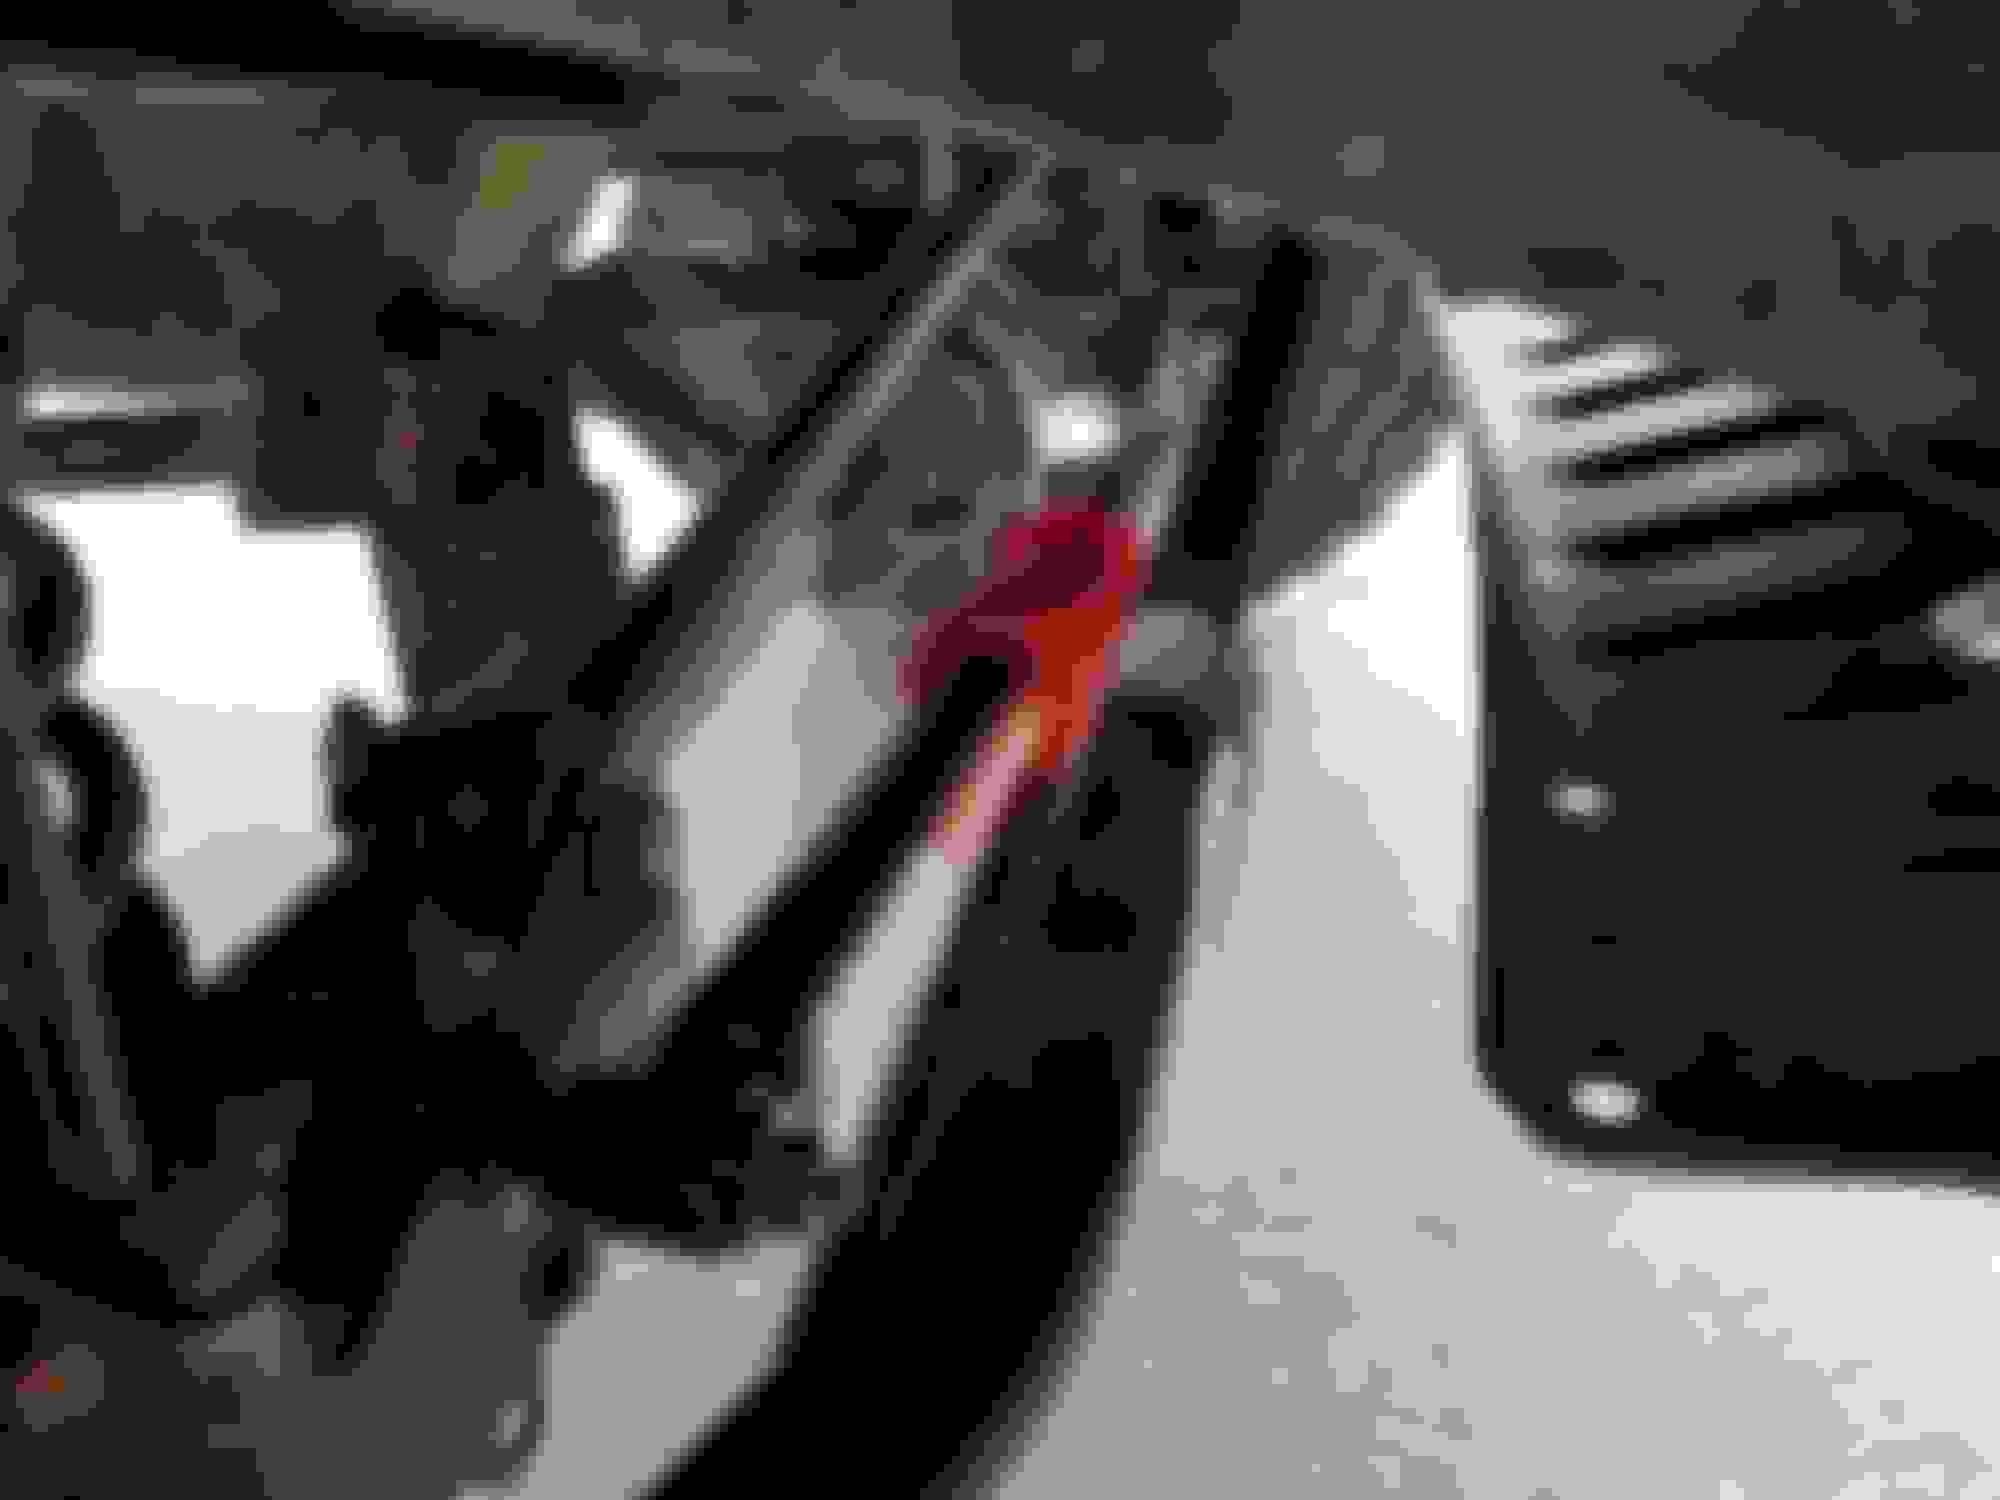
I also ended up having a few more driveshaft issues over the late fall/early winter time period, that I actually started to get this loud squeaking sound, and a slightly vibration felt at slower speeds again. Long story short on this, somehow, the timing ball in the middle of double cardon joint had become very overheated and was no longer functioning properly, so that you could actually push with a hand on the double cardon joint and move it around a little bit...something that should not move at all by a simple hand when fastened to the Jeep. Not quite sure what caused it to overheat like that, but nonetheless, after much investigation, that was the issue.
So I ended up being able to get it fixed under warranty with Tow Woods, who was great to work with, and they rebuilt the double cardon joint and sent it back. All is fixed now and it has been working great since, and I have been a bit more proactive on the greasing as well to make sure there is minimal chance of something like this happening again. Though I did end up having about 2 weeks that I had to drive the Jeep around with no rear driveshaft (4WD, minus the rear, basically FWD) and that is definitely no something i want to deal with again on a regular basis. And of coarse over those two weeks, we got snow here in Michigan multiple times, so...definitely fun times.