My JK Bumper Build
 06-28-2010, 07:28 AM
#1
JK Newbie
Thread Starter
Join Date: Jul 2009
Location: Dallas, TX
Posts: 26
Likes: 0
Received 0 Likes
on
0 Posts
I looked through a ton of bumpers, but nothing really caught my eye. I liked a few of them, and would of bought them, but I am just  . So, I did the next best thing, I made my own. Since my dad has all of the tools, I didn't have to buy anything except for some cut off wheels, flap disc's, and some bolts. I am a draftsman with not a lot of work to do at work, so I had plenty of time to draw my own. I started by measuring the front of the jeep, and the frame, then started to design my bumper. I took some inspiration from a few bumpers, but I ended up making it my own. I started with a AutoCAD drawing:

Then I blew it all up and printed out all of the pieces I needed to cut:

After that I cut all of those out on some cardboard, and made me a template that I could stick on the the jeep to see if it would all fit:
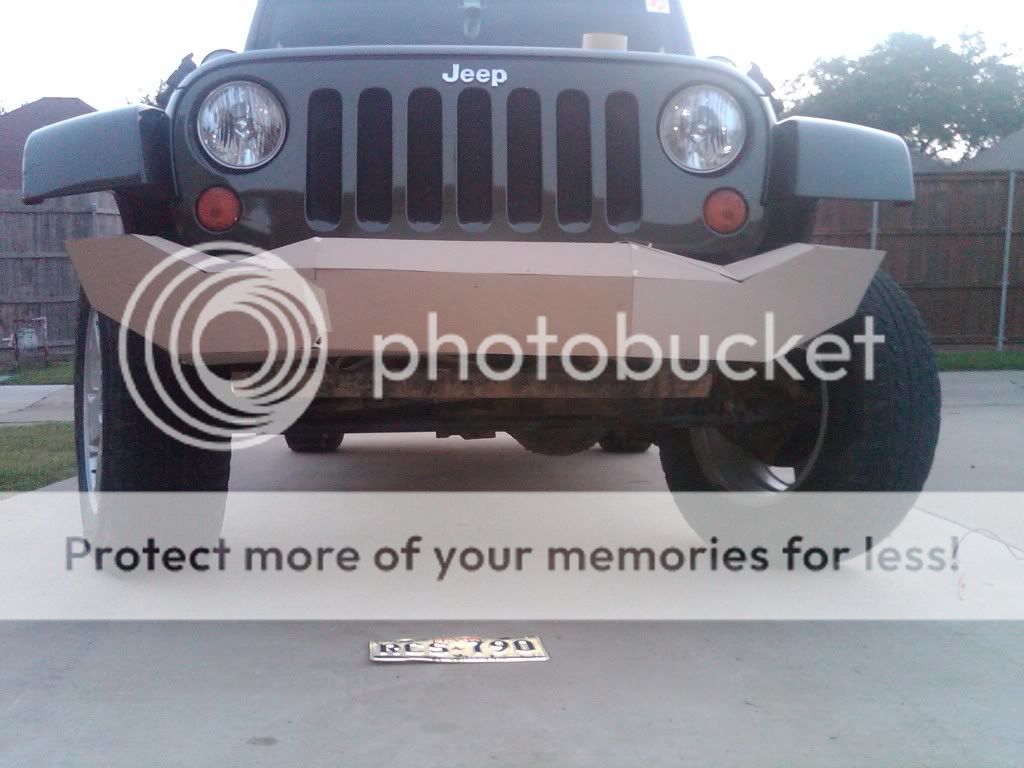
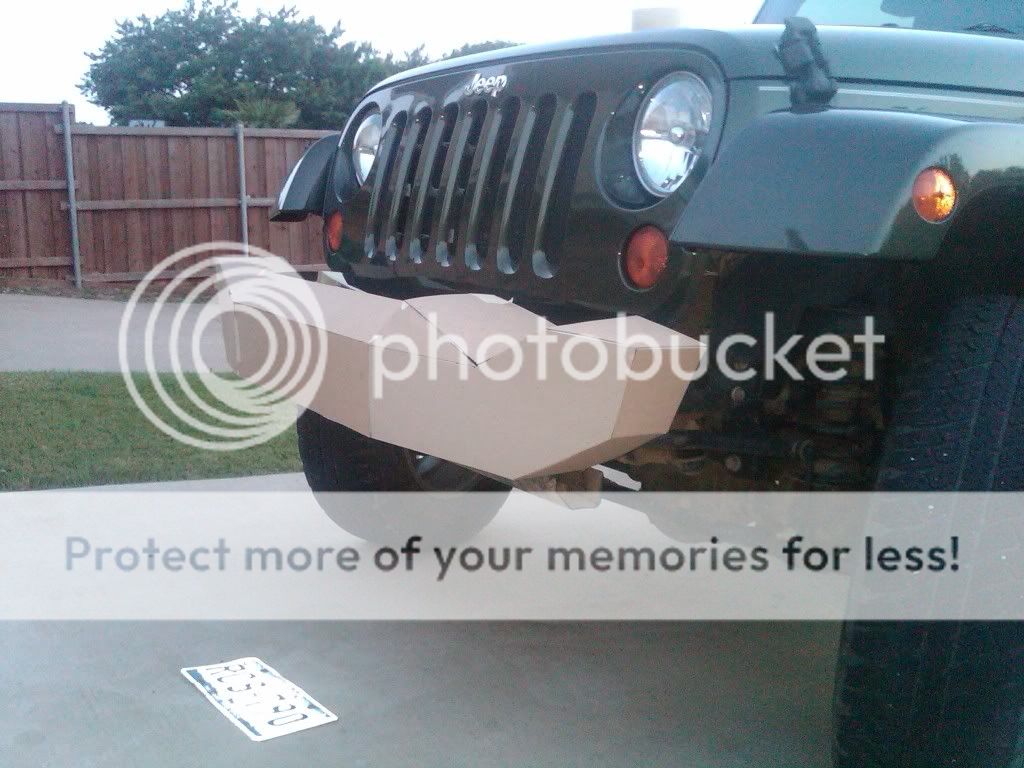
It was a little wider then I wanted, so I took 2" out of the center part on each side of where the fairlead mounts to (so 4" total). After that looked good, I started tracing and cutting. Since the metal was used, there was paint on it so I had to scrap all of that off (and I swear I am never doing that again, it took at least 6 hours to grind all of the paint off, and my thumb still hurts a week later). Much thanks goes to Brian (CJ's automotive) and Mike (ClassicRocks) for letting me use their special tools (I will keep it a secret so everyone doesn't come bugging you to let them use it). Then I started welding once everything was cut and all of the paint was gone:


Then I installed the hoop, d-ring mounts (made from 4 pieces of 1/4" steel welded together), and finished all of the welds. I painted it with the spray on bed liner, which I kind of ended up being disappointed. I had to use an inner-shielded wire since I couldn't find the gas tank for the mig, so there were a lot of gaps in the weld once grounded down, and I was hoping for the bed liner to cover it all, but oh well. Also my pipe bender dented the tubing where the rollers where at, but I did the best I could with the tools I had. All in all, I am happy with it. Here are the finished pictures:


. So, I did the next best thing, I made my own. Since my dad has all of the tools, I didn't have to buy anything except for some cut off wheels, flap disc's, and some bolts. I am a draftsman with not a lot of work to do at work, so I had plenty of time to draw my own. I started by measuring the front of the jeep, and the frame, then started to design my bumper. I took some inspiration from a few bumpers, but I ended up making it my own. I started with a AutoCAD drawing:Then I blew it all up and printed out all of the pieces I needed to cut:
After that I cut all of those out on some cardboard, and made me a template that I could stick on the the jeep to see if it would all fit:
It was a little wider then I wanted, so I took 2" out of the center part on each side of where the fairlead mounts to (so 4" total). After that looked good, I started tracing and cutting. Since the metal was used, there was paint on it so I had to scrap all of that off (and I swear I am never doing that again, it took at least 6 hours to grind all of the paint off, and my thumb still hurts a week later). Much thanks goes to Brian (CJ's automotive) and Mike (ClassicRocks) for letting me use their special tools (I will keep it a secret so everyone doesn't come bugging you to let them use it). Then I started welding once everything was cut and all of the paint was gone:
Then I installed the hoop, d-ring mounts (made from 4 pieces of 1/4" steel welded together), and finished all of the welds. I painted it with the spray on bed liner, which I kind of ended up being disappointed. I had to use an inner-shielded wire since I couldn't find the gas tank for the mig, so there were a lot of gaps in the weld once grounded down, and I was hoping for the bed liner to cover it all, but oh well. Also my pipe bender dented the tubing where the rollers where at, but I did the best I could with the tools I had. All in all, I am happy with it. Here are the finished pictures:

 06-30-2010, 11:15 AM
#5
JK Freak
Join Date: Feb 2010
Location: British Columbia
Posts: 594
Likes: 0
Received 0 Likes
on
0 Posts
Looks real good! I like the width. Makes me wish I had some skills since I'm bumper shopping right now. Then I could get exactly what I want. Maybe a tube version of what you've got...
 .
. 

Trending Topics
07-01-2010, 05:15 AM
#8
JK Newbie
Thread Starter
Join Date: Jul 2009
Location: Dallas, TX
Posts: 26
Likes: 0
Received 0 Likes
on
0 Posts
I used the cardboard to mark up the metal and used a cutoff wheel for most of the cutting then used a plasma cutter for the rest. I wished I would of started off with the plasma cutter because it would of saved me an entire day of cutting.
07-01-2010, 05:28 AM
#9
JK Newbie
Join Date: May 2010
Location: Kennesaw GA
Posts: 72
Likes: 0
Received 0 Likes
on
0 Posts
Great job! I so wish I had your skills. I prototype myself but in a whole different feild, I use clays, waxes, silicone, and polyurethanes. I so need to learn welding and metal working. Some of the posts for custome work on these jks amazes me. You got skills man keep it up.

