
What was done to your JK this week?

JK Super Freak
Joined: Oct 2007
Posts: 1,418
Likes: 0
From: Dallas Area, Texas
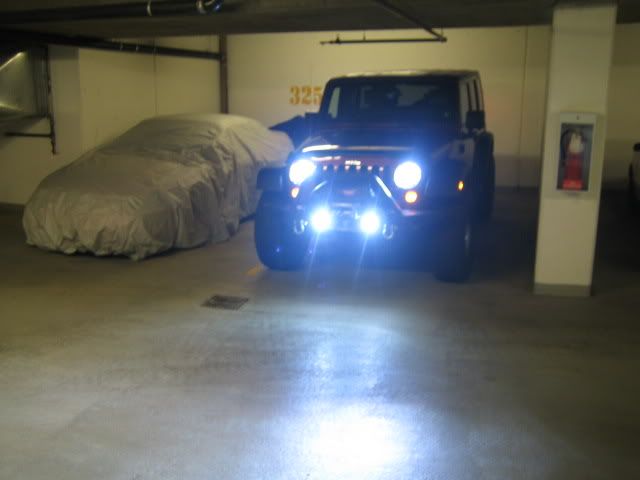
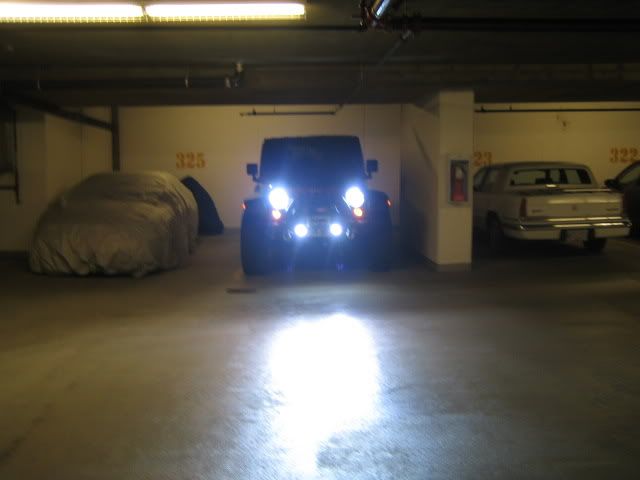
Installed the HID kit to Headlight and Fogs ....so bright compared to Stock
 .....sorry no before pics, or night shots yet...Totally the way to go...When I took my OEM bulbs out, I realized why they were so bad....all the casings of the bulb were sooo black, they looked burnt....I am surprised they even produced any light..
The HID Kick A$$!!!!
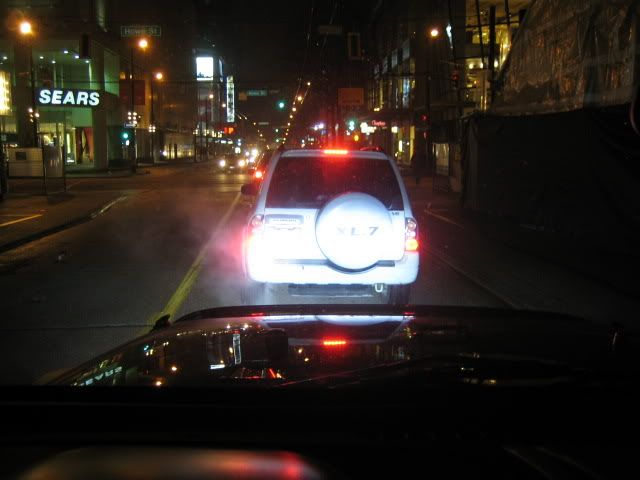
One shot while driving in Vancouver...you can see how bright they are
....so bright compared to Stock.....sorry no before pics, or night shots yet...Totally the way to go...When I took my OEM bulbs out, I realized why they were so bad....all the casings of the bulb were sooo black, they looked burnt....I am surprised they even produced any light..The HID Kick A$$!!!!
One shot while driving in Vancouver...you can see how bright they are
JK Junkie
Joined: Aug 2008
Posts: 2,207
Likes: 0
From: Vancouver B.C.
I got each kit for $200 Canadian plus tax. ($400+tax) I had to buy 2, one for the headlights, and 1 for the fogs. The kit comes with wiring harness, waterproof ballasts, HID bulbs. You can change HID bulbs to whatever power you want. I went with the 6000K, as I was told they were the most efficient and produced the best light. The higher power bulbs the more color blue tint, look cool but are not as efficient in producing light.
Each bulb has its own ballast. I originally purchased the high/low kit, but the JK computer did not recognize it, and would not allow it to go to high beam. Rubicon_fan has a similar problem with his High/low kit. The low beam works flawlessly and is awesome. Therefore, my supplier gave me HID bulbs that have a second bulb along side it that is a high beam halogen. This works, but the low beams are actually much better.
My lights are so bright now, and haven't seemed to bother any oncoming traffic yet. I have the drivers side headlight pointed more towards the ground, and the passenger side is up and out. Seems to work great so far. I don't think I will ever go back to halogen on any vehicle after having this
 I will switching my Cobra over to this this winter for sure.
Well worth the money spent...you can actually see things now...
I am getting 6 inch HID Offroads for the windshield this month...and they are stupid bright....will post when i get them.
Steve

 [/IMG]
 [/IMG]
 [/IMG]
 [/IMG]
 [/IMG]
 [/IMG]
 [/IMG]
 [/IMG]


JK Newbie
Joined: Aug 2008
Posts: 41
Likes: 0
From: Colorado
JulirtKilo,Mr. RonGilbert, & Jeepin08, The HID kit is from www.hidoutlet.ca
I got each kit for $200 Canadian plus tax. ($400+tax)
I got each kit for $200 Canadian plus tax. ($400+tax)
JK Newbie
Joined: Nov 2008
Posts: 25
Likes: 0
From: Surrey, BC
Back on topic, I've only had the JK 1 month now:
Added Long range slim lites
Added locking hood latch
Added locking gas cap
Removed subwoofer for more storage
Reversed the mirror
Ordered rugged ridge diff covers (as a start)
Definitely enjoying this vehicle. First Wrangler, and I got to say I like it.
JK Junkie
Joined: Aug 2008
Posts: 2,207
Likes: 0
From: Vancouver B.C.
JK Freak
Joined: Jun 2008
Posts: 702
Likes: 0
From: Blodgett, OR
I finally got around to mounting my 4' High Lift Jack on the OR-Fab rear tire and Jerry can carrier. One trip to the hardware store for two wing nuts,
a couple of regular nuts, 2 lock washers, 4 flat washers and 1' of 3/8"x16 threaded rod (cut in half -- the carrier already has the holes tapped).
I also used a Daystar isolator to keep the handle from rattling.


This is what my formerly pristine Sahara Side Steps looked like after the Halloween
Poker Run:

These are the Mopar Accessory Enhanced Rock Rails I installed to replace the Sahara
Steps:

My dealer sold me the Enhanced Rock Rails for about $480 (they list for a little less
than $600) -- but someone had robbed the parts kit containing the bolts, hex
nuts, washers and the all important U Nuts. The dealer was willing to order the
missing hardware (Mopar part number for the M8x1.25 U Nuts is 06101833), but
we located essentially the same part (Balkamp 665-1304) at the local NAPA store, so the dealer just
bought me a set and we called it even. I had used nuts duct taped to washers to
install the Sahara Steps, but now I have the right stuff!

Finally, I replaced the Evap Canister I totally destroyed and ripped off the JK during
the Halloween Poker run. The canister cost about $31 and the white sending unit,
which was also trashed, was a little more than $8.00. Eventually -- like before I go
wheeling at Brown's Camp again, I will relocate or shield the Evap Canister, but for
now, I just replaced it.

I found it was easier to remove the bracket (3 16mm bolts)
first and then slide the Canister into the three tabs on the bracket. Slightly bending
the locking tab located by my finger down after the canister has been slid into the
bracket, will keep it from rattling.

a couple of regular nuts, 2 lock washers, 4 flat washers and 1' of 3/8"x16 threaded rod (cut in half -- the carrier already has the holes tapped).
I also used a Daystar isolator to keep the handle from rattling.
This is what my formerly pristine Sahara Side Steps looked like after the Halloween
Poker Run:
These are the Mopar Accessory Enhanced Rock Rails I installed to replace the Sahara
Steps:
My dealer sold me the Enhanced Rock Rails for about $480 (they list for a little less
than $600) -- but someone had robbed the parts kit containing the bolts, hex
nuts, washers and the all important U Nuts. The dealer was willing to order the
missing hardware (Mopar part number for the M8x1.25 U Nuts is 06101833), but
we located essentially the same part (Balkamp 665-1304) at the local NAPA store, so the dealer just
bought me a set and we called it even. I had used nuts duct taped to washers to
install the Sahara Steps, but now I have the right stuff!
Finally, I replaced the Evap Canister I totally destroyed and ripped off the JK during
the Halloween Poker run. The canister cost about $31 and the white sending unit,
which was also trashed, was a little more than $8.00. Eventually -- like before I go
wheeling at Brown's Camp again, I will relocate or shield the Evap Canister, but for
now, I just replaced it.
I found it was easier to remove the bracket (3 16mm bolts)
first and then slide the Canister into the three tabs on the bracket. Slightly bending
the locking tab located by my finger down after the canister has been slid into the
bracket, will keep it from rattling.

