What was done to your JK this week?

 05-03-2009, 05:40 PM
#5374
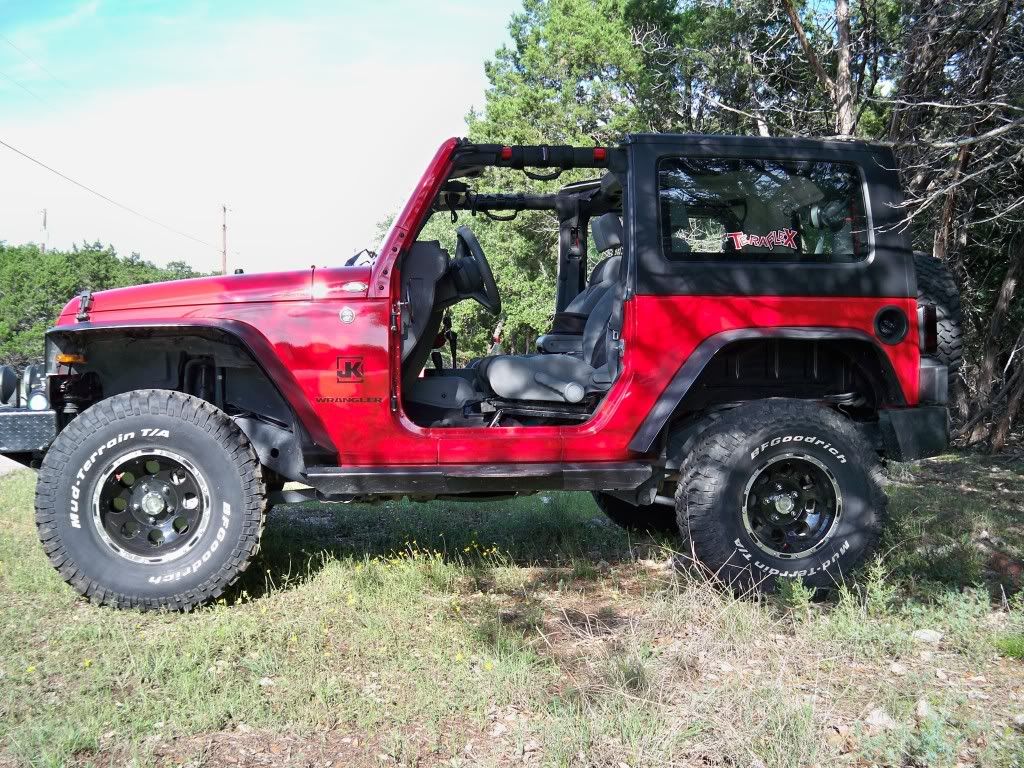
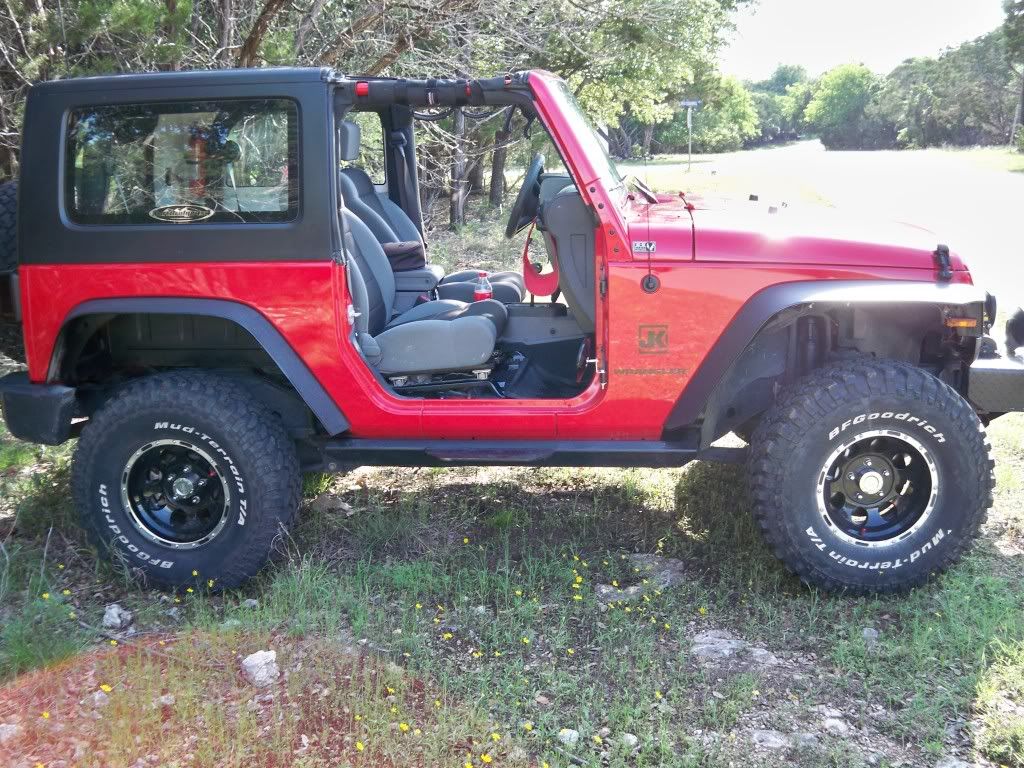
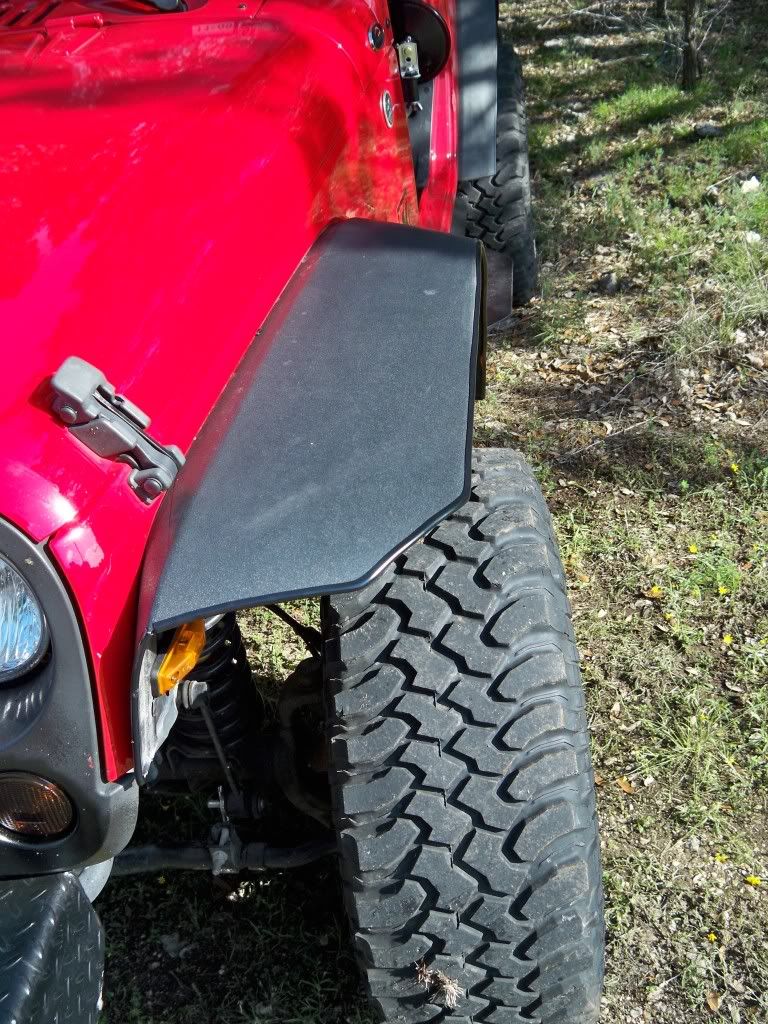
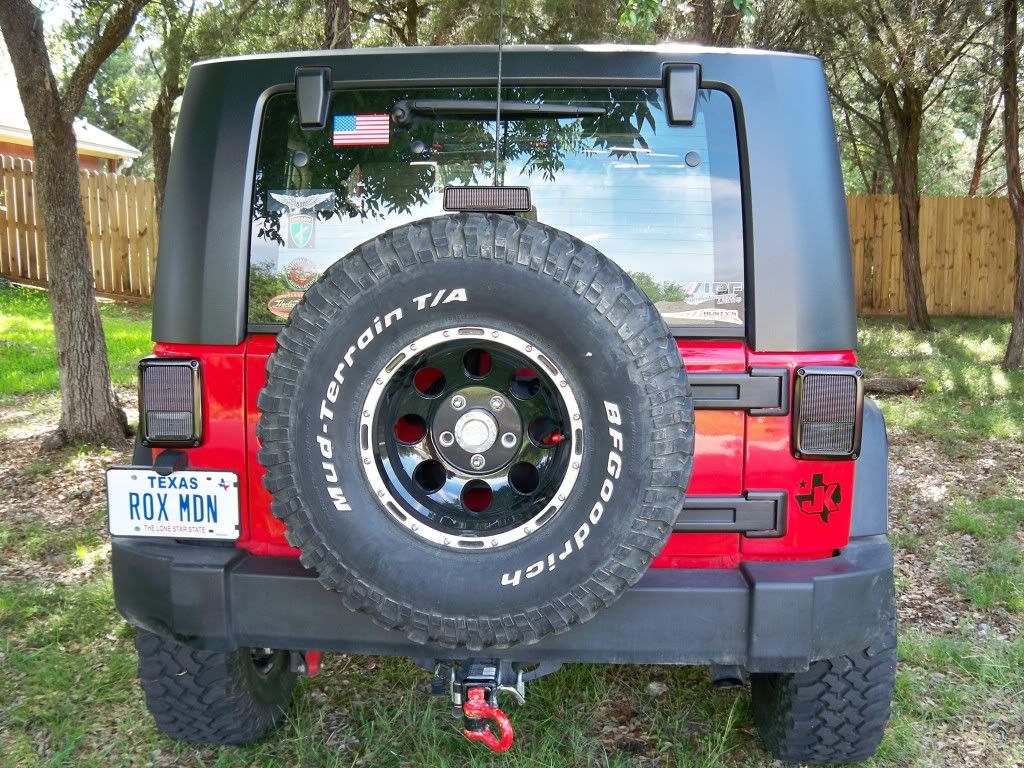
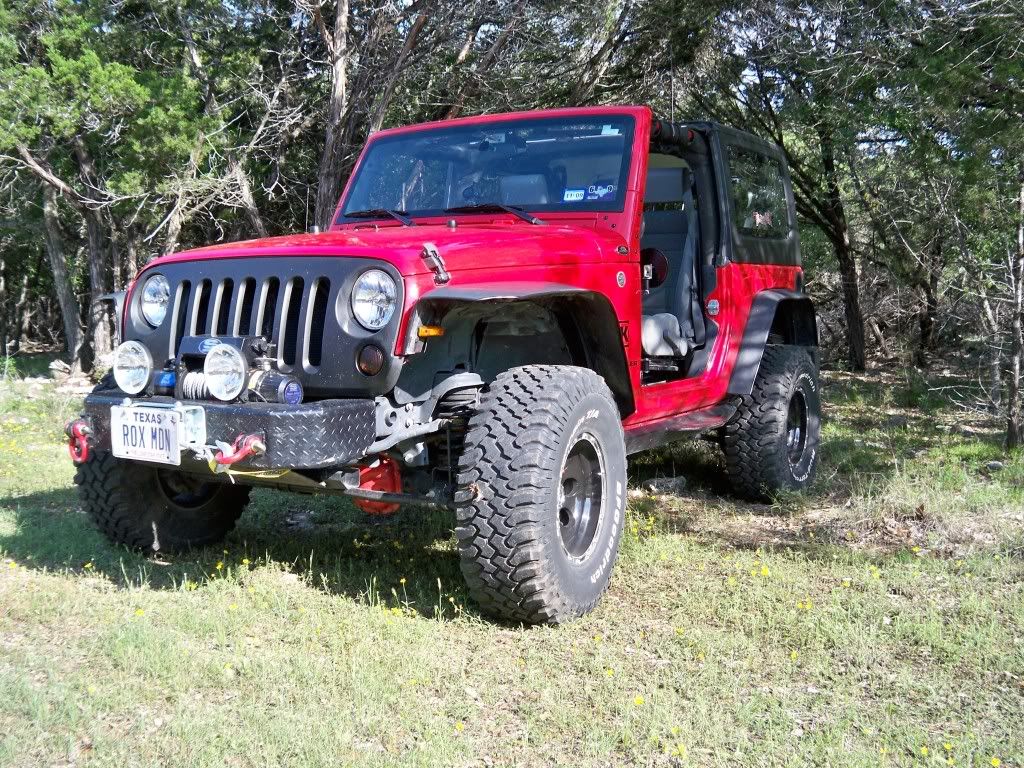
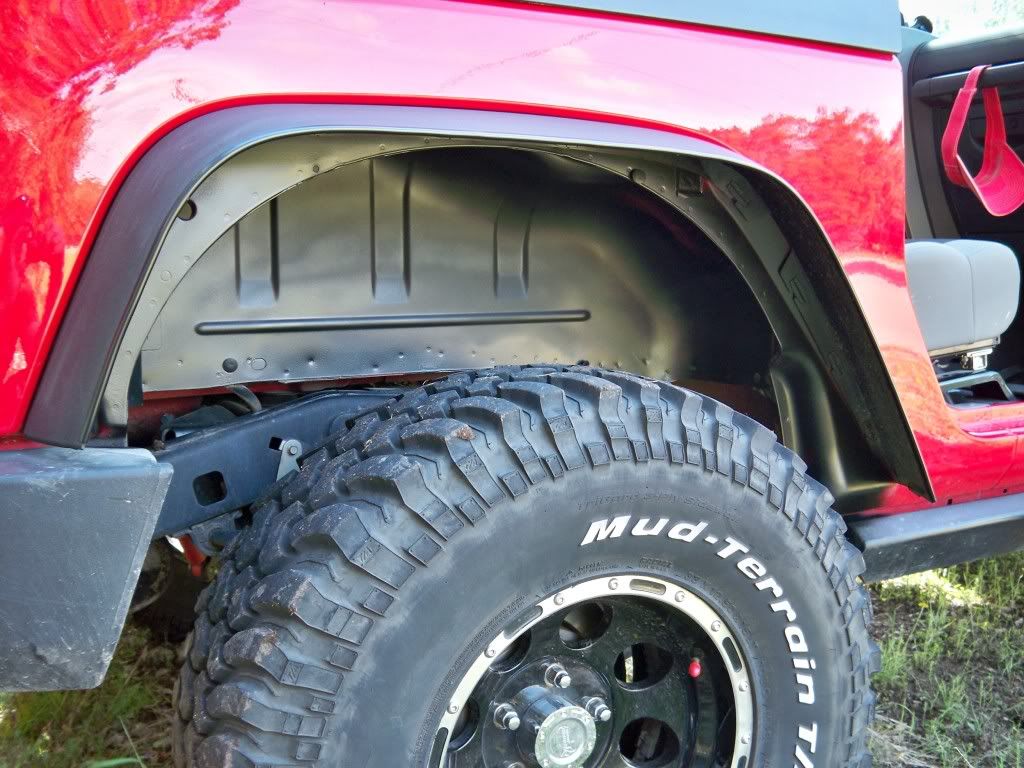
Joined the chopped fender club today. Thanks for all the pics and write ups! WOL!! Finished the back fenders and put in the inner fenders on the front only. Maybe if I had bigger tires it would fill up the space???? I need 35's to balance the look. My wife says I need to balance the checkbook first.  While I was painting I blacked out the tail lights and front turn. It is a special paint that allows the light to show right through. Duplicolor VHT Nightshades. It works very well and the brake lights look just as bright as they did before in the day or night. Trick paint is all I can say.
I used bedliner in the back. I also got led markers installed.
Rotated and balanced the tires...all 5. Thanks Discount Tire.
While I was painting I blacked out the tail lights and front turn. It is a special paint that allows the light to show right through. Duplicolor VHT Nightshades. It works very well and the brake lights look just as bright as they did before in the day or night. Trick paint is all I can say.I used bedliner in the back. I also got led markers installed.
Rotated and balanced the tires...all 5. Thanks Discount Tire.
Last edited by Geeper4x4; 05-04-2009 at 04:55 AM.
05-03-2009, 06:35 PM
#5376
JK Enthusiast
Join Date: Apr 2008
Location: Baytown, Texas
Posts: 435
Likes: 0
Received 0 Likes
on
0 Posts
Followed the write up for "My light solution" and now I can see my drink holders! Thanks KMB-JK for the write up!

Last edited by RubiRascal; 05-03-2009 at 06:39 PM.
05-03-2009, 06:49 PM
#5377
JK Enthusiast
Join Date: Mar 2009
Location: la grange, missouri
Posts: 265
Likes: 0
Received 0 Likes
on
0 Posts
I love your new interior light! I added the teraflex monster track bar yesterday and also put on an ss relocation bracket. The teraflex trackbar is no doubt a MONSTER!
05-03-2009, 07:09 PM
#5378
JK Enthusiast
Join Date: Apr 2008
Location: Baytown, Texas
Posts: 435
Likes: 0
Received 0 Likes
on
0 Posts
05-03-2009, 07:49 PM
#5379
JK Enthusiast
Join Date: Aug 2008
Location: Goddard, KS
Posts: 282
Likes: 0
Received 0 Likes
on
0 Posts
Just though I'd share the finished products - pardon the quality of the pics...night shots 
Had forgotten that the husband of the woman who cuts my hair is a welder/fabricator needless to say Saturday I went over and he sized up the welding job and today I went over to complete the job. I did all the nuts/bolts work while he did the welding.
I know it recommends to separate the ball joints and to remove the lower control arm, but we decided that by utilizing stitch welding techniques plus having several wet towels around and going back and forth between the driver and passenger side alternating would allow us to not overheat the effected areas. I hit em up with a couple coats or primer then slapped on some black Rustoleum hammer rattle can paint...And here is the results...needless to say I'm very pleased with the results


Had forgotten that the husband of the woman who cuts my hair is a welder/fabricator
needless to say Saturday I went over and he sized up the welding job and today I went over to complete the job. I did all the nuts/bolts work while he did the welding. I know it recommends to separate the ball joints and to remove the lower control arm, but we decided that by utilizing stitch welding techniques plus having several wet towels around and going back and forth between the driver and passenger side alternating would allow us to not overheat the effected areas. I hit em up with a couple coats or primer then slapped on some black Rustoleum hammer rattle can paint...And here is the results...needless to say I'm very pleased with the results
05-03-2009, 09:58 PM
#5380
JK Super Freak
Join Date: Oct 2007
Location: Jackson Hole, Wyoming
Posts: 1,476
Likes: 0
Received 0 Likes
on
0 Posts
Installed the Light Force 140 Lance lights on the Warn front bumper today. I didn't get a chance to take a drive and try them yet but they sure light up the garage.
Close look at the front bumper.

Lights on the front of the Rubi bumper.

Close look at the front bumper.
Lights on the front of the Rubi bumper.