Winner of the EVO MFG DoubleD Long Arm Install
 05-04-2011, 04:38 AM
#21
JK Enthusiast
Join Date: Dec 2010
Location: Suffield, CT
Posts: 103
Likes: 0
Received 0 Likes
on
0 Posts
Hot damn that is awesome, congrats to the winner, and way to go to go! Once I find a new job I can start saving up for this kit.
Now out of all the install pictures, the ones I really like are:
I've never seen a shop post pics that show they mark the bolts after tightening. This is in my opinion TOP NOTCH service that you will be hard pressed to find ANYWHERE!
Now out of all the install pictures, the ones I really like are:
I've never seen a shop post pics that show they mark the bolts after tightening. This is in my opinion TOP NOTCH service that you will be hard pressed to find ANYWHERE!

 05-04-2011, 09:08 AM
#23
Sponsoring Vendor
EVO Manufacturing recently completed the development of their all new Jeep JK Wrangler, EVO MFG 4" DoubleD JK Bolt On Long Arm Kit and to help kick off its big release, they held a giveaway here on JK-Forum. One very lucky member from New Mexico, nmwranglerx, had his name drawn and won not only the EVO DoubleD Long Arm but the installation of it as well. In order to claim his prize he would be required to have the installation done at Off Road Evolution. So, he and his wife took some time off work and hit the road to Fullerton, California!
Here are some photos taken of the install at Off Road Evolution:
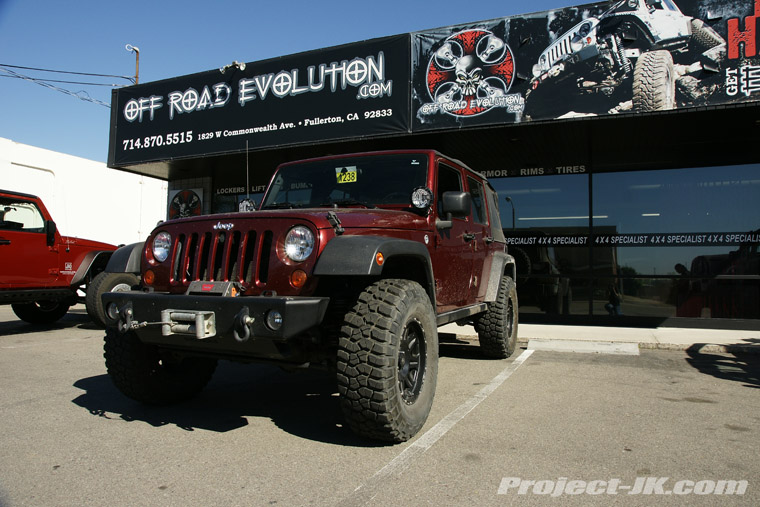
Before - nmwranglerx's JK ready to EVOlve
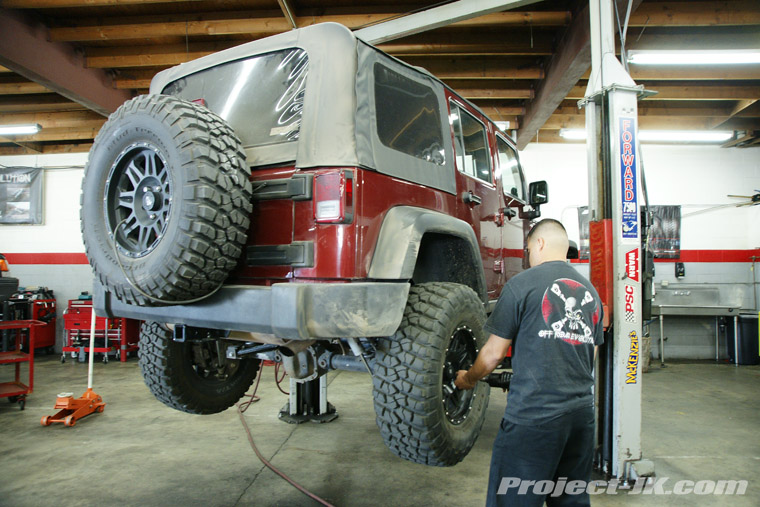
Up on the lift and removing the tires
All the components of the EVO MFG DoubleD JK Bolt-On Long Arm Kit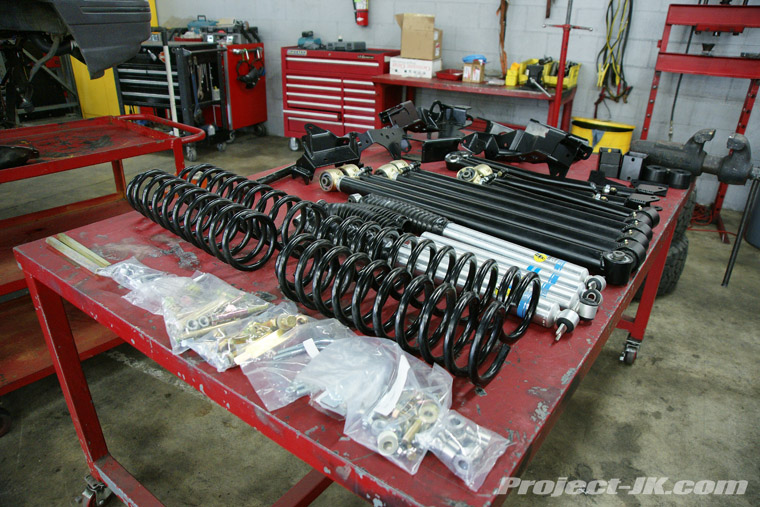
Starting the tear down

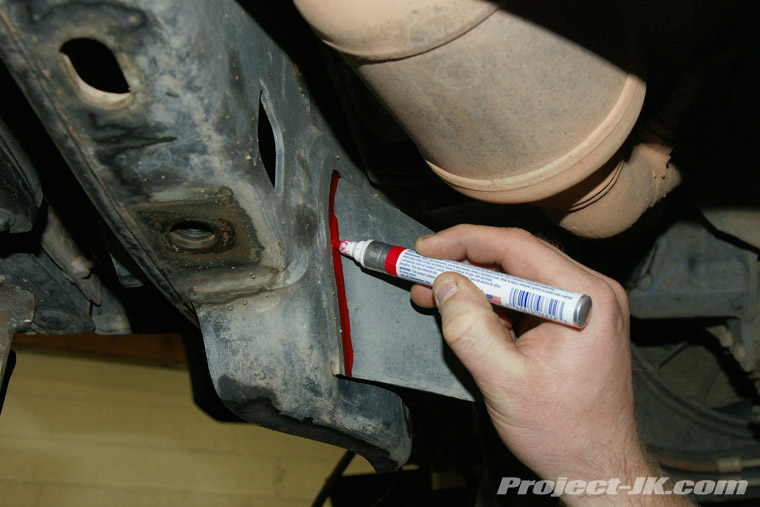
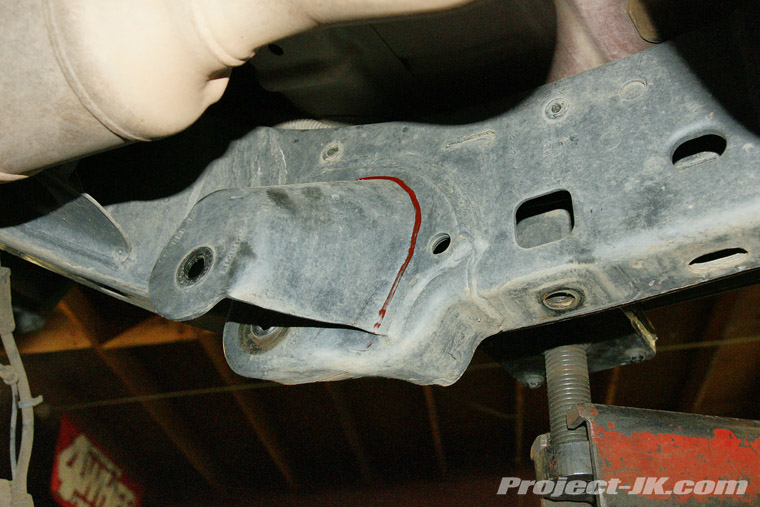
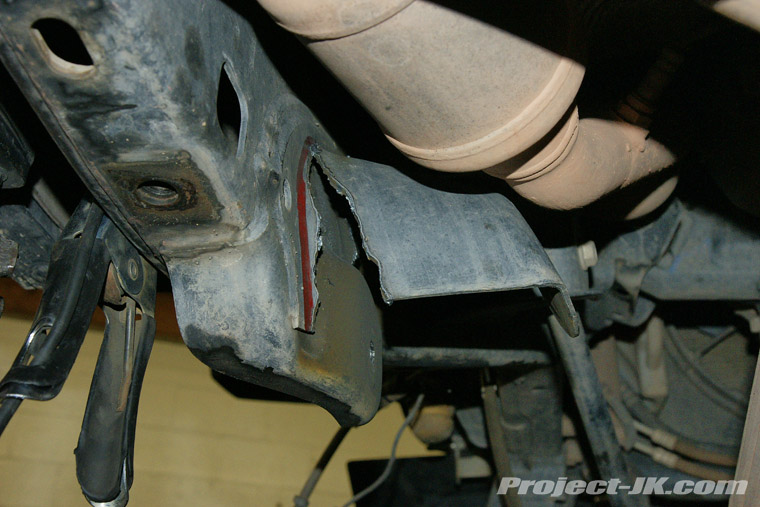
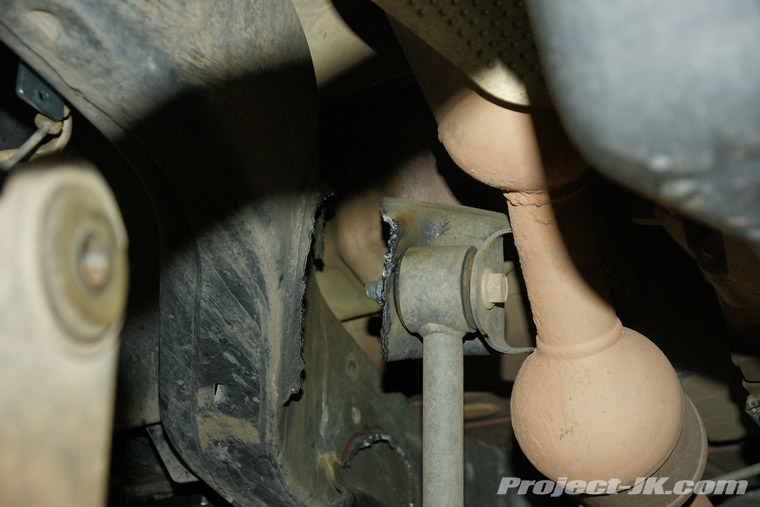
Marking the cuts on the front factory control arm brackets
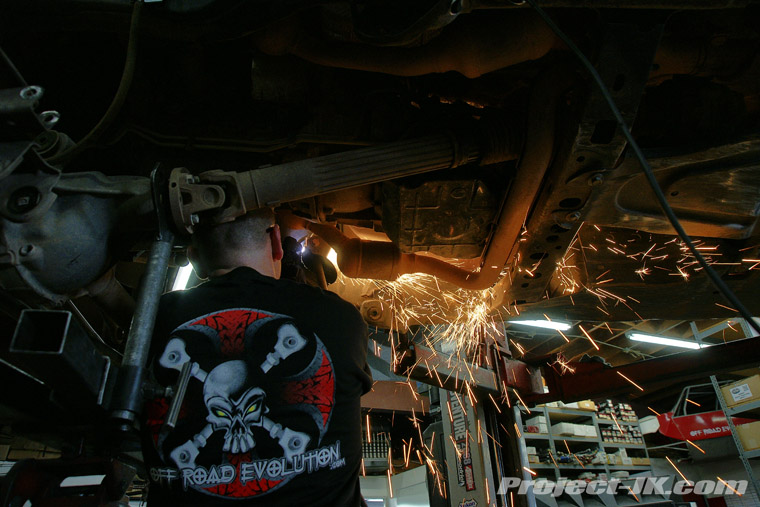
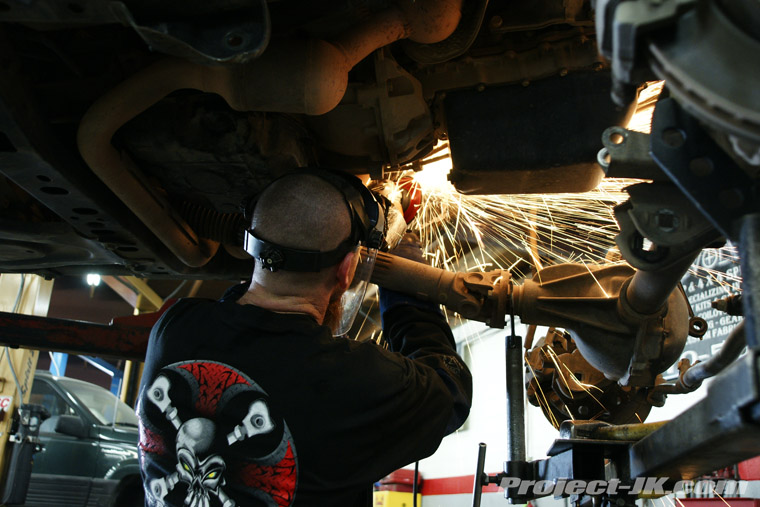
Cutting off the factory control arm mounts
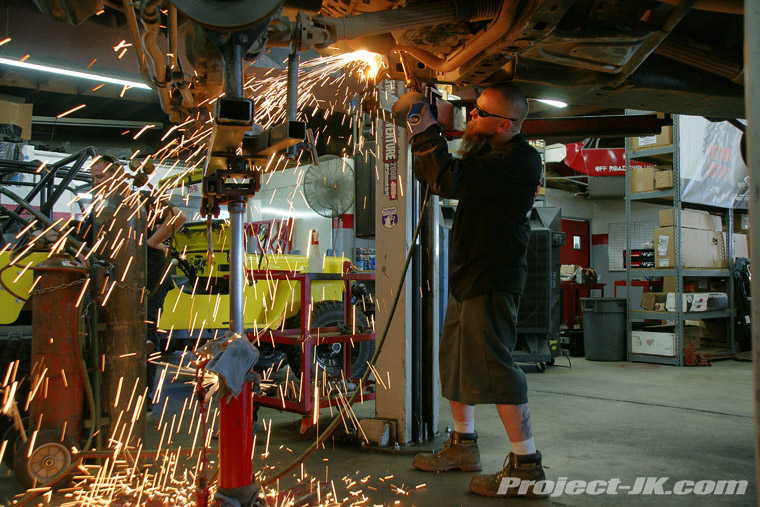
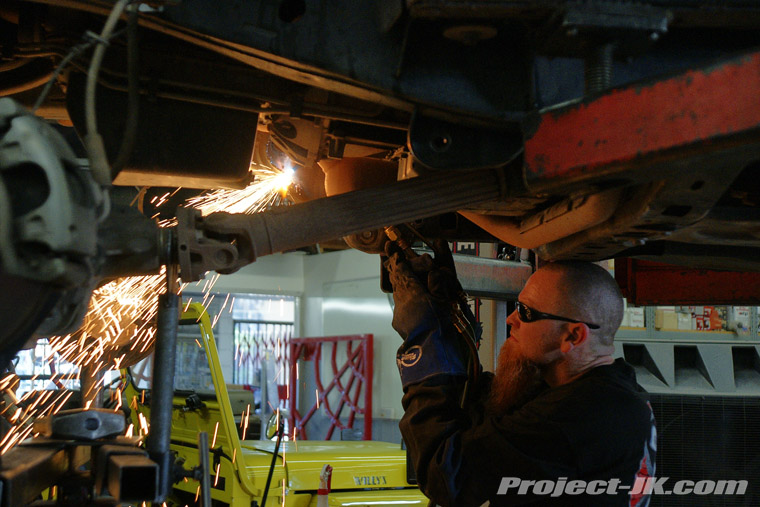
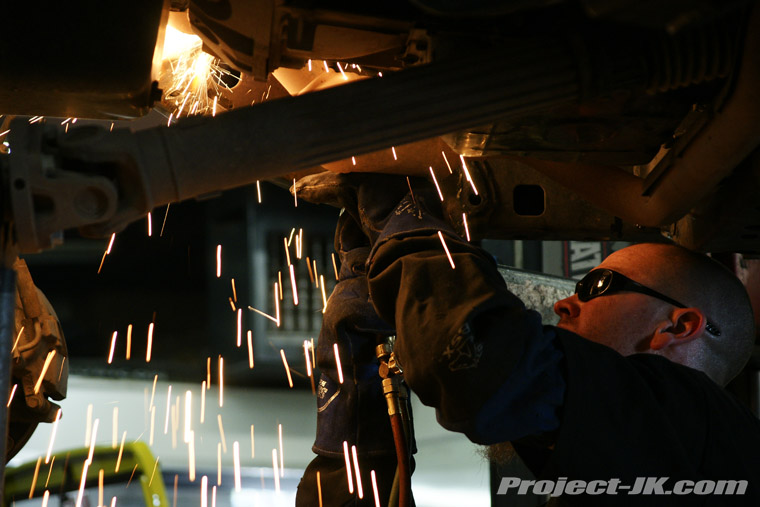
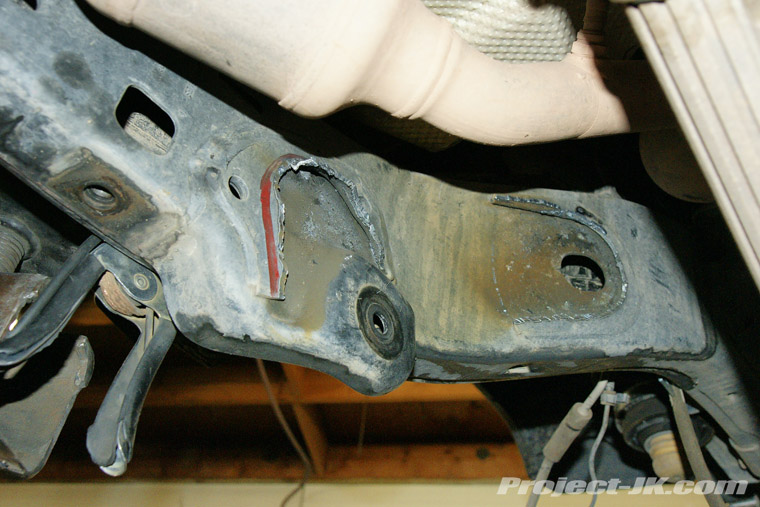
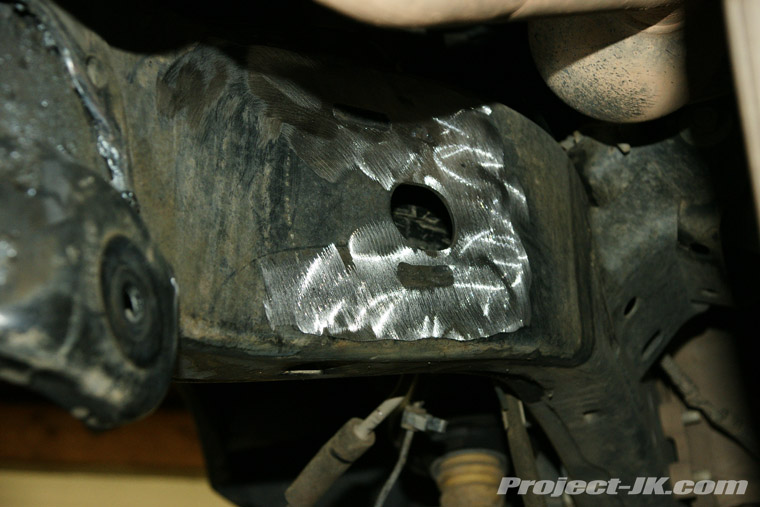
Grinding to a smooth finish
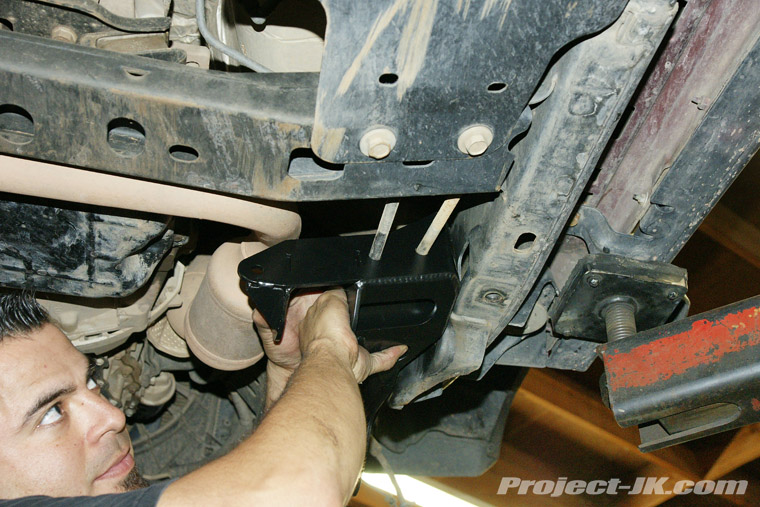
Fitting the new control arm bracket to mark the holes that need to be drilled
Removed the bracket to drill the marked holes

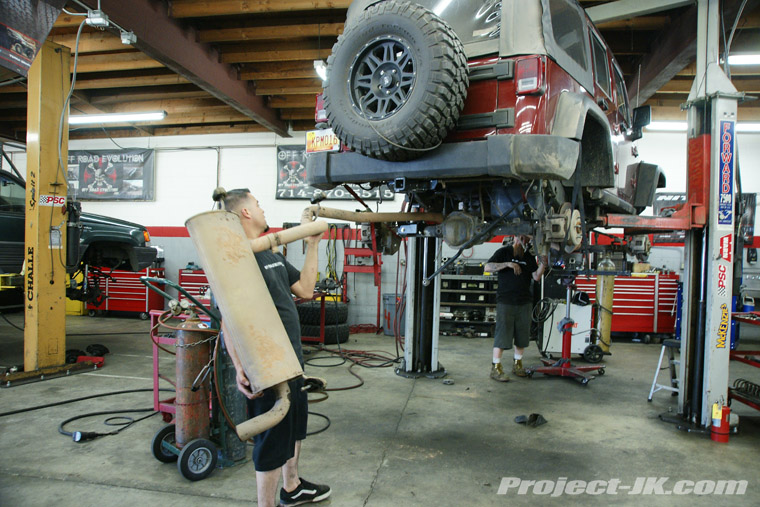
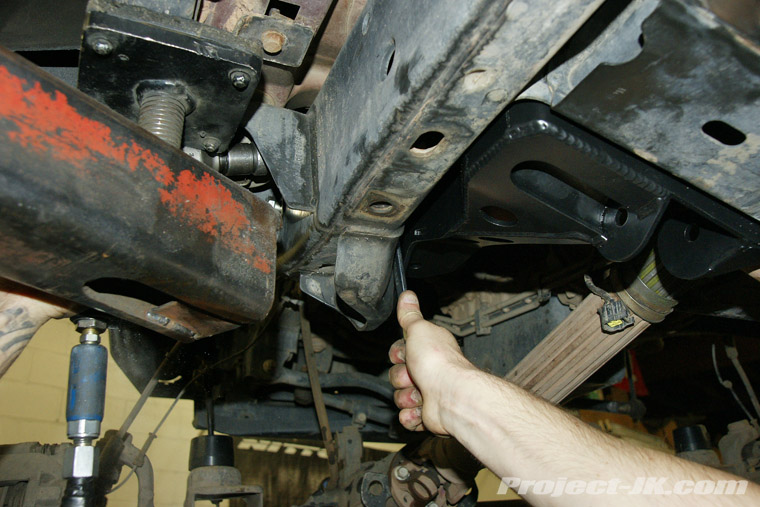
Removing the exhaust so that the remaining holes can be drilled

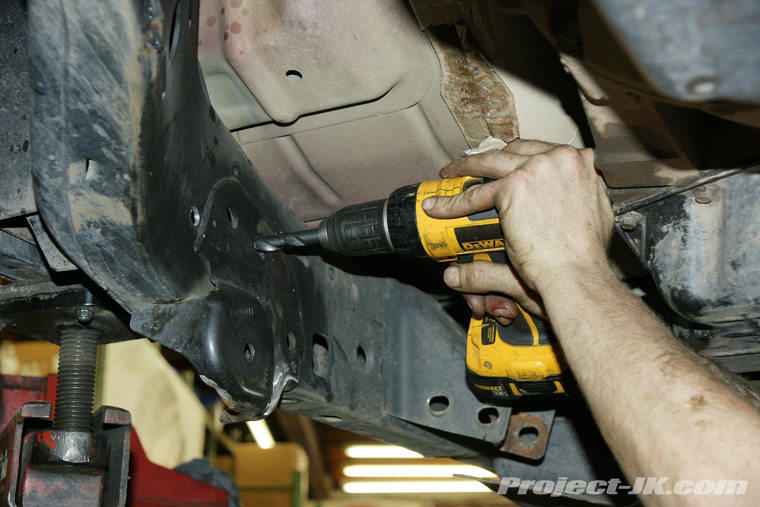
Now that the exhaust is out of the way, the remaining holes can be drilled
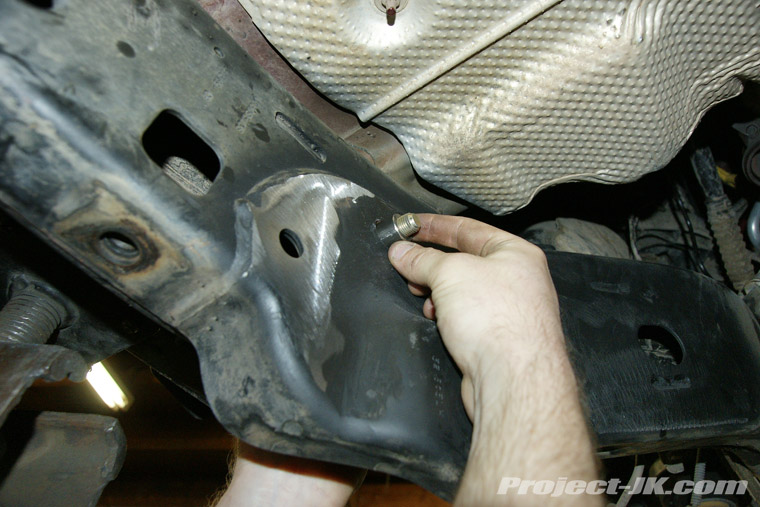
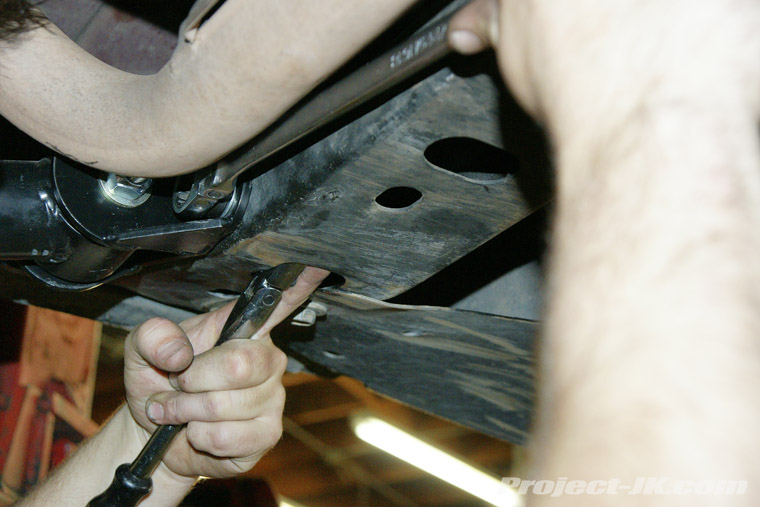
After drilling the holes, install the crush sleeves
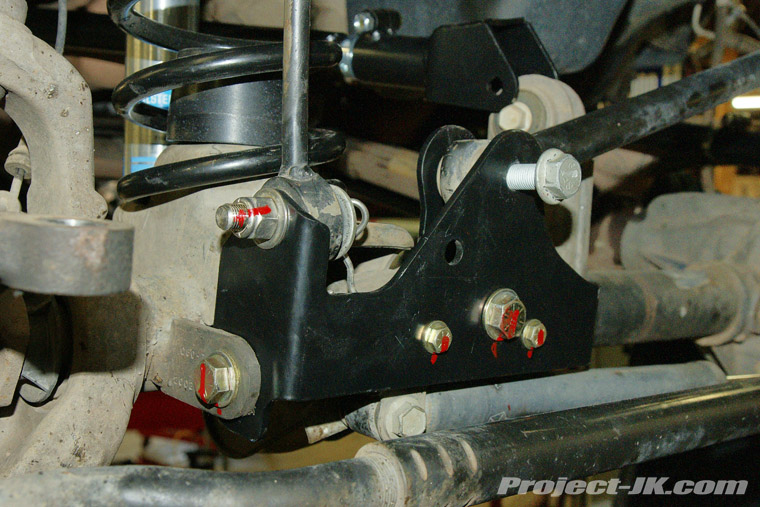
Now the front control arm brackets can be installed
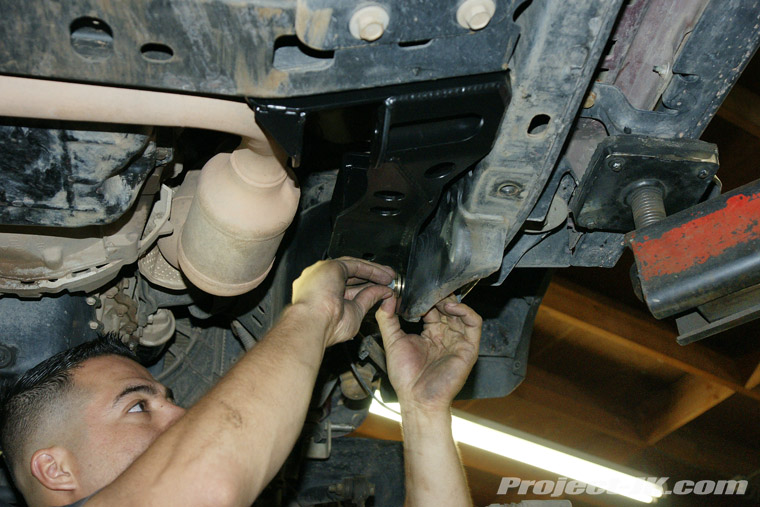
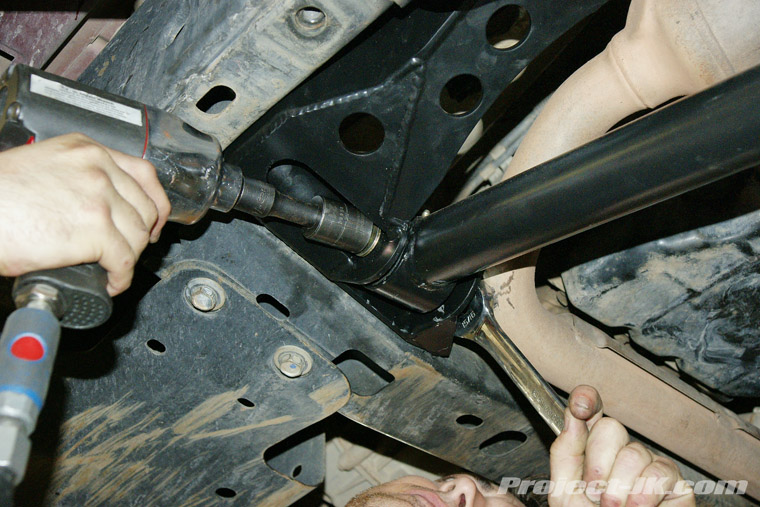
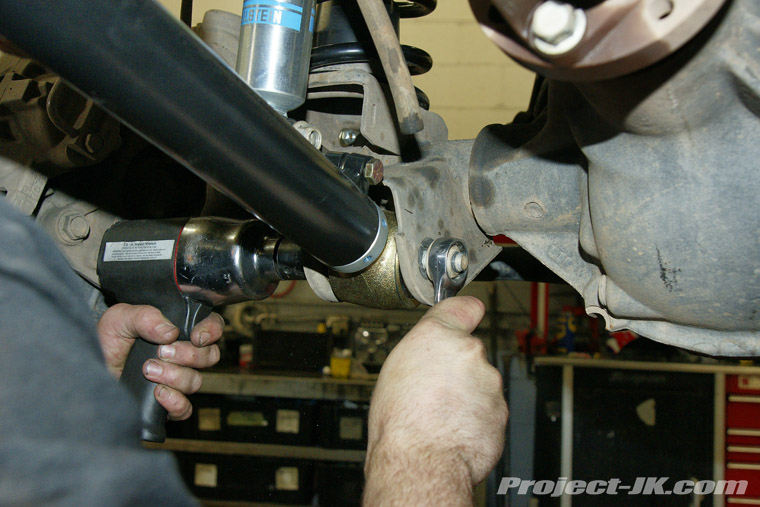
Tightening up the front control arm bracket bolts
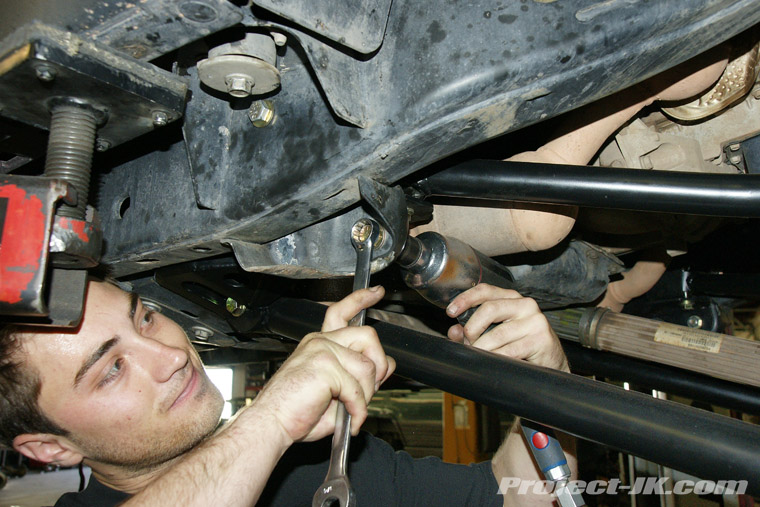
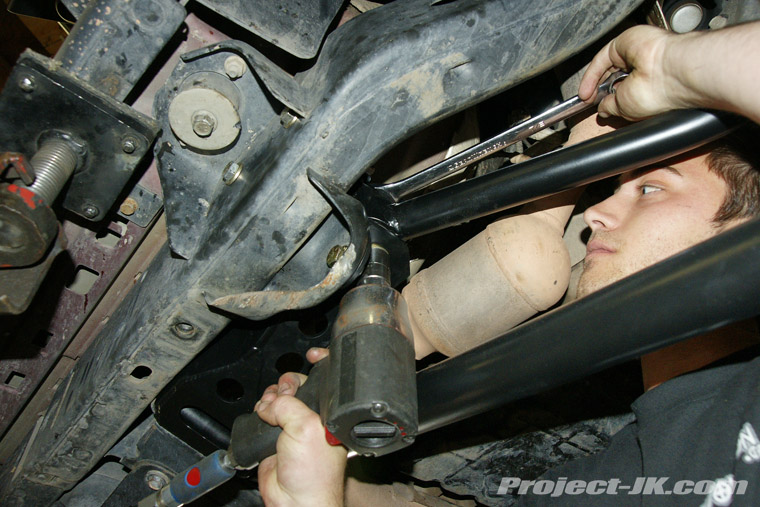
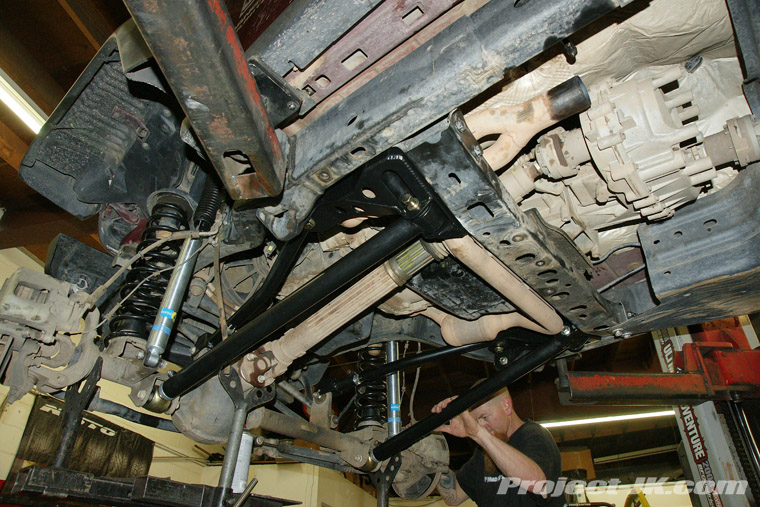
Installing the front control arms
Here are some photos taken of the install at Off Road Evolution:
Before - nmwranglerx's JK ready to EVOlve
Up on the lift and removing the tires
All the components of the EVO MFG DoubleD JK Bolt-On Long Arm Kit
Starting the tear down
Marking the cuts on the front factory control arm brackets
Cutting off the factory control arm mounts
Grinding to a smooth finish
Fitting the new control arm bracket to mark the holes that need to be drilled
Removed the bracket to drill the marked holes
Removing the exhaust so that the remaining holes can be drilled
Now that the exhaust is out of the way, the remaining holes can be drilled
After drilling the holes, install the crush sleeves
Now the front control arm brackets can be installed
Tightening up the front control arm bracket bolts
Installing the front control arms
Mel
