
Evap canister relocation with no Kit. DIY on the cheap

Thread Starter
JK Freak
Joined: Jan 2009
Posts: 615
Likes: 0
From: Ofallon, MO
ok just got back from Oreilys Auto Parts. They had everything in stock. Some may need to order the hose I used, but most should stock it.
Qty 3 foot Gates 5/8" Fuel hose Gates part#50018 (any 5/8 hose rated for fuel will work)
Qty# 3 Gates 90 degree fittings rated for fuel gates Part#28624 (no hose clamps needed when used with Gates 5/8' hose)
Qty 1 pack 1/4-20 Bolts 3 in a pack Part #760-010
Qty 1 pack 1/4-20 nuts 5 in a pack Part #762-010
Qty 1 pack 5/16 fender washers 9 in a pack Part #766-109
Qty 4 hose 5/8" clamps part #5010 (will be used on the factory line connections if needed)
Total amount Spent $14.32 all purchased from the same place so no running all over town to acquire the parts.
I am by no means trying to discourage anyone from buying a kit, just saying it can be done cheaper if you have a few tools and are somewhat mechanically inclined.
Did it by myself so didn't get any install pics along the way. Its really not that hard. Hardest part was holding the bolts.... Then I thought.... OMG Duck tape lol. Put a lil tape on em from the top side and presto they stay in place while you heave the unit up from the bottom and hold it in place with a 2x4 and then put the nuts and washers on from the bottom side lol.
Total time not counting the parts run..... 1 hours 12 minutes... This was taking my time, but I also cheated and used a battery operated impact.:smokin:
My run down on the step by step...
1. gather parts
2.remove rear seat and carpet from under it
3.Jack up the jeep and support it by the frame so the axle drops
4.Remove evap can and factory hoses.(the hoses can be a bit tricky, but once ya look at em youll figure out how they come off
5.remove evap from bracket and flatten the z bend out of it
6.reattach to bracket and hold into posistion above axle and deceide where to drill holes.(I decieded against cutting the bracket and used the single side hole,and then drilled 2 new ones on the other side)
7.install new bolts in passenger compartment using duck tape as mentioned
above.
8. Place evap in its new home
9.run new lines
10. Cut the zip ties holding the wire
11. Plug in wire
12.clean up the tools
13. lower jeep and reinstall rear seat or leave it out your choice...
14. take a look at your handy work and send me half of the extra money you saved...
here are the pics.
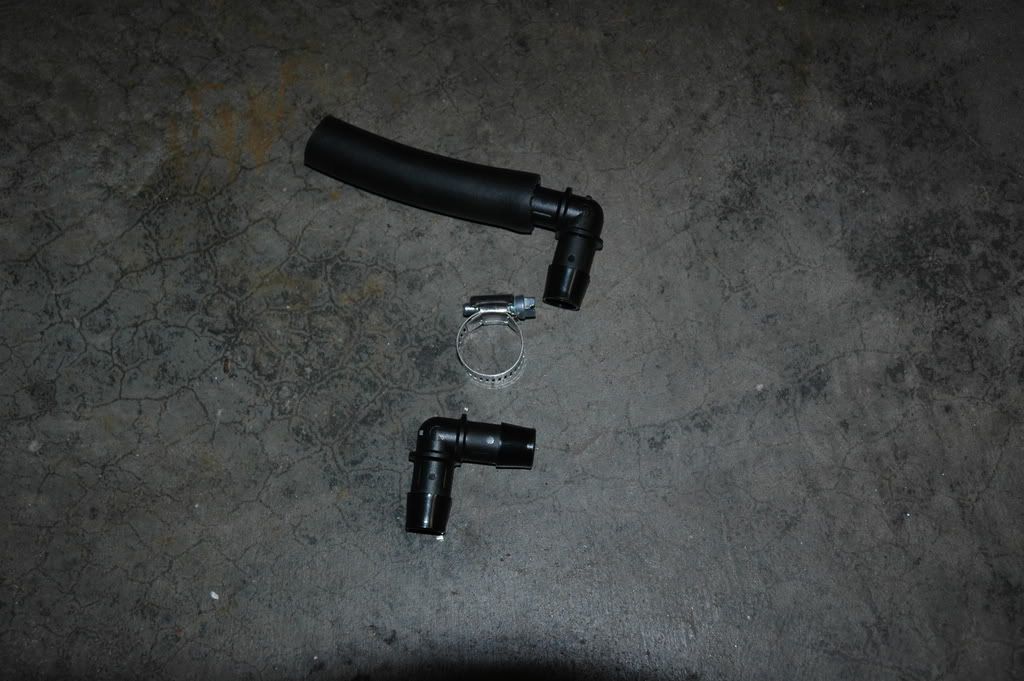
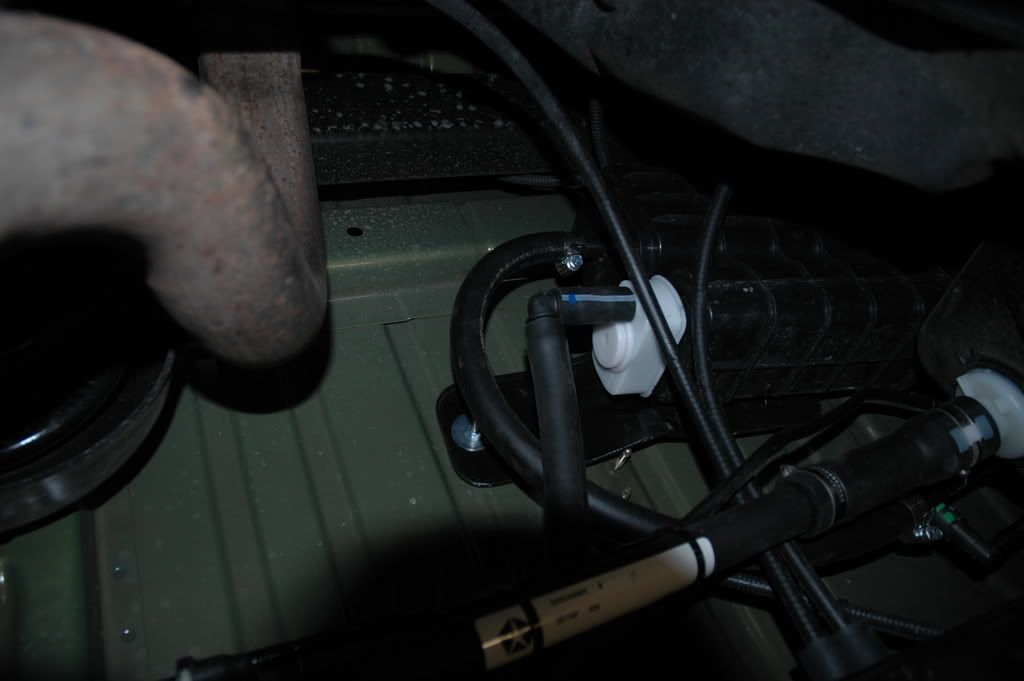
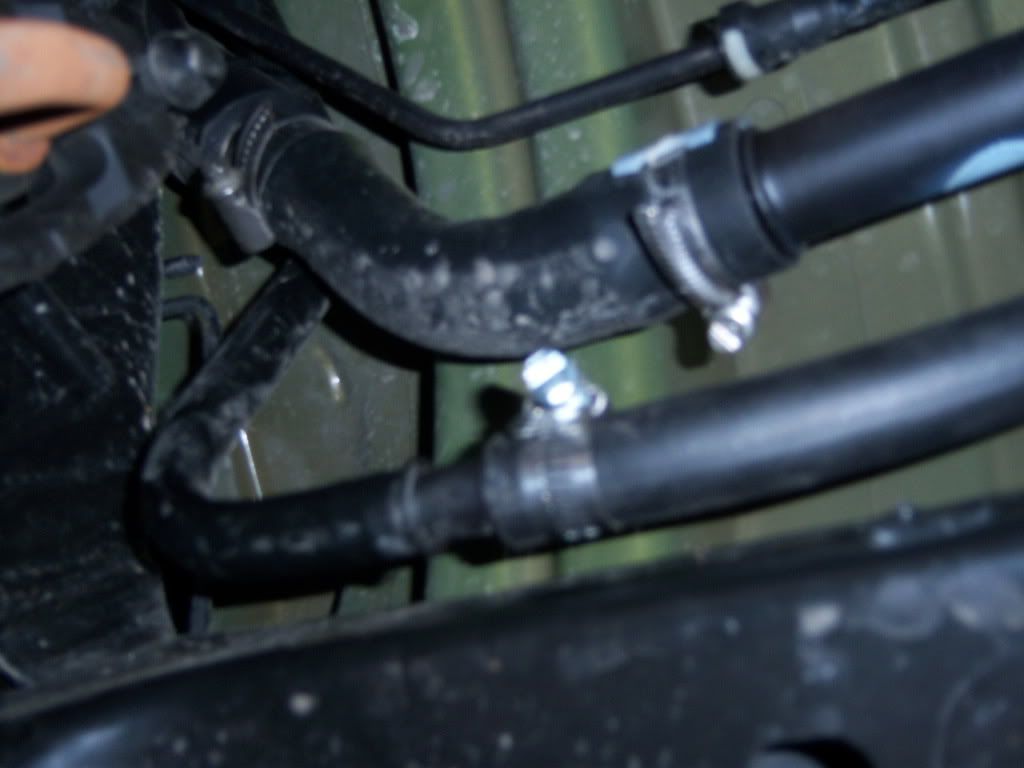
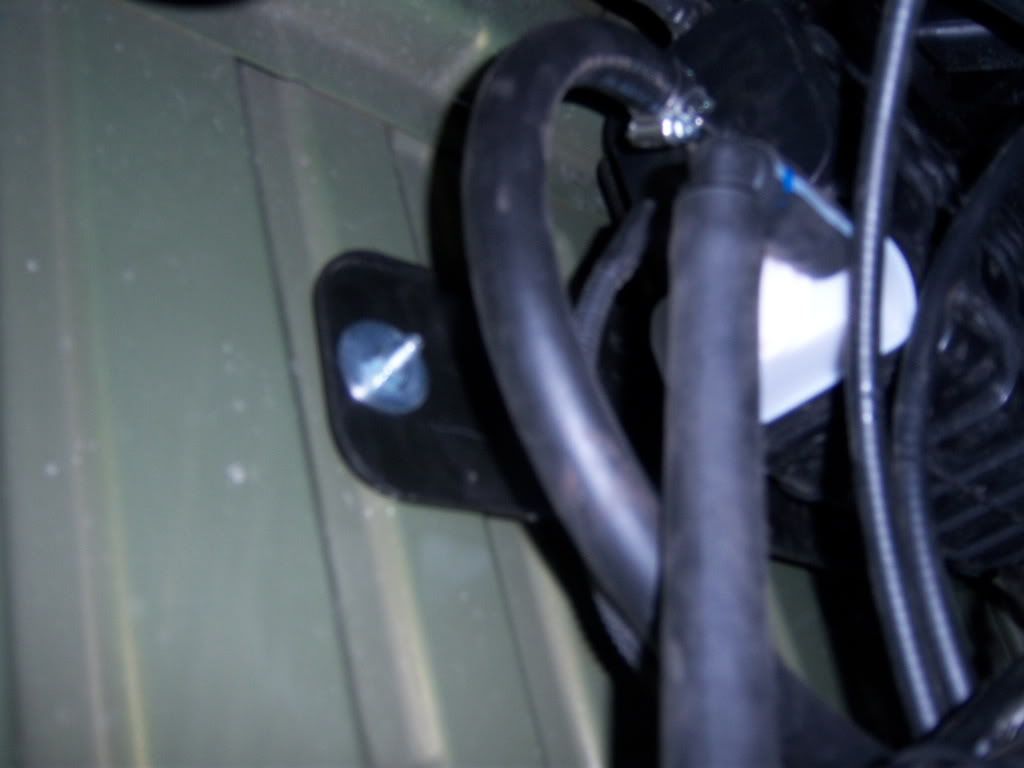
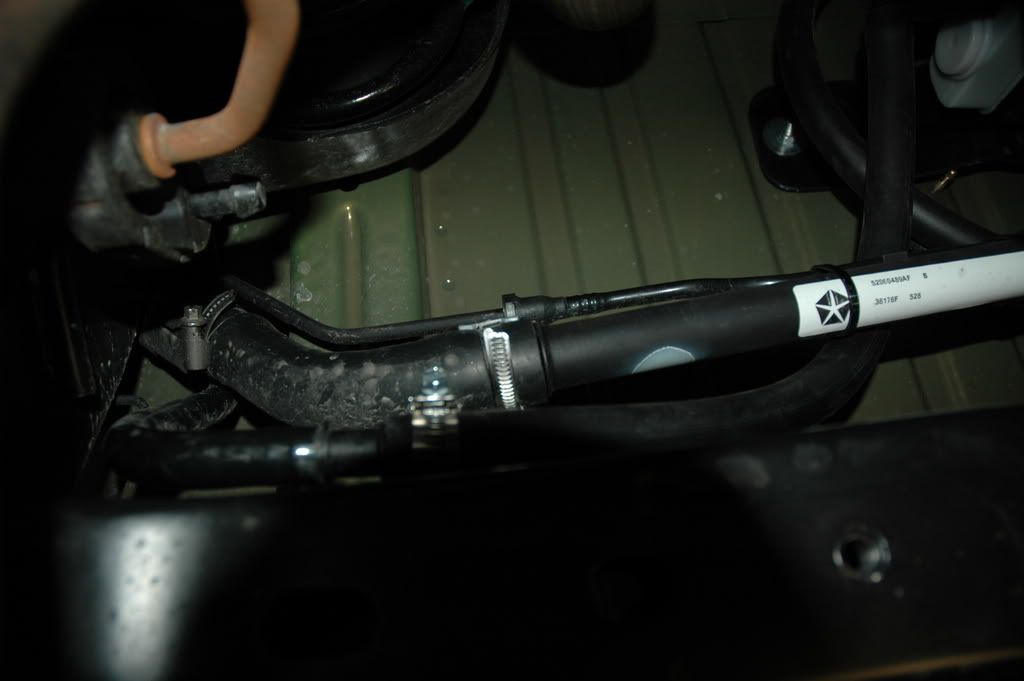
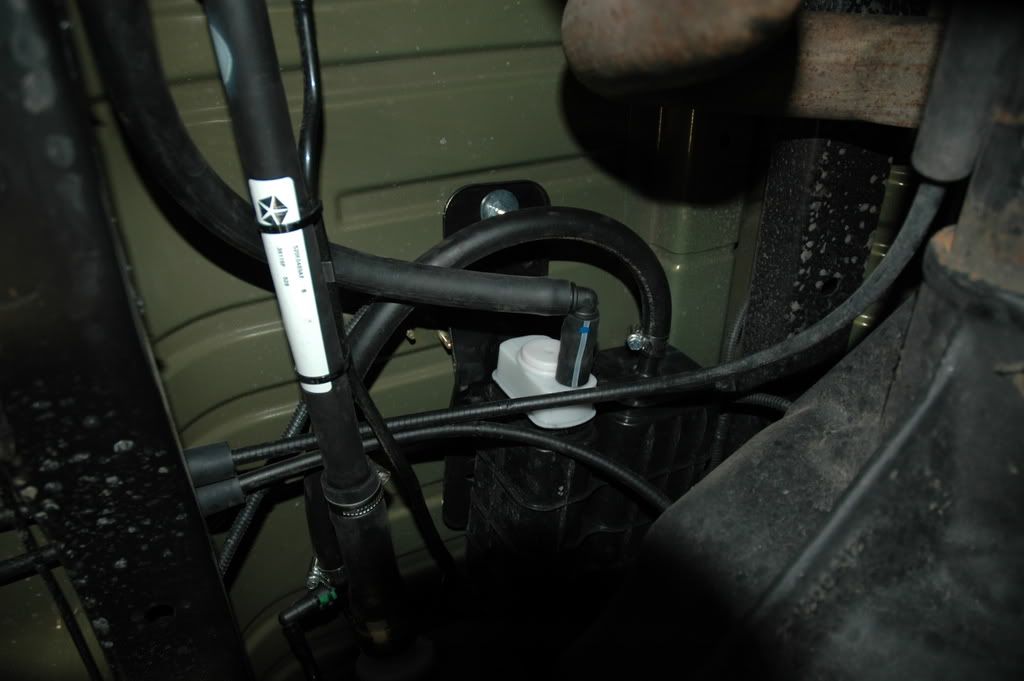
elbows
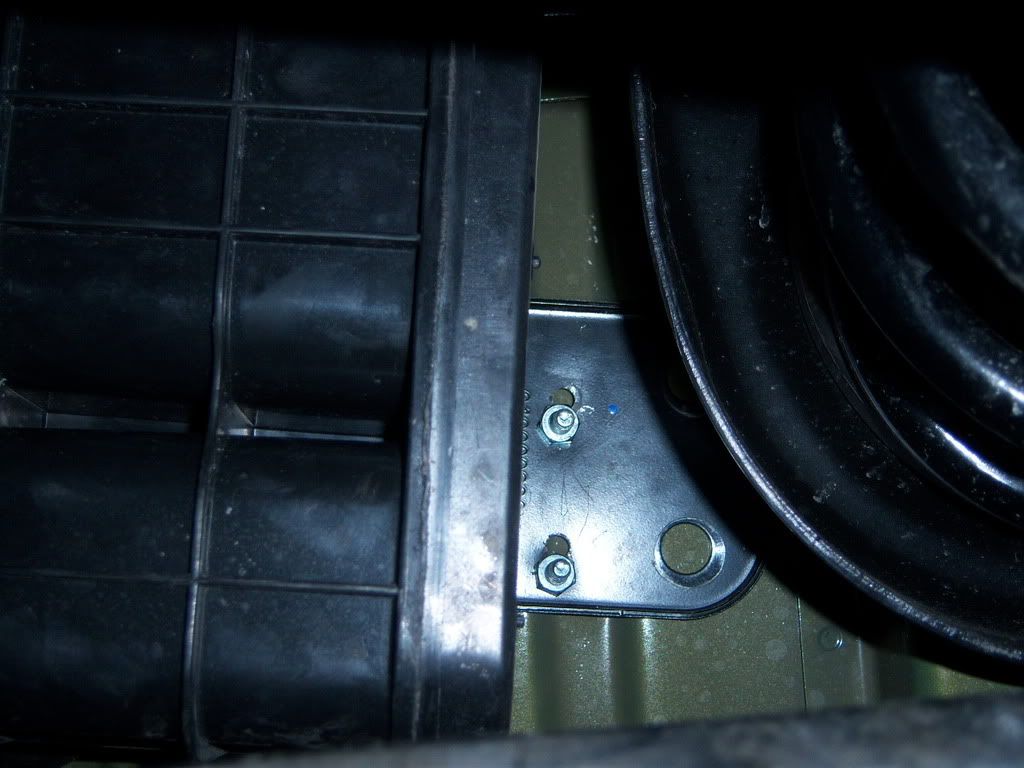
Canister shifted to the right (drilling the holes can be tricky but it gets everything away from the exhaust.
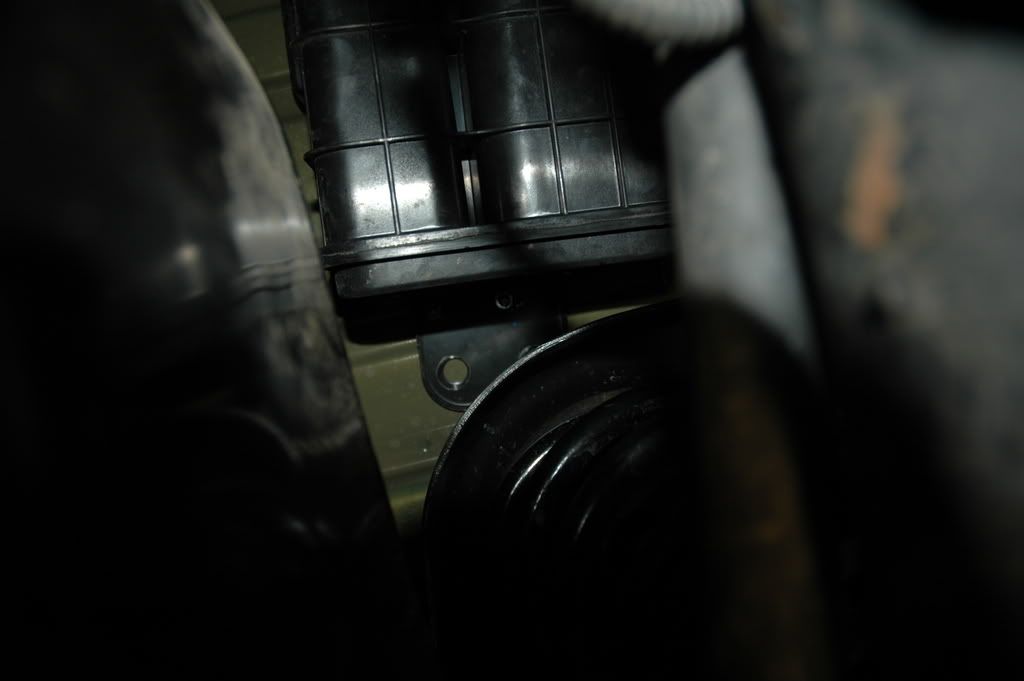
Exhaust clearance
I am going to add the other 2 90 degree elbows to the top hose once its warmer out to take the bend away. I dont feel anything will happen the way it is, but I have the parts already so why not.
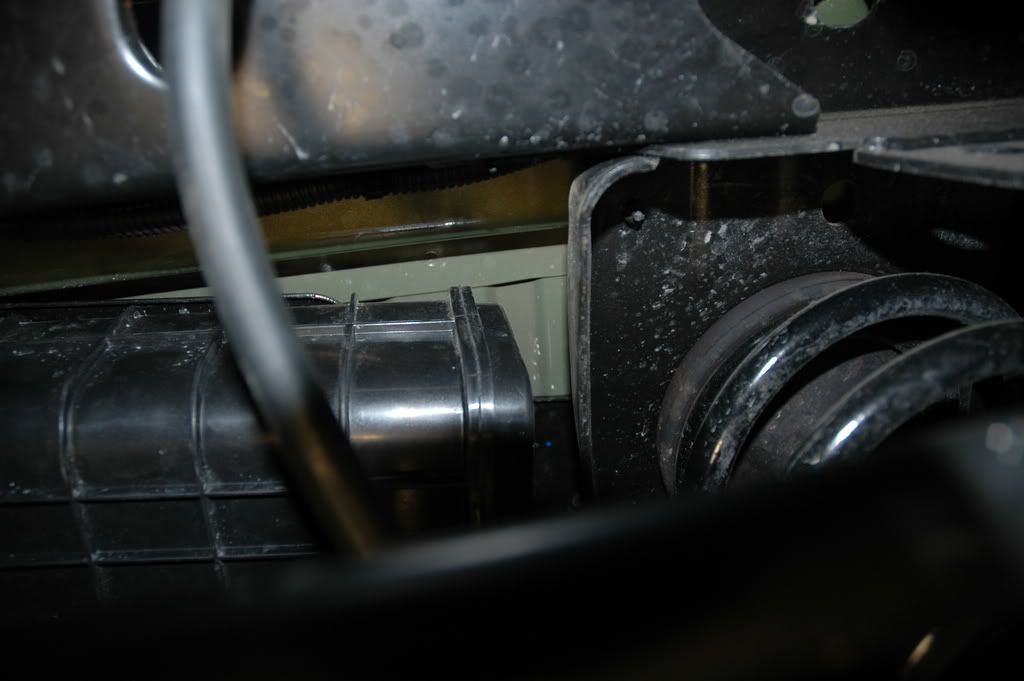
Other random shots
Qty 3 foot Gates 5/8" Fuel hose Gates part#50018 (any 5/8 hose rated for fuel will work)
Qty# 3 Gates 90 degree fittings rated for fuel gates Part#28624 (no hose clamps needed when used with Gates 5/8' hose)
Qty 1 pack 1/4-20 Bolts 3 in a pack Part #760-010
Qty 1 pack 1/4-20 nuts 5 in a pack Part #762-010
Qty 1 pack 5/16 fender washers 9 in a pack Part #766-109
Qty 4 hose 5/8" clamps part #5010 (will be used on the factory line connections if needed)
Total amount Spent $14.32 all purchased from the same place so no running all over town to acquire the parts.
I am by no means trying to discourage anyone from buying a kit, just saying it can be done cheaper if you have a few tools and are somewhat mechanically inclined.
Did it by myself so didn't get any install pics along the way. Its really not that hard. Hardest part was holding the bolts.... Then I thought.... OMG Duck tape lol. Put a lil tape on em from the top side and presto they stay in place while you heave the unit up from the bottom and hold it in place with a 2x4 and then put the nuts and washers on from the bottom side lol.
Total time not counting the parts run..... 1 hours 12 minutes... This was taking my time, but I also cheated and used a battery operated impact.:smokin:
My run down on the step by step...
1. gather parts
2.remove rear seat and carpet from under it
3.Jack up the jeep and support it by the frame so the axle drops
4.Remove evap can and factory hoses.(the hoses can be a bit tricky, but once ya look at em youll figure out how they come off
5.remove evap from bracket and flatten the z bend out of it
6.reattach to bracket and hold into posistion above axle and deceide where to drill holes.(I decieded against cutting the bracket and used the single side hole,and then drilled 2 new ones on the other side)
7.install new bolts in passenger compartment using duck tape as mentioned
above.
8. Place evap in its new home
9.run new lines
10. Cut the zip ties holding the wire
11. Plug in wire
12.clean up the tools
13. lower jeep and reinstall rear seat or leave it out your choice...
14. take a look at your handy work and send me half of the extra money you saved...
here are the pics.
elbows
Canister shifted to the right (drilling the holes can be tricky but it gets everything away from the exhaust.
Exhaust clearance
I am going to add the other 2 90 degree elbows to the top hose once its warmer out to take the bend away. I dont feel anything will happen the way it is, but I have the parts already so why not.
Other random shots
Last edited by stangjeeper; Feb 25, 2009 at 08:26 PM.

 I think you need to get a better camera.
JK Super Freak
Joined: Oct 2007
Posts: 1,595
Likes: 0
From: The Badlands (near Lafayette, IN)


Thread Starter
JK Freak
Joined: Jan 2009
Posts: 615
Likes: 0
From: Ofallon, MO
Thread Starter
JK Freak
Joined: Jan 2009
Posts: 615
Likes: 0
From: Ofallon, MO