
My waterproof cargo cover build.


Thread Starter
JK Enthusiast
Joined: Sep 2009
Posts: 378
Likes: 0
From: Destin, Florida
As part of the "Replace my Crappy stereo" build, I decided it was time to build my cargo cover. I had some build requirements that were pretty specific. It had to pretty secure, because I carry some expensive equipment back there. Also, it is going to be home for my amplifier and component rack.
It obviously needs to be water proof, or at least weather proof. And of course it needs to integrate well with the rest of the Jeep.
I started showing this build process in the Electrical section, but had requests to post up more pictures, so I'll put this part up here.....
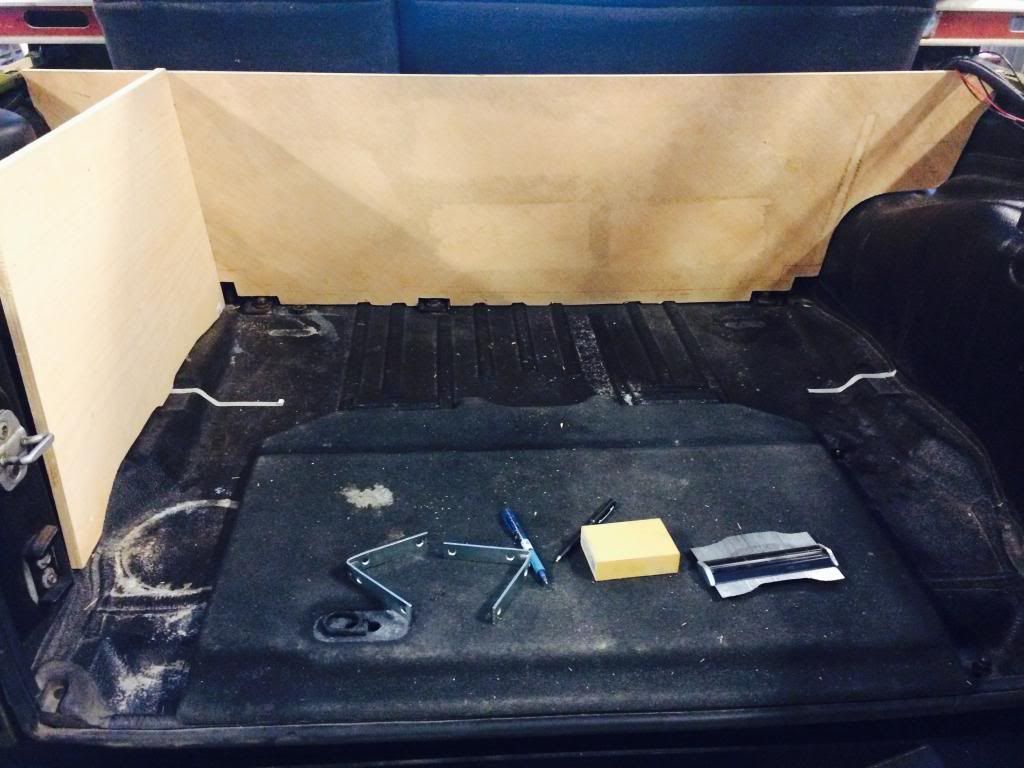
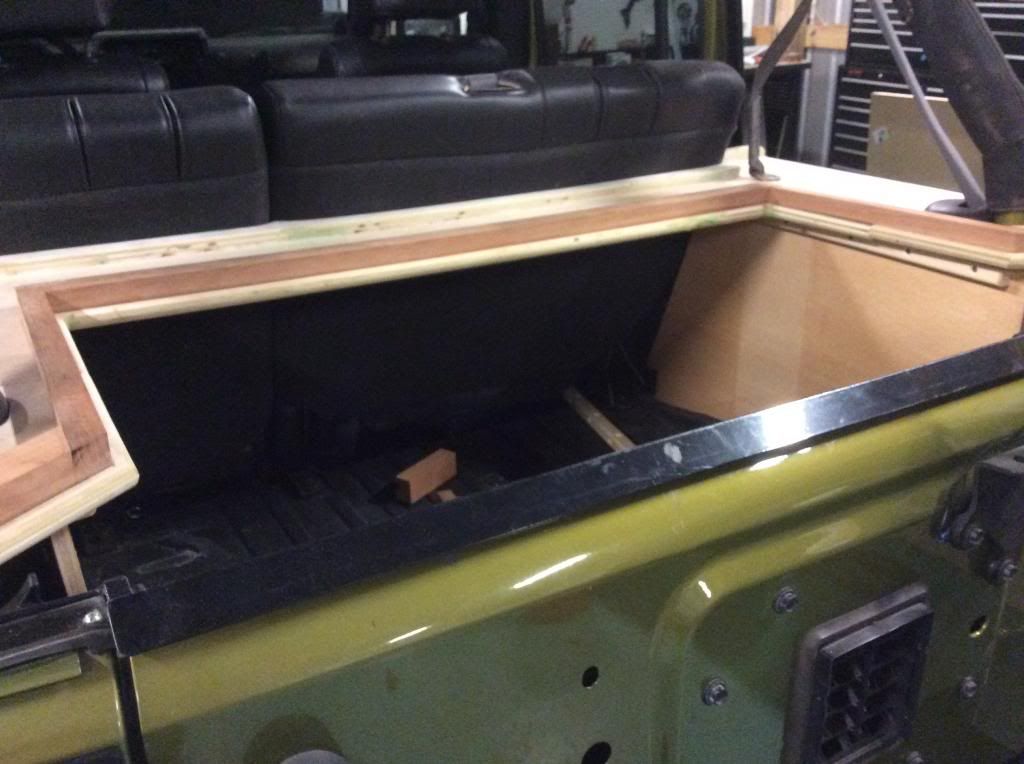
Started work on the bed enclosure. The enclosure will be water proof (unless I sink the Heap..then all bets are off!) The amp rack will be bolted in so it can be assembled then placed in the trunk for the connection of the 1/0 gauge, RCA's, and speaker wires.
Templates under construction:
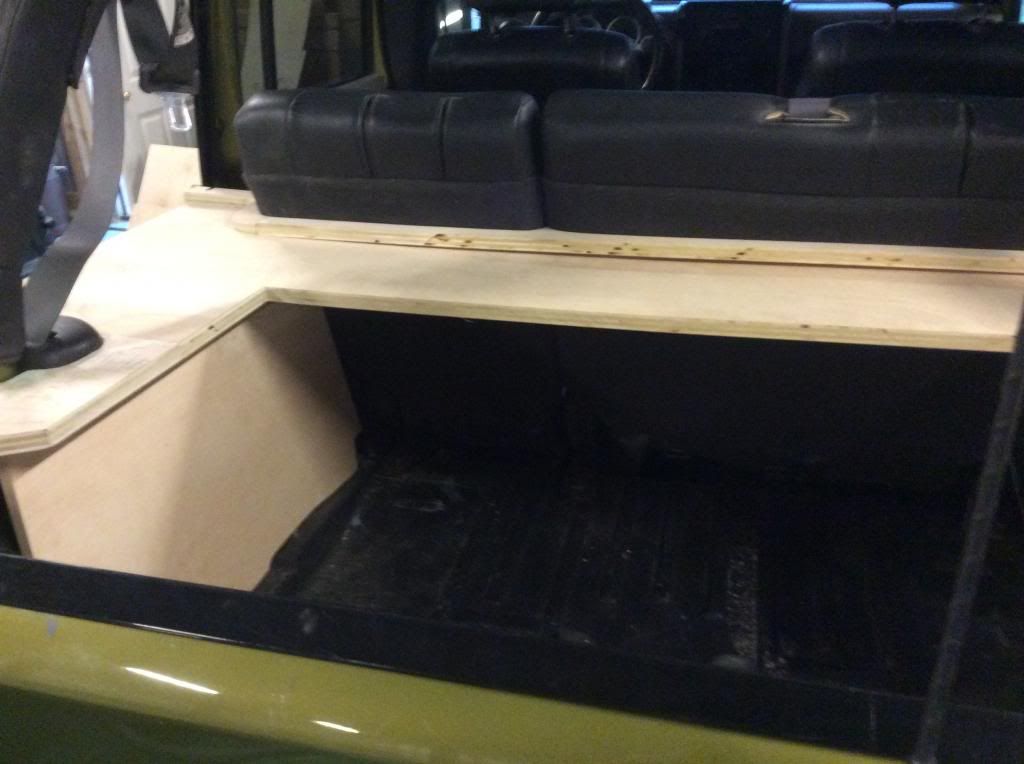
Working up to the back seats and around the roll bar..
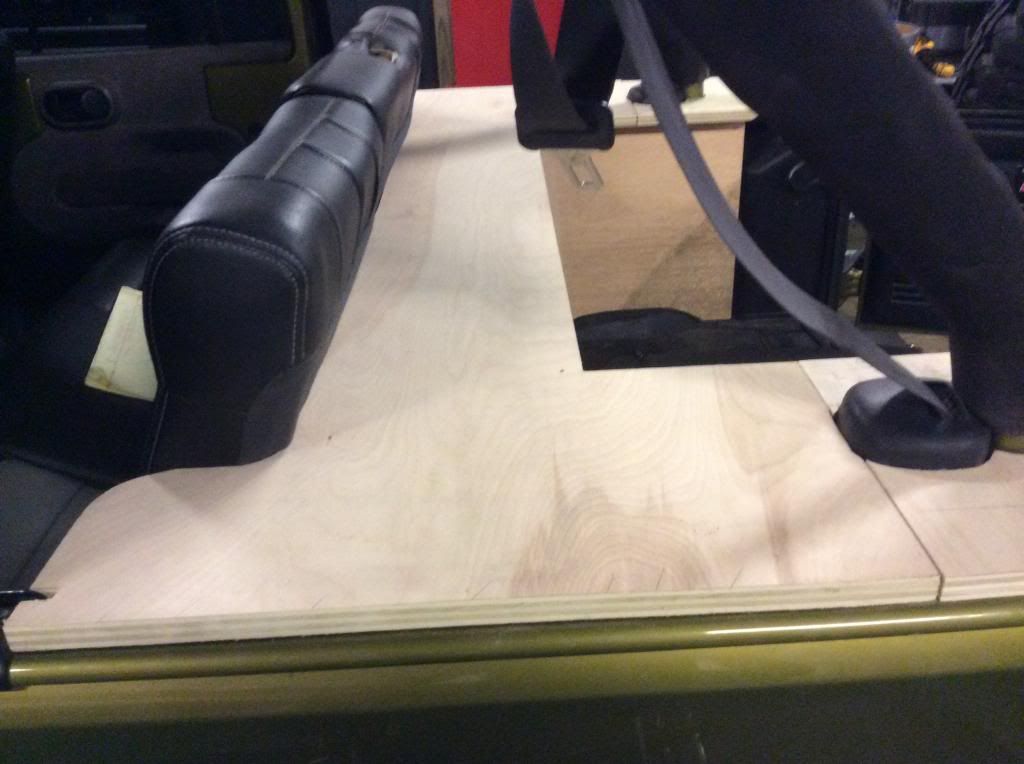
Creating a lip to keep water from running forward into the cab.
So a couple hours in and I will be starting on the opening/ hatch next. Once the cutting and fitting is done the wood will be epoxy primed, fiberglass coated, then urethane coated with Raptor Liner.
It obviously needs to be water proof, or at least weather proof. And of course it needs to integrate well with the rest of the Jeep.
I started showing this build process in the Electrical section, but had requests to post up more pictures, so I'll put this part up here.....
Started work on the bed enclosure. The enclosure will be water proof (unless I sink the Heap..then all bets are off!) The amp rack will be bolted in so it can be assembled then placed in the trunk for the connection of the 1/0 gauge, RCA's, and speaker wires.
Templates under construction:
Working up to the back seats and around the roll bar..
Creating a lip to keep water from running forward into the cab.
So a couple hours in and I will be starting on the opening/ hatch next. Once the cutting and fitting is done the wood will be epoxy primed, fiberglass coated, then urethane coated with Raptor Liner.
Thread Starter
JK Enthusiast
Joined: Sep 2009
Posts: 378
Likes: 0
From: Destin, Florida
I got a few hours in the shop this weekend and made some progress on the trunk.
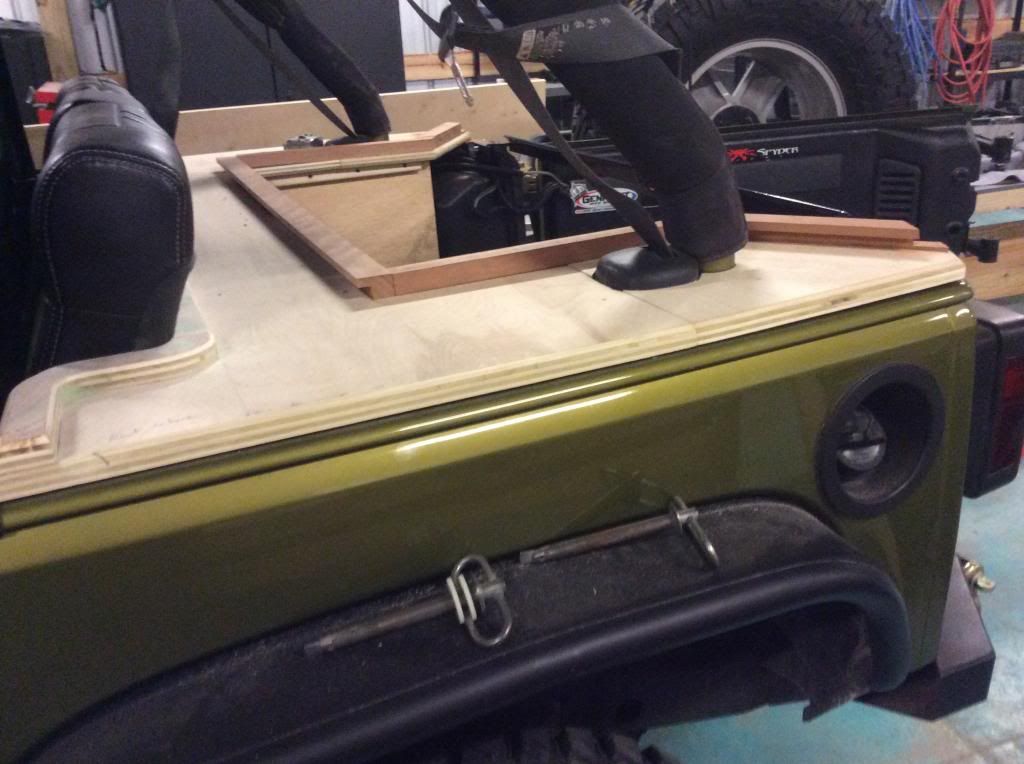
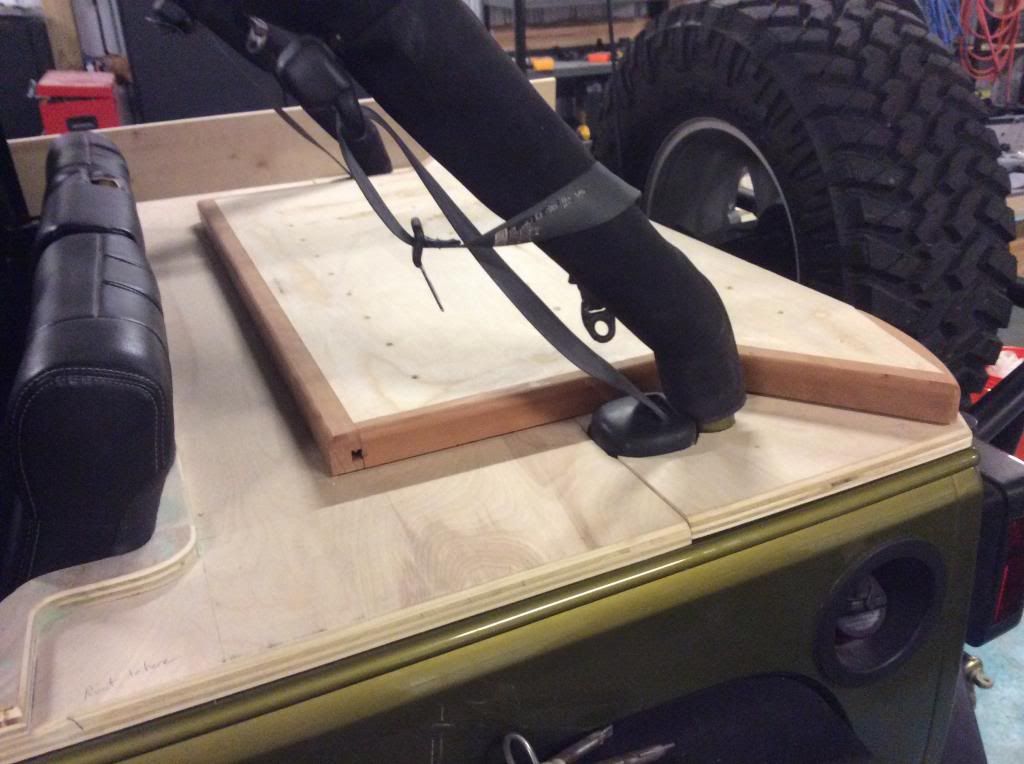
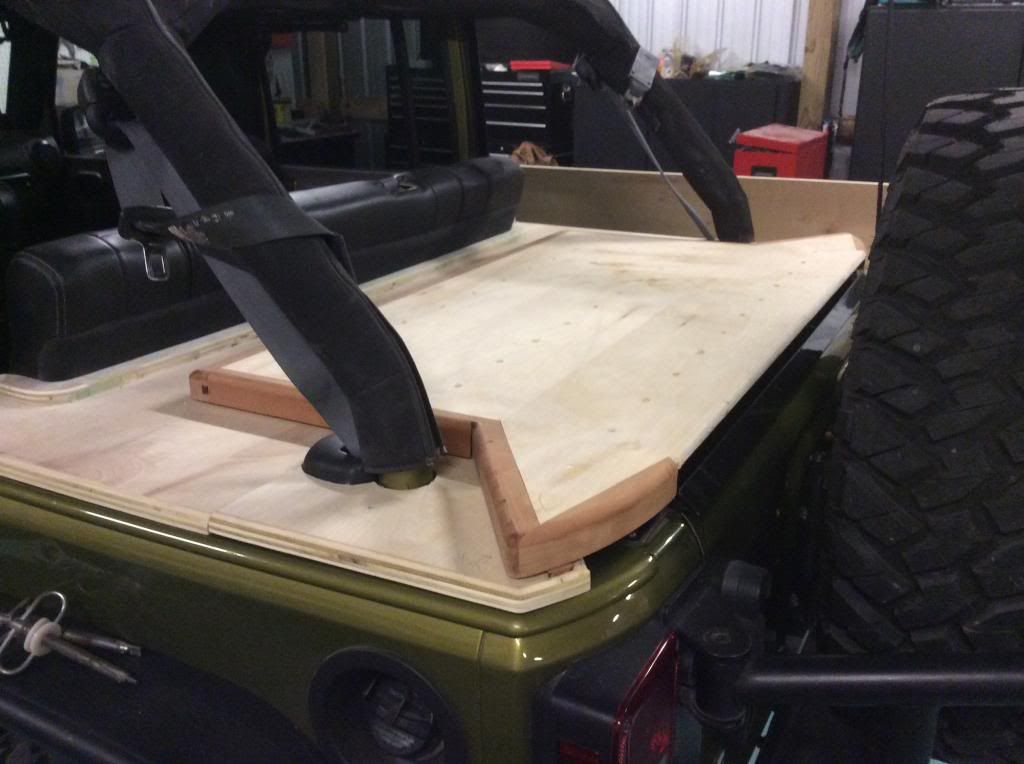
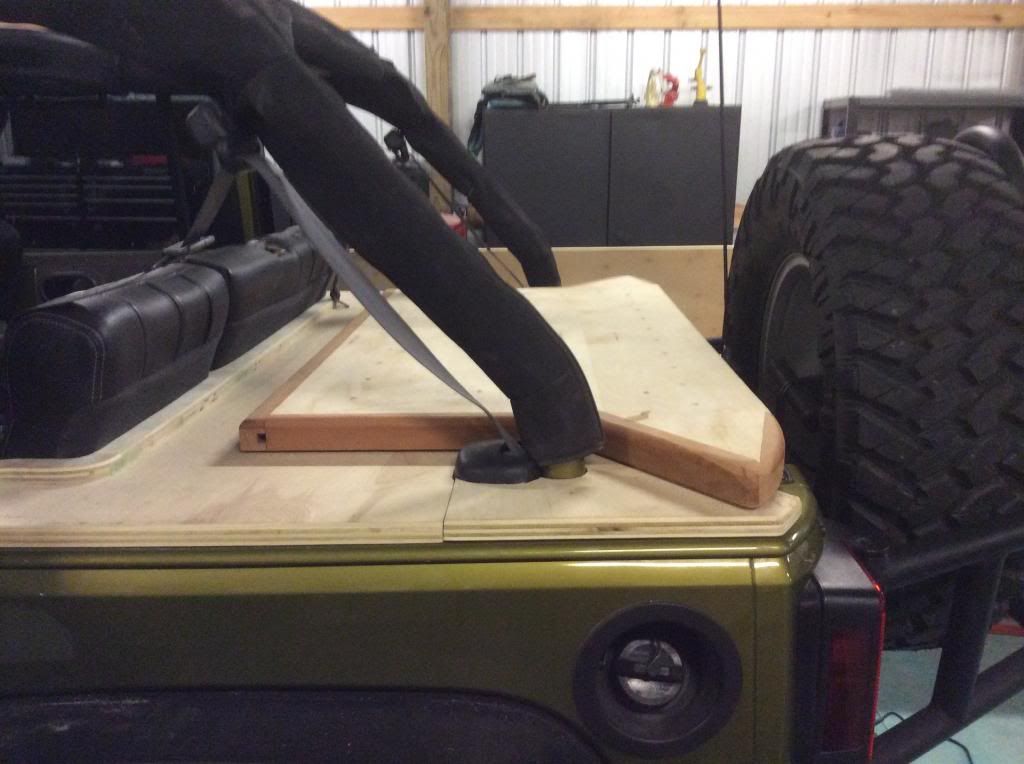
The darker wood for the coaming and band around the lid is well dried cherry. Very hard and heavy. Under the lid there are 3 parallel ribs, 2 inch by 2 inch, to help keep it strong and straight.
The back end is the difficult part, working around the knobs that tighten the rear window bar down...
The darker wood for the coaming and band around the lid is well dried cherry. Very hard and heavy. Under the lid there are 3 parallel ribs, 2 inch by 2 inch, to help keep it strong and straight.
The back end is the difficult part, working around the knobs that tighten the rear window bar down...

JK Enthusiast
Joined: Jun 2012
Posts: 105
Likes: 0
From: Marysville, WA
Loving this! Any advice on how to get such a tight fit like you have around the roll bars and rear where it impacts the tailgate? Are you running a hardtop or soft-top? My hardtop glass pinches between the tailgate and my current "trunk" lid.
Last edited by SeverePatronage; Dec 29, 2013 at 08:24 PM.
Thread Starter
JK Enthusiast
Joined: Sep 2009
Posts: 378
Likes: 0
From: Destin, Florida
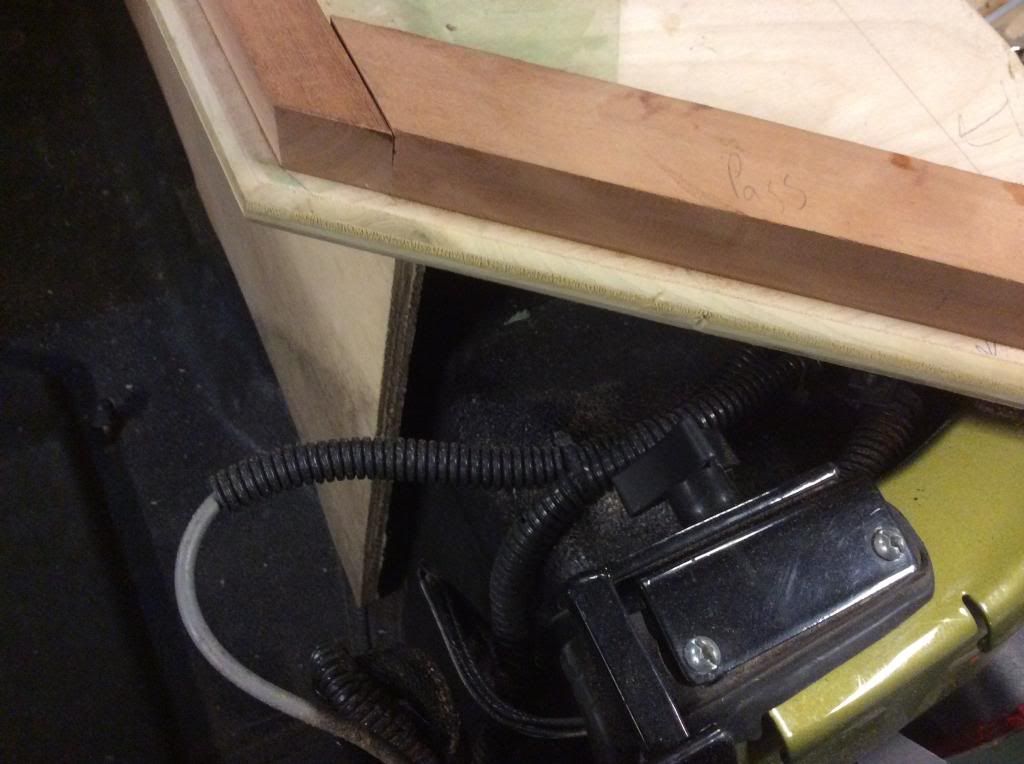
Ok, as for the fit I used some tools and tricks. See the tool in the bed of the Jeep in the 1st picture of post #1? That is a metal pin profile gauge. It helps transfer shapes. That gets me close. I take a scrap piece of thin plywood and make the basic outside shape. Using the pin gauge I approximate the cut out shape I need, making it a little too big. Like a 1/4 to 1/2 inch too big. Tape off the area you are copying the shape of with painters tape. Take hobby shop Modelers Clay (I use the stuff that never hardens) Place the over size template in place and clamp it in. Press the clay around the part (in this case the roll bar and seat belt mount)making sure to push it down so you can get the angles too. Then carefully remove the part and transfer the shape to the wood you want to use for the part. Start cutting! The angles transferred helps, because around the roll bar is a straight cut, but the piece around the seat belt mechanism was a 12% angle it fit tight.
Dave
Thread Starter
JK Enthusiast
Joined: Sep 2009
Posts: 378
Likes: 0
From: Destin, Florida
The enclosure construction phase is almost done. I just need to finish up the deck lid slide and pivot point....
The hinges, shocks, and lock are done.
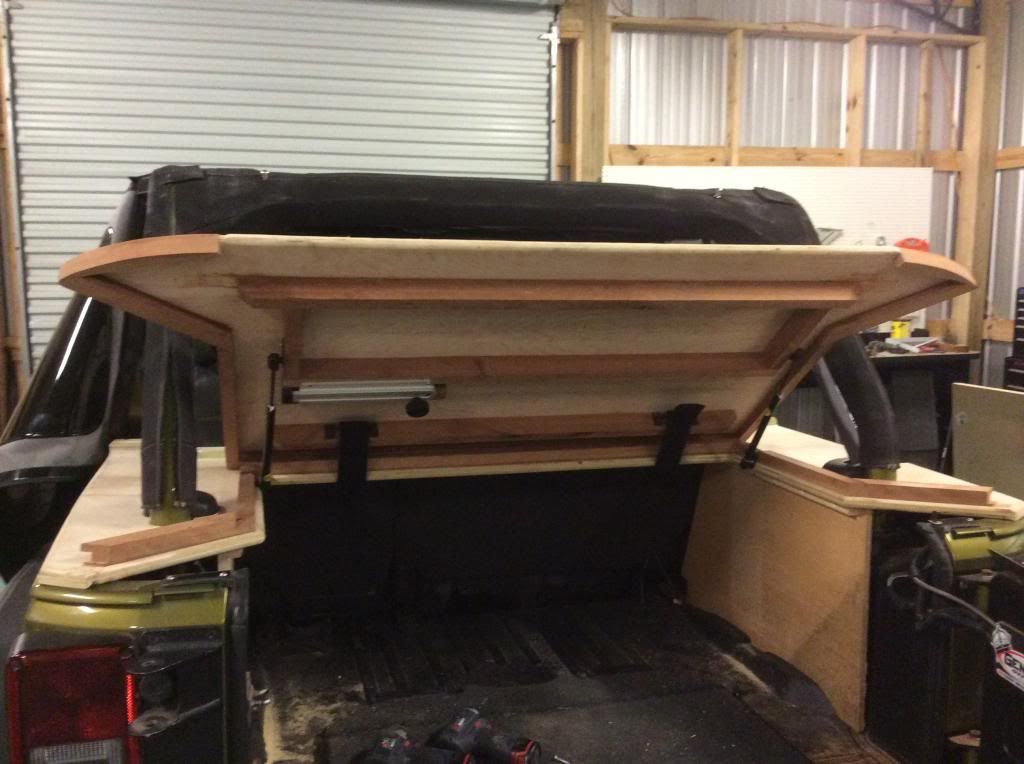

Here is basically how it will look buttoned up.
The hinges are flexible because the top is a positive lock when closed as the coaming and lid top are keyed together. To open, you push the lid forward against the shocks to disengage the
lid from the coaming, then let the shocks lift it up. To close you lower it against the shocks tension, and give it a slight shove forward to clear the "lips" (20-25 lbs) and it locks up again. The pressure of the shocks holds it
tight, the slide lock is just extra security.
The hinges, shocks, and lock are done.
Here is basically how it will look buttoned up.
The hinges are flexible because the top is a positive lock when closed as the coaming and lid top are keyed together. To open, you push the lid forward against the shocks to disengage the
lid from the coaming, then let the shocks lift it up. To close you lower it against the shocks tension, and give it a slight shove forward to clear the "lips" (20-25 lbs) and it locks up again. The pressure of the shocks holds it
tight, the slide lock is just extra security.


