
My front fender flare chop write up


Thread Starter
JK Enthusiast
Joined: Aug 2008
Posts: 268
Likes: 0
From: Irvine, CA
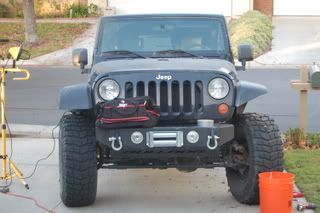
Hey everybody. I know some of you have already put your write ups on how to chop the fender flares, so here is my version. Each fender took about 30 minutes.
I decided to make this as easy as possible and decided to not remove anything before cutting. My tools for this job were a dremel tool with a metal cutting blade, a Husky utility knife, flathead screwdriver, duct tape and a drill with a 3/8 bit.
Step one
I used duct tape to mask off the area to cut. My goal was to cut right on the edge of the duct tape so I taped off right to the edge of where I was planning on cutting. I decided to maximize the width of the flares and cut right above the point where the fender flares bend down. It's also nice to start with the largest size possible and work your way down.


Step two
With the dremel tool I scored the area to be cut about 1/16 of an inch. I would only score about ten inches at a time. After scoring the material I would then take the Husky utility knife and first puncture the score mark and then follow the score mark. Turns out it is really easy to cut the material once the dremel has scored it. The dremel actually heats up the material really well and it cuts like butter.


Step three
After you have cut all the way through the first layer it's time to remove the bolts that hold the inner liner in place. There are about four or five bolts. They are all pretty easy to find.


Step four
There is a piece of plastic that looks like a 1.5" bolt head that needs to be removed with a flathead screwdriver. There is only one of these as shown below.

Step five
There are three or four snap in tabs that need to be removed before you can pull off the inner liner. I used the drill with the 3/8 bit to simply drill out each tab. After removing the tabs you can lay the inner liner down on the tire and remove the turn signal lighting from the harness on the inner wheel well of the liner.
Pics of tabs, inner liner on tire, lighting harness


Step six
I'm thinking about drilling about five holes into the pinch seam and putting in some stainless bolts/nuts to further secure the fender flare to the body. I'll also be putting part of the inner liner back into the wheel well to protect the engine compartment from kicked up material.

Step seven
I'm also thinking about putting a wood block between the old inner support liner and the fender flare for additional support right above this metal bracket.

Warning:
I tried the original cut with a diamond saw blade mounted on my Makita grinder. The saw blade was nice and thin and cut great for about five inches till it exploded and the diamond segments came flying off. My wife told me that the segments missed my face by inches. The blade was a dry cutting blade, but I think the heat from cutting the hard plastic melted the bonds holdings the diamond segments in place. The dremel with the metal cutting blade was much more precise, safer and easier to use.
A very fun simple free project. I'll be cutting the rear's tomorrow night or cutting down my Rubi rock rails since they kept hitting my rear 35's in the desert last weekend.
I decided to make this as easy as possible and decided to not remove anything before cutting. My tools for this job were a dremel tool with a metal cutting blade, a Husky utility knife, flathead screwdriver, duct tape and a drill with a 3/8 bit.
Step one
I used duct tape to mask off the area to cut. My goal was to cut right on the edge of the duct tape so I taped off right to the edge of where I was planning on cutting. I decided to maximize the width of the flares and cut right above the point where the fender flares bend down. It's also nice to start with the largest size possible and work your way down.
Step two
With the dremel tool I scored the area to be cut about 1/16 of an inch. I would only score about ten inches at a time. After scoring the material I would then take the Husky utility knife and first puncture the score mark and then follow the score mark. Turns out it is really easy to cut the material once the dremel has scored it. The dremel actually heats up the material really well and it cuts like butter.
Step three
After you have cut all the way through the first layer it's time to remove the bolts that hold the inner liner in place. There are about four or five bolts. They are all pretty easy to find.
Step four
There is a piece of plastic that looks like a 1.5" bolt head that needs to be removed with a flathead screwdriver. There is only one of these as shown below.
Step five
There are three or four snap in tabs that need to be removed before you can pull off the inner liner. I used the drill with the 3/8 bit to simply drill out each tab. After removing the tabs you can lay the inner liner down on the tire and remove the turn signal lighting from the harness on the inner wheel well of the liner.
Pics of tabs, inner liner on tire, lighting harness
Step six
I'm thinking about drilling about five holes into the pinch seam and putting in some stainless bolts/nuts to further secure the fender flare to the body. I'll also be putting part of the inner liner back into the wheel well to protect the engine compartment from kicked up material.
Step seven
I'm also thinking about putting a wood block between the old inner support liner and the fender flare for additional support right above this metal bracket.
Warning:
I tried the original cut with a diamond saw blade mounted on my Makita grinder. The saw blade was nice and thin and cut great for about five inches till it exploded and the diamond segments came flying off. My wife told me that the segments missed my face by inches. The blade was a dry cutting blade, but I think the heat from cutting the hard plastic melted the bonds holdings the diamond segments in place. The dremel with the metal cutting blade was much more precise, safer and easier to use.
A very fun simple free project. I'll be cutting the rear's tomorrow night or cutting down my Rubi rock rails since they kept hitting my rear 35's in the desert last weekend.
Last edited by gregkuiper; Jan 19, 2009 at 06:07 PM.

Sponsoring Vendor
Off Road Evolution Rep
Off Road Evolution Rep
Joined: Feb 2008
Posts: 3,068
Likes: 0
From: Fullerton, Ca.
Greg you can use the inner skeleton piece as a support under the fender..
Just cut a block out from that skeleton that was previously supporting it and reuse the bolt.

Just cut a block out from that skeleton that was previously supporting it and reuse the bolt.
Thread Starter
JK Enthusiast
Joined: Aug 2008
Posts: 268
Likes: 0
From: Irvine, CA
Sponsoring Vendor
Off Road Evolution Rep
Off Road Evolution Rep
Joined: Feb 2008
Posts: 3,068
Likes: 0
From: Fullerton, Ca.
I'm glad I caught you before you did! By the way great job, buddy.
Now go pickup a couple of these at JK electronics in Westminister and you'll have a small sidemarker again!

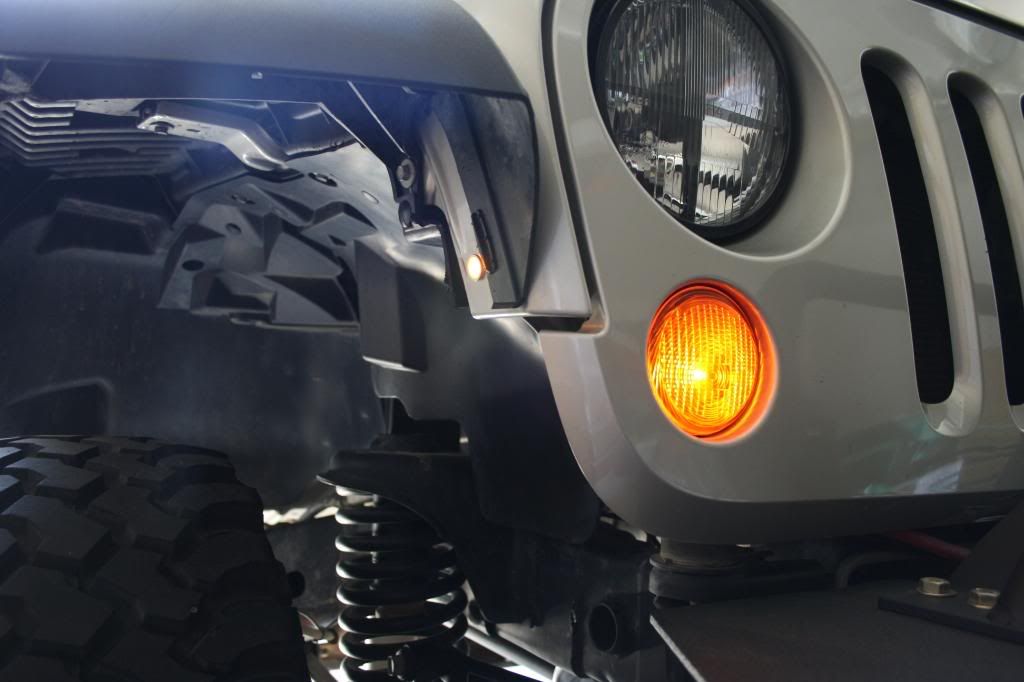
By the way great job, buddy. Now go pickup a couple of these at JK electronics in Westminister and you'll have a small sidemarker again!
Thread Starter
JK Enthusiast
Joined: Aug 2008
Posts: 268
Likes: 0
From: Irvine, CA
