
New bumper building process

Thread Starter
JK Super Freak
Joined: Aug 2007
Posts: 1,315
Likes: 1
From: Texas
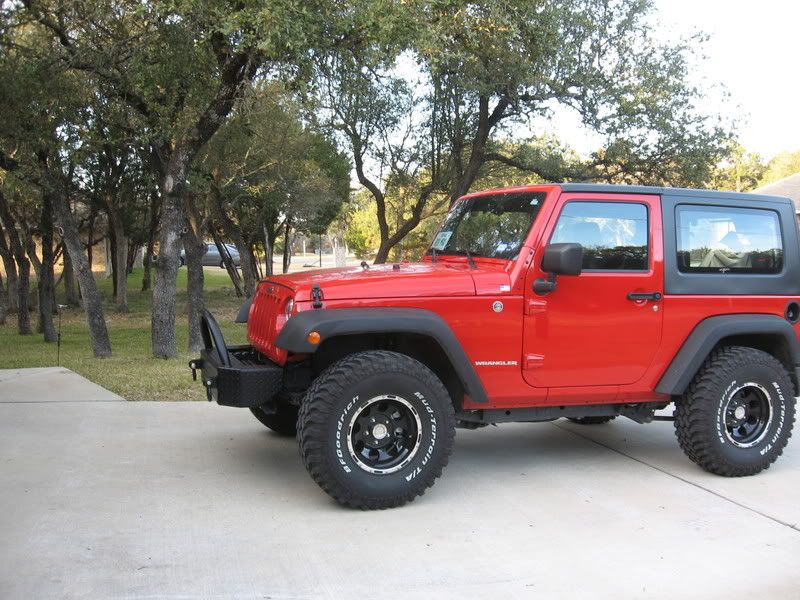
Just 33s without a lift yet...
 Oh, those are 15" wheels so that makes for more sidewall and big tire look.
4.10 Dana 44 rear--Dana 30 front -- It just came off the lot that way. Lucky me!
Thanks

Last edited by Geeper4x4; Jan 17, 2008 at 02:25 PM.
JK Super Freak
Joined: Sep 2007
Posts: 1,623
Likes: 5
From: Lawrenceville, NJ
I love it....and, if OK, would make suggestions from a design perspective if you would consider improvements.
I love that you tied the recovery points back to the frame, and really like the rugged diamond plate look, etc.
Most of the problems are related to conservation of mass, function to form design...as in, it primarily protrudes forward more than it needs to, and has excess frontal area for its intended purpose.
Compare to the example Shrockworks design, and its tighter fit to the front, less protrusion, less wasted frontal area:

Your approach angle is severely compromised by the long overhang, and the tall frontal face.
You are carrying a lot of excess weight, which raises your center of gravity, and sacrifices suspension compliance, etc.
The hoop doesn't really "go" with the rest of it......it neeeds to be squared to match the square lines of the bumper, or, the bumper needs to have the sharp lines rounded in symetry to the hoop, etc.
Also, the hoop is not quite stingered enough to protect on a forward roll, or tall enough to protect the front clip, more of a light mount hoop, albeit too far forward to protect the lights if mounted to it, etc. (PLENTY of room behind the hoop to mount lights though)
With the long forward projection, and the forward hoop, a lot of leverage would be placed to cock the bumper back and up in a frontal collision at hoop height...all of the force vector orientation appears to be set to act upon the end of the frame horns...which are part of your crumple zone, and maybe not up to resisting a huge torque upwards and back?
Sleeving the frame horns might address this, and allow for some bracing to be tied in for example.
Now that its mounted, and you can see where the winch goes, etc...take a marker, etc...and outline the parts of the bumper that protect things, and brace things, and then cut out the parts that don't seem to serve a purpose.
Pay attention to the parts between the grill area and the winch mount areas, and the size of the top deck......compare to the Shrock for example on how to minimize wasted metal.
You also might want to increase the clearance between the grill/body area and the rear/top of the bumper, at least in the pics, it looks like there's not much slack/room to allow a bit of expected body flex during articulation, etc.
That gives your students an exercise in fabrication...IE: If making a design for sale, you can make more money if there are no wasted materials, and, the end result works better than the competition's, etc.
So - food for thought.
Last edited by TEEJ; Jan 10, 2008 at 07:10 AM.

JK Newbie
Joined: Dec 2007
Posts: 60
Likes: 0
From: Cape Canaveral, FL
That's one nice looking set-up! I love Diamond Plate... wish i had time/tools to do that myself! Plus, I love that it has similar lines to the shrock, but the dia plate and hoop make it much more unique. The rounded hoop makes it stand out from the angles, and IMHO looks absolutely SICK. Post pics when you get the winch!
JK Freak
Joined: Jul 2007
Posts: 520
Likes: 0
From: Ellijay, GA
When i built my bumper i simply tapped 4 1/2 in holes in the metal and then welded it to the bumper. Essentially i only have .75 of an inch of mounting area and i just thread my bolts in from the rear.

JK Newbie
Joined: Dec 2007
Posts: 19
Likes: 0
From: Whitmore Lake, MI
First off to the OP. It looks really good. Something different and still fits the look of the jeep very well.
I agree with you on all points except this one. I would put this as a personal preference item. I see your point from a body / bumper lines perspective, but I see it as a visual extension of the wheels on the side of the Jeep as well as the spare mounted on the back. To me, it gives it more symmetry from an overall view.
One other thing I noticed is some kinking / collapsing in the tube. How did they bend the tube?
One other thing I noticed is some kinking / collapsing in the tube. How did they bend the tube?