This article applies to the Jeep Wrangler JK (2007-present).
All vehicles come with lighting of many sorts including headlights, tail lights, park lights, etc. How about the interior lighting? Most commonly, you come across dome lights or reading lamps, but very rarely do you see lighting in the foot well area. This could be especially useful in Jeeps or other off-road vehicles that might see a lot of dirt and mud, and it is a mostly aesthetic modification in the least. Since you're working in the area, you can even swap out your dome lights with LED bulbs to accentuate the new interior look of your Wrangler.
Materials Needed
Wire splice tools
Electrical tape
Clear, double-sided tape
Pliers
LED strips
Multimeter
LED dome light bulbs (optional)
Flat head and Phillips screwdriver
Latex gloves (optional)
Step 1 – Disconnect foot well lamps
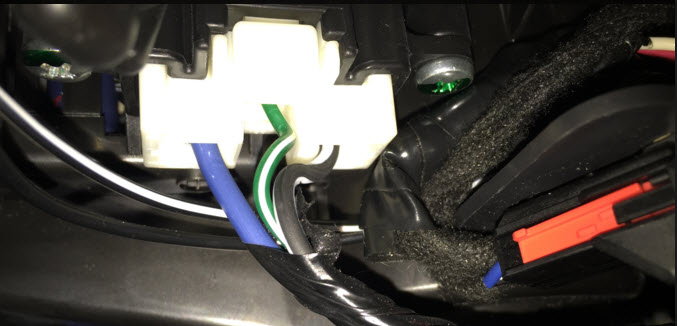
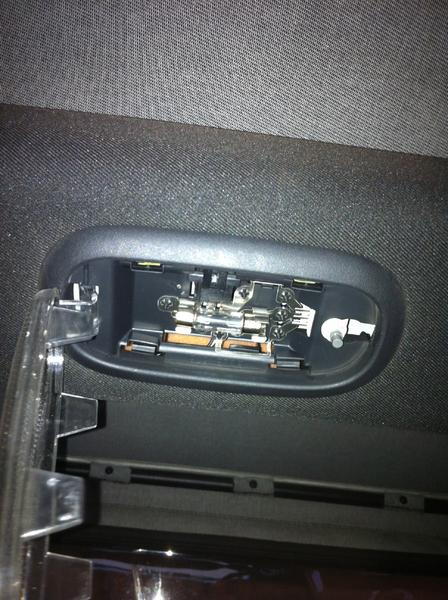
There are foot well lamps that exist in Jeeps, but they are very dimly lit. The wiring at this source can be used to tap into with the new LED strips. You may need to lift some of the carpeting along the sill in order to reach the connectors which are held in by clips and bolts held in by one Phillips head screw per side.
Unclip the harness connectors on the edges.
Unscrew bolts for the connector plugs and disconnect the foot well lamps.
Figure 1. Connector plug.
Pro Tip
This is a good time to determine where you will run your wiring to tuck neatly and keep clear of anything that could damage it. If necessary, you can also use a flat head screw driver to persuade the clips from the connectors to separate.
Step 2 – Splice harness connector
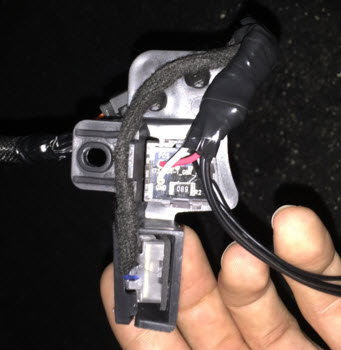
There is a red and white wire that can be used to power the source for the LED strips.
Use wire splicers to cut red and white wires.
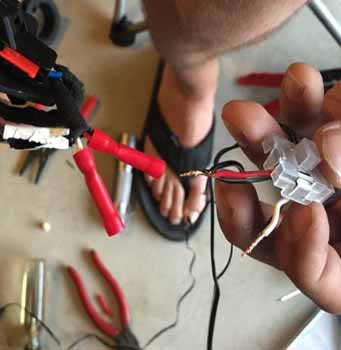
Wire in LED strip connectors (black wires) and secure with wire connectors (also called butt connectors).
Use a test light or a probe/multimeter to check for continuity.
Wrap everything in electrical tape.
Screw the connector bolts back in and reconnect the harness for the foot well light.
Repeat for opposite side.
Figure 2. Cut the red and white wires.
Figure 3. Splice wires.
Pro Tip
It will be a good idea to measure how much wire you want to splice in before making the splice to avoid cutting twice.
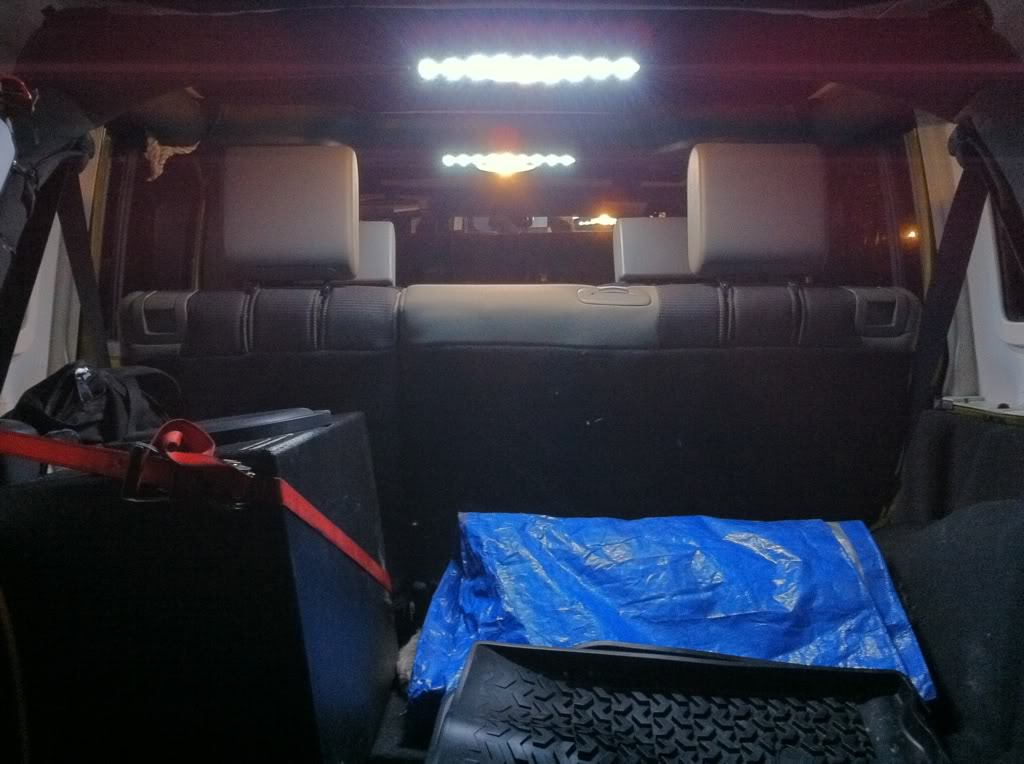
Step 3 – Test your connections
Now that everything is wired up, it's time to test your connections.
Turn on your accessory lights with a door open.
Exit, close the door and enter the vehicle to ensure lights come on and off as desired.
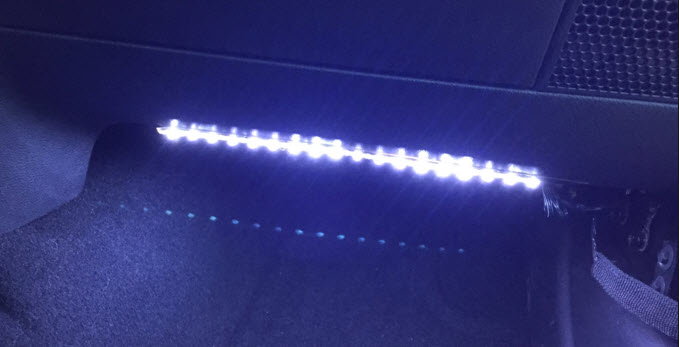
If the lights illuminate as desired, finish up the process by mounting the LED strips under the foot well using clear double-sided tape.
Figure 4. LED strip installed.
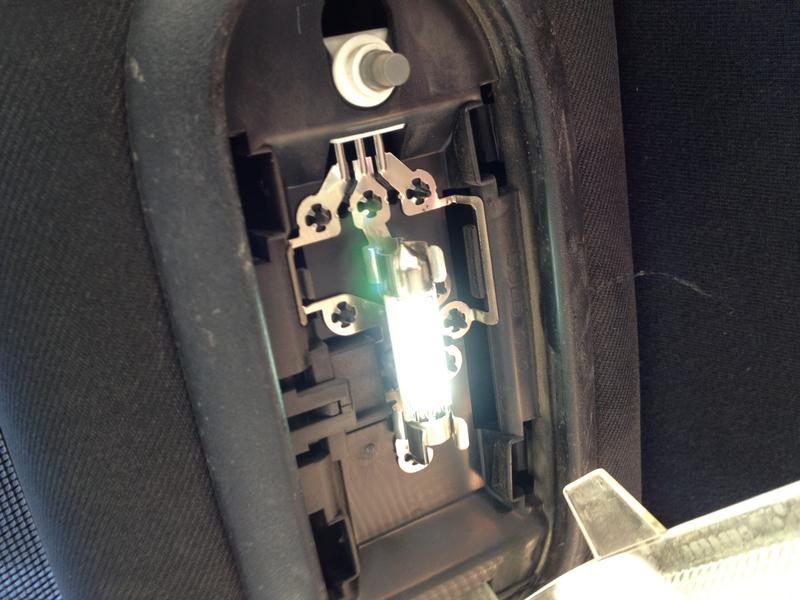
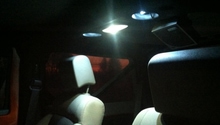
Step 4 – Swap dome lights (optional)
This is a good opportunity to upgrade the lighting for the dome light.
Use a flat head screwdriver to pry the edge of the light cover off.
Figure 5. Cover removed.
Disconnect the old bulb.
Wear latex gloves, or else be sure not to touch the new bulbs directly with your fingers. Insert the new LED bulb into place and close the light cover.
Figure 6. New dome lights.
Pro Tip
If you have extra LED strips, you could also wire them into the dome light, allowing them to come on with the dome light or when doors are open. If you are planning on wiring the foot well LED strips to the dome light, you will need to access the power source (black wire) connecting the dome light. You would need to follow the windshield trim through the roll bar out into the dome light.
How to Install LED Dash Lights That Dim
Brighten up your dash board.
This article applies to the Jeep Wrangler JK (2007-Present).
More light is always a useful feature for any vehicle to have. There are several ...
How to Replace Dome Light
DIY dome light replacement makes it easy to curb costs and upgrade the interior of your 2007-present Jeep Wrangler.
This article applies to the Jeep Wrangler JK (2007-present).
It's no ...
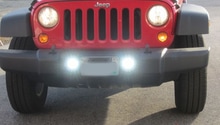
How to Install Rigid Dually Using Fog Light Bracket
MatthewD5
Factory fog lights in your Jeep Wrangler JK not doing the job? Here's how to replace them with Rigid Dually LEDs.
This article applies to the Jeep ...
How to Install LED Turn Signal
Do you wish your Jeep had vibrant LED turn signal lights? Read this to learn how to install them yourself.
This article applies to the Jeep Wrangler JK (2007-Present).
LED lights ...
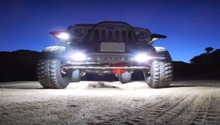
How to Install Rock Lights
whpony96
Don't go off-roading blind in the dark. Rock lights will help guide you through the trails.
This article applies to the Jeep Wrangler JK (2007-Present).
Off-roading is ...
How to Replace Fog Lights
Upgrade your visibility!
This article applies to the Jeep Wrangler JK (2007-Present).
Vehicle manufacturers design their vehicles with many different components. A crucial component among ...