
OR-Fab tire carrier install

Thread Starter
JK Freak
Joined: Apr 2008
Posts: 598
Likes: 1
From: Colorado Springs
I ordered my OR-Fab tire carrier from David at Northridge4x4. Got a great deal and Free shipping.
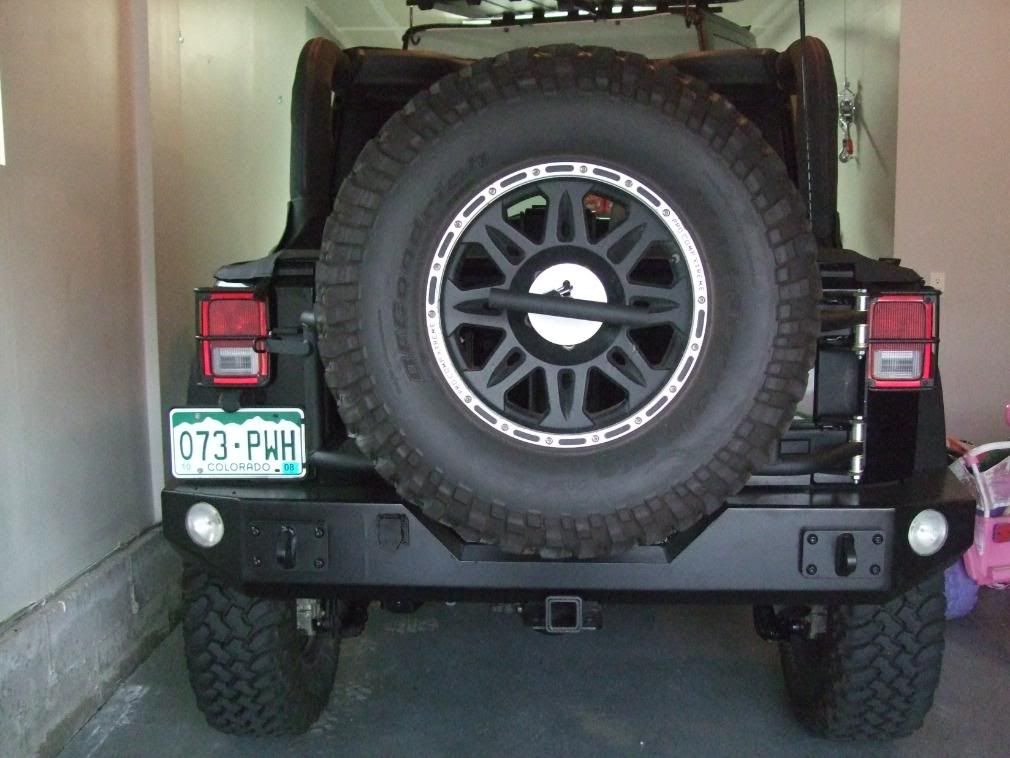
I bought my rear bumper (with no tire carrier) back when no one was reporting any problems with a 35 in their factory mounts. WELL after 10,000 miles on my JK a couple times while off roading and on un-level positions I noticed that my door was sliding across the back bumper as I closed it. I figured it was just a matter of time before it started rubbing every time I closed it.
Enter my OR-Fab tire carrier. This thing was packed and shipped completely entombed in some type of foam that absolutely kept it from moving and or being damaged in shipping.
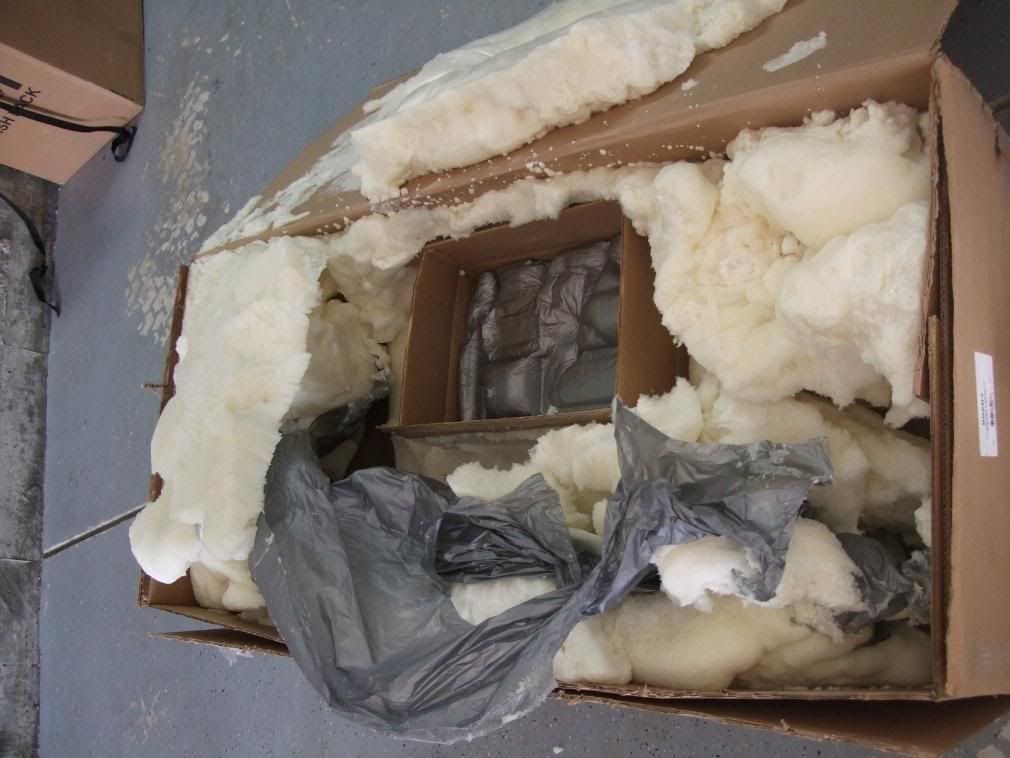
Unpacked
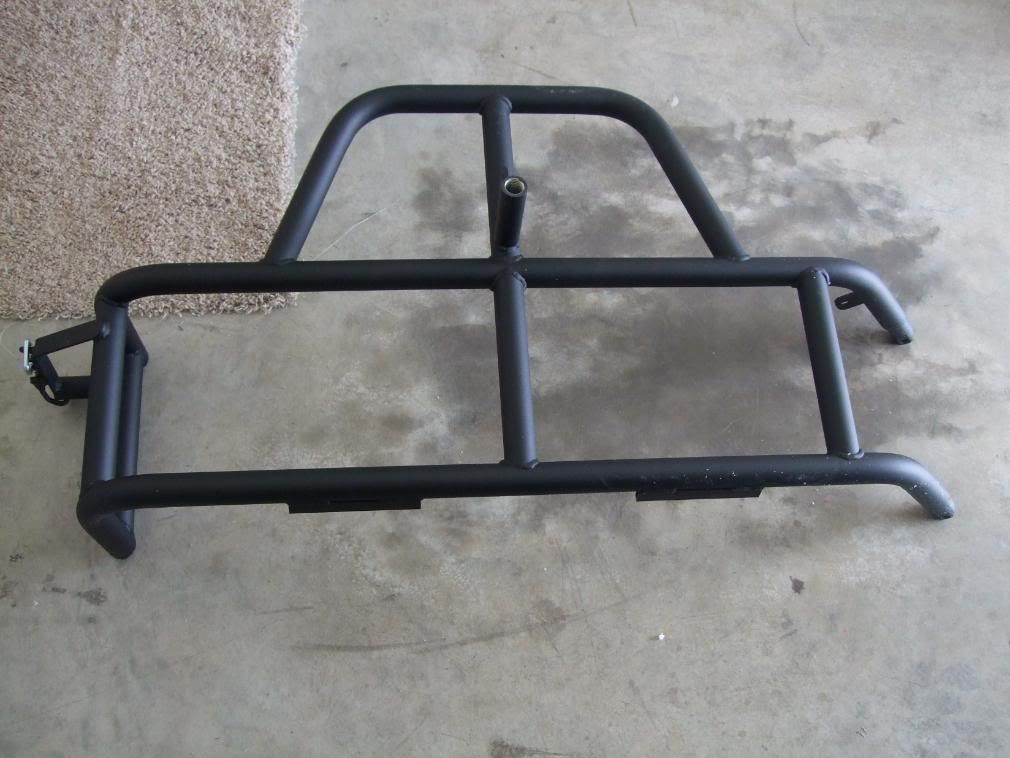
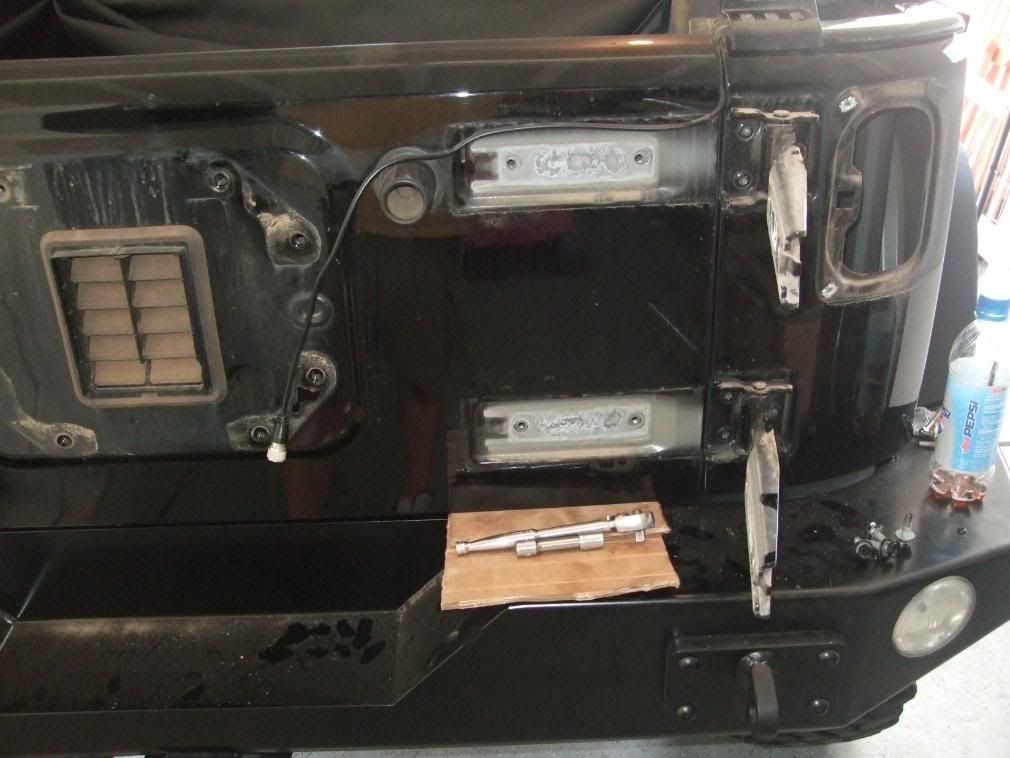
I began by completely removing the old tire carrier and 3rd brake light assembly.
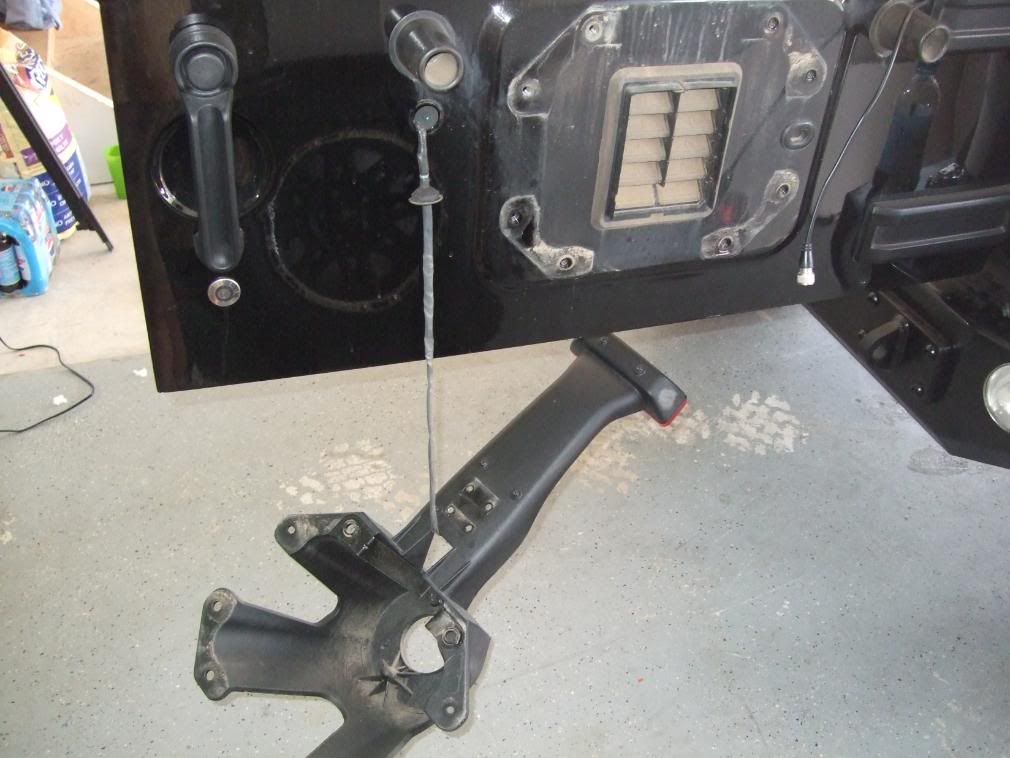
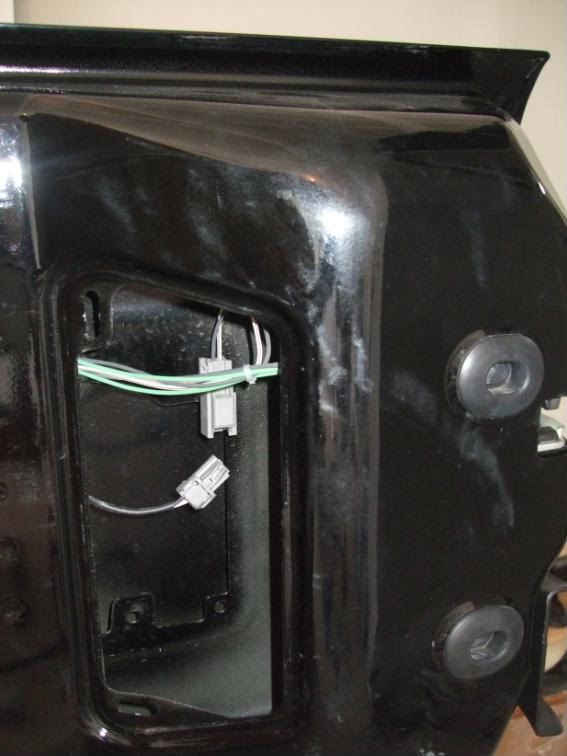
this is the plug inside the tailgate for the 3rd brake light.
Next I removed both tail lights and the foam insulation at the bottom of the holes.
Next I wedged some of the cardboard shipping box in under the gap between the door and bumper to help hold it up and then removed the hinge T50 Torx bolts.
next I needed to grind out clearance for a boxed end wrench onto the factory tailgate hinges. I used a small drill bit and gradually increased the bit size until I make a big hole then I used a grinder to widen the hole.

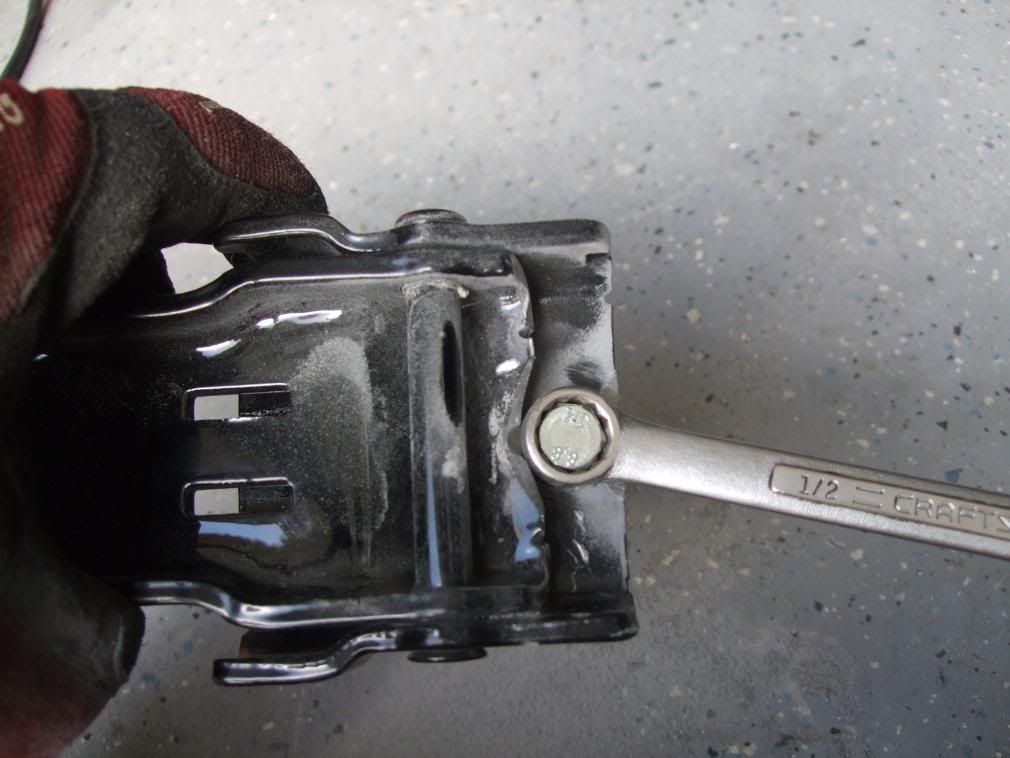
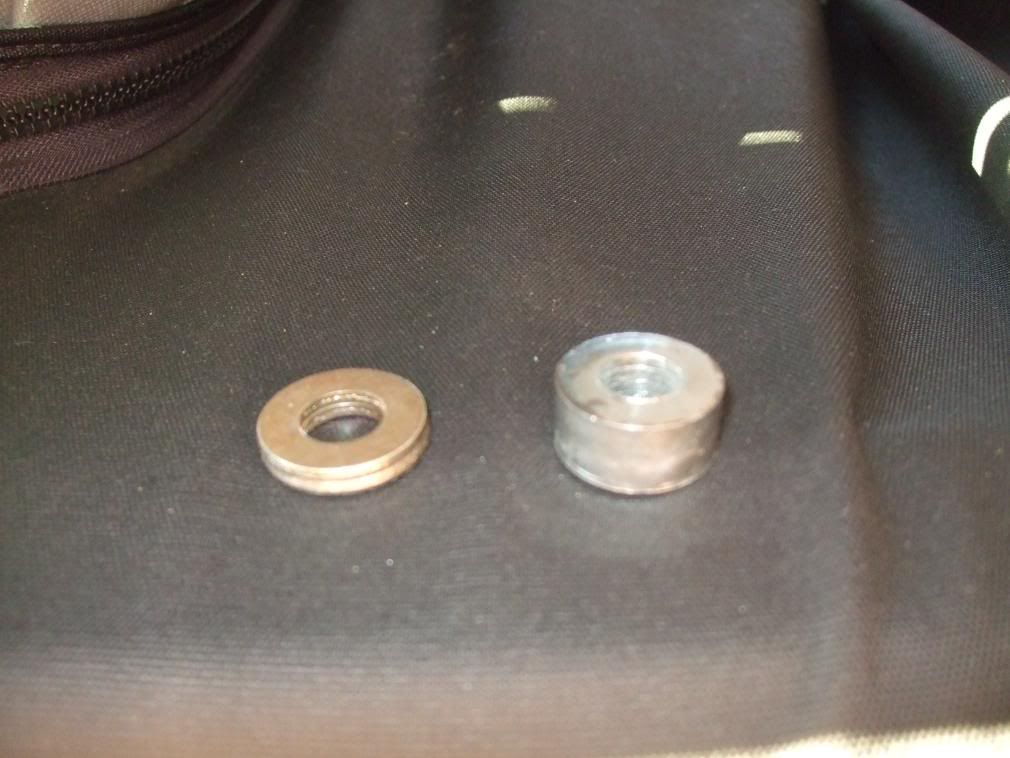
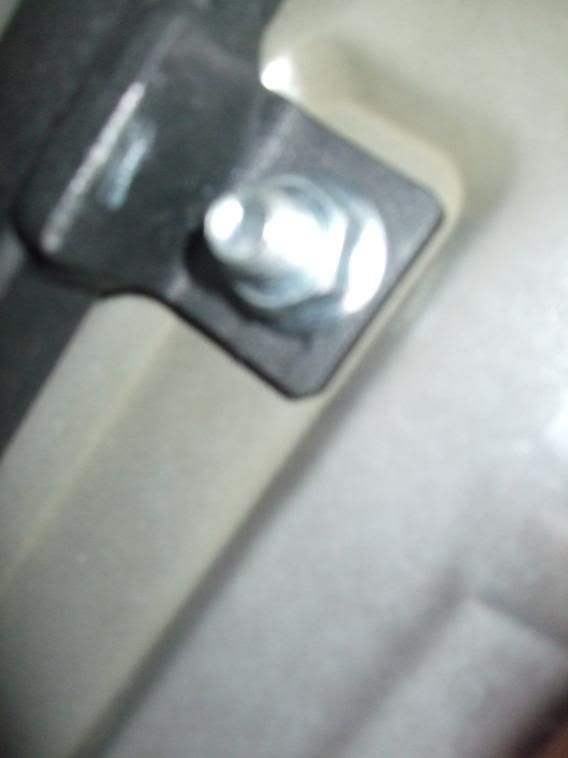
Next I needed to re-mount the hinges with the supplies bolts and tapered washers. The tapered washers would not just slide down the bolt and I did not want to pound on them so I pushed them into place by threading the bolt and washer into its hold and using the bold to force its way through the washer.
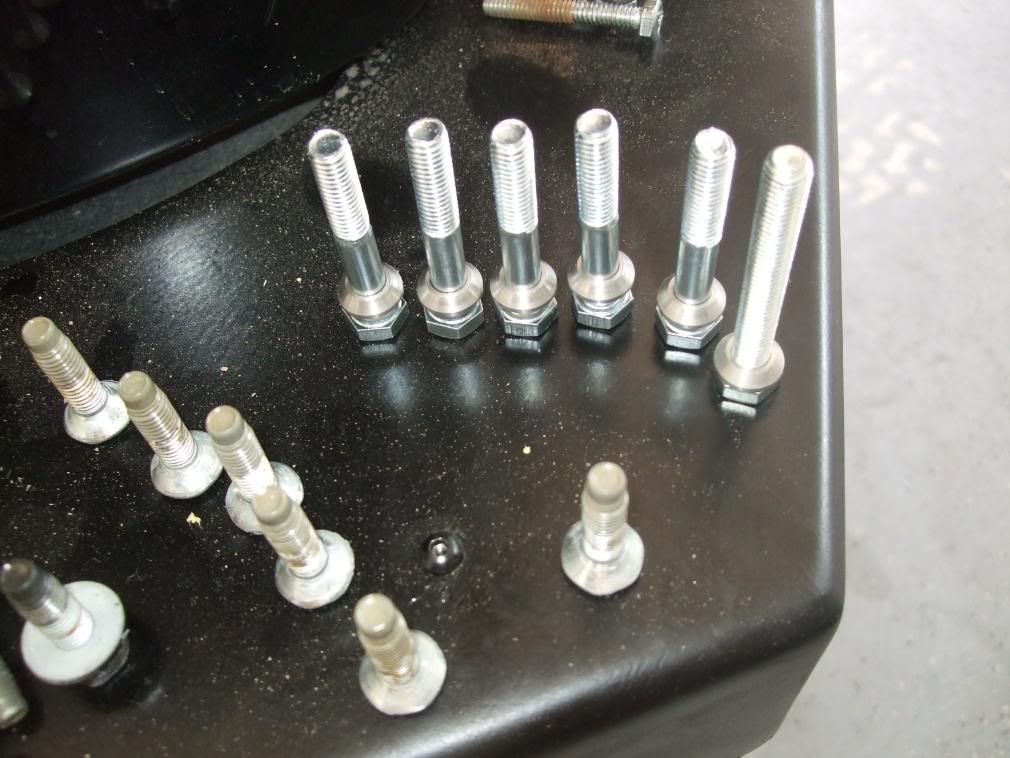
Now all the bolts and washer are ready for install. Bolts on the left are the factory ones I removed.
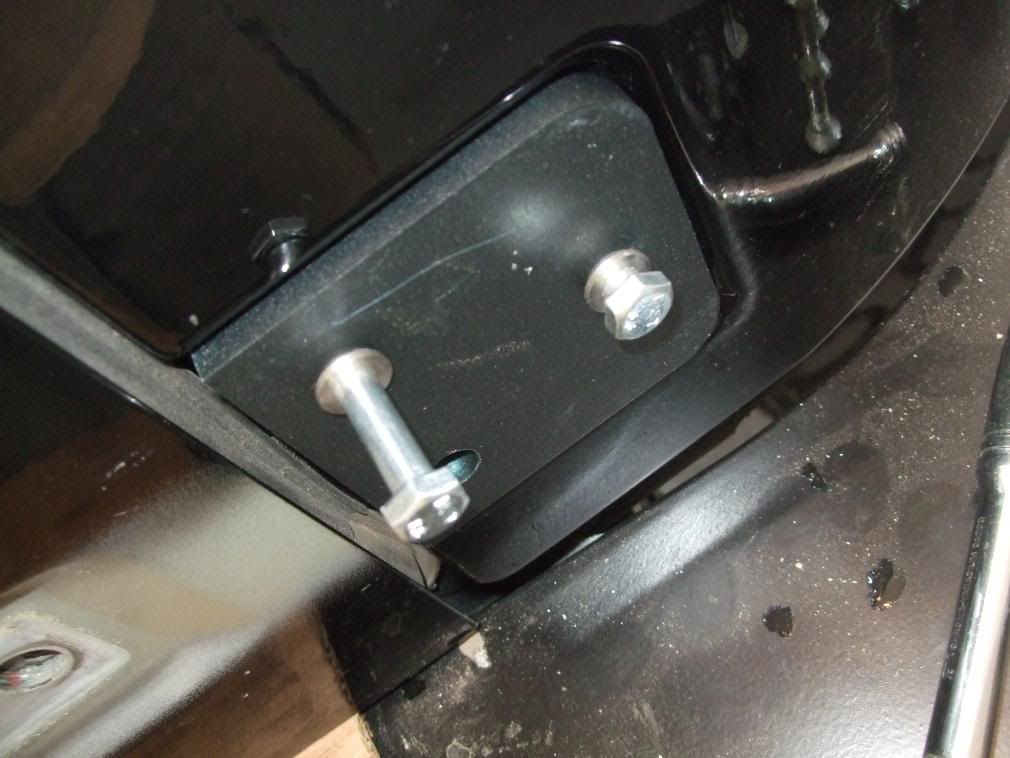
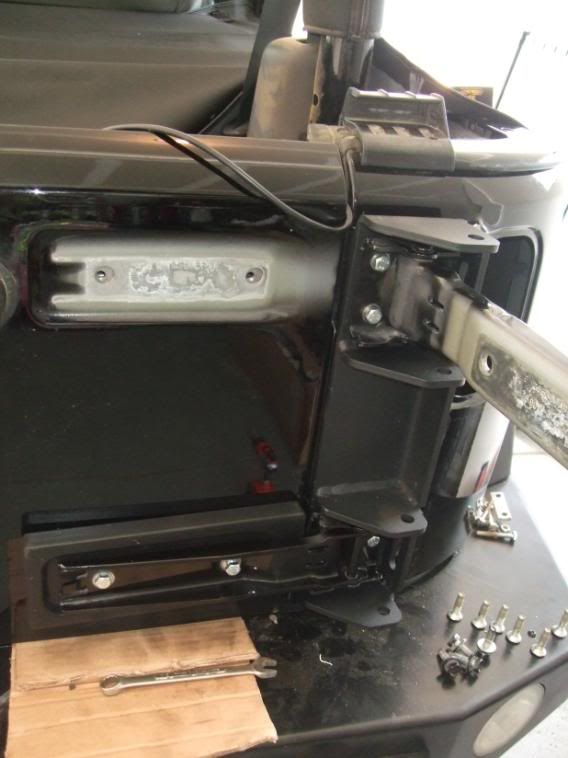
I placed the small square spacers under the hinge plate bracket and bolted the hinge in place. I then placed the tailgate hinge spacers on the door and tightened them up with the 4 supplied bolts and tapered washers
I bought my rear bumper (with no tire carrier) back when no one was reporting any problems with a 35 in their factory mounts. WELL after 10,000 miles on my JK a couple times while off roading and on un-level positions I noticed that my door was sliding across the back bumper as I closed it. I figured it was just a matter of time before it started rubbing every time I closed it.
Enter my OR-Fab tire carrier. This thing was packed and shipped completely entombed in some type of foam that absolutely kept it from moving and or being damaged in shipping.
Unpacked
I began by completely removing the old tire carrier and 3rd brake light assembly.
this is the plug inside the tailgate for the 3rd brake light.
Next I removed both tail lights and the foam insulation at the bottom of the holes.
Next I wedged some of the cardboard shipping box in under the gap between the door and bumper to help hold it up and then removed the hinge T50 Torx bolts.
next I needed to grind out clearance for a boxed end wrench onto the factory tailgate hinges. I used a small drill bit and gradually increased the bit size until I make a big hole then I used a grinder to widen the hole.
Next I needed to re-mount the hinges with the supplies bolts and tapered washers. The tapered washers would not just slide down the bolt and I did not want to pound on them so I pushed them into place by threading the bolt and washer into its hold and using the bold to force its way through the washer.
Now all the bolts and washer are ready for install. Bolts on the left are the factory ones I removed.
I placed the small square spacers under the hinge plate bracket and bolted the hinge in place. I then placed the tailgate hinge spacers on the door and tightened them up with the 4 supplied bolts and tapered washers
Thread Starter
JK Freak
Joined: Apr 2008
Posts: 598
Likes: 1
From: Colorado Springs
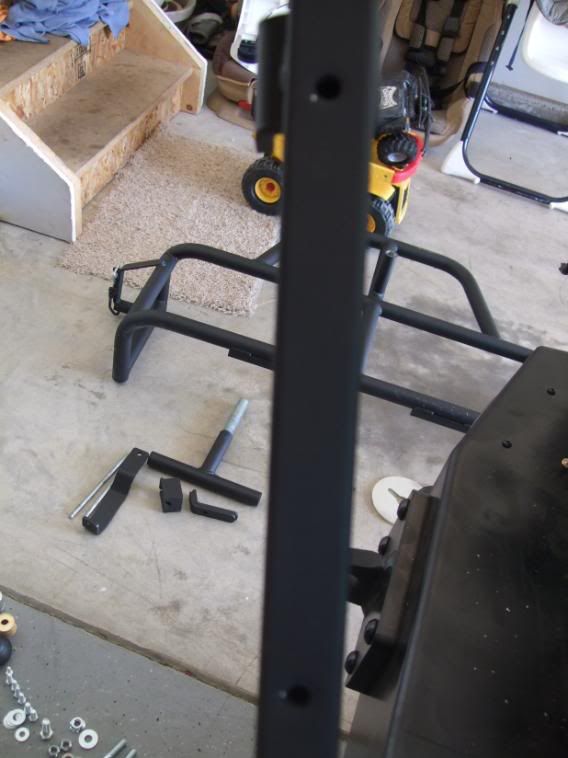
Now you have to drill holes near the tailgate latch to mount the landing block bracket/support beam inside the fender. The directions say to use the attached template but my instructions did not have it. They did however say drill the 2 holes 3.25 inches and 10.25 inches from the bottom of the door jam "x axis". By looking at the beam I could tell approximately where the holes needed to be on the "y" axis so I drilled really small holes incase I was not right. Well neither hole was right on but both were very close. With the support beam in its correct position I used the drill bit to mark the relative position of my holes you can see the marks on the beam just on the edge of the mounting holes in this picture.
Then I drilled new holes adjusted based on the marks on the beam.

Once I widened the 2nd holes they engulfed the original holes so the fact that I had to drill 4 holes really wasn't a big deal.
Next I hit the point of no return....DRILLING THROUGH THE BODY!!!
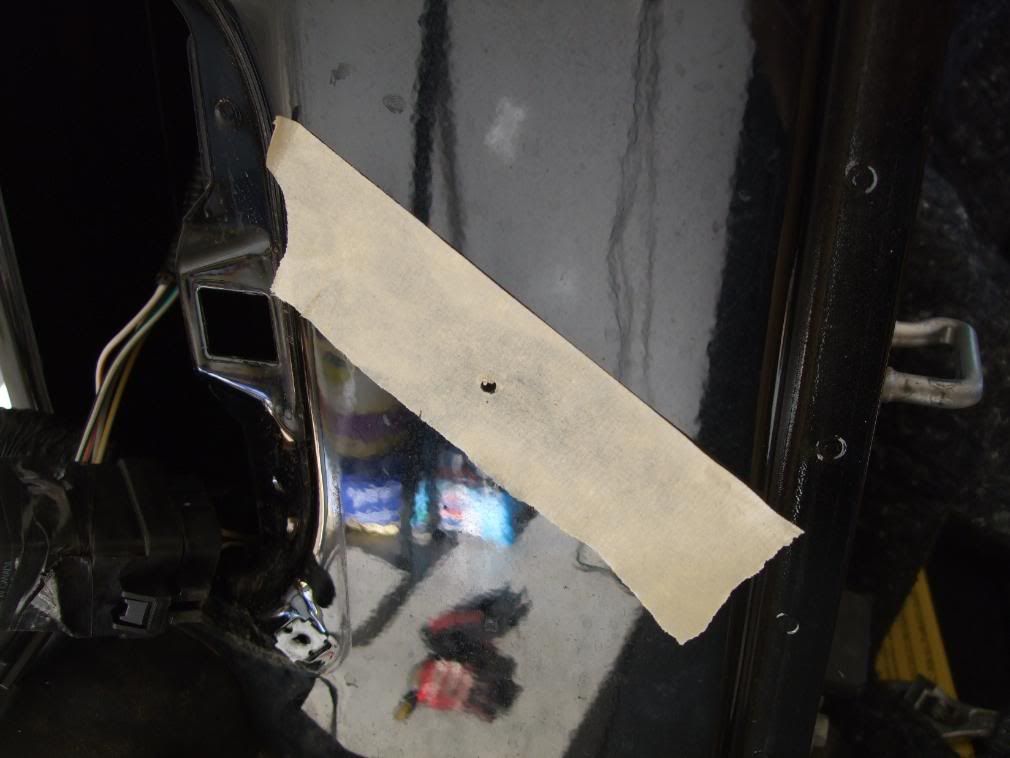
I used a flexible extension for my drill that allowed me to put the extension into the taillight socked from the rear of the jeep, turn 180*, and drill back out of the body in the correct position according to the hole in the landing block mounting bracket. I then taped over the hole to catch metal shavings I was about to create as I drilled a 1" hole in my sheet metal.
Now for the real damage...
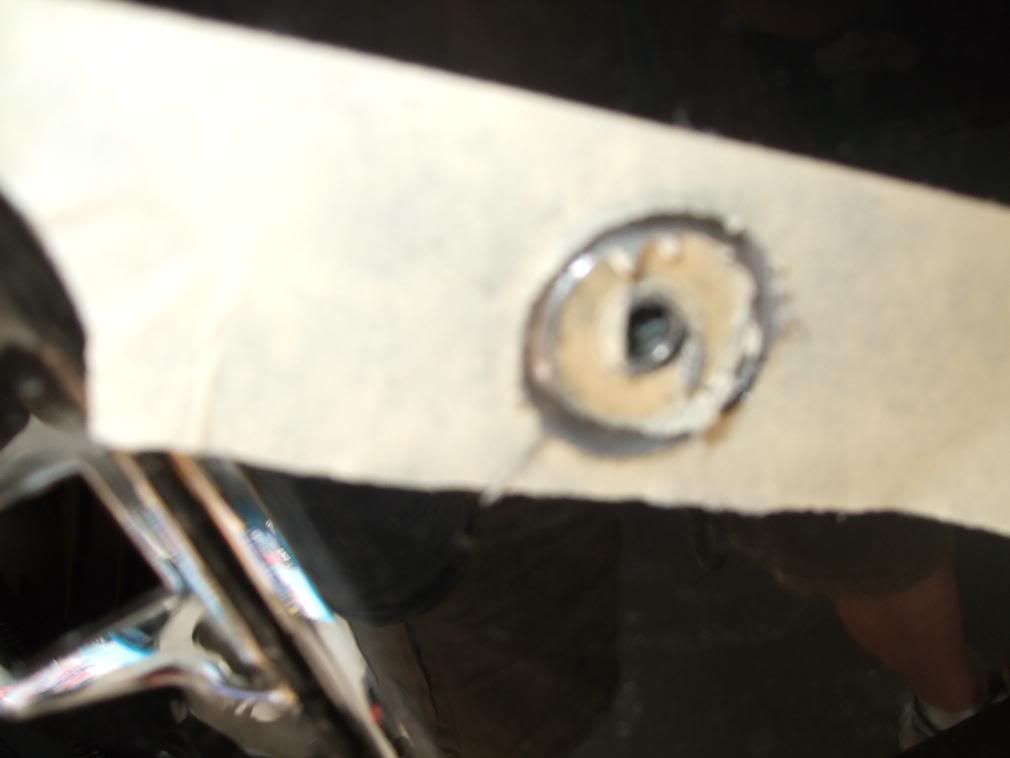
NOTICE I ONLY drilled through the 1st layer of sheet metal you have 2 layers right here.
Next the instructions said to place the 1/2 inch spacer on the bolt while mounting the mounting block BUT I did not have a 1/2 inch of space between my 2 layers of sheet metal. I only had about 1/4 of an inch so I used 2 washers on the bolt instead of the spacer and the mounting block sat flush with the outer body of the jeep.
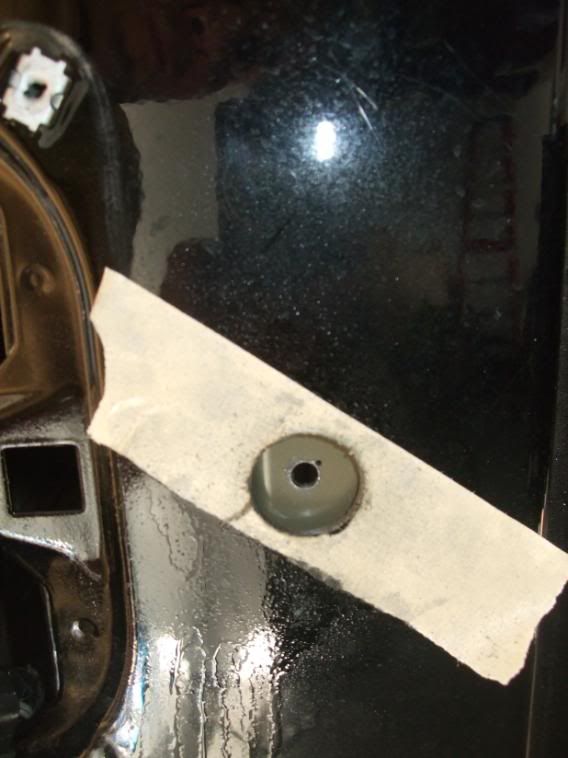
I put silicone under this block to keep out water. I also spray painted ALL holes I drilled in the Jeep with both a primer and high quality spray paint.
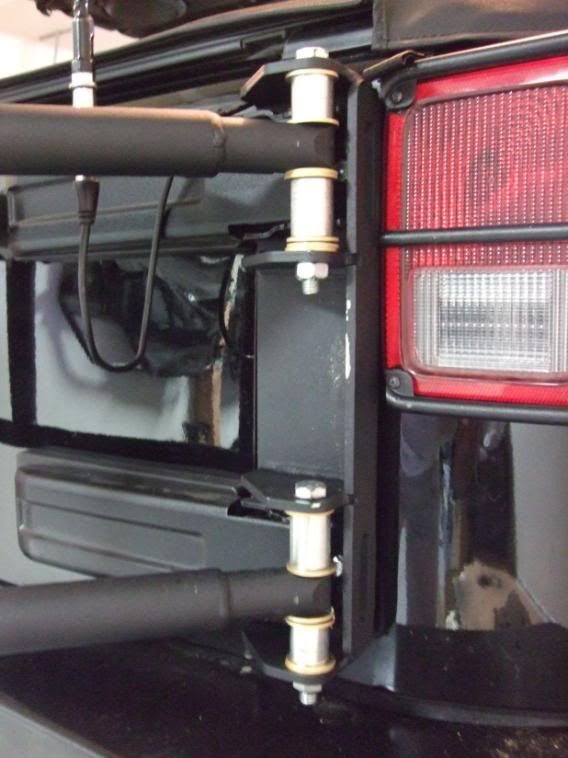
Here is the only pic I have of the "block" forgot to take on before I mounted the rack itself. The block is the piece between the taillight and the door.
This is a pic of the back side of the same "block"
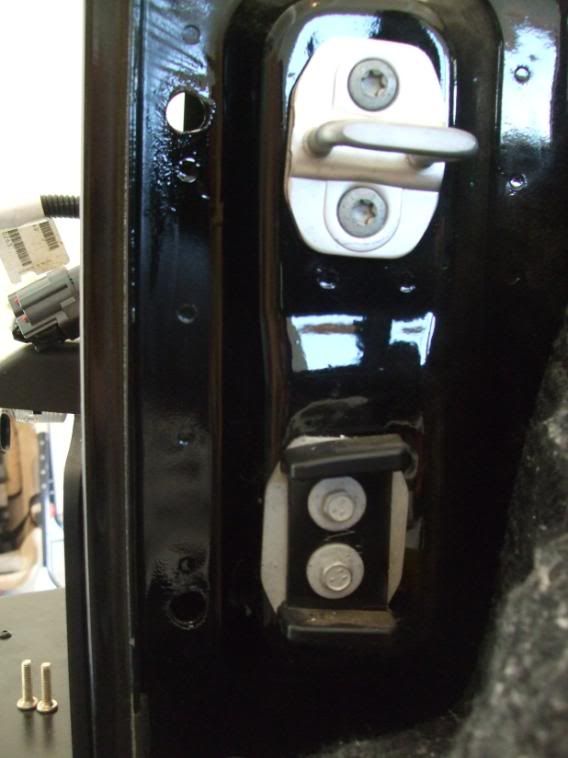
Next I needed to put the other bolts into the landing block bracket. By the way this landing block bracket is VERY solid and will definitely keep the rack from damaging the body. This is a pic looking in through the tail light and down towards the bottom of the bracket.

Then I drilled new holes adjusted based on the marks on the beam.
Once I widened the 2nd holes they engulfed the original holes so the fact that I had to drill 4 holes really wasn't a big deal.
Next I hit the point of no return....DRILLING THROUGH THE BODY!!!
I used a flexible extension for my drill that allowed me to put the extension into the taillight socked from the rear of the jeep, turn 180*, and drill back out of the body in the correct position according to the hole in the landing block mounting bracket. I then taped over the hole to catch metal shavings I was about to create as I drilled a 1" hole in my sheet metal.
Now for the real damage...
NOTICE I ONLY drilled through the 1st layer of sheet metal you have 2 layers right here.
Next the instructions said to place the 1/2 inch spacer on the bolt while mounting the mounting block BUT I did not have a 1/2 inch of space between my 2 layers of sheet metal. I only had about 1/4 of an inch so I used 2 washers on the bolt instead of the spacer and the mounting block sat flush with the outer body of the jeep.
I put silicone under this block to keep out water. I also spray painted ALL holes I drilled in the Jeep with both a primer and high quality spray paint.
Here is the only pic I have of the "block" forgot to take on before I mounted the rack itself. The block is the piece between the taillight and the door.
This is a pic of the back side of the same "block"
Next I needed to put the other bolts into the landing block bracket. By the way this landing block bracket is VERY solid and will definitely keep the rack from damaging the body. This is a pic looking in through the tail light and down towards the bottom of the bracket.
Thread Starter
JK Freak
Joined: Apr 2008
Posts: 598
Likes: 1
From: Colorado Springs
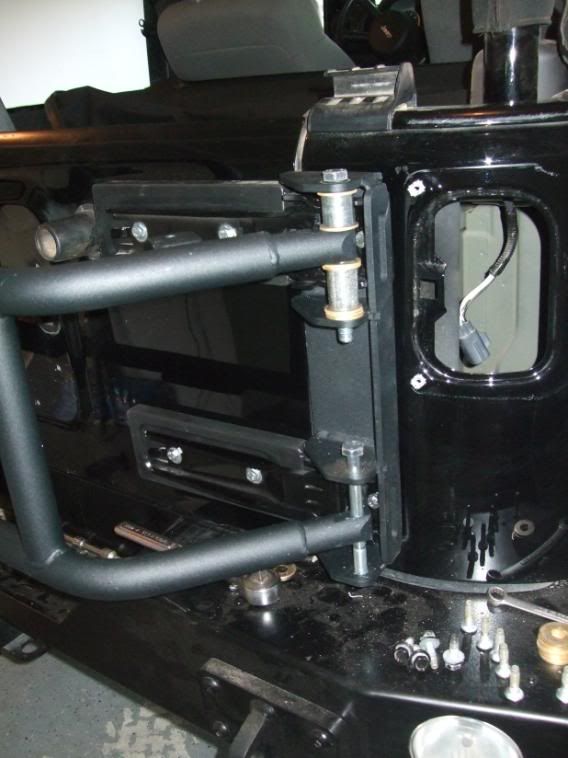
Next I had to move to the passenger side of the jeep and mount the Hinge support brackets. This pic is from the inside of the fender and shows how one of the supports mounts to the top hinge.

This is the other end of that same bracket. It mounts through the top of the body and comes out near the roll bar.

This is the top half of that bolt. I had to drill this hole as well. I marked the location for this hole AFTER I had mounted the other end of the bracket to the backside of the hinge.

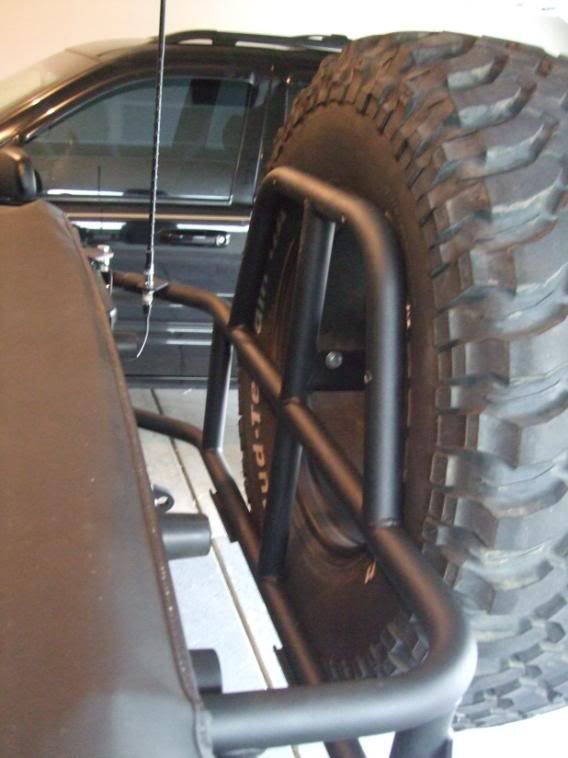
Next I mounted the rack to the hinge plate bracket with the supplied bolts, washers, spacers and wavy washers.
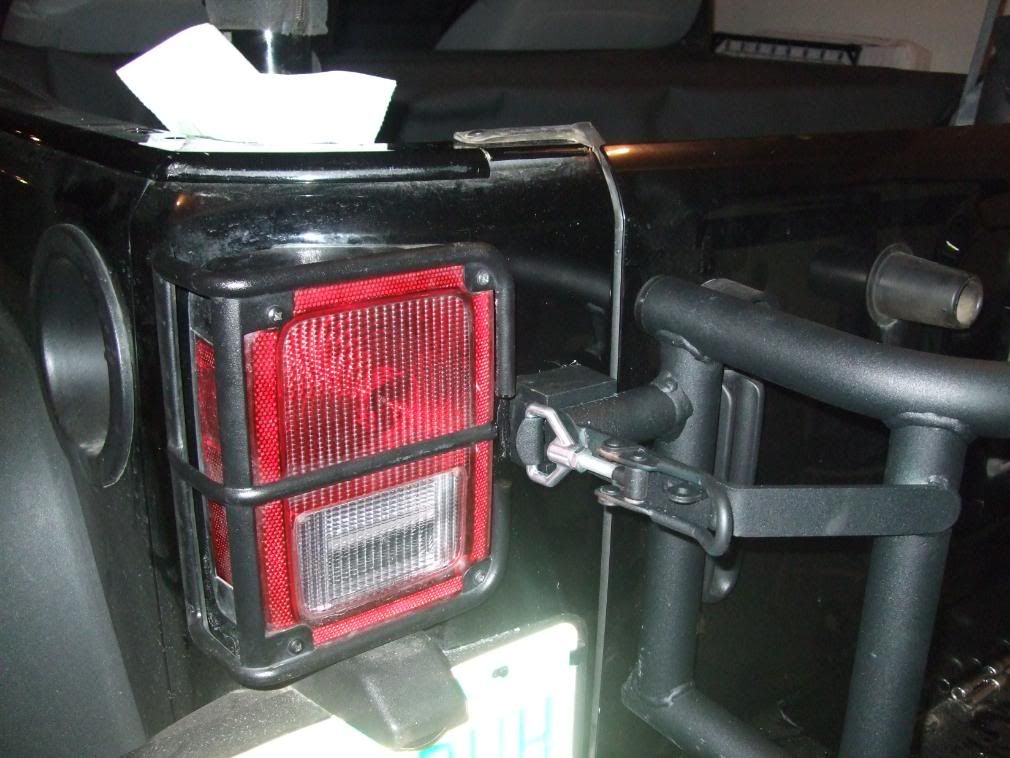
To allow for latch clearance and taillight mounting I had to trim both tail light guards.

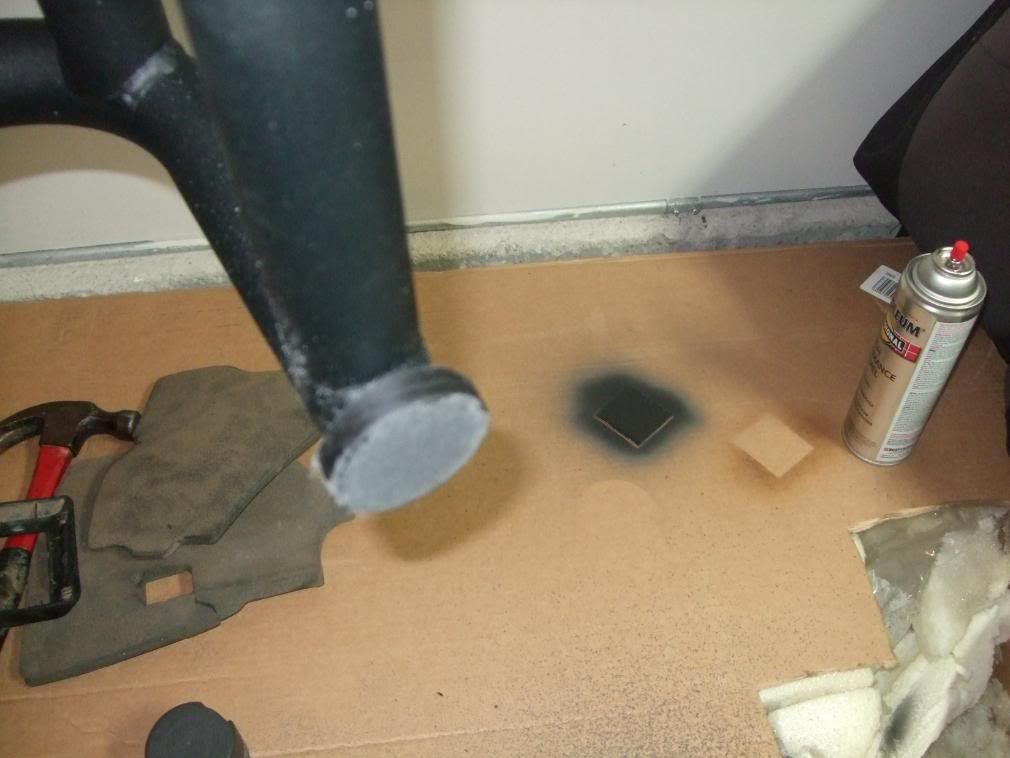
This rubber stopper was shaped like a dome and would have pushed in on and possibly dented the tailgate so I used my grinder to flatten it out.
ALMOST DONE!!!!

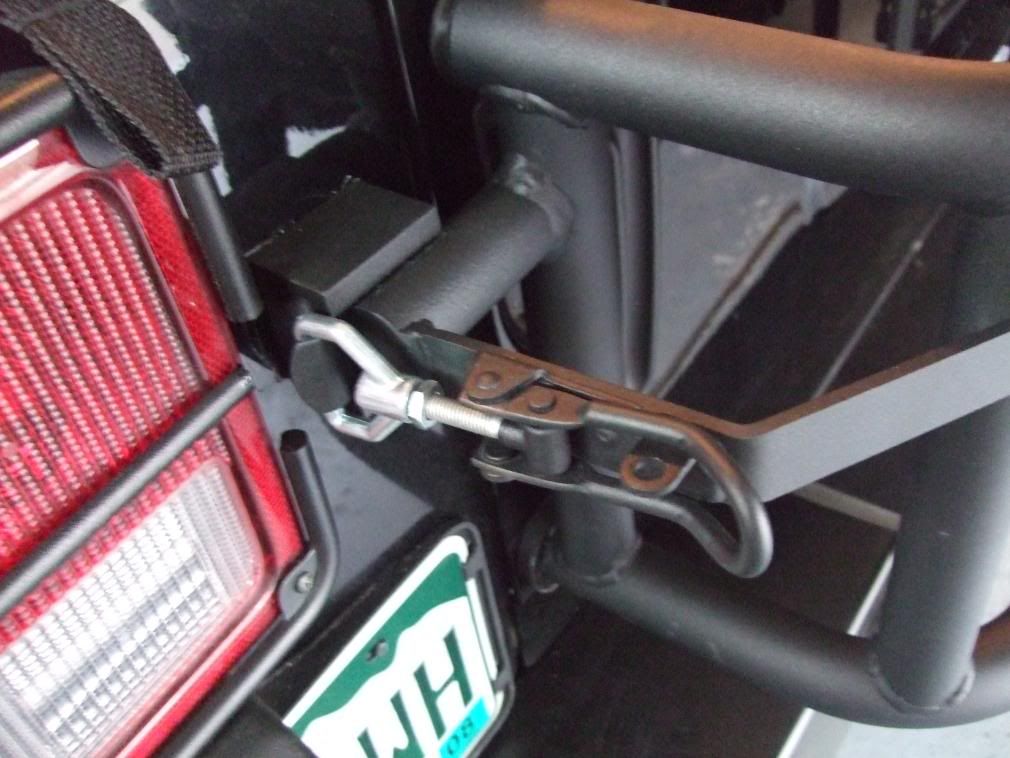
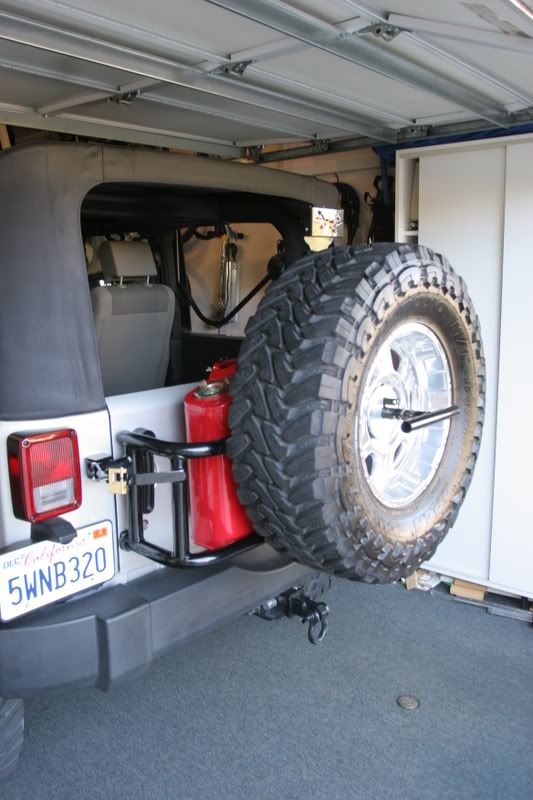
Next I installed the locking bar and mounted the spare tire on the rack. There is a piece of black rubber\plastic between this metal plate and the surface of my wheel.

This is the other end of that same bracket. It mounts through the top of the body and comes out near the roll bar.
This is the top half of that bolt. I had to drill this hole as well. I marked the location for this hole AFTER I had mounted the other end of the bracket to the backside of the hinge.
Next I mounted the rack to the hinge plate bracket with the supplied bolts, washers, spacers and wavy washers.
To allow for latch clearance and taillight mounting I had to trim both tail light guards.
This rubber stopper was shaped like a dome and would have pushed in on and possibly dented the tailgate so I used my grinder to flatten it out.
ALMOST DONE!!!!
Next I installed the locking bar and mounted the spare tire on the rack. There is a piece of black rubber\plastic between this metal plate and the surface of my wheel.
Thread Starter
JK Freak
Joined: Apr 2008
Posts: 598
Likes: 1
From: Colorado Springs
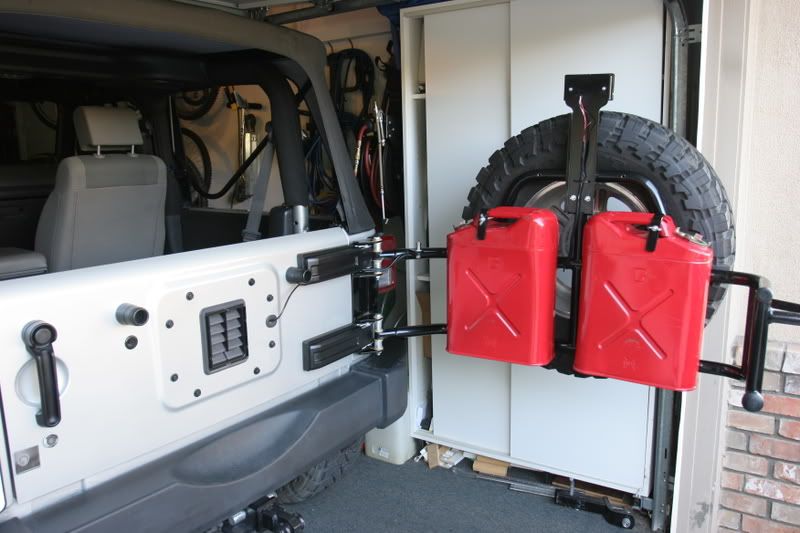
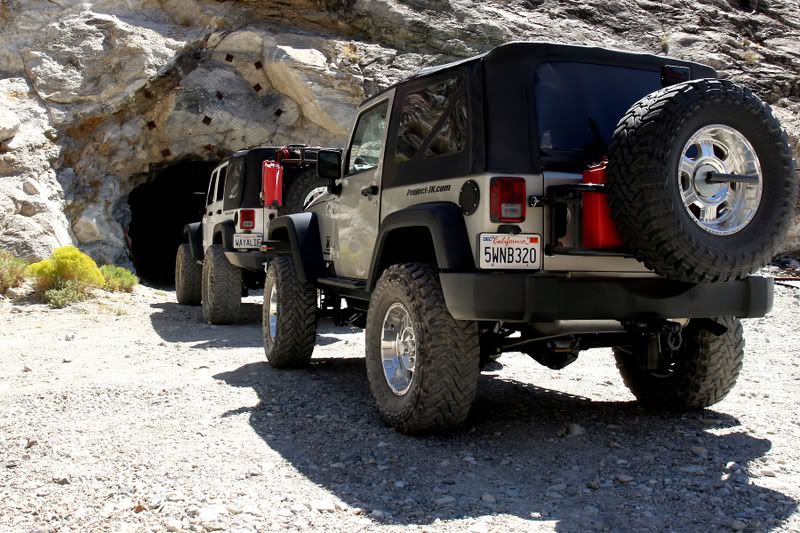
Now a few final pics....
I also have to brag on the customer service and technical support provided by both David at Northridge and OR-Fab. I even received an e-mail with PERSOLAL CELL PHONE NUMBERS for technical advisors with OR-Fab over the 4 DAY WEEKEND!!!
I also have to brag on the customer service and technical support provided by both David at Northridge and OR-Fab. I even received an e-mail with PERSOLAL CELL PHONE NUMBERS for technical advisors with OR-Fab over the 4 DAY WEEKEND!!!

Trending Topics
Thread Starter
JK Freak
Joined: Apr 2008
Posts: 598
Likes: 1
From: Colorado Springs

Sponsoring Vendor
Off Road Evolution Rep
Off Road Evolution Rep
Joined: Feb 2008
Posts: 3,068
Likes: 0
From: Fullerton, Ca.
Very nice write up! I could not be more satisfied with my carrier. I purchased rugged ridge light covers the day before the install, glad I was able to return them.
JK Jedi
Joined: Sep 2006
Posts: 5,567
Likes: 1
From: So. Cal.
Great Job brent_f70! I just completed mine last week too! I like this tire carrier a lot. Very well made and doesn't clunk or vibrate a single bit! The gas cans dont block your view and they keep your center of gravity low. It's all win win with this carrier!
Very well made and doesn't clunk or vibrate a single bit! The gas cans dont block your view and they keep your center of gravity low. It's all win win with this carrier!

