When you click on links to various merchants on this site and make a purchase, this can result in this site earning a commission. Affiliate programs and affiliations include, but are not limited to, the eBay Partner Network.
JK Write-UpsBulletin board forum regarding useful installation write-ups, budget fixes and homemade solutions for the Jeep JK Wrangler (Rubicon, Sahara, Unlimited and X).
Just got back from a awesome trip to the Rubicon Trail in Cali and Fordyce Trail as well... good times. minimal damages lol... when you break your track bar 2 hours into a 2 day trail lol you do what you have to....
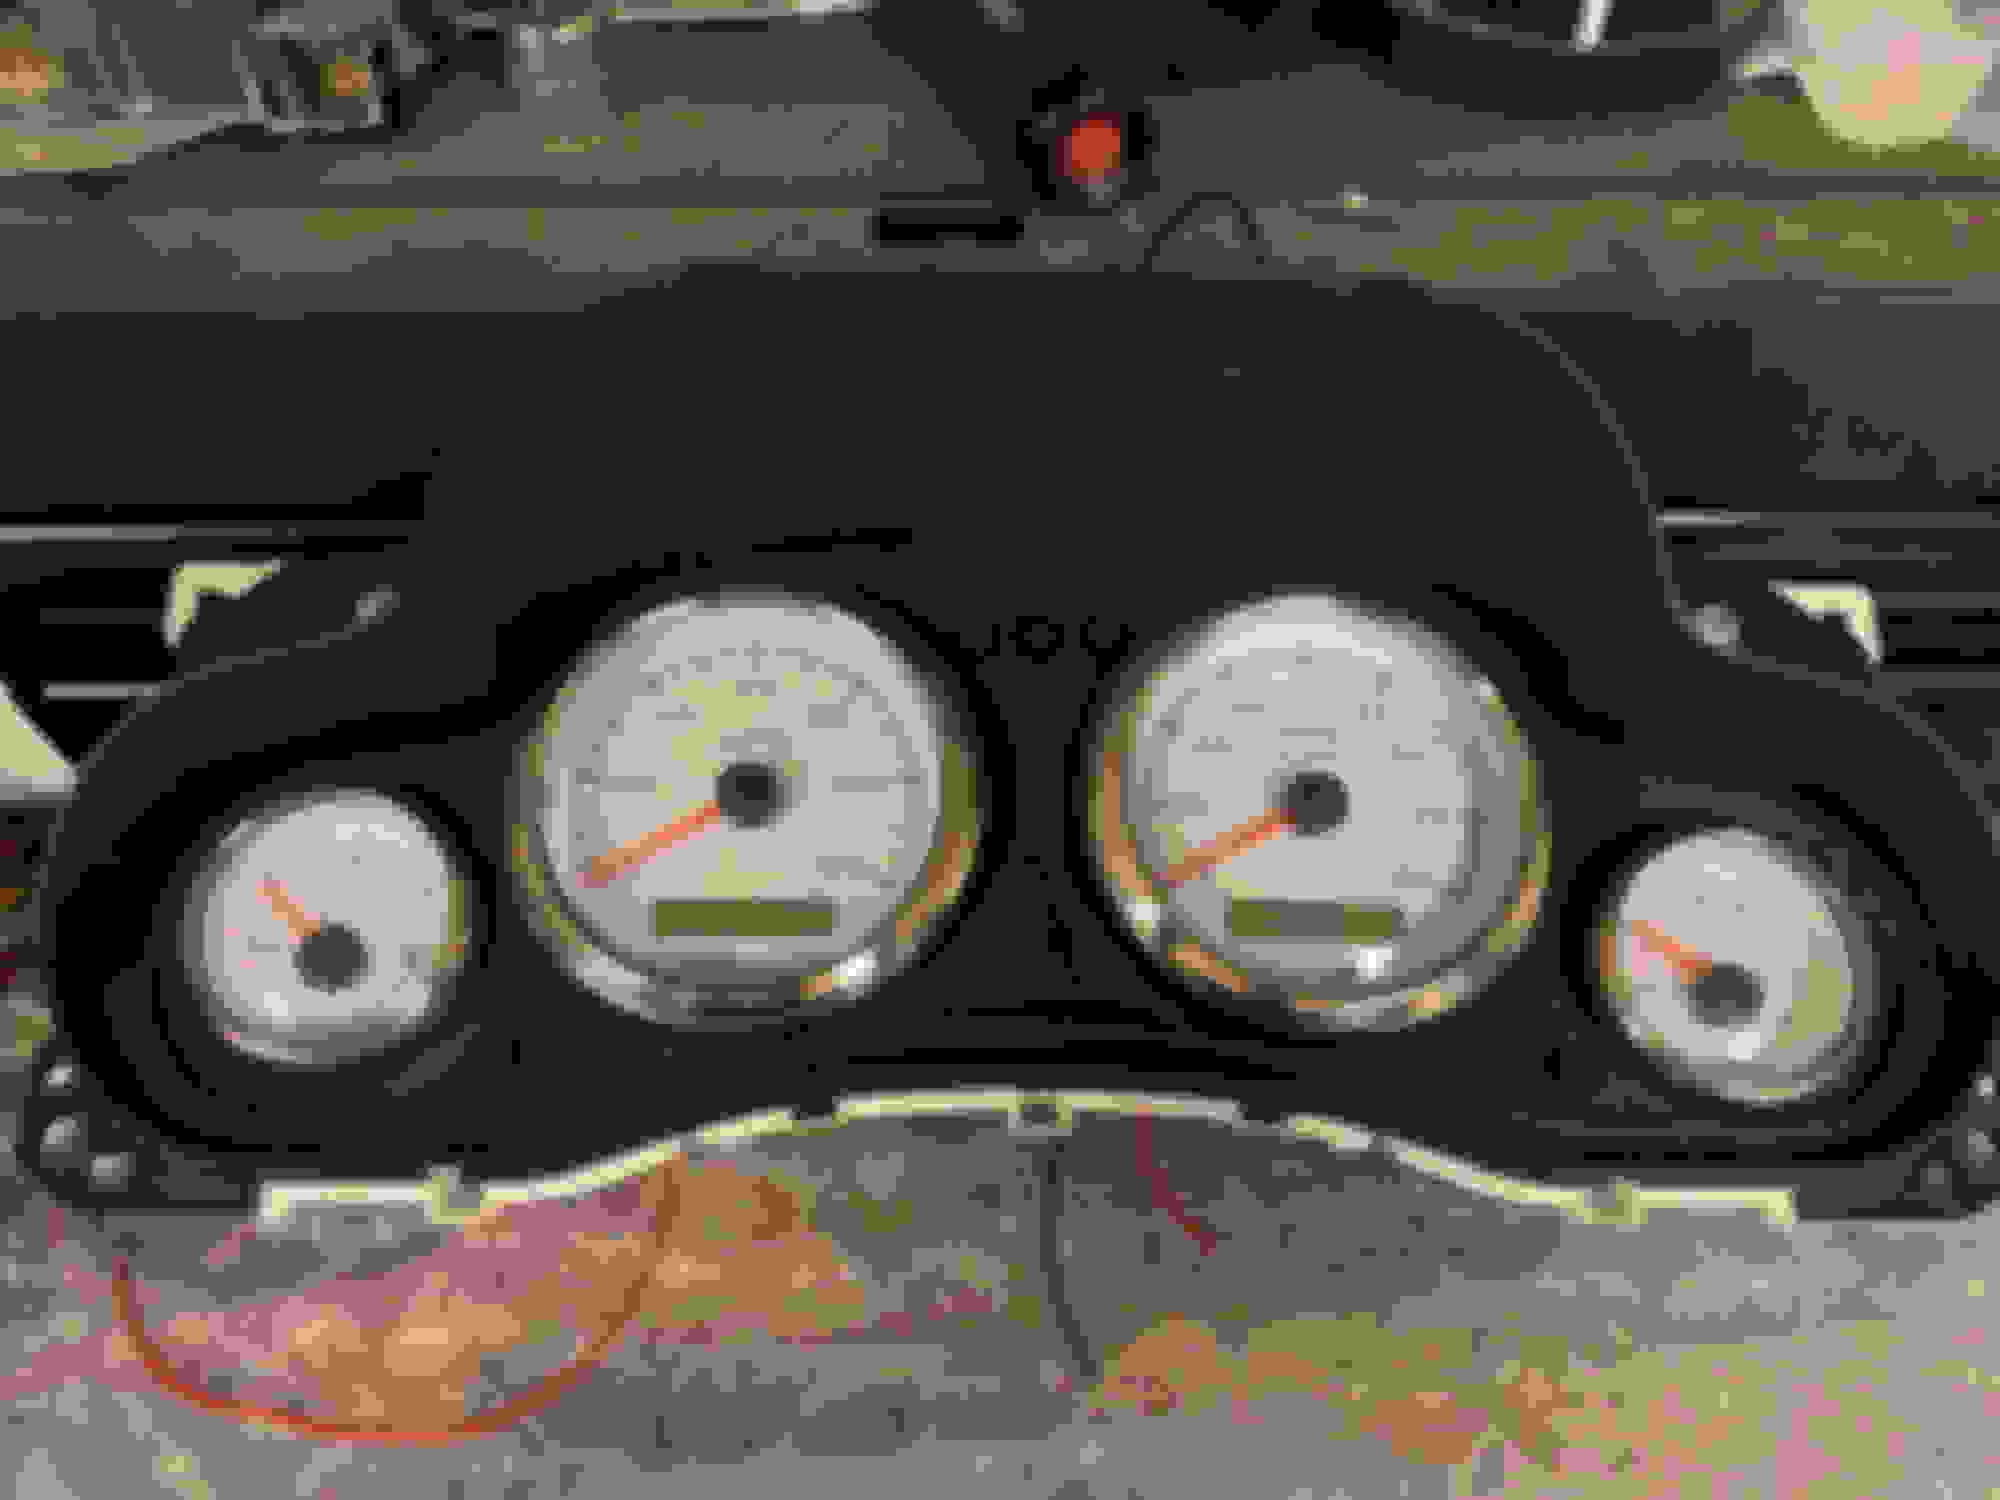
Back on topic... couple hours in the garage last night with a donor jk cluster, Robs gauges and some ABS off amazon. toss in [5] leds lights off amazon and we are off....
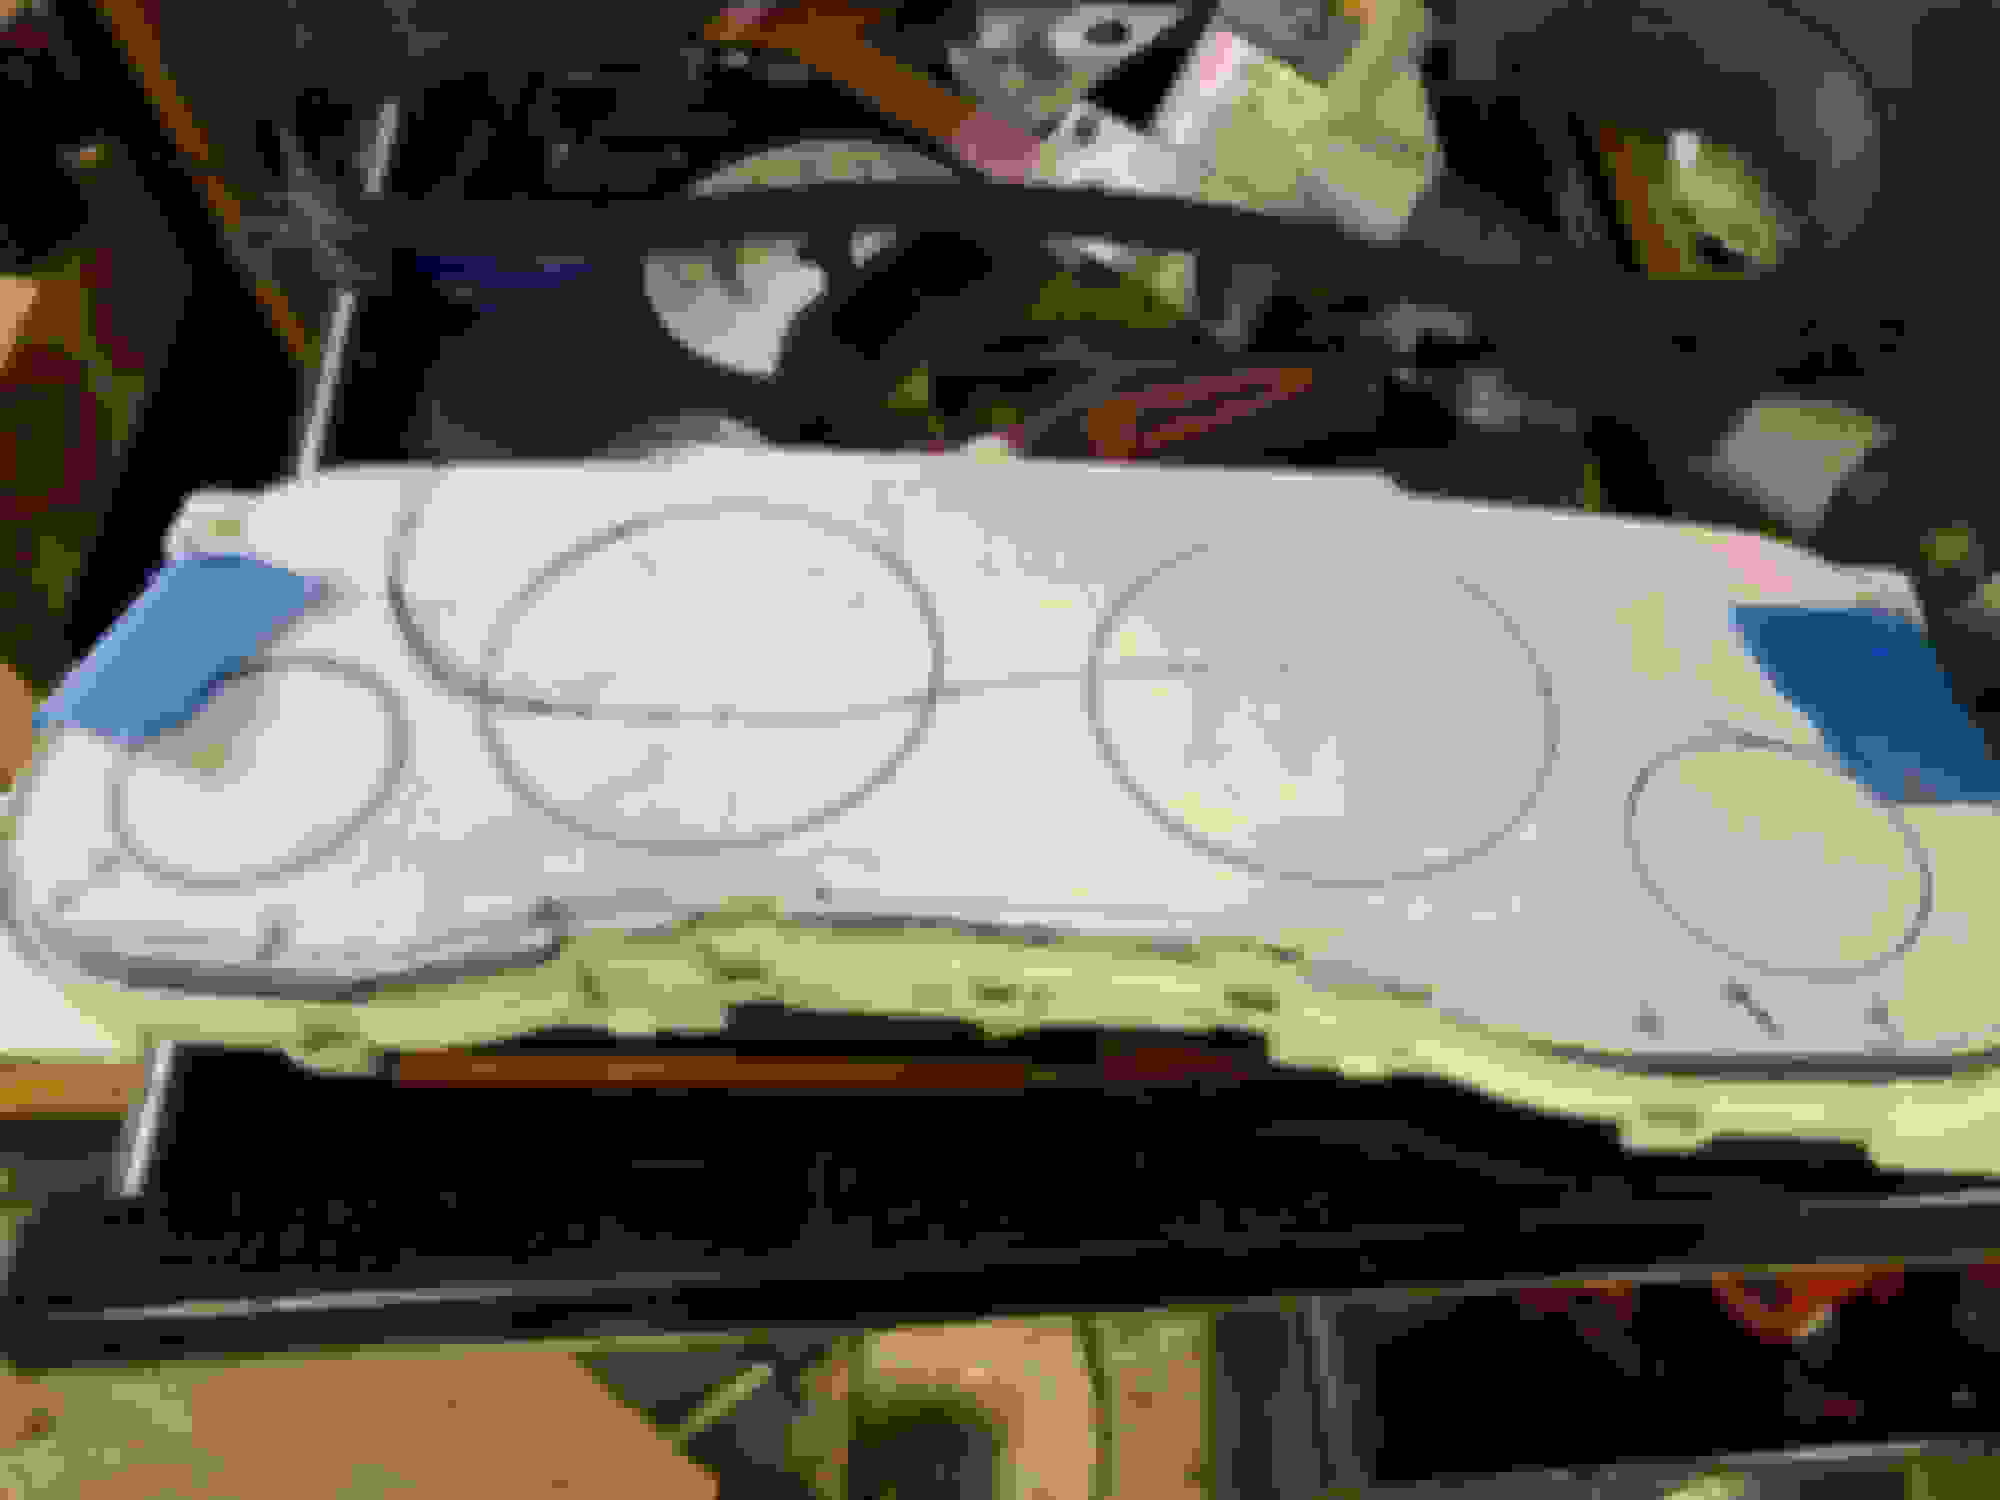
Broke down the stock cluster, cut the plastic 'dividers' out of the outer bezel then grabbed some card stock and got to it. matte board/cardstock from the craft store is approx 0.062 thick so about 1/16. great for mock ups in fabrication.
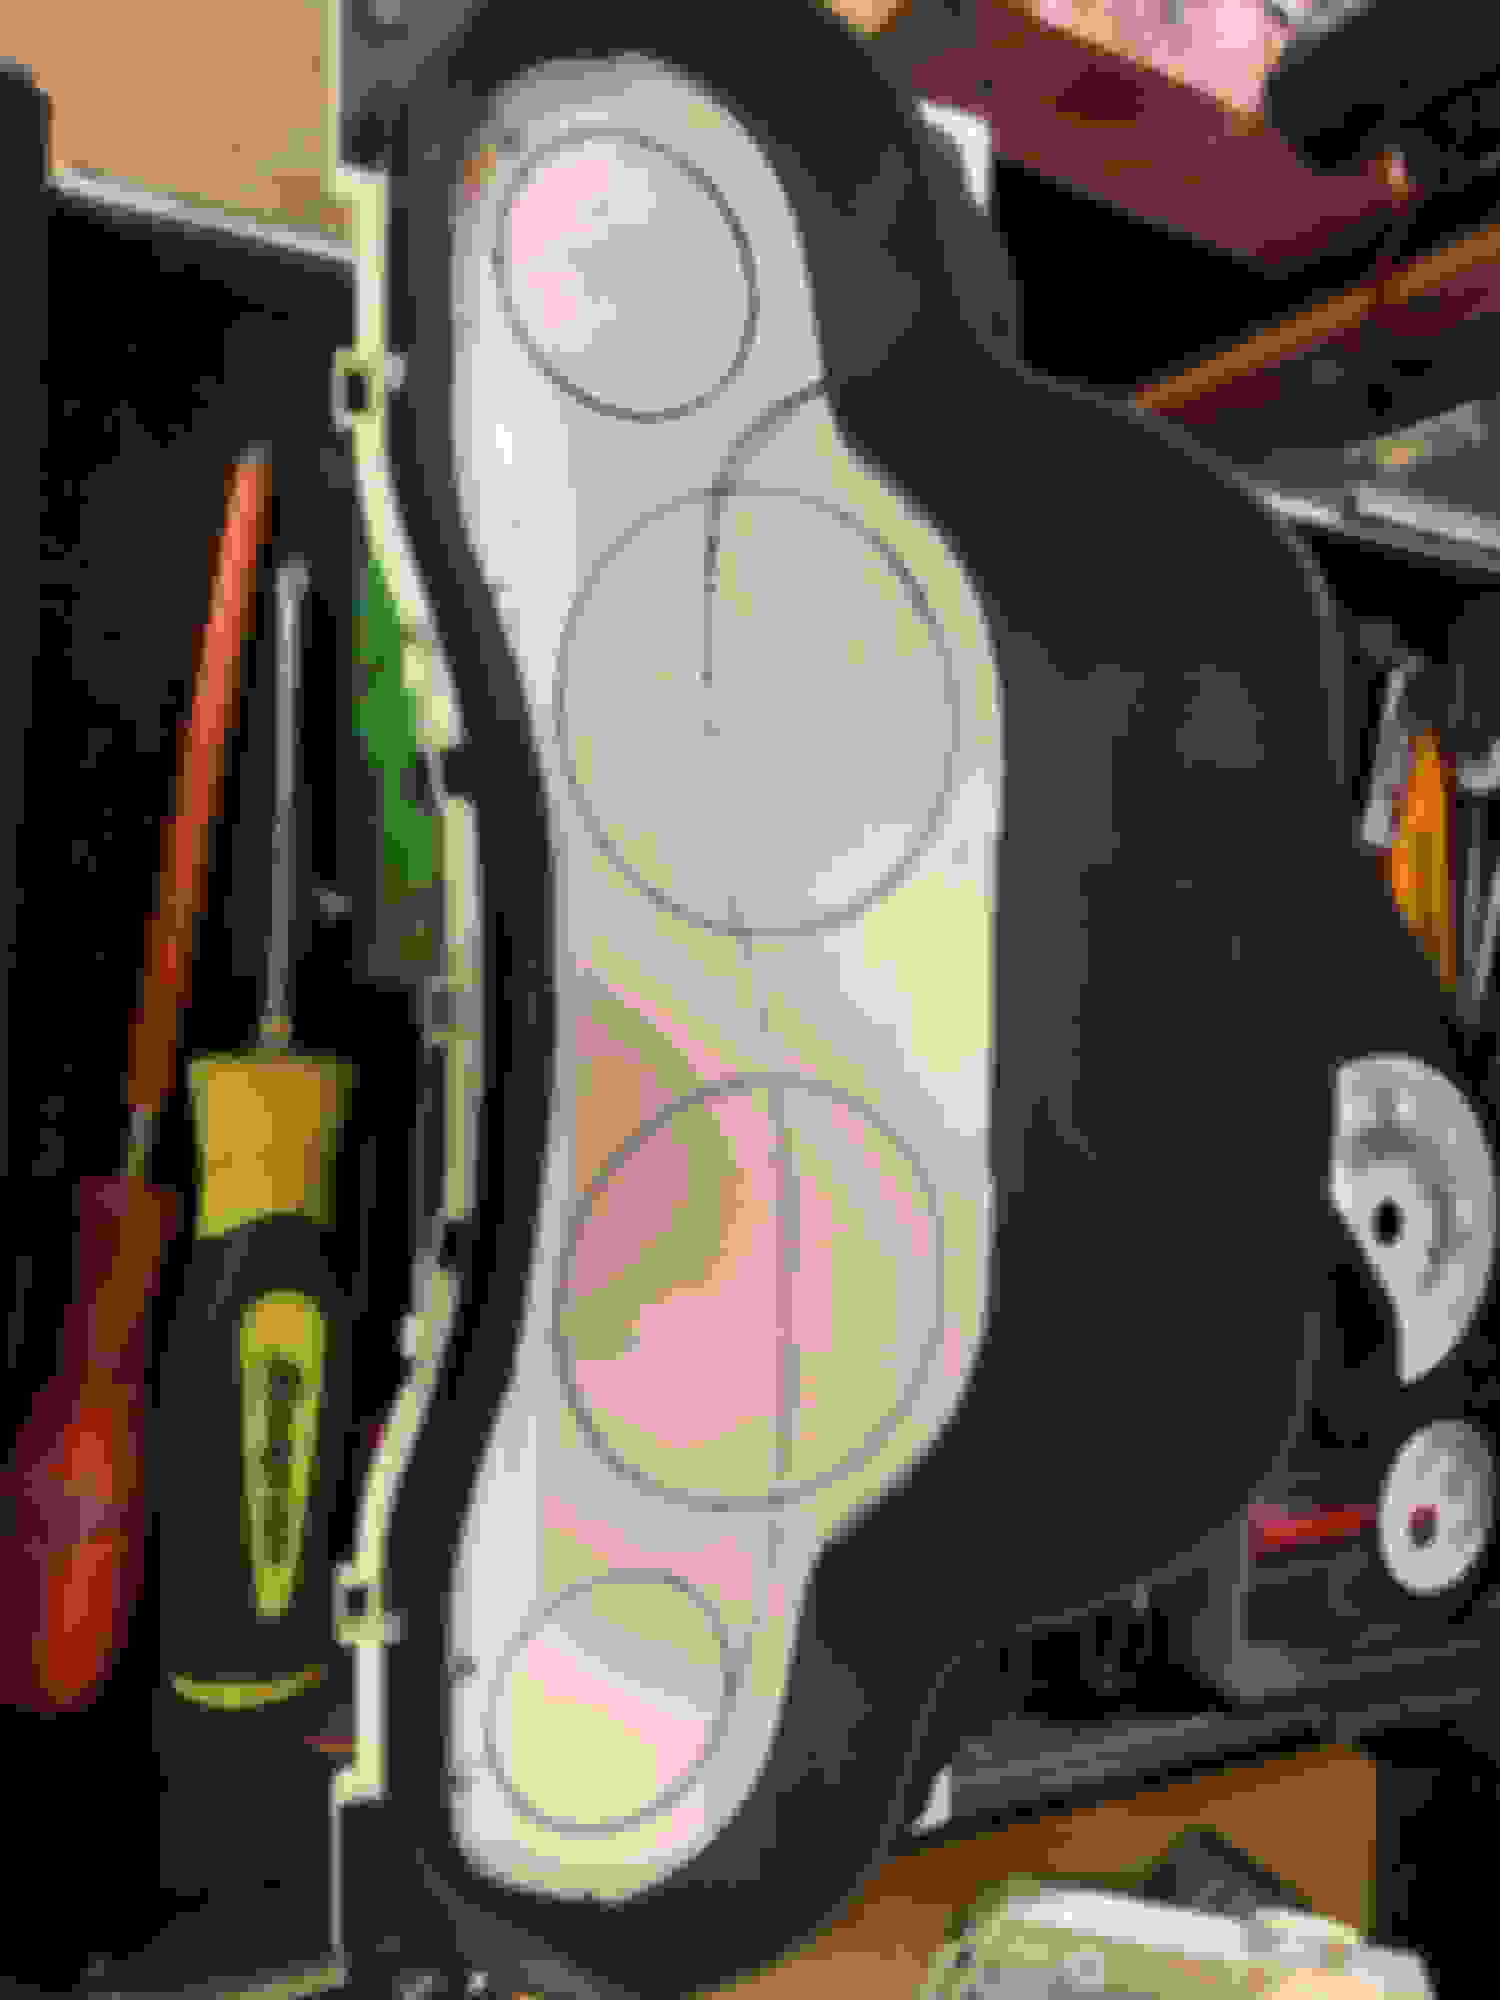
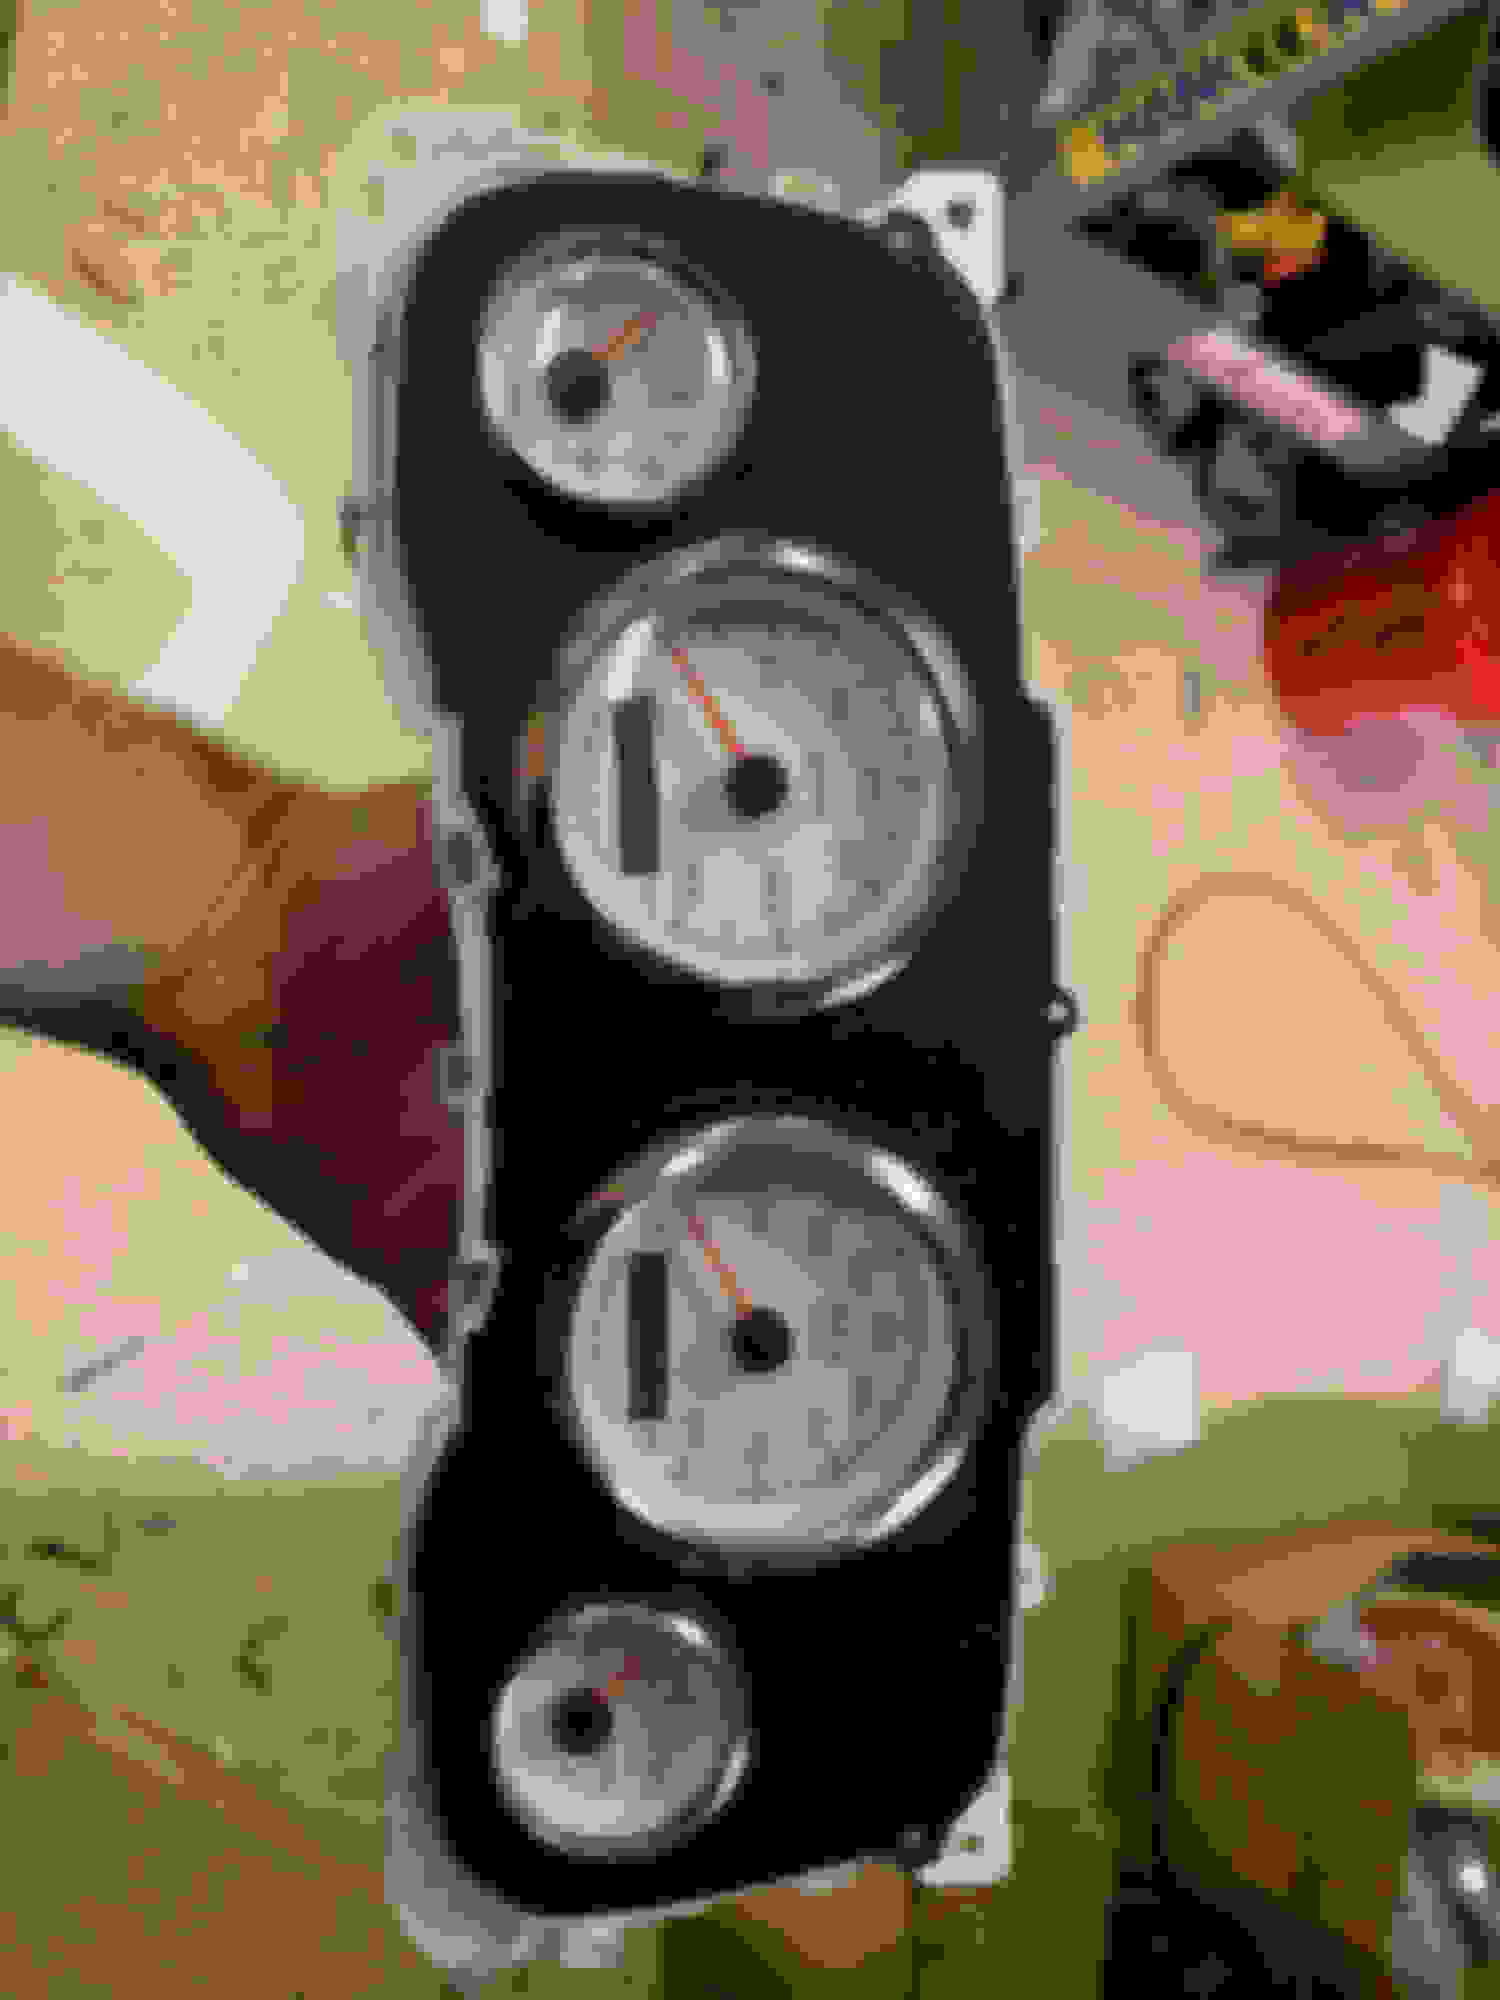
Mapped it all out and grabbed the hole saws... then hogged out the stock inner shell a bit. dropped in the gauges...
Drilled some holes for the indicator lights and got them installed.... left turn, high beam, right turn, check engine and fog light LEDs
The water temp, oil pressure and trans temp gauges are going to go into a triple gauge pod on the top of the center of the dash.... like this
I put in an order from Summit on Sunday and one from Amazon last night. Everything should be at the shop Weds/Thursday. I shipped the harness back to Rob on Monday and Ill be sending out the cluster to Michigan today.
My Flight back to MI is booked for Wednesday/tomorrow.... so tomorrow night the madness begins.... Im flying back home to Phoenix next week Tuesday night sooo we shall see what all we can get done in 6 days...
Dirtman.. ill make it a point to do that on the next run up there!
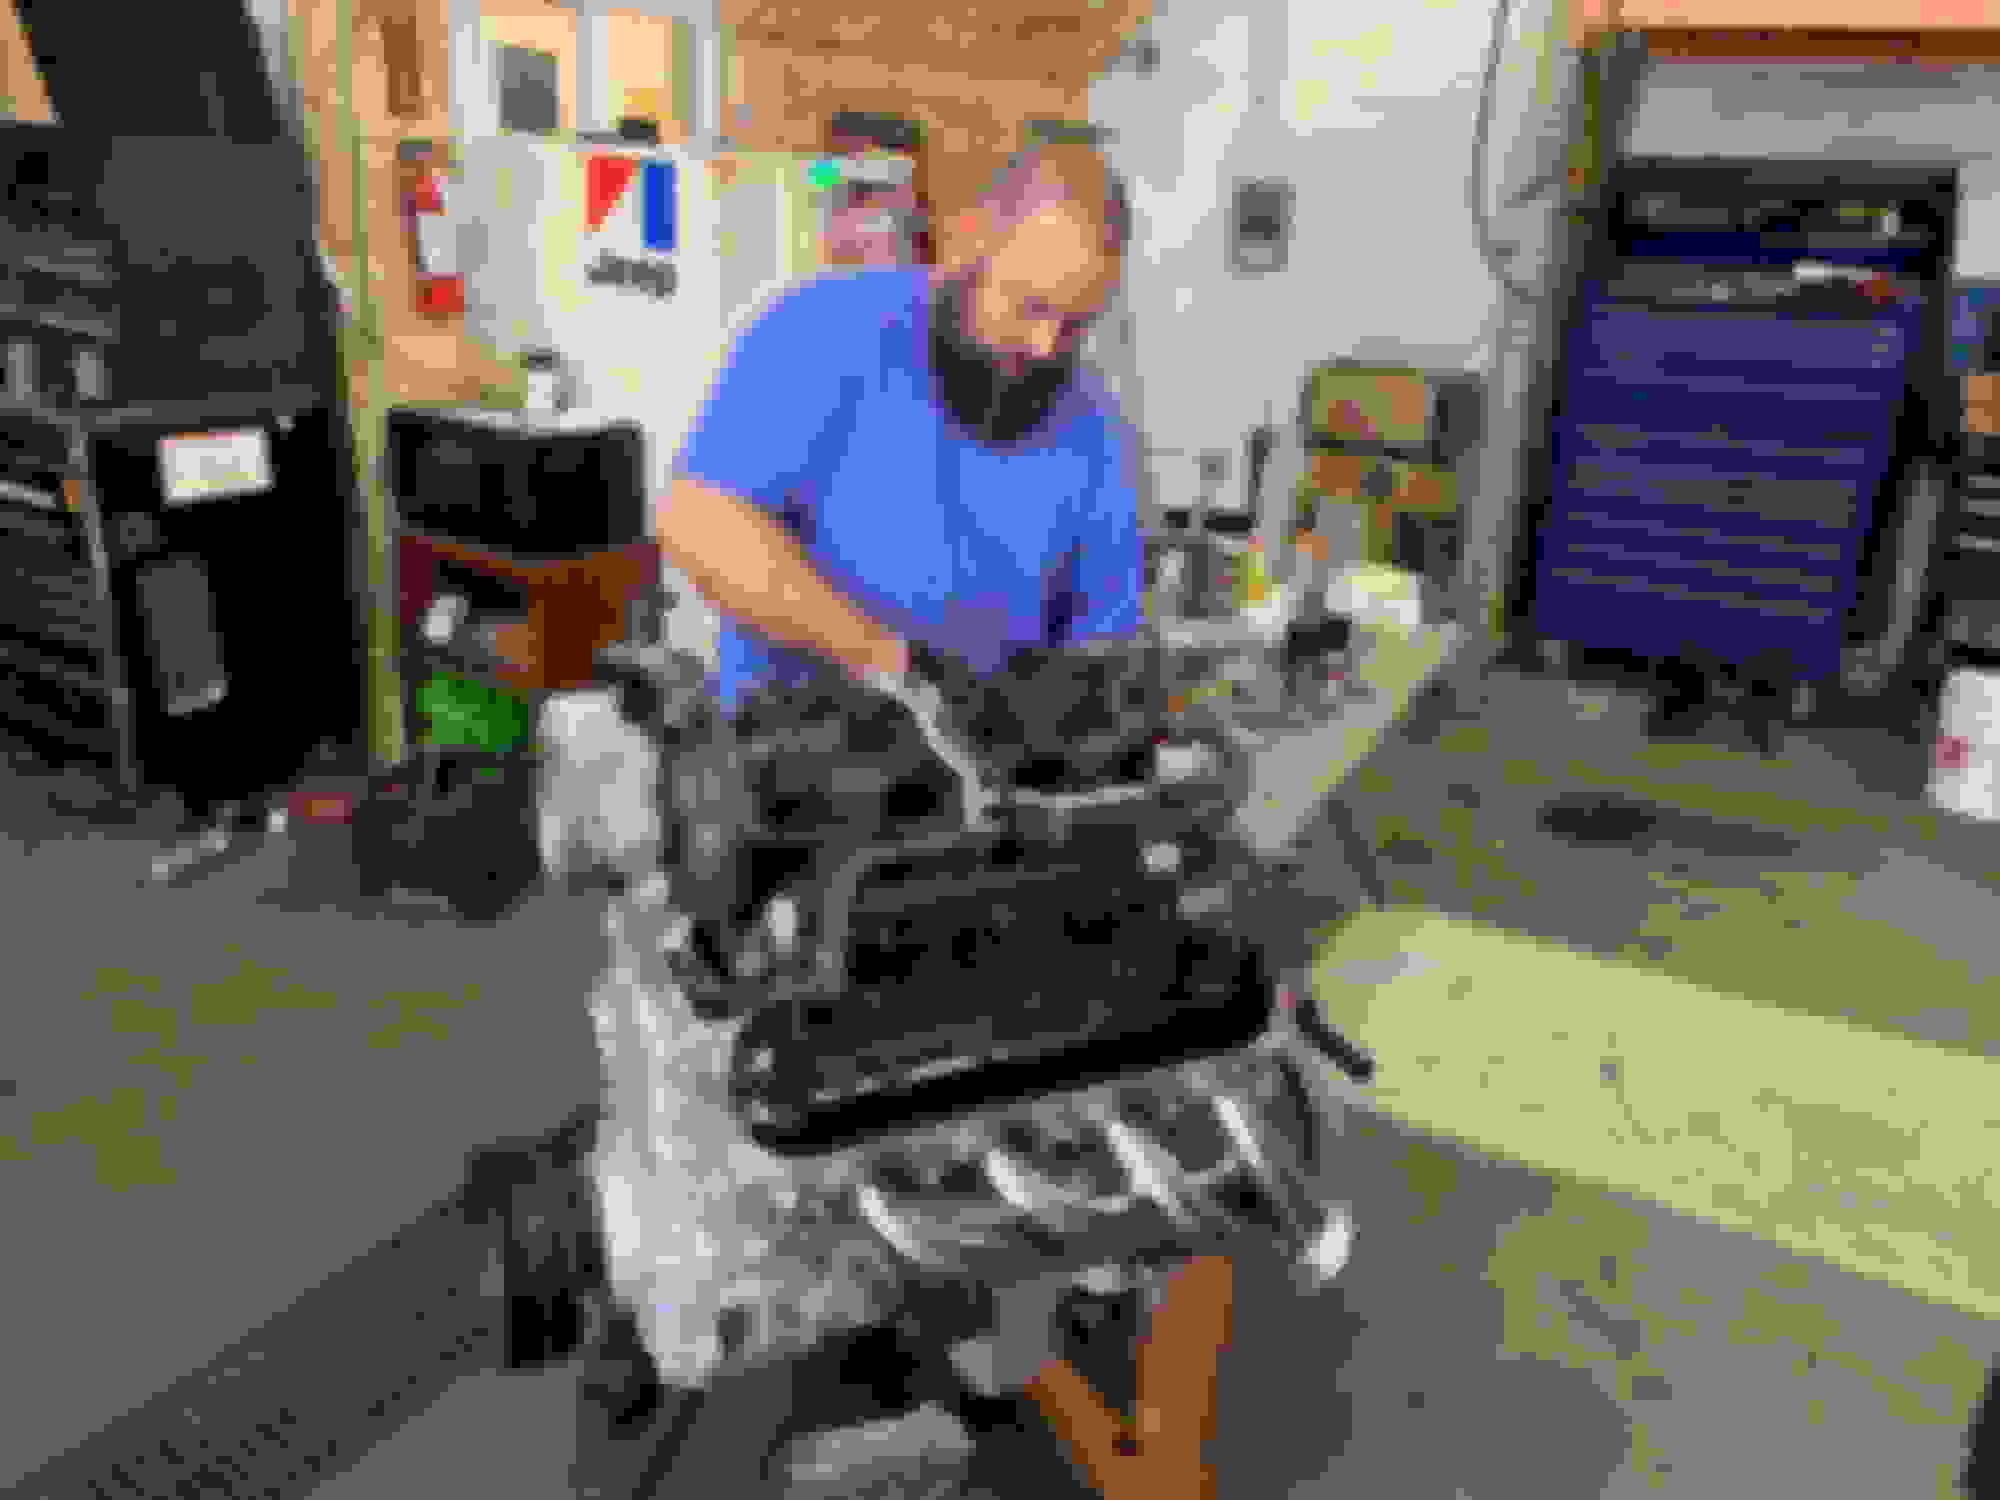
ok boys and girls ijust got back from Michigan... we put a hard week in and did a boatload of things to the jeep... including the LS swap... outside of the LS swap, we 3 linked the front of the Jeep using Barnes pieces, 1.25 heims and some 1.75 and 2.0 DOM tubing. Before the LS swap could begin, we needed to get the new suspension set up mocked in so we knew what kind of real estate we would be working with.
We were able to get it 90% done before I had to leave to get back to Phoenix. Lets roll with some pics.....
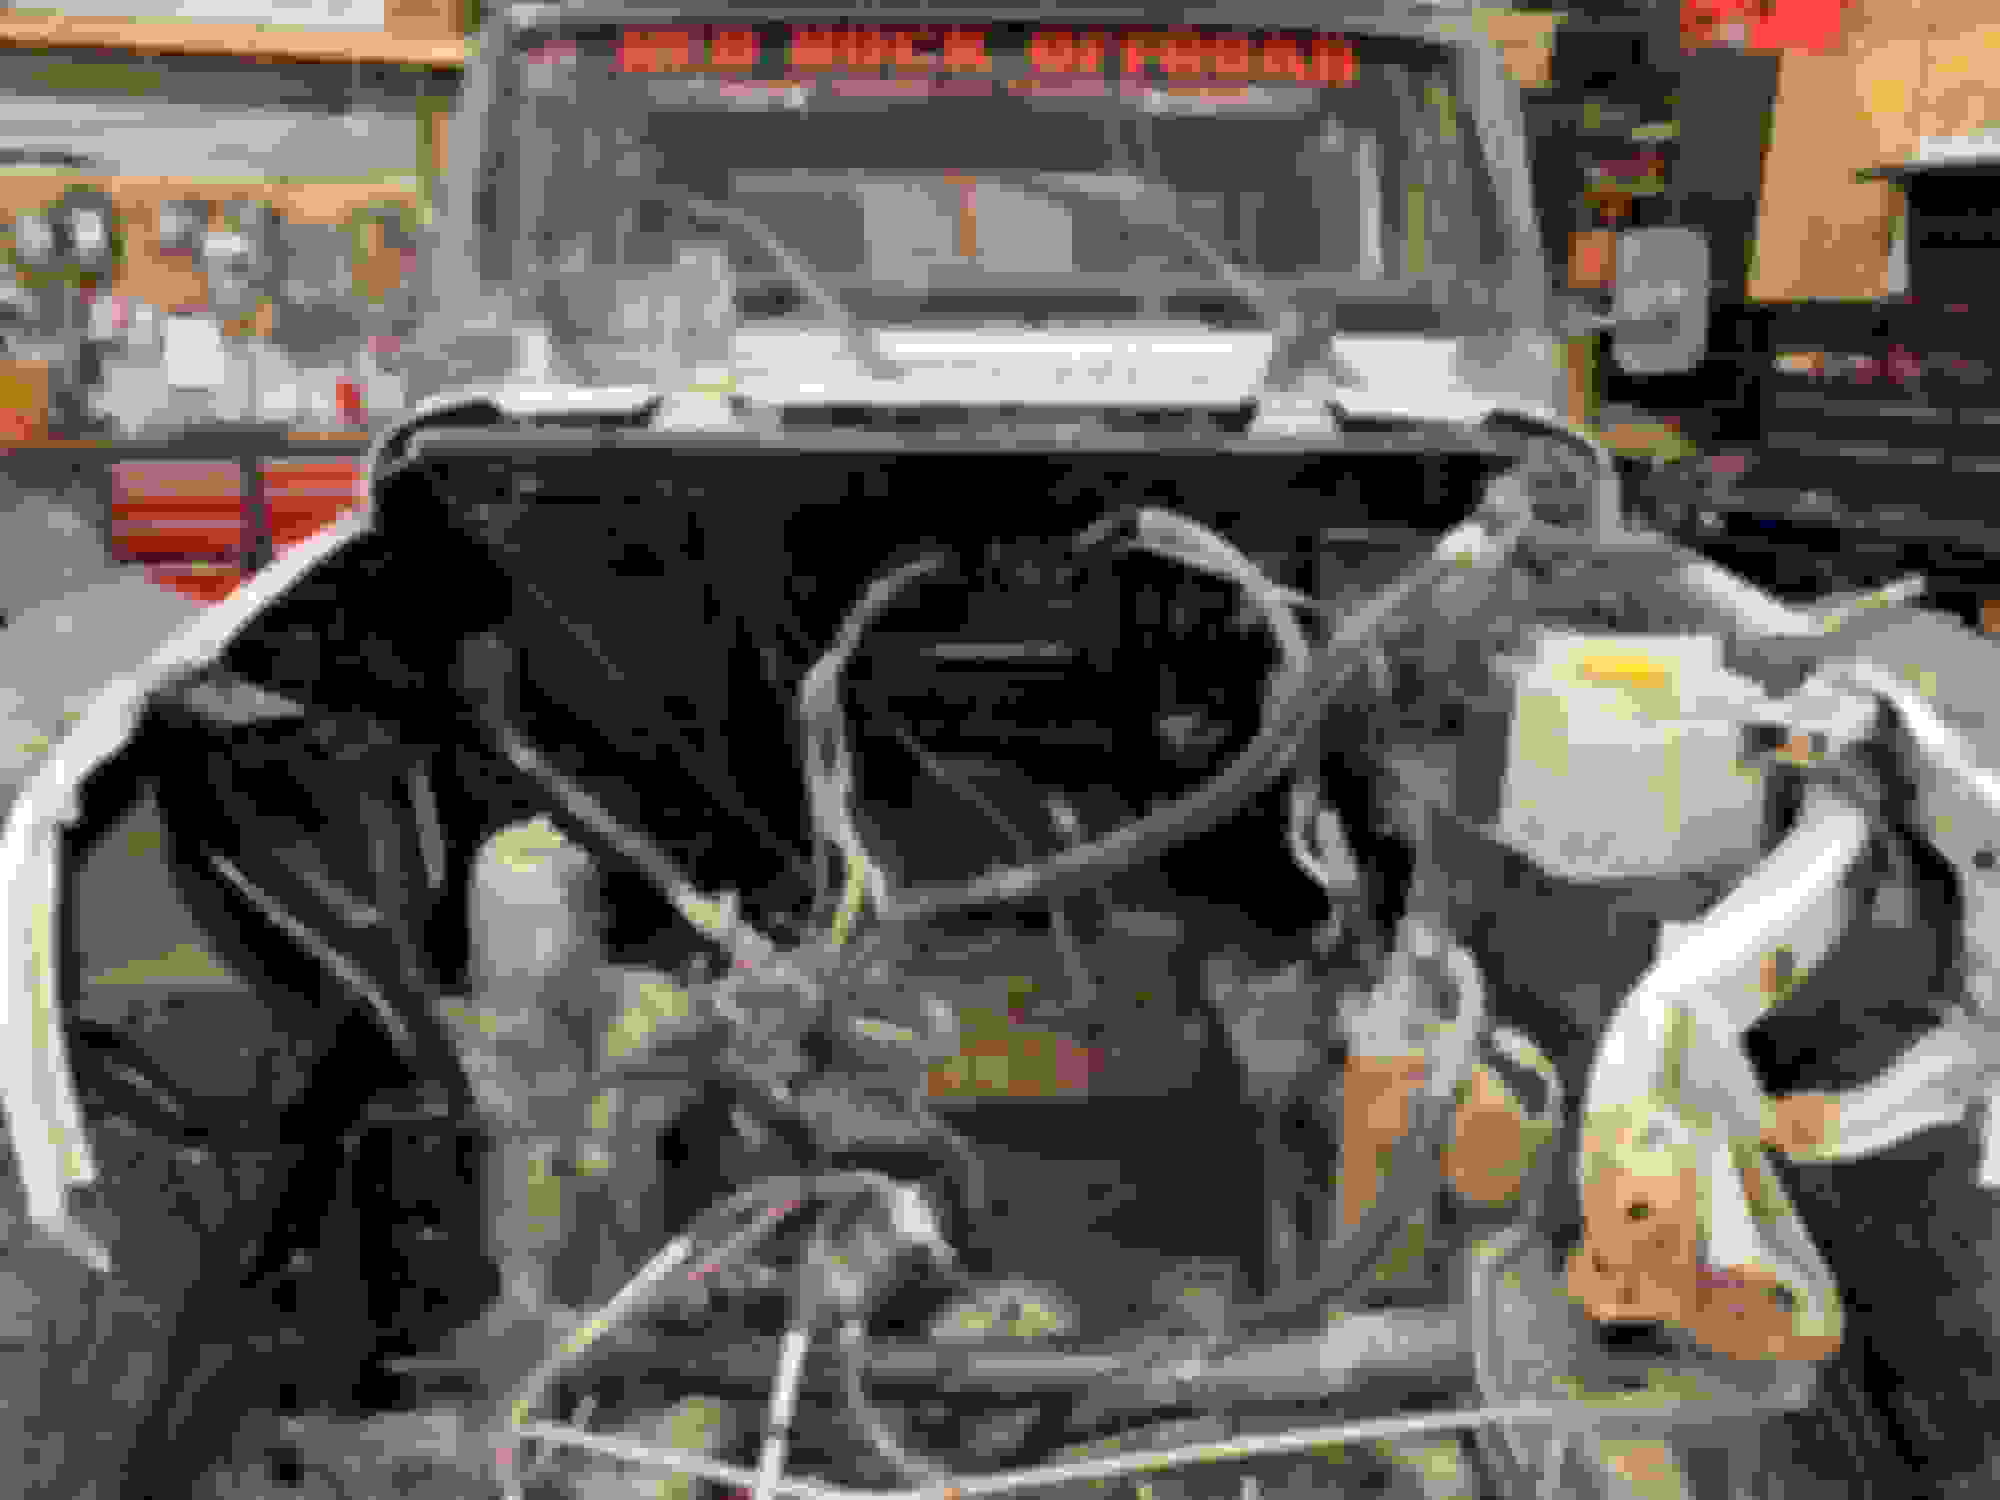
This is what I walked into....
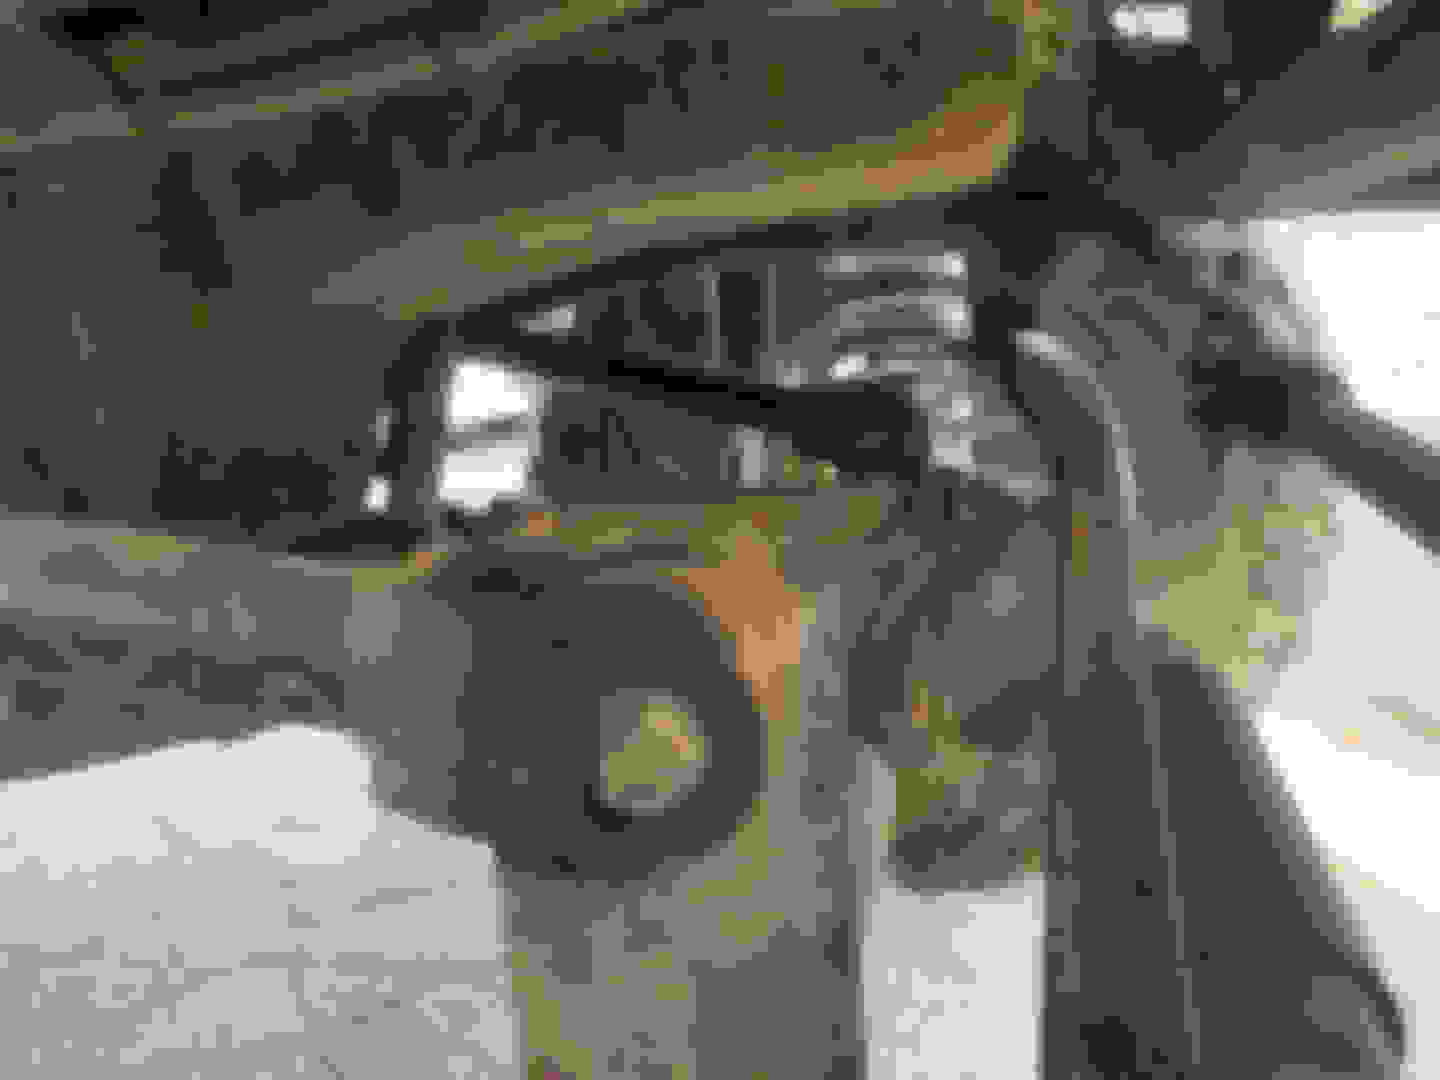
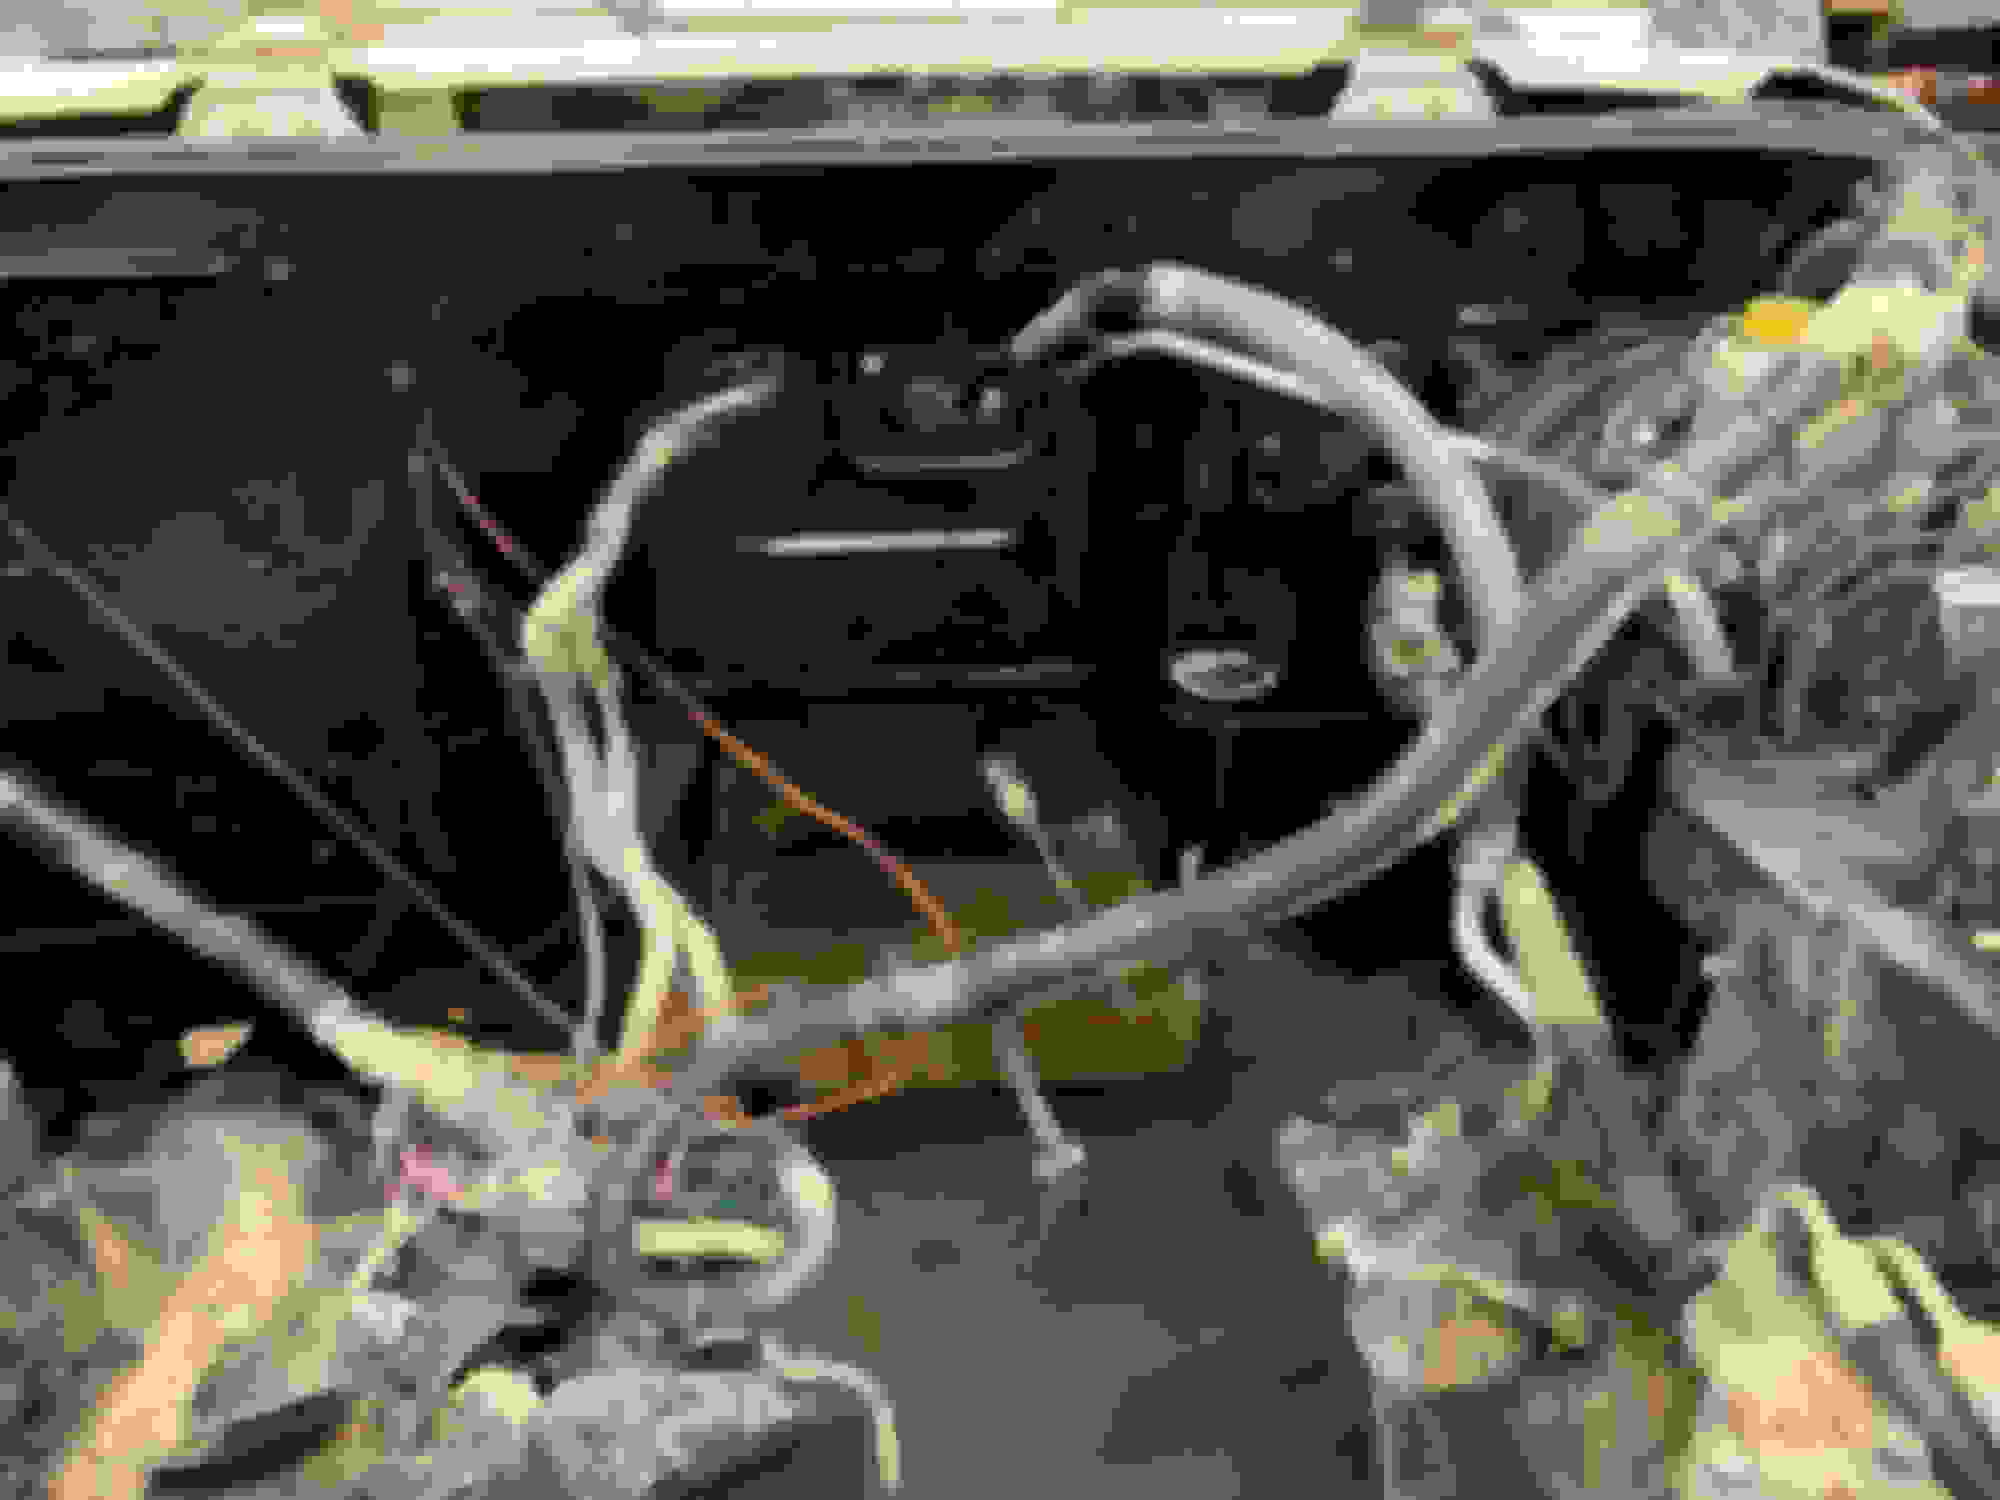
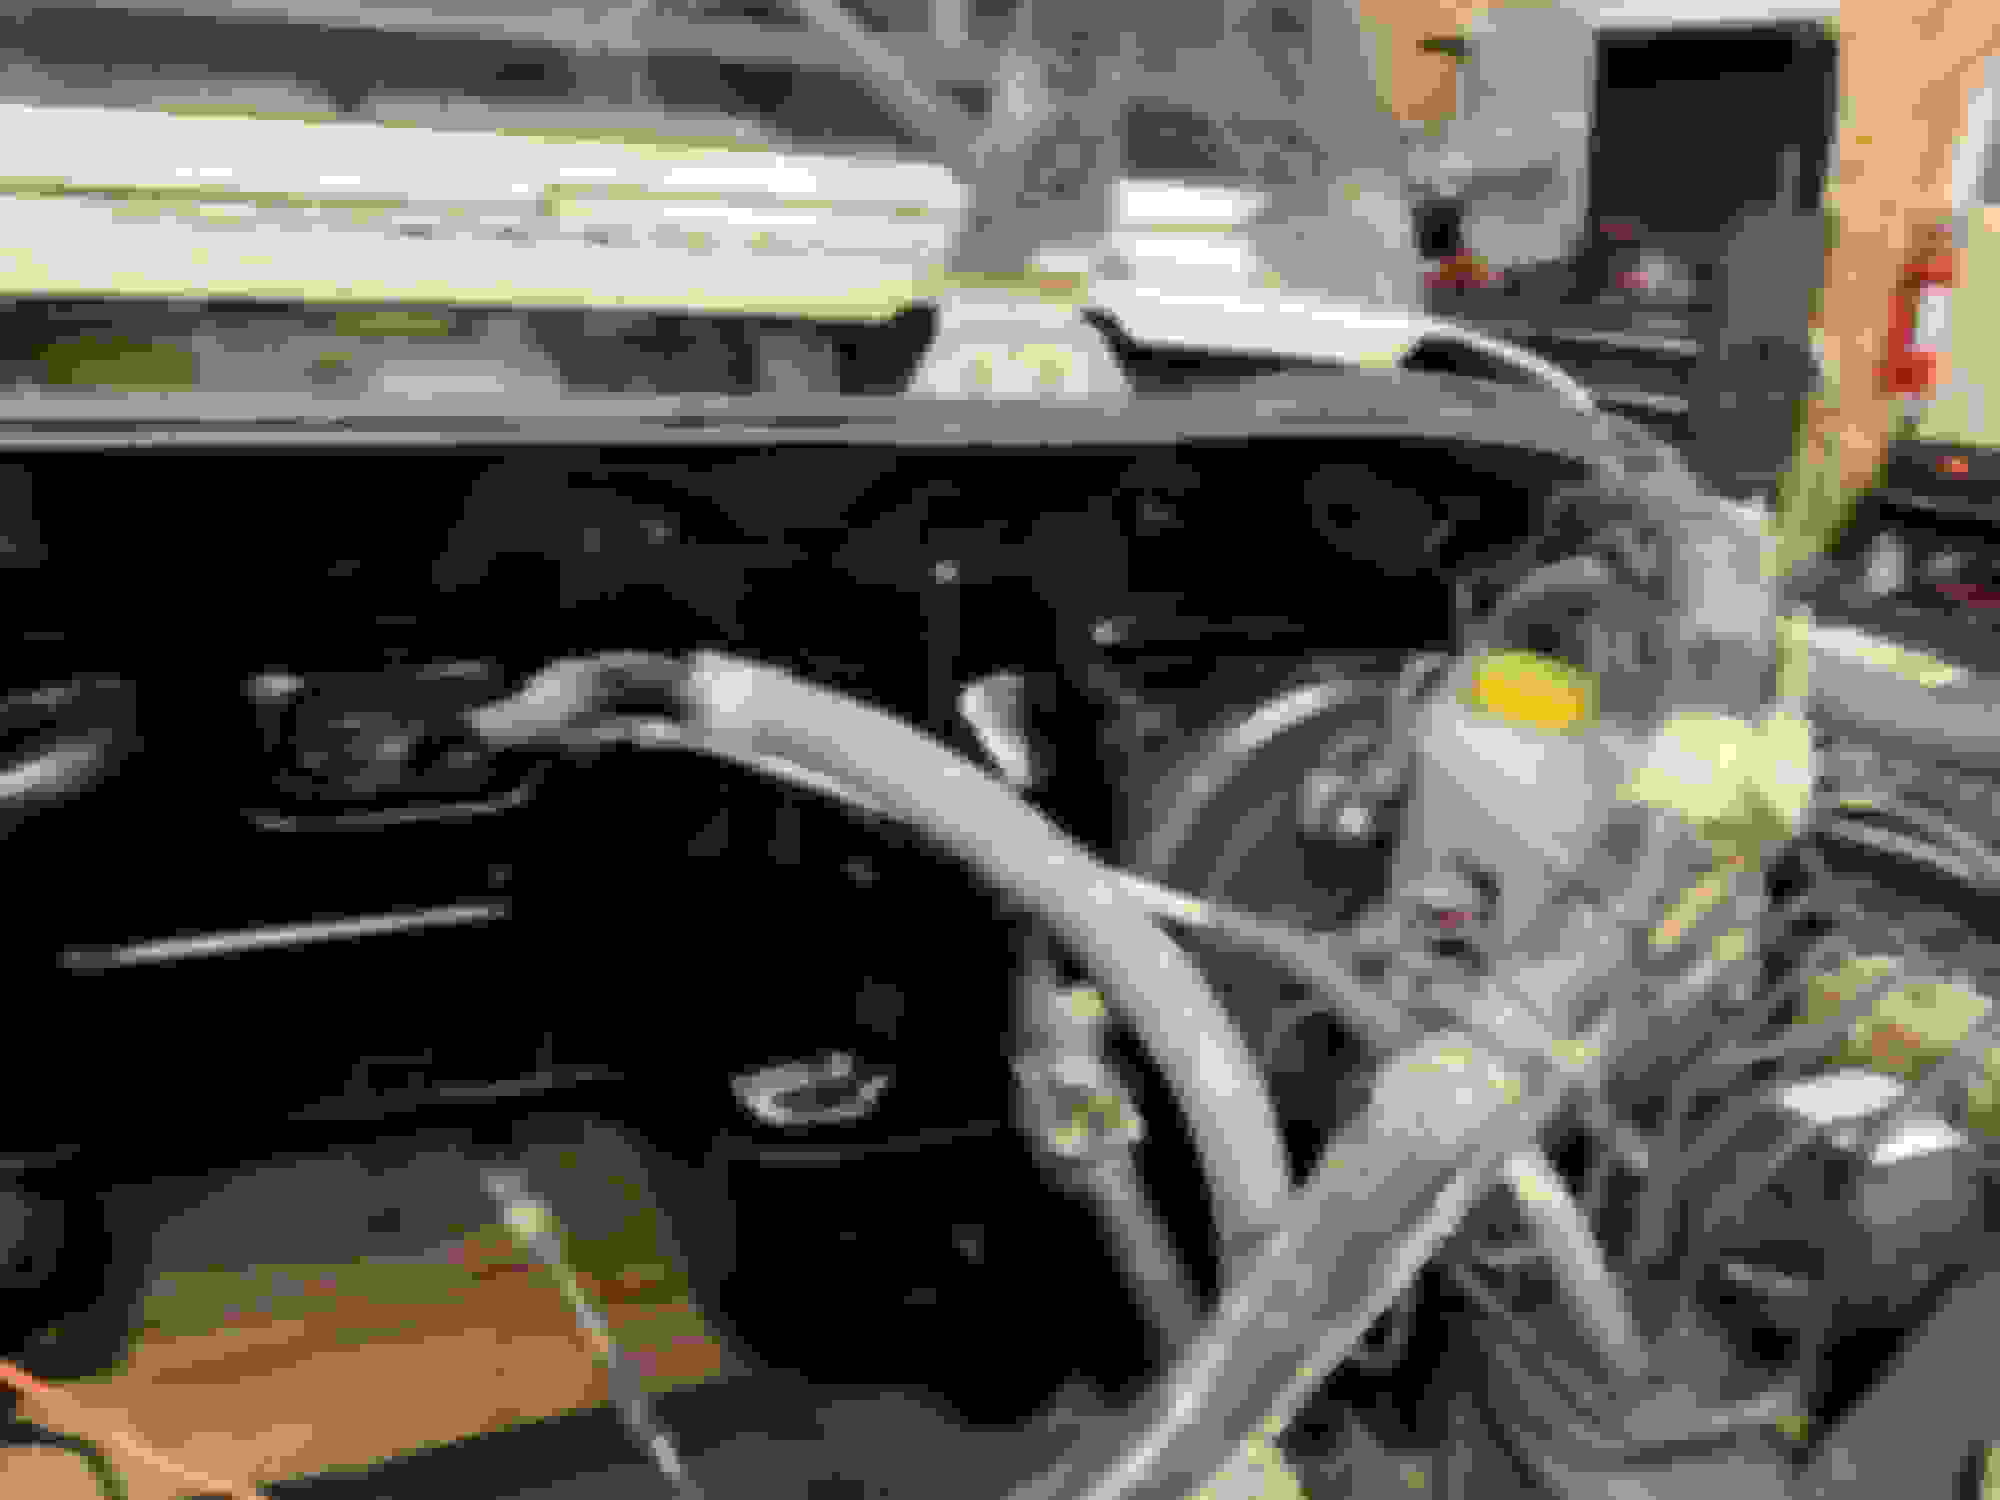
Rob cutting off the rest of the stock mounts...
Getting the 3 link bracket mocked up and the crossmember in...
So the S-10 swap headers with the V bands wouldnt work. the angle on the headers crossed over the engine mounts and would have obstructed the mounting plates from the frame. S-10 swap headers with the 3 bolts flanges for the win.
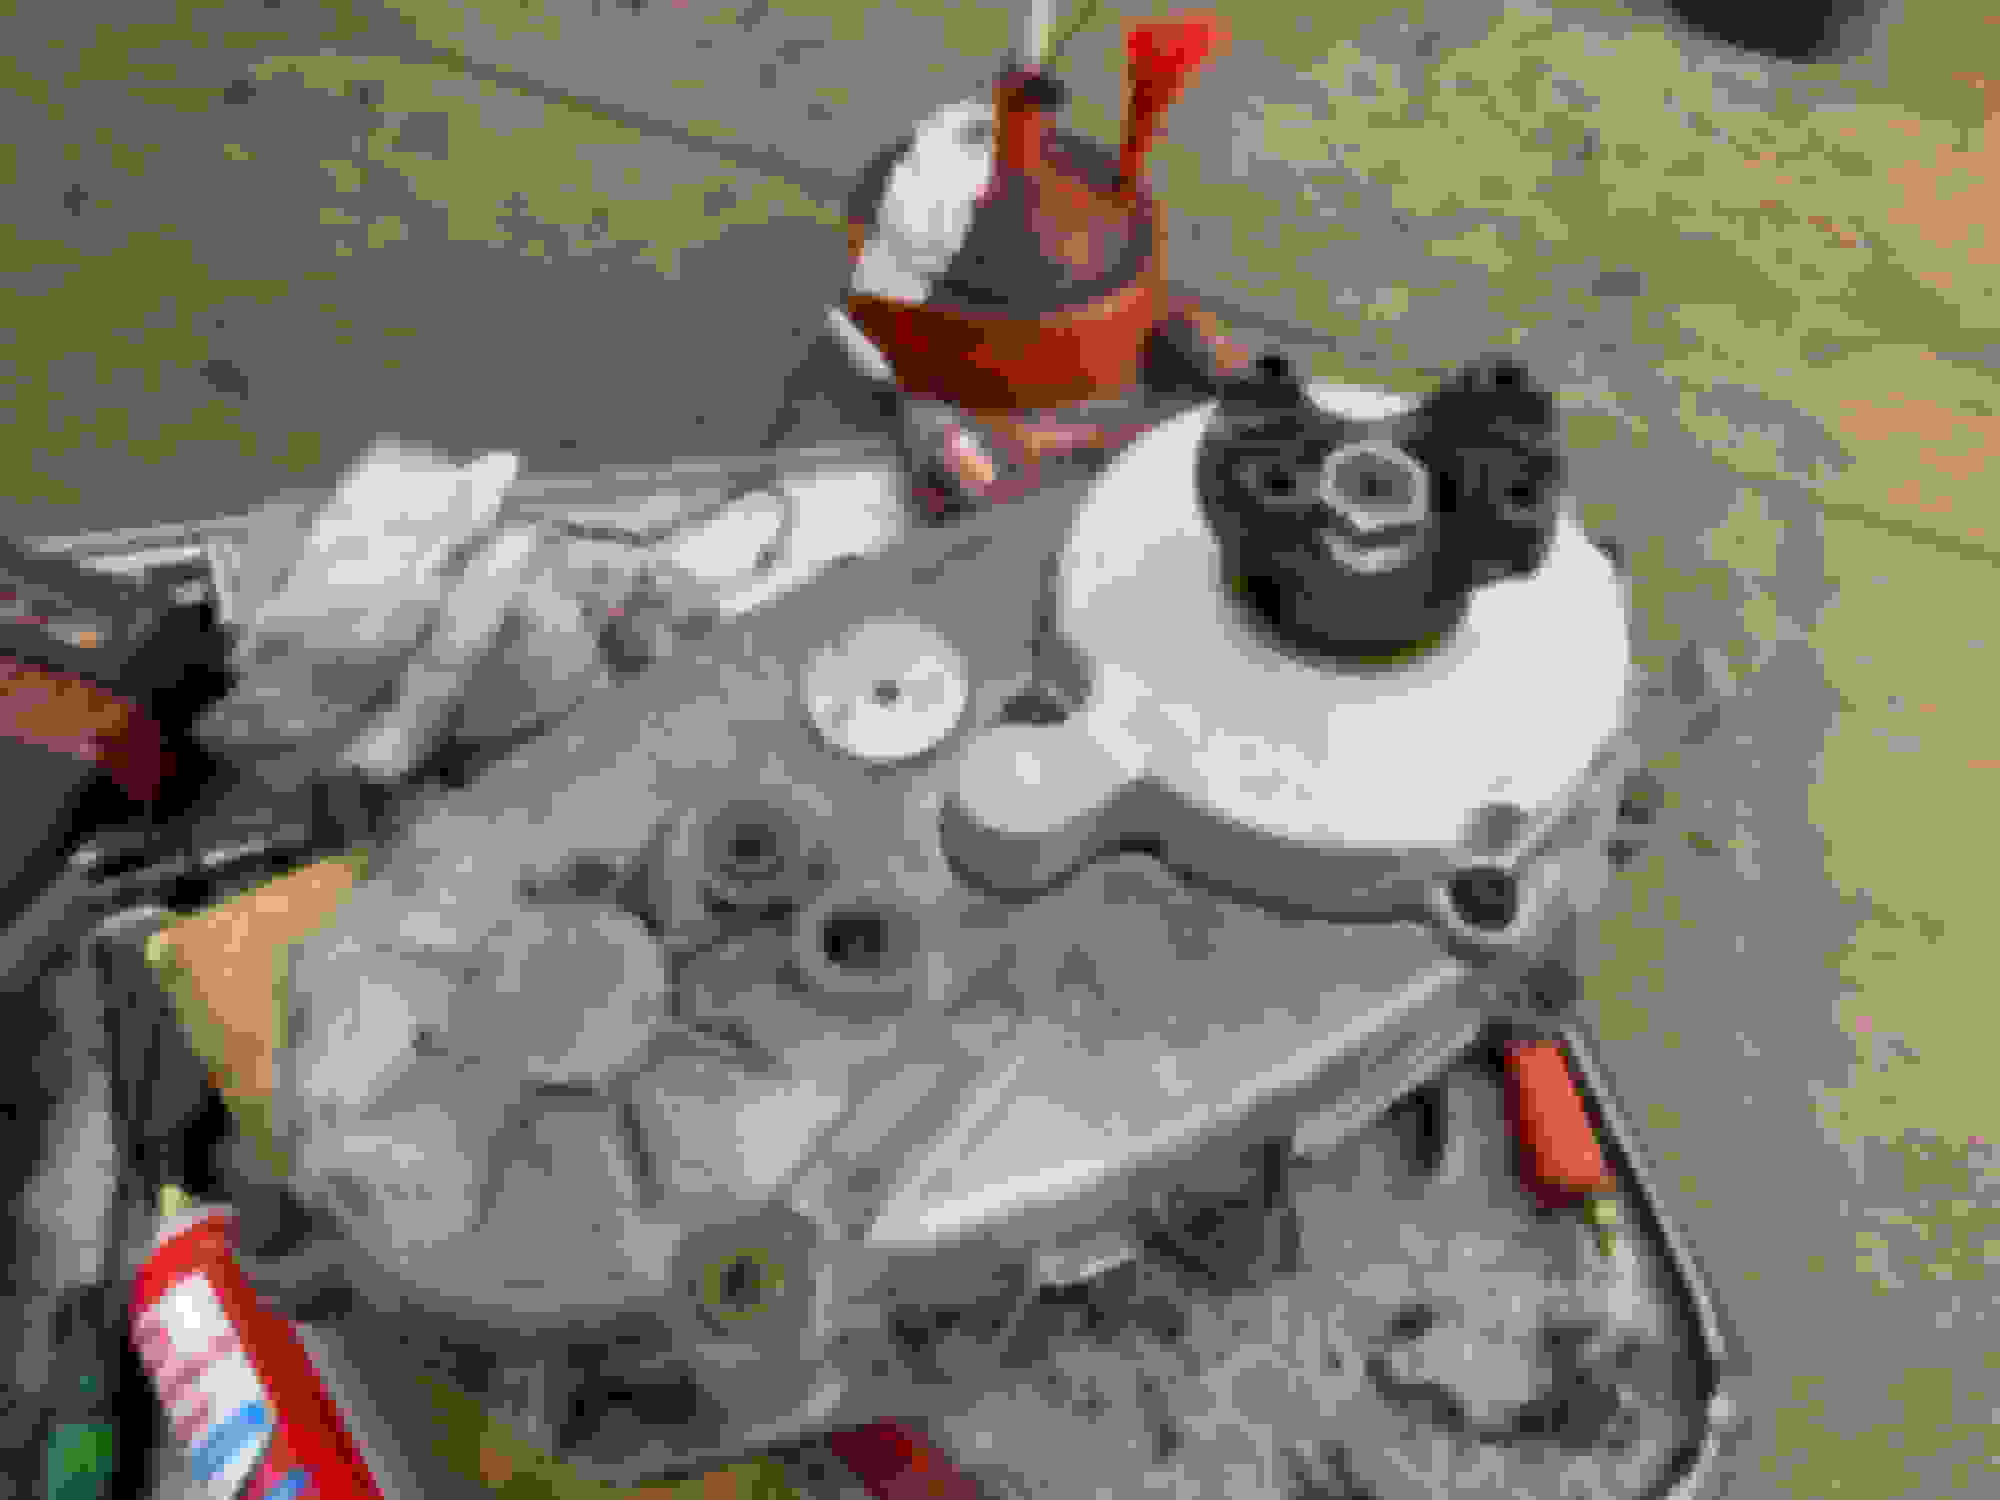
the junkyard NP241c getting shortened up.... jb conversions didnt have any 1350 flanges in stock- estimated months- so we went with a 1310 cv yoke. the rear shaft on the jk had already been changed to CV so this will keep the install simple.
added a bung for the trans temp sensor...
as you can see its a pre-ls 4l60e.... this we will touch back on later... made a quick bracket for the dipstick....
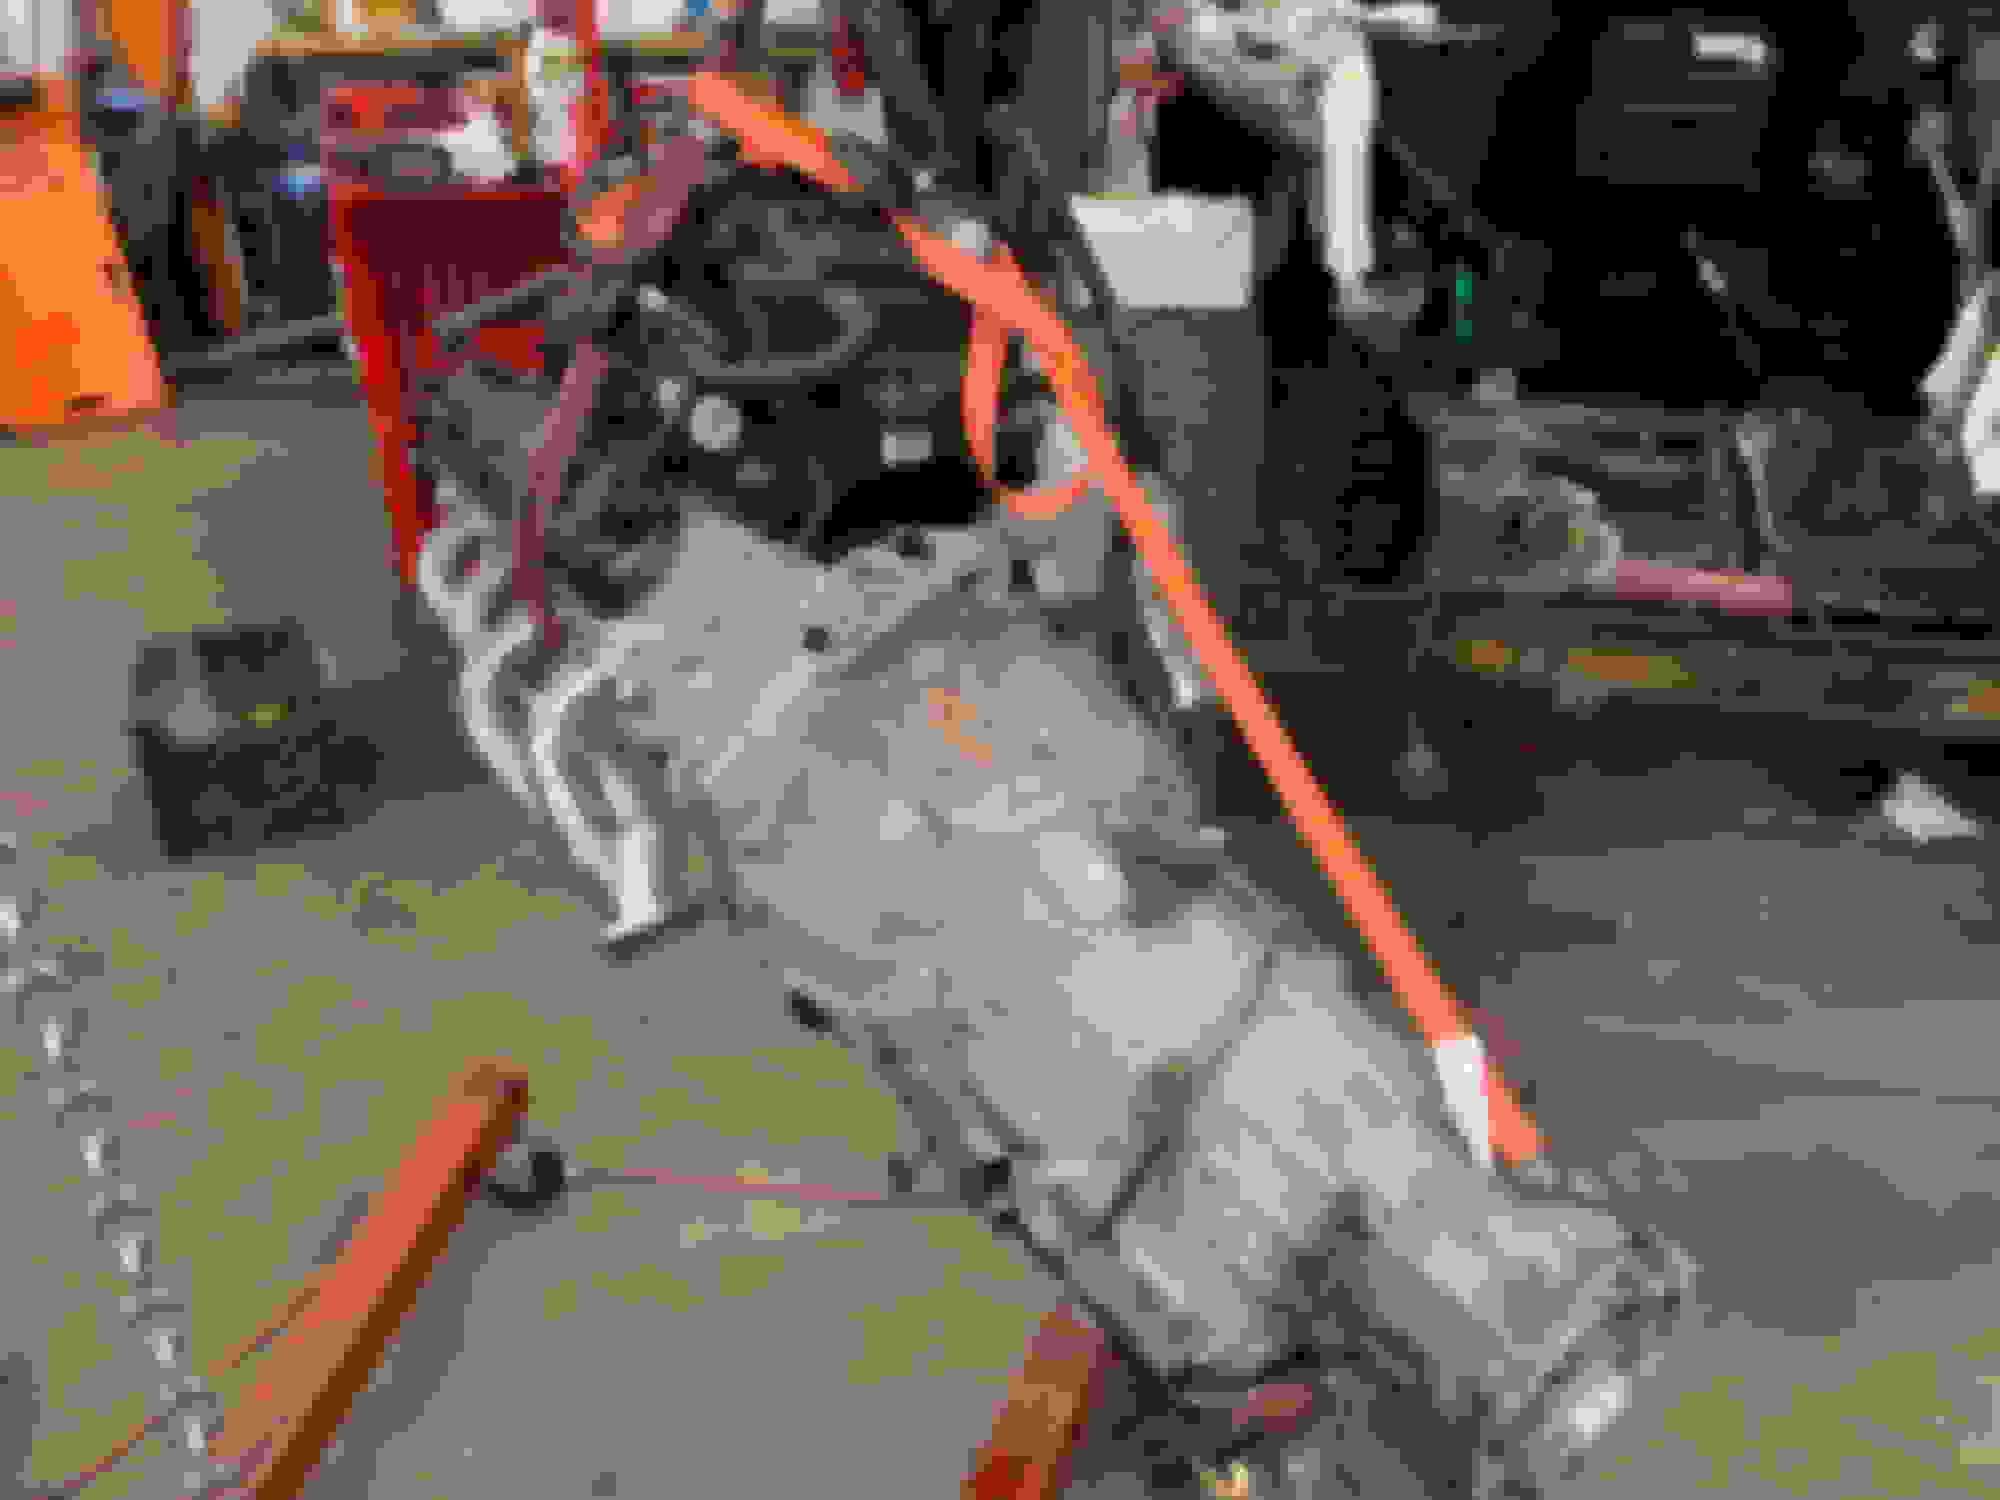
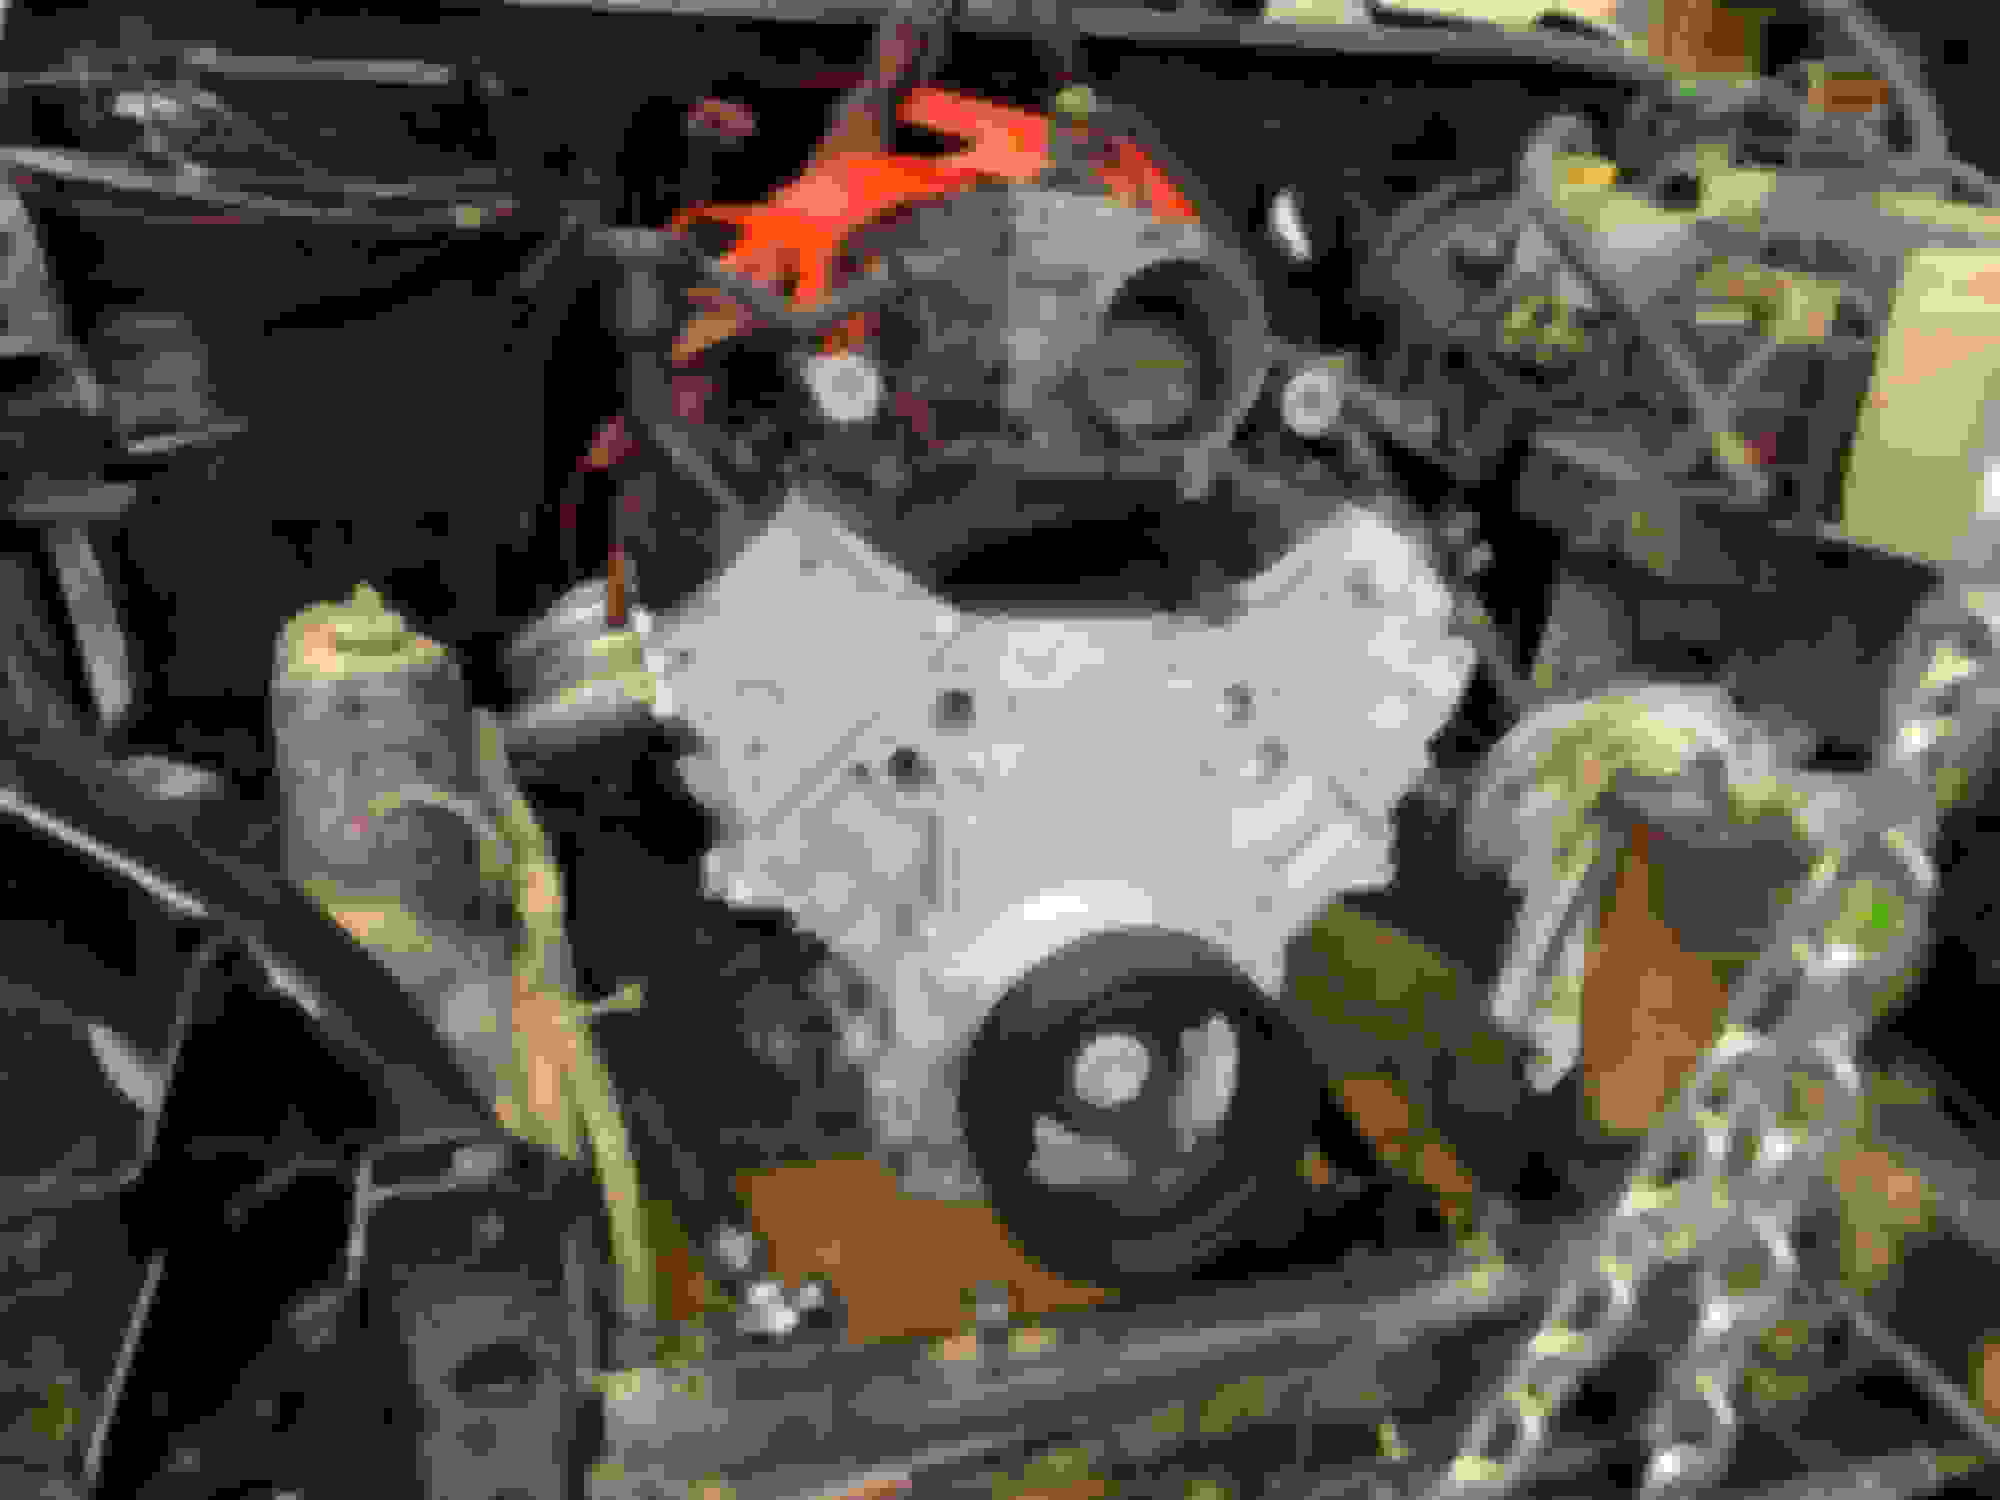
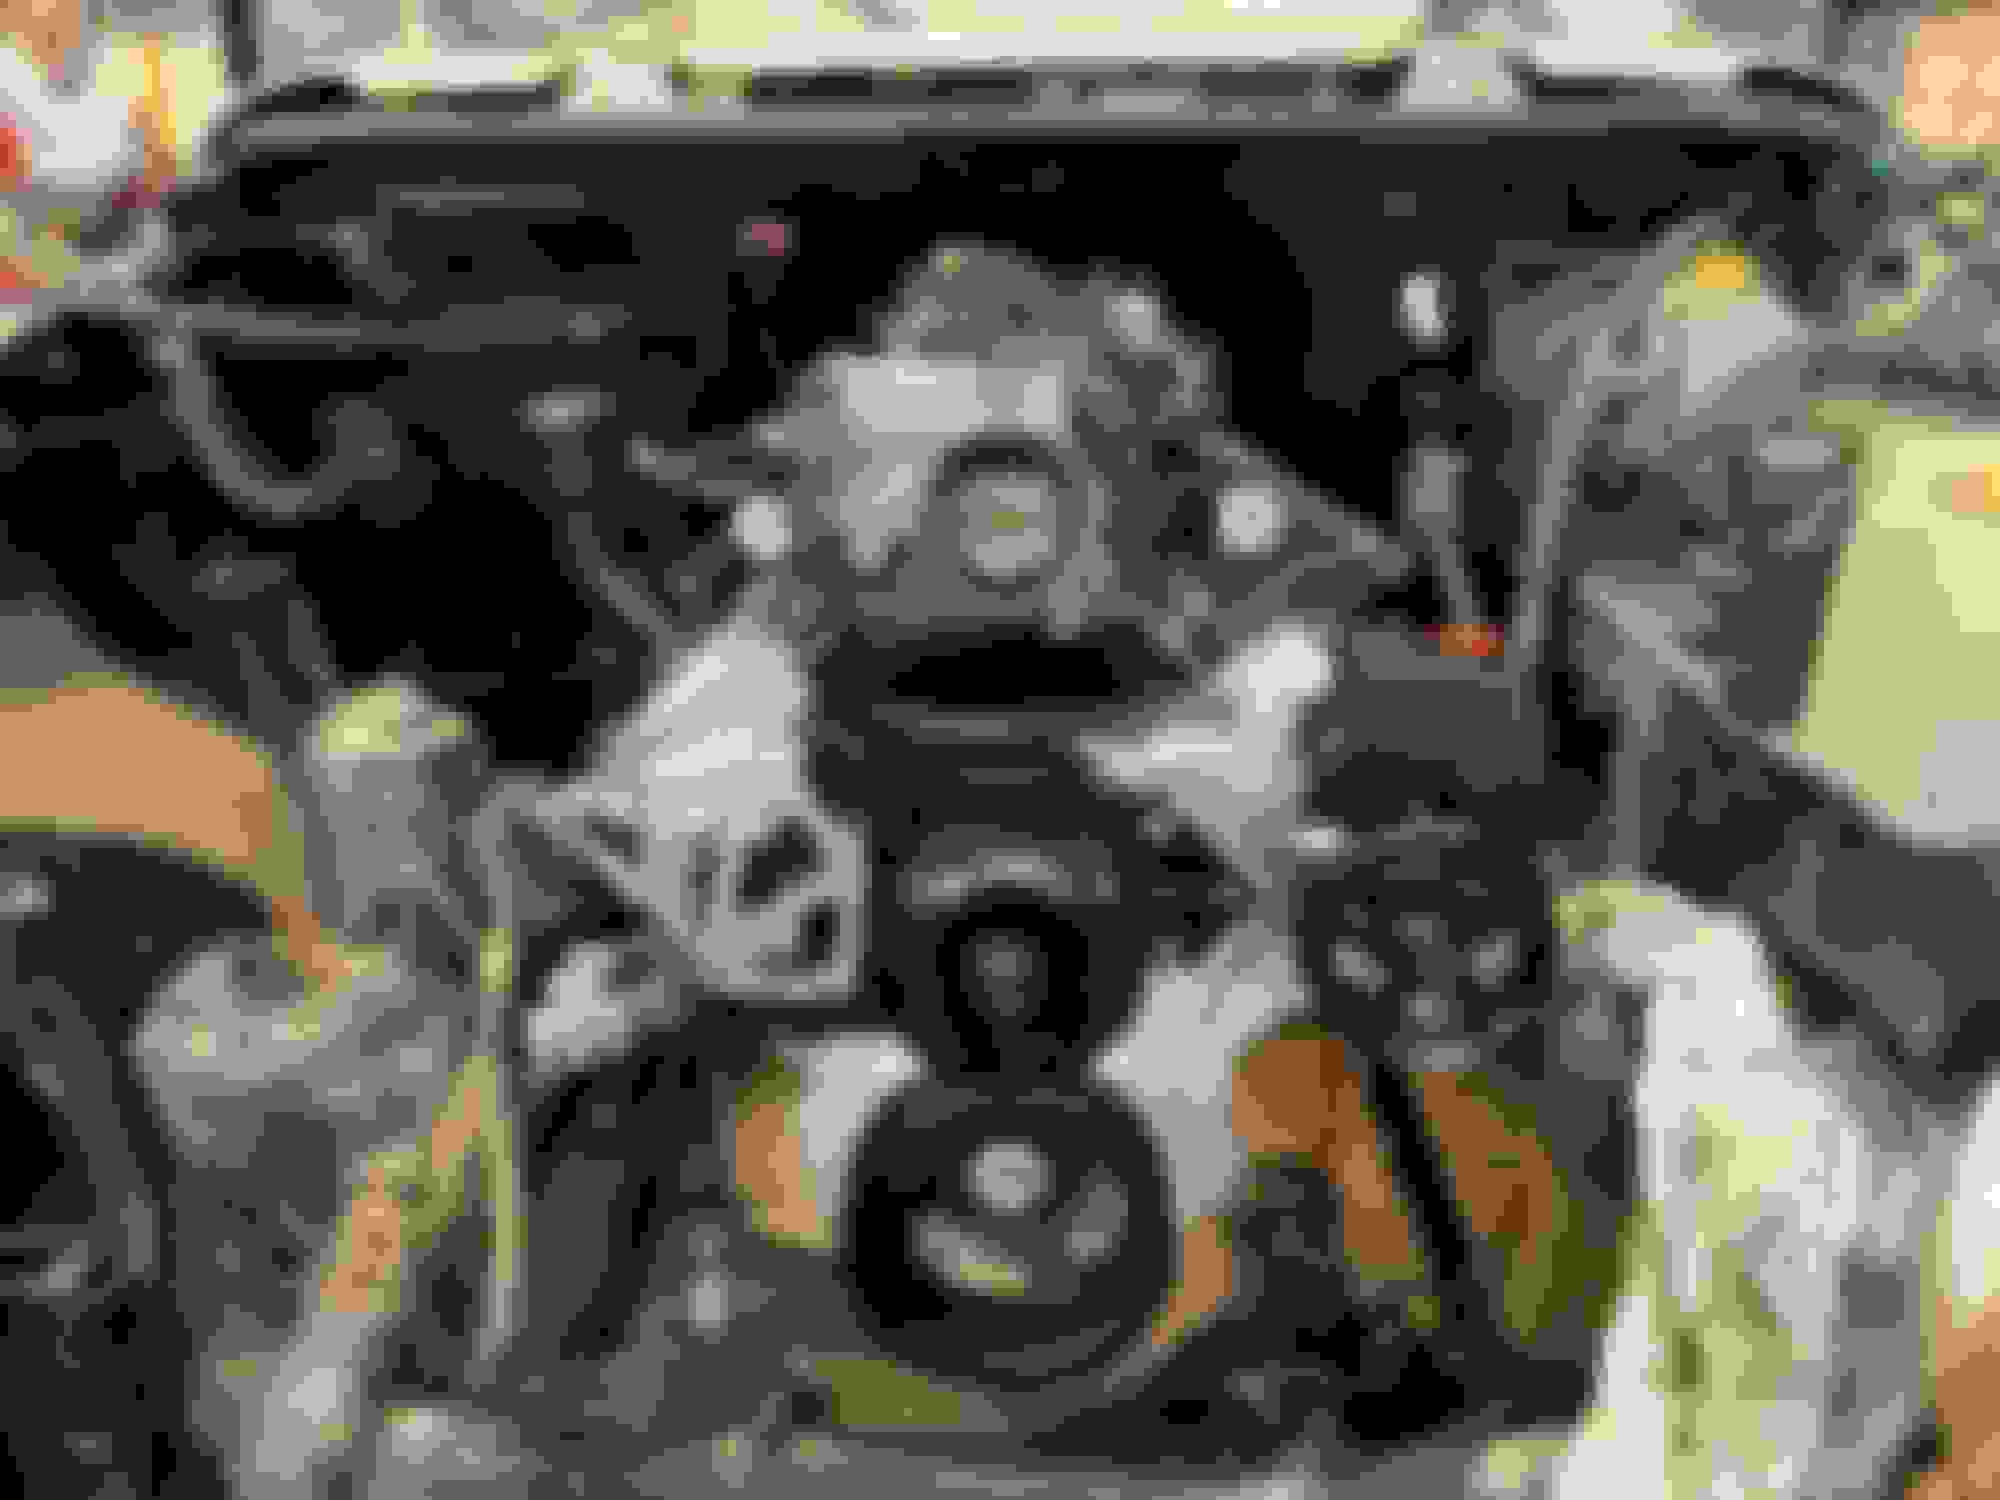
ready for drop in/mock up.....
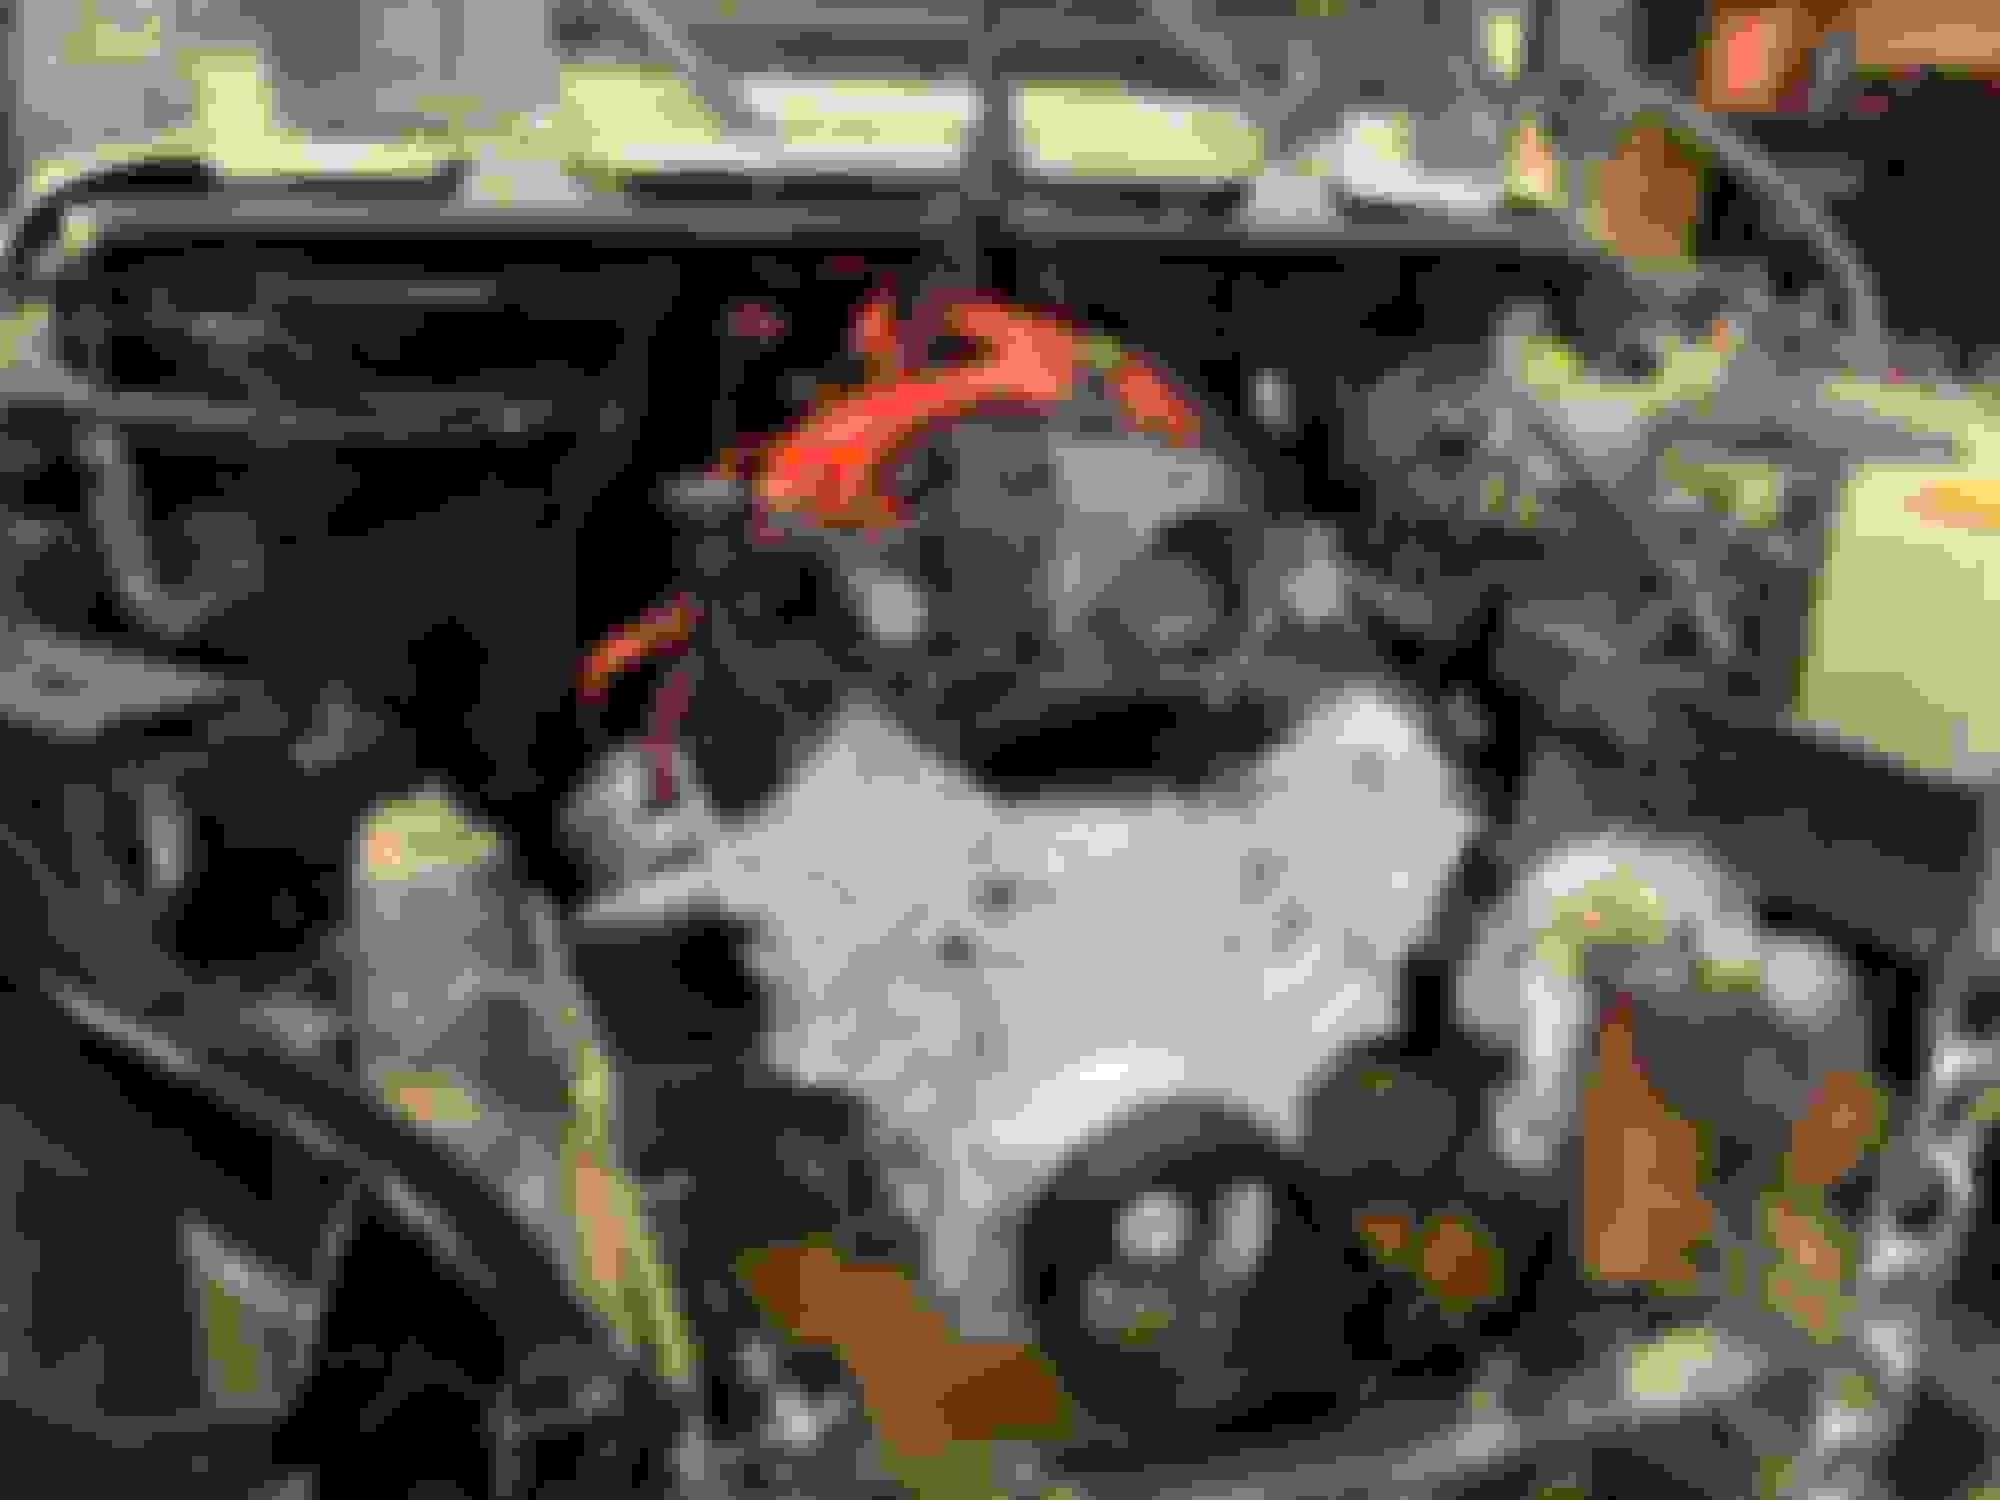
Ok here we go... floating the engine in the spot we want... measuring and making some frame mounts. block mounts are generic amazon LS mounts.
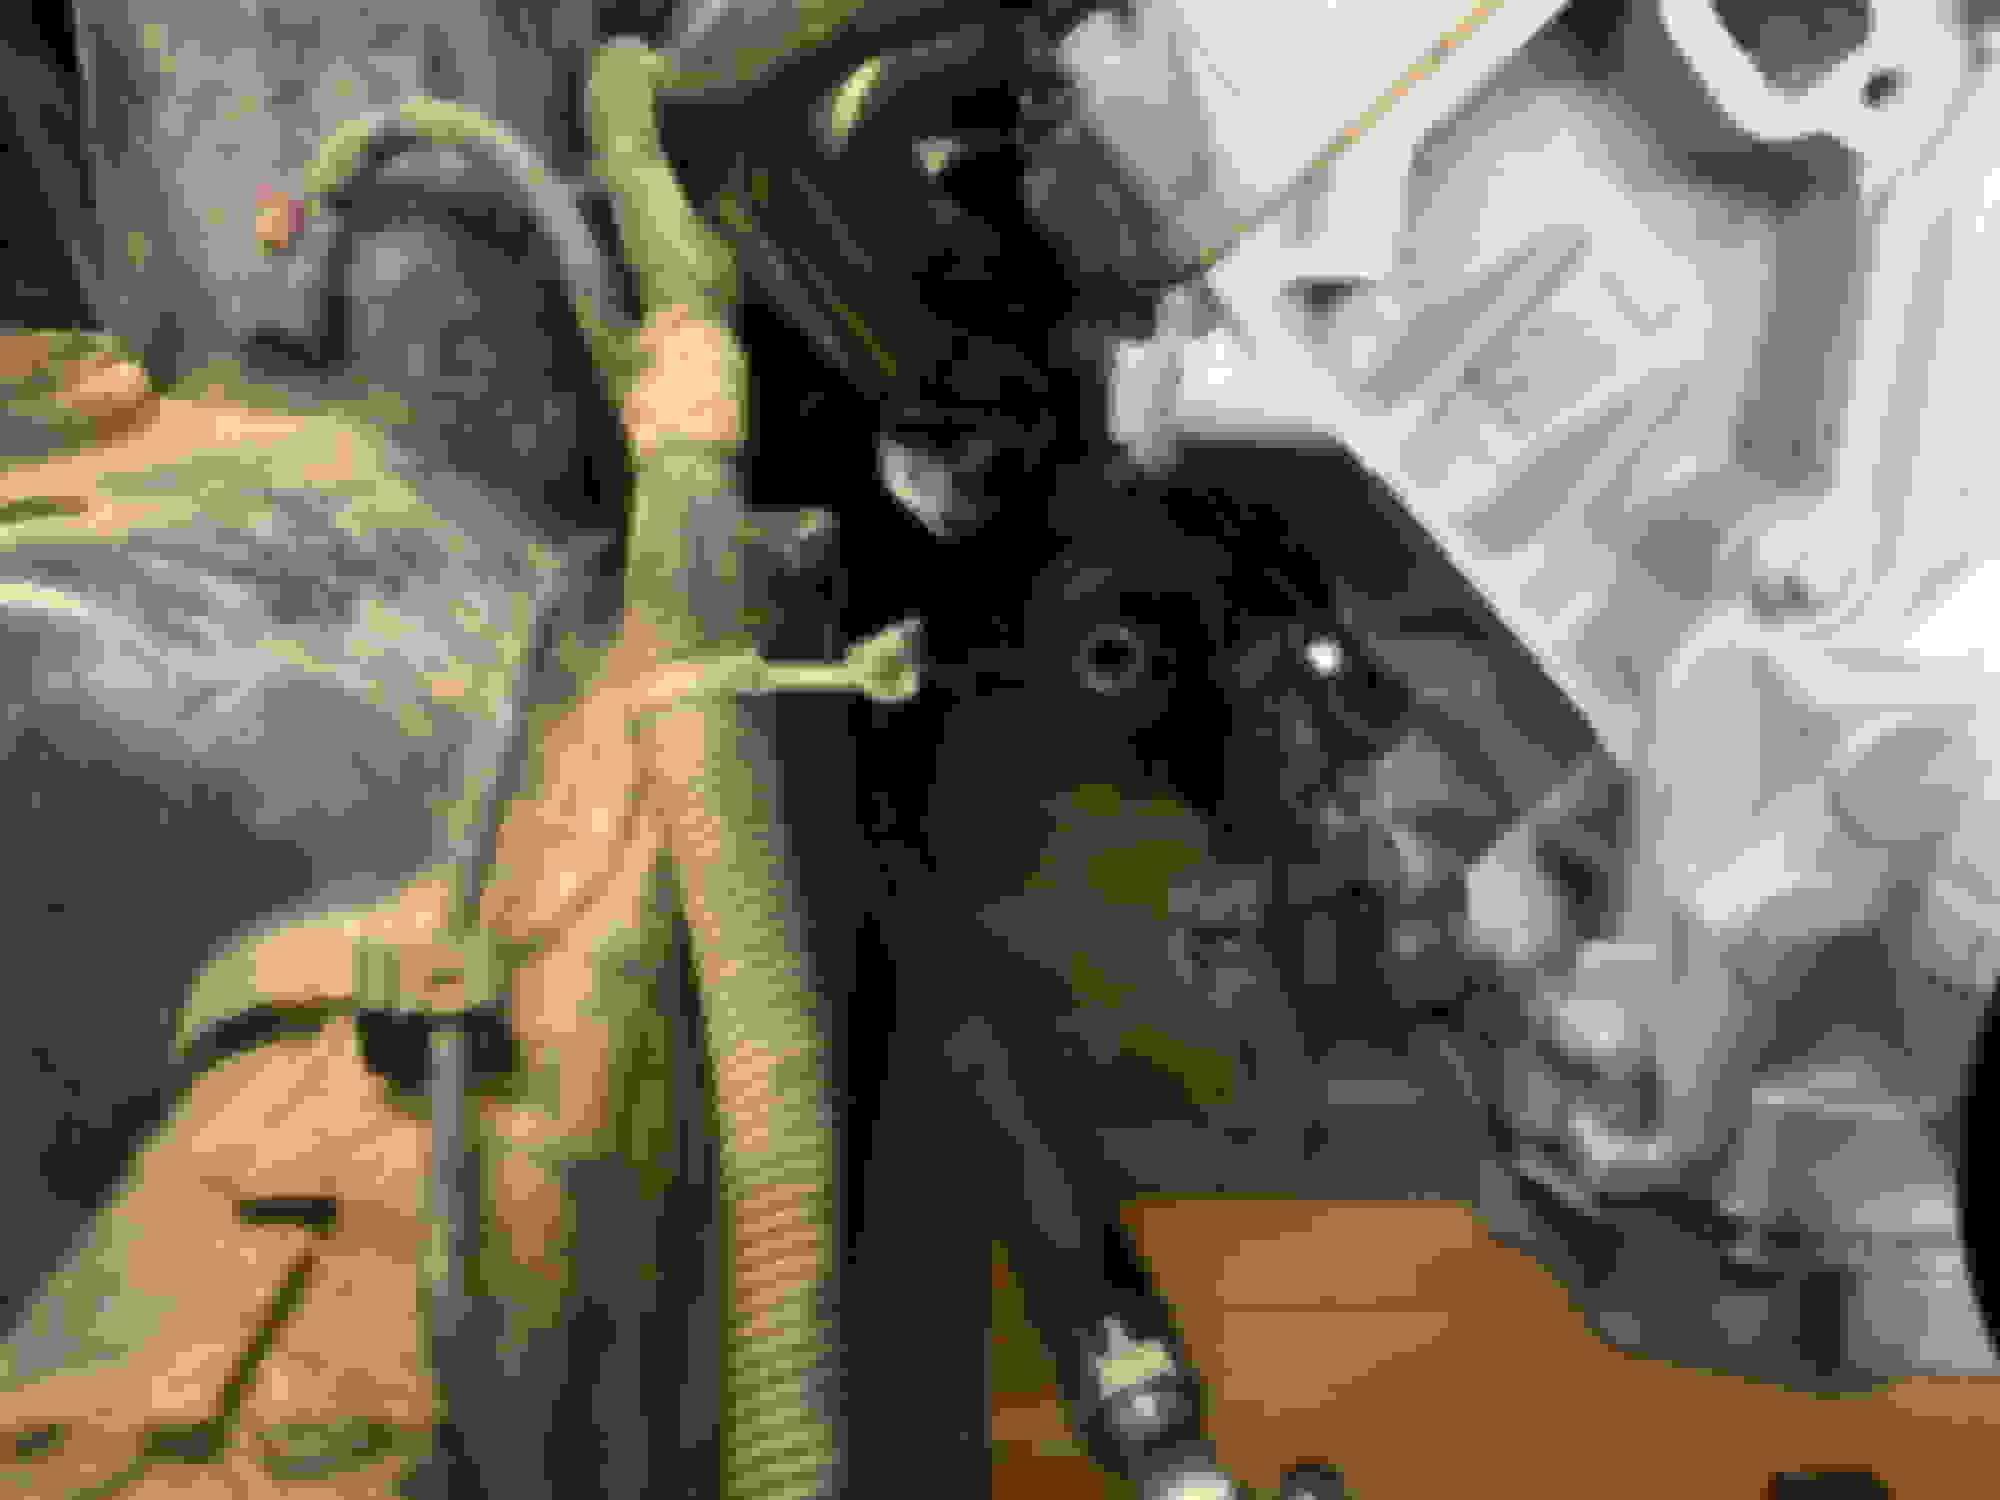
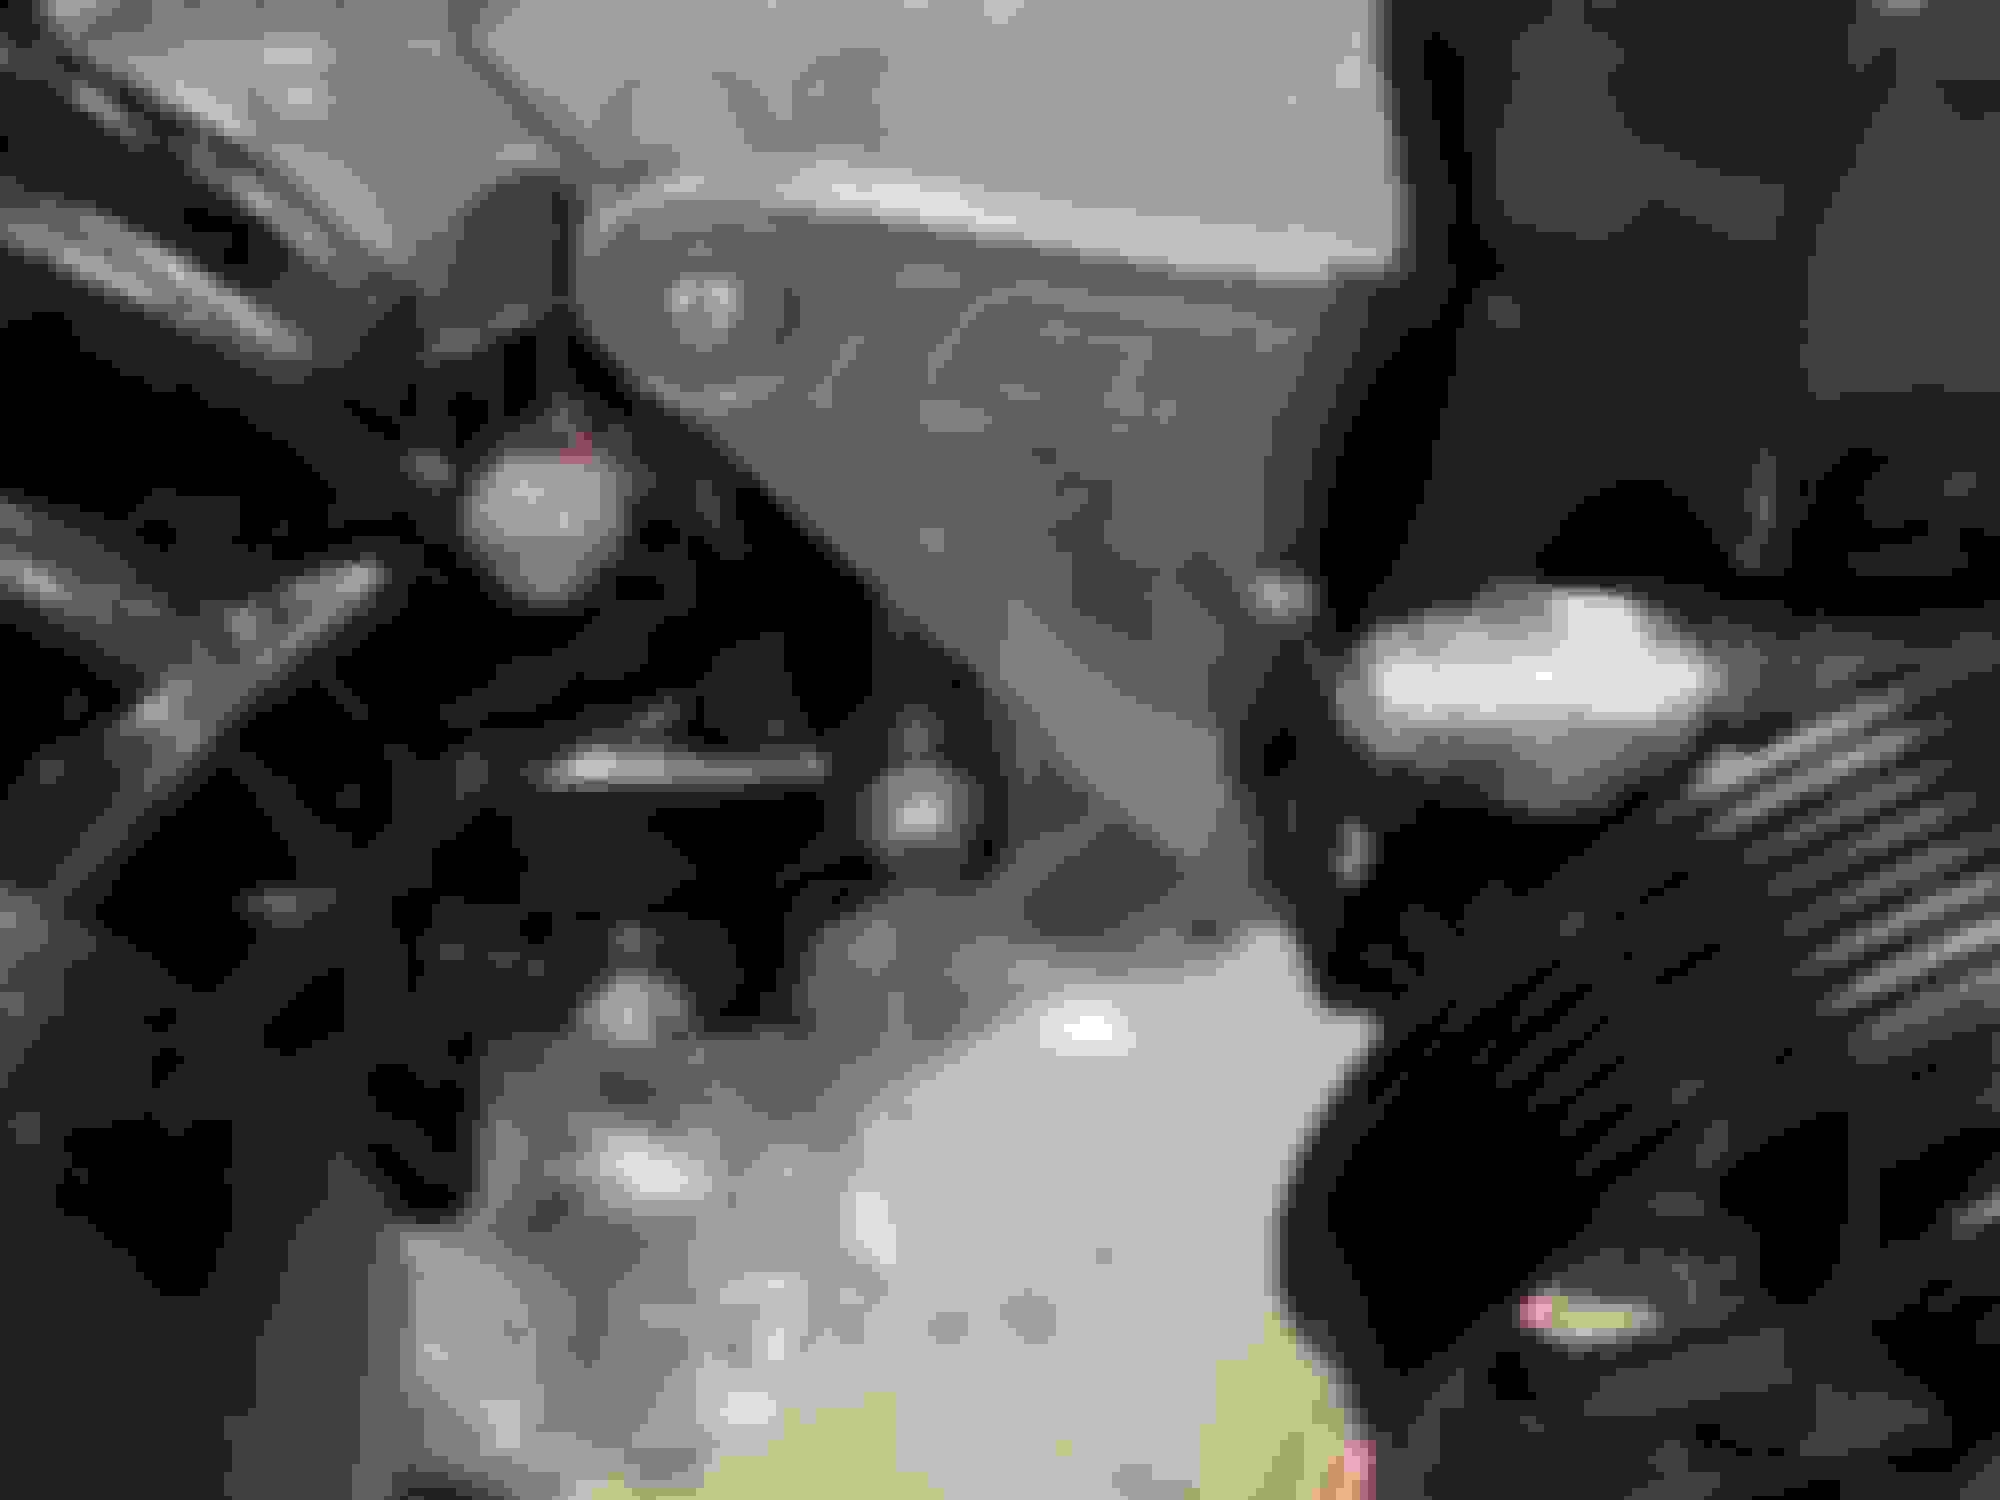
Grabbed an old hemi trans mount plate off the shelf, this earlier design used the common gm truck isolator mount. I have changed the mount plate design since then and this was just a left over.. but like i said, had the gm truck isolator bolt spacing. worked out perfect... needed to space up the transmission about an inch. grabbed some 1" aluminum spacers from ACE and some metric bolts and we were in business.
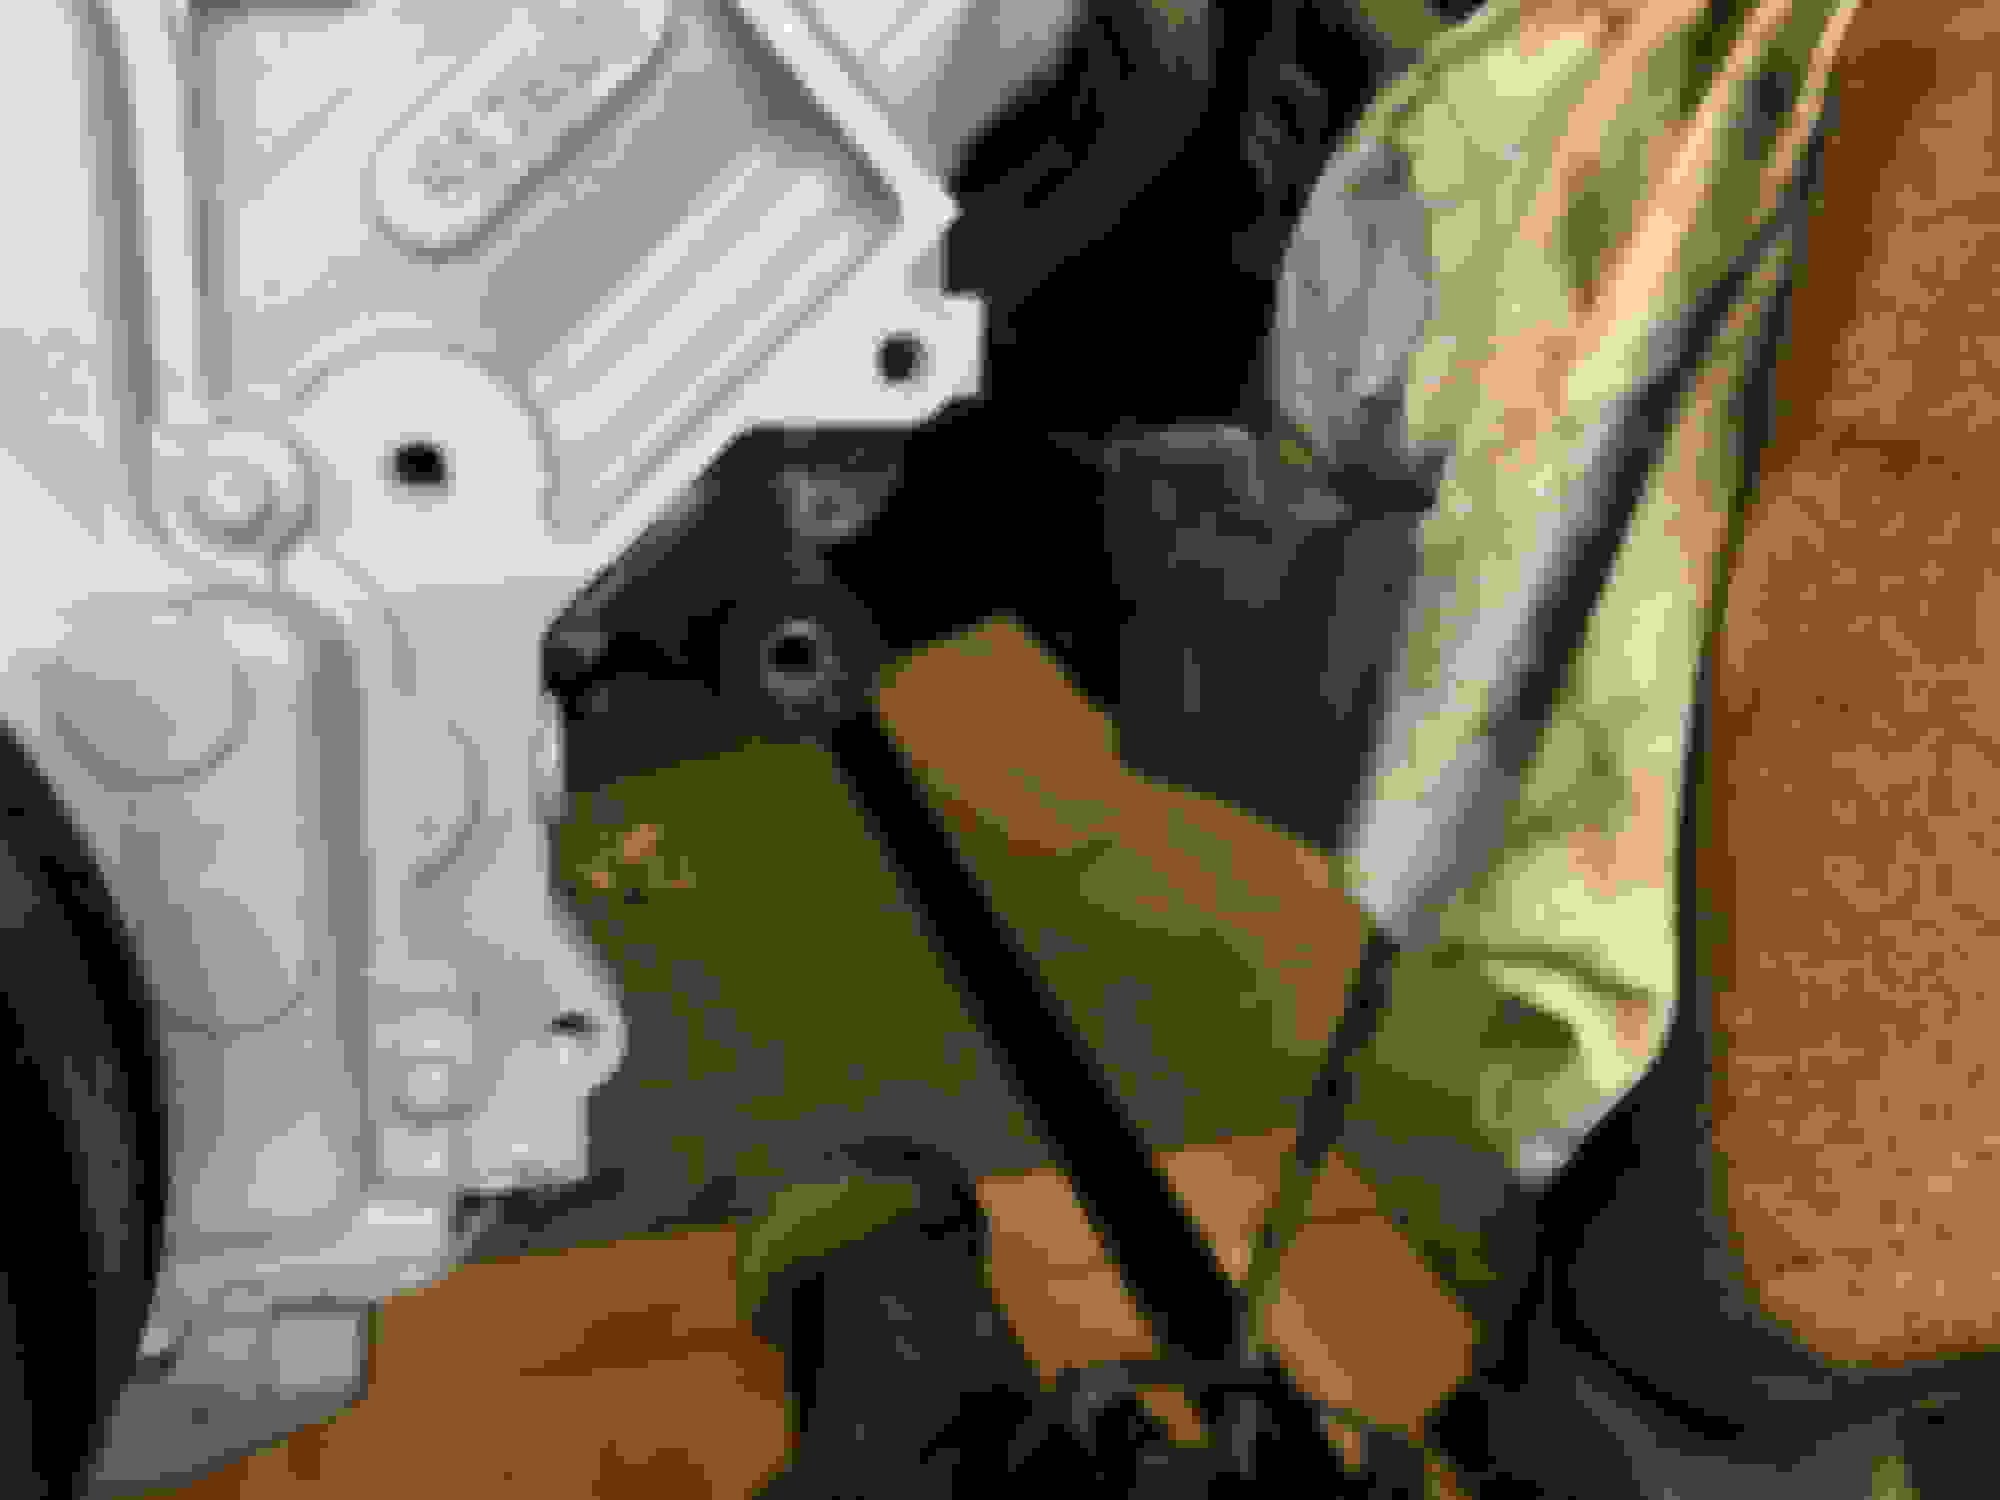
added a gusset on the back side of the engine mounts...
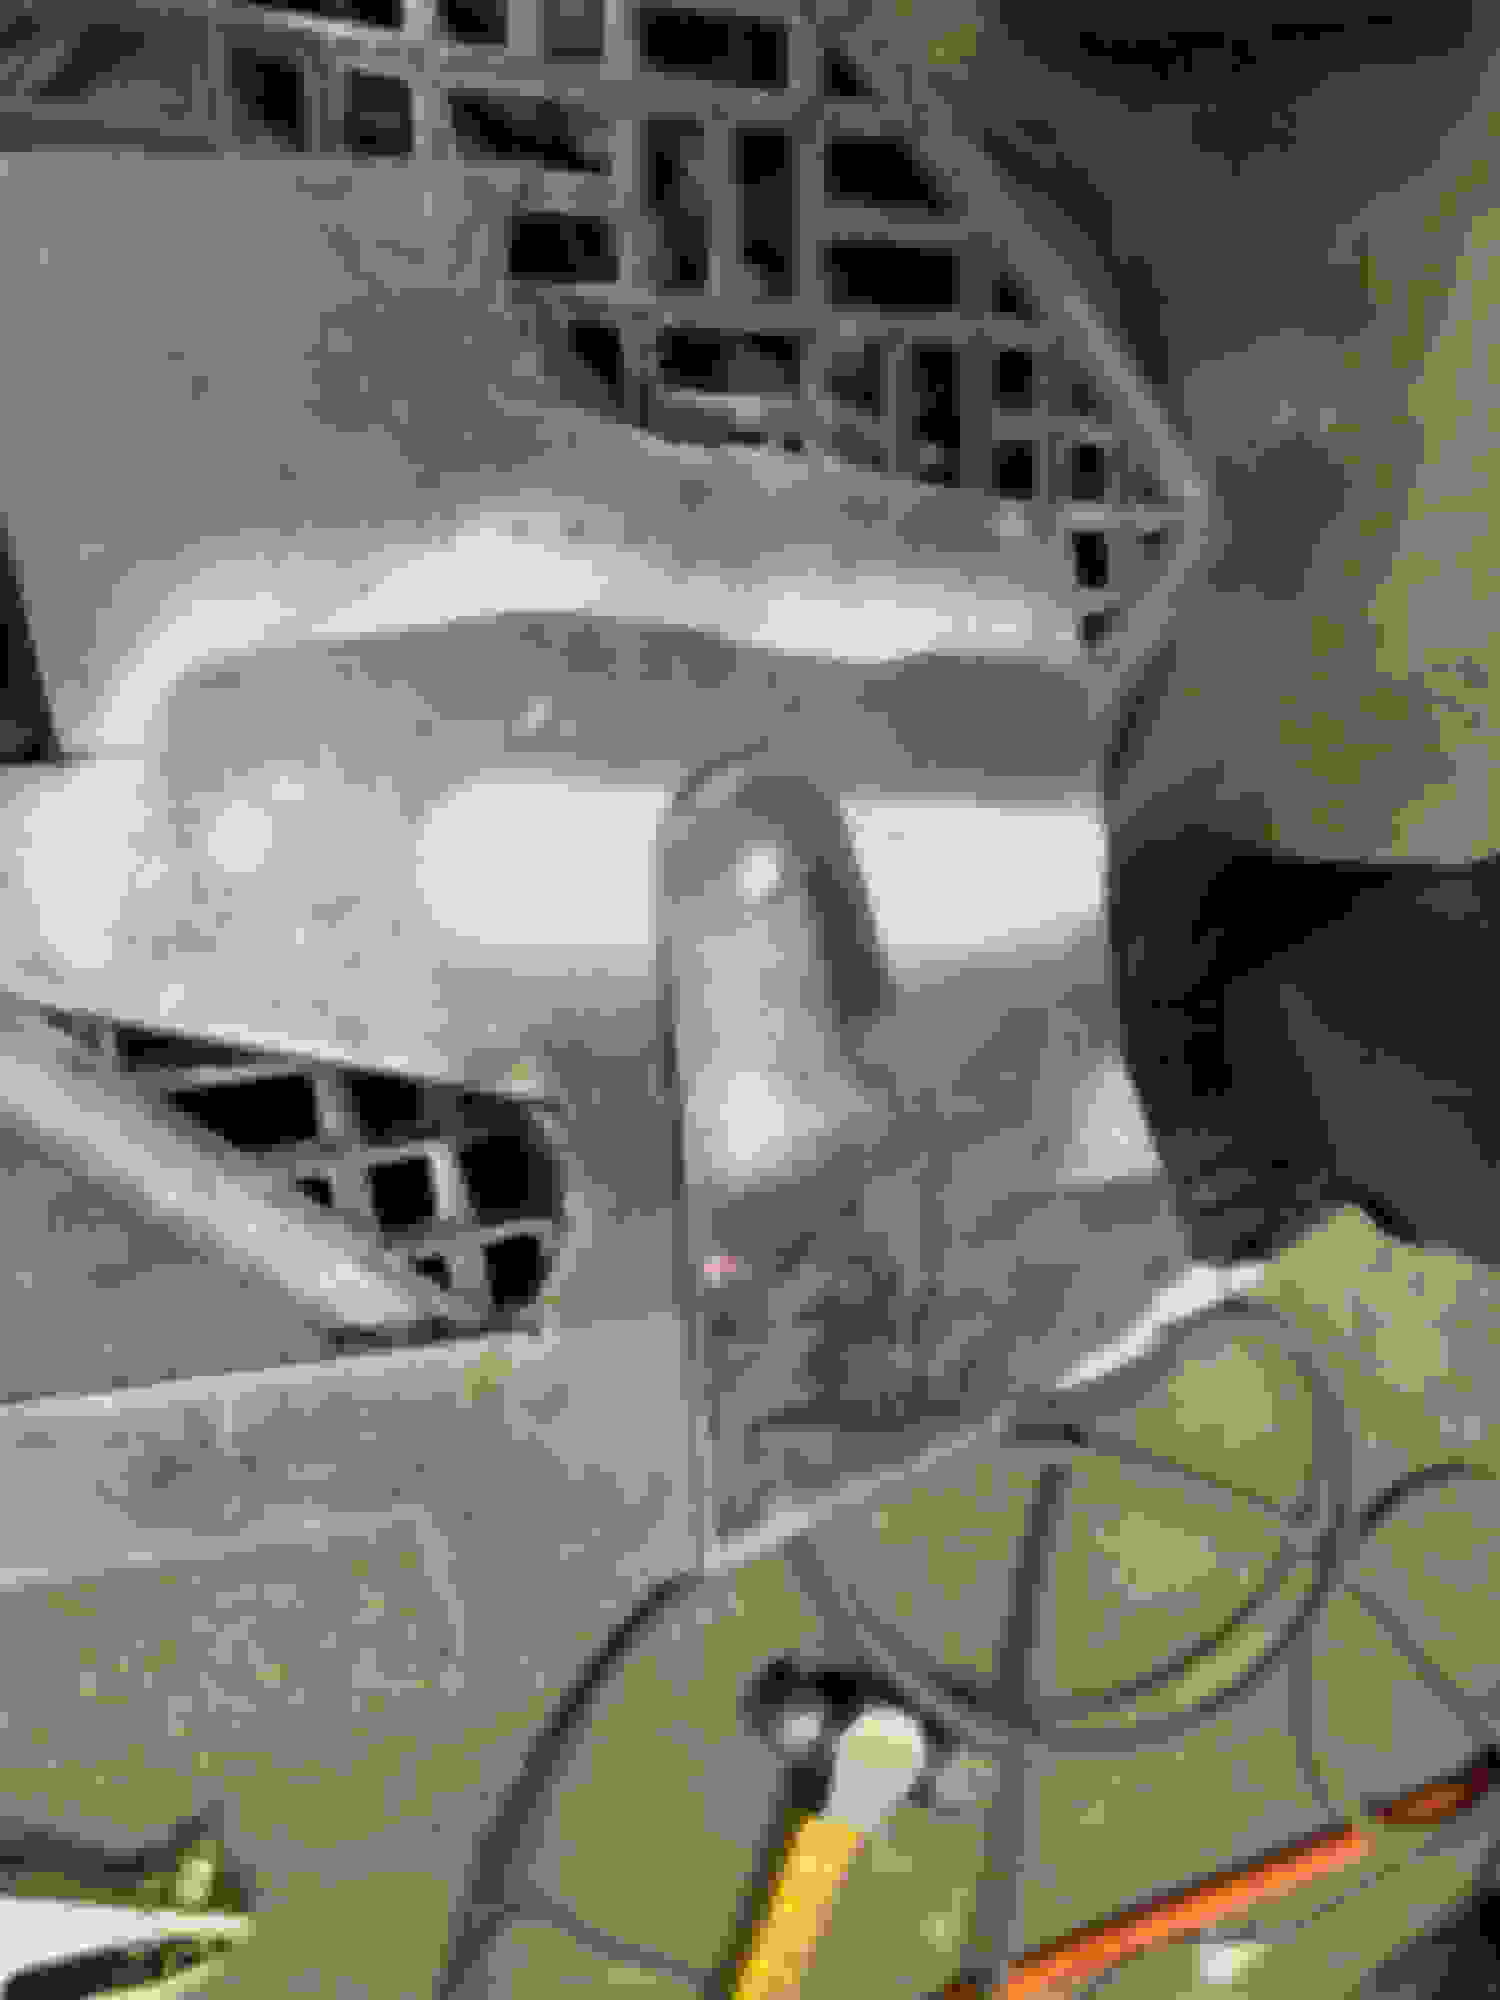
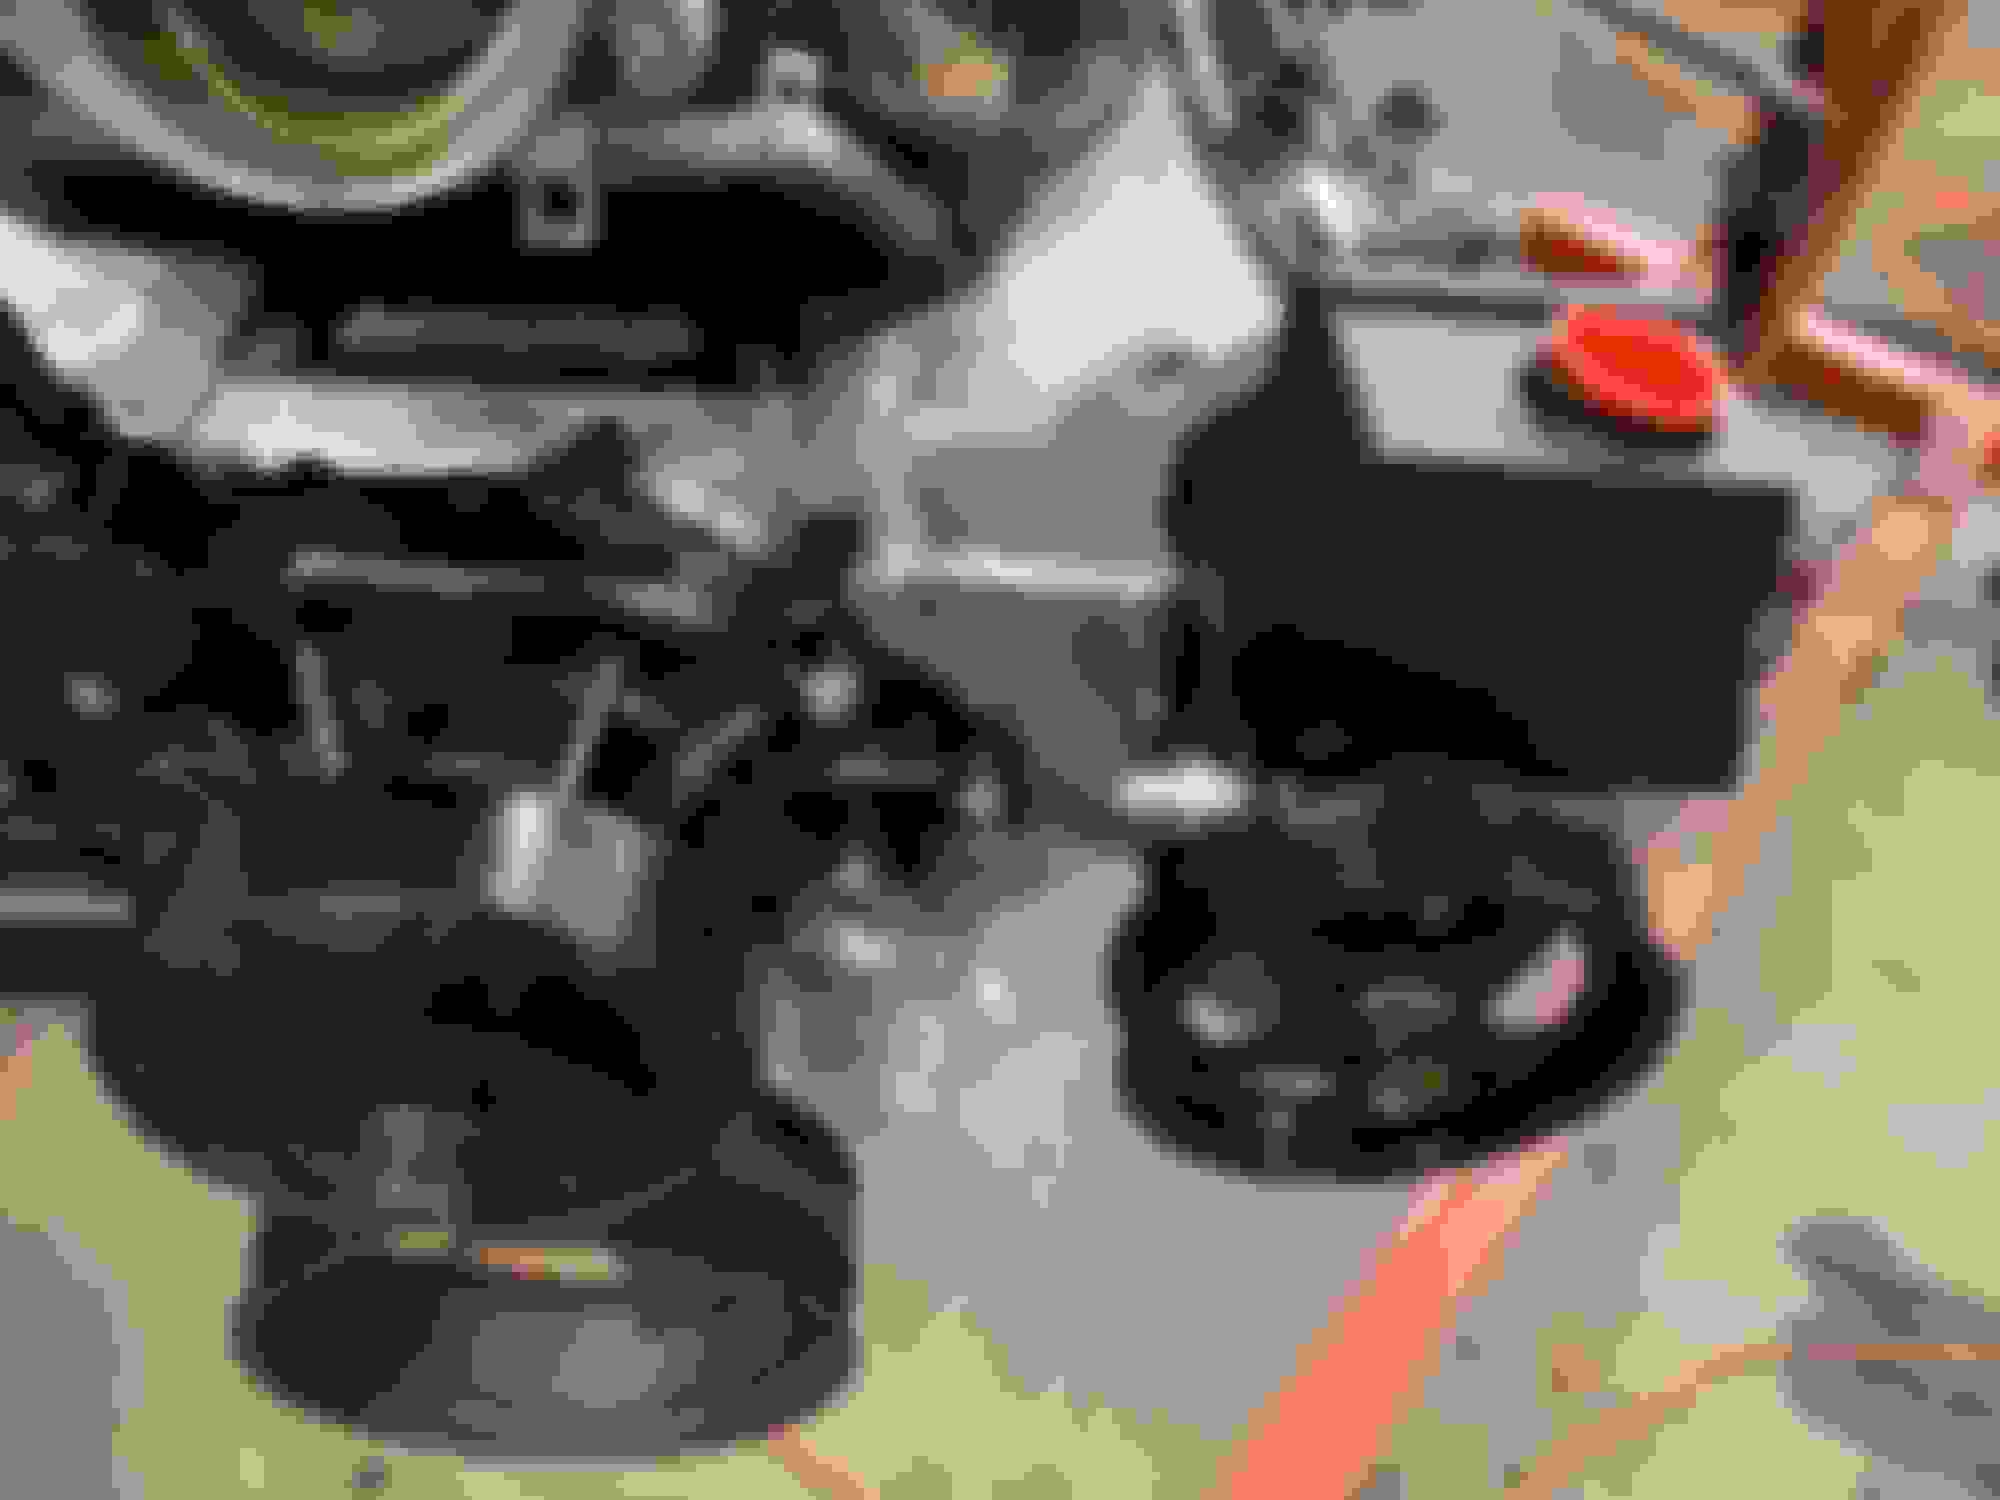
put the ICT PS mount on the block and tossed the engine and trans back in and continued with mock up...
its close but plenty of clearance!
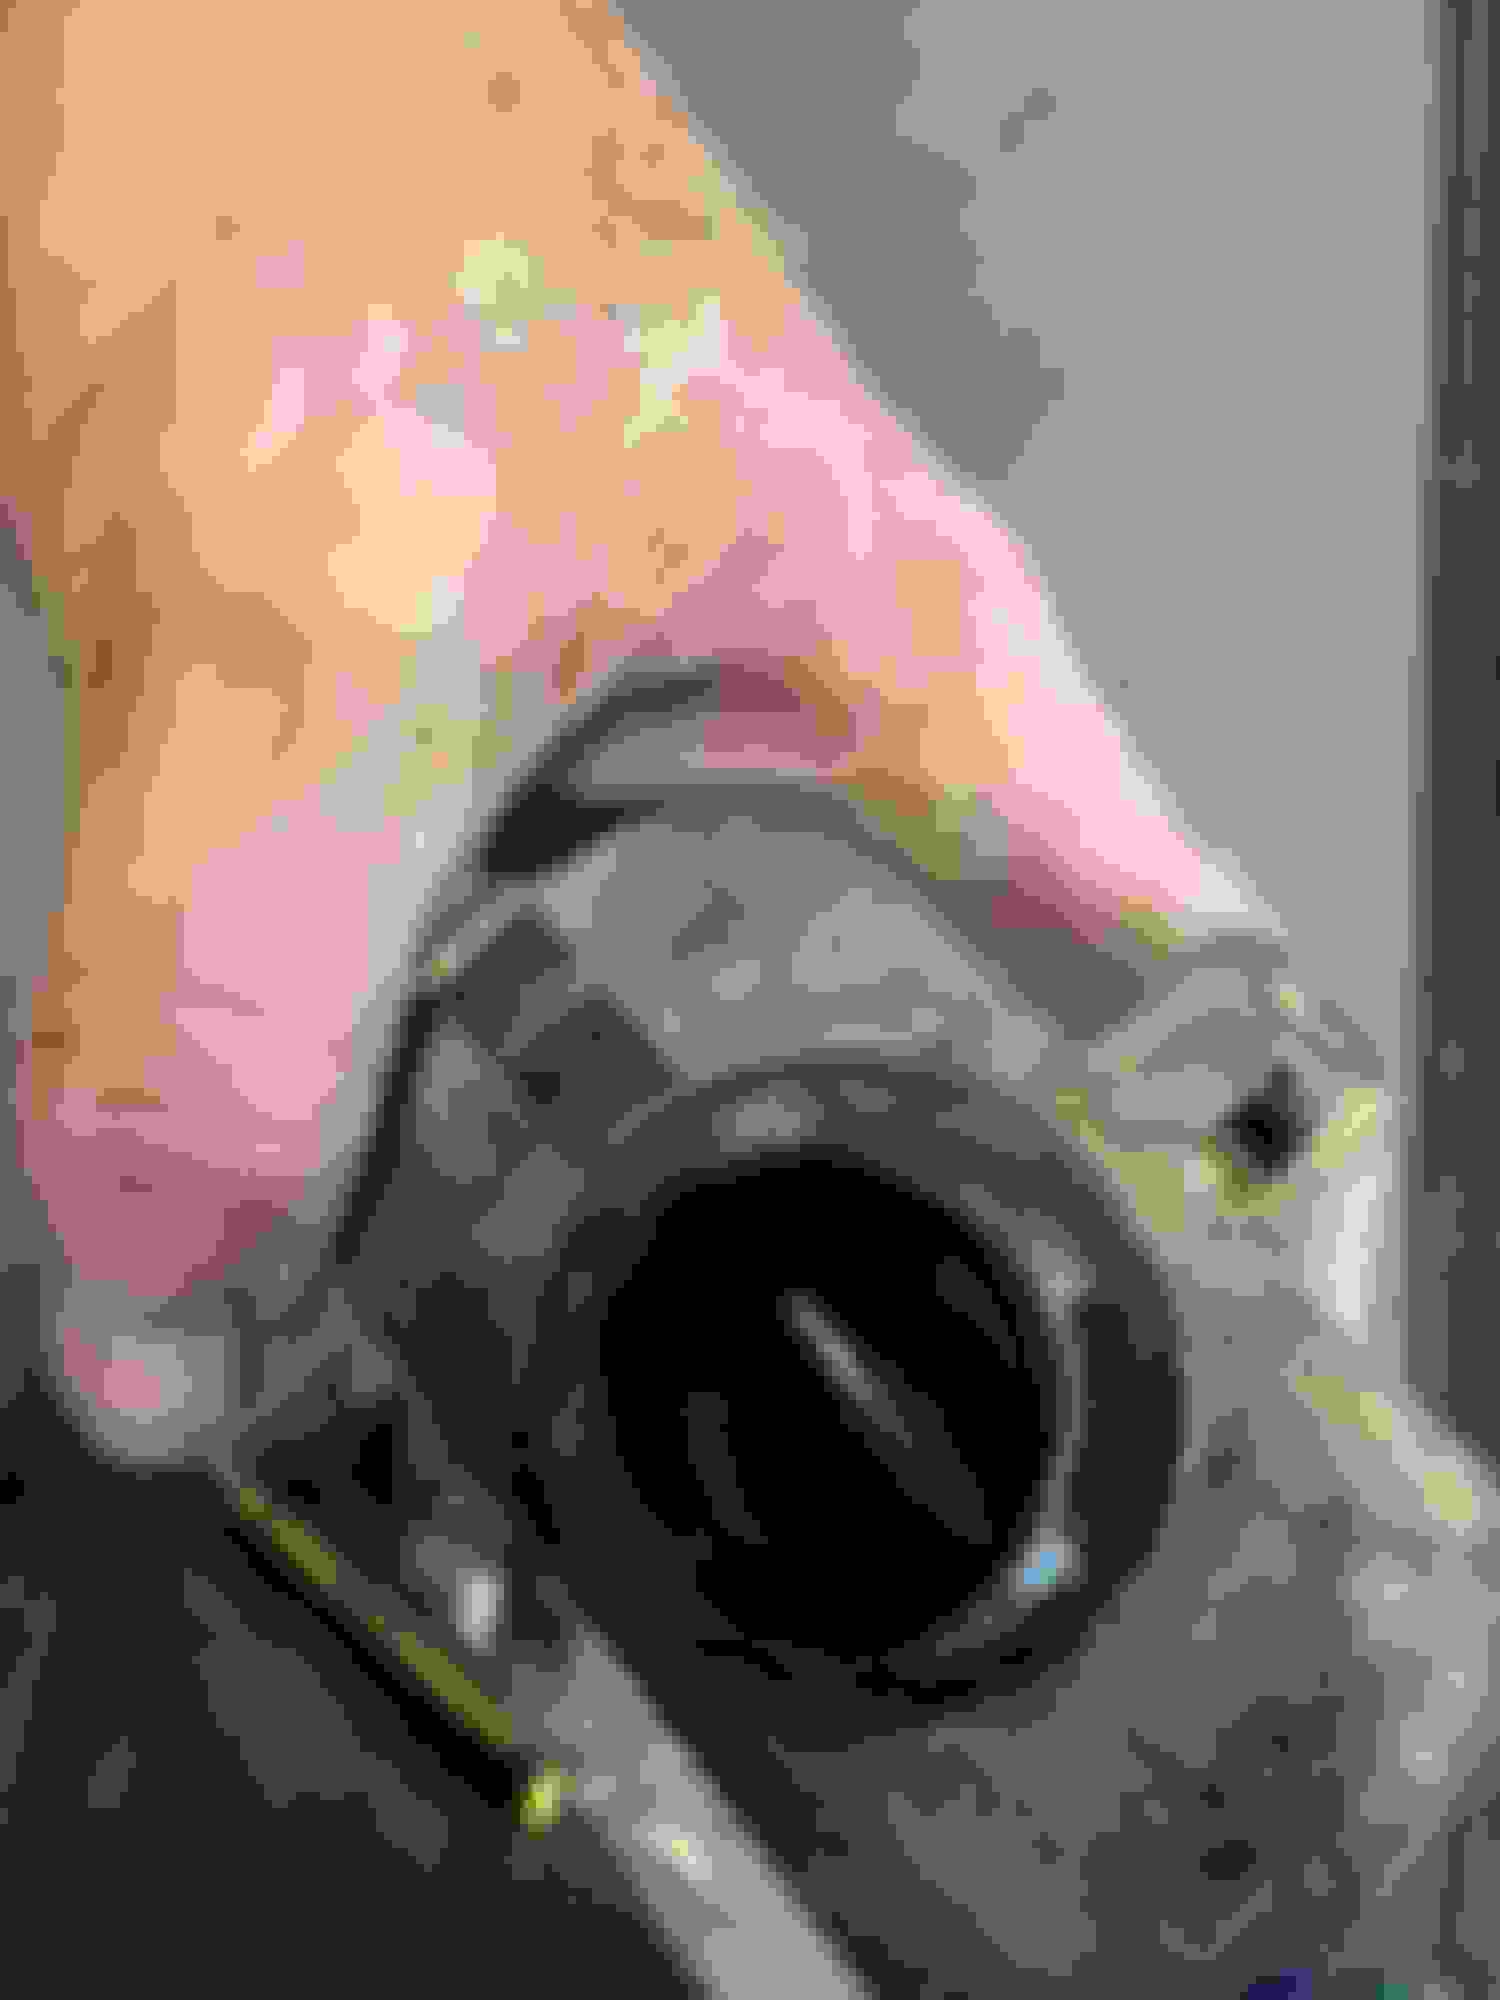
Installed 6 studs on the transfer case as there werent any on it.... and slipped it up on the tail of the trans. checked clearances and sent it! on to exhaust...
Before I could build the exhaust I needed to do the evap canister relocation mod.... where you tuck it up over the rear axle and just bolt the mount bracket to the floor. now seeing the we are going G3 LS, were not doing any emissions etc so no evap solenoid purge solenoid etc... however we still need the atmospheric vent and charcoal canister to filter the gas fumes. So I went ahead and just gutted the valve from inside the evap solenoid... done! picked up some 5/8 hose from Oriellys and get it done.
Now with the evap canister moved and tucked out of the way.... time to build the exhaust....
Exhaust time....
[1] universal exhaust builders kit 2.5"
[1] 2 into 1 y pipe,
[3] v bands
[5] exhaust hangers
didnt even break the band saw blade with all the pie cuts LOL. the band saw we use is a milkwaukee saw mounted to a SWAG table. works out pretty well. definitely a good addition to any garage....
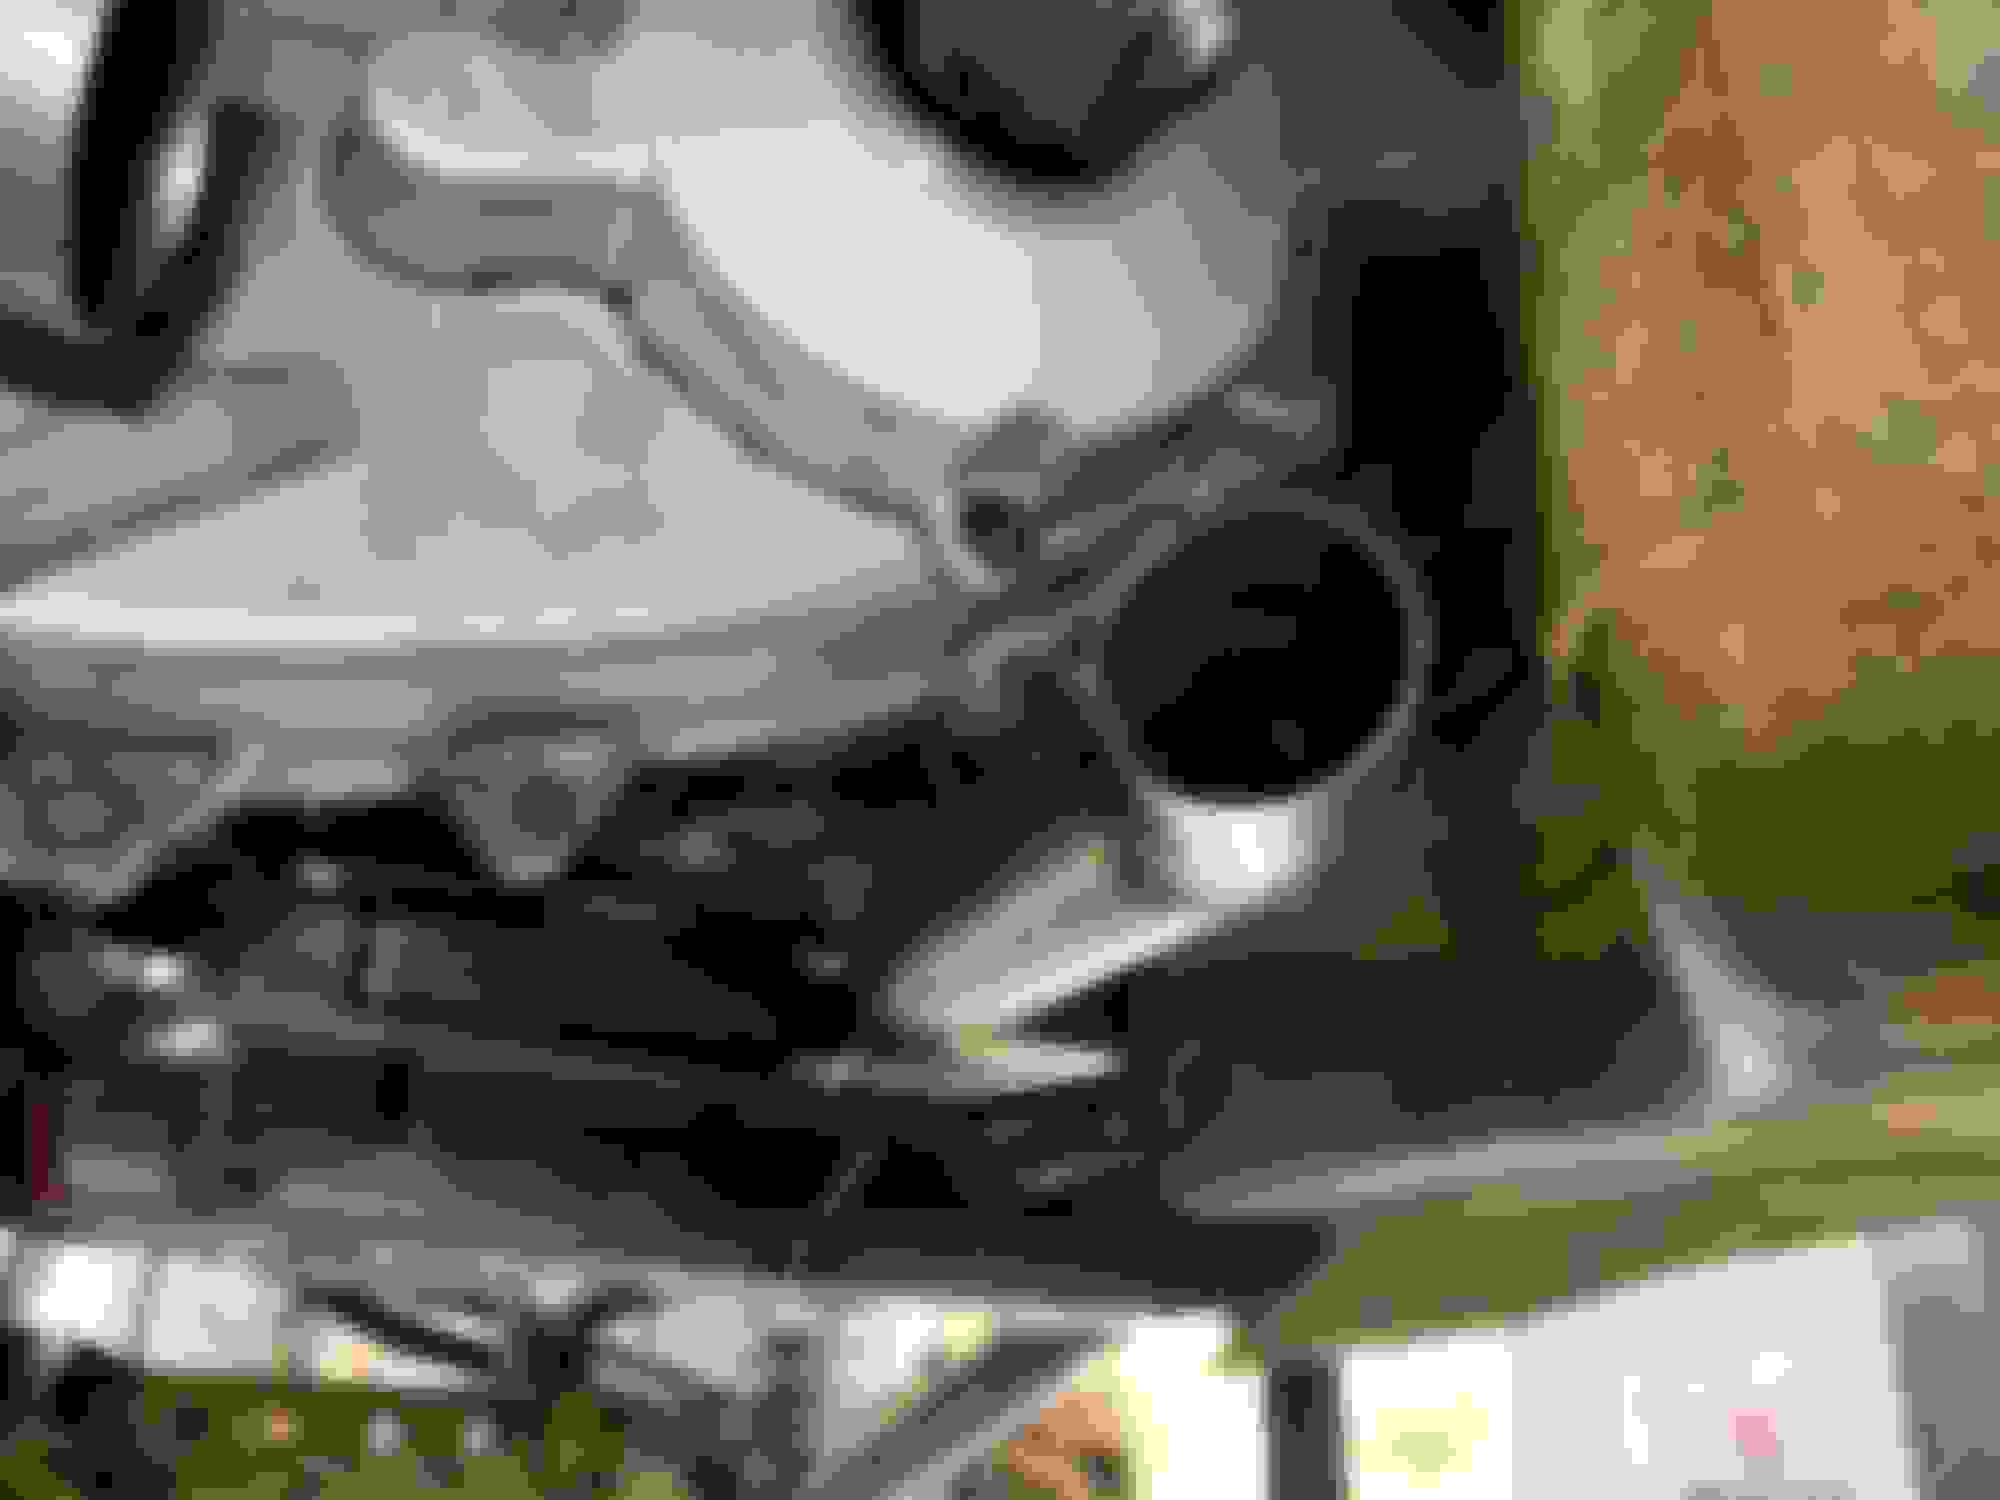
pass side. in these pics you can also see the trans mount plate we used and welded to the barnes crossmember,as well as the 1" spacers. stock GM truck trans/isolator.
Drivers side... up and over away from the driveshaft...
the merge.....
and the back half.....
i did put 2 exhaust hangers on the spintech muffler Rob chose because.. dam that thing is heavy lol..
we did drop the sway bar mounts at the frame about 1.25" which allowed the exhaust pipe to tuck up near the frame and get me some extra clearance.
after mock up.. time to pull it all down, scuff it prime and paint it.... then heat wrap the areas up front and along the trans etc...
So... on to driveshafts.... we didnt have time to get to the front but we did get the rear done... Recap- 1310 CV on the 241c SYE kit, existing aftermarket shaft. We tried to fit the existing shaft into the jeep but at ride height... it was very close but not correct, plus the slip shaft was seized on it as well.. fantastic. we sent it off the driveshaft shop for resizing and they replaced the slip shaft as well.... $210 later, we have a rear driveshaft.
 08-16-2022, 09:38 AM