PS Rocker Knockers
#1
JK Newbie
Thread Starter
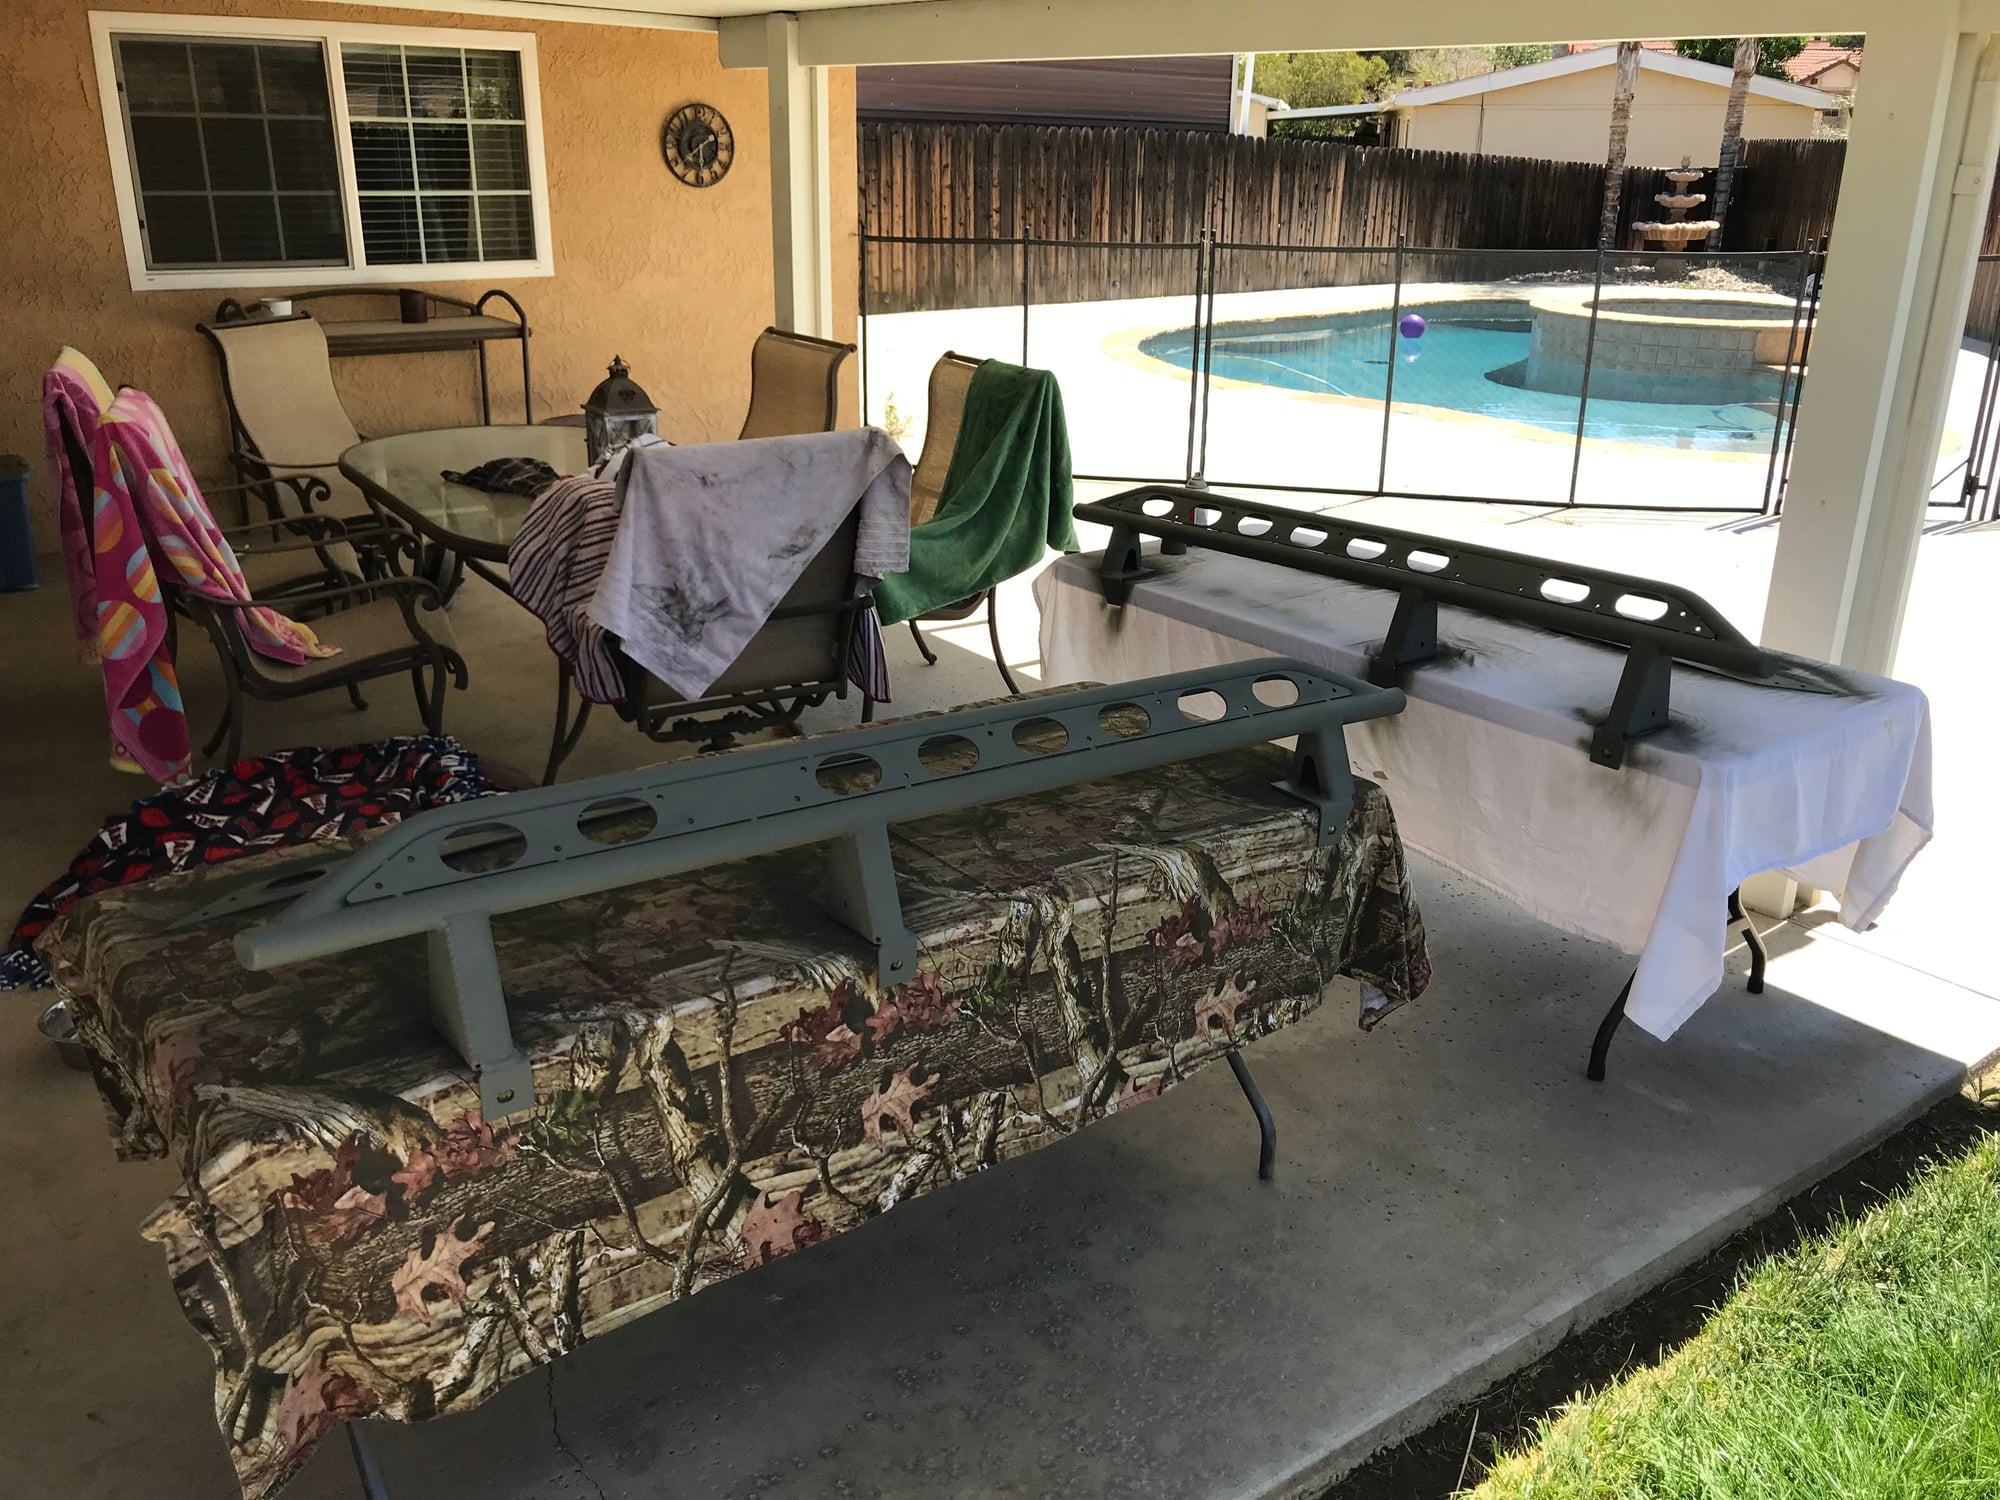
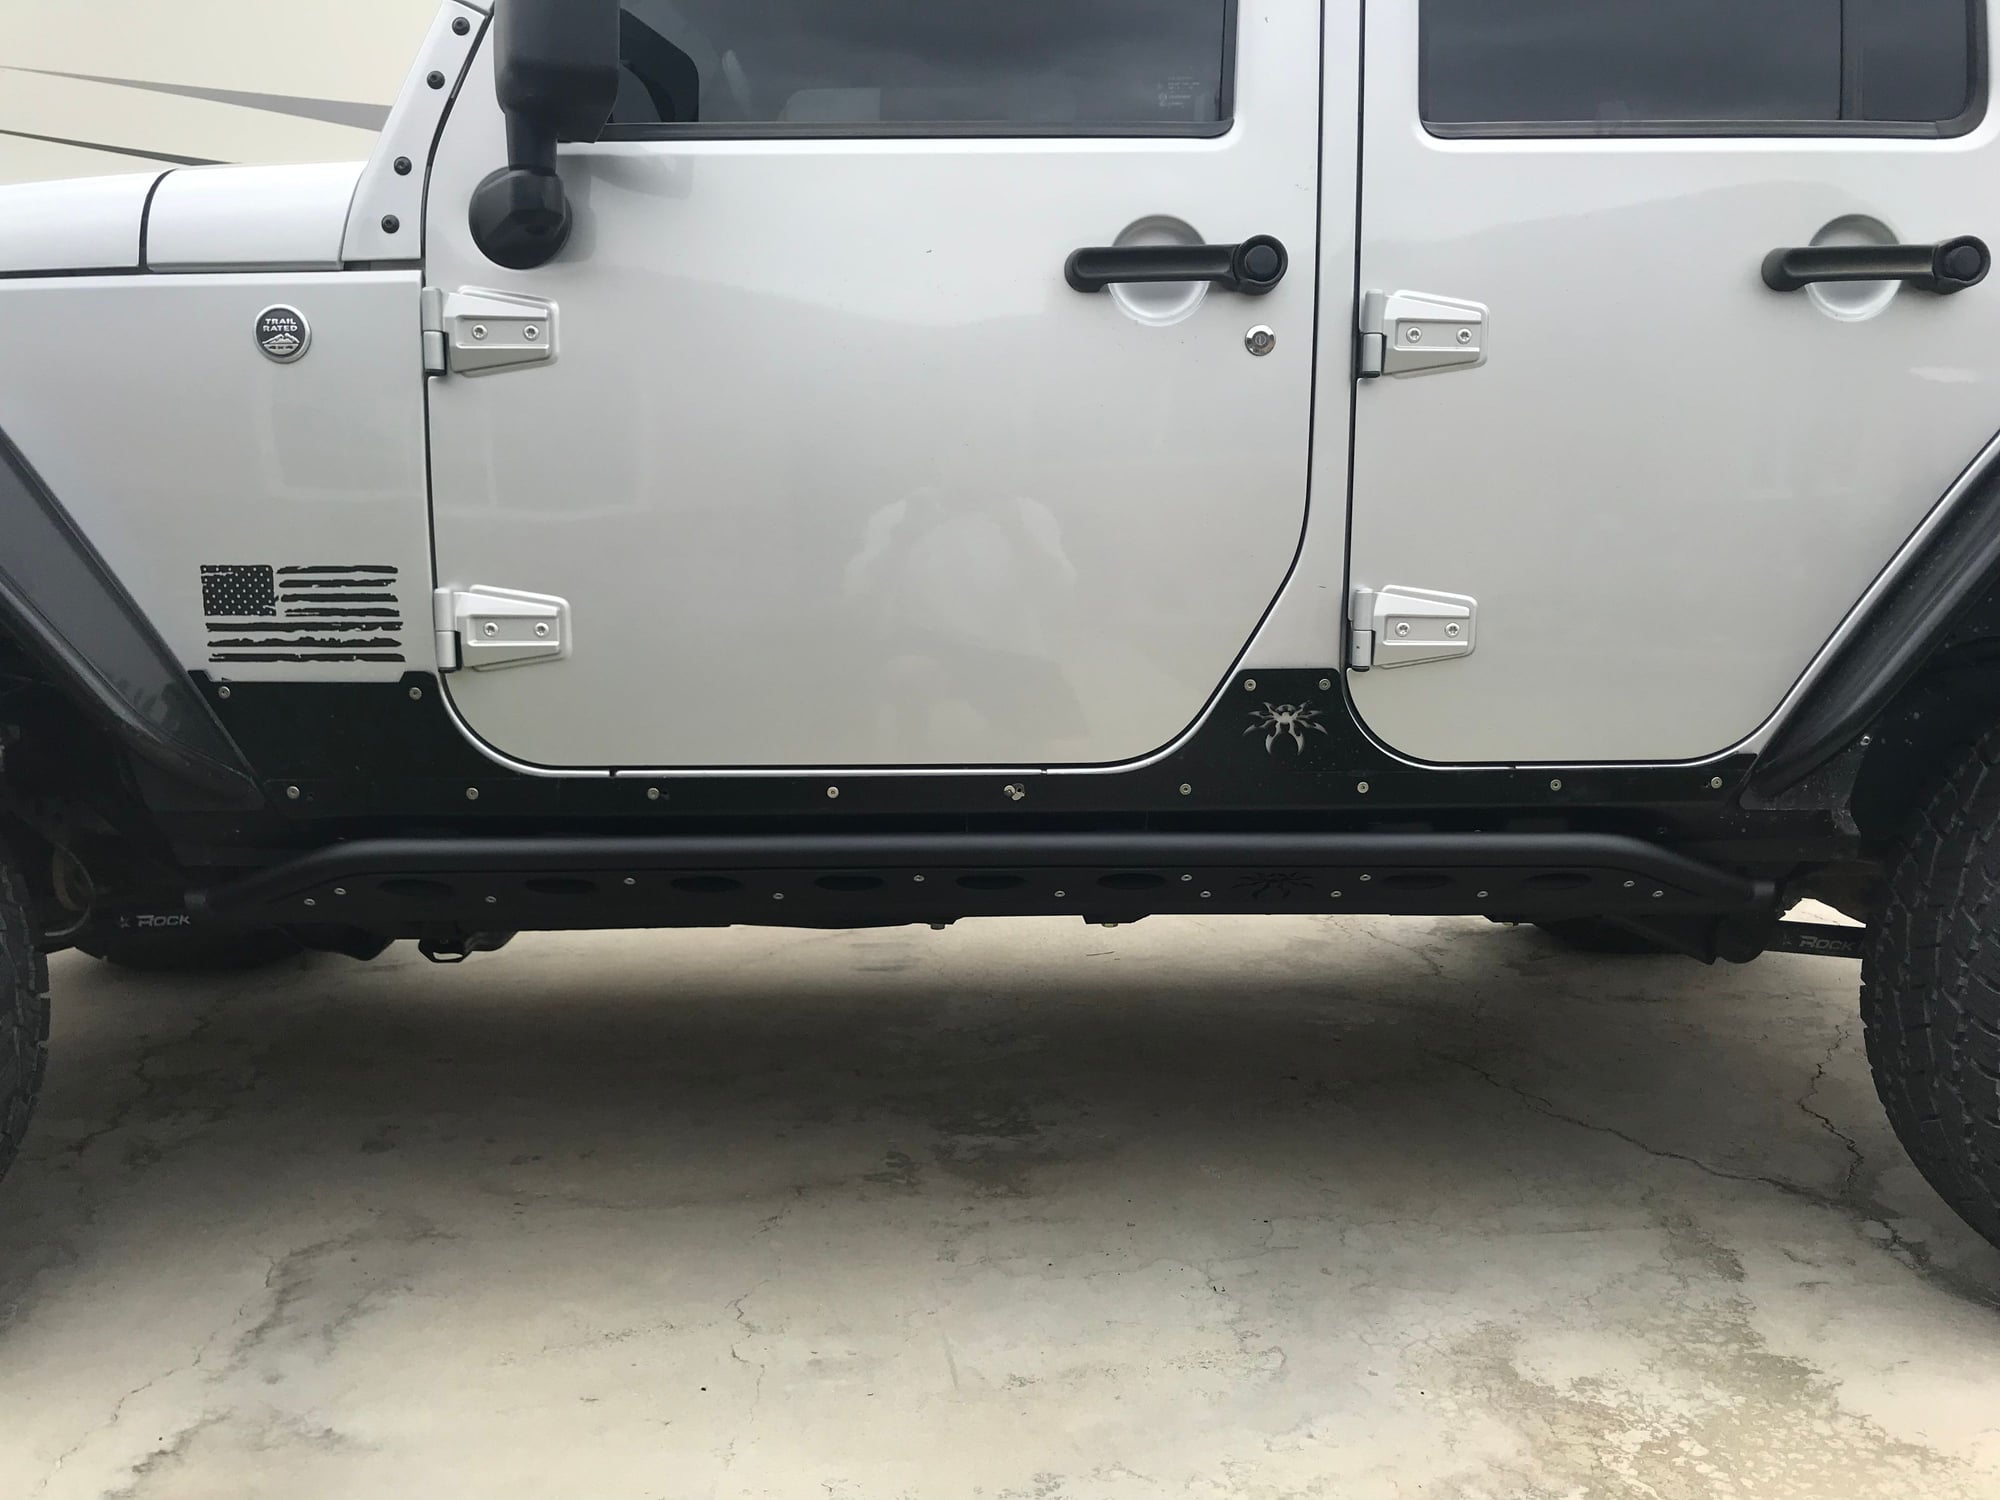
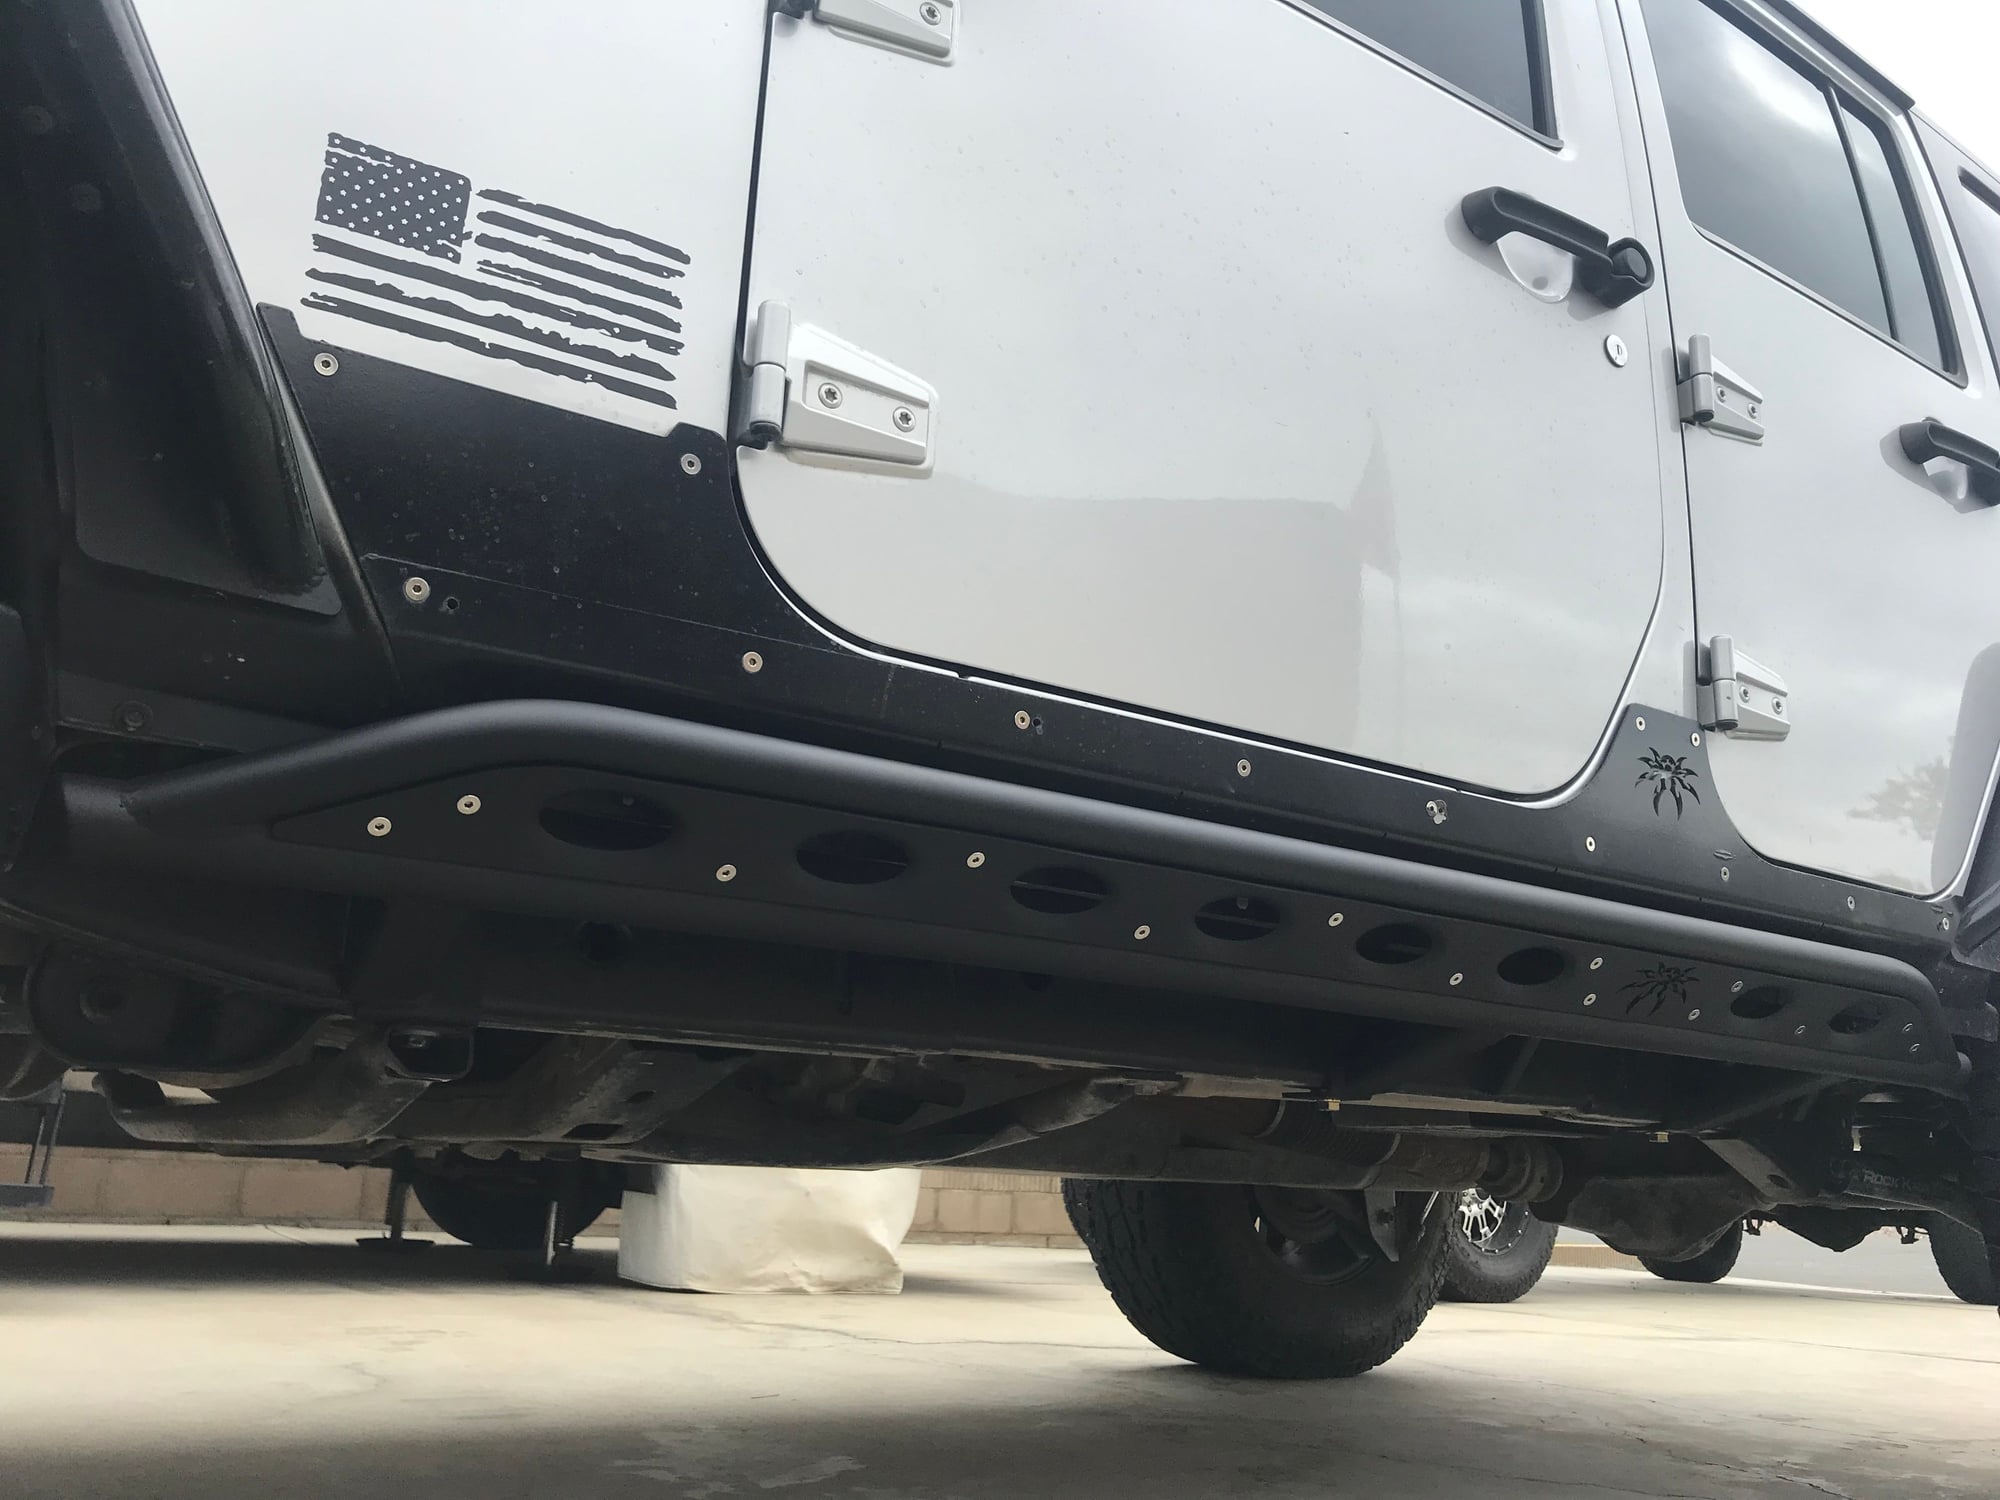
I just got a smoking deal on a new set of PS Rocker Knockers. I'm looking to paint them instead of powder coat so I have the ability to touch up when they get scratched up. I have the PS bumpers and the finish is smooth. What do you all recommend for a good paint to match the bumpers closely? I'm not looking for the rough finish of the bedliner paint. Thanks for the suggestions
#2
JK Freak
Krylon Rust Tough Enamel semi-flat is pretty spot on match for semi-gloss/flat powder coats. I got my corners and genright carrier powder coated in semi-gloss black, and painted my sliders in the paint I mentioned...they all match pretty dang perfectly.
I'm sure you know this, but make sure you use self-etching primer before any top coat.
I'm sure you know this, but make sure you use self-etching primer before any top coat.
#3
JK Newbie
Thread Starter
Krylon Rust Tough Enamel semi-flat is pretty spot on match for semi-gloss/flat powder coats. I got my corners and genright carrier powder coated in semi-gloss black, and painted my sliders in the paint I mentioned...they all match pretty dang perfectly.
I'm sure you know this, but make sure you use self-etching primer before any top coat.
I'm sure you know this, but make sure you use self-etching primer before any top coat.
#4
JK Freak
Yep, strip it down. I’ll break it down into steps for you:
1. Sand the bare metal using 120 or 180 grit. Get any and all surface rust and discoloration around the welds off/clean.
2. Degrease the bare metal with a scotch brite pad (or a new kitchen sponge, the rough side). Dish soap works if you don’t have industrial degreaser.
3. Wipe down with rubbing alcohol and give it a few minutes to dry.
4. Use self-etching primer, follow the instructions on the can: you need to build it up. Don’t try and cover all the metal in the first pass or two. Works best if you apply many light coats, allowing ample time for it to dry in between each coat. The acids in the paint will etch into the bare metal, giving you better adhesion. Use in a very well ventilated area. It took me 2 cans to do 2 of my sliders.
5. After the last coat of self-etching primer I usually let it dry and cure overnight. If you let the self-etch cure overnight, make sure to wipe everything down with a paper towel dampened with rubbing alcohol the next day before you proceed to step 6.
6. You can spray some normal sandable primer now if you want, or you can skip it and go straight to your topcoat. I’ve done it both ways. The only real advantage to building up some more primer is it’ll make touch ups easier down the road.
7. Follow can instructions, and let everything dry. I usually add 1-3 days to the recommend curing time. Since these are relatively heavy parts, it’s nice not to deal with tacky/sticky paint and ruining the paint job.
I’ve had great success painting my bumpers and rock sliders using this technique. Good luck, take your time, more light coats are better than a few thick coats, and remember...prep work is everything.
#5
JK Newbie
Thread Starter
Great info! Iíll follow each step. Thanks for taking the time to spell it out for me. If it works out on the sliders the bumpers are next. The powder is flaking off my PS Brawlers and starting to rust.
#7
JK Newbie
Thread Starter
Yep, strip it down. Iíll break it down into steps for you:
1. Sand the bare metal using 120 or 180 grit. Get any and all surface rust and discoloration around the welds off/clean.
2. Degrease the bare metal with a scotch brite pad (or a new kitchen sponge, the rough side). Dish soap works if you donít have industrial degreaser.
3. Wipe down with rubbing alcohol and give it a few minutes to dry.
4. Use self-etching primer, follow the instructions on the can: you need to build it up. Donít try and cover all the metal in the first pass or two. Works best if you apply many light coats, allowing ample time for it to dry in between each coat. The acids in the paint will etch into the bare metal, giving you better adhesion. Use in a very well ventilated area. It took me 2 cans to do 2 of my sliders.
5. After the last coat of self-etching primer I usually let it dry and cure overnight. If you let the self-etch cure overnight, make sure to wipe everything down with a paper towel dampened with rubbing alcohol the next day before you proceed to step 6.
6. You can spray some normal sandable primer now if you want, or you can skip it and go straight to your topcoat. Iíve done it both ways. The only real advantage to building up some more primer is itíll make touch ups easier down the road.
7. Follow can instructions, and let everything dry. I usually add 1-3 days to the recommend curing time. Since these are relatively heavy parts, itís nice not to deal with tacky/sticky paint and ruining the paint job.
Iíve had great success painting my bumpers and rock sliders using this technique. Good luck, take your time, more light coats are better than a few thick coats, and remember...prep work is everything.
I used the regular primer after sanding the self etching primer and the primer balled up when it dried. I let the self etching dry for 5 days as I had to go to work so I know I didn't hit it too early. Very rough almost like a textured finish. Not sure if the regular primer reacted with the self etching or what. I'm going to sand them down the best I can and hope to not start all over. Let me know what you think may have happened.
Trending Topics
#8
JK Freak
BB,
I used the regular primer after sanding the self etching primer and the primer balled up when it dried. I let the self etching dry for 5 days as I had to go to work so I know I didn't hit it too early. Very rough almost like a textured finish. Not sure if the regular primer reacted with the self etching or what. I'm going to sand them down the best I can and hope to not start all over. Let me know what you think may have happened.
I used the regular primer after sanding the self etching primer and the primer balled up when it dried. I let the self etching dry for 5 days as I had to go to work so I know I didn't hit it too early. Very rough almost like a textured finish. Not sure if the regular primer reacted with the self etching or what. I'm going to sand them down the best I can and hope to not start all over. Let me know what you think may have happened.
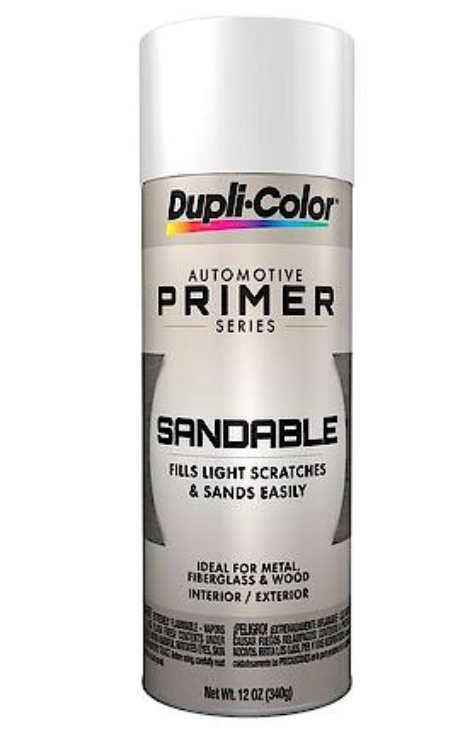
This is the primer I used, and had great results with:

#9
JK Newbie
Thread Starter
I used Rust o Leum self etching and the same brand of sandable primer. Who knows! I'll sand it down as you stated above and hit it with some paint. Thanks for the quick reply


